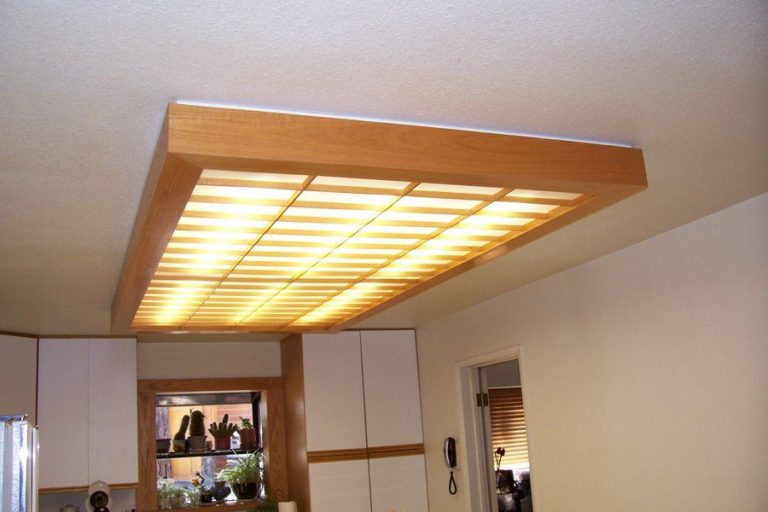
If you're looking to add some extra lighting to your kitchen island, a ceiling light box is a great solution. Not only does it provide ample lighting, but it also adds a stylish touch to your kitchen design. Framing a kitchen island ceiling light box may seem like a daunting task, but with the right tools and techniques, it can be a DIY project that anyone can tackle. Here's a step-by-step guide on how to frame a kitchen island ceiling light box.How to Frame a Kitchen Island Ceiling Light Box


How to Frame a Kitchen Island Ceiling Light Box


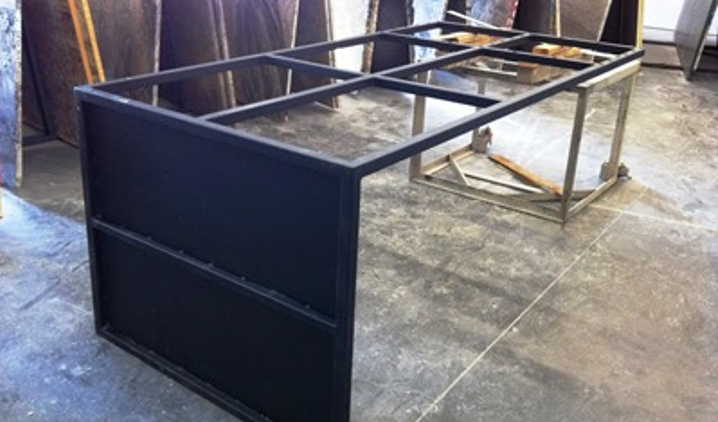
Building your own kitchen island ceiling light box can save you money and give you the satisfaction of completing a project on your own. Plus, you can customize it to fit your specific design preferences. With a few simple tools and materials, you can create a beautiful and functional light box for your kitchen island.DIY Kitchen Island Ceiling Light Box


DIY Kitchen Island Ceiling Light Box


Step 1: Measure and mark the location of your light box on the ceiling. Make sure to take into account the size of your light fixture and the distance from the edge of the island. Step 2: Use a stud finder to locate the ceiling joists and mark their location on the ceiling. Step 3: Use a drywall saw to cut out the marked area on the ceiling. Be sure to wear protective gear and use caution when cutting. Step 4: Cut four pieces of 2x4 lumber to the desired length for the sides of your light box. These will serve as the frame for the box. Step 5: Secure the four pieces of lumber together to create a rectangular frame. Use wood screws or a nail gun to ensure a sturdy frame. Step 6: Attach the frame to the ceiling joists using wood screws. Make sure the frame is level and secure. Step 7: Cut a piece of drywall to fit the top of the frame and attach it with drywall screws. Step 8: Repeat this process for the bottom of the frame. Step 9: Cut two pieces of drywall to fit the sides of the frame and attach them with drywall screws. Step 10: Fill any gaps or holes with drywall joint compound and sand it down for a smooth finish. Step 11: Once the joint compound is dry, you can paint the light box to match your kitchen's decor.Step-by-Step Guide for Framing a Kitchen Island Ceiling Light Box
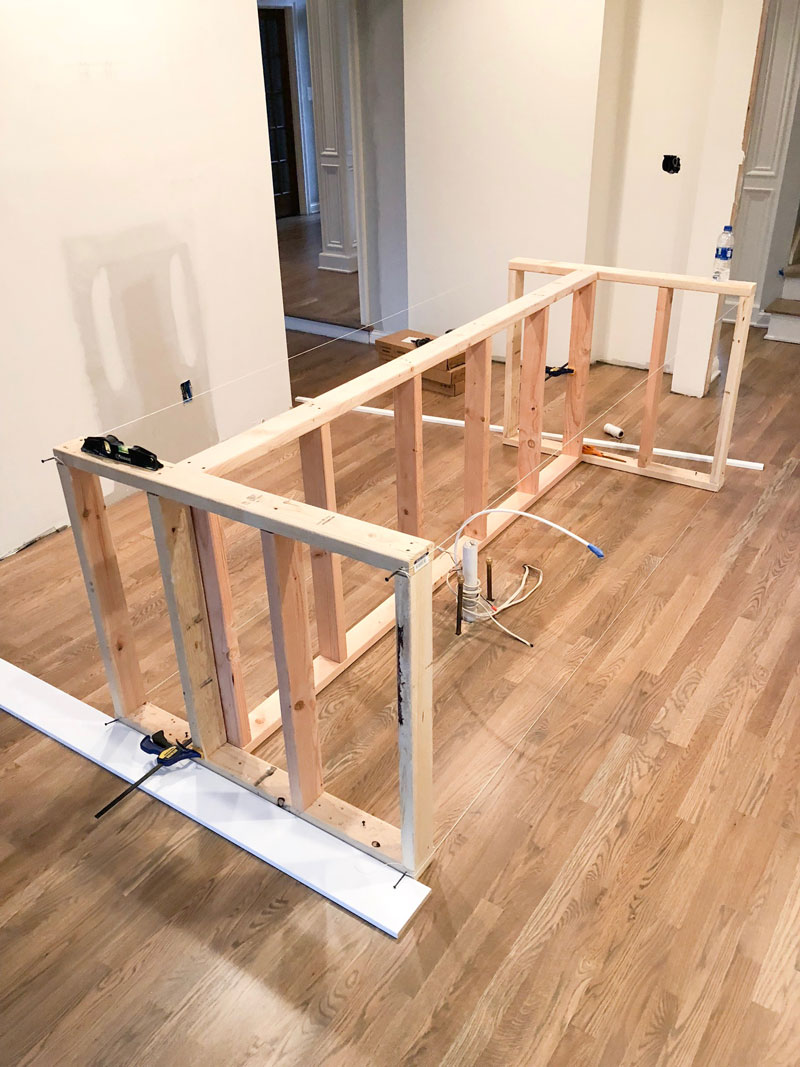


Step-by-Step Guide for Framing a Kitchen Island Ceiling Light Box


- Make sure to use the appropriate size and type of screws or nails for your frame and drywall. - Use a level to ensure the frame is straight and even. - Wear protective gear when working with tools and materials. - Take your time and double-check your measurements to avoid mistakes.Tips for Framing a Kitchen Island Ceiling Light Box


Tips for Framing a Kitchen Island Ceiling Light Box


- Stud finder - Measuring tape - Drywall saw - 2x4 lumber - Wood screws or nails - Drywall screws - Drywall joint compound - Sandpaper - Paint and paintbrushMaterials Needed for Framing a Kitchen Island Ceiling Light Box


Materials Needed for Framing a Kitchen Island Ceiling Light Box


- Always follow safety precautions when using power tools. - Make sure to properly secure the frame to the ceiling joists for stability. - Use a level to ensure the frame is straight and even. - Take your time and double-check your measurements to avoid mistakes.Best Practices for Framing a Kitchen Island Ceiling Light Box


Best Practices for Framing a Kitchen Island Ceiling Light Box


- Not measuring correctly and ending up with an uneven or crooked frame. - Using the wrong type or size of screws or nails, which can lead to an unstable frame. - Rushing the process and not allowing enough time for the joint compound to dry. - Forgetting to wear protective gear when working with tools and materials.Common Mistakes to Avoid When Framing a Kitchen Island Ceiling Light Box

Common Mistakes to Avoid When Framing a Kitchen Island Ceiling Light Box


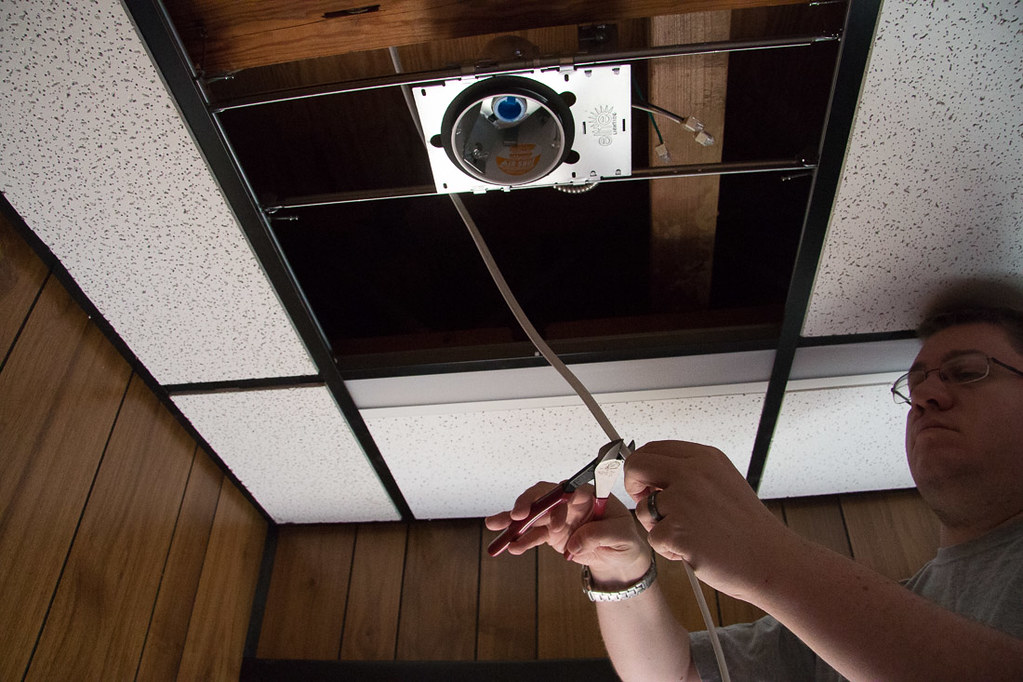
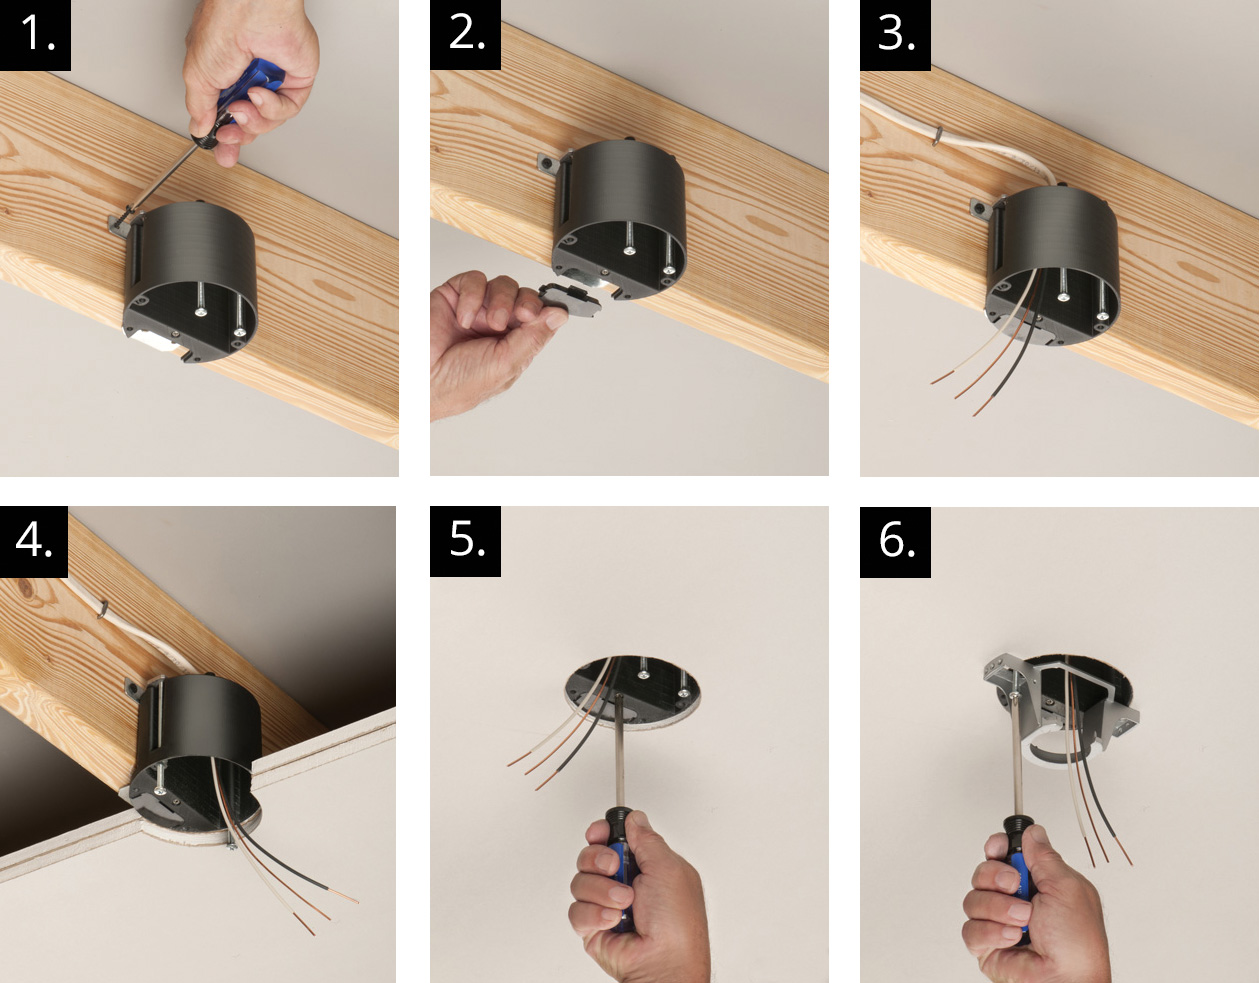
Once you have framed your kitchen island ceiling light box, it's time to install the light fixture. Follow these steps: Step 1: Turn off the power to the area where you will be installing the light fixture. Step 2: Remove the existing light fixture or prepare the wiring for a new fixture. Step 3: Follow the manufacturer's instructions for installing the light fixture into the light box. Step 4: Turn the power back on and test the light to make sure it is working properly.How to Install a Light Fixture in a Kitchen Island Ceiling Light Box


How to Install a Light Fixture in a Kitchen Island Ceiling Light Box

:max_bytes(150000):strip_icc()/how-to-replace-ceiling-light-fixture-1824657-03-d0831082affb46be9ab0fb2652da8092.jpg)


:max_bytes(150000):strip_icc()/how-to-replace-ceiling-light-fixture-1824657-02-078c80a354ee404e8ca25455b15fef14.jpg)

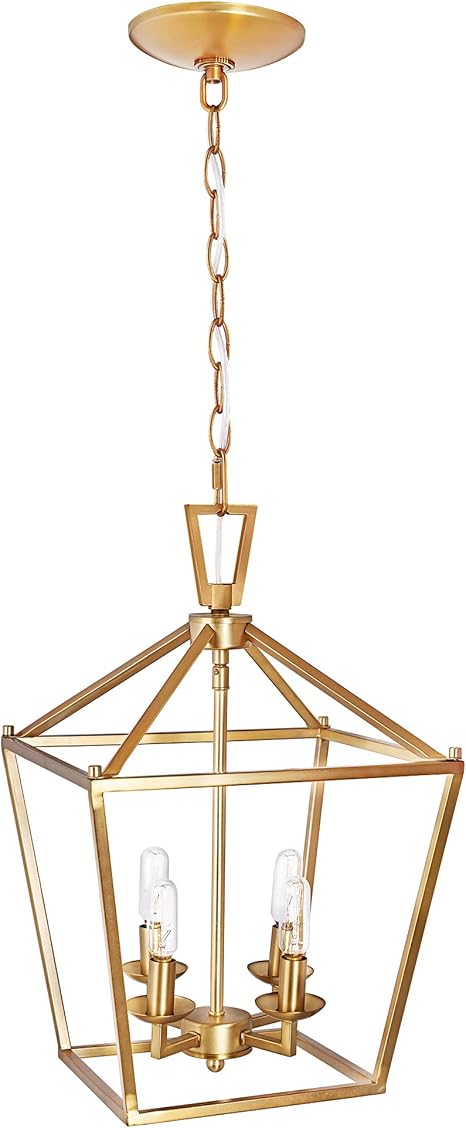
Once your kitchen island ceiling light box is installed, you can add some personal touches to make it stand out. Here are a few ideas: - Paint the light box a bold color to add a pop of color to your kitchen. - Add a decorative trim or molding to the edges of the light box. - Install a dimmer switch to control the brightness of the light. - Hang pendant lights from the light box for a unique and stylish look.Creative Ideas for Decorating a Kitchen Island Ceiling Light Box


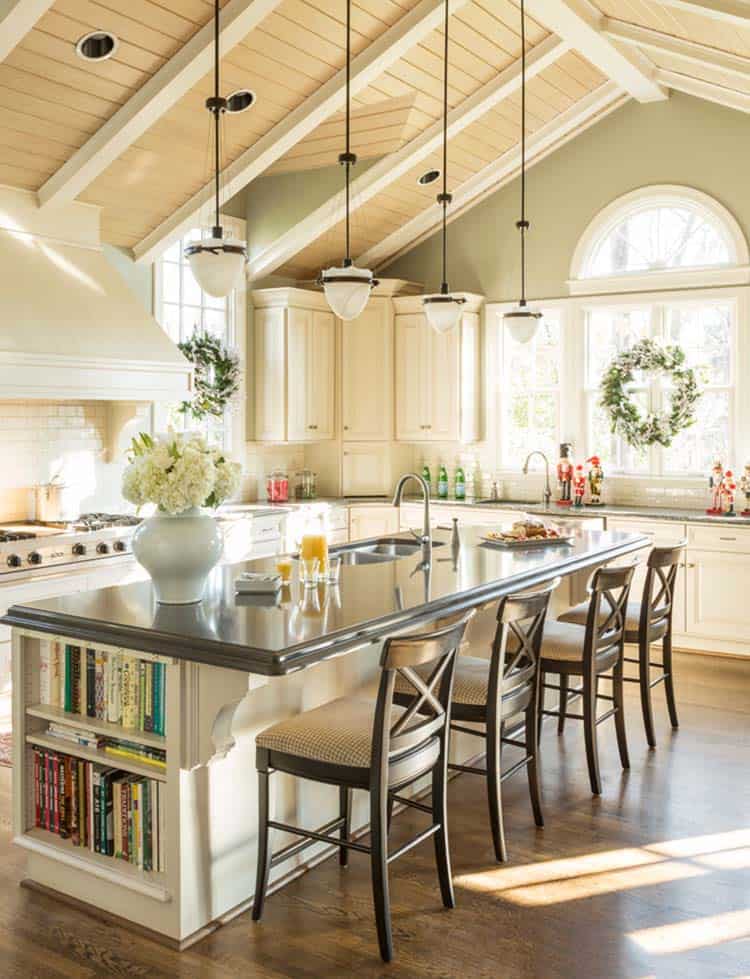
Creative Ideas for Decorating a Kitchen Island Ceiling Light Box
- Provides additional lighting for your kitchen island, making it easier to prepare meals and entertain guests. - Adds a stylish and modern touch to your kitchen design. - Can be customized to fit your specific design preferences. - A DIY project that can save you money on hiring a professional. With these tips and techniques, you can successfully frame a kitchen island ceiling light box and add both functionality and style to your kitchen. Get creative and make it your own!Benefits of Having a Kitchen Island Ceiling Light Box

Benefits of Having a Kitchen Island Ceiling Light Box
Why a Kitchen Island Ceiling Light Box is a Must-Have for Your Home

Enhance Your Kitchen's Aesthetics and Functionality with a Light Box
 Adding a
kitchen island ceiling light box
can instantly elevate the design and functionality of your kitchen. Not only does it provide additional lighting for your workspace, but it also serves as a stylish focal point that can tie the whole room together. In this article, we will discuss the benefits of
framing a kitchen island ceiling light box
and how it can enhance your overall house design.
Adding a
kitchen island ceiling light box
can instantly elevate the design and functionality of your kitchen. Not only does it provide additional lighting for your workspace, but it also serves as a stylish focal point that can tie the whole room together. In this article, we will discuss the benefits of
framing a kitchen island ceiling light box
and how it can enhance your overall house design.
Maximize Space and Create a Customized Look
 One of the main advantages of a
kitchen island ceiling light box
is that it allows you to make the most out of your kitchen space. By framing the ceiling with a light box, you can add extra overhead lighting without taking up any valuable counter or floor space. This is especially beneficial for smaller kitchens where space is limited. Additionally, a light box can be customized to fit your specific design aesthetic. You can choose the size, shape, and materials to create a unique and personalized look for your kitchen.
One of the main advantages of a
kitchen island ceiling light box
is that it allows you to make the most out of your kitchen space. By framing the ceiling with a light box, you can add extra overhead lighting without taking up any valuable counter or floor space. This is especially beneficial for smaller kitchens where space is limited. Additionally, a light box can be customized to fit your specific design aesthetic. You can choose the size, shape, and materials to create a unique and personalized look for your kitchen.
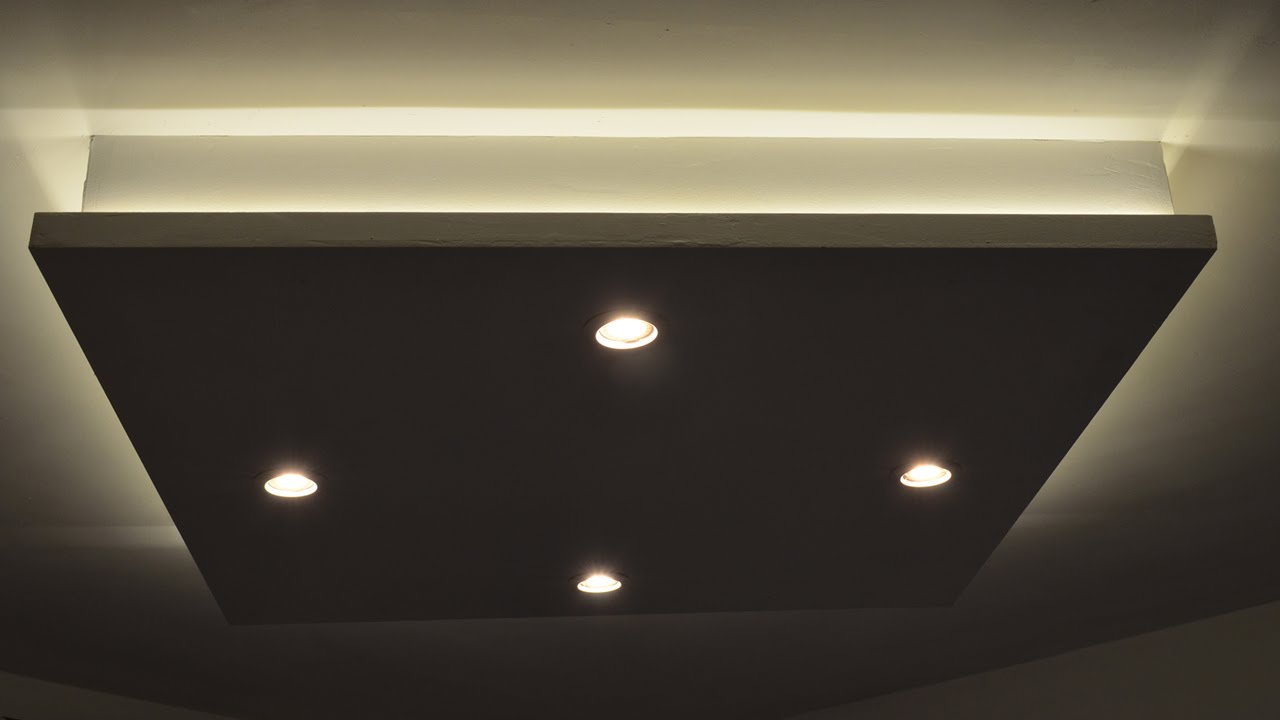
Incorporate Different Types of Lighting
 Another reason to add a
kitchen island ceiling light box
is the versatility it offers in terms of lighting options. With a light box, you can incorporate different types of lighting such as recessed lights, pendant lights, or track lighting. This allows you to create a layered lighting effect, which is essential for a well-lit and functional kitchen. You can have brighter lights for cooking and food prep, while also having softer ambient lighting for dining and entertaining.
Another reason to add a
kitchen island ceiling light box
is the versatility it offers in terms of lighting options. With a light box, you can incorporate different types of lighting such as recessed lights, pendant lights, or track lighting. This allows you to create a layered lighting effect, which is essential for a well-lit and functional kitchen. You can have brighter lights for cooking and food prep, while also having softer ambient lighting for dining and entertaining.
Make a Statement with Design
 A
kitchen island ceiling light box
is not just functional, but it can also add a touch of style and sophistication to your kitchen. With endless design possibilities, you can choose a light box that complements your existing kitchen decor or make a bold statement with a unique and eye-catching design. The addition of a light box can instantly elevate the overall look and feel of your kitchen, making it a standout feature in your home.
A
kitchen island ceiling light box
is not just functional, but it can also add a touch of style and sophistication to your kitchen. With endless design possibilities, you can choose a light box that complements your existing kitchen decor or make a bold statement with a unique and eye-catching design. The addition of a light box can instantly elevate the overall look and feel of your kitchen, making it a standout feature in your home.
Final Thoughts
 In conclusion, adding a
kitchen island ceiling light box
is a must-have for any homeowner looking to enhance their kitchen's aesthetics and functionality. It not only maximizes space and offers versatility in lighting options, but it also allows you to create a customized and stylish look for your kitchen. So why wait? Start framing your kitchen island with a light box and see the transformation it brings to your home.
In conclusion, adding a
kitchen island ceiling light box
is a must-have for any homeowner looking to enhance their kitchen's aesthetics and functionality. It not only maximizes space and offers versatility in lighting options, but it also allows you to create a customized and stylish look for your kitchen. So why wait? Start framing your kitchen island with a light box and see the transformation it brings to your home.