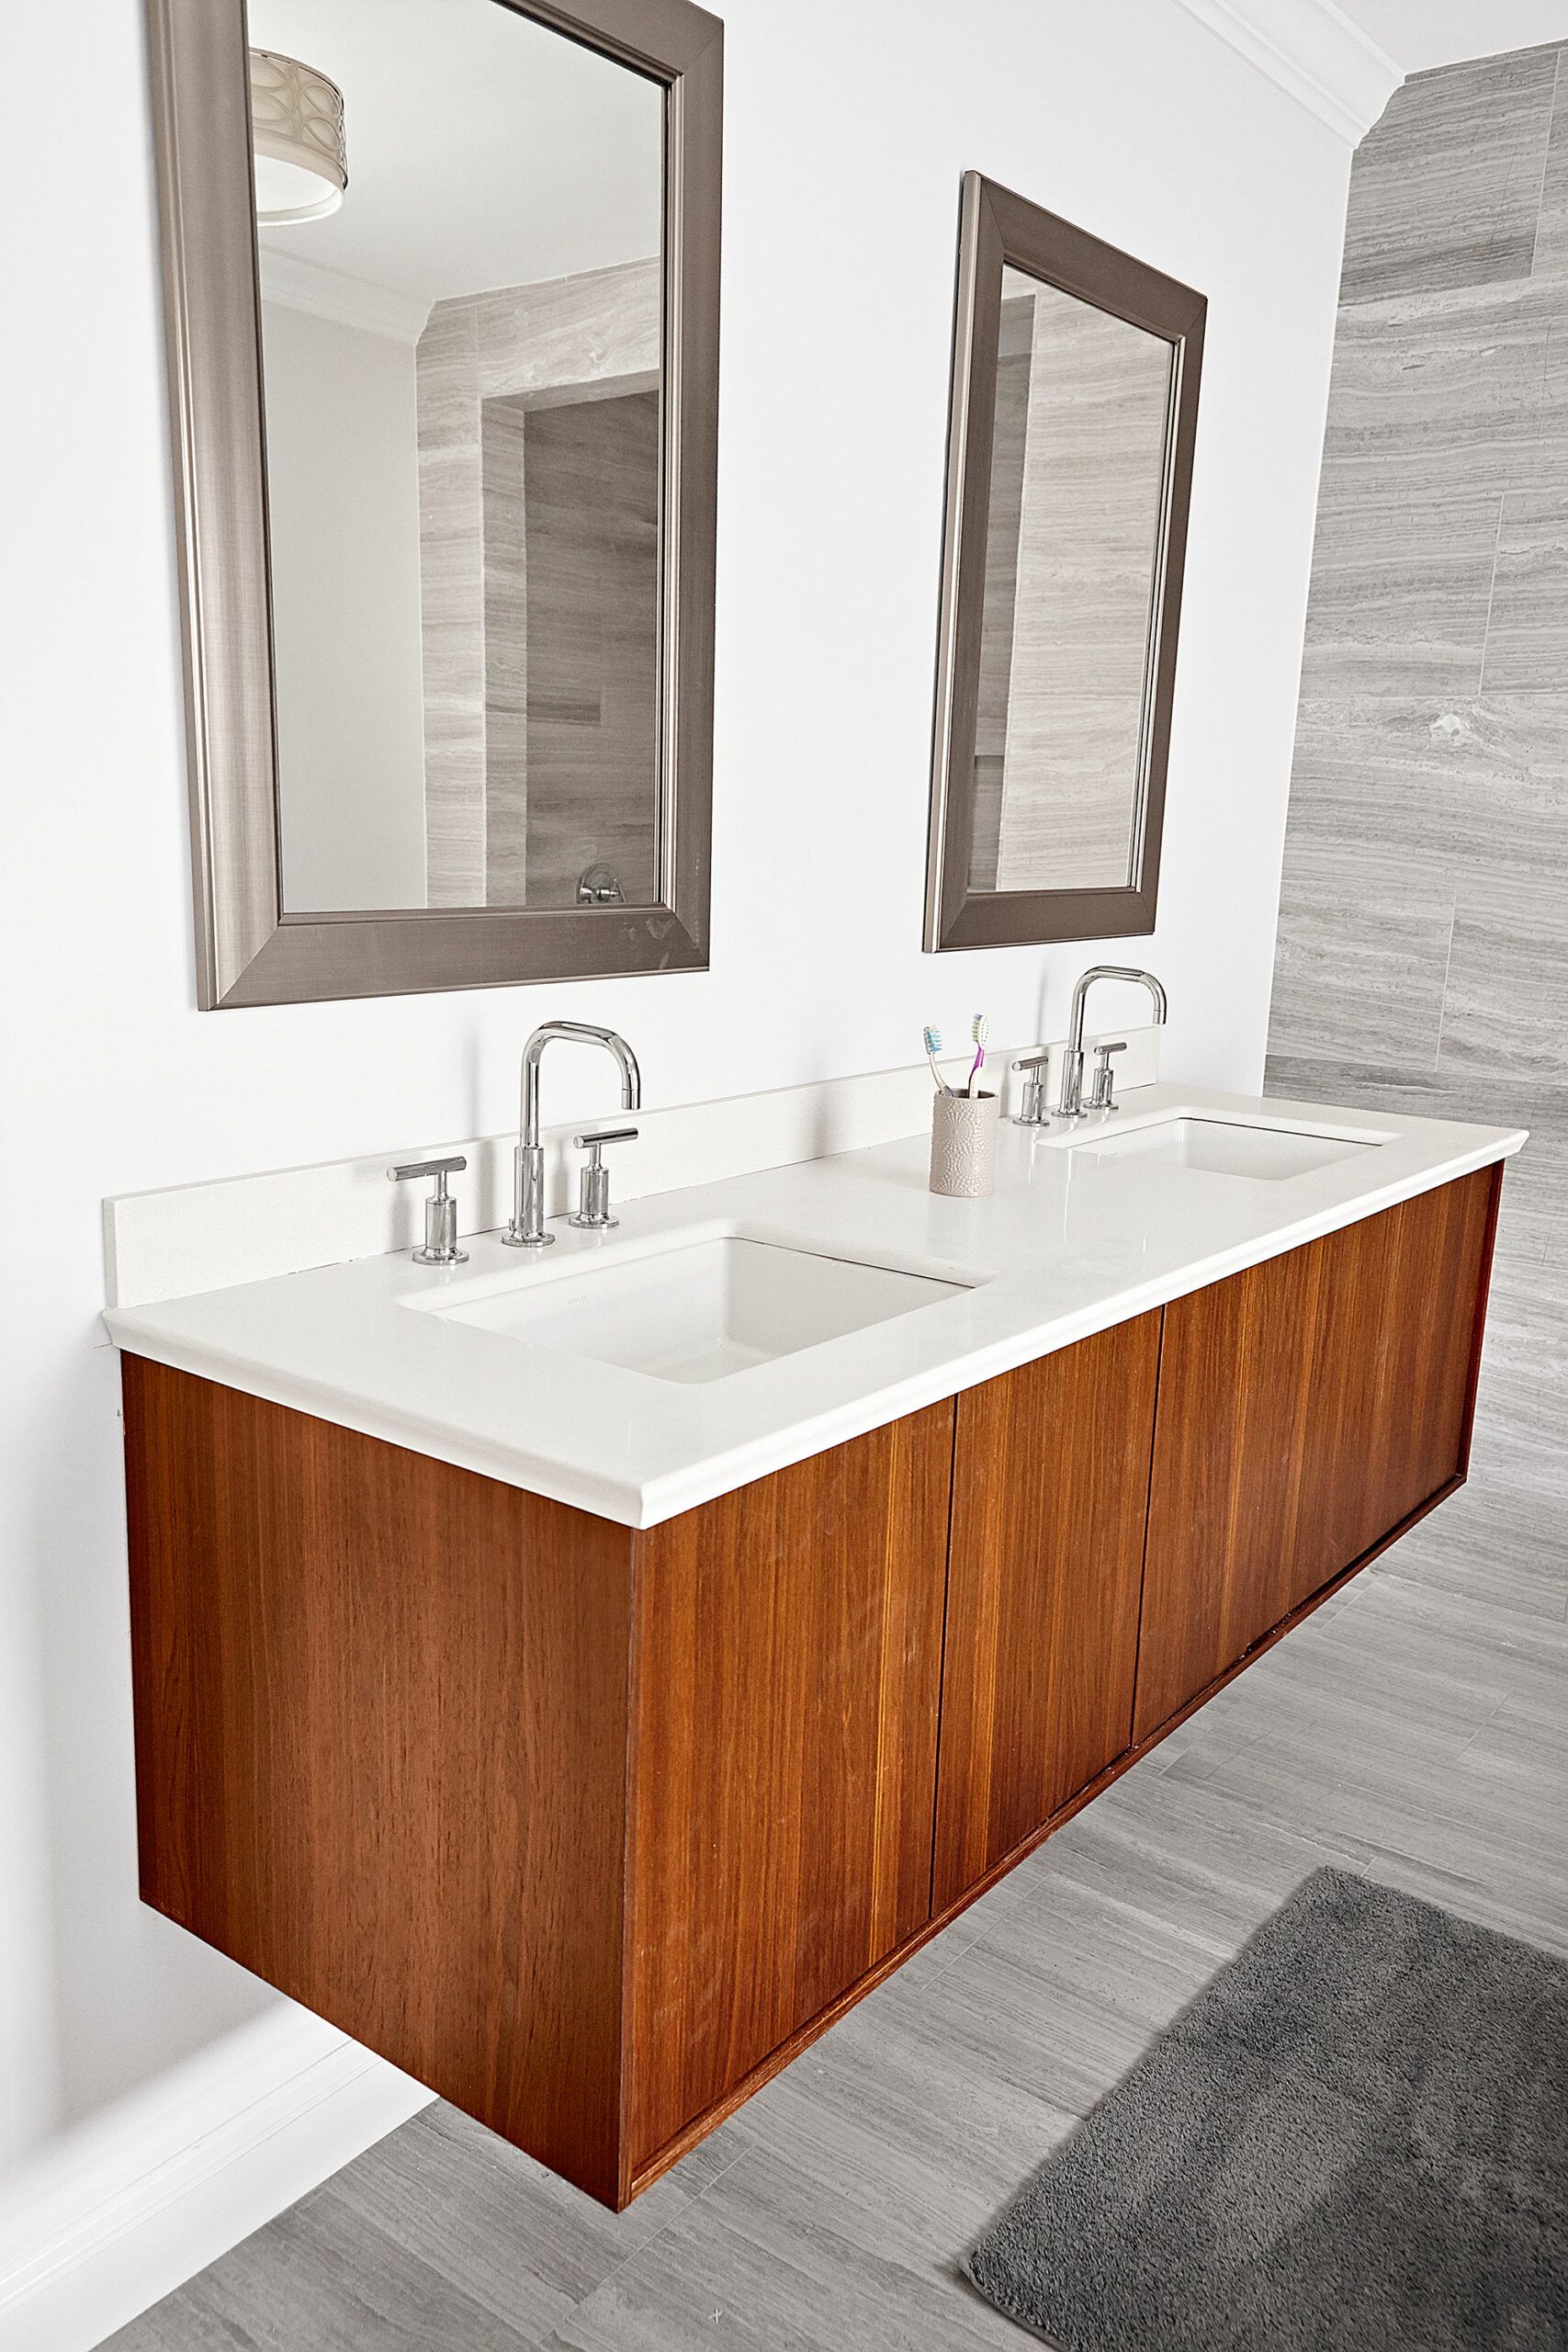
Floating Bathroom Sink Installation
Are you looking to upgrade your bathroom with a sleek and modern look? Consider installing a floating bathroom sink. Not only does it create a clean and minimalist aesthetic, but it also maximizes space in smaller bathrooms. If you're a DIY enthusiast, you can easily install a floating bathroom sink yourself with just a few tools and some basic knowledge. In this article, we'll guide you through the step-by-step process and provide some helpful tips and tricks for a successful installation.


Floating Bathroom Sink Installation


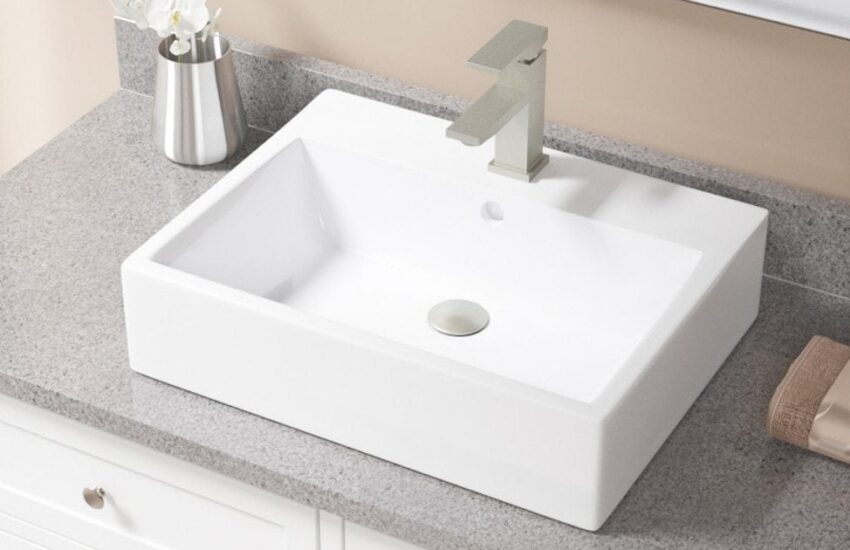
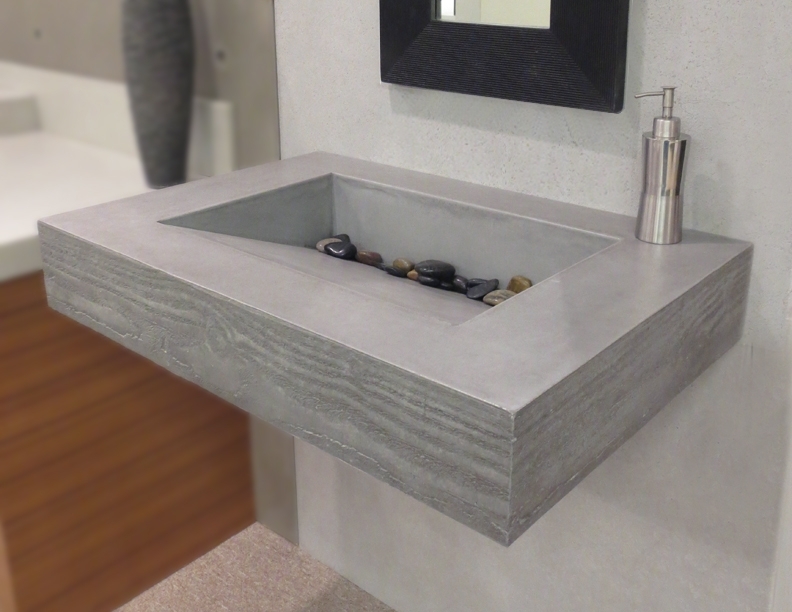
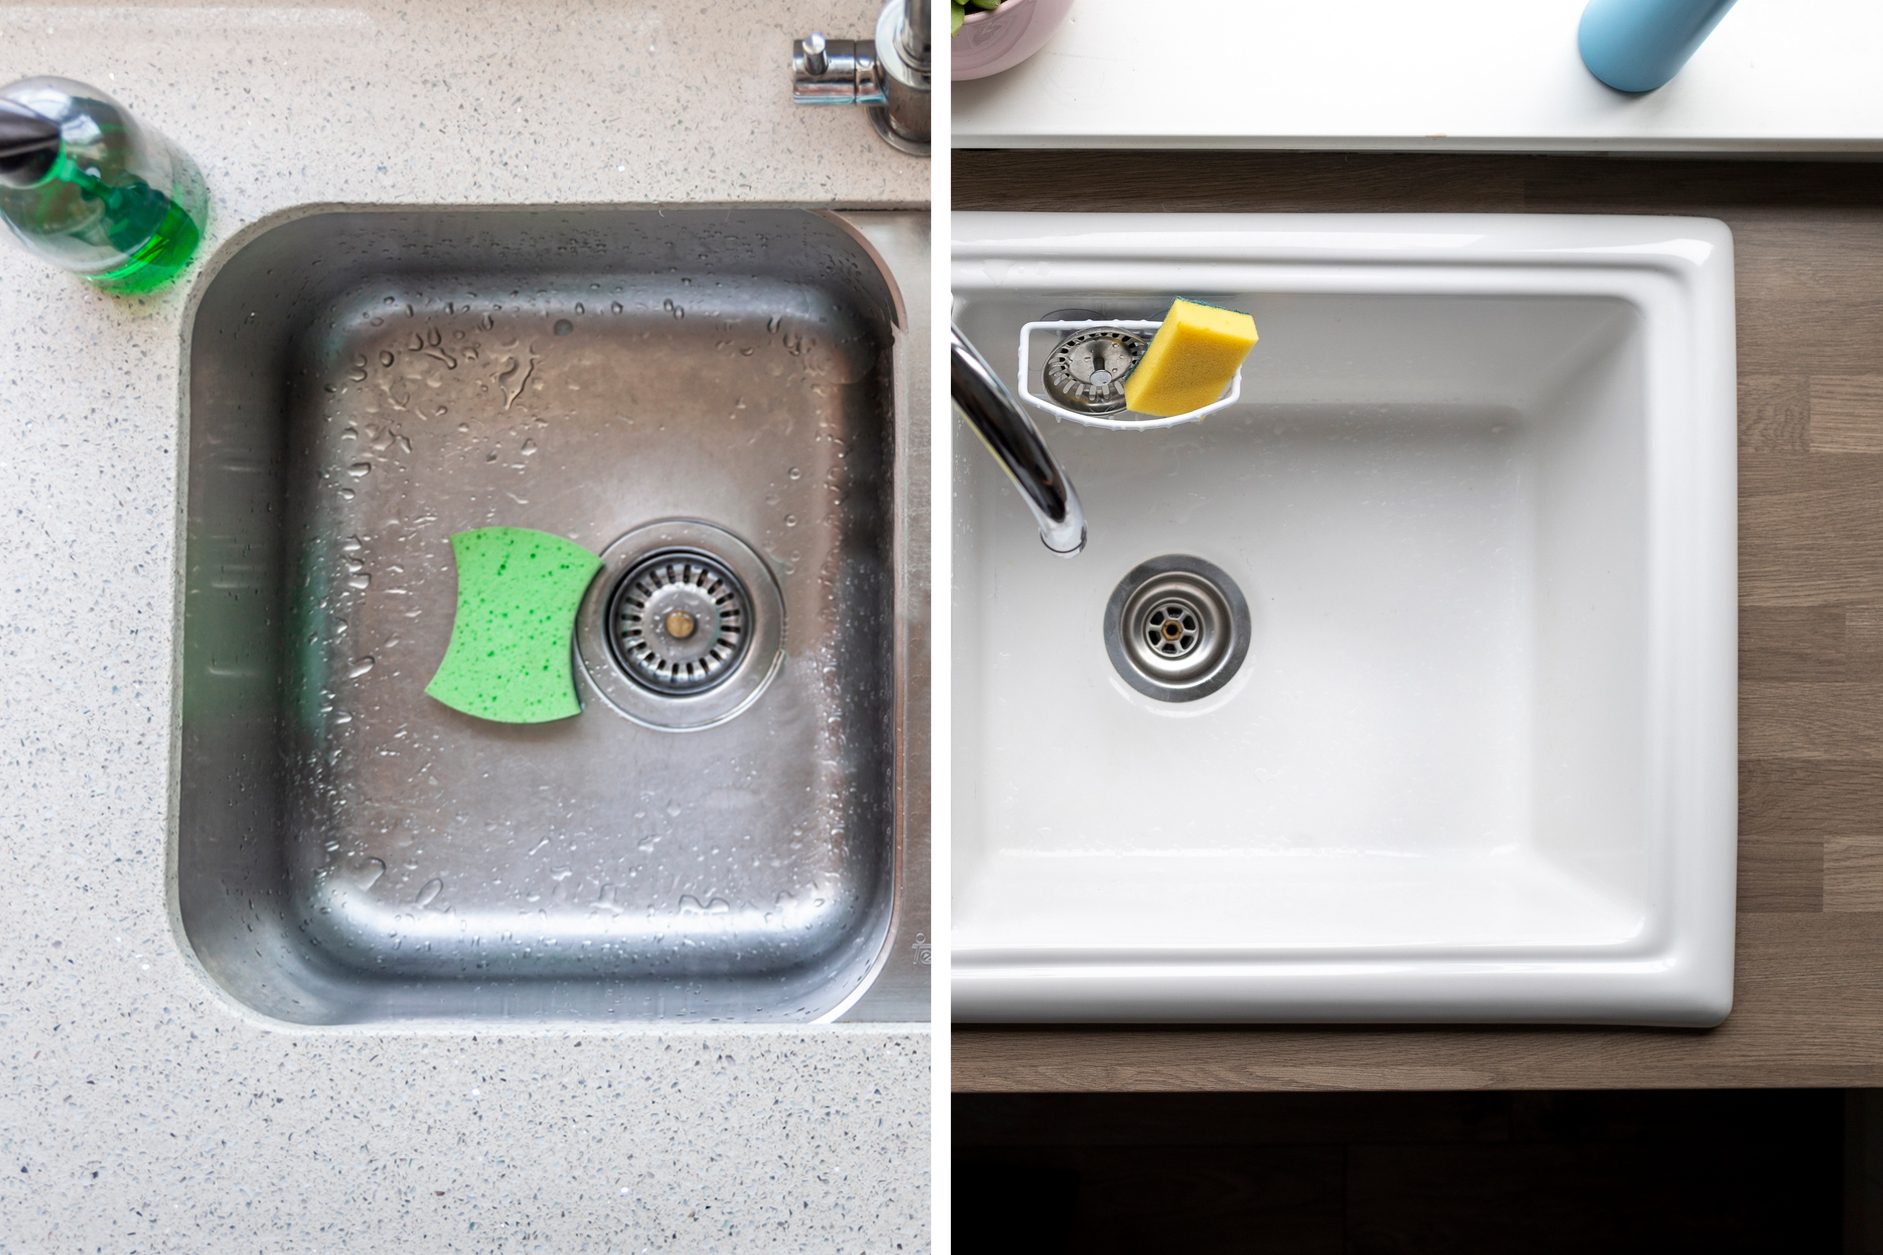
How to Install a Floating Bathroom Sink
Before getting started, it's important to gather all the necessary tools and materials. You will need a drill, level, measuring tape, screws, wall anchors, and a pencil. It's also a good idea to have someone to assist you during the installation process. Once you have everything you need, follow these steps:
Step 1: Measure and mark the location of the sink on the wall. Use a level to ensure the marks are straight and even.
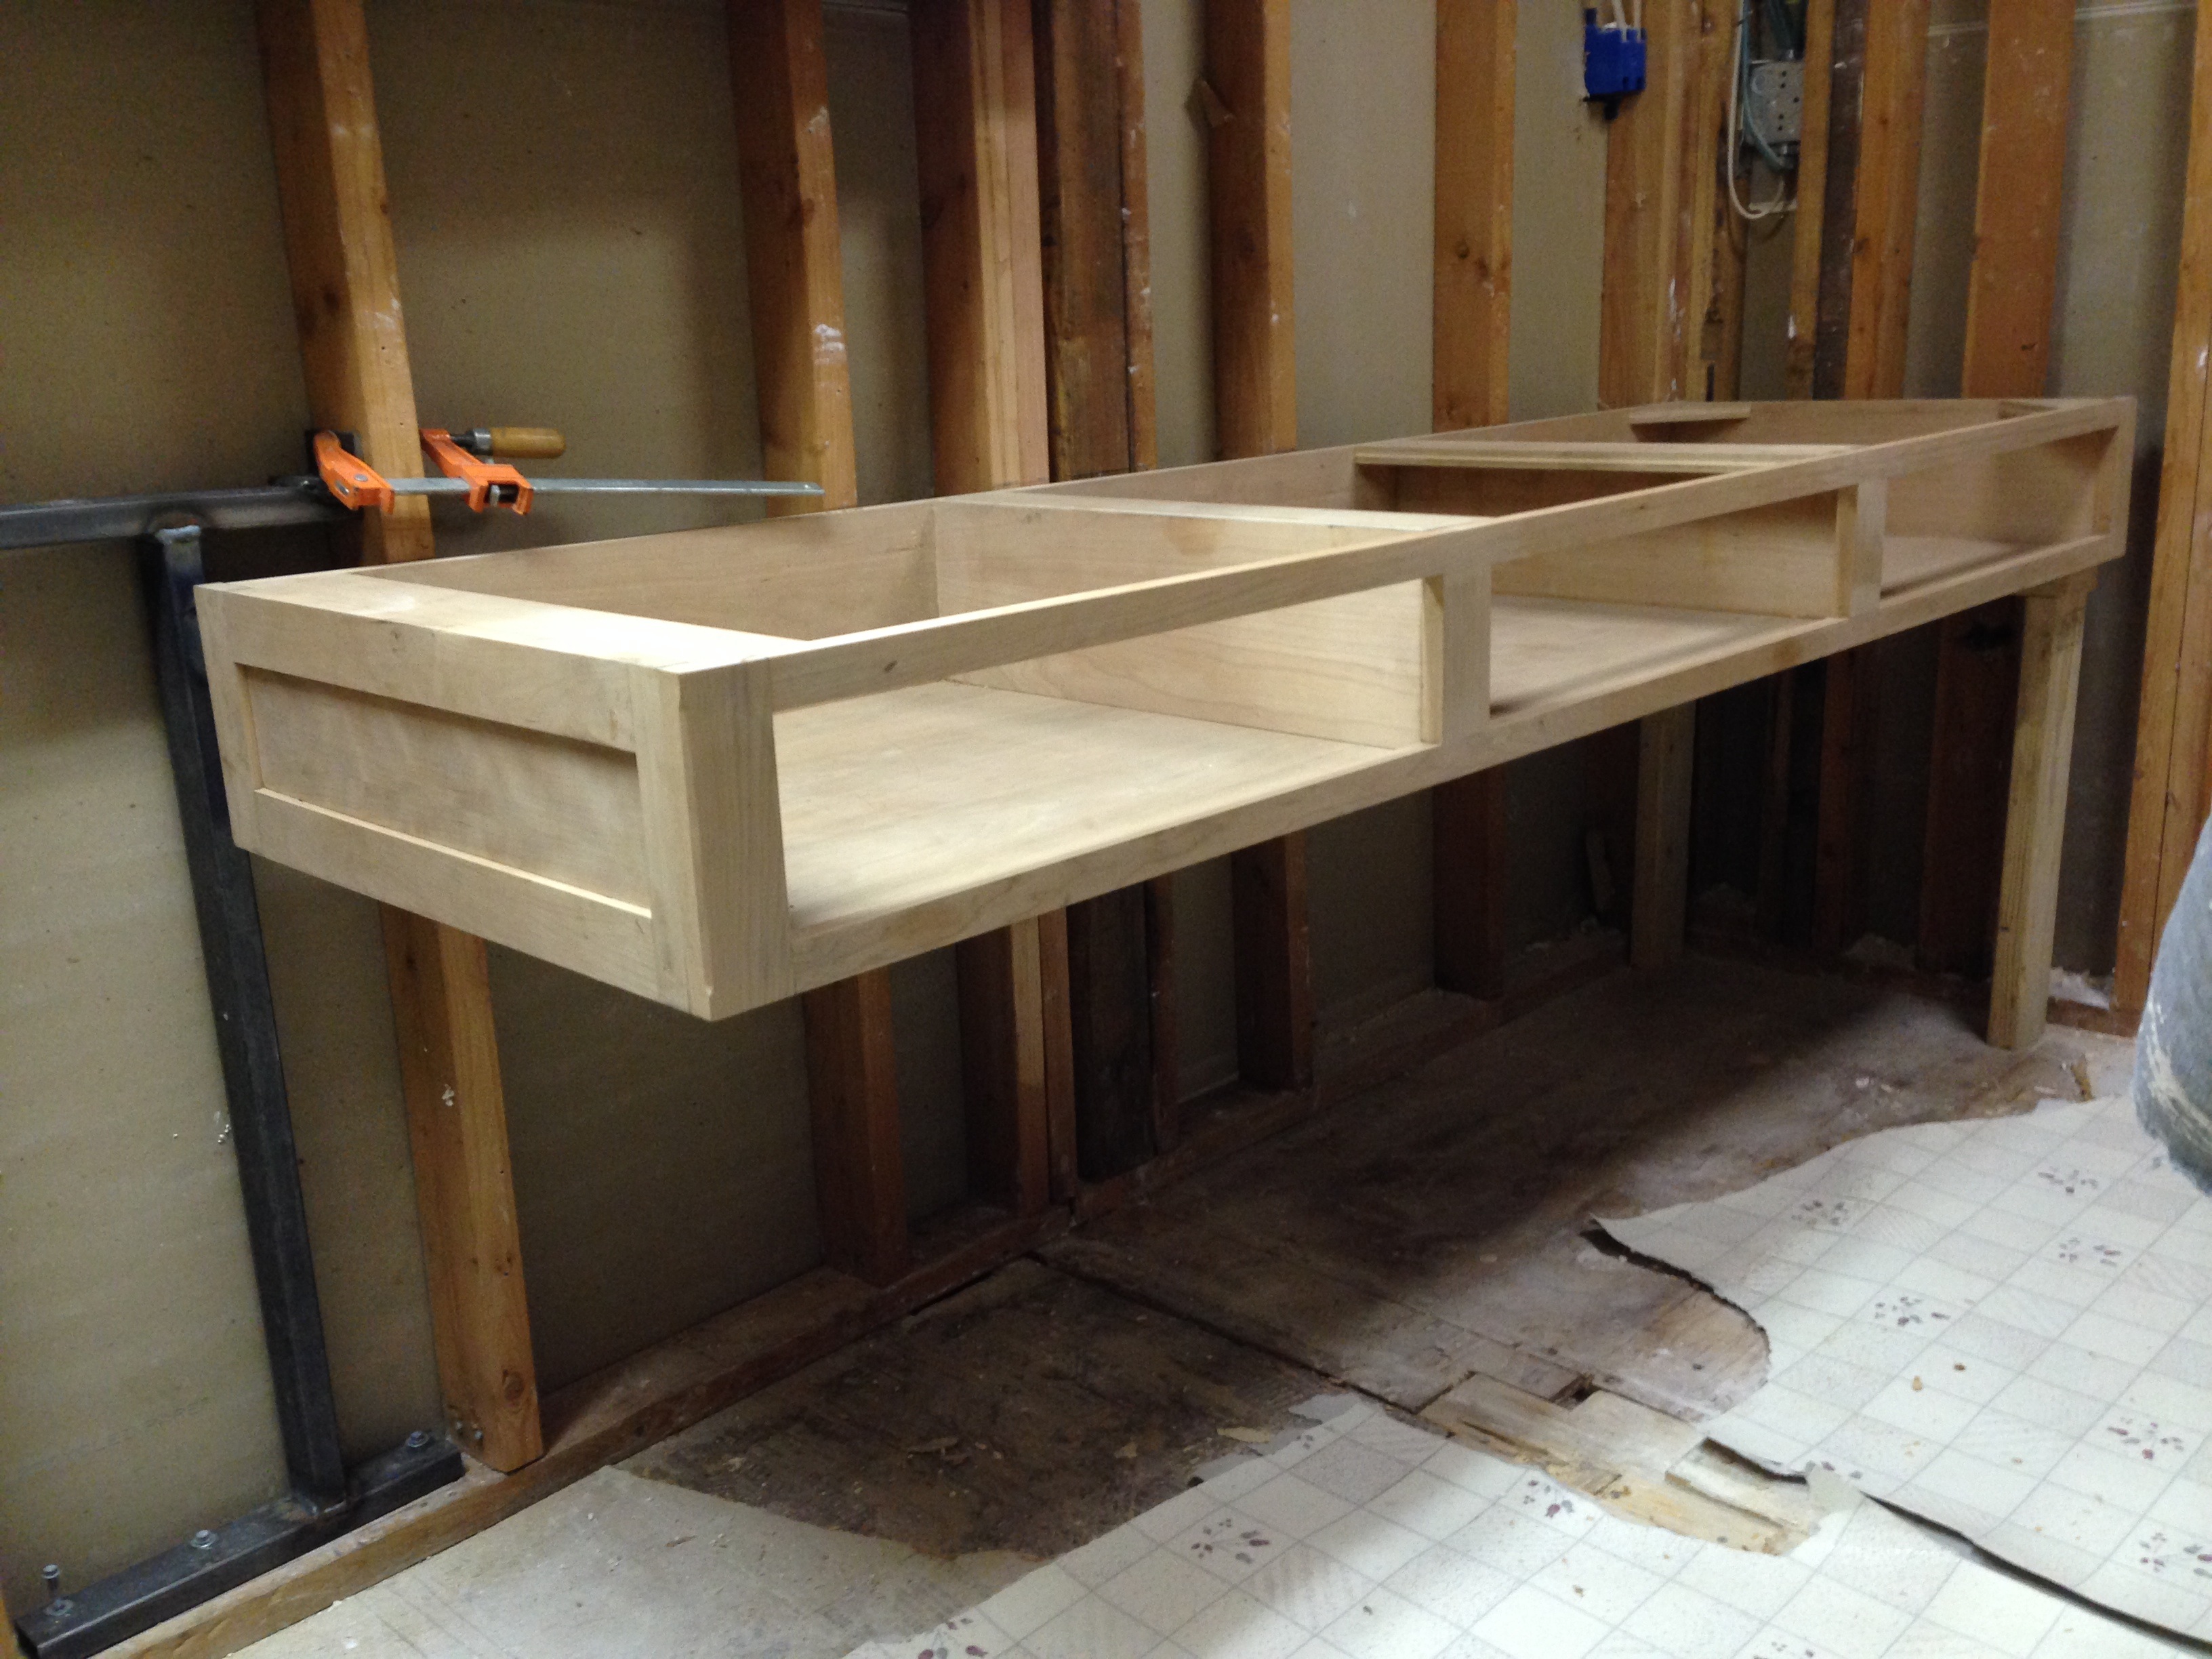
Step 2: Find the studs in the wall and mark their location. This is where you will be drilling and securing the sink.
Step 3: Place the mounting bracket on the wall, making sure it is level and aligned with the marks you made. Use a pencil to mark the holes where you will be drilling.
Step 4: Drill holes into the marked spots and insert wall anchors if needed.
Step 5: Attach the mounting bracket to the wall using screws.
Step 6: Place the sink on top of the mounting bracket and secure it in place with the provided hardware.
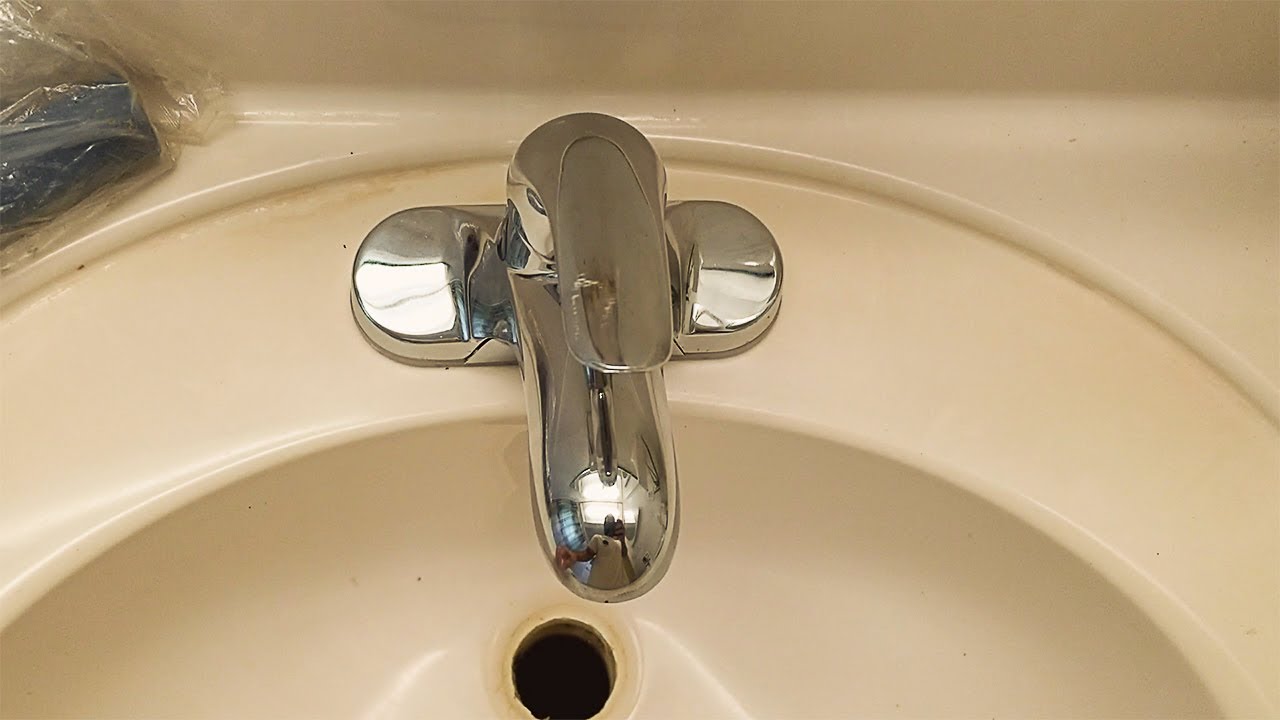
Step 7: Connect the plumbing and turn on the water supply to test for any leaks.
Step 8: Add silicone caulk around the edges of the sink to create a waterproof seal.

How to Install a Floating Bathroom Sink


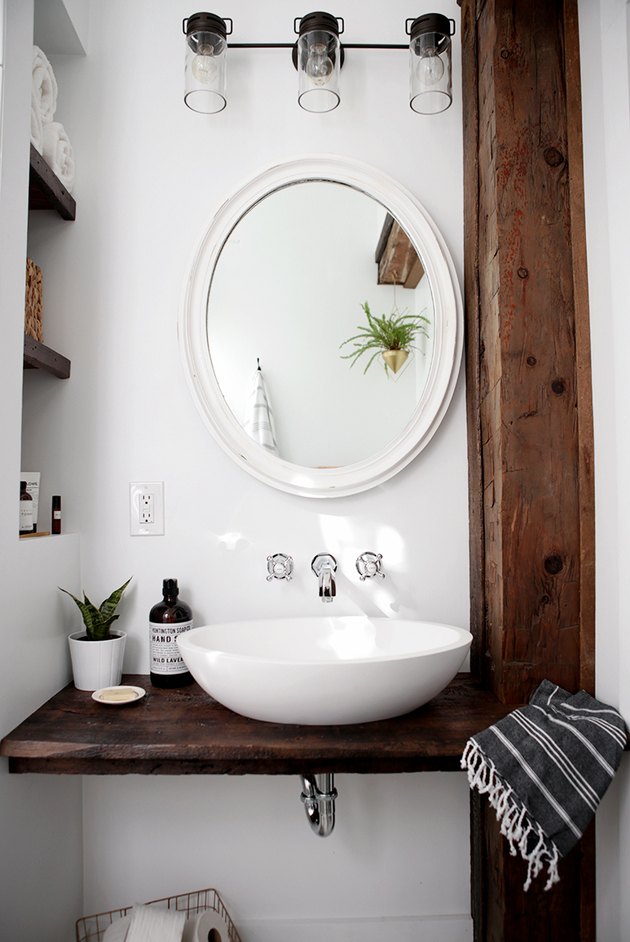
DIY Floating Bathroom Sink Installation
Installing a floating bathroom sink can seem intimidating, but with the right tools and a little know-how, it can easily be a DIY project. Not only will you save money on installation costs, but you'll also have the satisfaction of completing the project yourself. Just remember to take your time and follow the steps carefully for a successful installation.

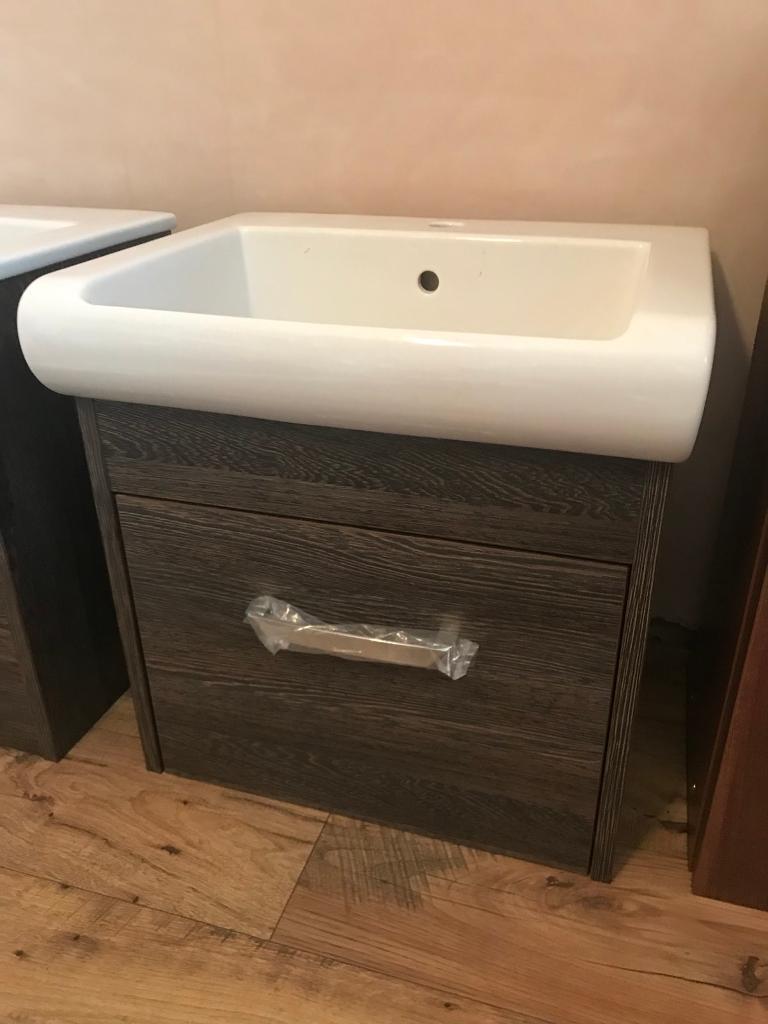
DIY Floating Bathroom Sink Installation


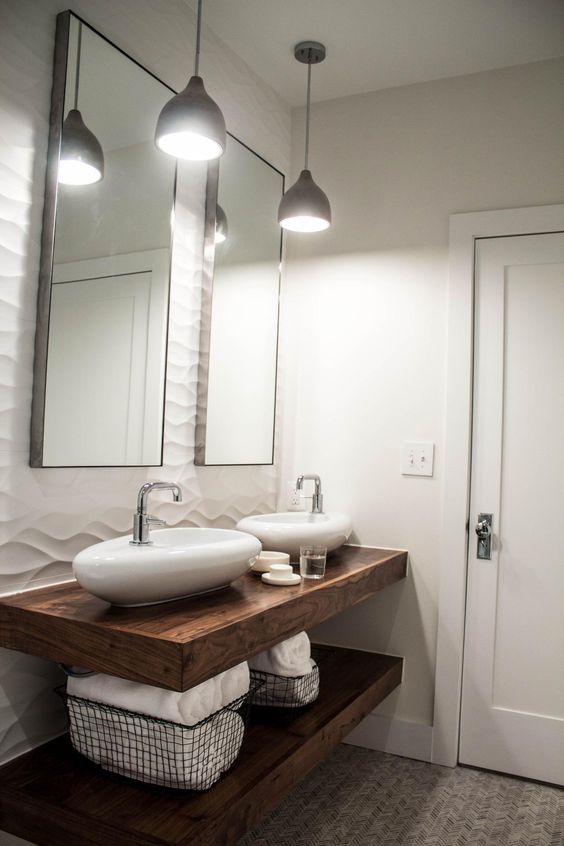
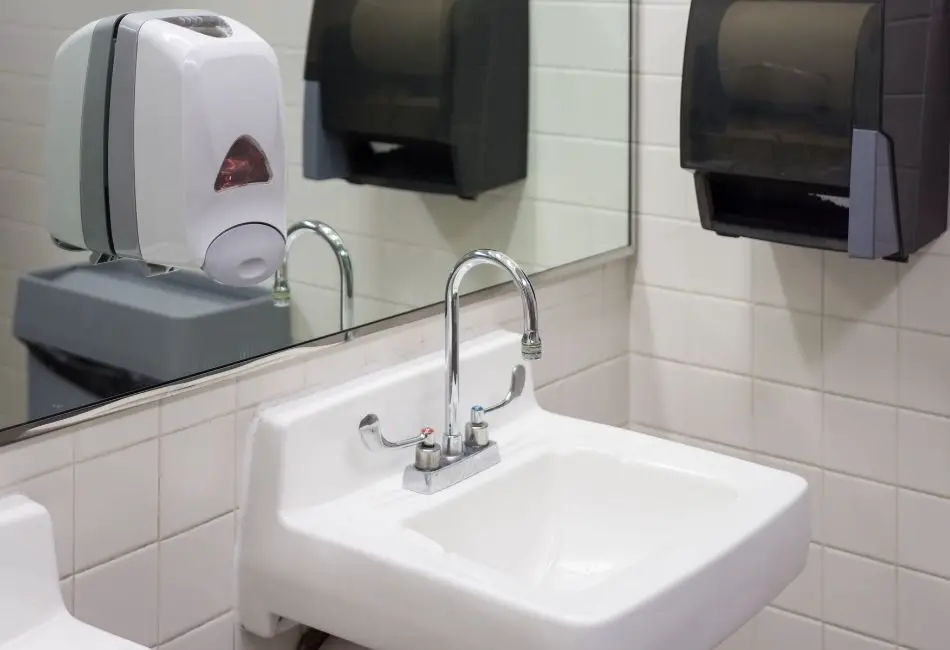
Step-by-Step Floating Bathroom Sink Installation
Following a step-by-step process is crucial for a smooth installation of a floating bathroom sink. It's important to measure and mark everything accurately, as any mistakes can lead to crooked or uneven placement. Take your time and double-check your work to ensure a professional-looking result.


Step-by-Step Floating Bathroom Sink Installation

:no_upscale()/cdn.vox-cdn.com/uploads/chorus_asset/file/19495086/drain_0.jpg)


Tips for Installing a Floating Bathroom Sink
Here are some helpful tips to keep in mind when installing a floating bathroom sink:
1. Use a stud finder to locate the studs in your wall for secure mounting.
2. Always double-check your measurements and marks before drilling.
3. Make sure the sink is level before securing it in place.
4. Use a silicone caulk specifically designed for sinks to create a waterproof seal.
5. If you're unsure about any step, consult a professional for guidance.

Tips for Installing a Floating Bathroom Sink


Floating Bathroom Sink Installation Guide
If you're new to home improvement projects, it's always helpful to have a guide to refer to. This article serves as a comprehensive guide for installing a floating bathroom sink. From the tools needed to the step-by-step process, everything you need to know is covered here.
Floating Bathroom Sink Installation Guide


Common Mistakes in Floating Bathroom Sink Installation
Even with careful planning and following instructions, mistakes can still happen during a floating bathroom sink installation. Some common mistakes to avoid include:
1. Not using a level to ensure the sink is straight and even.
2. Not properly securing the sink to the wall, leading to instability.
3. Forgetting to turn off the water supply before connecting the plumbing, resulting in leaks.
4. Not using enough silicone caulk, causing water to seep through and damage the wall.
5. Not consulting a professional when unsure about any step.


Common Mistakes in Floating Bathroom Sink Installation


Tools Needed for Floating Bathroom Sink Installation
Here's a list of the tools and materials you will need for a successful floating bathroom sink installation:
1. Drill
2. Level
3. Measuring tape
4. Screws
5. Wall anchors
6. Pencil
7. Plumbing tools
8. Silicone caulk


Tools Needed for Floating Bathroom Sink Installation

Cost of Floating Bathroom Sink Installation
The cost of installing a floating bathroom sink will vary depending on factors such as the size and style of the sink, the complexity of the installation, and the labor costs in your area. On average, you can expect to spend anywhere from $200 to $600 for a basic installation. Keep in mind that doing it yourself will save you on labor costs.

Cost of Floating Bathroom Sink Installation


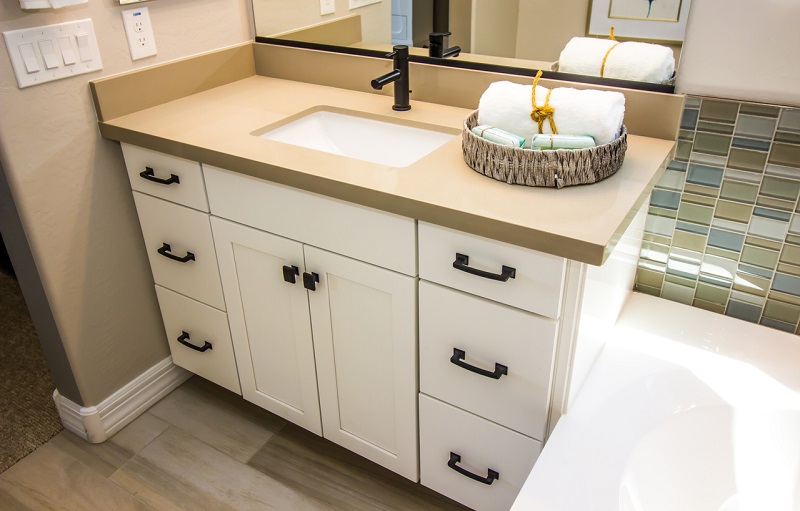
Pros and Cons of Floating Bathroom Sink Installation
As with any home improvement project, it's important to consider the pros and cons before deciding to install a floating bathroom sink. Some pros include its modern and space-saving design, while some cons may include the need for secure wall mounting and potential for water damage if not installed properly. Ultimately, the decision will depend on your personal preferences and the layout of your bathroom.


Pros and Cons of Floating Bathroom Sink Installation


Floating Bathroom Sink Installation: A Modern and Space-Saving Addition to Your Home

The Rise of Floating Bathroom Sinks
 In recent years, floating bathroom sinks have become increasingly popular among homeowners and interior designers alike. These sleek and modern fixtures not only add a touch of elegance to any bathroom, but also offer practical benefits such as space-saving and easy maintenance. If you're looking to upgrade your bathroom design,
floating bathroom sink installation
should definitely be on your list. Let's explore the many advantages of this trendy addition to your home.
In recent years, floating bathroom sinks have become increasingly popular among homeowners and interior designers alike. These sleek and modern fixtures not only add a touch of elegance to any bathroom, but also offer practical benefits such as space-saving and easy maintenance. If you're looking to upgrade your bathroom design,
floating bathroom sink installation
should definitely be on your list. Let's explore the many advantages of this trendy addition to your home.
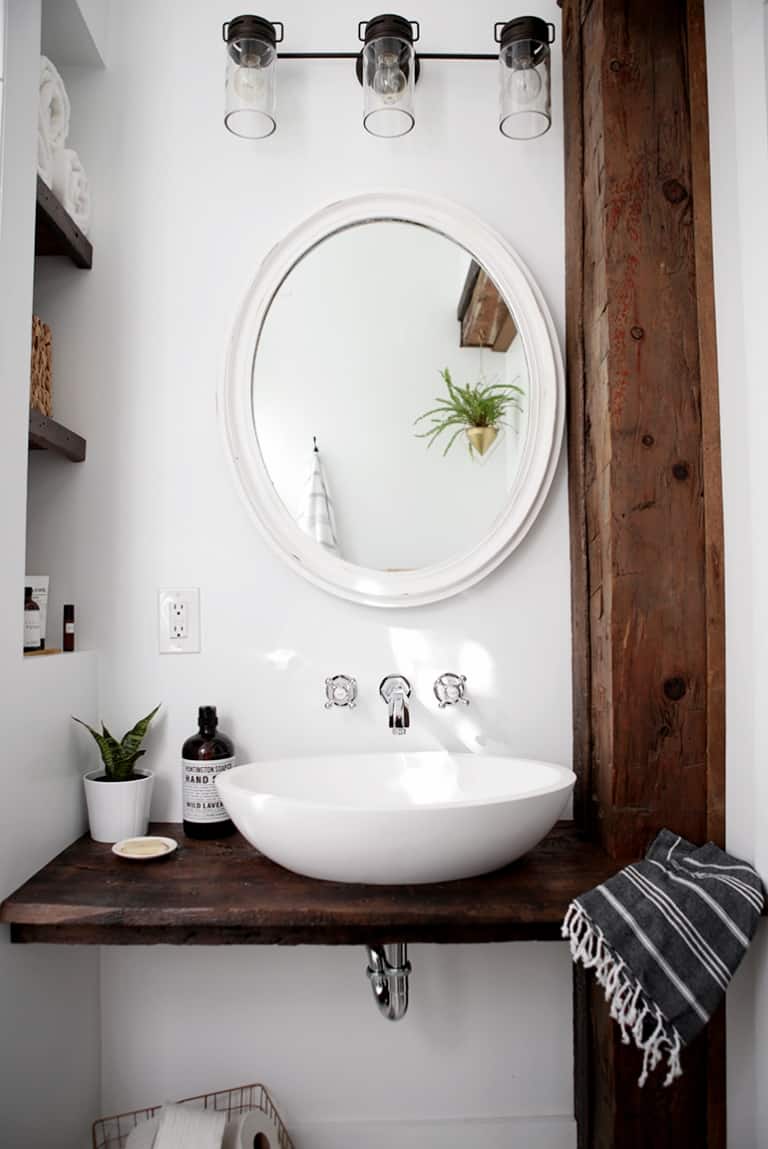
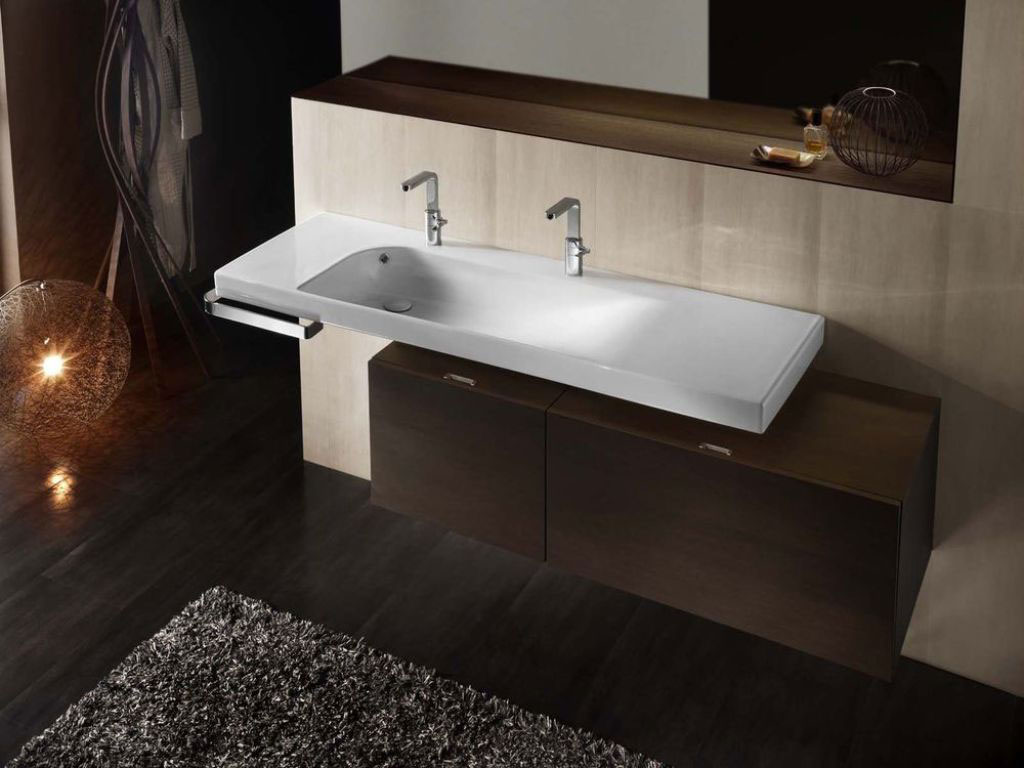
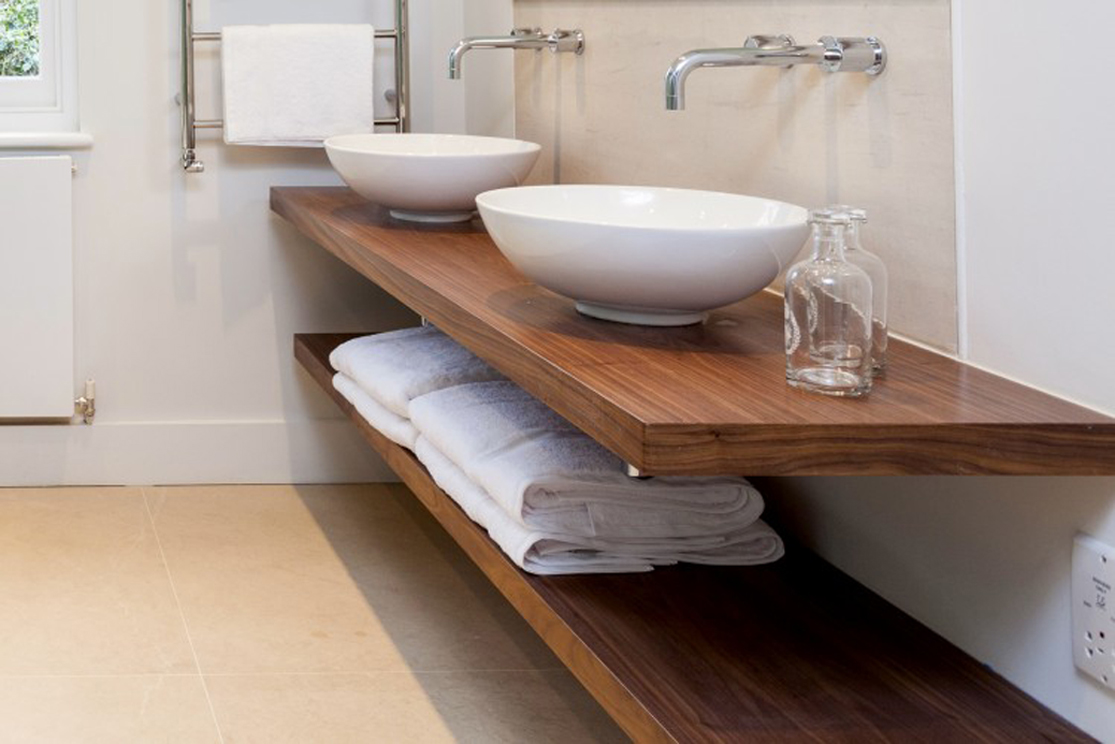
Maximizing Small Spaces
 One of the main reasons why floating bathroom sinks have gained so much popularity is their ability to save space. In today's compact homes and apartments, every inch counts. Traditional pedestal or vanity sinks take up precious floor space, making the bathroom feel cramped and cluttered. With a floating sink, the basin is mounted directly on the wall, leaving the area beneath it open and creating the illusion of a larger, more spacious bathroom. This makes floating sinks a
perfect choice for small bathrooms
or powder rooms.
One of the main reasons why floating bathroom sinks have gained so much popularity is their ability to save space. In today's compact homes and apartments, every inch counts. Traditional pedestal or vanity sinks take up precious floor space, making the bathroom feel cramped and cluttered. With a floating sink, the basin is mounted directly on the wall, leaving the area beneath it open and creating the illusion of a larger, more spacious bathroom. This makes floating sinks a
perfect choice for small bathrooms
or powder rooms.
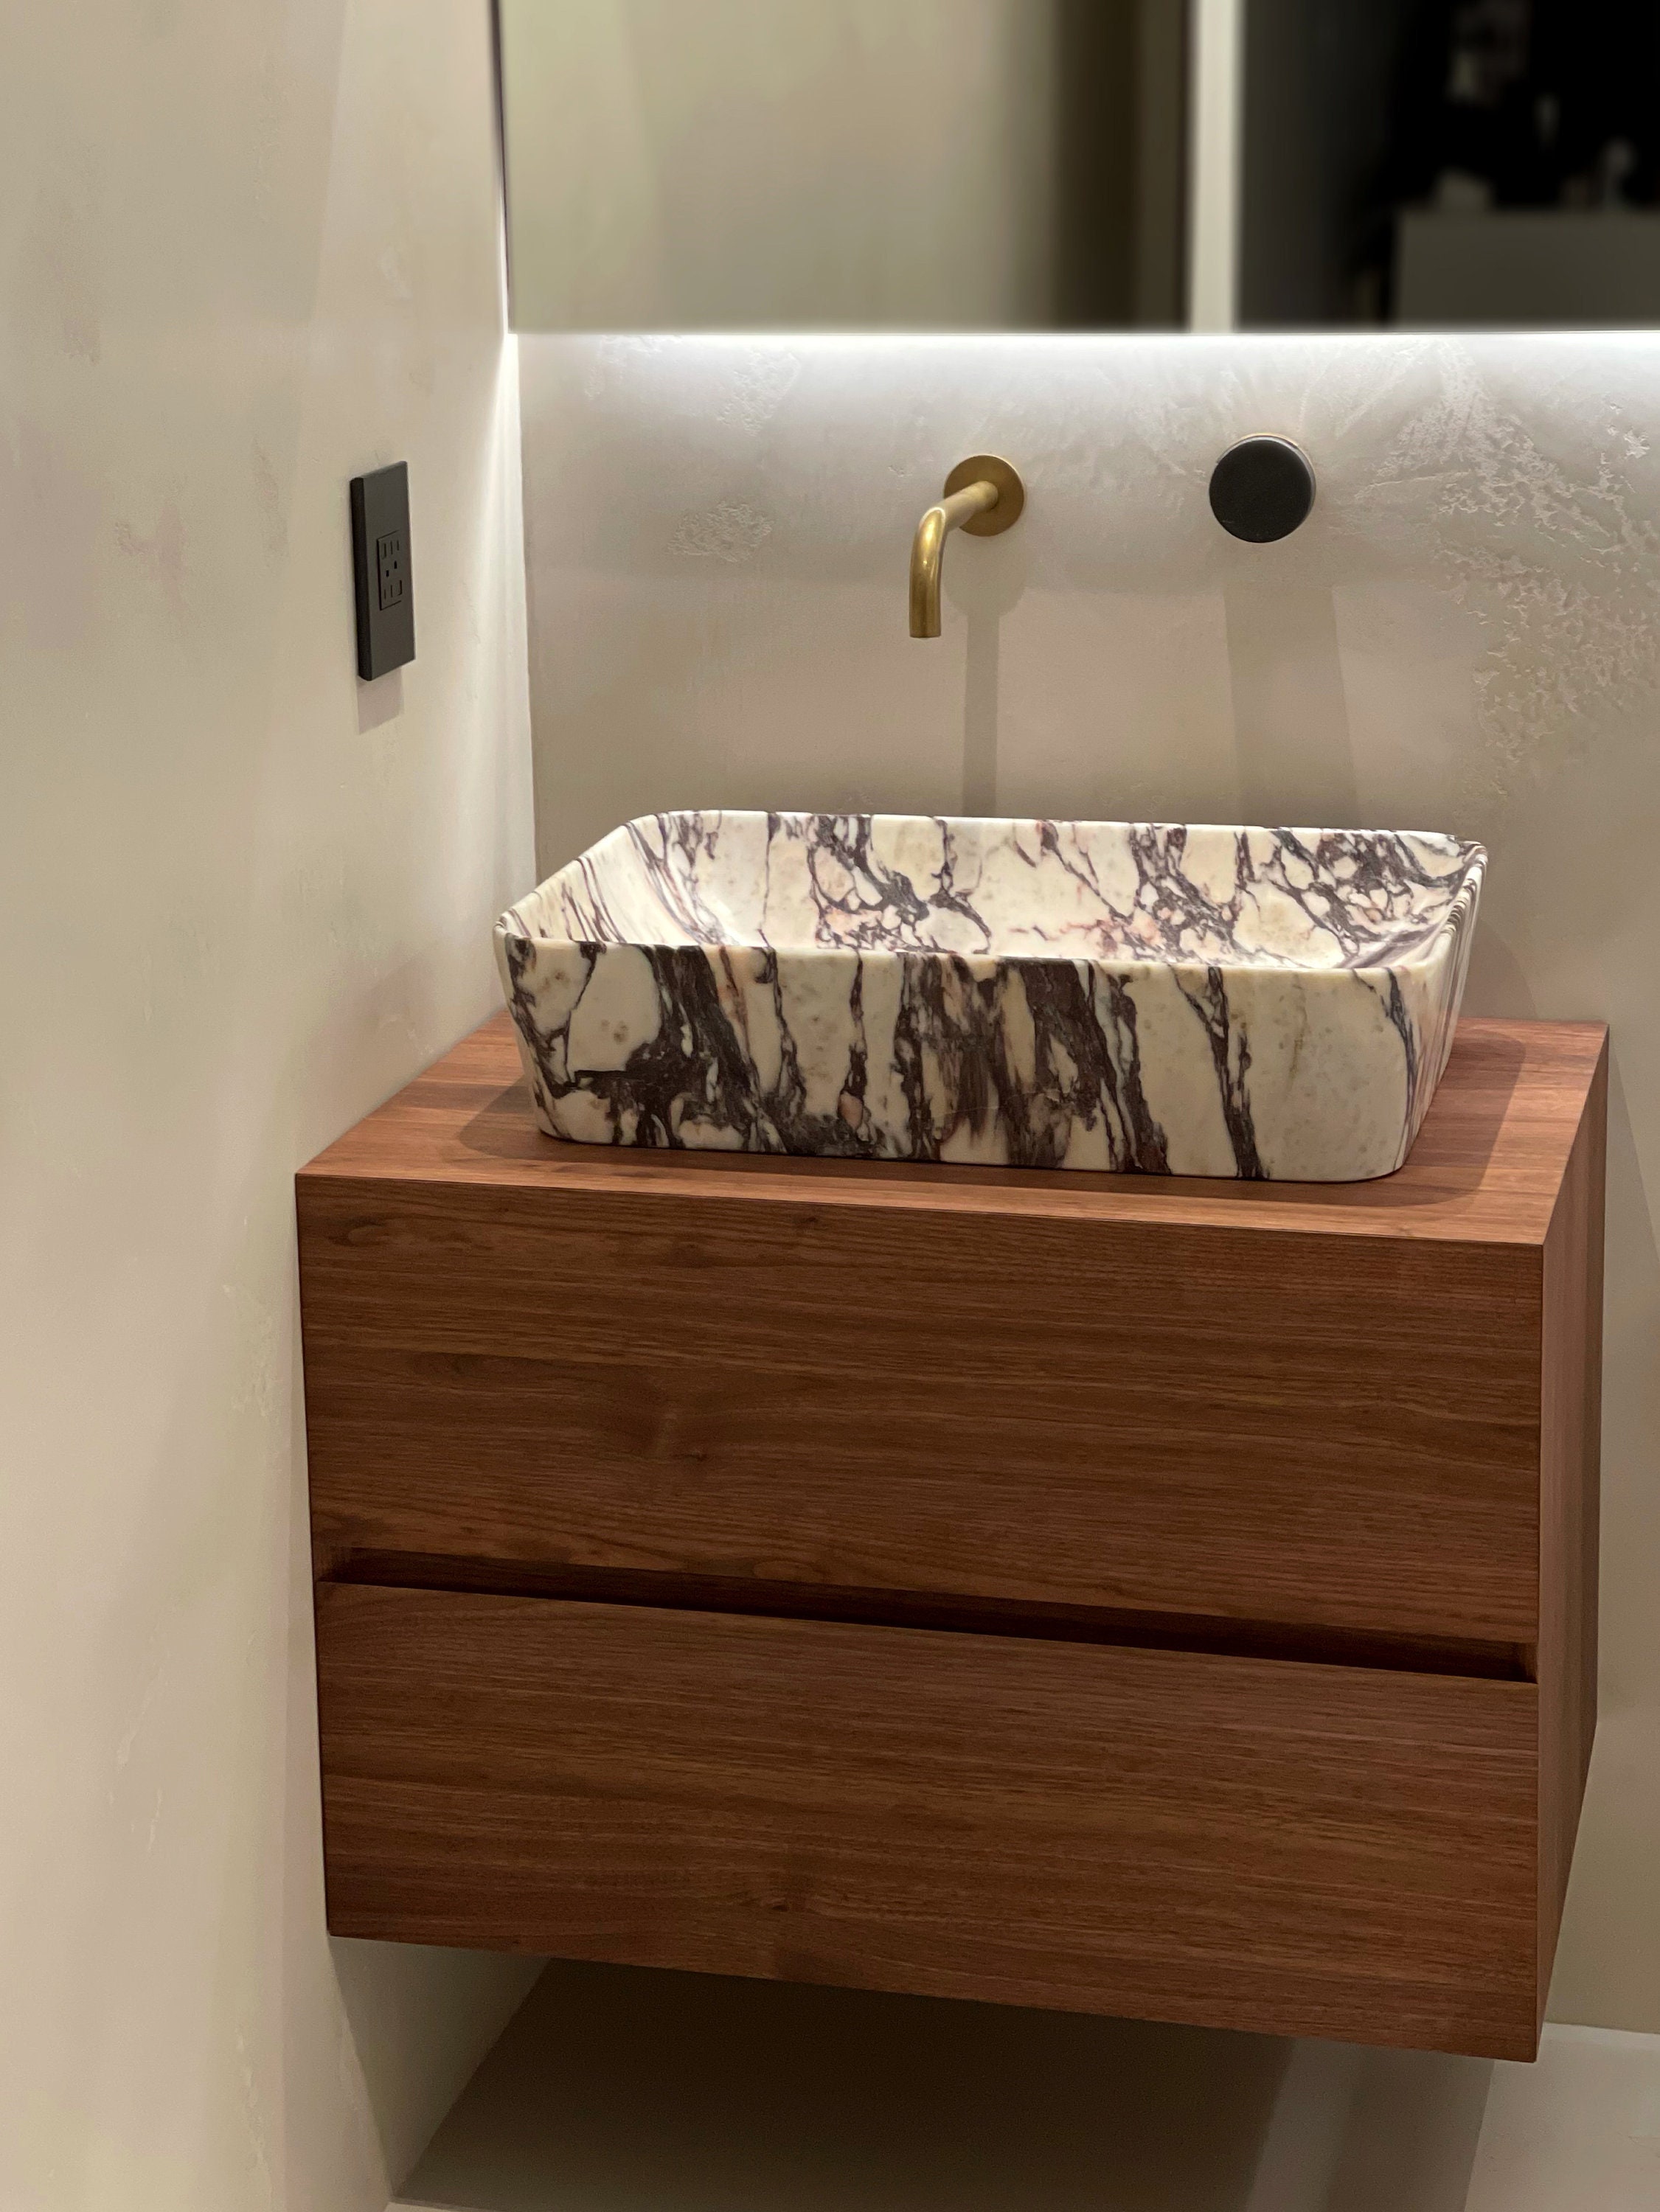
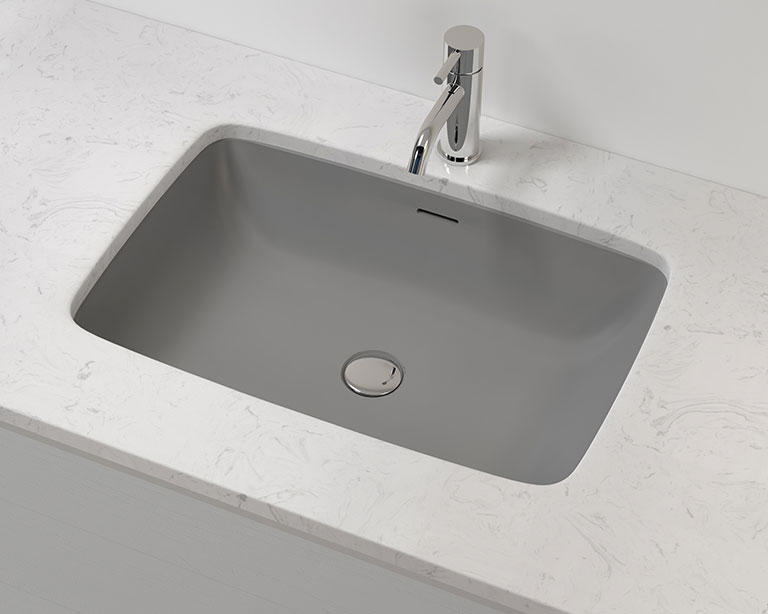
A Clean and Modern Look
 In addition to their space-saving benefits, floating bathroom sinks also offer a clean and minimalist look that is perfect for modern home designs. By eliminating bulky cabinets or pedestals, the overall aesthetic of the bathroom is streamlined and clutter-free. This makes it easier to keep the bathroom clean and organized, as there are no nooks or crannies for dust to collect. With a variety of sleek and stylish designs to choose from,
floating bathroom sinks
can add a touch of sophistication to any bathroom.
In addition to their space-saving benefits, floating bathroom sinks also offer a clean and minimalist look that is perfect for modern home designs. By eliminating bulky cabinets or pedestals, the overall aesthetic of the bathroom is streamlined and clutter-free. This makes it easier to keep the bathroom clean and organized, as there are no nooks or crannies for dust to collect. With a variety of sleek and stylish designs to choose from,
floating bathroom sinks
can add a touch of sophistication to any bathroom.
Easy Maintenance and Installation
 Another advantage of floating bathroom sinks is their easy maintenance and installation. With no base or cabinet to clean around, keeping the sink and surrounding area clean is a breeze. Additionally,
installation
is usually simpler and less time-consuming compared to traditional sinks. This is because floating sinks require less plumbing and can often be installed by a single person. However, it is important to hire a professional to ensure proper installation and avoid any water damage or leaks.
Another advantage of floating bathroom sinks is their easy maintenance and installation. With no base or cabinet to clean around, keeping the sink and surrounding area clean is a breeze. Additionally,
installation
is usually simpler and less time-consuming compared to traditional sinks. This is because floating sinks require less plumbing and can often be installed by a single person. However, it is important to hire a professional to ensure proper installation and avoid any water damage or leaks.
Conclusion
 As you can see,
floating bathroom sink installation
offers a multitude of benefits for homeowners looking to upgrade their bathroom design. From space-saving and modern aesthetics to easy maintenance and installation, these fixtures are a practical and stylish addition to any home. So why settle for a traditional sink when you can have a sleek and sophisticated floating sink in your bathroom? Consider this trendy option for your home and enjoy the many advantages it has to offer.
As you can see,
floating bathroom sink installation
offers a multitude of benefits for homeowners looking to upgrade their bathroom design. From space-saving and modern aesthetics to easy maintenance and installation, these fixtures are a practical and stylish addition to any home. So why settle for a traditional sink when you can have a sleek and sophisticated floating sink in your bathroom? Consider this trendy option for your home and enjoy the many advantages it has to offer.