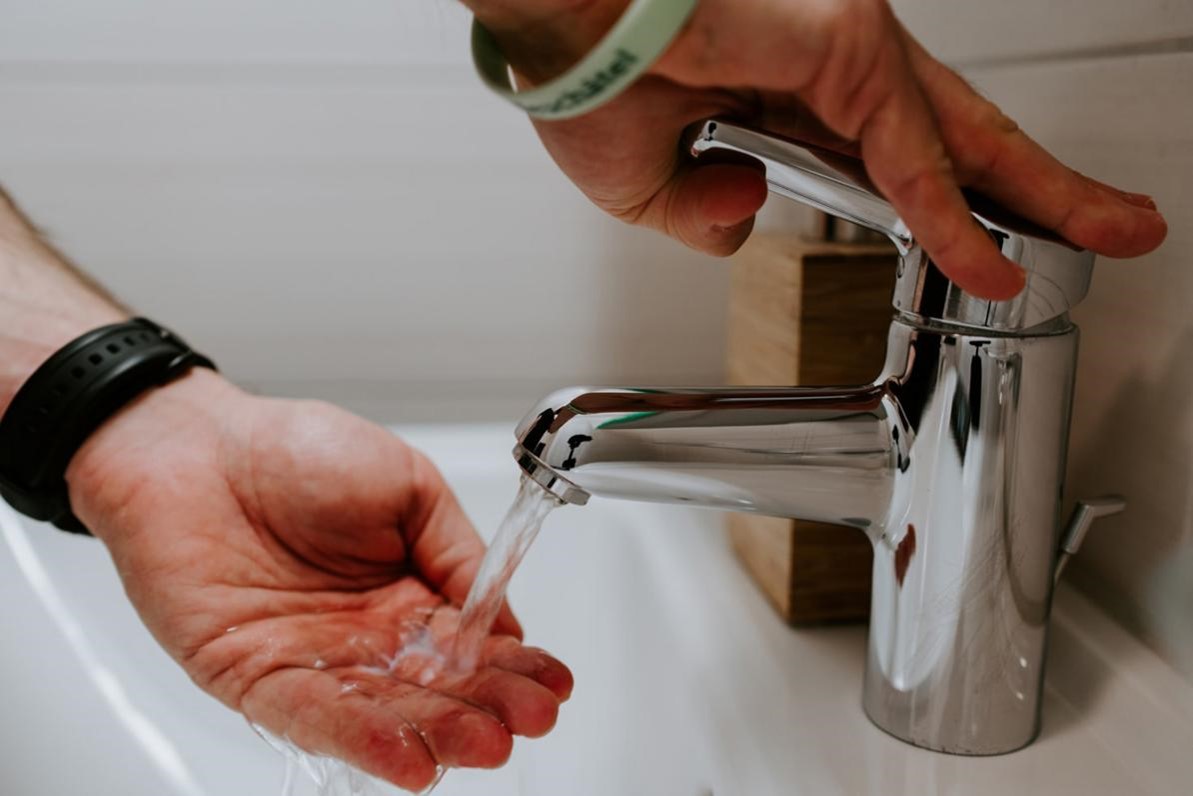
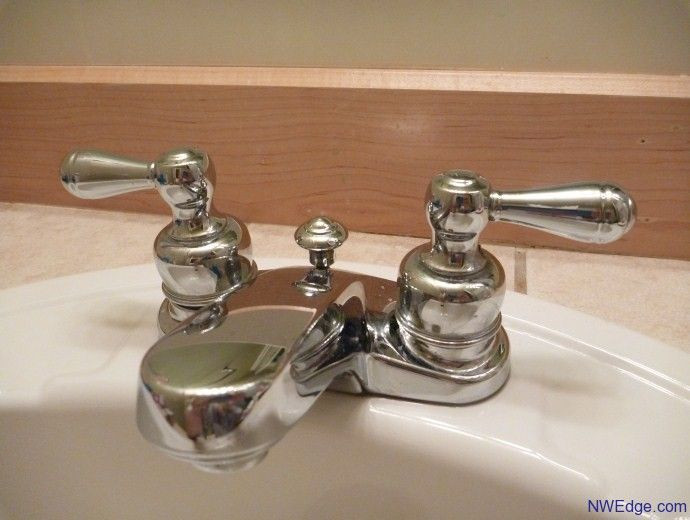
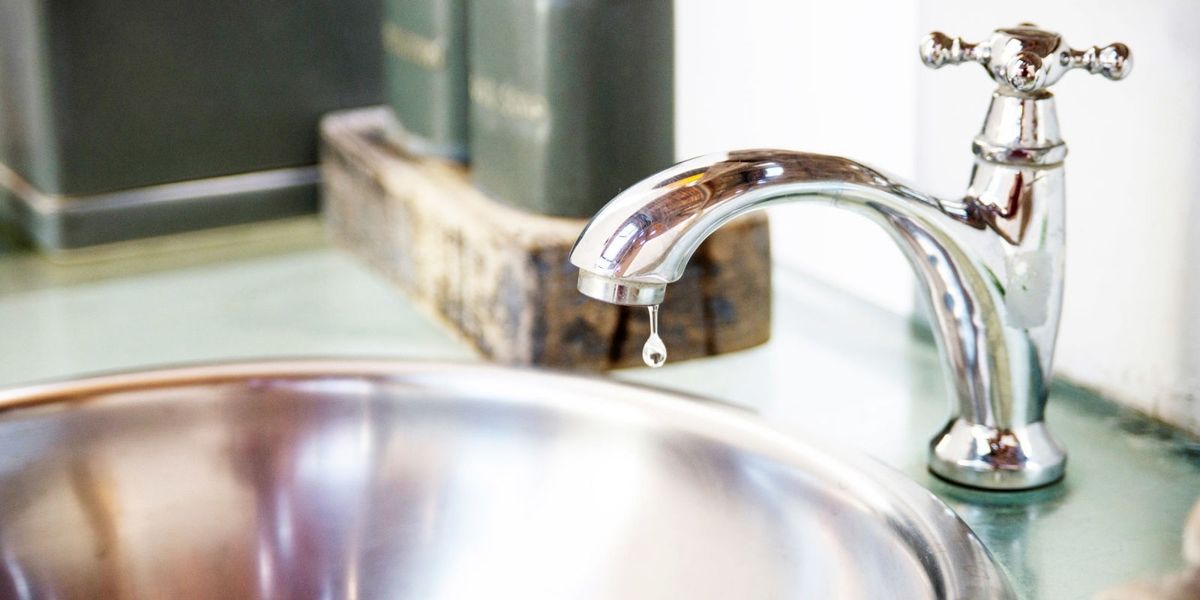
A leaky bathroom sink faucet can be a major annoyance, not to mention a waste of water and money. Fortunately, fixing it doesn't have to be a complicated or expensive task. With a few simple steps, you can have your faucet functioning like new again. So grab your tools and let's get started!Fixing a Leaky Bathroom Sink Faucet: 10 Simple Steps


Fixing a Leaky Bathroom Sink Faucet: 10 Simple Steps


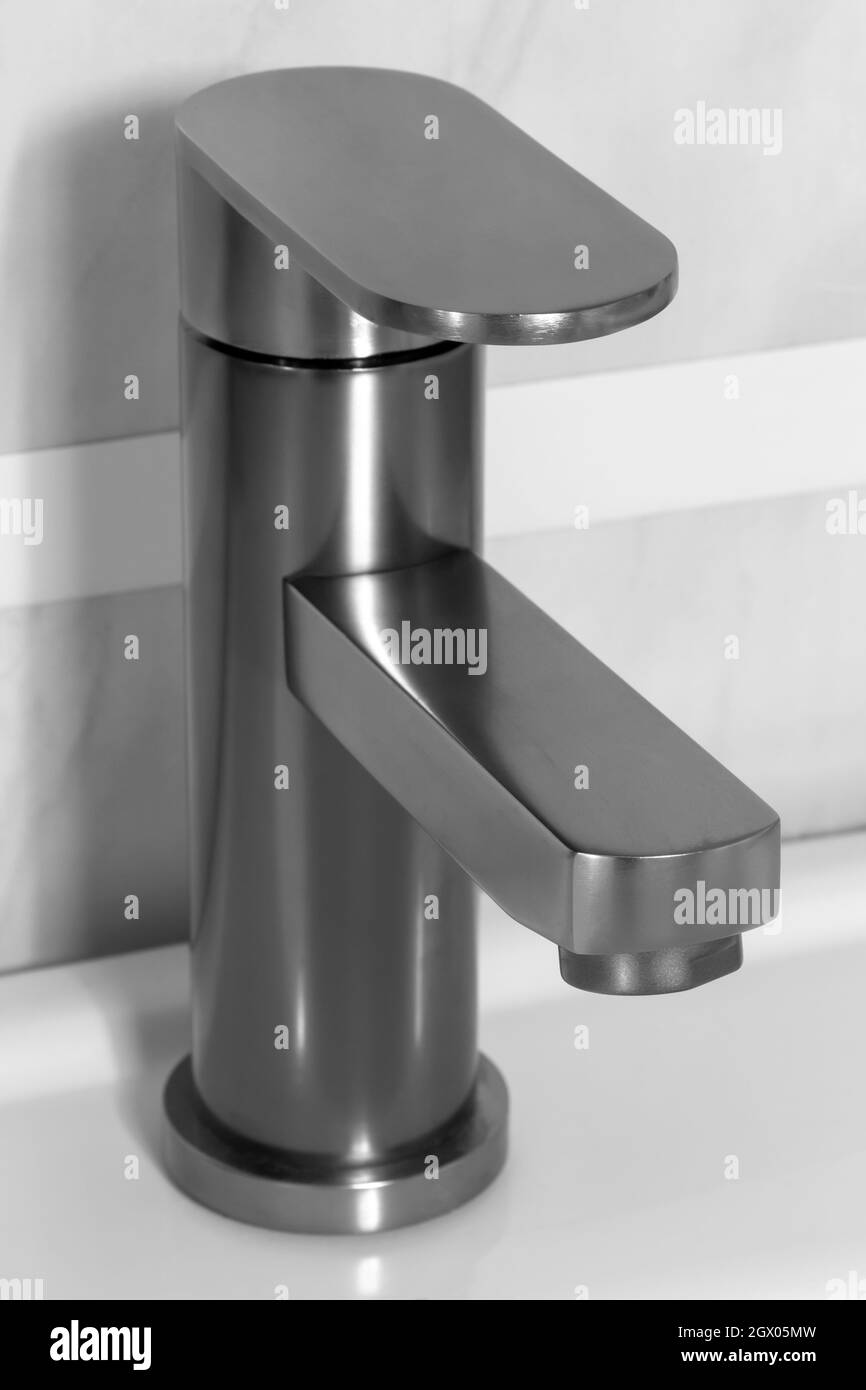
The first step in fixing a leaky bathroom sink faucet is to identify the source of the leak. In most cases, the culprit is a worn out or damaged washer or O-ring. These small rubber pieces can deteriorate over time, causing water to seep through and create a leak. If this is the case, you'll need to replace them.How to Fix a Leaky Bathroom Sink Faucet


How to Fix a Leaky Bathroom Sink Faucet


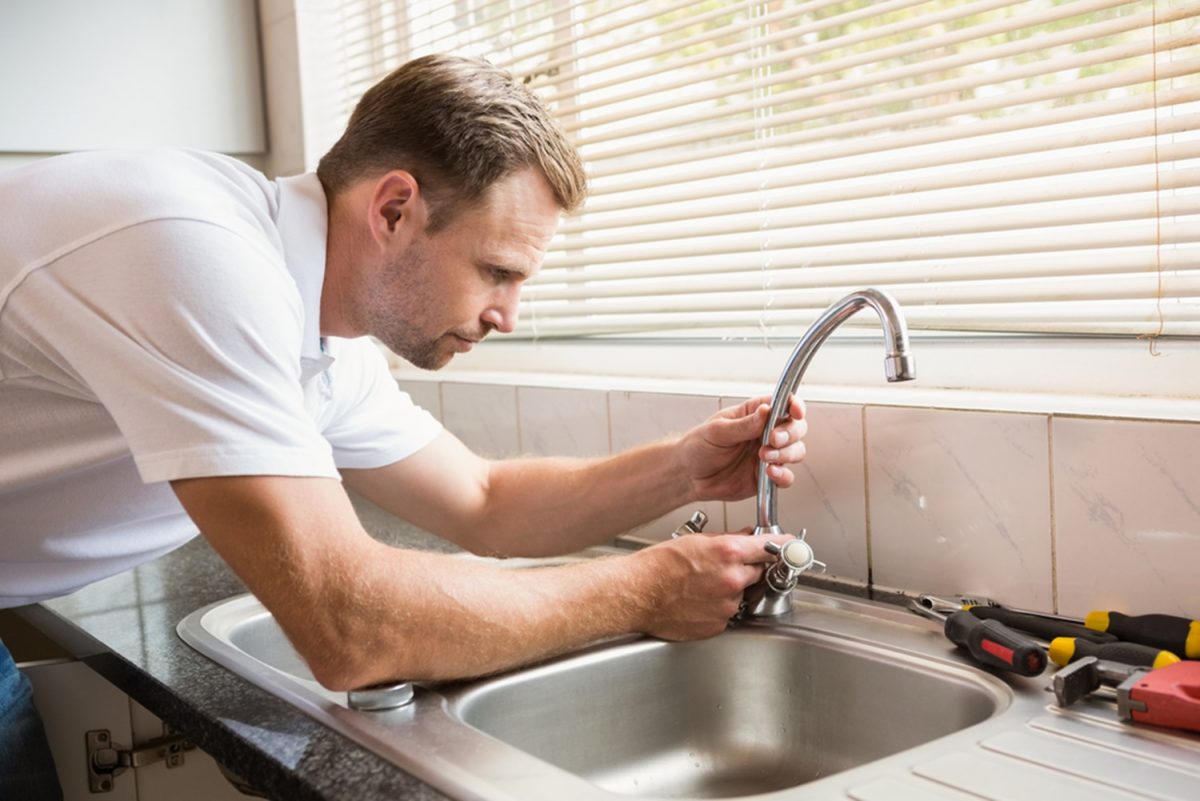
Fixing a leaky bathroom sink faucet is a DIY project that anyone can tackle. You don't need to be a plumbing expert, but you will need some basic tools and materials. These include a set of screwdrivers, pliers, an adjustable wrench, and replacement washers and O-rings. You can find these items at your local hardware store.DIY: Fixing a Leaky Bathroom Sink Faucet


DIY: Fixing a Leaky Bathroom Sink Faucet


Now that you have your tools and materials ready, it's time to start fixing your leaky faucet. Follow these 10 simple steps:Fixing a Leaky Bathroom Sink Faucet: A Step-by-Step Guide

Fixing a Leaky Bathroom Sink Faucet: A Step-by-Step Guide

If you're dealing with a minor leak, there are a few quick and easy fixes you can try before jumping into a full faucet repair. These include:Quick and Easy Fixes for a Leaky Bathroom Sink Faucet


Quick and Easy Fixes for a Leaky Bathroom Sink Faucet


In addition to worn out washers and O-rings, there are a few other common causes of a leaky bathroom sink faucet. These include:Common Causes of a Leaky Bathroom Sink Faucet and How to Fix Them

Common Causes of a Leaky Bathroom Sink Faucet and How to Fix Them


As mentioned earlier, you'll need a few tools and materials to fix a leaky bathroom sink faucet. These include:Fixing a Leaky Bathroom Sink Faucet: Tools and Materials You'll Need


Fixing a Leaky Bathroom Sink Faucet: Tools and Materials You'll Need

If you're having trouble fixing your leaky bathroom sink faucet, here are a few troubleshooting tips to help you out:How to Fix a Leaky Bathroom Sink Faucet: Troubleshooting Tips

How to Fix a Leaky Bathroom Sink Faucet: Troubleshooting Tips
While fixing a leaky bathroom sink faucet is a relatively simple task, some people may prefer to leave it to the professionals. If you're not confident in your DIY skills or don't have the time to fix it yourself, hiring a plumber can save you time and frustration. Just make sure to get quotes from multiple professionals to ensure you're getting a fair price.Fixing a Leaky Bathroom Sink Faucet: Professional vs. DIY


Fixing a Leaky Bathroom Sink Faucet: Professional vs. DIY
To prevent a leaky bathroom sink faucet in the future, here are some maintenance tips to keep in mind:Preventing a Leaky Bathroom Sink Faucet: Maintenance Tips


Preventing a Leaky Bathroom Sink Faucet: Maintenance Tips

Fixing a Leaky Bathroom Sink Faucet: A Simple and Essential Guide for House Design

A leaky bathroom sink faucet is not only annoying, but it can also waste a significant amount of water and increase your water bill. It is a common household problem that can easily be fixed with the right tools and techniques. In this article, we will guide you through the steps to fix a leaky bathroom sink faucet, helping you save money and improve the functionality and design of your house.

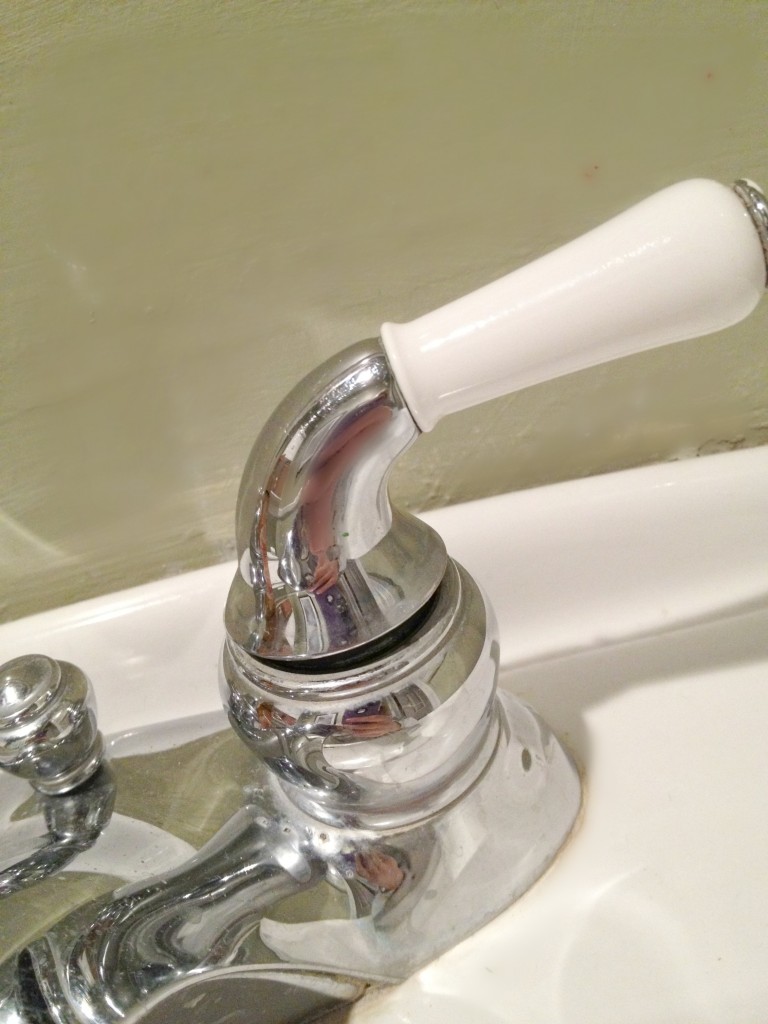
Before we dive into the steps of fixing a leaky bathroom sink faucet, it is essential to understand the potential causes of the leak. The most common reason for a leaky faucet is a worn out or damaged washer or O-ring . These small rubber components are responsible for creating a watertight seal and preventing water from leaking out of the faucet. Over time, they can become worn, torn, or dislodged, causing a leak.
Another possible cause of a leaky faucet is a loose or damaged valve seat . The valve seat is a crucial part of the faucet that connects the spout and the faucet body. If it becomes damaged or loose, it can cause water to leak out of the faucet. Additionally, a cracked or corroded cartridge can also lead to a leaky faucet. The cartridge is responsible for controlling the flow of water and can become damaged due to wear and tear or mineral build-up.
Now, let's move on to the steps for fixing a leaky bathroom sink faucet:
Step 1: Gather the necessary tools and materials

To successfully fix a leaky faucet, you will need a few basic tools and materials. These include a wrench, screwdriver, pliers, replacement washers or O-rings, and a new cartridge if needed . It is also helpful to have a cloth or towel on hand to clean up any water that may spill during the process.
Step 2: Shut off the water supply

Before starting any work on the faucet, it is crucial to turn off the water supply. Look for the shut-off valve under the sink and turn it off to avoid any accidents or water damage.
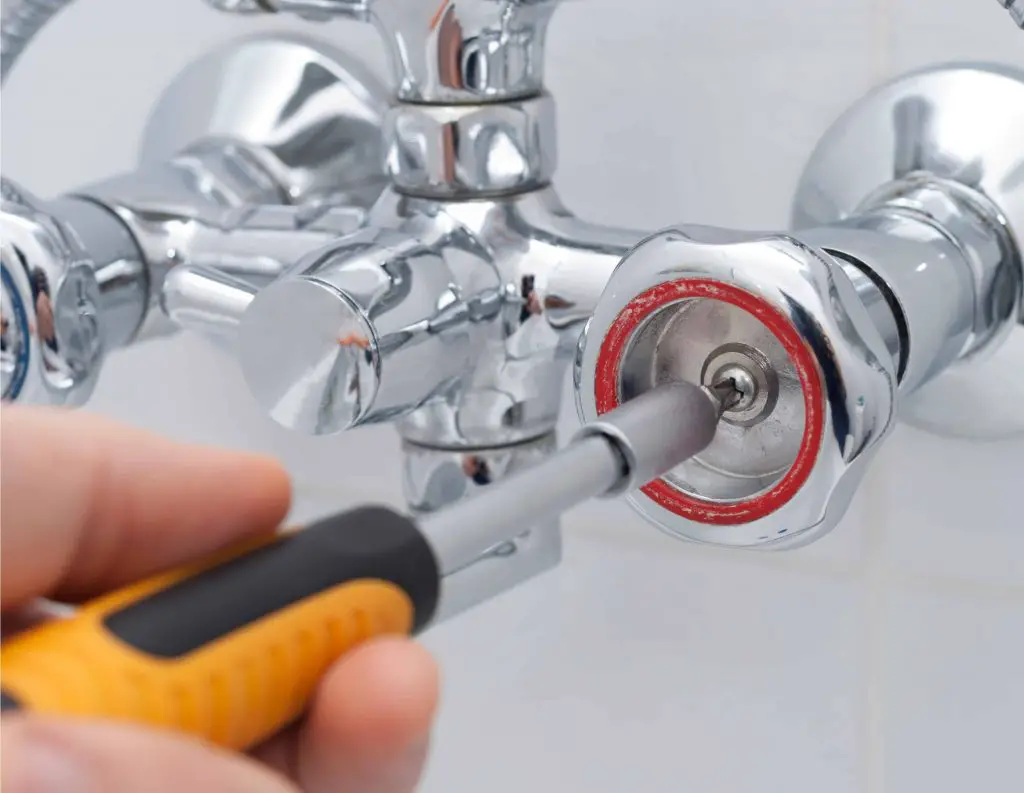
Step 3: Disassemble the faucet

Using a wrench, unscrew the faucet handle and remove it from the faucet body. Next, use a screwdriver to remove the retaining nut and take out the old cartridge. Inspect the cartridge for any damage or build-up and replace it if necessary.
Step 4: Replace washers or O-rings
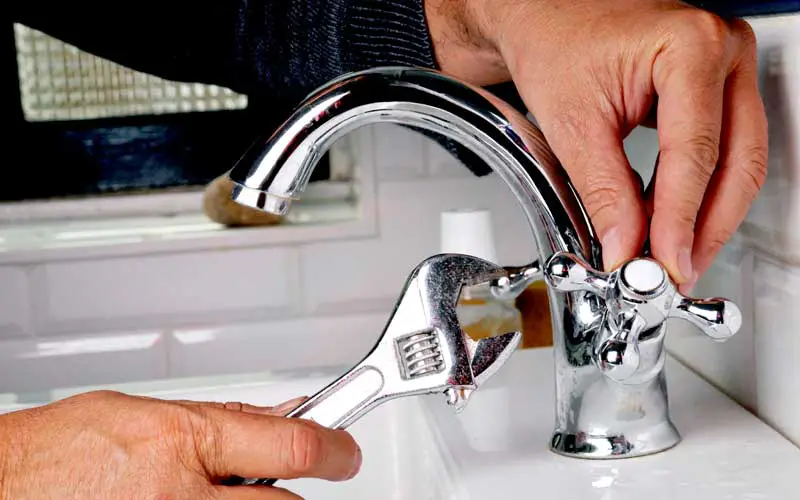
If the washers or O-rings are the cause of the leak, now is the time to replace them. Remove the old ones and replace them with new ones of the same size and shape. It is essential to ensure that they are properly seated to create a watertight seal.
Step 5: Reassemble the faucet

Once you have replaced any damaged components, reassemble the faucet in the reverse order of disassembly. Make sure all the parts are securely tightened to prevent any future leaks.
Step 6: Turn on the water supply
/Bathroomfaucetleak-GettyImages-182691828-59d59e50d088c00010867f1e.jpg)
Finally, turn the water supply back on and test the faucet to make sure it is no longer leaking. If the leak persists, it may be a sign of a more significant issue that requires professional assistance.
In conclusion, fixing a leaky bathroom sink faucet is a simple task that can improve the design and functionality of your house. By following these steps, you can save money on your water bill and prevent any potential water damage. Remember to regularly check your faucets for any leaks and address them promptly to maintain the efficiency and aesthetics of your house.


:max_bytes(150000):strip_icc()/8_IMG_3767-56a4a2753df78cf772835b72.JPG)