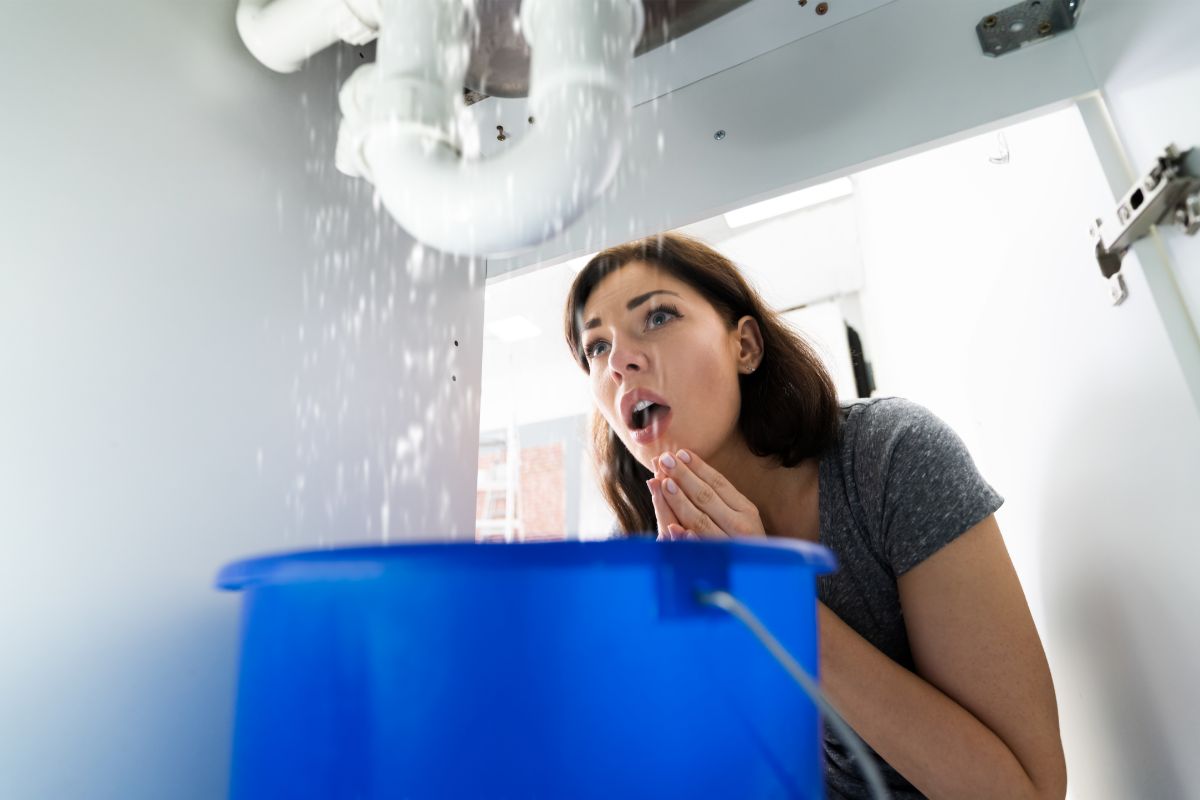
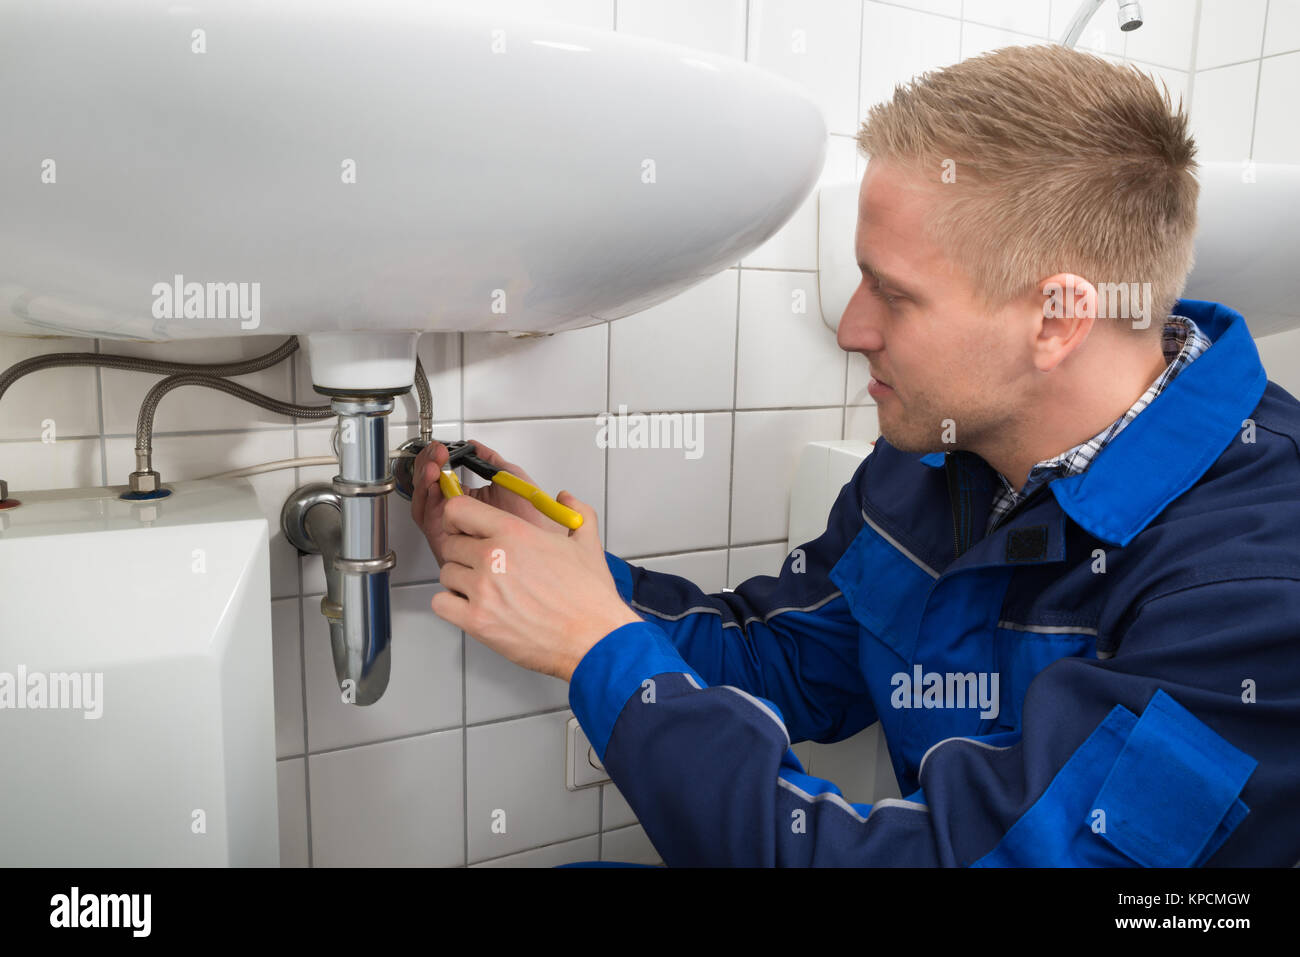
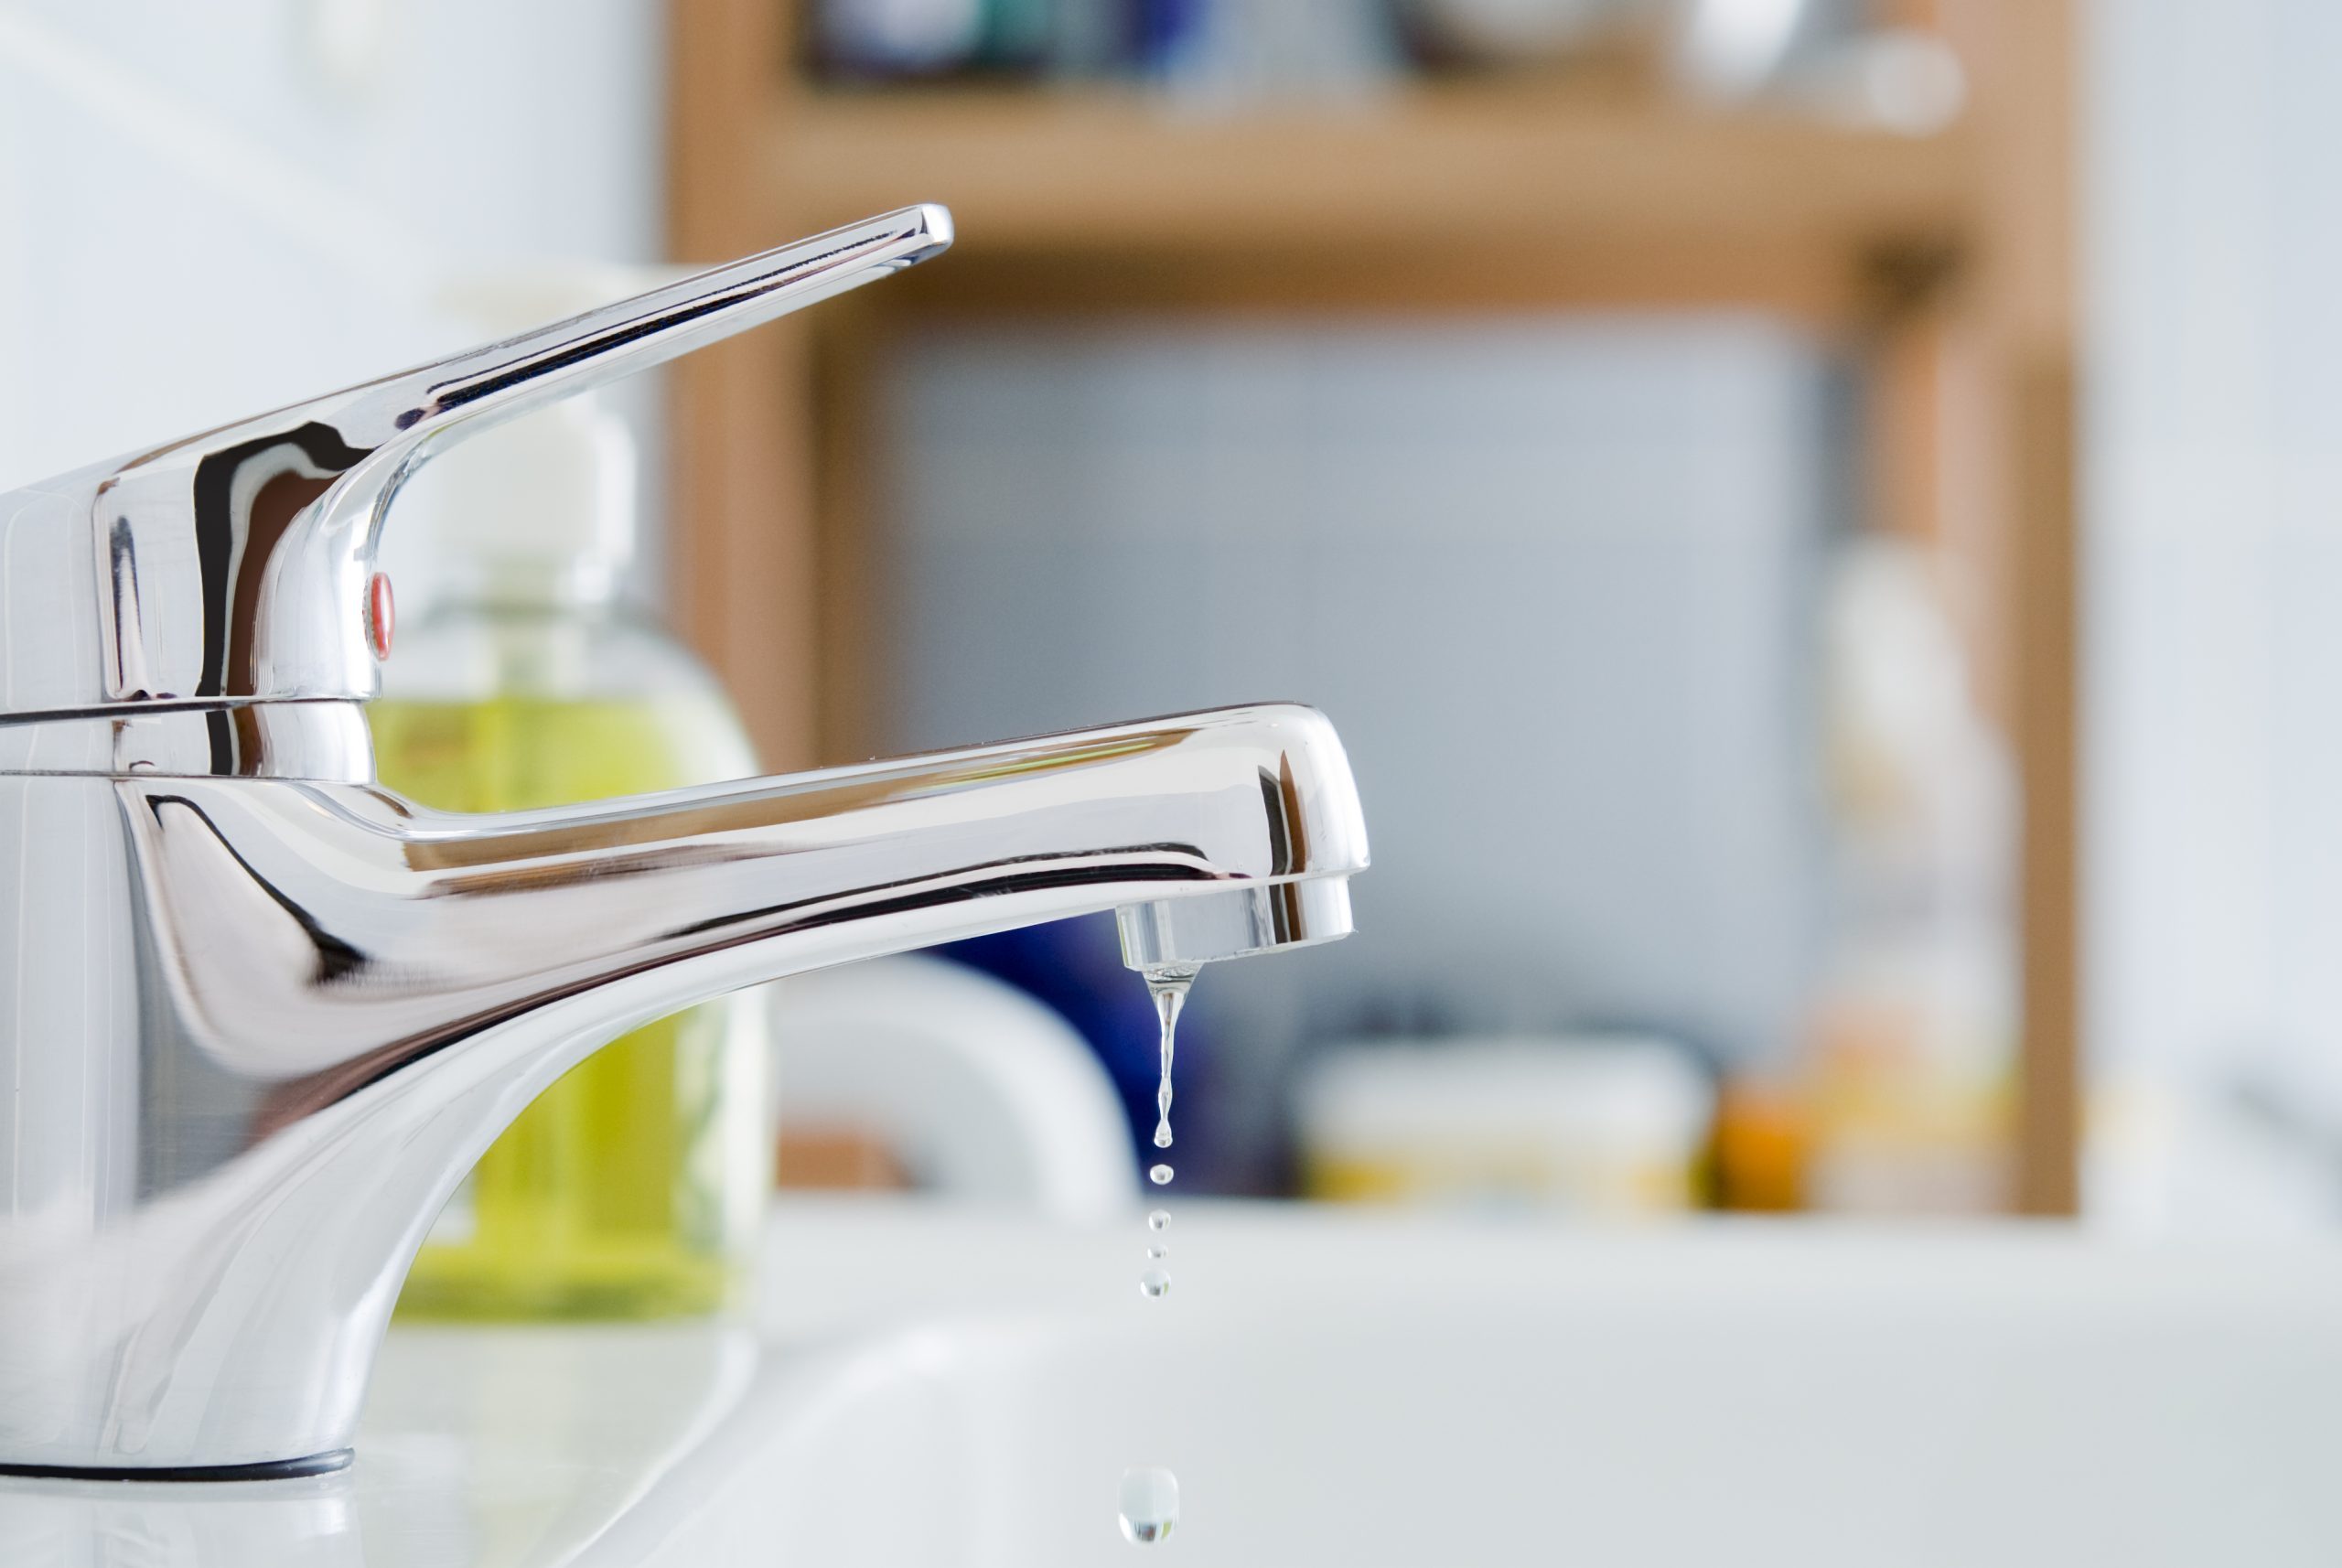
If you've noticed a constant drip coming from your bathroom sink, it's time to take action. Not only is the sound annoying, but a leaky faucet can also waste gallons of water and increase your water bill. Fortunately, fixing a bathroom sink drip is a common DIY task that can be easily tackled with the right tools and knowledge. In this article, we'll provide a step-by-step guide on how to fix a dripping bathroom sink faucet and prevent future leaks.Fixing a Leaky Bathroom Sink Drip
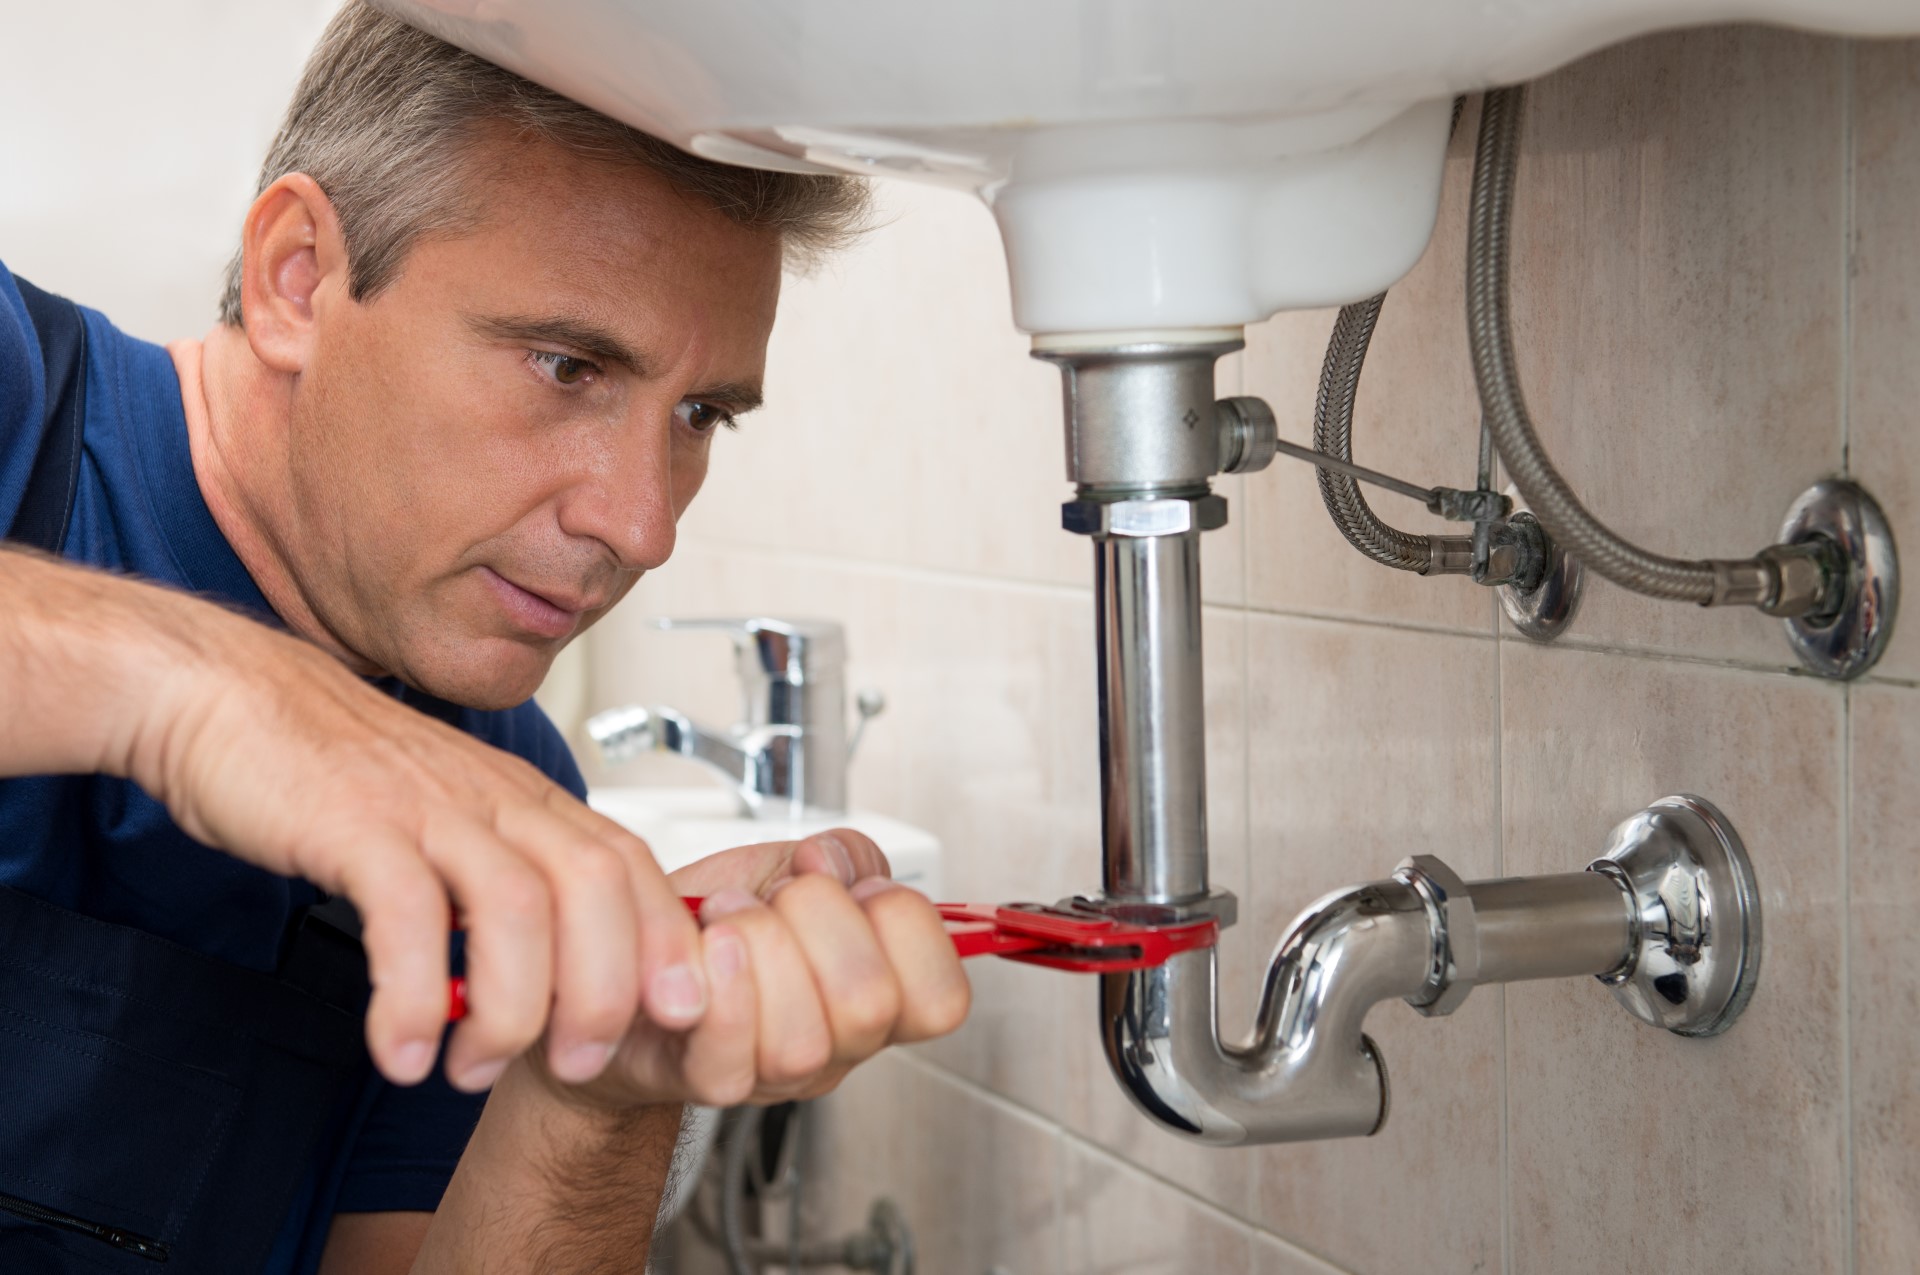
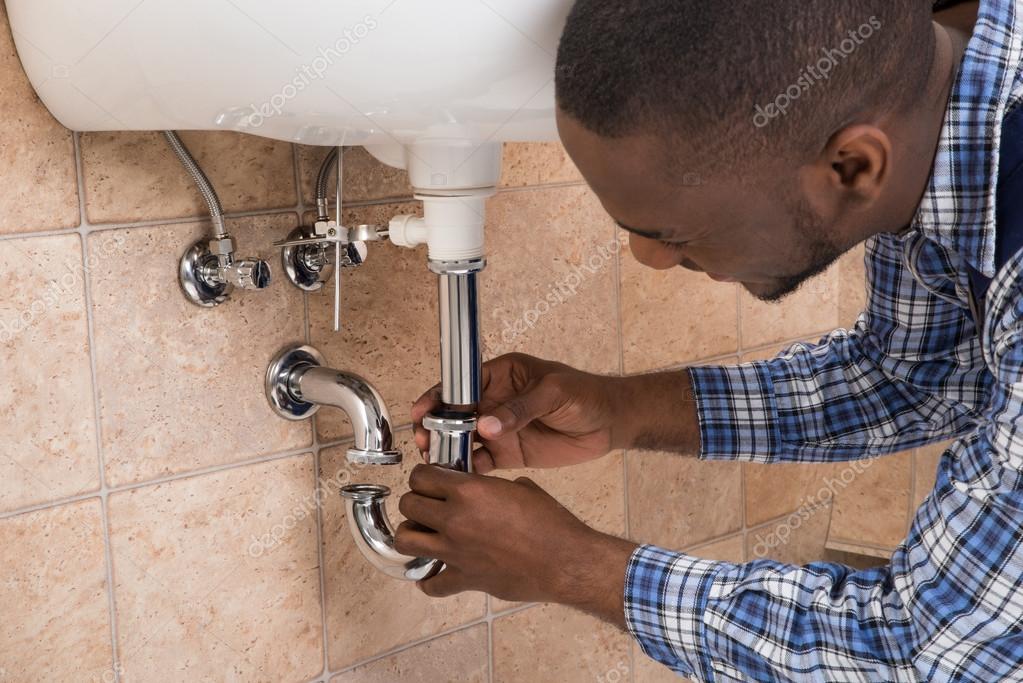
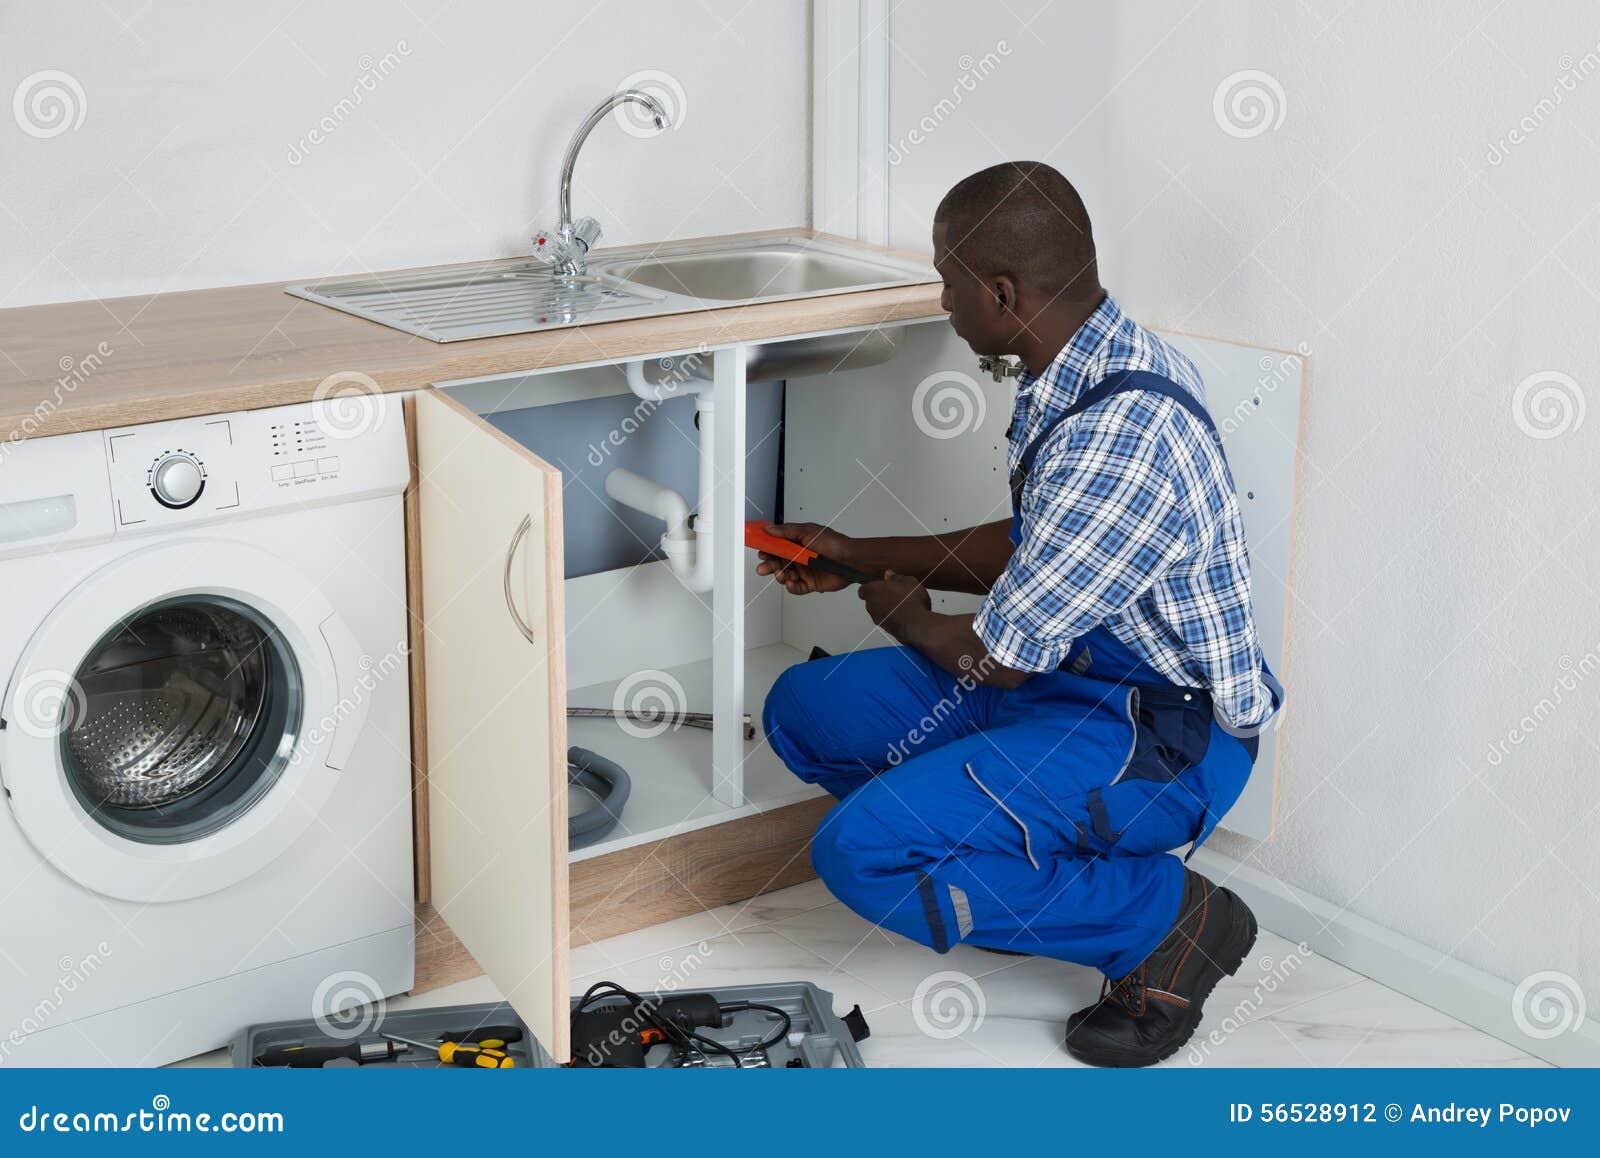
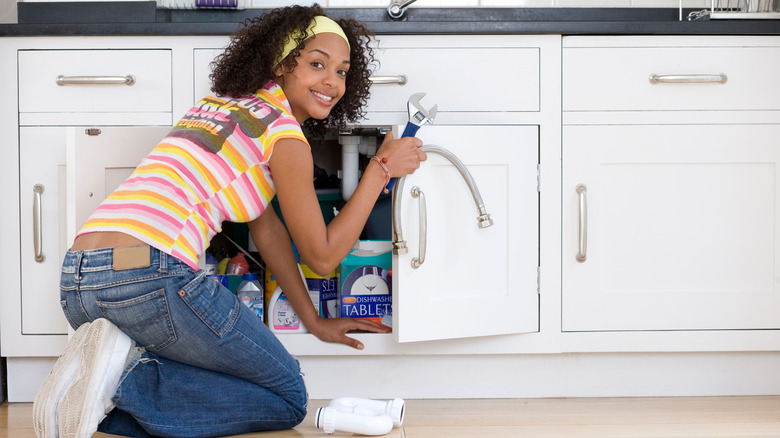
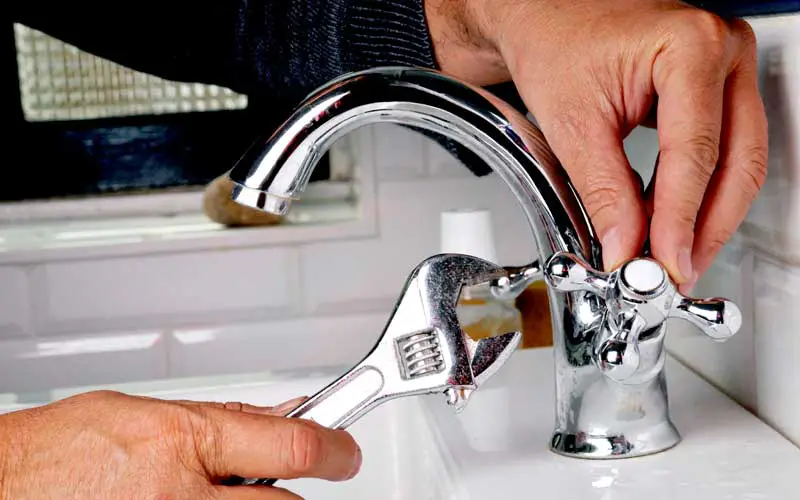
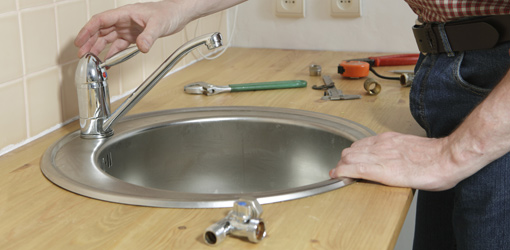
The first step in fixing a bathroom sink drip is to diagnose the issue. In most cases, the cause of the leak is a worn out or damaged washer or O-ring. These small rubber pieces can deteriorate over time, causing water to leak out of the faucet. To fix this, you'll need to replace the washer or O-ring. Start by turning off the water supply to your sink. This can usually be done by turning the shut-off valves under the sink clockwise. Next, use a screwdriver to remove the handle of the faucet. Once the handle is removed, you'll have access to the valve stem. Use a wrench to loosen and remove the valve stem, then replace the washer or O-ring with a new one. Reassemble the faucet and turn the water supply back on to test for any leaks.How to Fix a Dripping Bathroom Sink Faucet
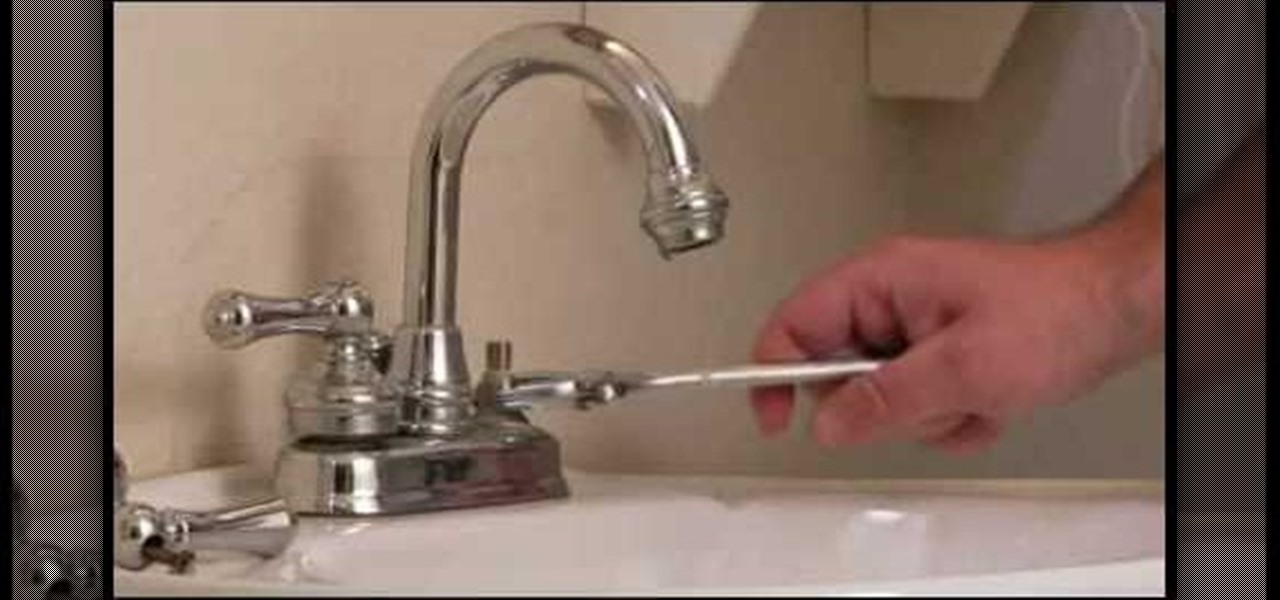
If you're feeling confident in your DIY skills, you can also attempt to repair a bathroom sink drip without replacing any parts. This method involves cleaning and reseating the valve seat, which can become corroded or worn out over time. To do this, you'll need a valve seat wrench and a new piece of valve seat cloth. Start by turning off the water supply and removing the handle and valve stem as described in the previous section. Use the valve seat wrench to remove the valve seat and clean it with a wire brush. Next, cut a new piece of valve seat cloth to fit the valve seat and wrap it around the seat. Use the wrench to reattach the valve seat and reassemble the faucet. Turn the water supply back on and test for any leaks.DIY Bathroom Sink Drip Repair
For those who prefer a more detailed guide, here is a step-by-step breakdown of how to fix a bathroom sink drip:Step-by-Step Guide for Fixing a Bathroom Sink Drip
In addition to a worn out washer or valve seat, there are several other common causes of a bathroom sink drip. These include:Common Causes of a Bathroom Sink Drip and How to Fix Them
If you're short on time or don't have the necessary tools, there is a quick and easy fix for a bathroom sink drip. Simply use a piece of duct tape to cover the leaky area on the faucet. While this is not a permanent solution, it can buy you some time until you're able to properly fix the drip.Quick and Easy Bathroom Sink Drip Fix
To successfully fix a bathroom sink drip, you'll need the following tools and materials:Tools and Materials Needed for Fixing a Bathroom Sink Drip
If you're still struggling to fix a bathroom sink drip, here are some tips from professional plumbers:Professional Tips for Fixing a Bathroom Sink Drip
The best way to prevent a bathroom sink drip is to properly maintain and care for your faucet. This includes:Preventing Future Bathroom Sink Drips: Maintenance and Care
If you've tried all of the above methods and your bathroom sink is still dripping, it's time to call a professional plumber. They will have the necessary expertise and tools to diagnose and fix the issue, ensuring your faucet is working properly and efficiently. Don't let a leaky bathroom sink drip drain your patience and your wallet. With the right tools and knowledge, you can easily fix a dripping faucet and prevent future leaks. Remember to properly maintain and care for your faucet to avoid any future drip troubles.Troubleshooting a Persistent Bathroom Sink Drip
Why Fixing a Bathroom Sink Drip is Essential for a Functional and Stylish House Design

The Annoying Drip: A Common Bathroom Problem
 Bathroom sink drips
can be a constant source of frustration for homeowners. That
drip-drip-drip
sound can be enough to drive anyone crazy, not to mention the
wasted water
and
increased utility bills
. But did you know that
fixing a bathroom sink drip
is also crucial for maintaining a functional and stylish house design? Let's explore why.
Preserve the Aesthetics
 A bathroom is not only a functional space but also a place for relaxation and rejuvenation. A
dripping sink
can easily ruin the ambiance of your bathroom, especially if it is a
stylish and modern
one. Imagine trying to unwind in a luxurious bubble bath, only to be constantly reminded of the
leaking sink
nearby. It can disrupt the overall
aesthetics
and
peaceful atmosphere
of your bathroom.
Prevent Water Damage
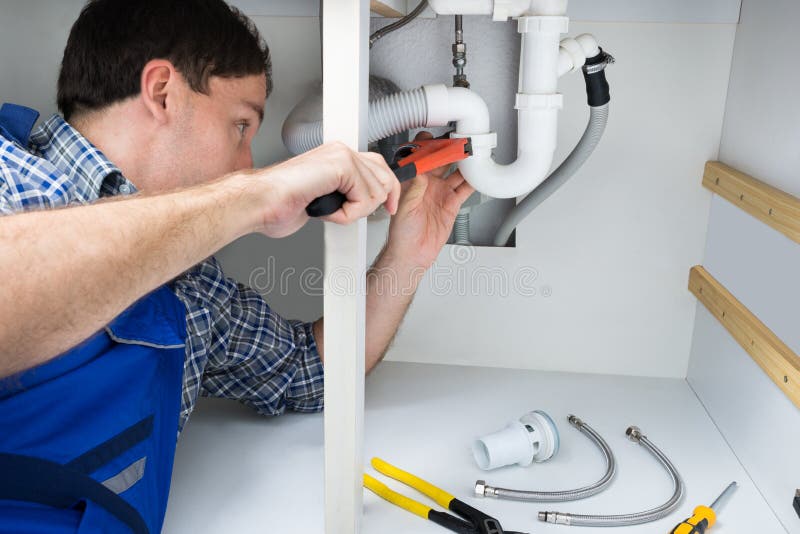 Aside from being a nuisance, a
leaking sink
can also lead to
water damage
in your bathroom. Over time, the constant dripping can cause
stains
on your sink or countertop, and if left unchecked, it can even lead to
mold growth
. This can not only be
unsightly
but also
harmful
to your health. By
fixing
the
drip
as soon as possible, you can prevent any potential water damage and maintain the
integrity
of your bathroom design.
Eco-Friendly Solution
 In today's world, it is important to be conscious of our
environmental impact
and make
eco-friendly
choices whenever possible. A
dripping sink
not only wastes water but also contributes to
water pollution
. By
fixing
the
drip
, you are not only saving water and money, but also doing your part in preserving the environment.
Conclusion
 In conclusion,
fixing a bathroom sink drip
is not just about stopping an annoying sound or saving money on utility bills. It is also crucial for maintaining a
functional
and
stylish
house design. So next time you hear that
drip-drip-drip
, don't delay in
fixing
it and preserving the
integrity
of your bathroom.







:max_bytes(150000):strip_icc()/build-something-diy-vanity-594402125f9b58d58ae21158.jpg)


:max_bytes(150000):strip_icc()/home-water-pressure-problems-2718730-v4-3639a1eeda0945239e64b0fe6b6d3401.gif)
