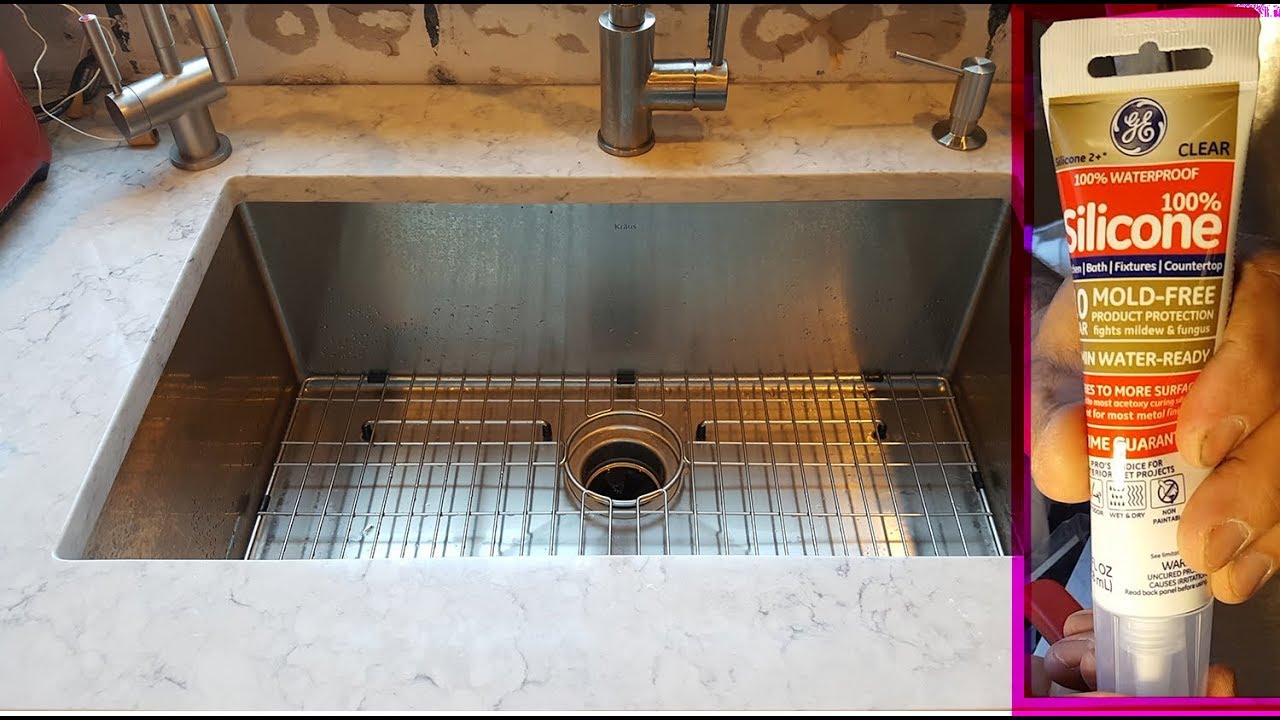
If you have noticed that your undermount kitchen sink is starting to pull away from the countertop, don't panic. This is a common issue that can be easily fixed with a few simple steps. By following these instructions, you can have your sink securely attached to the countertop again in no time. Step 1: Identify the Cause of Separation Before you can fix the problem, you need to determine why your undermount kitchen sink is separating from the countertop. This could be due to the weight of the sink, improper installation, or water damage. Knowing the cause will help you determine the best solution. Step 2: Reinforce the Sink If the sink is simply pulling away due to its weight, you can reinforce it by adding extra support. This can be done by inserting wooden shims or a supporting bracket beneath the sink. Be sure to use a waterproof adhesive to secure the reinforcement in place. Step 3: Tighten the Clips If the sink was not properly installed, the clips that hold it in place may have become loose over time. To fix this, use a screwdriver to tighten the clips, making sure they are securely attached to the countertop. Step 4: Repair Water Damage If the separation is due to water damage, you will need to repair the affected area. This may involve replacing damaged wood or using a waterproof sealant to prevent further damage. Once the area has been repaired, you can reattach the sink to the countertop.1. How to Fix an Undermount Kitchen Sink That is Separating from the Countertop


1. How to Fix an Undermount Kitchen Sink That is Separating from the Countertop


Dealing with a leaky undermount kitchen sink can be frustrating, but fortunately, most leaks can be easily fixed with a few simple steps. Here's a DIY guide to help you fix a leaky undermount kitchen sink without calling in a professional plumber. Step 1: Locate the Source of the Leak The first step in fixing a leaky undermount kitchen sink is to determine where the leak is coming from. This could be from a crack in the sink, a loose connection, or a damaged seal. Once you have identified the source, you can move on to the next step. Step 2: Tighten Connections If the leak is coming from a loose connection, you can easily fix it by tightening the affected area. This may involve tightening the drain, pipes, or other parts of the sink. Be careful not to overtighten, as this could cause further damage. Step 3: Repair Cracks or Damage If the leak is due to a crack or damage to the sink itself, you will need to repair the affected area. This can be done using a waterproof sealant or by replacing the damaged section of the sink if necessary. Step 4: Replace Seals If the leak is coming from a damaged seal, you will need to replace it. This can be done using a new rubber gasket or plumber's putty. Be sure to follow the manufacturer's instructions for the best results.2. DIY Guide: How to Fix a Leaky Undermount Kitchen Sink


2. DIY Guide: How to Fix a Leaky Undermount Kitchen Sink


While undermount kitchen sinks are a popular choice for modern kitchens, they can also come with their fair share of problems. Here are some common issues you may encounter with your undermount kitchen sink and how to solve them. Problem: Sink Separating from Countertop Solution: Follow the steps outlined in the first section of this article to reinforce the sink and tighten clips. Problem: Leaks Solution: Refer to the second section of this article for tips on how to fix a leaky undermount kitchen sink. Problem: Cracks or Damage Solution: Repair cracks using a waterproof sealant or replace the damaged section of the sink. For severe damage, it may be necessary to replace the entire sink. Problem: Clogs Solution: Use a plunger or drain snake to remove any clogs in the sink. You can also prevent clogs by regularly cleaning your sink and avoiding pouring grease or food scraps down the drain.3. Common Problems and Solutions for Undermount Kitchen Sinks


3. Common Problems and Solutions for Undermount Kitchen Sinks


Cracks in an undermount kitchen sink can be a major headache, but they can be repaired with the right tools and techniques. Here's a step-by-step guide to help you repair a cracked undermount kitchen sink and restore it to its former glory. Step 1: Clean the Sink Before you can repair the crack, you need to make sure the sink is clean and dry. Use a mild cleanser and a soft cloth to remove any dirt or debris from the surface of the sink. Step 2: Identify the Crack Next, you will need to locate the crack and determine how severe it is. If it is a small hairline crack, you can move on to the next step. For larger cracks, you may need to replace the damaged section of the sink. Step 3: Sand the Area Using fine-grit sandpaper, gently sand the area around the crack to create a smooth surface for the repair material to adhere to. Be sure to wipe away any dust or debris before moving on to the next step. Step 4: Apply the Repair Material There are several options for repair material, including epoxy, silicone, and acrylic. Follow the manufacturer's instructions to apply the material to the cracked area. Use a putty knife or your fingers to smooth out the material and ensure it covers the entire crack. Step 5: Let it Dry Allow the repair material to dry completely before using the sink. This can take anywhere from a few hours to overnight, depending on the type of material used.4. Step-by-Step Guide: How to Repair a Cracked Undermount Kitchen Sink


4. Step-by-Step Guide: How to Repair a Cracked Undermount Kitchen Sink


If your undermount kitchen sink is starting to feel loose, it's important to address the issue before it becomes a bigger problem. Here are some troubleshooting tips to help you fix a loose undermount kitchen sink. Tip #1: Check for Loose Clips The most common reason for a loose undermount kitchen sink is loose clips. Check to see if the clips holding the sink in place have become loose over time. If so, use a screwdriver to tighten them and secure the sink to the countertop. Tip #2: Add Extra Support If the sink is not properly supported, it can become loose over time. Consider adding additional support, such as wooden shims or a supporting bracket, to reinforce the sink and prevent it from becoming loose again. Tip #3: Repair Water Damage If the sink is loose due to water damage, you will need to repair the affected area. This may involve replacing damaged wood or using a waterproof sealant to prevent further damage.5. Troubleshooting: How to Fix a Loose Undermount Kitchen Sink


5. Troubleshooting: How to Fix a Loose Undermount Kitchen Sink


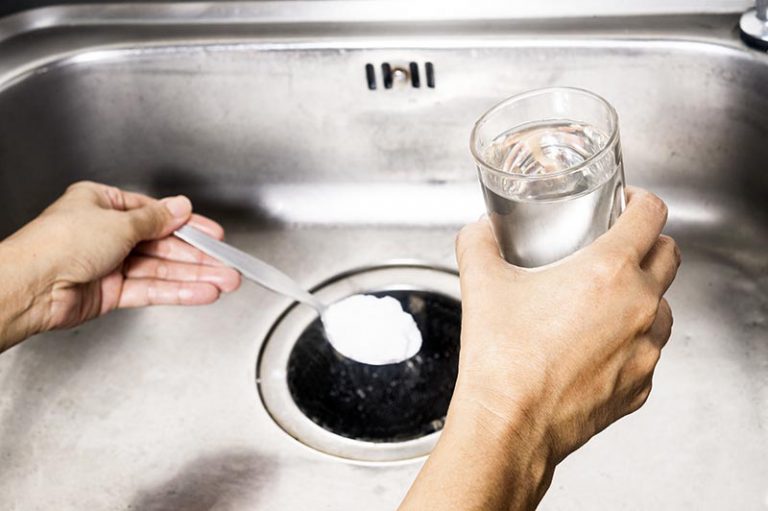
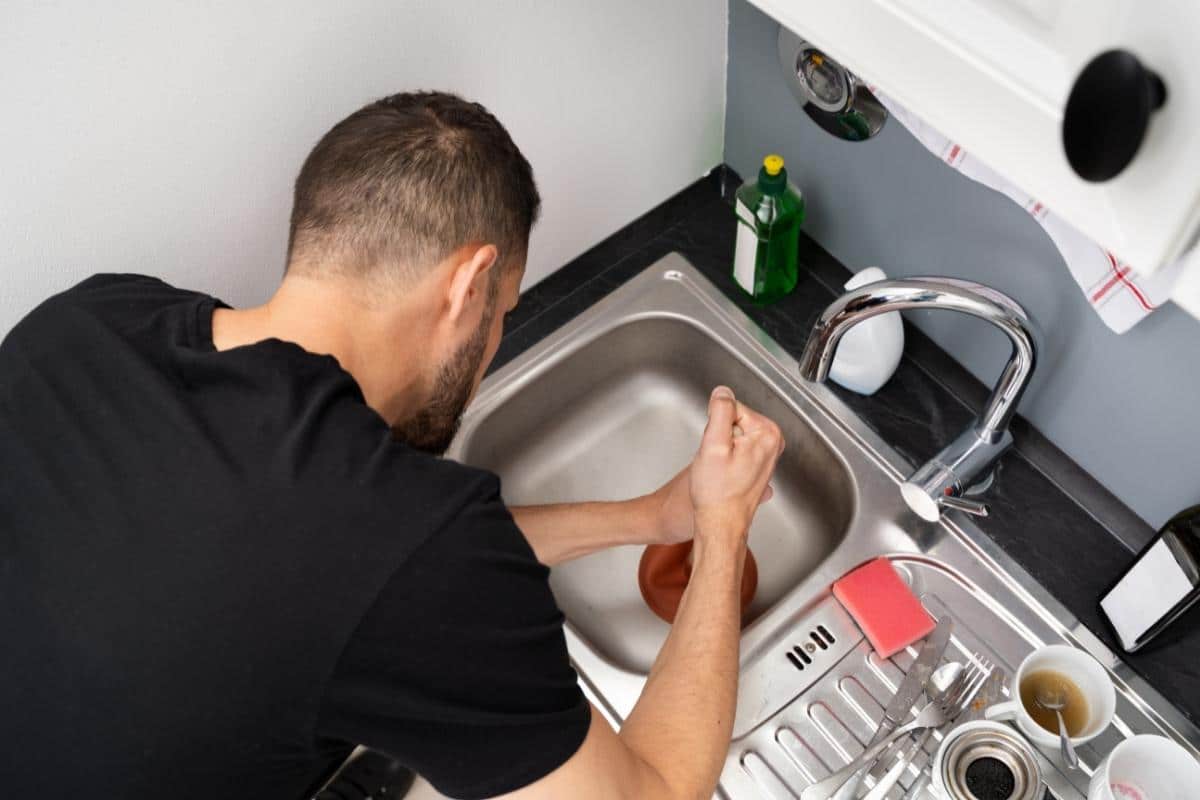
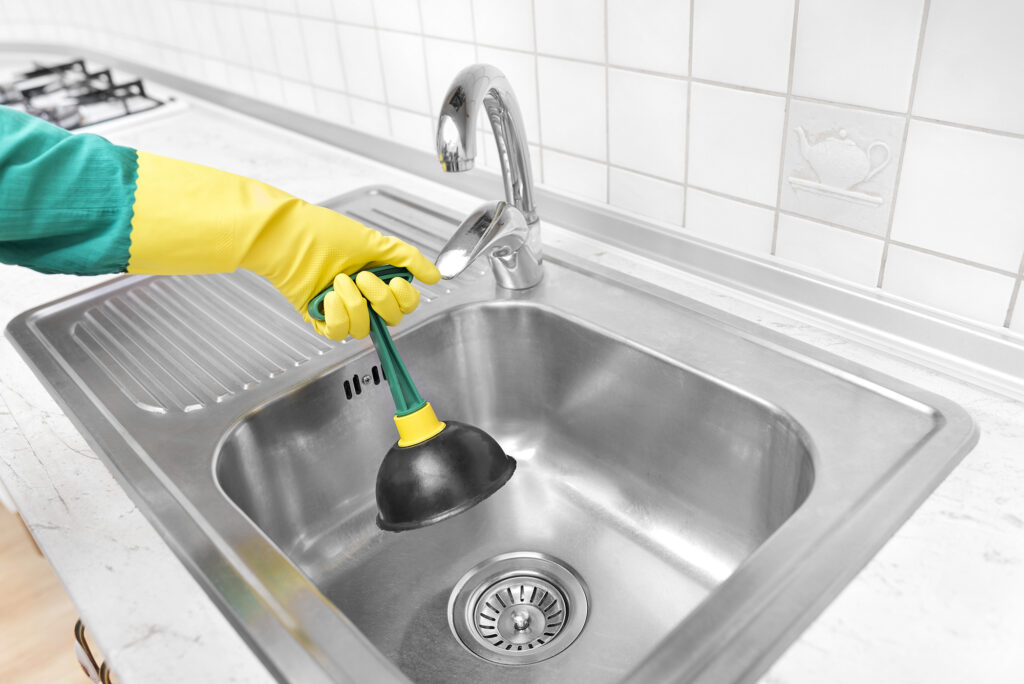
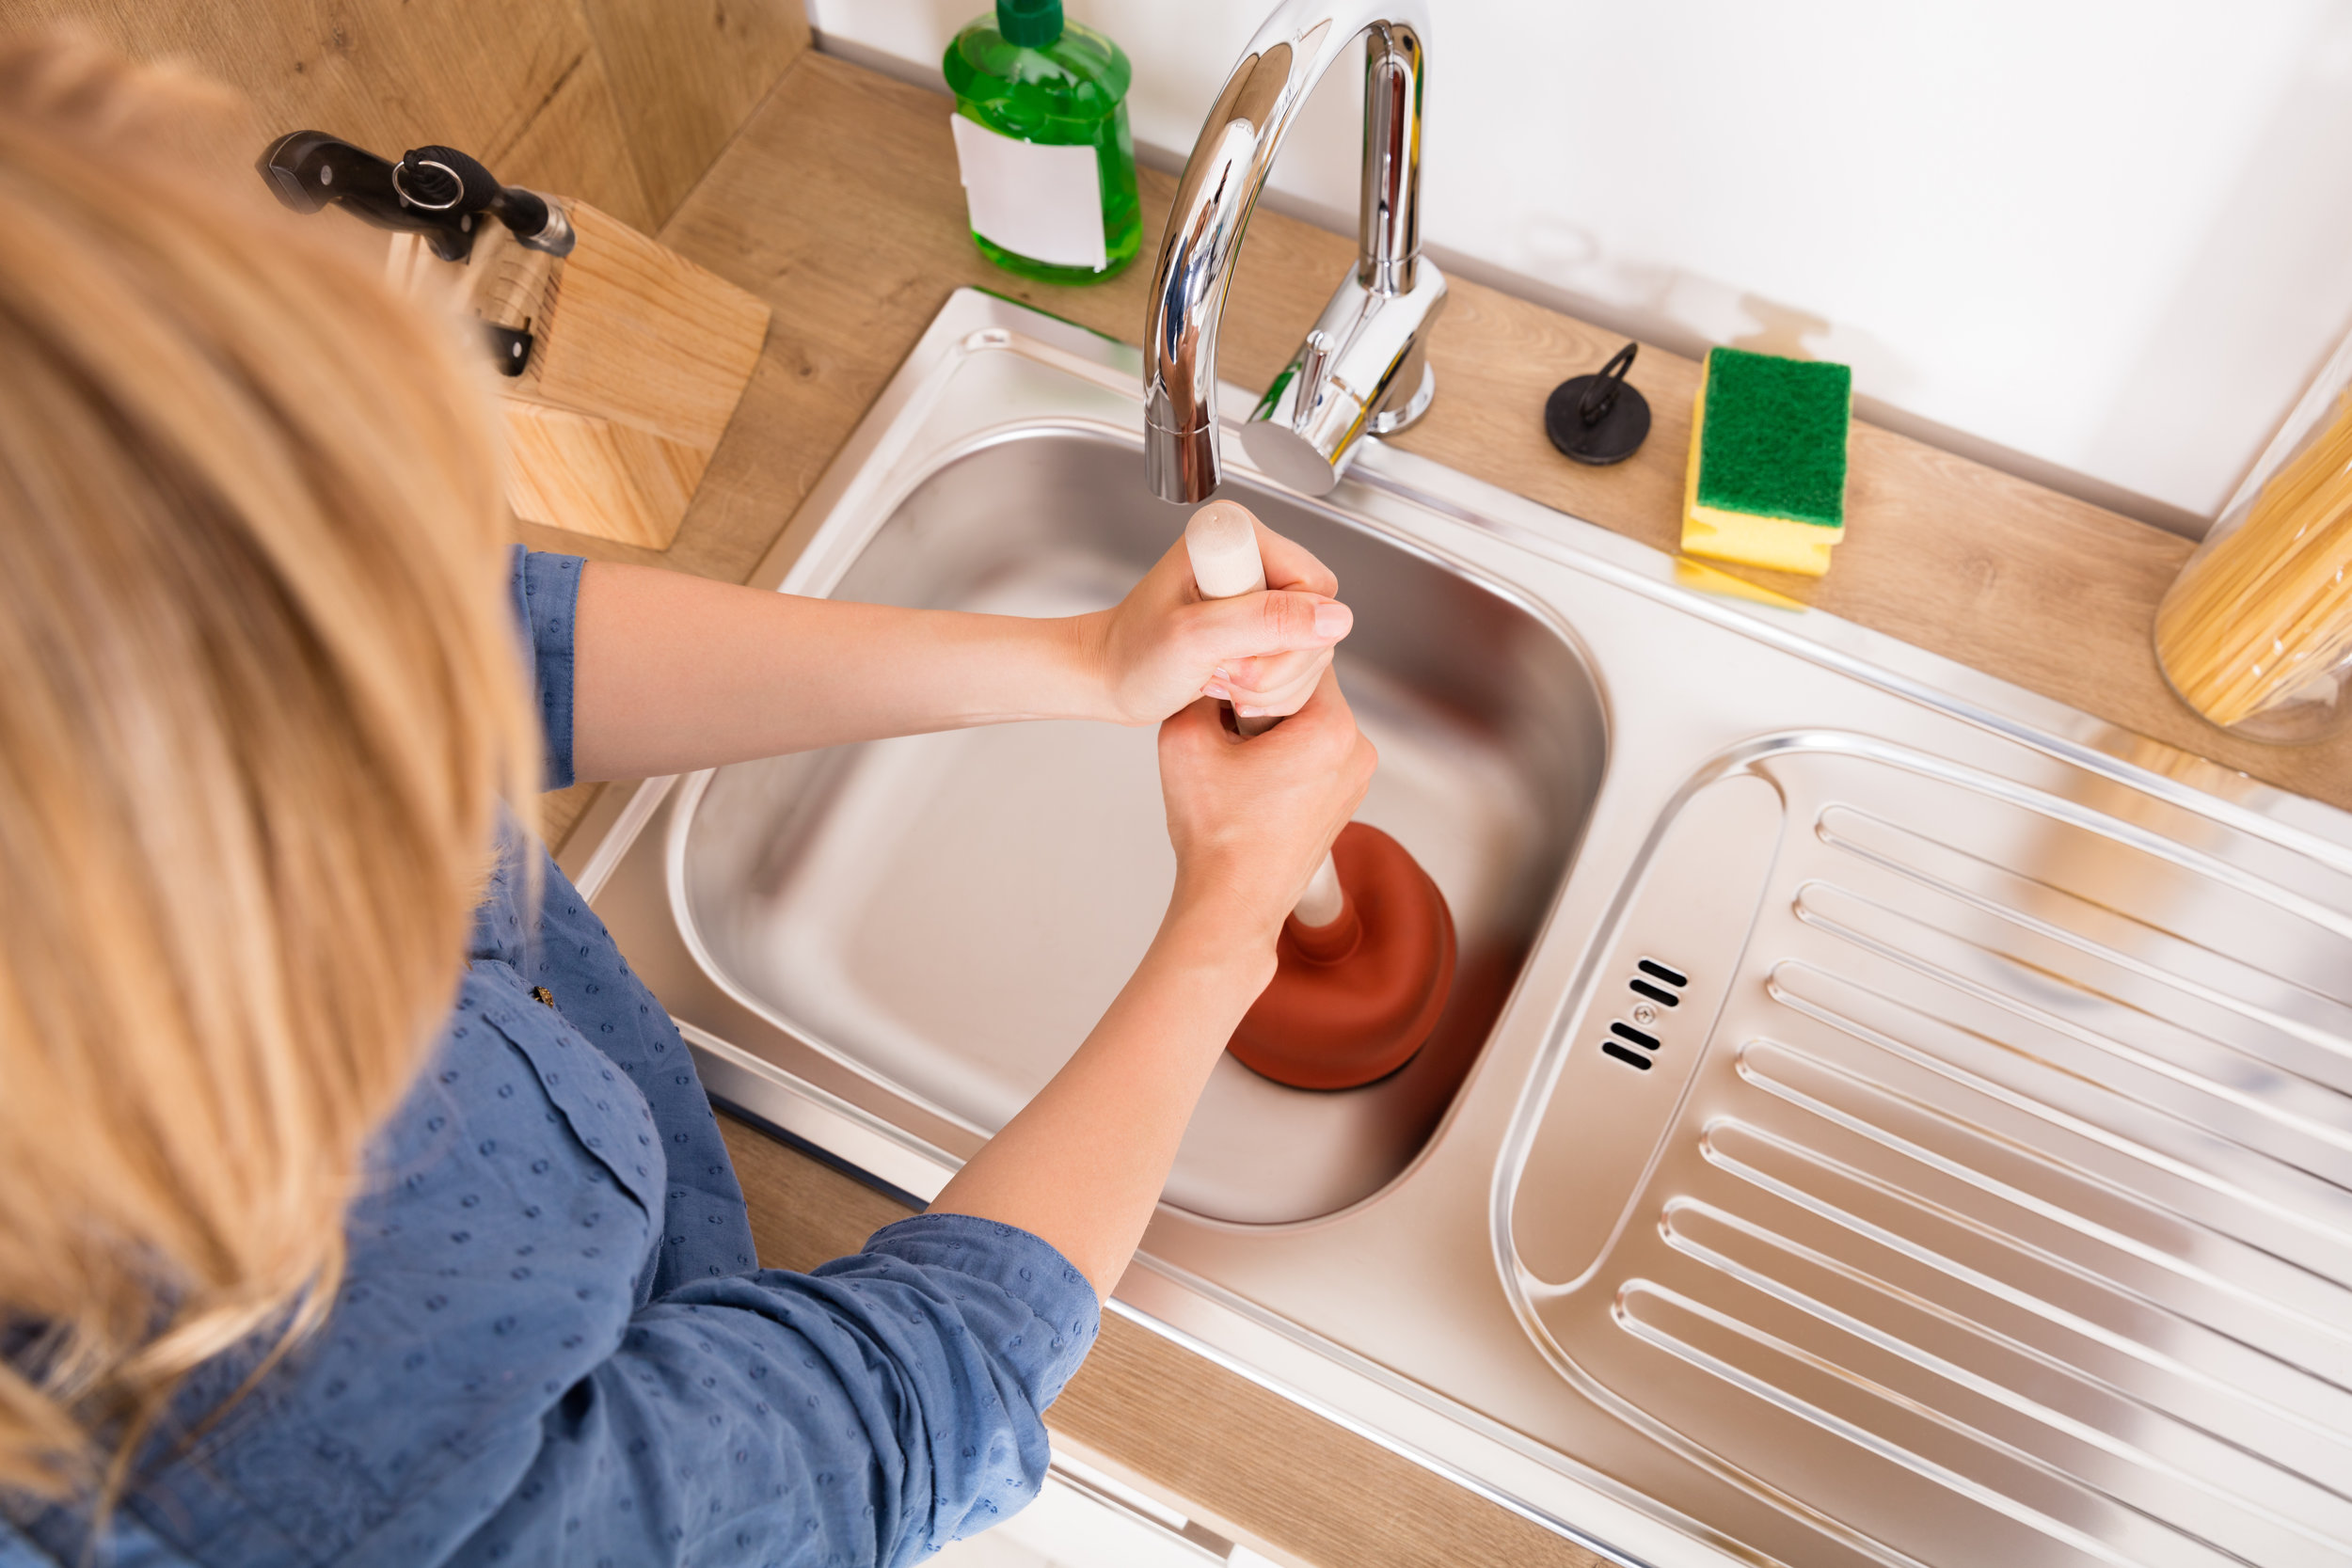
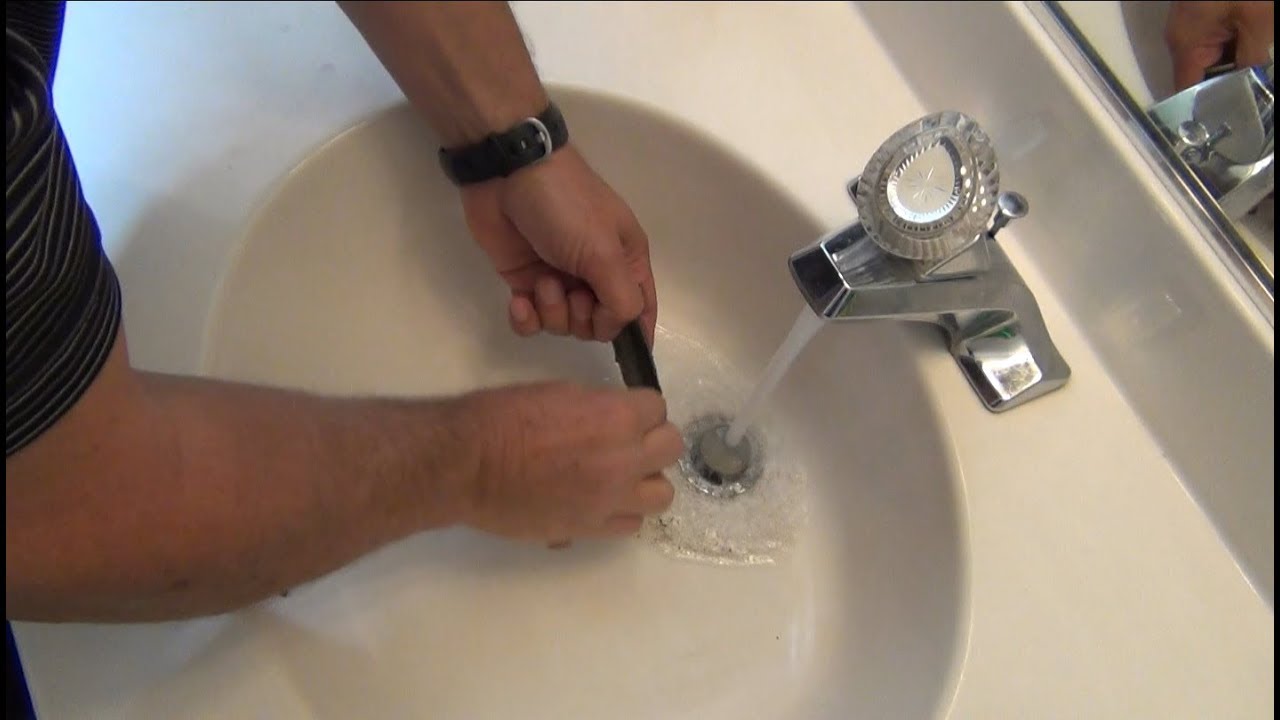
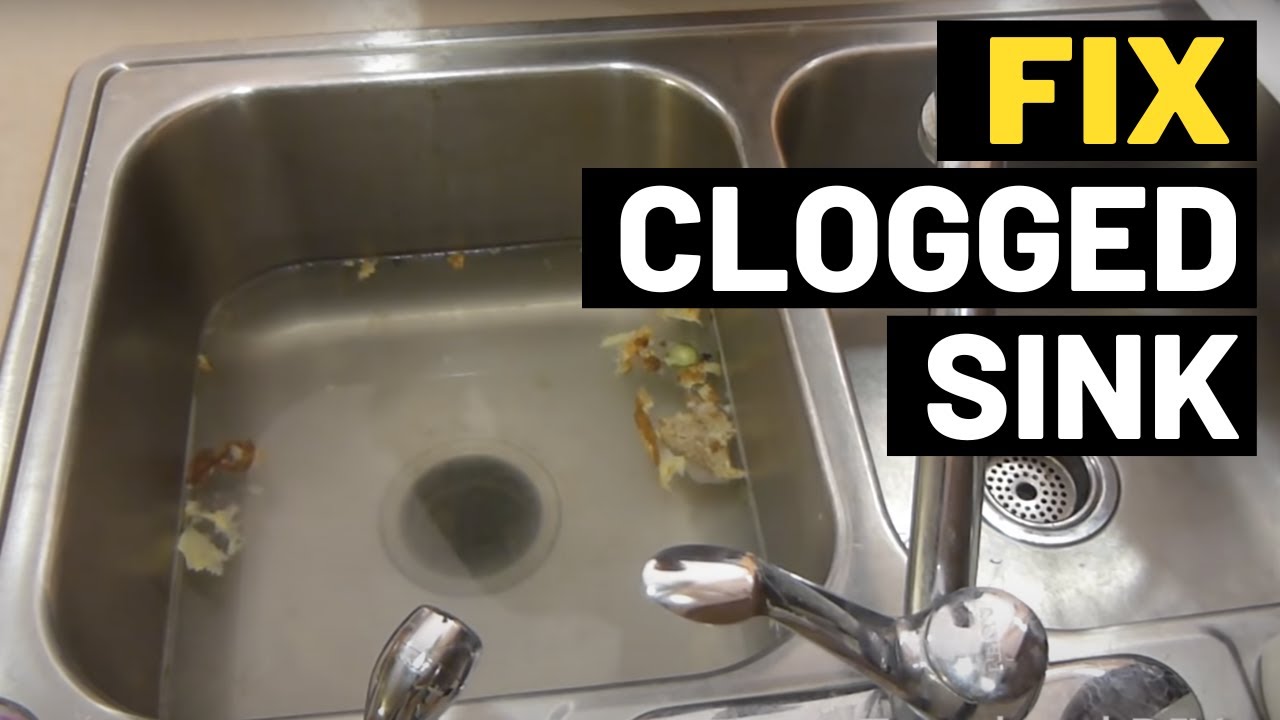
Dealing with a clogged undermount kitchen sink can be a major inconvenience, but there are a few simple tricks you can try before calling in a professional plumber. Here's a quick and easy fix for a clogged undermount kitchen sink. Step 1: Use a Plunger If the clog is near the surface, you can try using a plunger to dislodge it. Fill the sink with enough water to cover the plunger, then place the plunger over the drain and push down and pull up rapidly to create suction. Step 2: Try a Drain Snake If the plunger doesn't work, you can try using a drain snake to remove the clog. Insert the snake into the drain and rotate it to break up and remove the clog. Step 3: Clean the P-Trap If the clog is further down the drain, you may need to clean the P-trap. This is the curved pipe beneath the sink that is designed to catch debris. Use a bucket to catch any water and debris that may spill out, then remove the P-trap and clean it before replacing it.6. Quick and Easy Fix for a Clogged Undermount Kitchen Sink


6. Quick and Easy Fix for a Clogged Undermount Kitchen Sink


If you have noticed that your undermount kitchen sink is starting to sag, it's important to address the issue before it becomes more serious. Here's how to fix a sagging undermount kitchen sink. Step 1: Identify the Cause of Sagging The first step in fixing a sagging undermount kitchen sink is to determine why it is sagging. This could be due to insufficient support, water damage, or improper installation. Knowing the cause will help you determine the best solution. Step 2: Reinforce the Sink If the sink is sagging due to insufficient support, you can reinforce it by adding extra support. This can be done by inserting wooden shims or a supporting bracket beneath the sink. Be sure to use a waterproof adhesive to secure the reinforcement in place. Step 3: Repair Water Damage If the sagging is due to water damage, you will need to repair the affected area. This may involve replacing damaged wood or using a waterproof sealant to prevent further damage. Once the area has been repaired, you can reattach the sink to the countertop.7. How to Fix a Sagging Undermount Kitchen Sink

7. How to Fix a Sagging Undermount Kitchen Sink


Over time, your undermount kitchen sink may develop chips or scratches, which can be unsightly and may even lead to further damage if left untreated. Here are some tips for repairing chips and scratches in an undermount kitchen sink. Tip #1: Clean and Dry the Sink Before attempting to repair any chips or scratches, make sure the sink is clean and dry. Use a mild cleanser and a soft cloth to remove any dirt or debris from the surface of the sink. Tip #2: Use a Repair Kit There are several repair kits available specifically designed for fixing chips and scratches in sinks. These typically include a filler material and a sealant. Follow the instructions carefully for the best results. Tip #3: Consider Professional Repair If the damage is extensive or you are not confident in your ability to repair it yourself, consider hiring a professional to repair the chips and scratches in your undermount kitchen sink.8. Tips for Repairing Chips and Scratches in an Undermount Kitchen Sink


8. Tips for Repairing Chips and Scratches in an Undermount Kitchen Sink


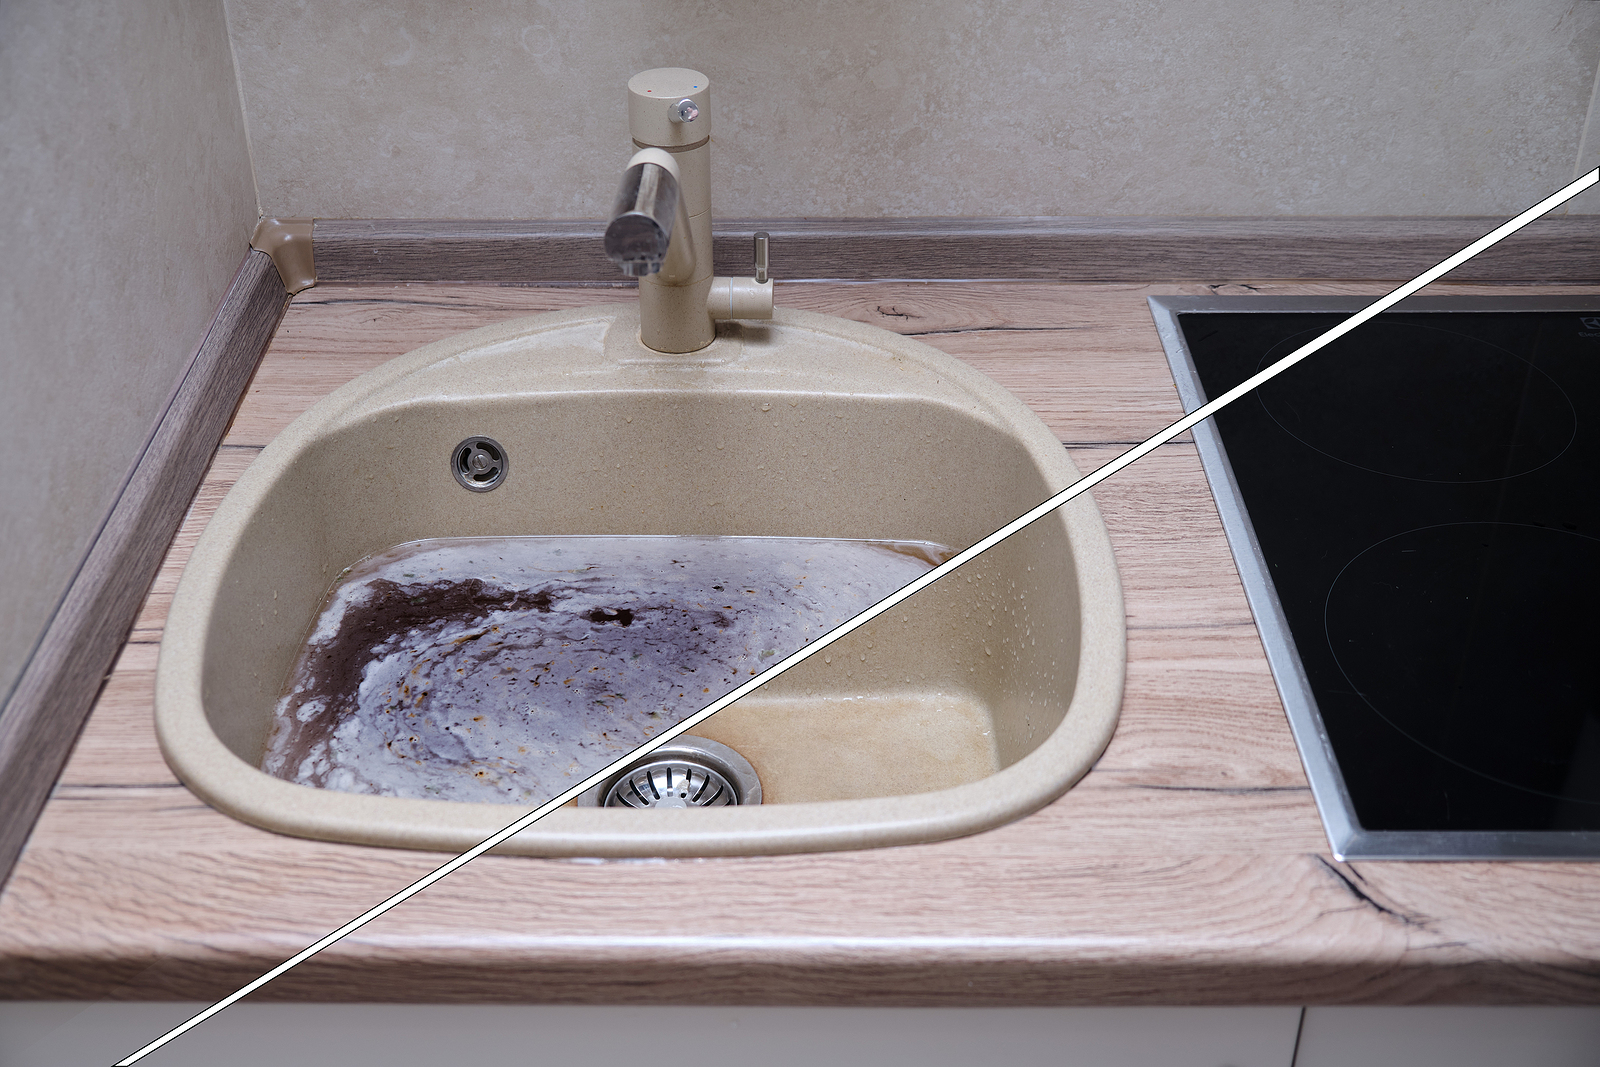
Over time, undermount kitchen sinks can become discolored due to exposure to certain foods, chemicals, or minerals in the water. Here's how to fix a discolored undermount kitchen sink and restore its original shine. Step 1: Clean the Sink Before attempting to remove any stains or discoloration, make sure the sink is clean and dry. Use a mild cleanser and a soft cloth to remove any dirt or debris from the surface of the sink. Step 2: Use a Cleanser For mild discoloration, you can use a cleanser specifically designed for sinks. Follow the instructions carefully and use a soft cloth or sponge to gently scrub the affected area. Step 3: Try a Homemade Solution If the discoloration is more stubborn, you can try using a homemade solution of equal parts baking soda and water. Apply the paste to the discolored area and let it sit for a few minutes before gently scrubbing and rinsing with warm water. Step 4: Consider Professional Restoration If the discoloration is severe or you are unable to remove it yourself, consider hiring a professional to restore the color and shine of your undermount kitchen sink.9. How to Fix a Discolored Undermount Kitchen Sink


9. How to Fix a Discolored Undermount Kitchen Sink

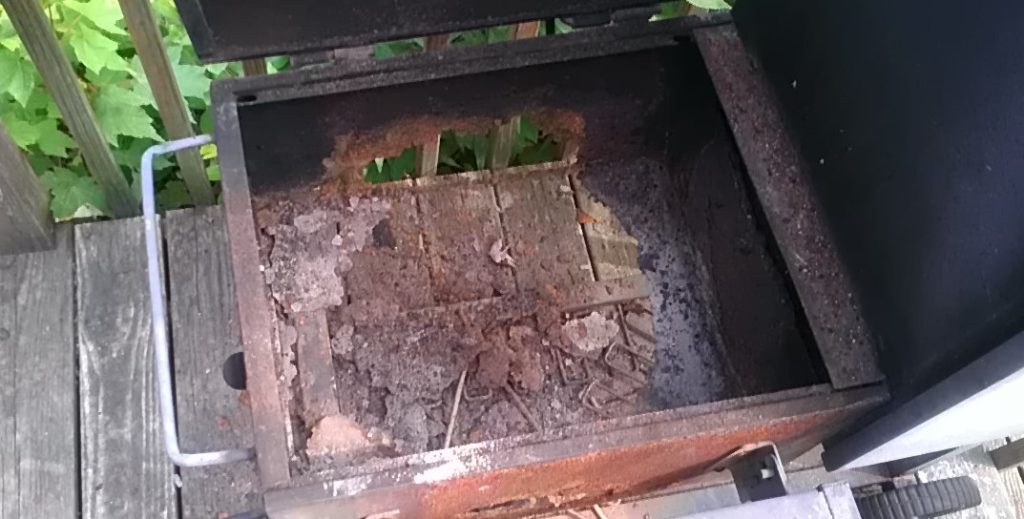
Rust can be a major problem for undermount kitchen sinks, as it can lead to further damage if not addressed quickly. Here's the best way to fix a rusty undermount kitchen sink and prevent future rusting. Step 1: Clean the Sink Before attempting to remove any rust, make sure the sink is clean and dry. Use a mild cleanser and a soft cloth to remove any dirt or debris from the surface of the sink. Step 2: Use a Rust Remover There are several rust removers available on the market specifically designed for sinks. Follow the instructions carefully and use a soft cloth or sponge to gently scrub the affected area. Step 3: Prevent Future Rusting10. The Best Way to Fix a Rusty Undermount Kitchen Sink


10. The Best Way to Fix a Rusty Undermount Kitchen Sink


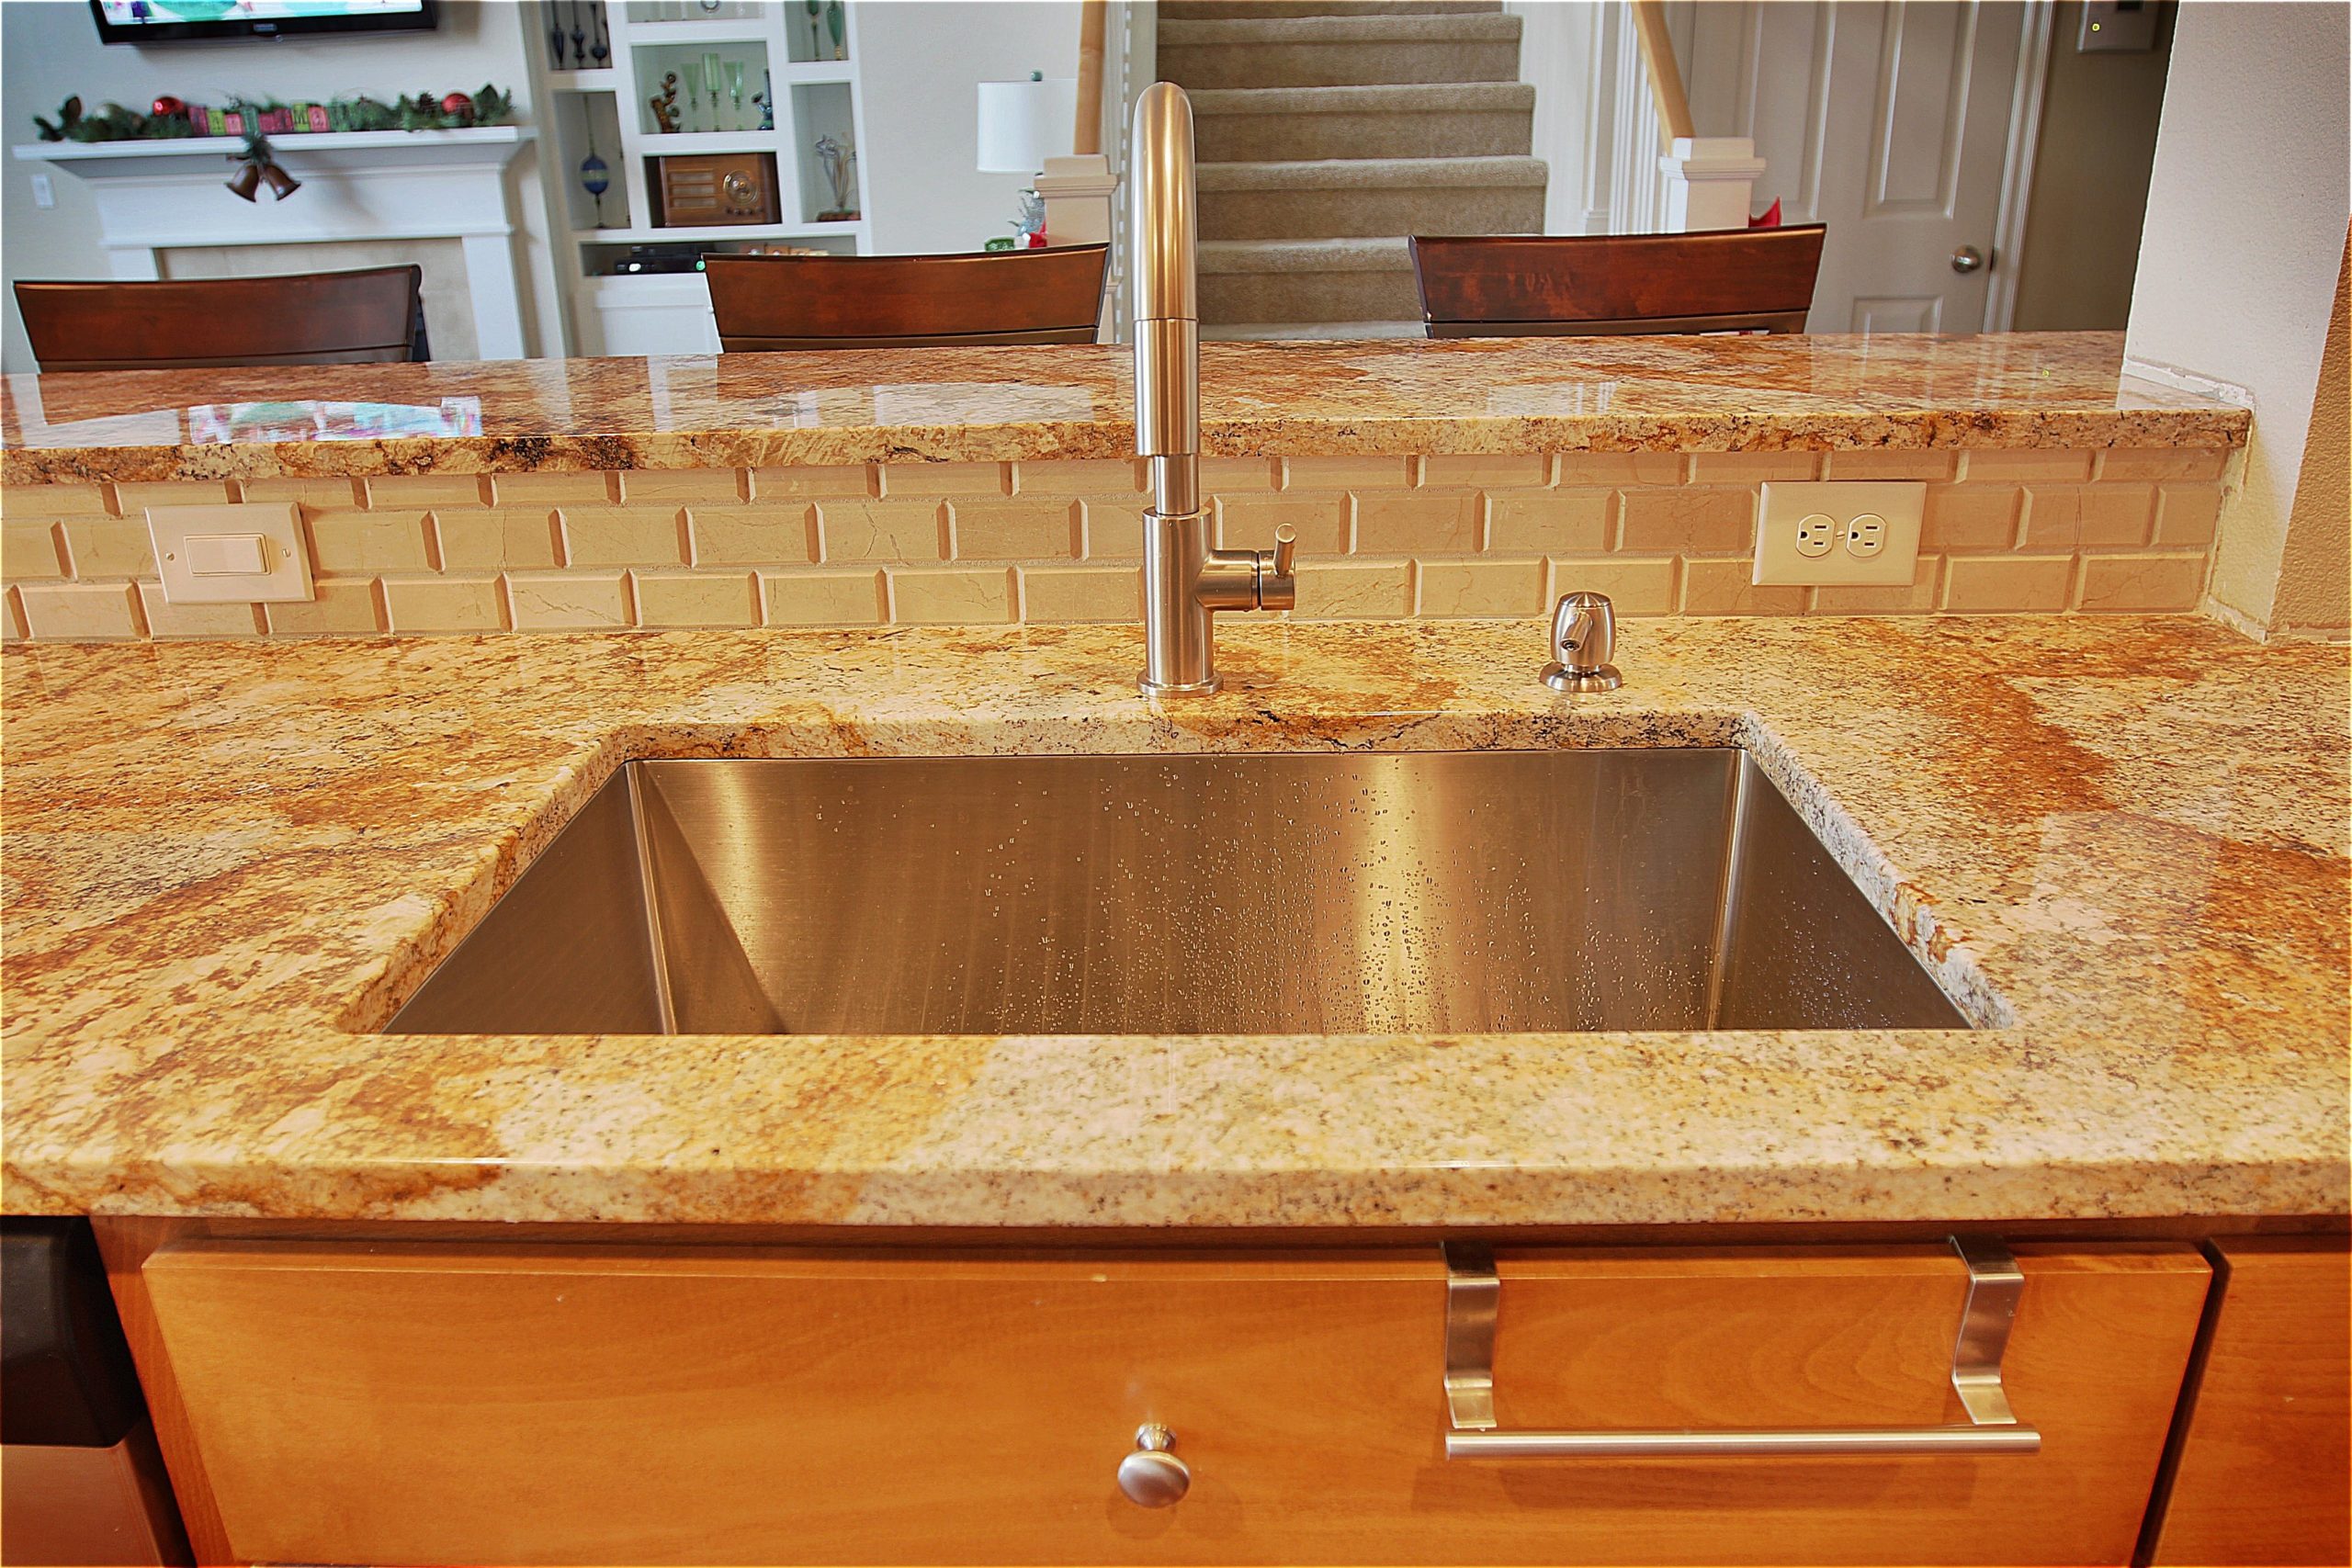
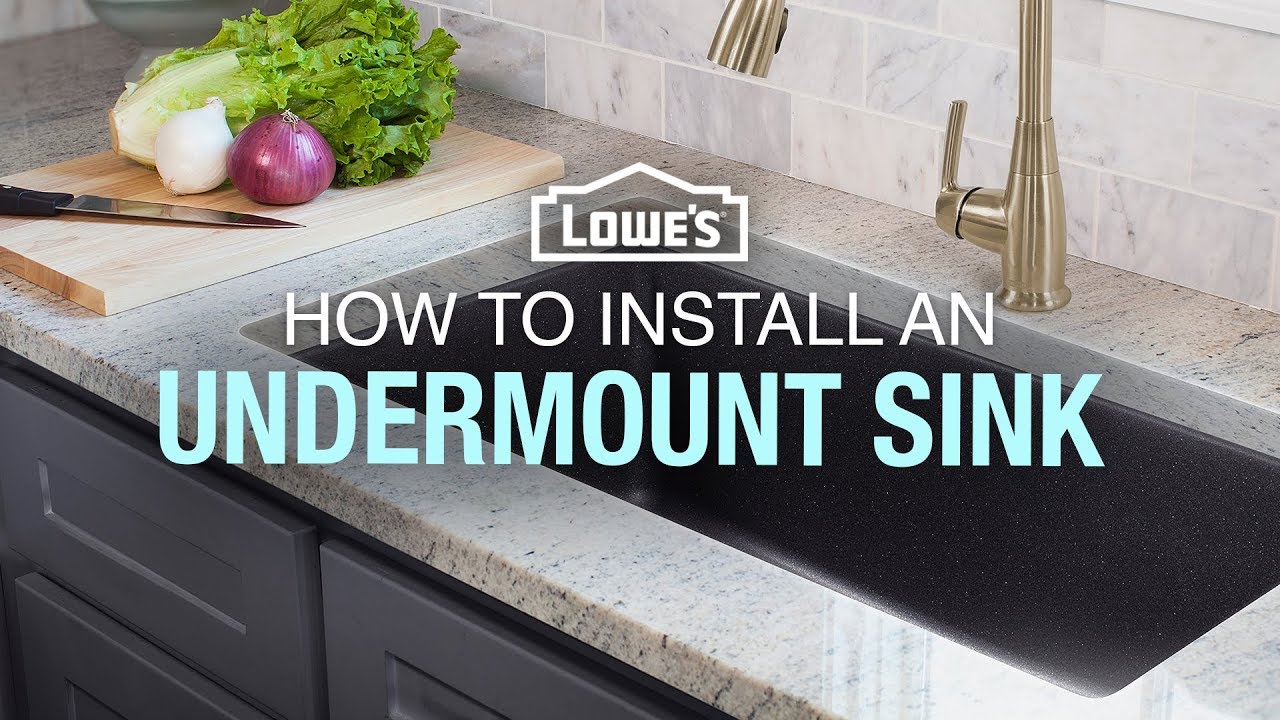
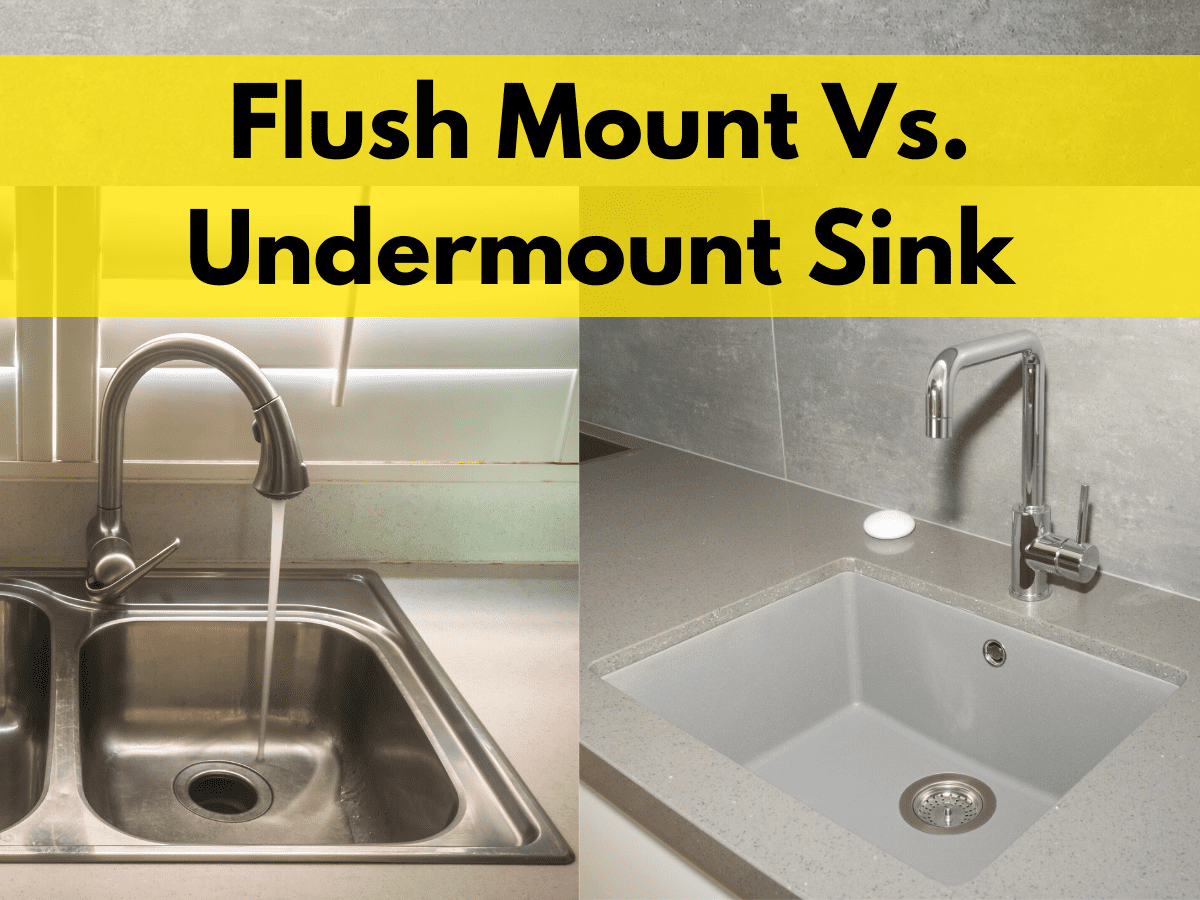
Why Choose an Undermount Kitchen Sink?
Enhance the Aesthetics of Your Kitchen
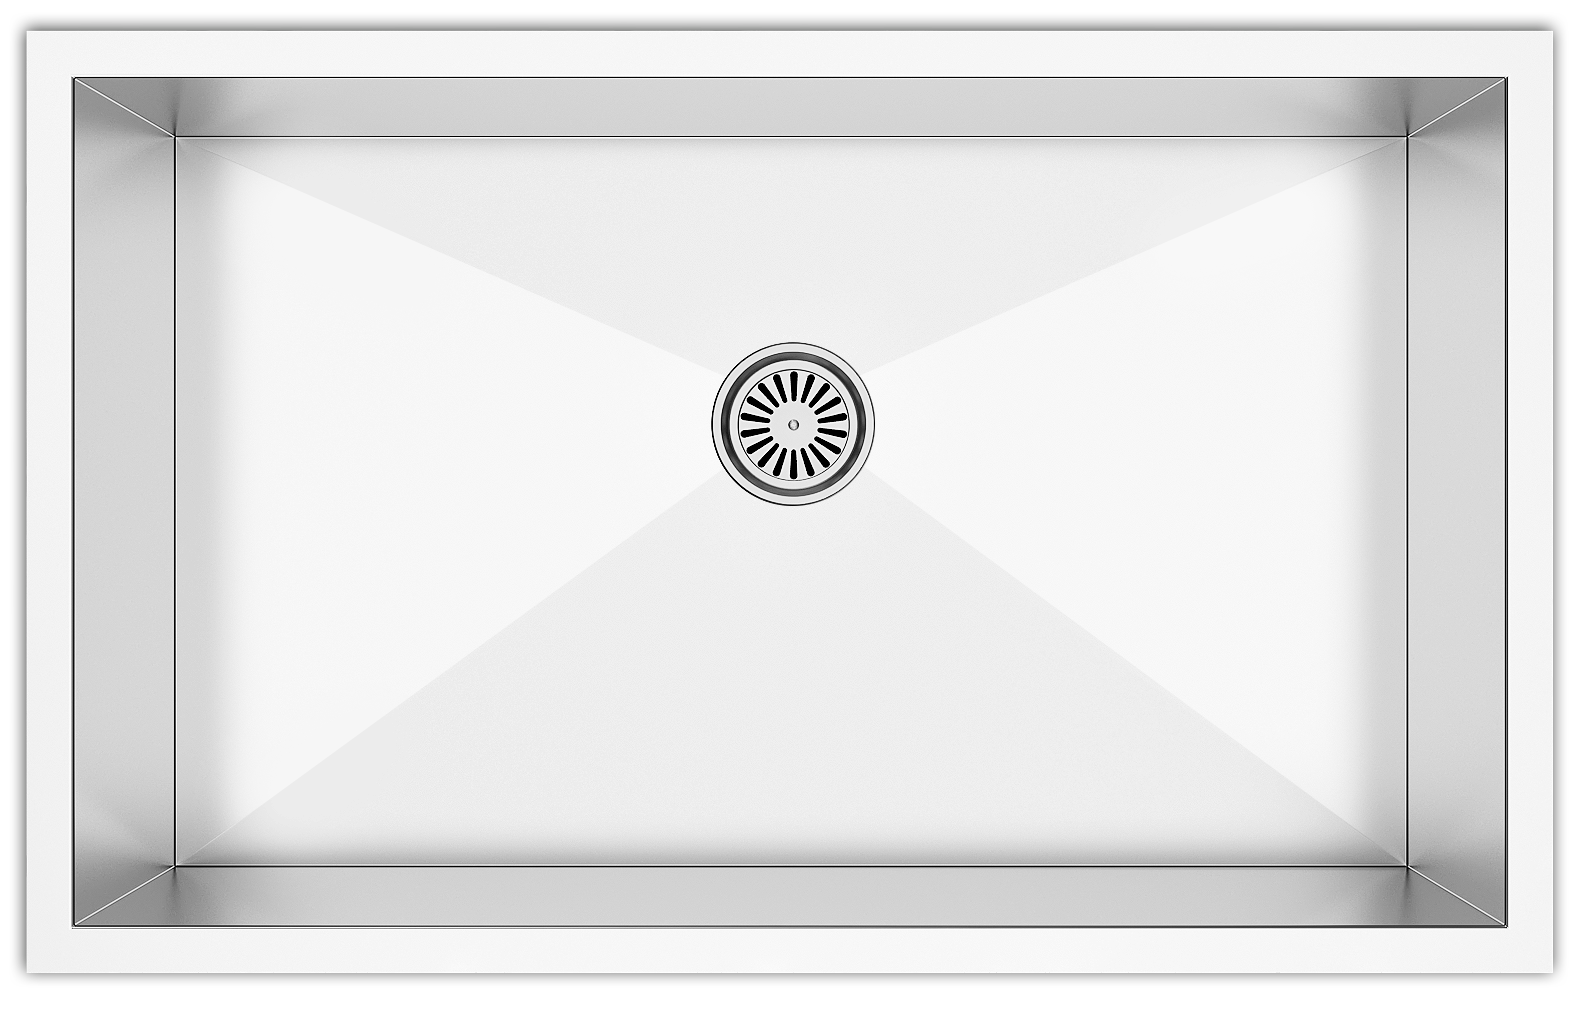
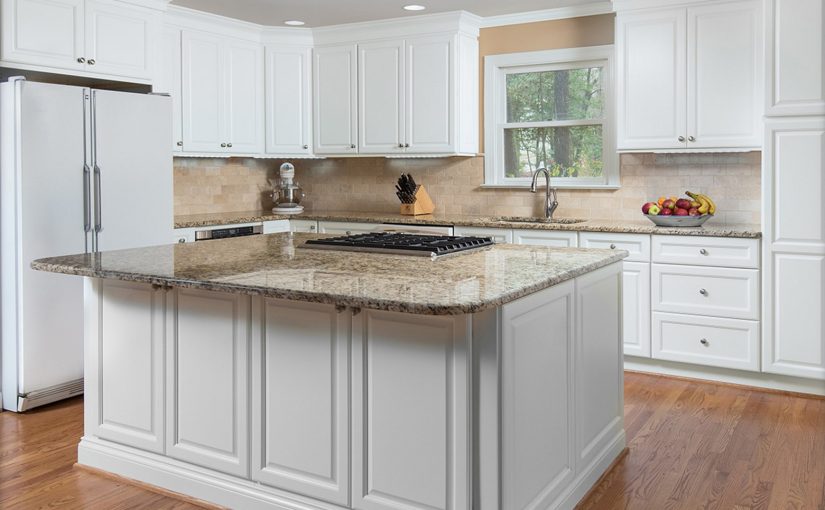
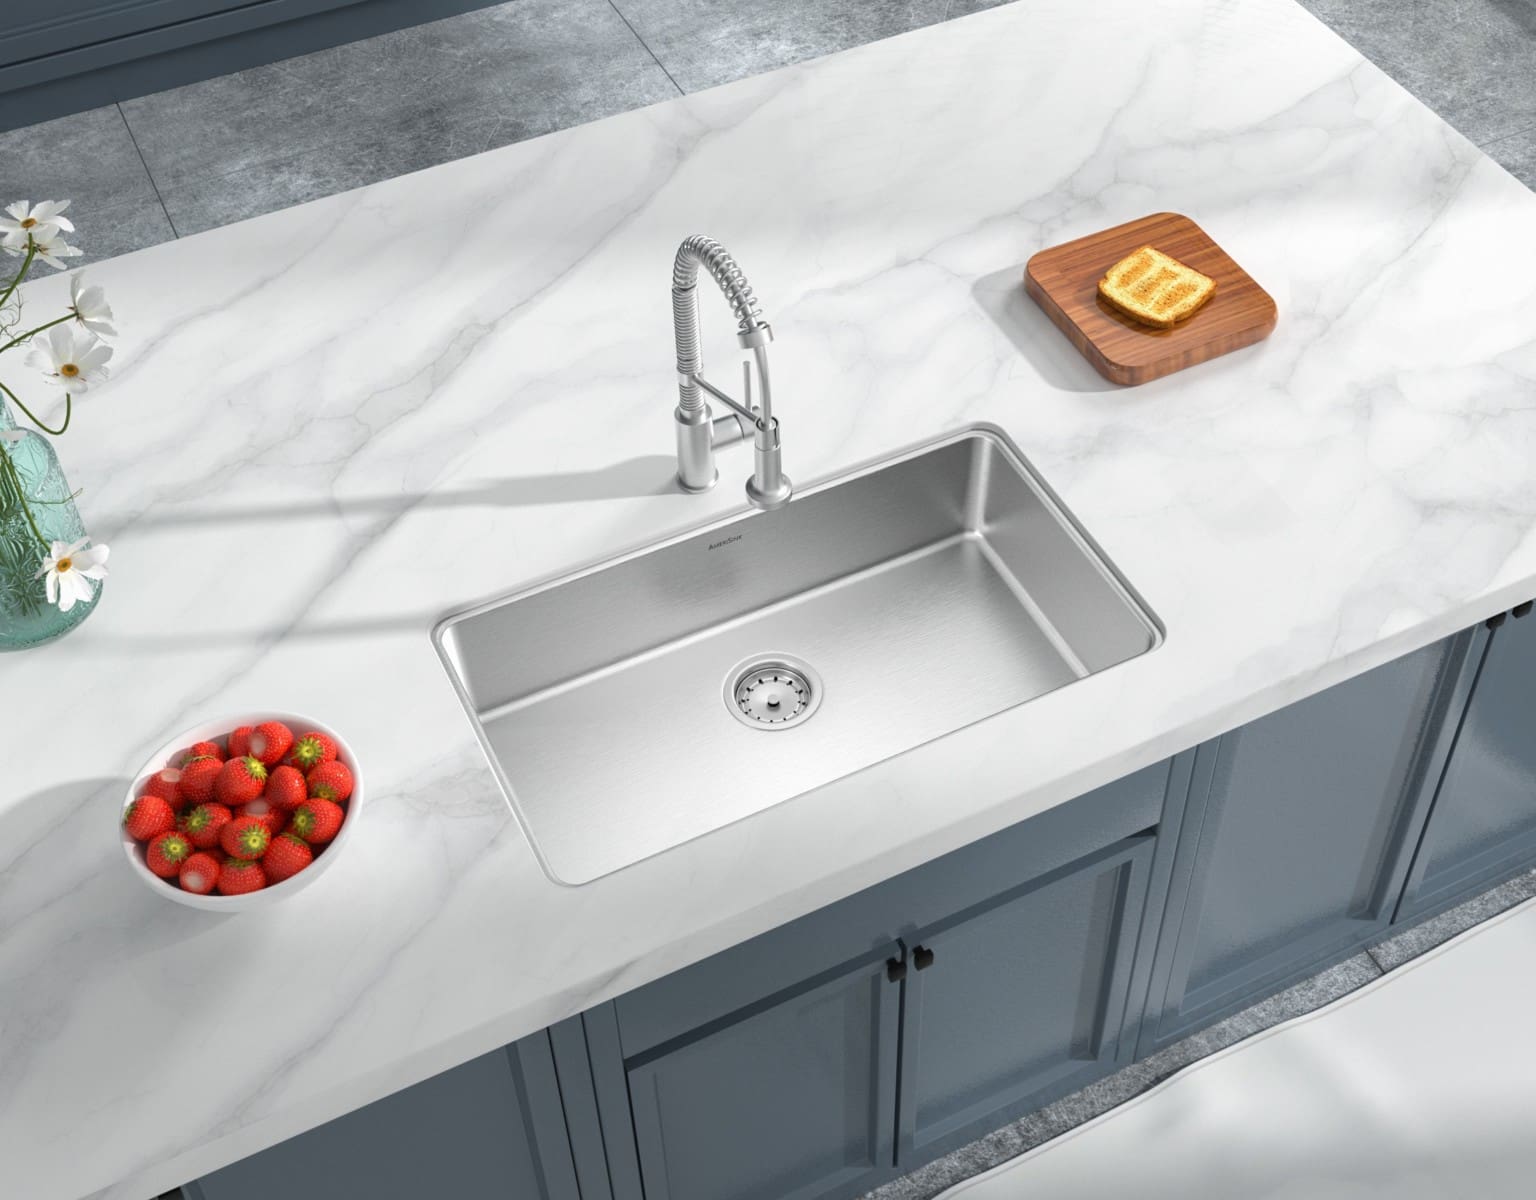
 Undermount kitchen sinks have become increasingly popular in recent years due to their sleek and modern design. They are installed under the countertop, creating a seamless and streamlined look. Unlike traditional top-mount sinks, there is no visible rim or lip, allowing for a cleaner and more polished appearance. With a variety of materials to choose from such as stainless steel, granite, or porcelain, an undermount sink can add a touch of elegance to any kitchen design.
Efficient Use of Space
 Another advantage of undermount kitchen sinks is their space-saving design. Since they are installed under the countertop, there is no need for a bulky rim or lip, which can take up valuable counter space. This makes them ideal for smaller kitchens or for those who want to maximize their workspace. The absence of a rim also makes it easier to clean the countertop, as there are no crevices for dirt and grime to accumulate.
Better Functionality
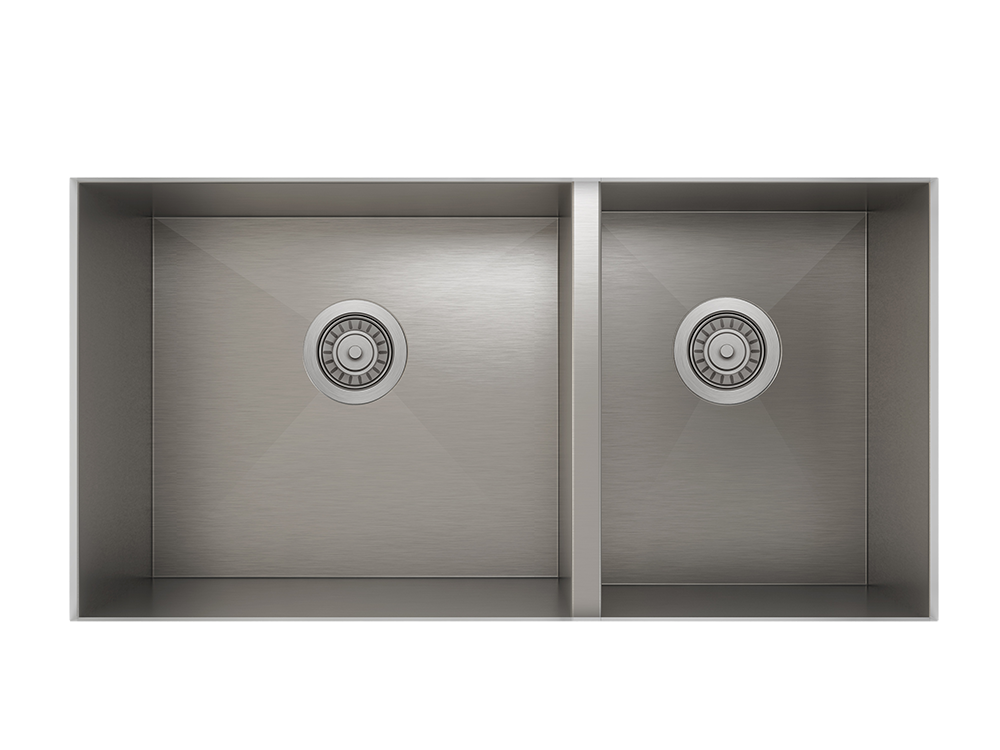
 Undermount sinks are also known for their practicality and functionality. With no rim to obstruct, it is easier to sweep food and water directly into the sink, making clean-up a breeze. The lack of a rim also means there is more usable space in the sink itself, allowing for larger pots and pans to be washed without any difficulty. This makes undermount sinks a popular choice for those who love to cook and entertain in their kitchens.
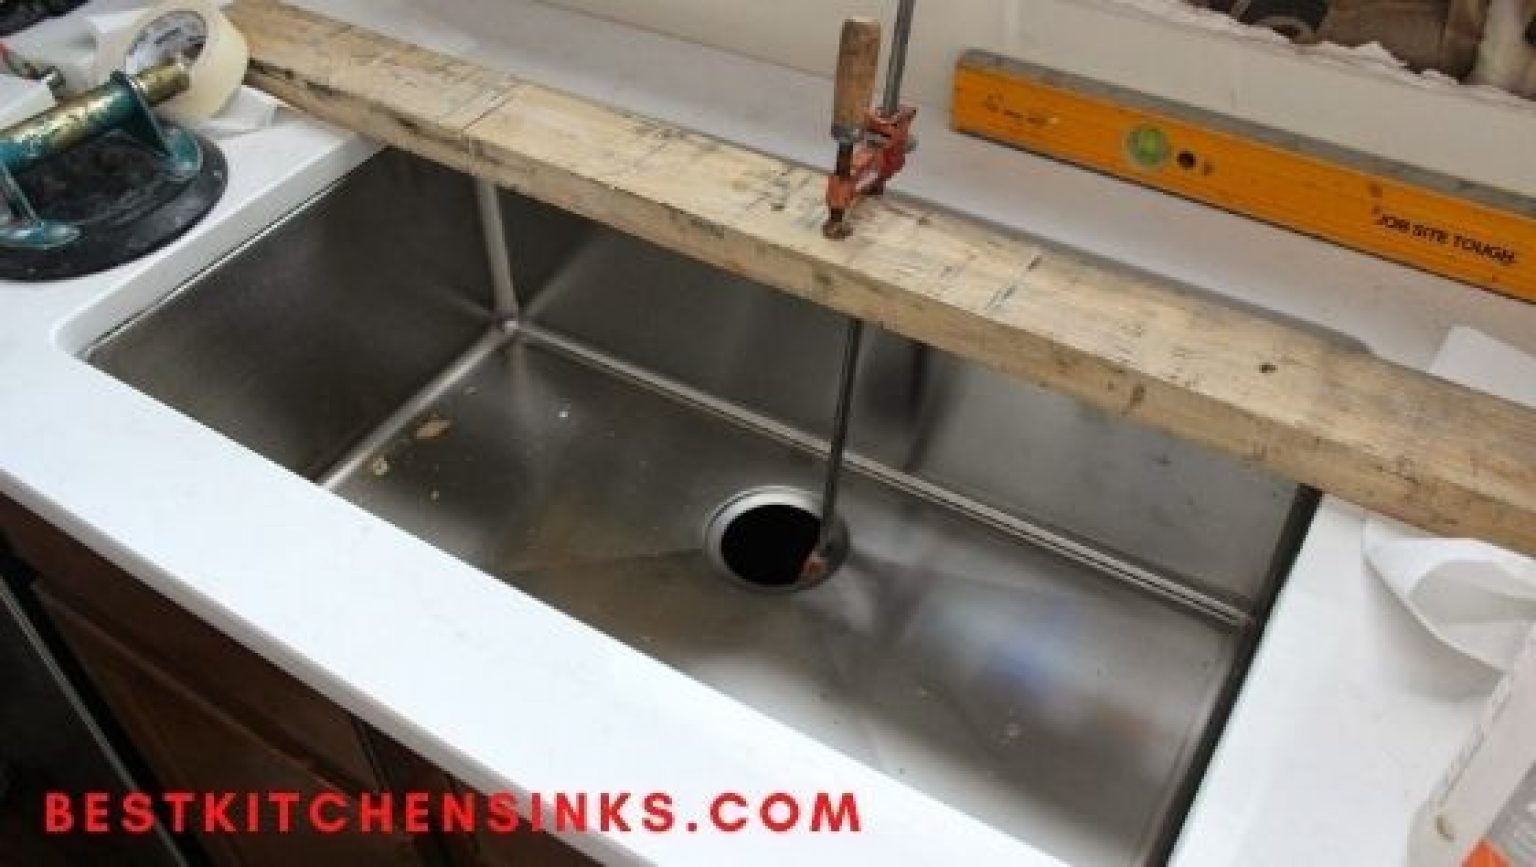
How to Fix an Undermount Kitchen Sink
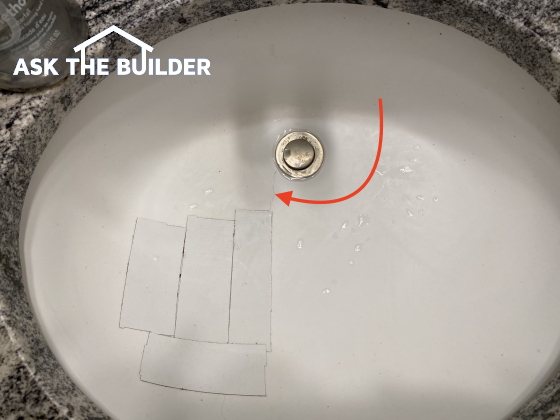
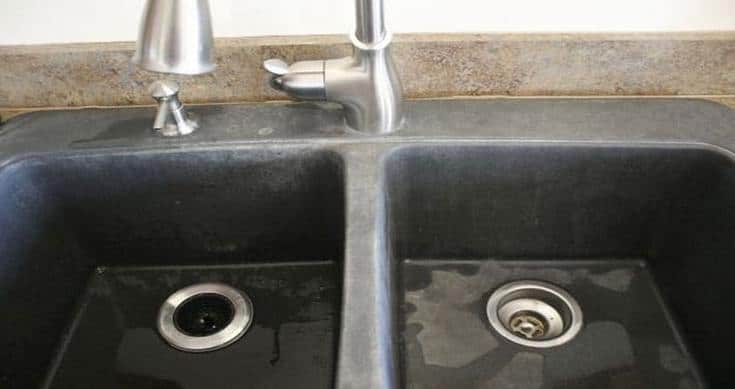
 Now that you know the benefits of having an undermount kitchen sink, it is important to know how to properly fix it if any issues arise. One common problem with undermount sinks is that they can become detached from the countertop over time. This can be due to improper installation or the weight of heavy pots and pans. To fix this issue, you will need to reattach the sink to the countertop using a strong adhesive specifically designed for undermount sinks.
First, remove any old adhesive from the sink and the countertop using a putty knife. Then, apply a thin layer of the adhesive onto the sink and carefully place it back onto the countertop, pressing down firmly. Wipe away any excess adhesive that may have squeezed out from the edges. Allow the adhesive to dry completely before using the sink again.
In conclusion, undermount kitchen sinks are a great choice for both style and functionality. With proper installation and maintenance, they can be a beautiful and practical addition to any kitchen. If you encounter any issues with your undermount sink, following these simple steps can help you fix it and continue enjoying all the benefits it has to offer.
Now that you know the benefits of having an undermount kitchen sink, it is important to know how to properly fix it if any issues arise. One common problem with undermount sinks is that they can become detached from the countertop over time. This can be due to improper installation or the weight of heavy pots and pans. To fix this issue, you will need to reattach the sink to the countertop using a strong adhesive specifically designed for undermount sinks.
First, remove any old adhesive from the sink and the countertop using a putty knife. Then, apply a thin layer of the adhesive onto the sink and carefully place it back onto the countertop, pressing down firmly. Wipe away any excess adhesive that may have squeezed out from the edges. Allow the adhesive to dry completely before using the sink again.
In conclusion, undermount kitchen sinks are a great choice for both style and functionality. With proper installation and maintenance, they can be a beautiful and practical addition to any kitchen. If you encounter any issues with your undermount sink, following these simple steps can help you fix it and continue enjoying all the benefits it has to offer.