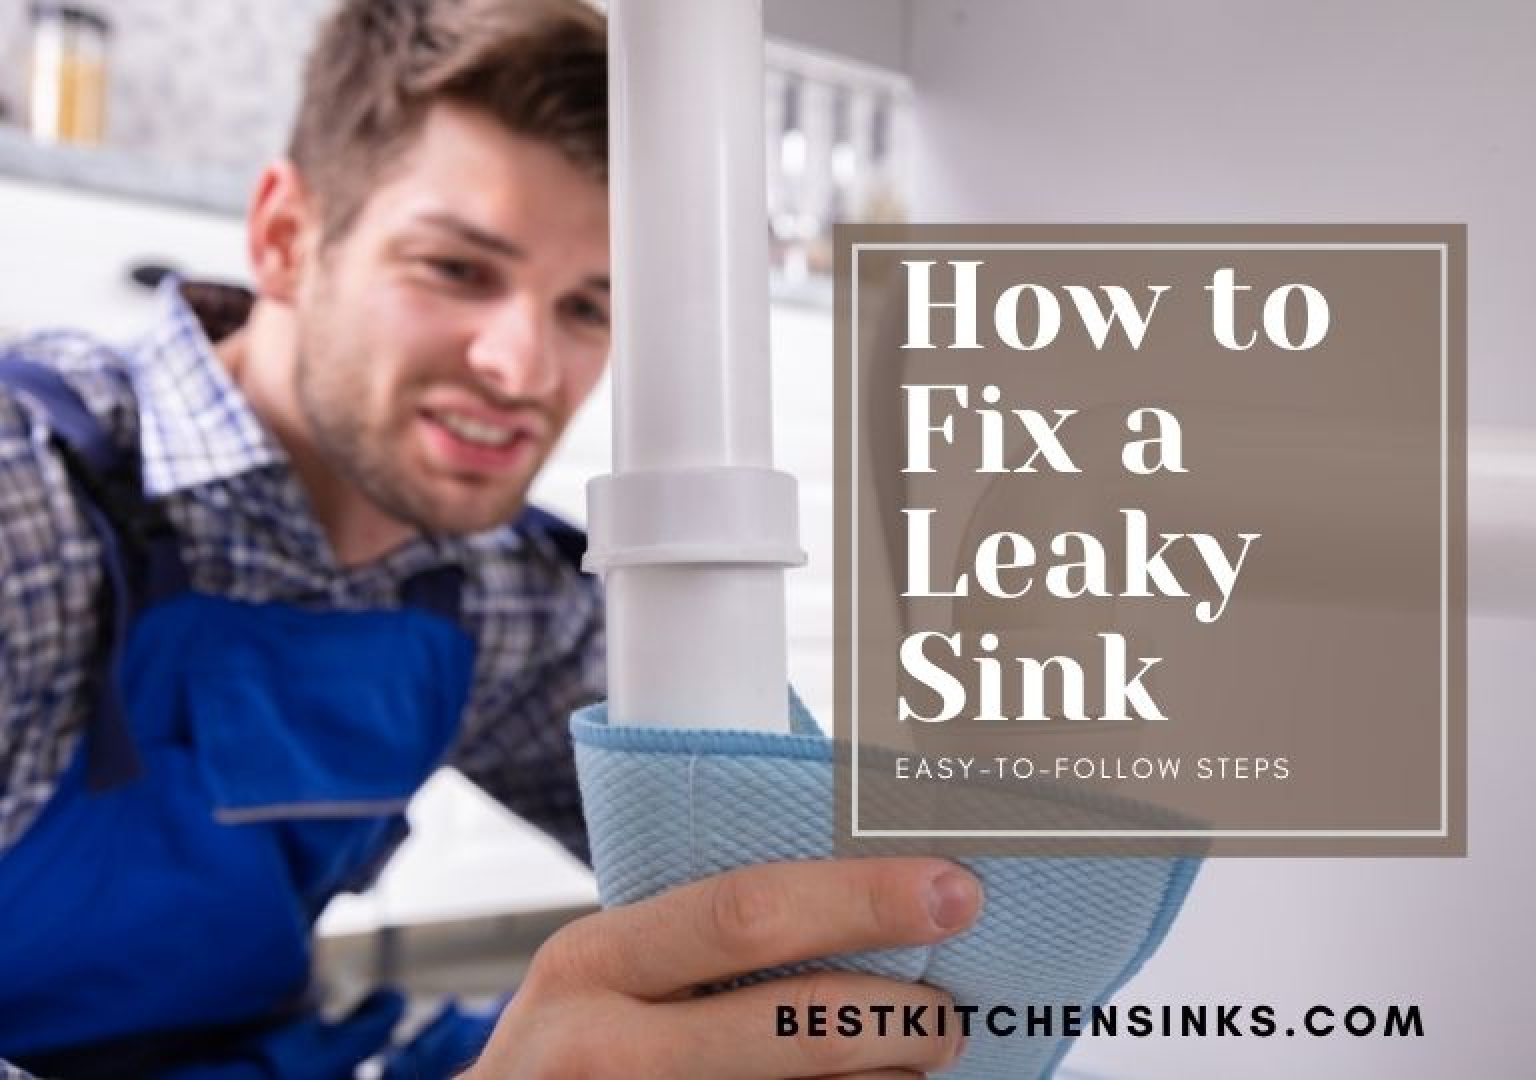
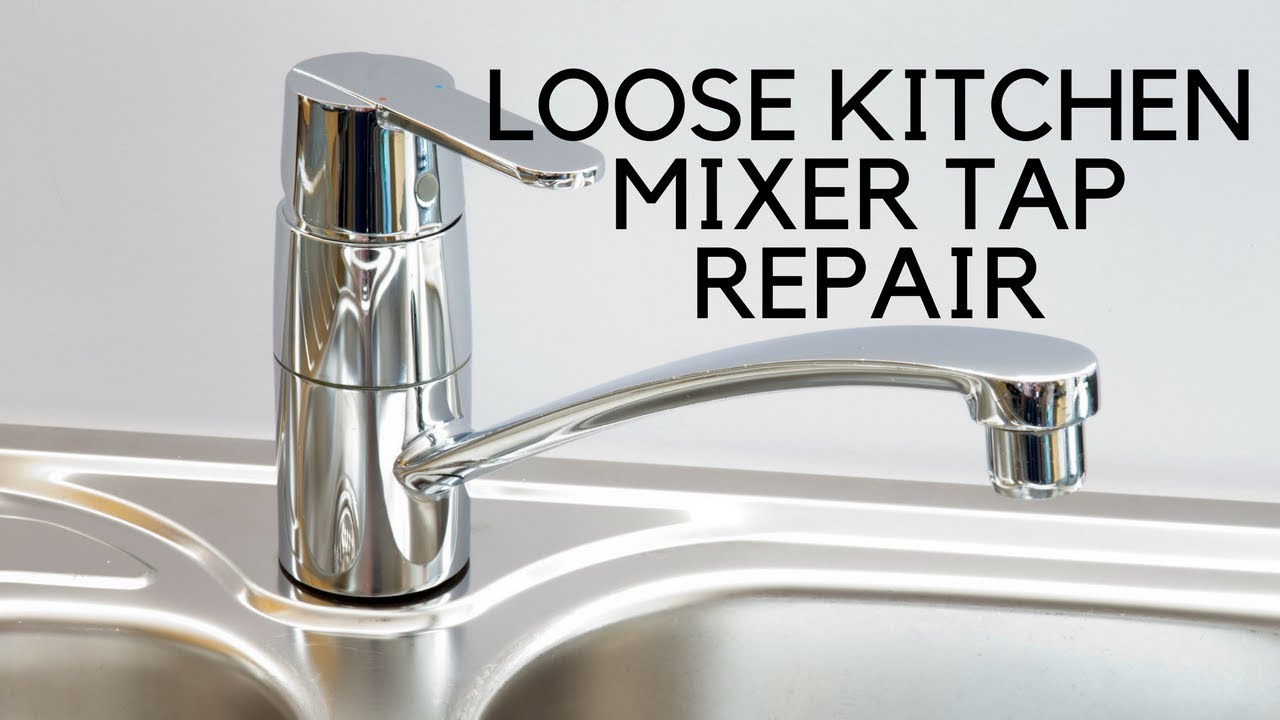
Dealing with a leaky kitchen sink can be frustrating, especially when it seems to be coming from the seal. But fear not, fixing a leaky kitchen sink seal is a relatively simple task that you can do on your own. The first step is to identify the source of the leak, which is usually at the point where the seal meets the sink or the countertop. Once you've located the source, follow these steps to fix the seal and prevent further leaks.1. How to Fix a Leaky Kitchen Sink Seal


1. How to Fix a Leaky Kitchen Sink Seal


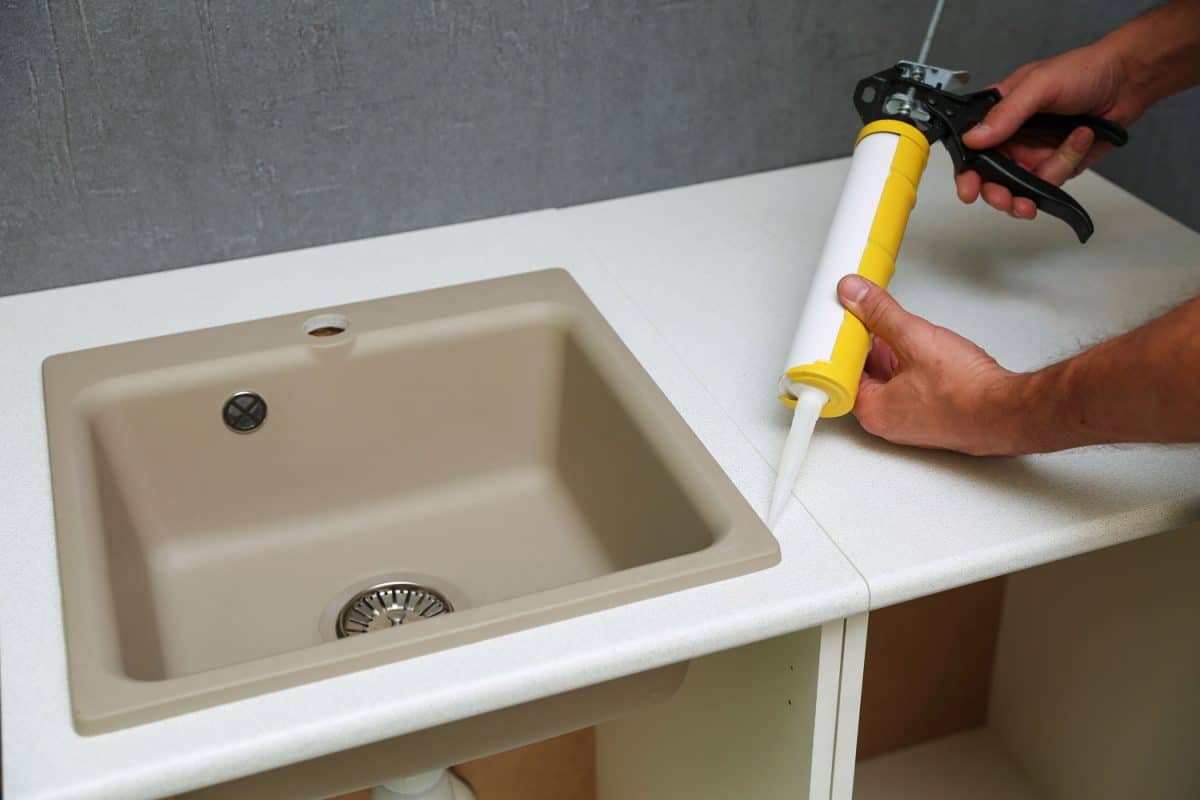
Fixing a leaky kitchen sink seal is a DIY project that doesn't require any special skills or tools. The first step is to clean the area around the seal with a mild cleaner and a cloth. This will help remove any debris or buildup that may be causing the leak. Next, apply a small amount of silicone sealant to the affected area. Use your finger or a putty knife to smooth out the sealant and create a tight seal. Let it dry completely before using the sink again.2. DIY Kitchen Sink Seal Repair


2. DIY Kitchen Sink Seal Repair


There are a few common causes of kitchen sink seal leaks that you should be aware of. One of the most common causes is wear and tear over time. The seal can become worn or cracked, allowing water to seep through. Another cause is poor installation, where the seal was not properly secured or applied. In some cases, the seal may also become loose due to changes in temperature or movement of the sink.3. Common Causes of Kitchen Sink Seal Leaks


3. Common Causes of Kitchen Sink Seal Leaks


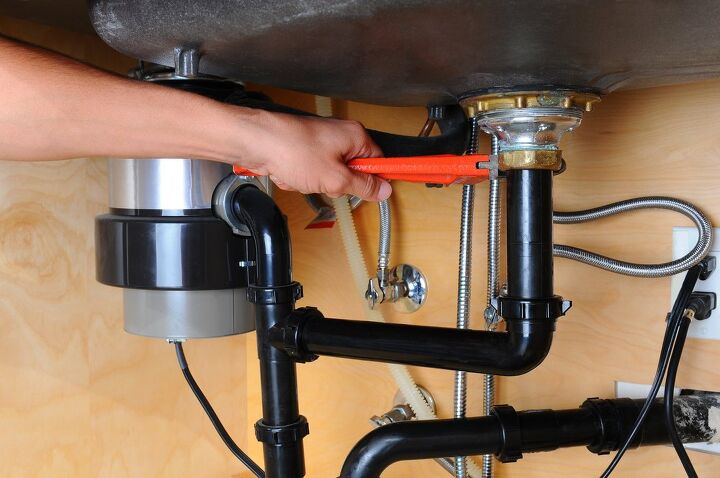
If the leak is caused by a loose kitchen sink seal, you can easily fix it by tightening the seal. Start by removing any debris or residue from the seal and then use a screwdriver to tighten the clips or mounting hardware that hold the seal in place. If the seal is still loose, you may need to reapply some sealant to create a tighter seal.4. Quick and Easy Fix for a Loose Kitchen Sink Seal


4. Quick and Easy Fix for a Loose Kitchen Sink Seal


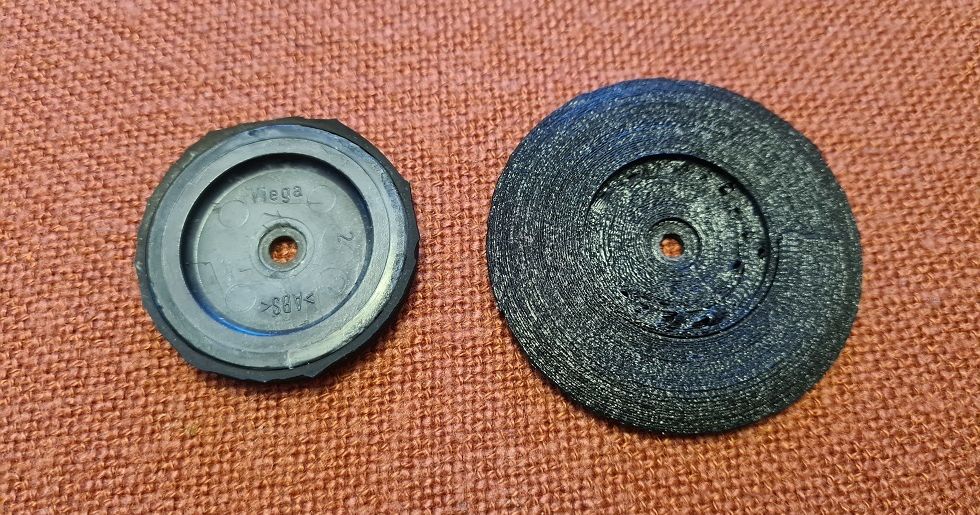
If the kitchen sink seal is severely damaged or worn out, you may need to replace it entirely. This process may seem daunting, but it can be done easily with the right tools and instructions. Start by turning off the water supply to the sink. Then, remove the old seal and clean the area thoroughly. Next, apply the new seal and secure it in place with clips or mounting hardware. Finally, turn the water supply back on and test for any leaks.5. Step-by-Step Guide to Replacing a Kitchen Sink Seal

5. Step-by-Step Guide to Replacing a Kitchen Sink Seal


:no_upscale()/cdn.vox-cdn.com/uploads/chorus_asset/file/19495086/drain_0.jpg)


To prevent future leaks, it's important to properly maintain your kitchen sink seal. Make sure to regularly clean the seal and remove any buildup or debris. Also, avoid using harsh chemicals or abrasive cleaners on the seal, as this can cause damage. If you notice any signs of wear or damage, address them promptly to prevent further issues.6. Tips for Maintaining a Strong Kitchen Sink Seal


6. Tips for Maintaining a Strong Kitchen Sink Seal

If you're experiencing issues with your kitchen sink seal, there are a few troubleshooting tips you can try before resorting to a full replacement. First, make sure the seal is properly secured and tightened. If the leak persists, check for any cracks or damage in the seal and replace it if necessary. If the problem still persists, it may be a sign of larger underlying plumbing issues that require professional attention.7. Troubleshooting Common Issues with Kitchen Sink Seals


7. Troubleshooting Common Issues with Kitchen Sink Seals


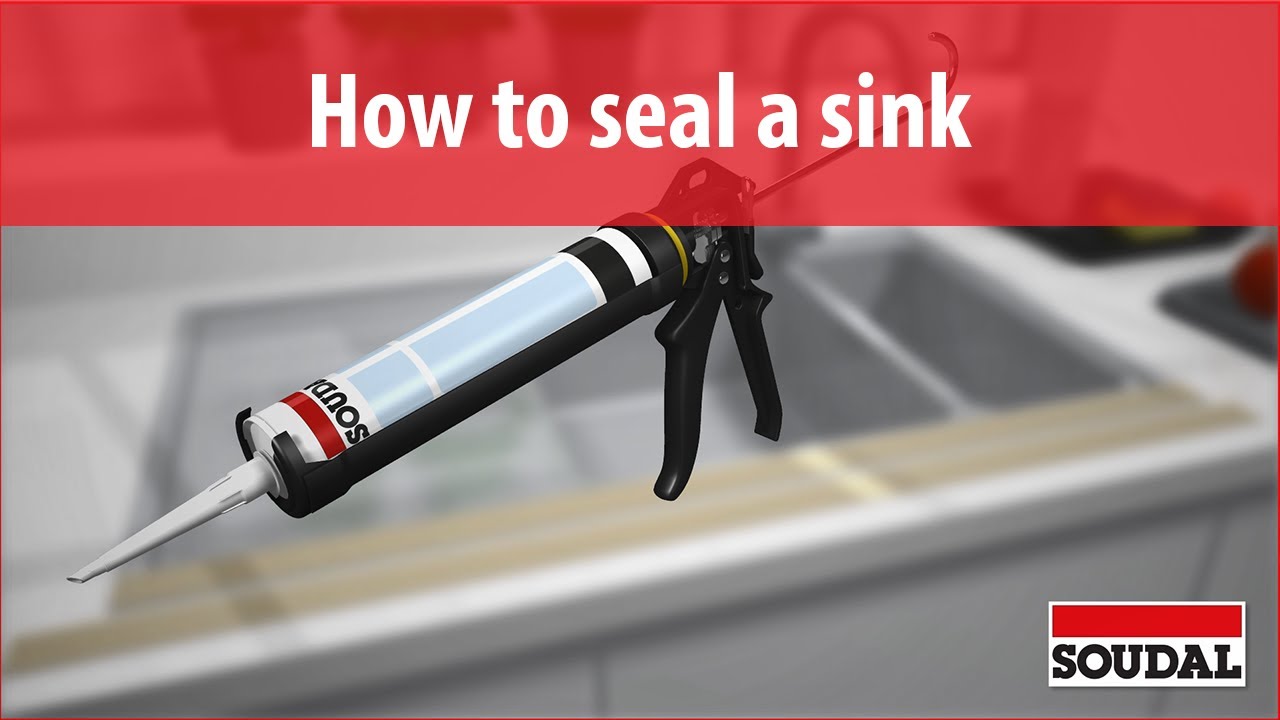
When replacing or repairing your kitchen sink seal, it's important to choose the right sealant for the job. The most commonly used sealant for kitchen sinks is silicone sealant, as it is flexible and waterproof. Make sure to choose a high-quality sealant that is specifically designed for use in kitchens and can withstand high levels of moisture and temperature changes.8. How to Choose the Right Sealant for Your Kitchen Sink


8. How to Choose the Right Sealant for Your Kitchen Sink


In some cases, it may be best to leave the repair or replacement of a kitchen sink seal to the professionals. This is especially true if you're not confident in your DIY skills or if the issue seems to be more complex. However, for minor leaks or issues with loose seals, a DIY repair can save you time and money. Ultimately, the best option will depend on the severity of the issue and your own skills and resources.9. Professional vs. DIY Kitchen Sink Seal Repair: Which is Best?

9. Professional vs. DIY Kitchen Sink Seal Repair: Which is Best?


To avoid dealing with a leaky kitchen sink seal in the future, there are a few best practices you can implement. First and foremost, regularly clean and inspect the seal for any signs of damage or wear. Additionally, avoid putting excessive weight or pressure on the seal and be careful not to over-tighten any mounting hardware. By properly maintaining your kitchen sink seal, you can prevent future leaks and ensure that your sink stays in top condition for years to come.10. Preventing Future Leaks: Best Practices for Kitchen Sink Seal Maintenance

10. Preventing Future Leaks: Best Practices for Kitchen Sink Seal Maintenance


Why a Properly Sealed Kitchen Sink is Essential for Your Home

The Importance of a Good Kitchen Sink Seal
 When it comes to kitchen design, the sink is often the unsung hero. It's where we wash dishes, prepare food, and even fill up a glass of water. However, if the seal around your kitchen sink is not properly maintained, it can lead to a variety of problems. A good seal ensures that water and other liquids do not seep into the space between your sink and the countertop, preventing mold, mildew, and water damage. Additionally, a properly sealed sink can also improve the overall aesthetics of your kitchen, making it look more polished and well-maintained.
How to Fix a Kitchen Sink Seal
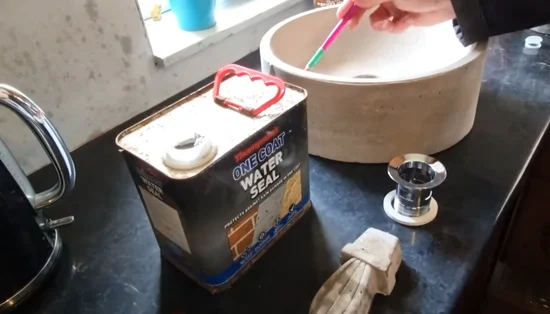
 If you notice that the seal around your kitchen sink is starting to deteriorate or has already begun to leak, it's important to take immediate action. The first step is to thoroughly clean the area around the sink, removing any old caulk or debris. Next,
use a high-quality silicone caulk
to create a new seal around the edges of the sink. Make sure to fill any gaps or cracks in the seal, and use a
putty knife
to smooth out the caulk for a clean finish. Allow the caulk to dry completely before using the sink again.
If you notice that the seal around your kitchen sink is starting to deteriorate or has already begun to leak, it's important to take immediate action. The first step is to thoroughly clean the area around the sink, removing any old caulk or debris. Next,
use a high-quality silicone caulk
to create a new seal around the edges of the sink. Make sure to fill any gaps or cracks in the seal, and use a
putty knife
to smooth out the caulk for a clean finish. Allow the caulk to dry completely before using the sink again.
Preventative Measures for a Well-Sealed Kitchen Sink
 To avoid having to constantly fix your kitchen sink seal, there are a few preventative measures you can take.
Regularly check the seal around your sink
for any signs of wear and tear and replace it as needed. Also, be mindful of how you use your sink - avoid placing heavy objects on the edges and be gentle when moving pots and pans around. And when cleaning, use gentle, non-abrasive cleaners to prevent damage to the seal.
To avoid having to constantly fix your kitchen sink seal, there are a few preventative measures you can take.
Regularly check the seal around your sink
for any signs of wear and tear and replace it as needed. Also, be mindful of how you use your sink - avoid placing heavy objects on the edges and be gentle when moving pots and pans around. And when cleaning, use gentle, non-abrasive cleaners to prevent damage to the seal.
Call in the Professionals
 If you're not confident in your DIY skills or simply don't have the time to fix your kitchen sink seal,
don't hesitate to call in the professionals
. A professional plumber or handyman can quickly and efficiently fix the seal, ensuring that it is done correctly and will last for a long time. They can also provide valuable tips and advice for maintaining a well-sealed kitchen sink in the future.
If you're not confident in your DIY skills or simply don't have the time to fix your kitchen sink seal,
don't hesitate to call in the professionals
. A professional plumber or handyman can quickly and efficiently fix the seal, ensuring that it is done correctly and will last for a long time. They can also provide valuable tips and advice for maintaining a well-sealed kitchen sink in the future.
Final Thoughts
 A properly sealed kitchen sink is essential for the overall functionality and appearance of your kitchen. By following these tips and regularly maintaining the seal, you can avoid costly repairs and keep your kitchen looking and working its best. Don't neglect this important aspect of kitchen design - a well-sealed sink is a small but crucial detail that can make a big difference in your home.