If you've noticed a constant drip or stream of water coming from your kitchen sink faucet, you most likely have a leak that needs to be fixed. Not only is a leaky faucet annoying, but it can also lead to wasted water and increased water bills. Fortunately, fixing a leaky kitchen sink faucet can be a simple DIY project that anyone can tackle. First, start by turning off the water supply to your sink. You can usually find the shut-off valves under the sink. If you can't find them, you may need to turn off the main water supply to your house. Then, close the sink drain and place a towel or cloth over it to prevent any small parts from falling down the drain. Next, determine the type of faucet you have. There are four main types: cartridge, ceramic disc, ball, and compression. Each type has a different method for fixing a leak, so it's important to know which one you have before proceeding. For a cartridge faucet, you'll need to remove the handle and cartridge to access the O-ring and replace it. A ceramic disc faucet will require replacing the ceramic disc cartridge. A ball faucet will need a replacement cam and gasket, and a compression faucet will require new valve seats and springs. Once you have the necessary replacement parts, follow the specific instructions for your faucet type to replace the faulty parts. Then, reassemble the faucet and turn the water supply back on to test for any leaks. If everything looks good, you've successfully fixed your leaky kitchen sink faucet.1. How to Fix a Leaky Kitchen Sink Faucet


1. How to Fix a Leaky Kitchen Sink Faucet


Fixing a leaky kitchen sink faucet is a simple DIY project that can save you time and money. Not only will you avoid the cost of hiring a plumber, but you'll also learn a valuable skill that can be applied to other household tasks. Before starting the repair, make sure you have all the necessary tools and replacement parts. This may include an adjustable wrench, pliers, screwdrivers, and the appropriate replacement parts for your faucet type. You can find these at your local hardware store. Once you have everything you need, follow the instructions for your specific faucet type. It's important to pay attention to any small parts and their placement during disassembly so you can easily reassemble the faucet later. During the repair process, be gentle with the faucet parts to avoid causing any damage. If you encounter any difficulties, refer to online tutorials or seek advice from a hardware store employee. With patience and a little bit of effort, you'll have your leaky kitchen sink faucet fixed in no time.2. DIY: Repairing a Leaky Kitchen Sink Faucet


2. DIY: Repairing a Leaky Kitchen Sink Faucet


If you're new to home repairs, fixing a leaky kitchen sink faucet may seem like a daunting task. However, with the right tools and knowledge, it can be a simple and rewarding DIY project. Follow these steps to fix your leaky faucet: Step 1: Gather all necessary tools and replacement parts. Step 2: Turn off the water supply to your sink. Step 3: Close the sink drain and place a cloth or towel over it. Step 4: Determine your faucet type. Step 5: Disassemble the faucet according to your faucet type. Step 6: Replace the faulty parts with the appropriate replacements. Step 7: Reassemble the faucet. Step 8: Turn the water supply back on and test for leaks. By following these steps, you'll have successfully fixed your leaky kitchen sink faucet and saved yourself the hassle and expense of hiring a professional.3. Step-by-Step Guide to Fixing a Leaky Kitchen Sink Faucet


3. Step-by-Step Guide to Fixing a Leaky Kitchen Sink Faucet


Understanding the common causes of a leaky kitchen sink faucet can help you prevent future leaks and keep your faucet functioning properly. Some of the most common causes include: Worn out O-ring: The O-ring is a small rubber ring that helps create a watertight seal in faucet handles. Over time, it can become worn, leading to leaks. Corroded valve seat: The valve seat is the connection between the faucet and the spout. If it becomes corroded, it can cause leaks. Loose or worn out washer: The washer helps create a seal between the faucet and the spout. If it becomes loose or worn out, it can result in leaks. Damaged cartridge: The cartridge controls the flow of water in the faucet. If it becomes damaged, it can cause leaks. Mineral deposits: Mineral deposits can build up in the faucet and cause leaks if they prevent the faucet from closing properly. To prevent these issues, regularly check and replace any worn out parts and clean the faucet to remove any mineral deposits.4. Common Causes of a Leaky Kitchen Sink Faucet


4. Common Causes of a Leaky Kitchen Sink Faucet


If you've followed the steps to fix your leaky kitchen sink faucet and it's still leaking, there may be an underlying issue that requires further troubleshooting. Some common troubleshooting steps include: Check the water pressure: If the water pressure is too high, it can cause leaks. Try adjusting the water pressure to see if it resolves the issue. Inspect the valve seat: If the valve seat is damaged or corroded, it may need to be replaced. Replace the cartridge: If the cartridge is damaged, it may need to be replaced to fix the leak. If you're unsure of how to troubleshoot your faucet, consider seeking advice from a professional plumber or the manufacturer of your faucet for specific troubleshooting steps.5. Troubleshooting a Leaky Kitchen Sink Faucet


5. Troubleshooting a Leaky Kitchen Sink Faucet


Having the right tools is essential for fixing a leaky kitchen sink faucet. Here are some of the tools you'll need: Adjustable wrench: This tool will help you loosen and tighten nuts and bolts of various sizes. Pliers: Pliers can be useful for gripping and turning small parts during the repair process. Screwdrivers: You'll likely need a Phillips and flathead screwdriver to disassemble and reassemble your faucet. Replacement parts: It's important to have the appropriate replacement parts for your specific faucet type. Having these tools on hand will make the repair process much easier and ensure that you have everything you need to fix the leak.6. Tools You'll Need to Fix a Leaky Kitchen Sink Faucet

6. Tools You'll Need to Fix a Leaky Kitchen Sink Faucet

If your leaky kitchen sink faucet is beyond repair, you may need to replace the entire faucet. This may seem like a daunting task, but it can be easily accomplished with the right tools and knowledge. To replace your kitchen sink faucet, follow these steps: Step 1: Turn off the water supply to your sink. Step 2: Close the sink drain and place a cloth or towel over it. Step 3: Disconnect the supply lines from the faucet. Step 4: Remove the old faucet and clean the sink surface. Step 5: Install the new faucet according to the manufacturer's instructions. Step 6: Reconnect the supply lines and turn the water supply back on. Replacing a leaky kitchen sink faucet can give your kitchen a fresh new look and prevent further leaks.7. How to Replace a Leaky Kitchen Sink Faucet


7. How to Replace a Leaky Kitchen Sink Faucet


Preventing a leaky kitchen sink faucet can save you time and money in the long run. Here are some tips to help prevent leaks: Regularly clean the faucet: Removing any mineral buildup or debris can help prevent leaks and maintain the proper functioning of your faucet. Fix small leaks immediately: Don't ignore small leaks, as they can turn into bigger problems if left untreated. Invest in quality faucets: Quality faucets may be more expensive upfront, but they are less likely to develop leaks and will last longer. Regularly check for leaks: Make it a habit to check your kitchen sink faucet for leaks, and fix any issues as soon as they arise.8. Tips for Preventing a Leaky Kitchen Sink Faucet

8. Tips for Preventing a Leaky Kitchen Sink Faucet


When faced with a leaky kitchen sink faucet, many homeowners wonder whether they should attempt to fix it themselves or hire a professional. The answer depends on your level of DIY experience and the severity of the leak. If you have some DIY experience and the leak is not too severe, it's worth attempting to fix it yourself. However, if you have no experience or the leak is significant, it's best to hire a professional to ensure the job is done correctly. Keep in mind that hiring a professional may be more expensive, but it can save you time and prevent potential mistakes that could lead to more significant issues.9. Professional vs. DIY: Fixing a Leaky Kitchen Sink Faucet


9. Professional vs. DIY: Fixing a Leaky Kitchen Sink Faucet


Fixing a leaky kitchen sink faucet may seem like a simple task, but there are some common mistakes that can be made during the process. To ensure a successful repair, avoid these mistakes: Not turning off the water supply: Forgetting to turn off the water supply can result in a flooded kitchen and potential water damage. Using the wrong tools: Using the wrong tools can cause damage to the faucet or make the repair process more challenging. Forgetting to replace small parts: Small parts, such as O-rings or washers, may seem insignificant, but they play a crucial role in preventing leaks. By avoiding these mistakes and following the necessary steps, you can successfully fix your leaky kitchen sink faucet and enjoy a functioning and leak-free faucet for years to come.10. Common Mistakes to Avoid When Fixing a Leaky Kitchen Sink Faucet


10. Common Mistakes to Avoid When Fixing a Leaky Kitchen Sink Faucet


How to Fix a Leaky Kitchen Sink Faucet: A Simple Guide

Why You Need to Fix a Leaky Kitchen Sink Faucet
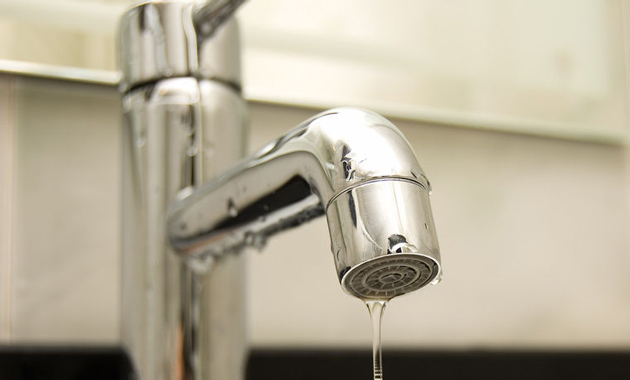
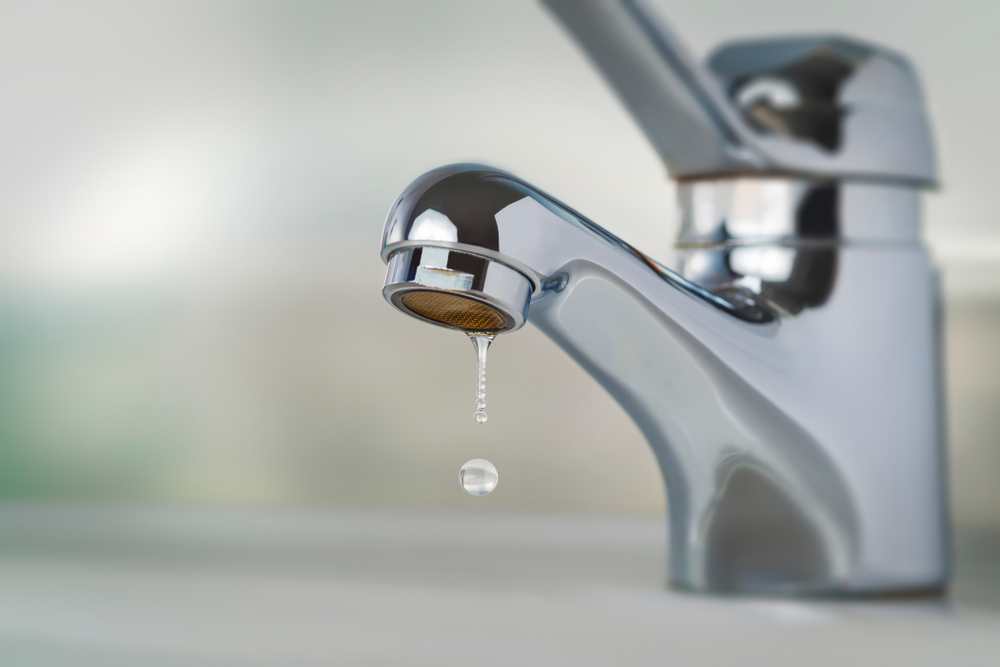
 A leaky kitchen sink faucet may seem like a minor annoyance, but it can actually lead to bigger problems if left unchecked. Not only does it waste water and increase your utility bills, but it can also cause damage to your sink and cabinets. Additionally, the constant dripping can be a source of irritation and disrupt your daily routine. That's why it's important to fix a leaky kitchen sink faucet as soon as possible. In this article, we will guide you through the steps to fix this common household issue and restore your sink to its full functionality.
Tools and Materials You Will Need
 Before you begin, it's important to gather all the necessary tools and materials. This will ensure a smooth and efficient repair process. Here's a list of what you will need:
- Adjustable wrench - to loosen and tighten nuts and bolts
- Phillips head screwdriver - to remove screws
- Allen wrench - to remove faucet handle
- Replacement parts - such as O-ring, washer, and valve
- Plumber's tape - to create a tight seal
- Bucket - to catch any water that may drip out
Step-by-Step Guide to Fixing a Leaky Kitchen Sink Faucet
 Now that you have all the necessary tools and materials, it's time to start fixing the leaky faucet. Follow these steps:
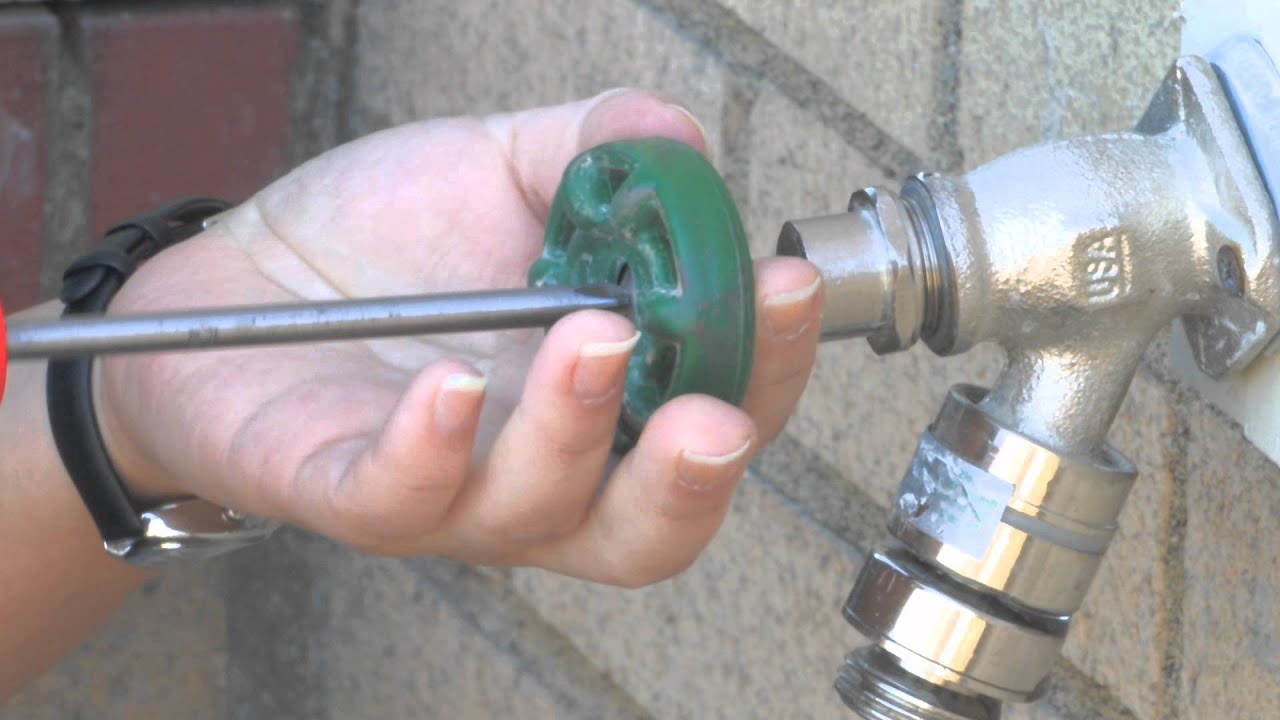
- Turn off the water supply - Before you begin, turn off the water supply to your sink. This can usually be done by turning off the shut-off valves underneath the sink.
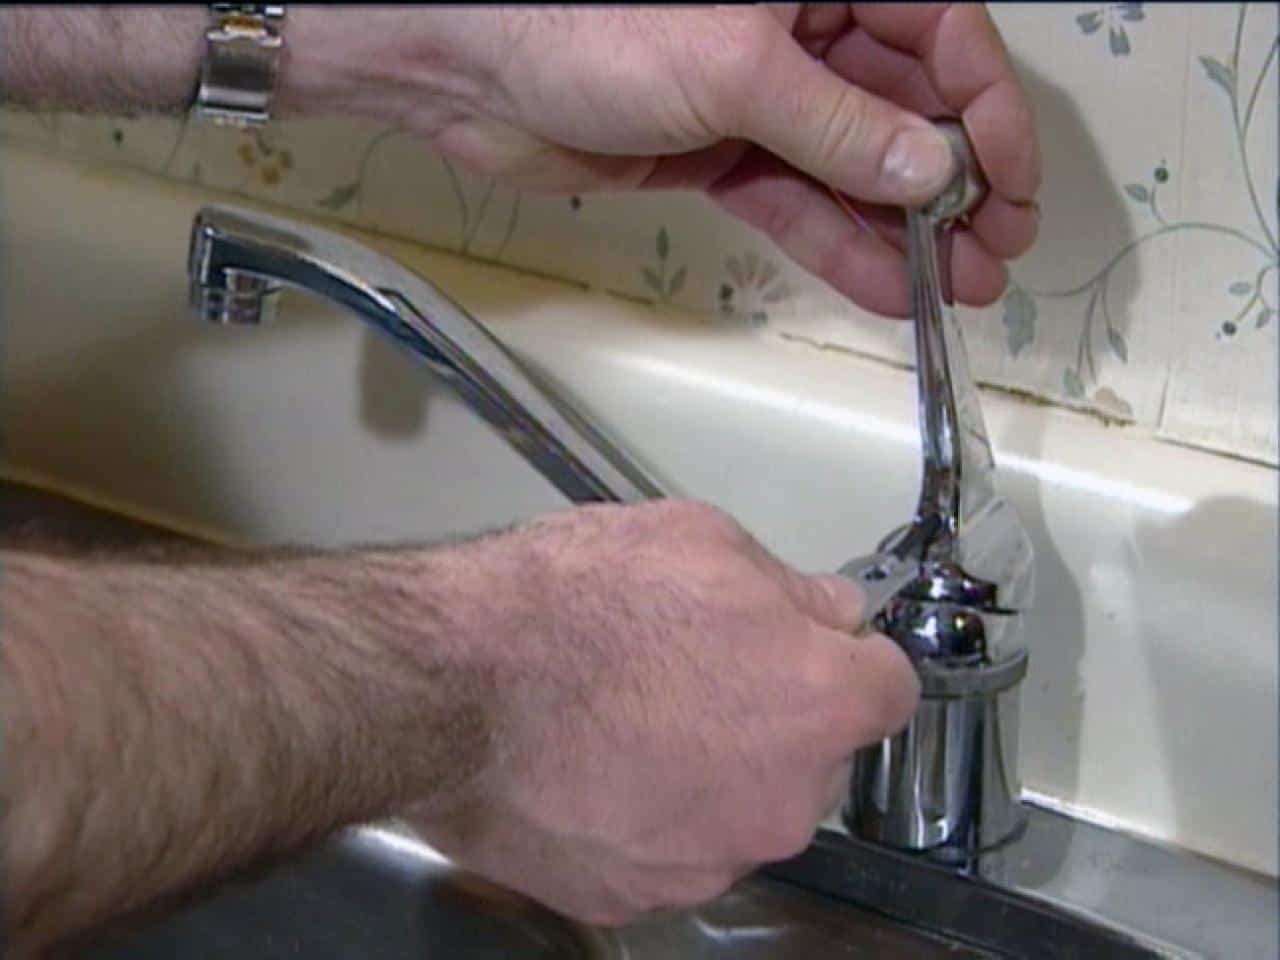
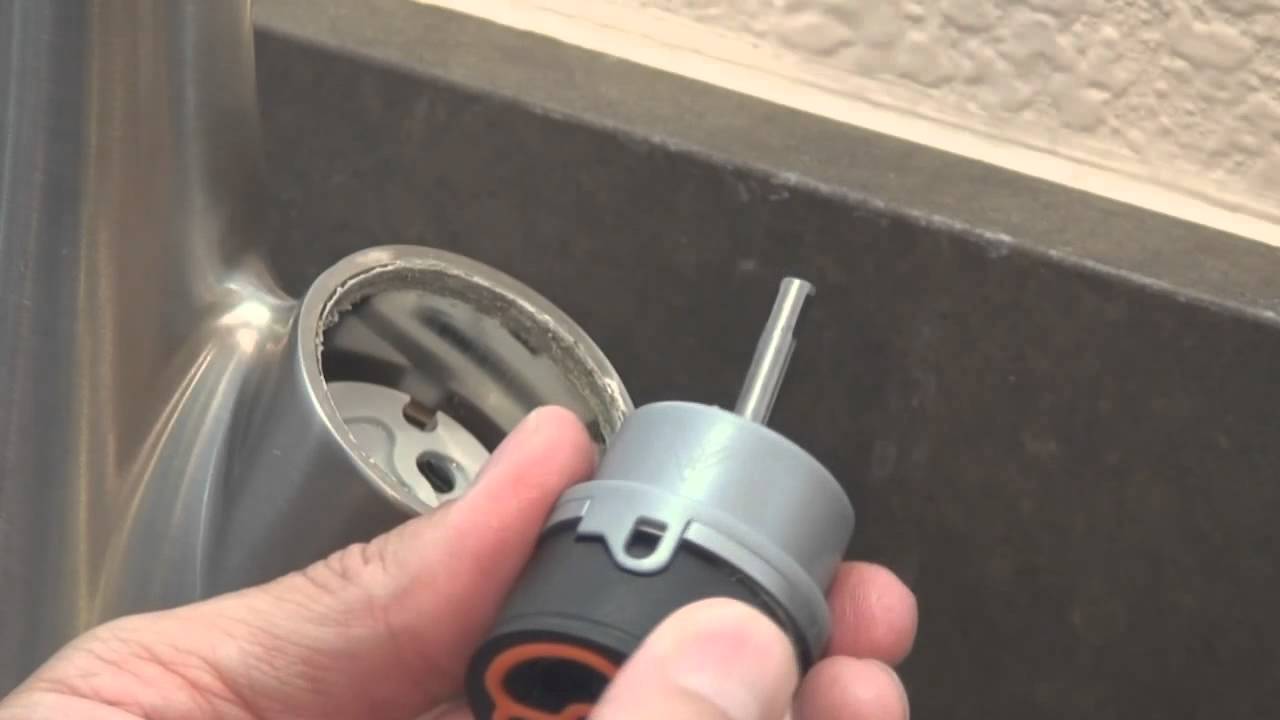
- Remove the faucet handle - Use an Allen wrench to remove the handle of your faucet. This will expose the cartridge or valve underneath.
- Inspect and replace damaged parts - Inspect the cartridge or valve for any signs of damage, such as cracks or worn out O-rings. If any parts are damaged, replace them with new ones.
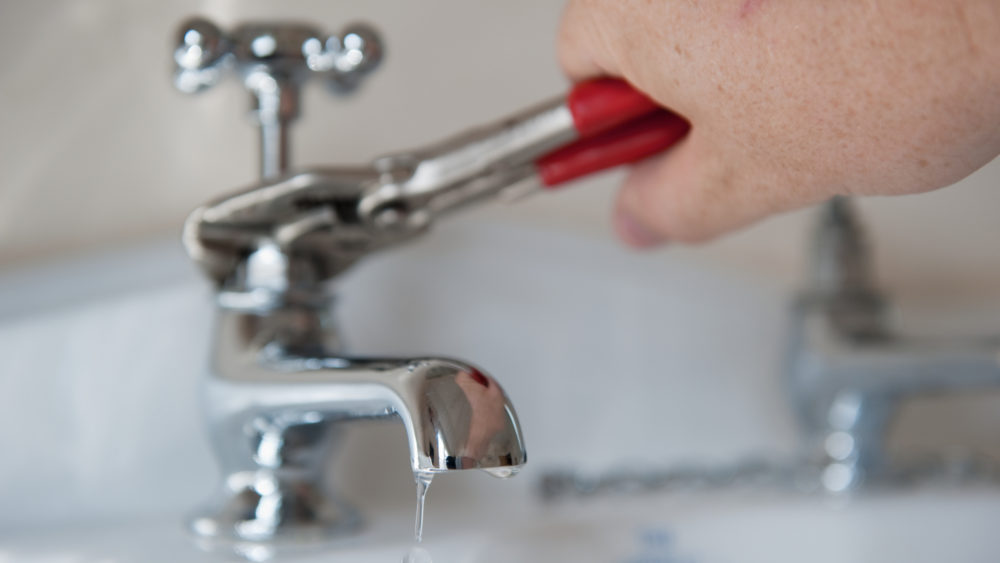
- Clean and reassemble the faucet - Use a clean cloth to wipe down any debris or buildup from the faucet. Then, reassemble the handle and tighten all nuts and bolts with an adjustable wrench.
- Turn on the water supply - Once everything is back in place, turn on the water supply and check for any leaks. If there are still leaks, you may need to replace the entire faucet.
Preventative Measures to Avoid Future Leaks
 To prevent future leaks, it's important to take good care of your kitchen sink faucet. Here are some tips:
- Regularly clean and maintain your faucet - Wipe down your faucet regularly to prevent buildup and potential damage. Also, check for any loose parts and tighten them as needed.
- Don't use excessive force when turning the faucet on and off - This can cause wear and tear on the internal parts of the faucet and lead to leaks.
- Replace worn out parts promptly - If you notice any signs of damage, replace the damaged parts as soon as possible to prevent further issues.
In Conclusion
 Fixing a leaky kitchen sink faucet may seem like a daunting task, but with the right tools and knowledge, it can be a simple DIY project. By following the steps outlined in this article and taking preventative measures, you can easily fix and avoid future leaks in your kitchen sink faucet. Remember to turn off the water supply and gather all necessary tools and materials before starting the repair process. With a little time and effort, your kitchen sink faucet will be back to its fully functional state in no time.