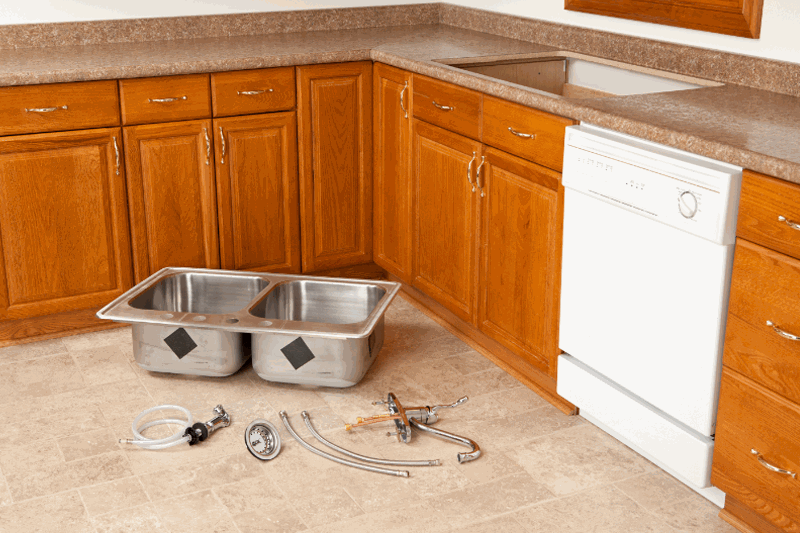
Fitting a new kitchen sink tap may seem like a daunting task, but with the right tools and knowledge, it can be a simple DIY project that can give your kitchen a fresh new look. In this article, we will guide you through the process of fitting a new kitchen sink tap step-by-step, so you can confidently tackle this project and have a functional and stylish tap in no time.How to Fit a New Kitchen Sink Tap
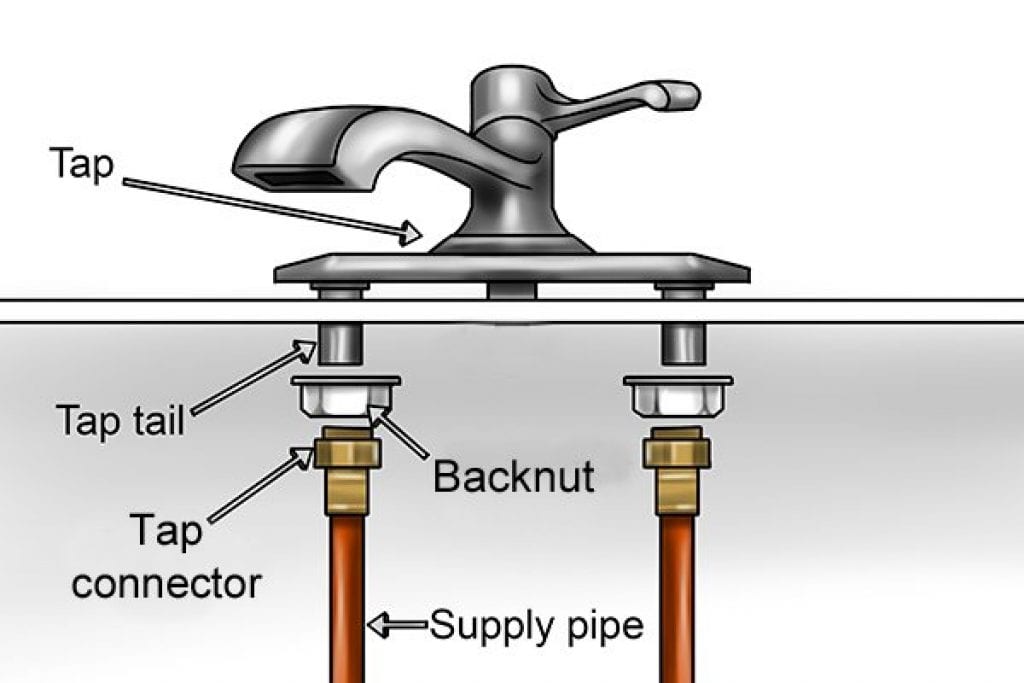
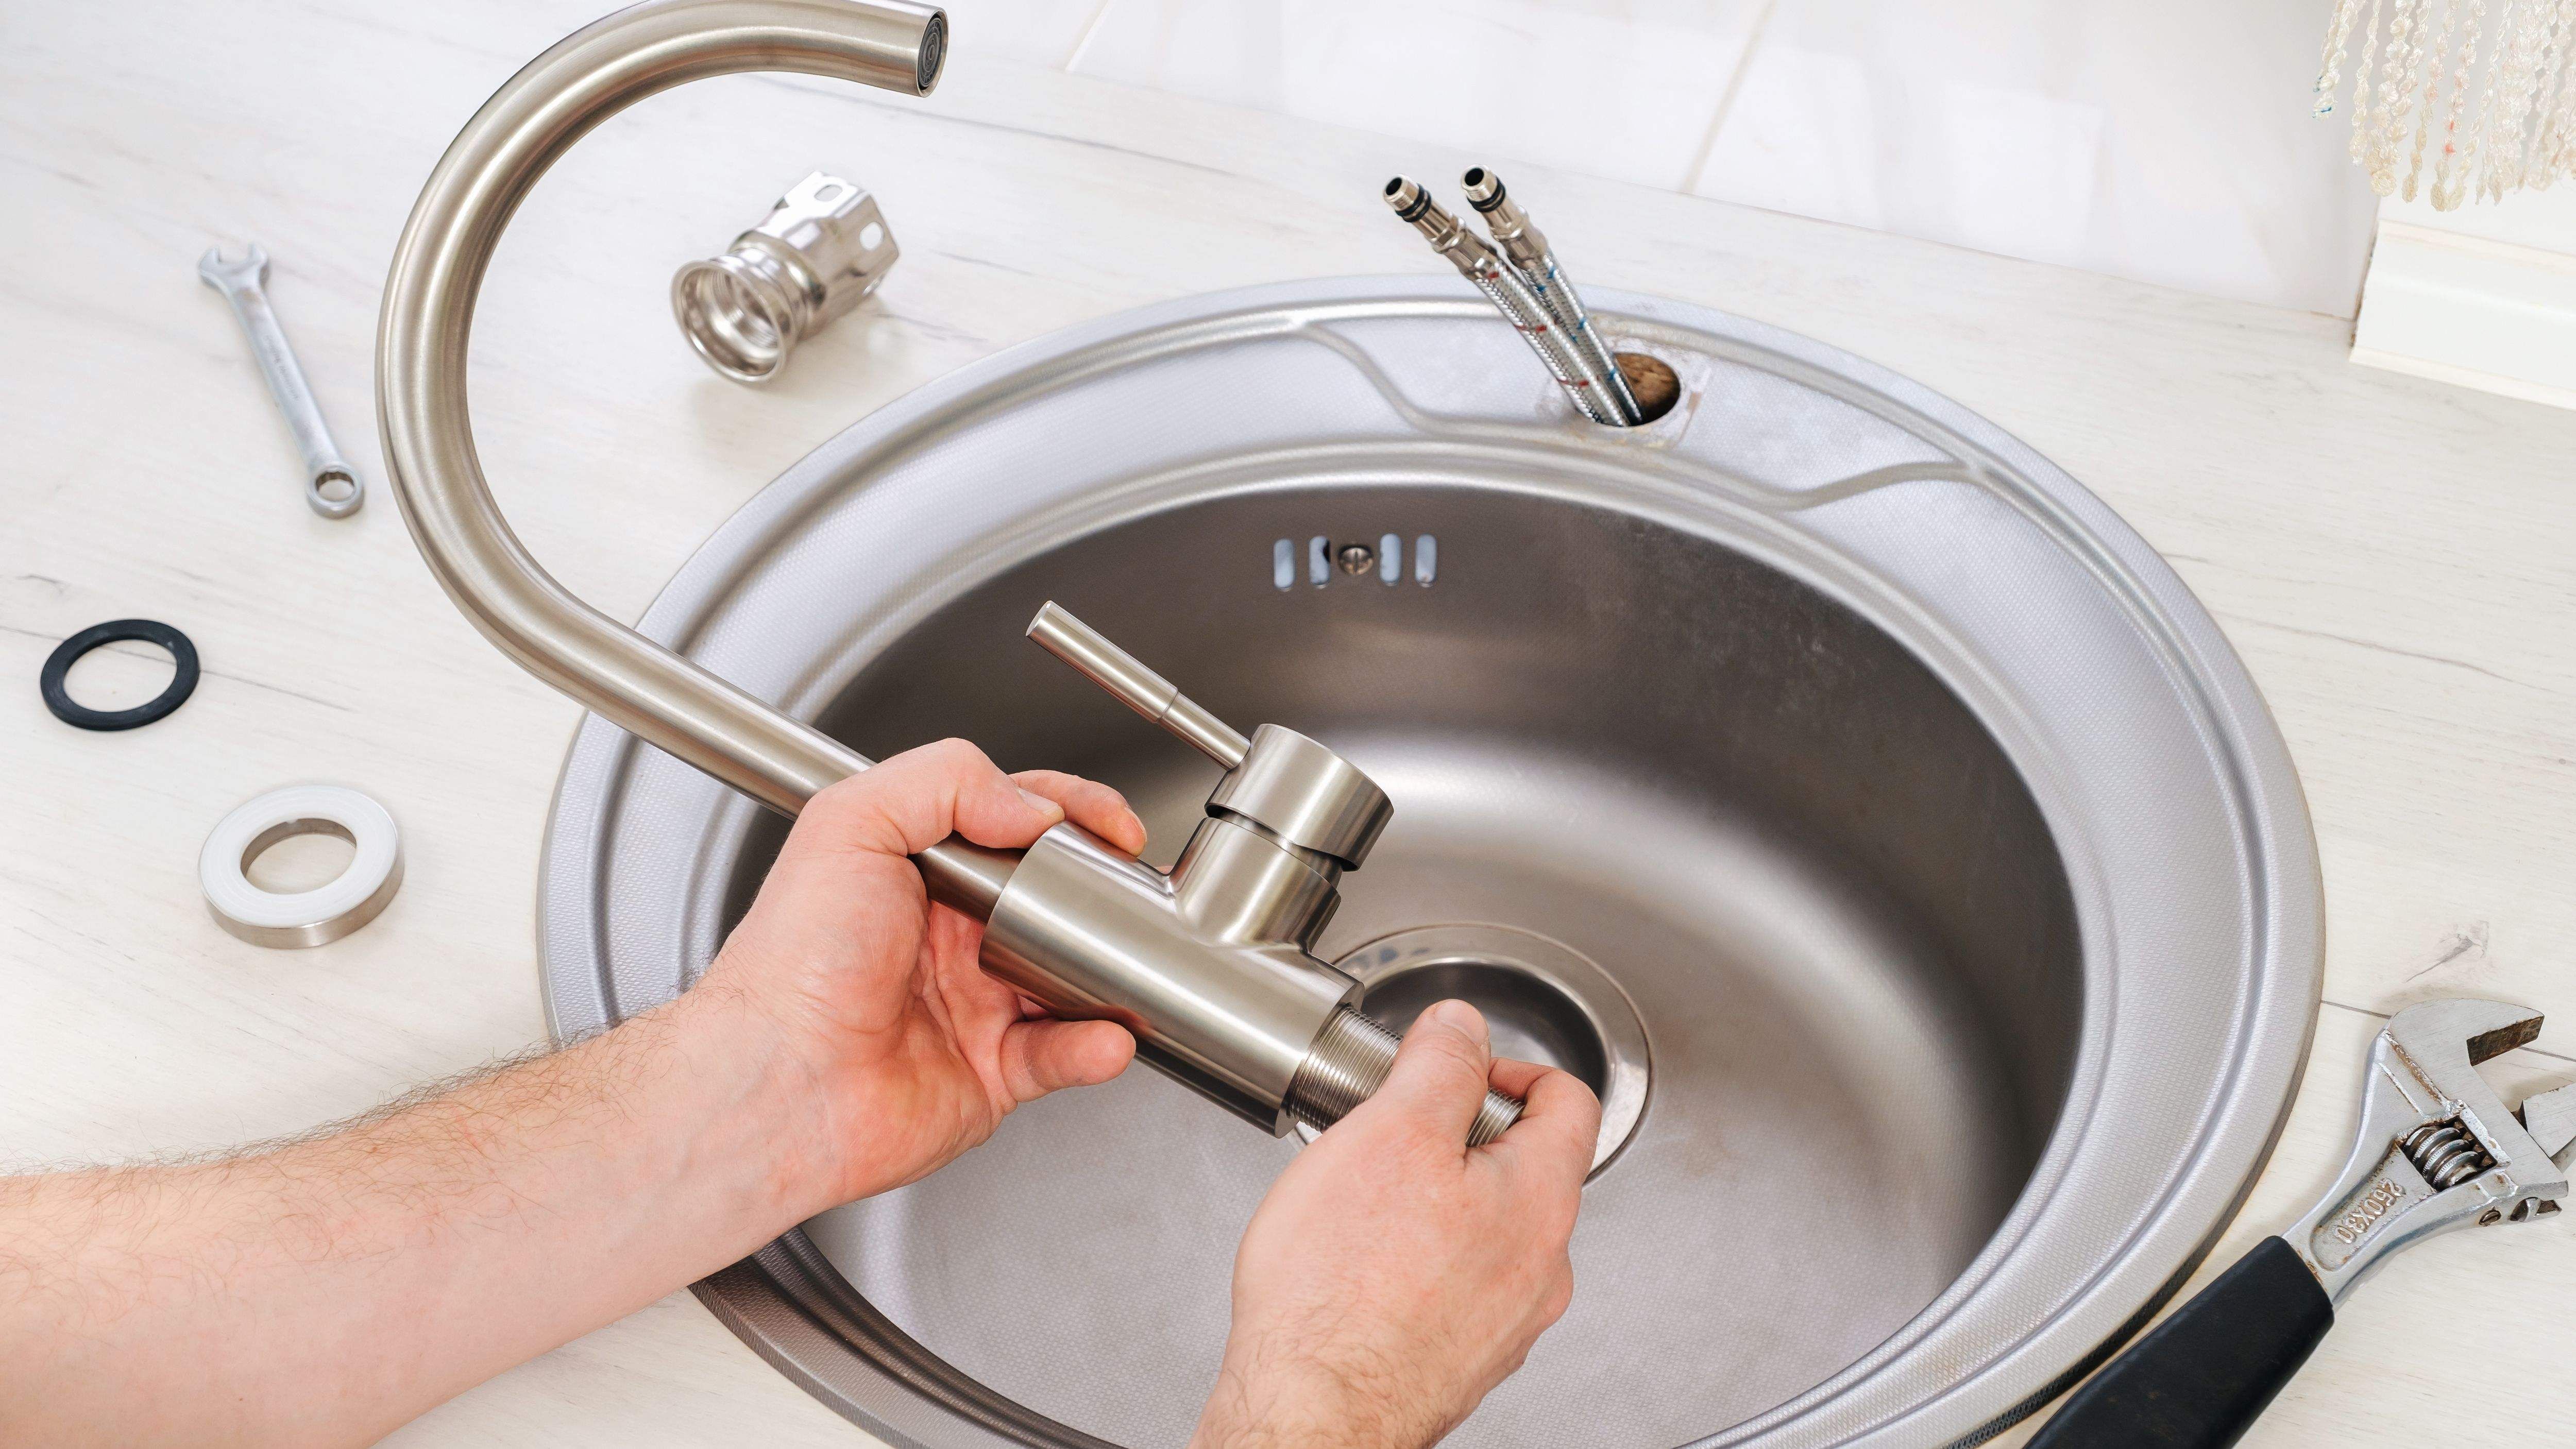
Before you begin, make sure you have all the necessary tools and materials. This includes the new tap, adjustable wrench, basin wrench, plumber's putty, Teflon tape, and a bucket or towel to catch any water. It's also a good idea to turn off the water supply before starting. Step 1: Remove the old tap by loosening the nuts connecting the tap to the sink using an adjustable wrench. Once the nuts are loosened, you can lift the tap off the sink and set it aside. Step 2: Clean the area where the old tap was attached to the sink to ensure a smooth surface for the new tap. Step 3: Apply plumber's putty to the base of the new tap. This will help create a watertight seal when the tap is attached to the sink. Step 4: Insert the tap through the hole in the sink and secure it in place using the mounting nuts provided. Use a basin wrench to tighten the nuts and ensure the tap is firmly attached to the sink. Step 5: Connect the hot and cold water supply lines to the corresponding valves on the tap. Use Teflon tape to create a watertight seal. Step 6: Turn the water supply back on and check for any leaks. If there are any, tighten the connections further. Step 7: Once everything is secure and there are no leaks, turn on the tap and check the water flow. Adjust the tap as needed to achieve your desired water pressure. Step 8: Clean up any excess putty or debris and enjoy your new kitchen sink tap!Fitting a New Kitchen Sink Tap: A Step-by-Step Guide
Installing a new kitchen sink tap yourself can save you money and give you a sense of accomplishment. However, it's important to know your skill level and when it's best to call a professional. If you have little to no experience with plumbing, it may be best to leave this task to the experts. Before attempting this DIY project, make sure to do your research and have all the necessary tools and materials. If you feel confident and comfortable, follow our step-by-step guide for a successful installation.DIY: Installing a New Kitchen Sink Tap
If you're a beginner when it comes to home improvement projects, replacing your kitchen sink tap can be a great place to start. It's a relatively simple task that can give your kitchen a quick and noticeable upgrade. Before beginning, take the time to familiarize yourself with the tools and materials needed and make sure you have the correct tap for your sink. Following our step-by-step guide can help ensure a smooth and successful replacement.Replacing Your Kitchen Sink Tap: A Beginner's Guide
Having the right tools is essential for a successful tap fitting. Some of the tools you'll need include an adjustable wrench, basin wrench, and Teflon tape. These tools will help you tighten and secure the tap in place, as well as create a watertight seal to prevent leaks. It's important to have all the necessary tools on hand before you begin, as it can be frustrating and time-consuming to stop the process and search for a missing tool.Tools You'll Need for Fitting a New Kitchen Sink Tap
When it comes to choosing the right kitchen sink tap, there are a few factors to consider. You want to make sure the tap fits your sink and matches your kitchen's style. Additionally, look for a tap with a good water flow rate and one that is easy to clean and maintain. If you're unsure about which tap to choose, do your research and read reviews from other customers. You can also seek advice from a professional at your local hardware store.Tips for Choosing the Right Kitchen Sink Tap
While fitting a new kitchen sink tap may seem like a simple task, there are some common mistakes that can easily be avoided. These include not properly tightening the connections, using the wrong tools, and not turning off the water supply before beginning. To ensure a successful installation, make sure to follow the instructions carefully and double-check all connections before turning the water supply back on.Common Mistakes to Avoid When Fitting a New Kitchen Sink Tap
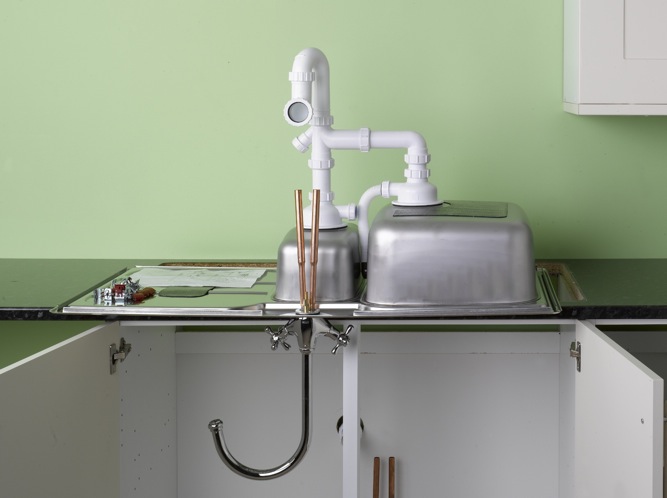
If you're replacing your kitchen sink tap, you'll need to remove the old tap first. This can be done by loosening the nuts connecting the tap to the sink and then lifting the tap off the sink. Before removing the tap, make sure to turn off the water supply and have a bucket or towel handy to catch any water that may drip out.How to Remove an Old Kitchen Sink Tap
Before jumping into the installation process, it's important to know what you're getting yourself into. Make sure you have all the necessary tools and materials, have turned off the water supply, and have a good understanding of the steps involved. If you're unsure about any part of the process, don't hesitate to seek advice from a professional or watch online tutorials for a better understanding.Installing a Kitchen Sink Tap: What to Know Before You Begin
To recap, fitting a new kitchen sink tap involves removing the old tap, cleaning the area, securing the new tap in place, connecting the water supply lines, and checking for leaks. By following our step-by-step guide and having the right tools and materials, you can successfully complete this DIY project and have a functional and stylish tap in your kitchen.Step-by-Step Guide to Fitting a New Kitchen Sink Tap
Fitting a New Kitchen Sink Tap: An Essential Step in House Design
Why Upgrade Your Kitchen Sink Tap?
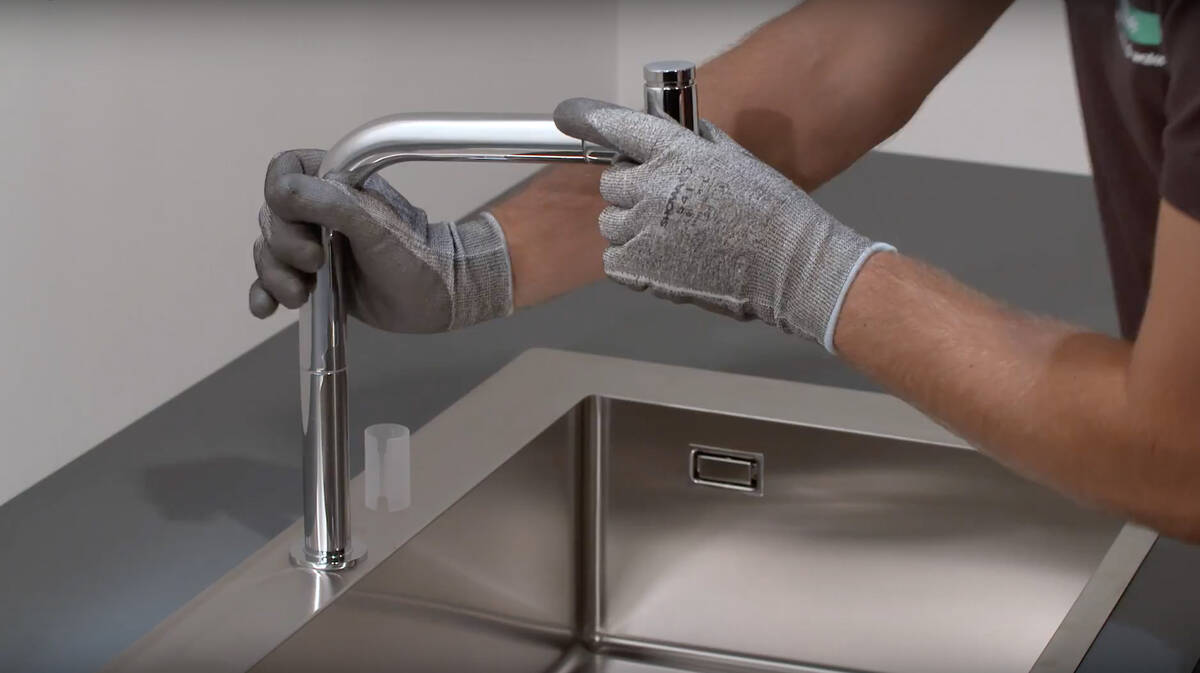 When it comes to designing your dream house, every detail matters. From the color of the walls to the type of flooring, each decision contributes to the overall look and feel of your home. One important aspect that often gets overlooked is the kitchen sink tap. But upgrading to a new tap can make a huge difference in both the functionality and aesthetics of your kitchen.
Replacing an old, worn-out tap with a new one can improve the water flow, prevent leaks, and give your kitchen a fresh, modern look.
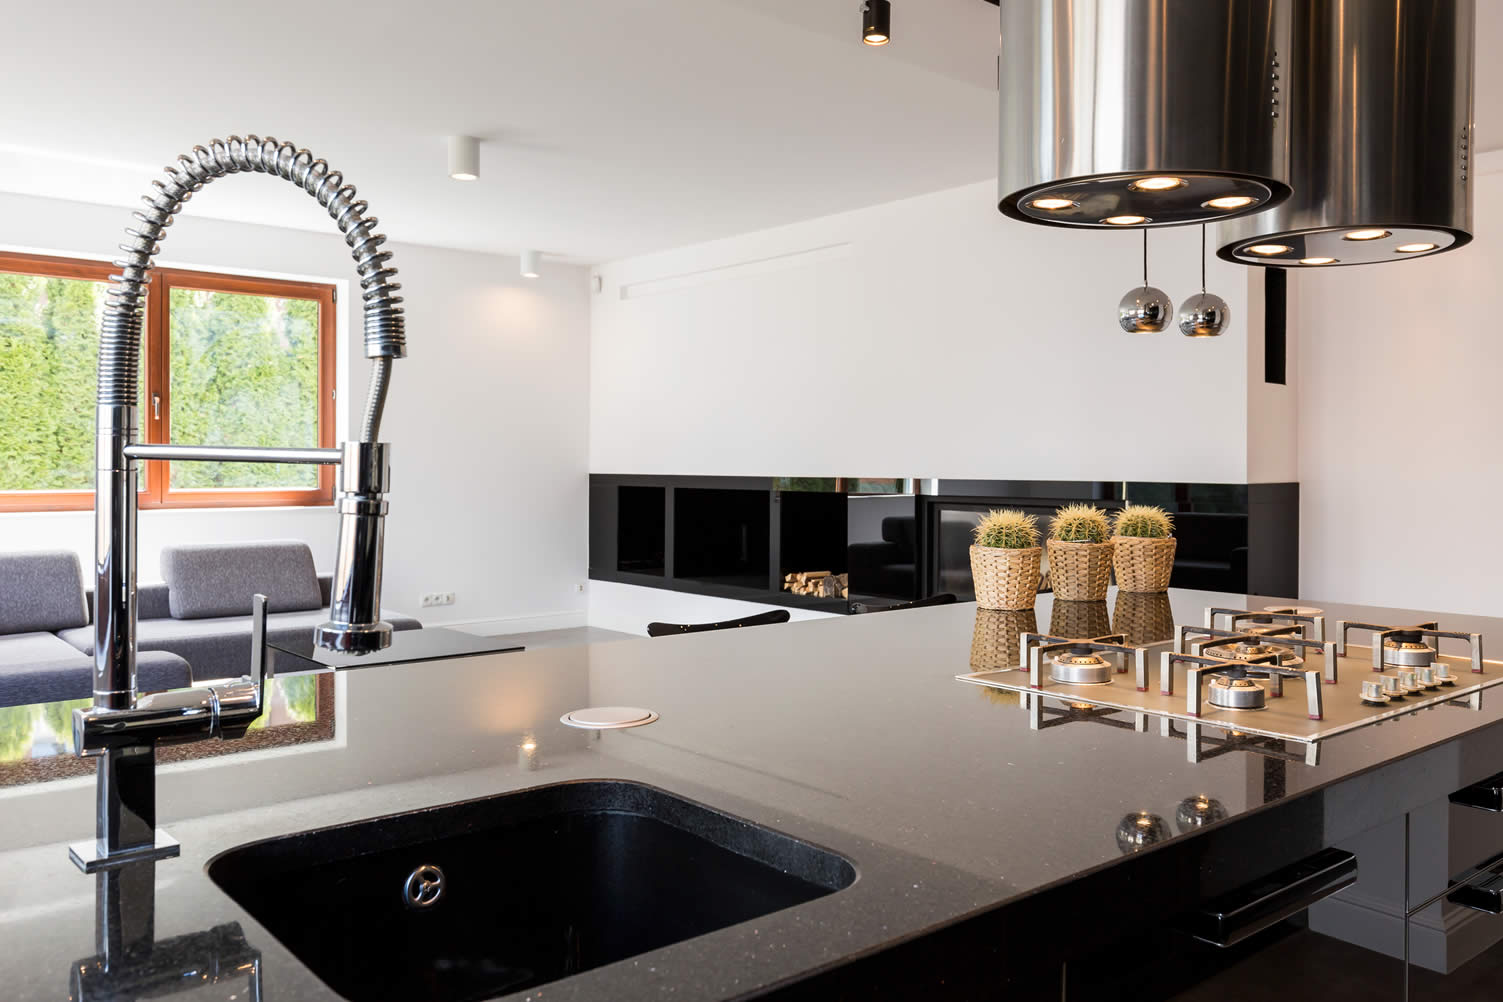
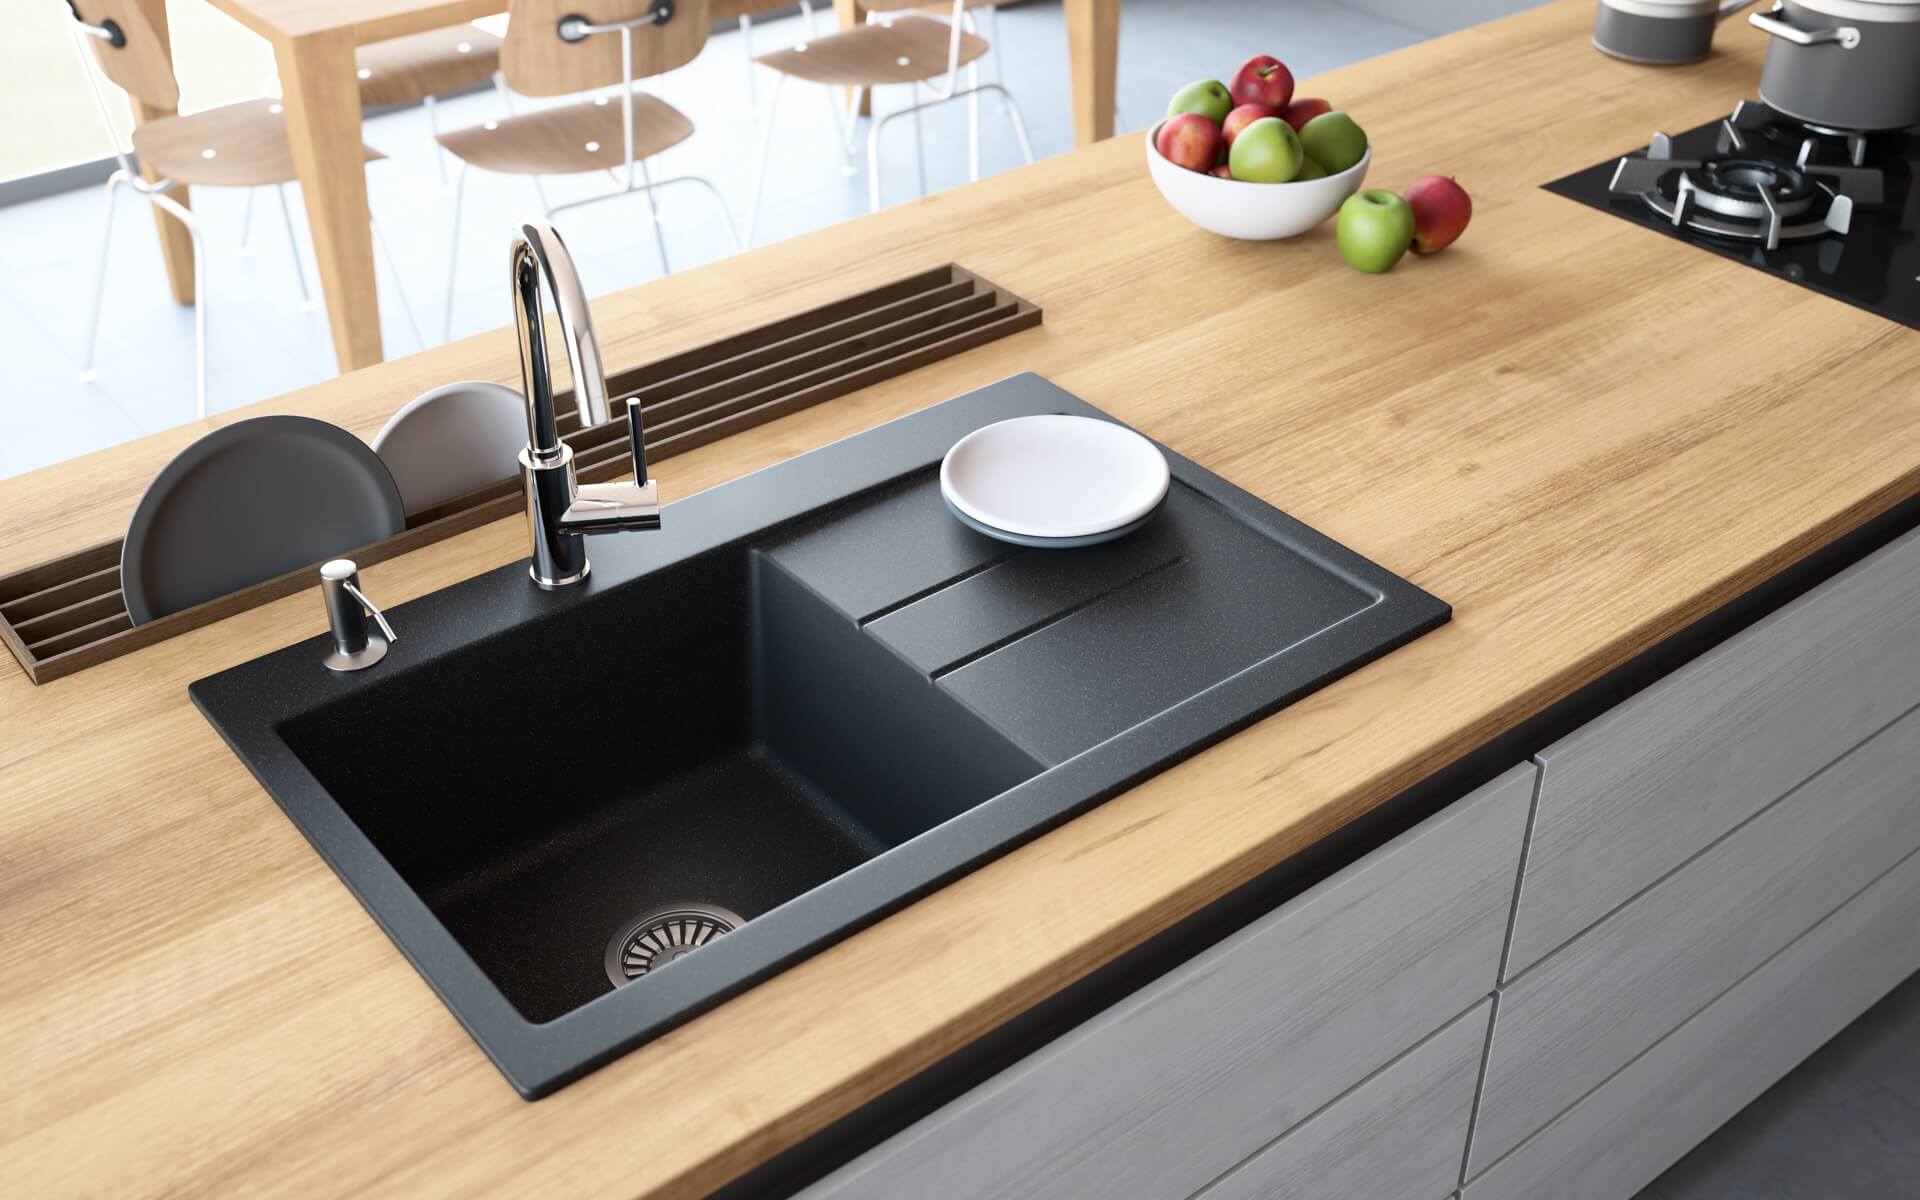
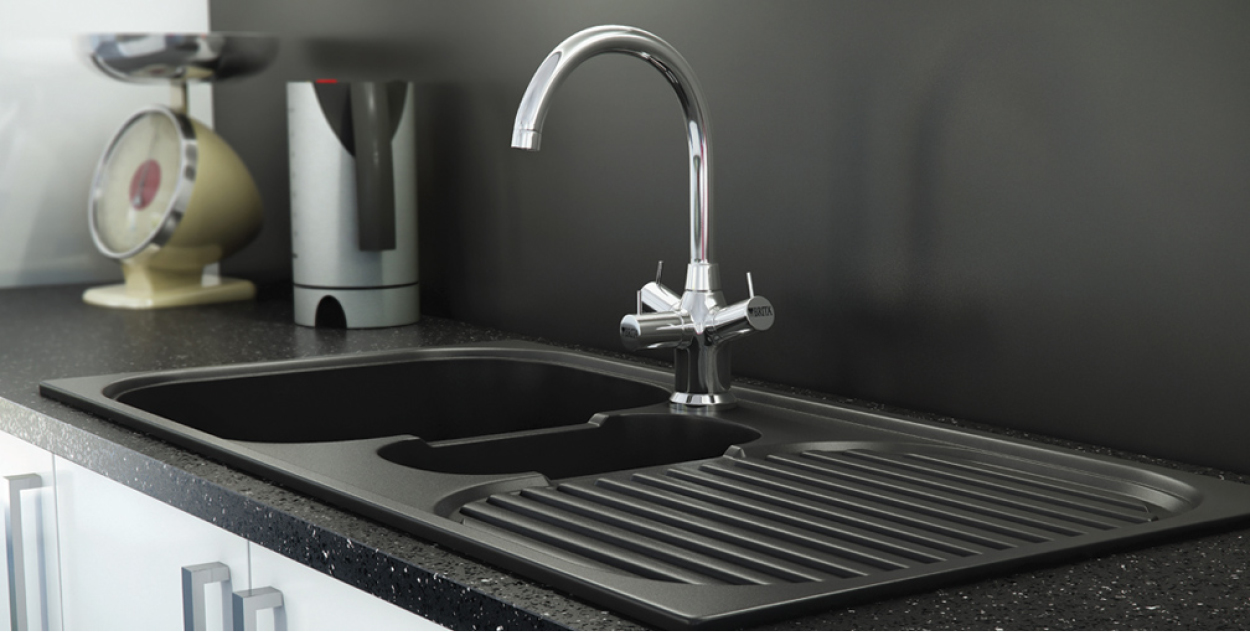
With the wide variety of tap designs available in the market, you can easily find one that complements your kitchen's style and adds a touch of sophistication to the space.
Step-by-Step Guide to Fitting a New Tap
 Fitting a new kitchen sink tap may seem like a daunting task, but with the right tools and some basic knowledge, you can do it yourself in a few simple steps.
The first step is to gather all the necessary tools, including a wrench, screwdriver, and plumber's tape. It's also important to turn off the water supply before starting the installation process.
Next, remove the old tap by unscrewing the nuts and disconnecting the water lines. Then, clean the sink area thoroughly and make sure the holes are clear of any debris or old sealant.
Once you have a clean surface, you can begin installing the new tap.
Place the rubber gasket and metal plate over the holes in the sink, and secure them with the nuts provided. Make sure the tap is straight and centered before tightening the nuts with a wrench. Then, attach the water lines to the tap and secure them with the appropriate fittings.
After everything is securely in place, turn on the water supply and check for any leaks. If there are no leaks, you can now enjoy your new kitchen sink tap and the improved functionality and style it brings to your kitchen.
Final Thoughts
 Fitting a new kitchen sink tap is a simple yet impactful way to upgrade your house design. Not only does it improve the functionality of your kitchen, but it also adds an element of style and sophistication to the space.
Follow these steps and give your kitchen a fresh new look with a new tap today!




:no_upscale()/cdn.vox-cdn.com/uploads/chorus_asset/file/19495086/drain_0.jpg)










:no_upscale()/cdn.vox-cdn.com/uploads/chorus_asset/file/19495086/drain_0.jpg)

