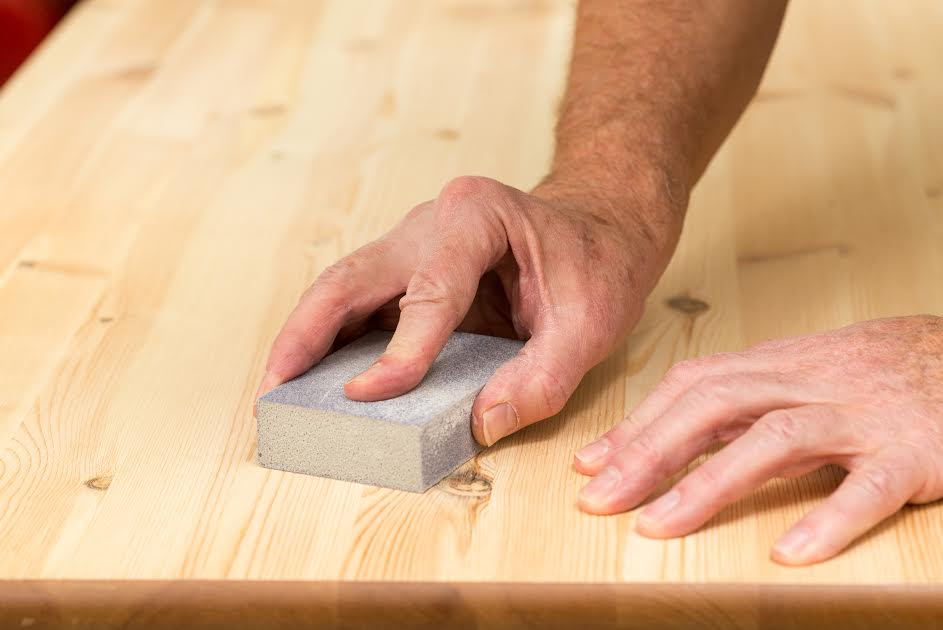
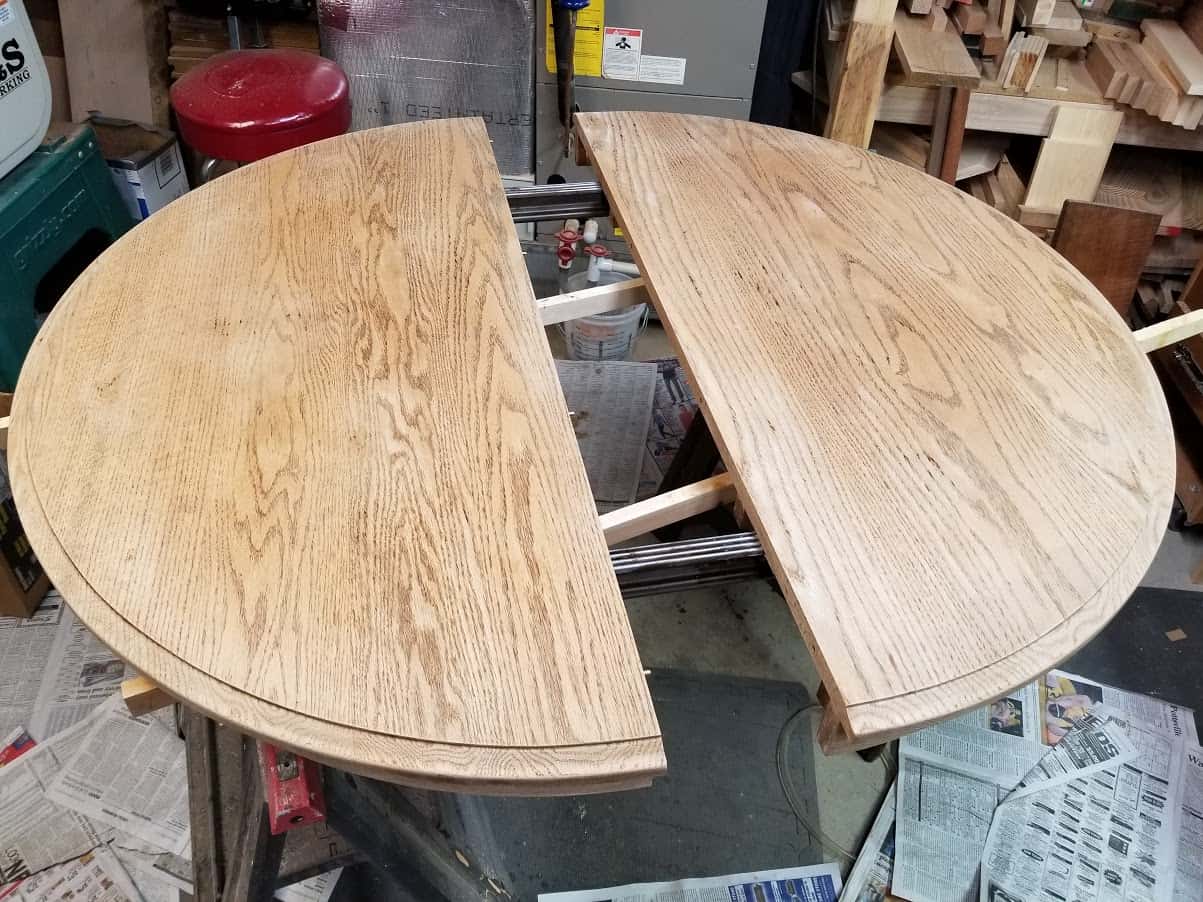
One of the first steps in finishing a wood kitchen table is sanding. This process helps to smooth out any rough spots or imperfections on the surface of the wood. It also helps to prepare the wood for staining and sealing by removing any old finish or dirt that may be present. Using a medium-grit sandpaper, start by sanding the surface of the table in the direction of the wood grain. Be sure to sand evenly and avoid pressing too hard, as this can create uneven spots on the table. Once the surface is smooth, switch to a fine-grit sandpaper to achieve a smoother finish. After sanding, be sure to wipe down the table with a clean cloth to remove any dust or debris before moving on to the next step.1. Sanding the Table
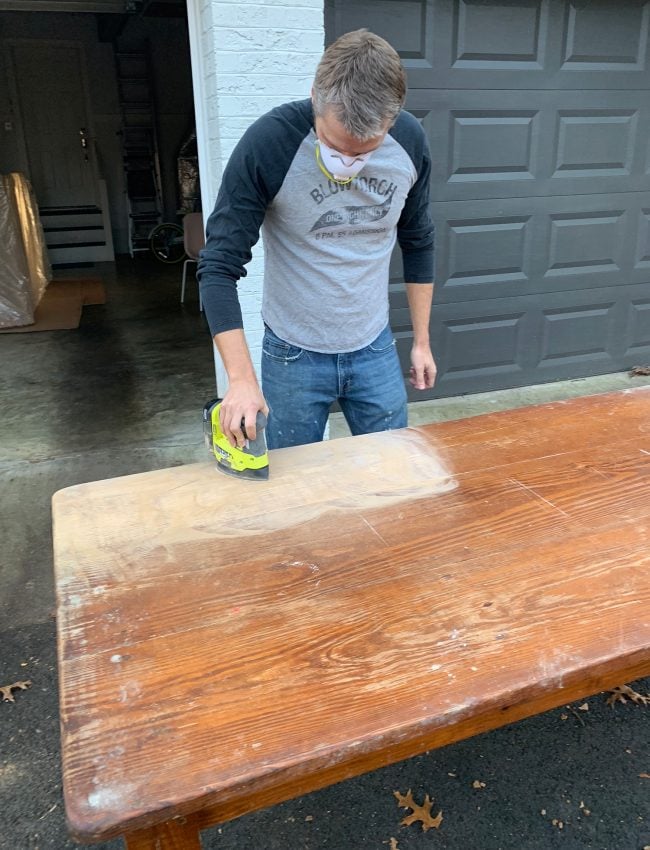


1. Sanding the table


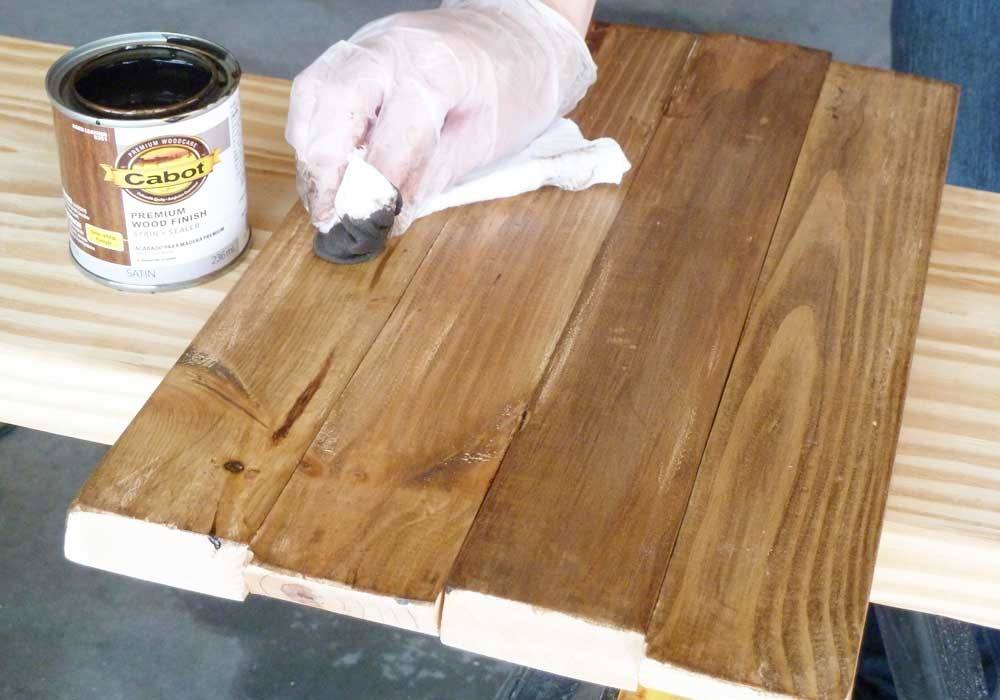
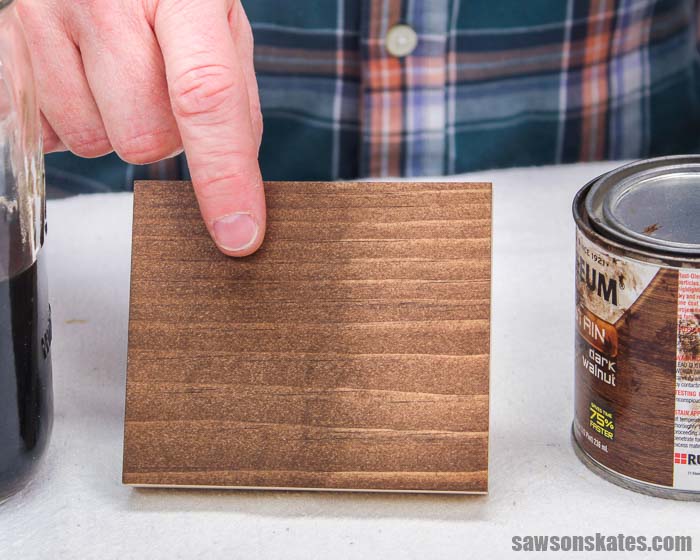
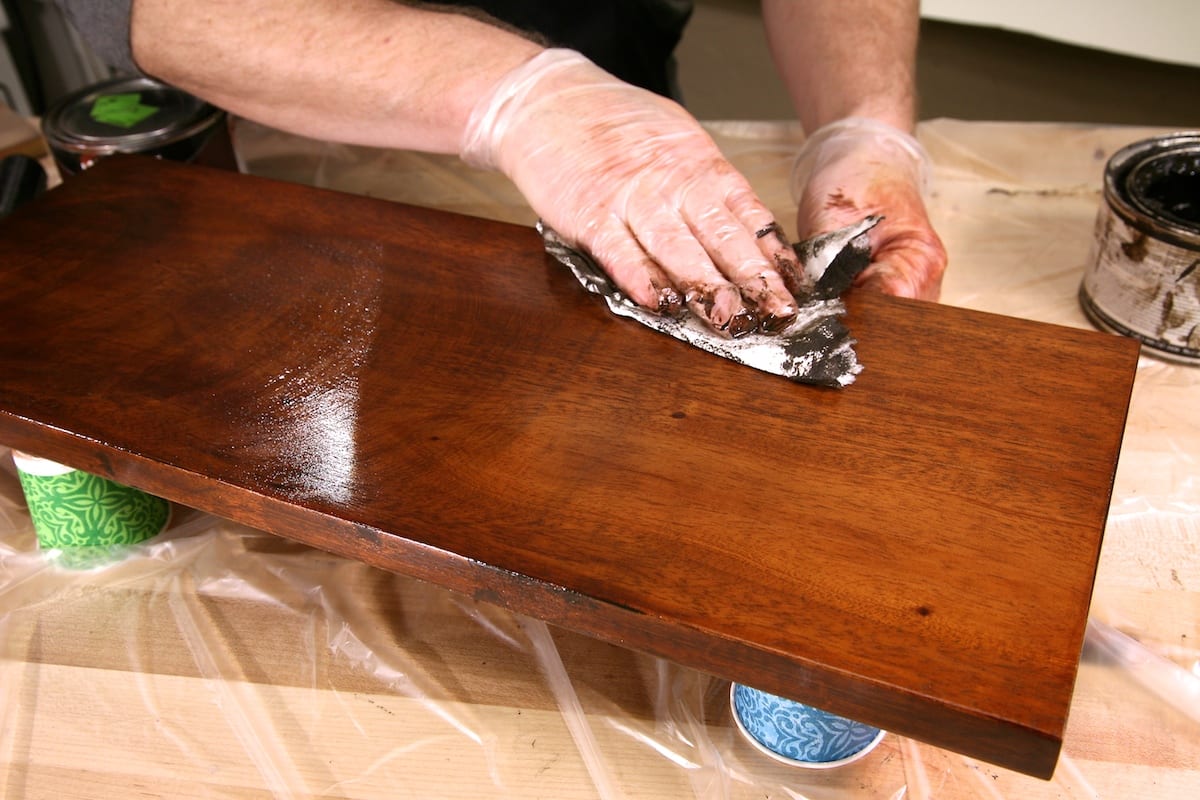
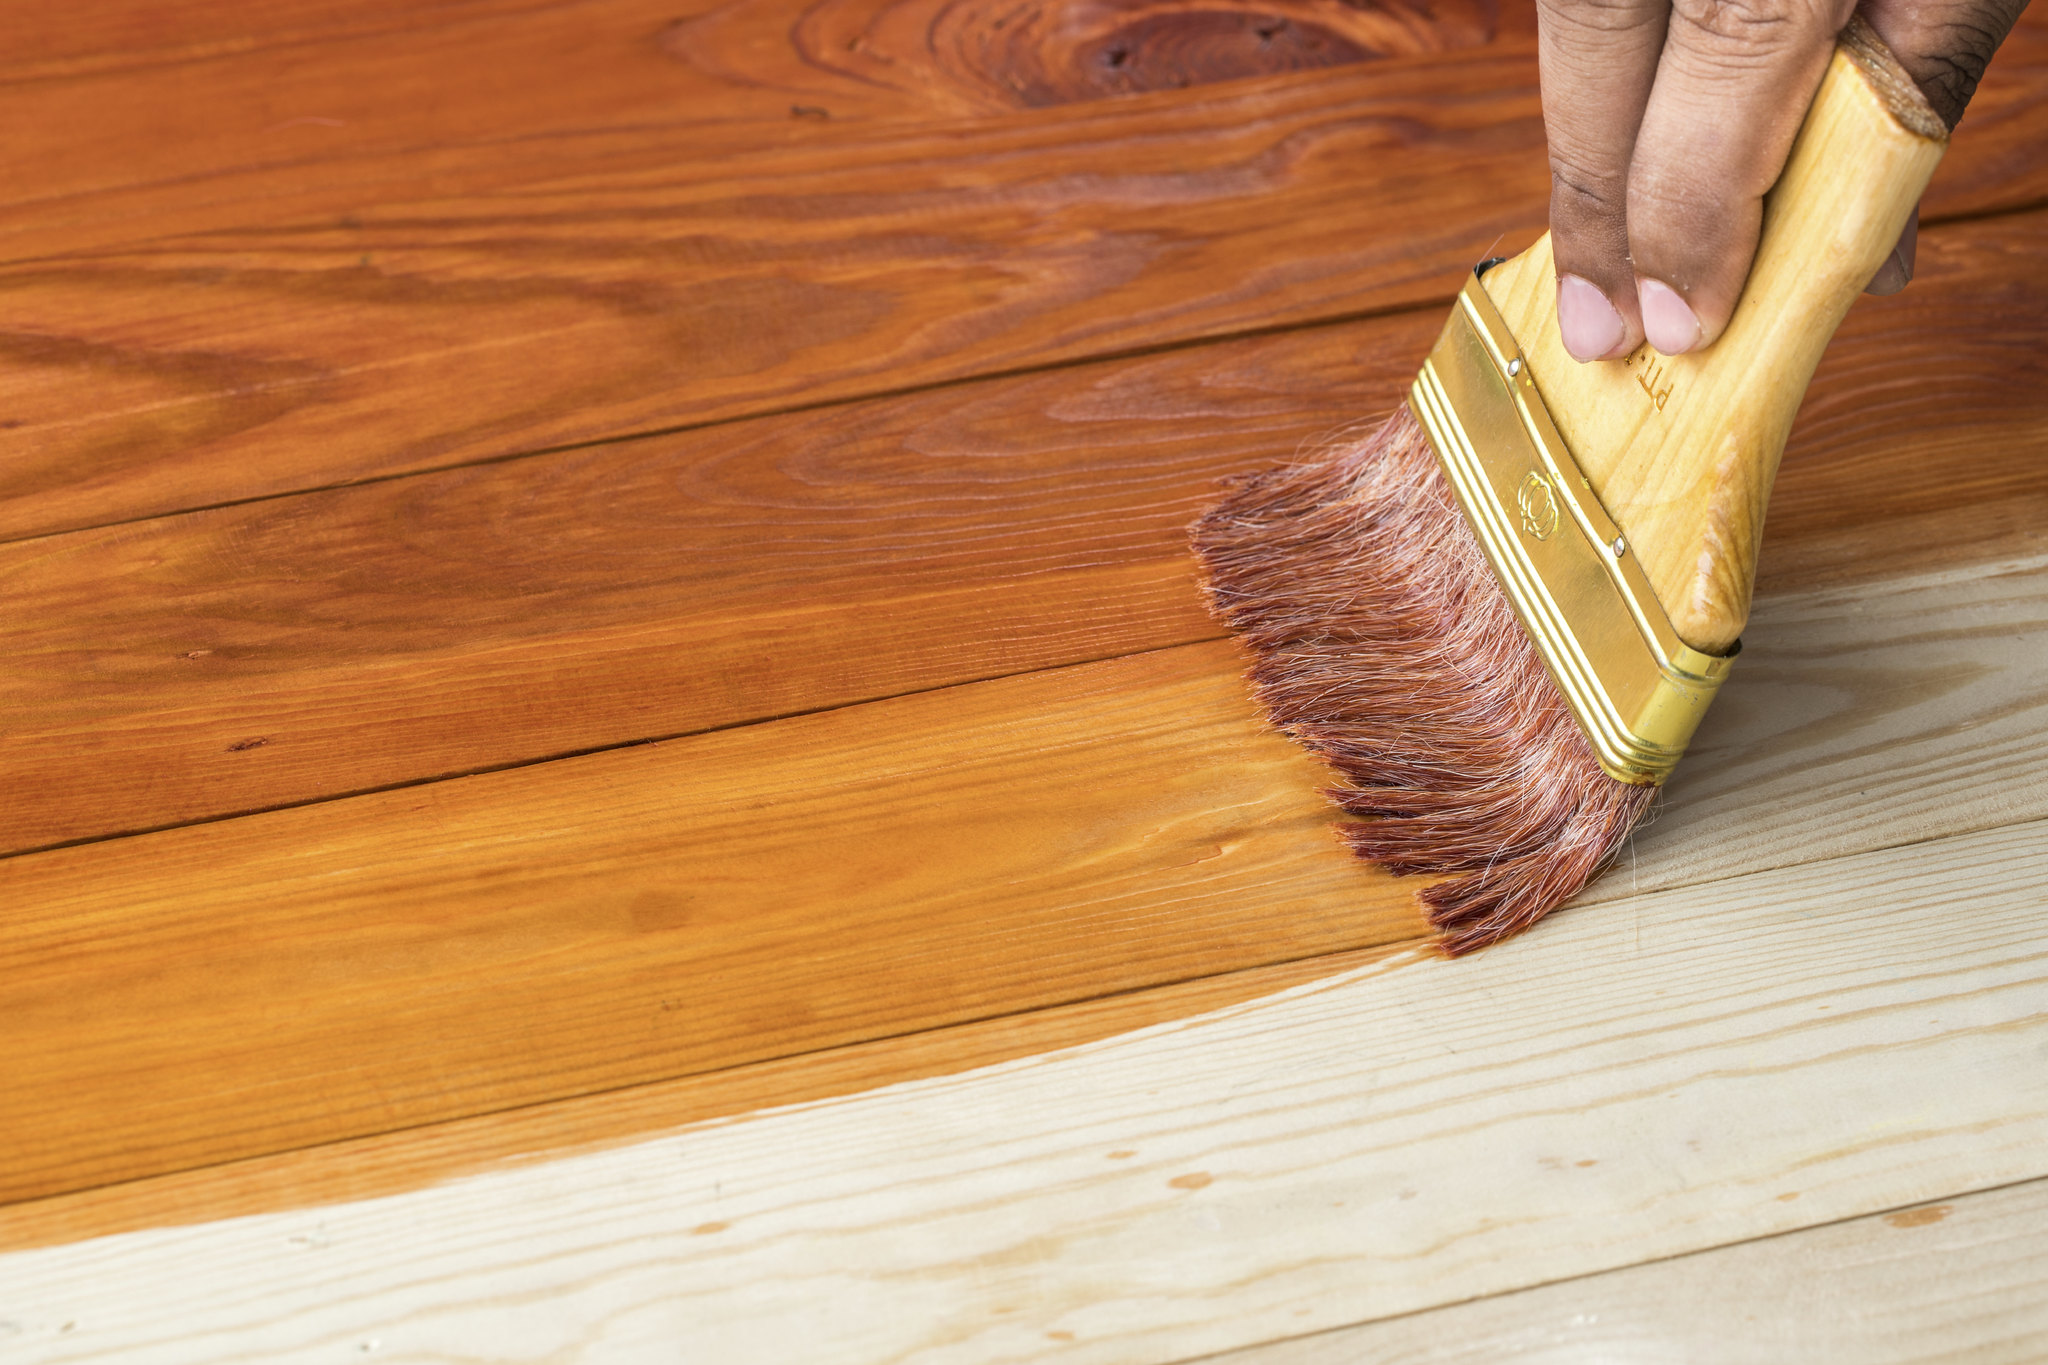
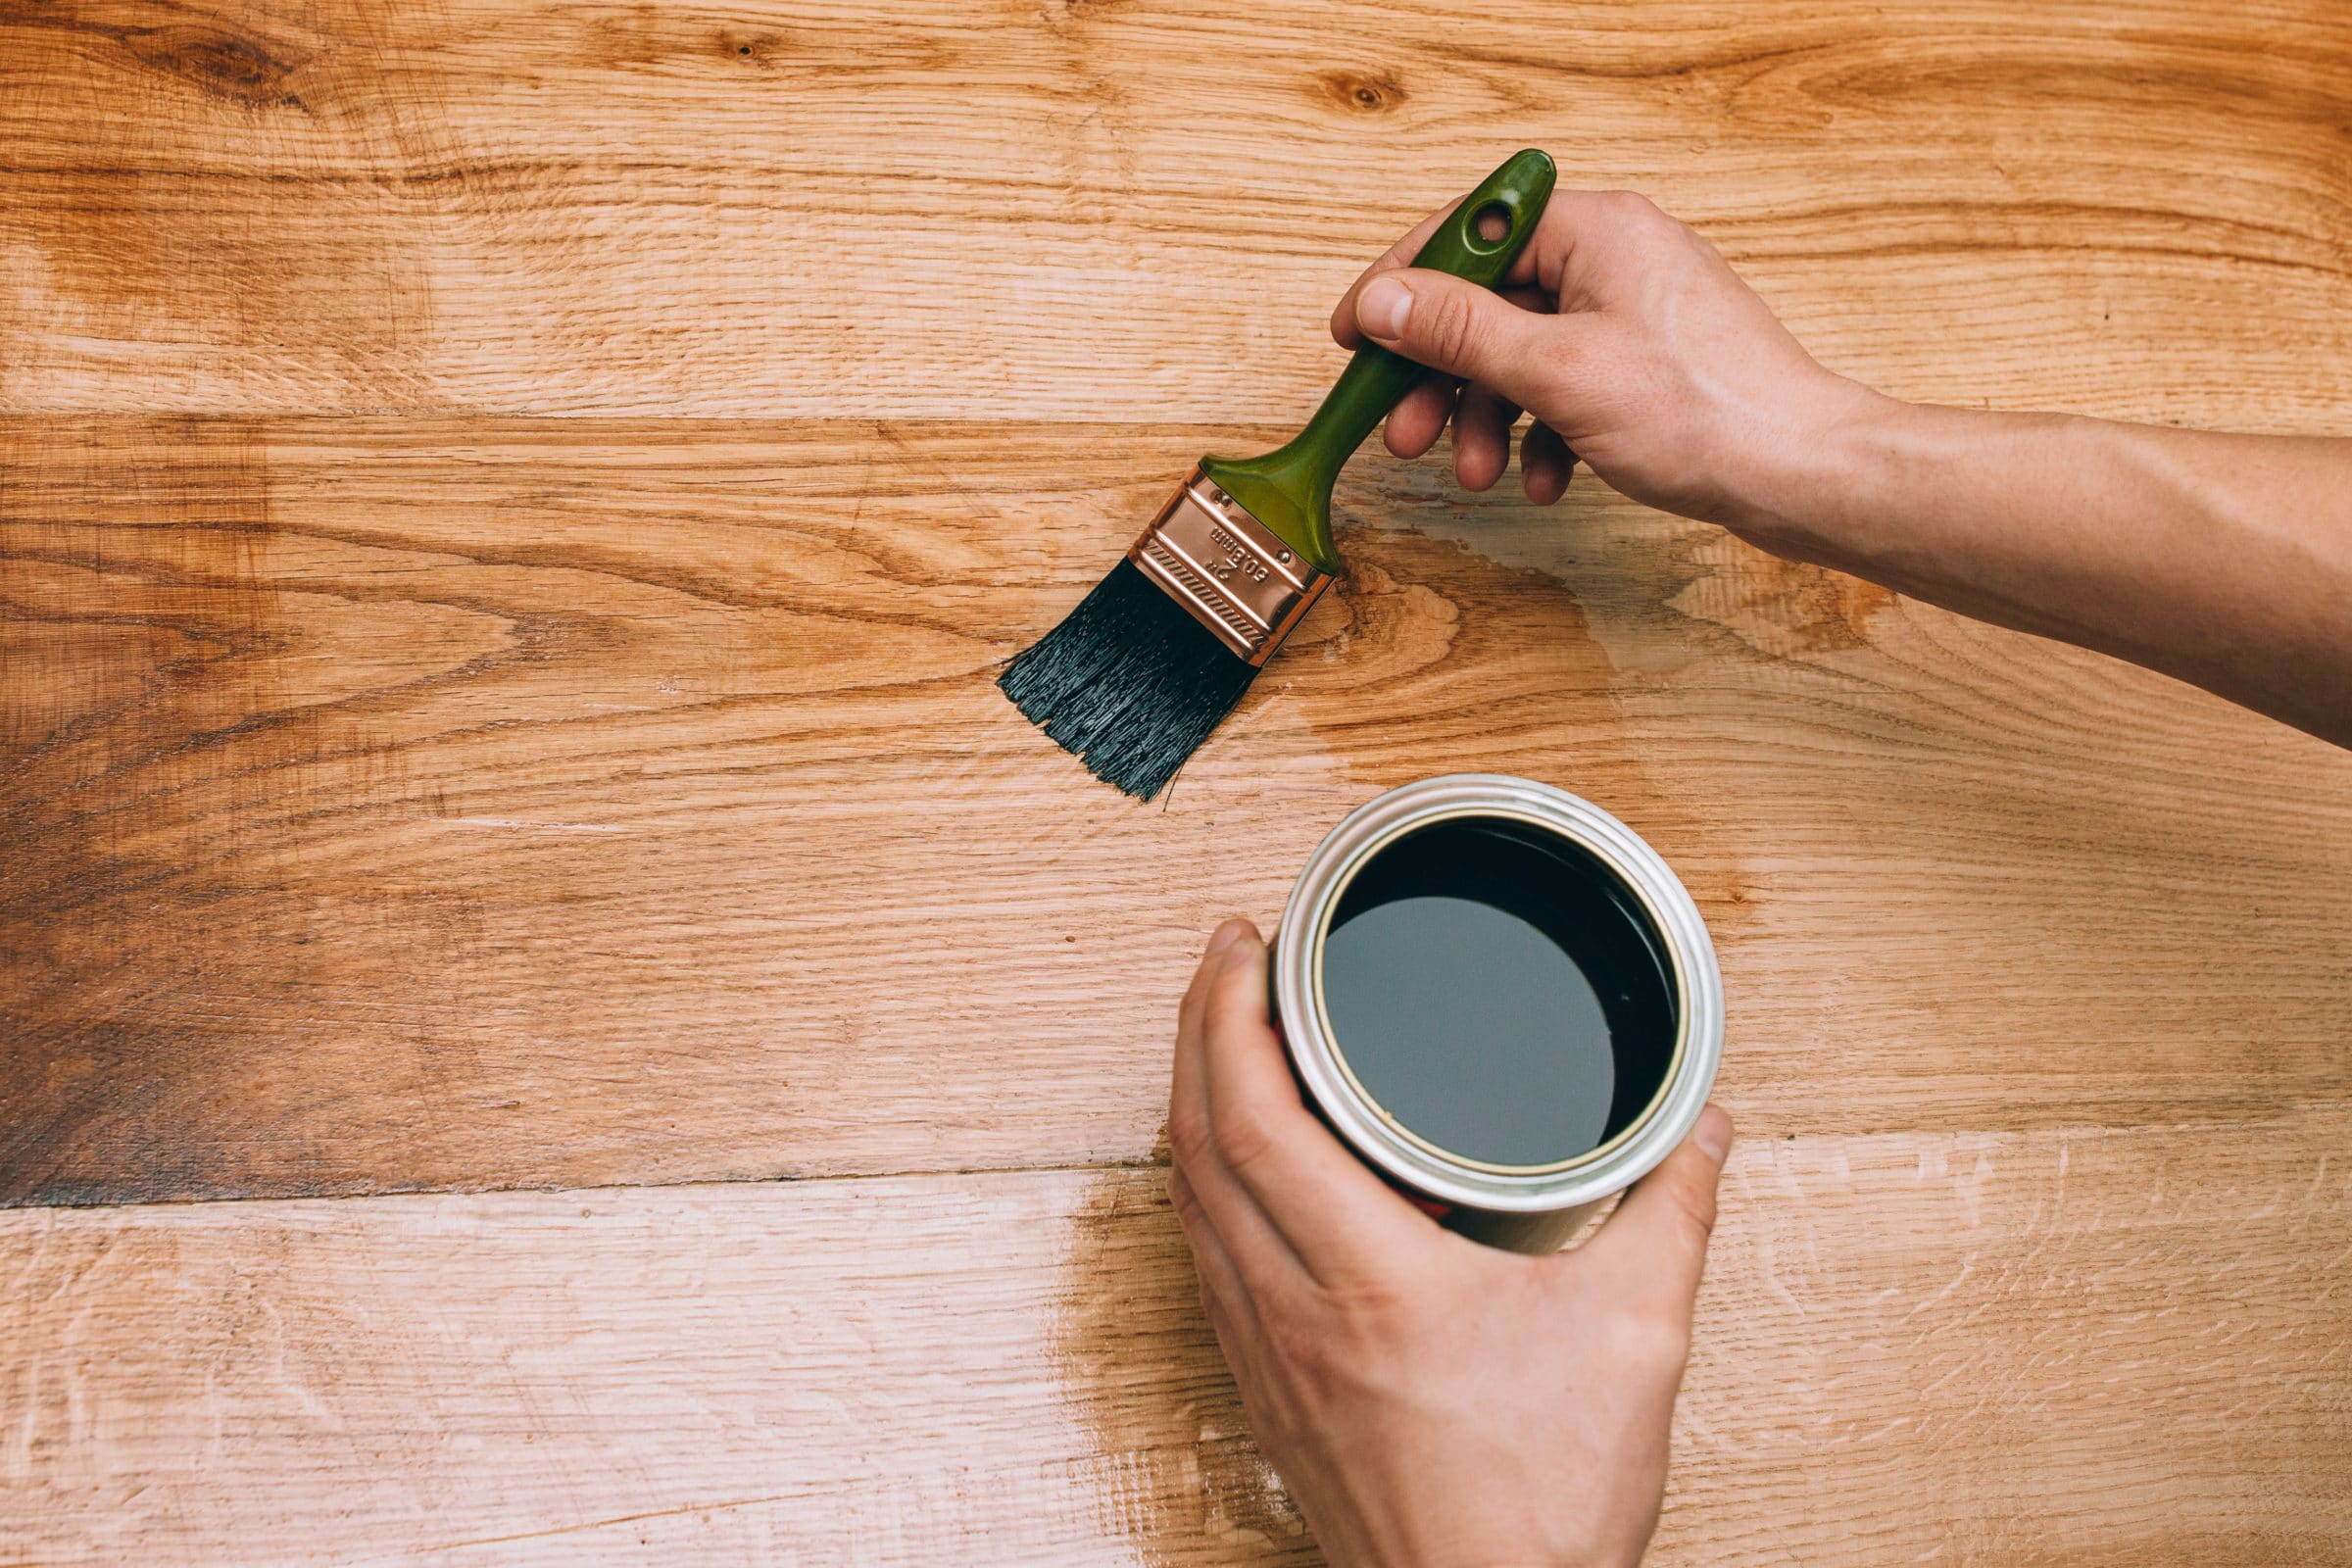
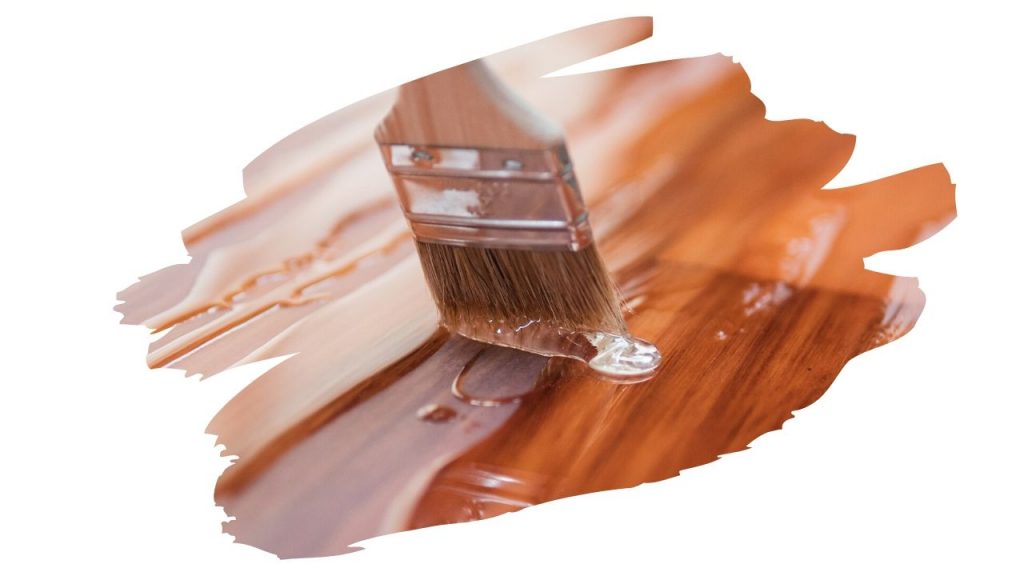
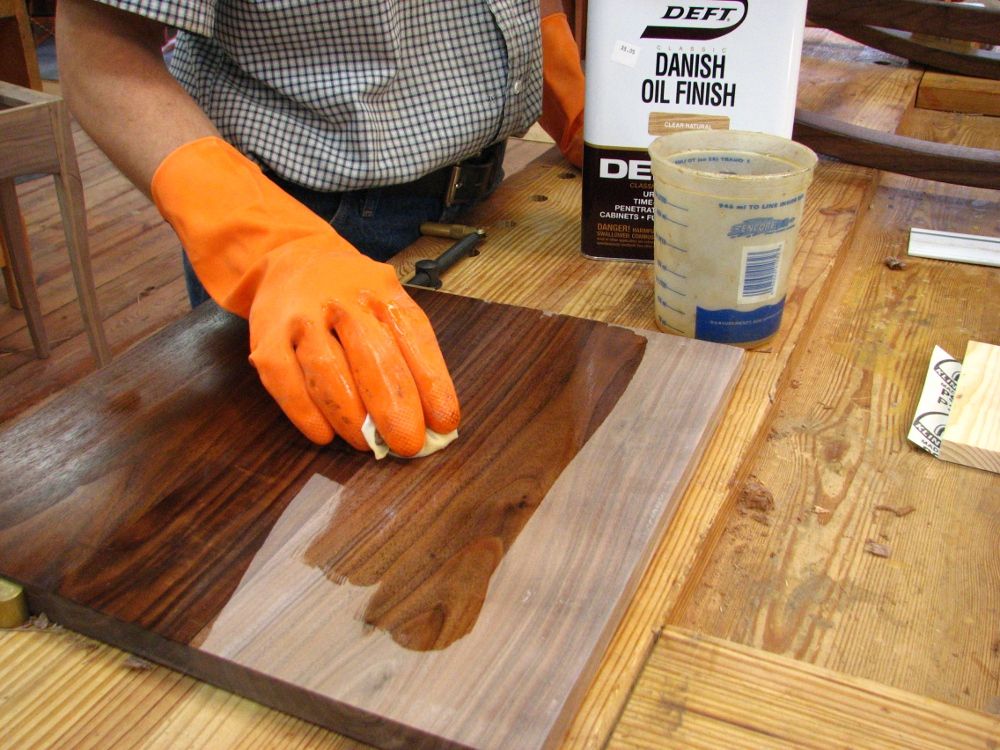
Staining the wood is an important step in finishing a wood kitchen table as it adds color and helps to enhance the natural beauty of the wood. Before applying the stain, it is important to test it on a small, inconspicuous area of the table to ensure you are happy with the color. Apply the stain evenly with a brush or cloth, following the direction of the wood grain. Let it sit for the recommended amount of time, then wipe off any excess with a clean cloth. For a darker color, you may need to apply multiple coats of stain.2. Staining the Wood


2. Staining the wood


/GettyImages-98458433-b2f63c2945134b75b671af2719e6945f.jpg)


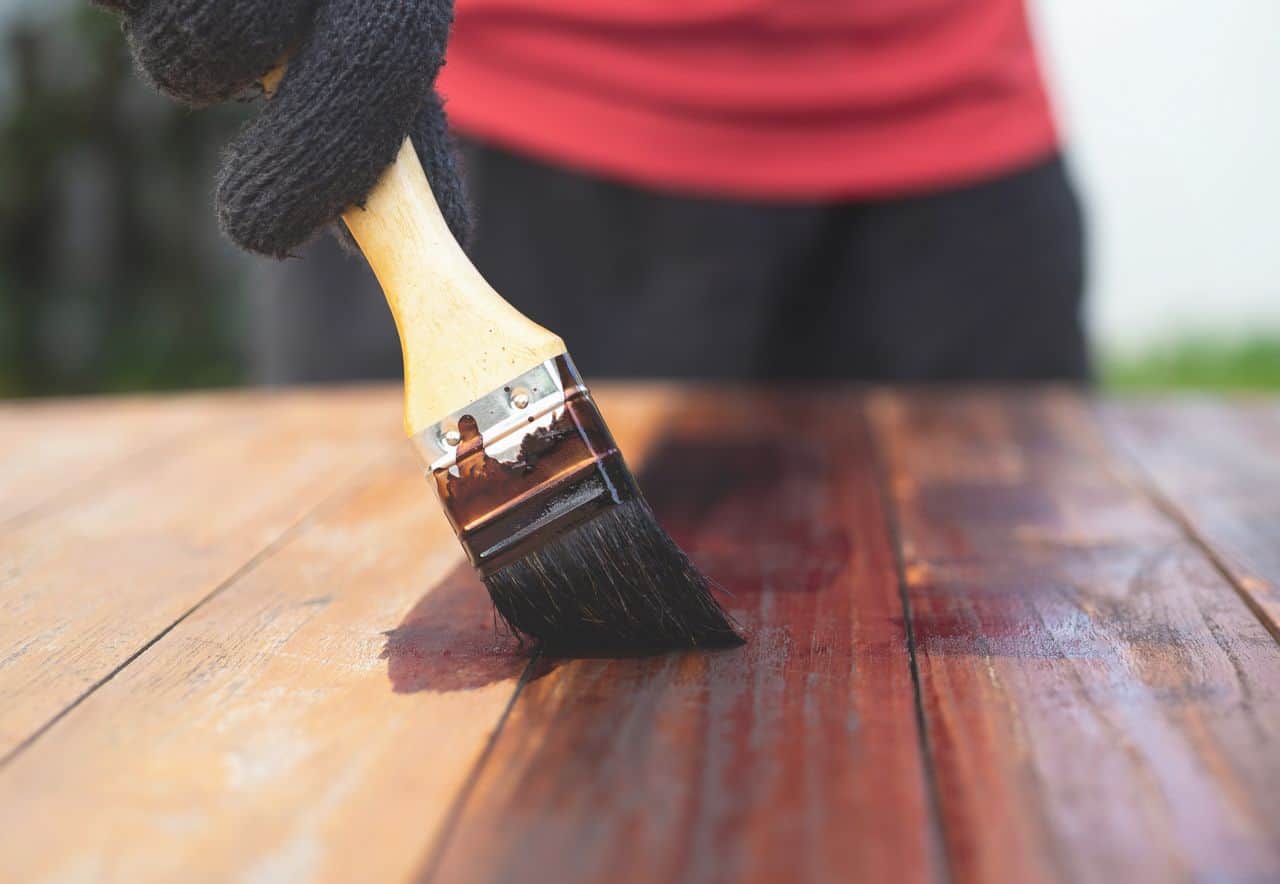
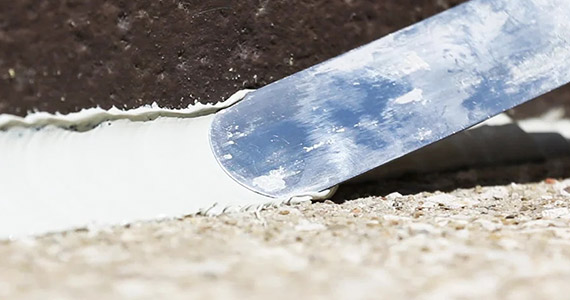
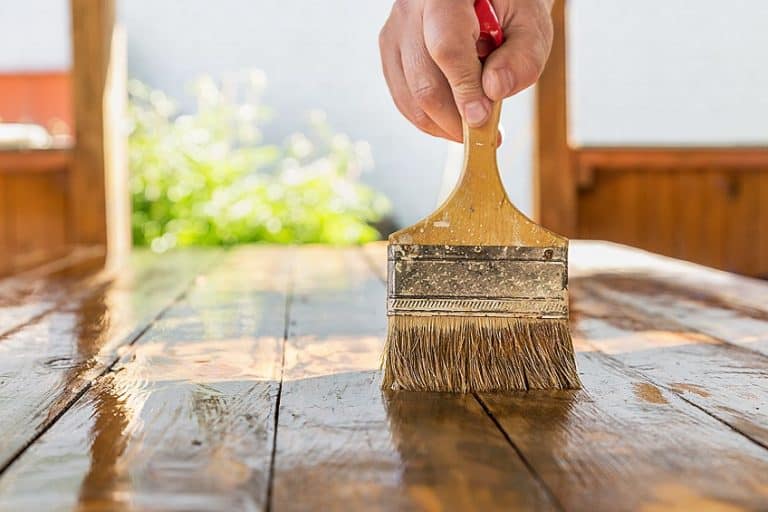
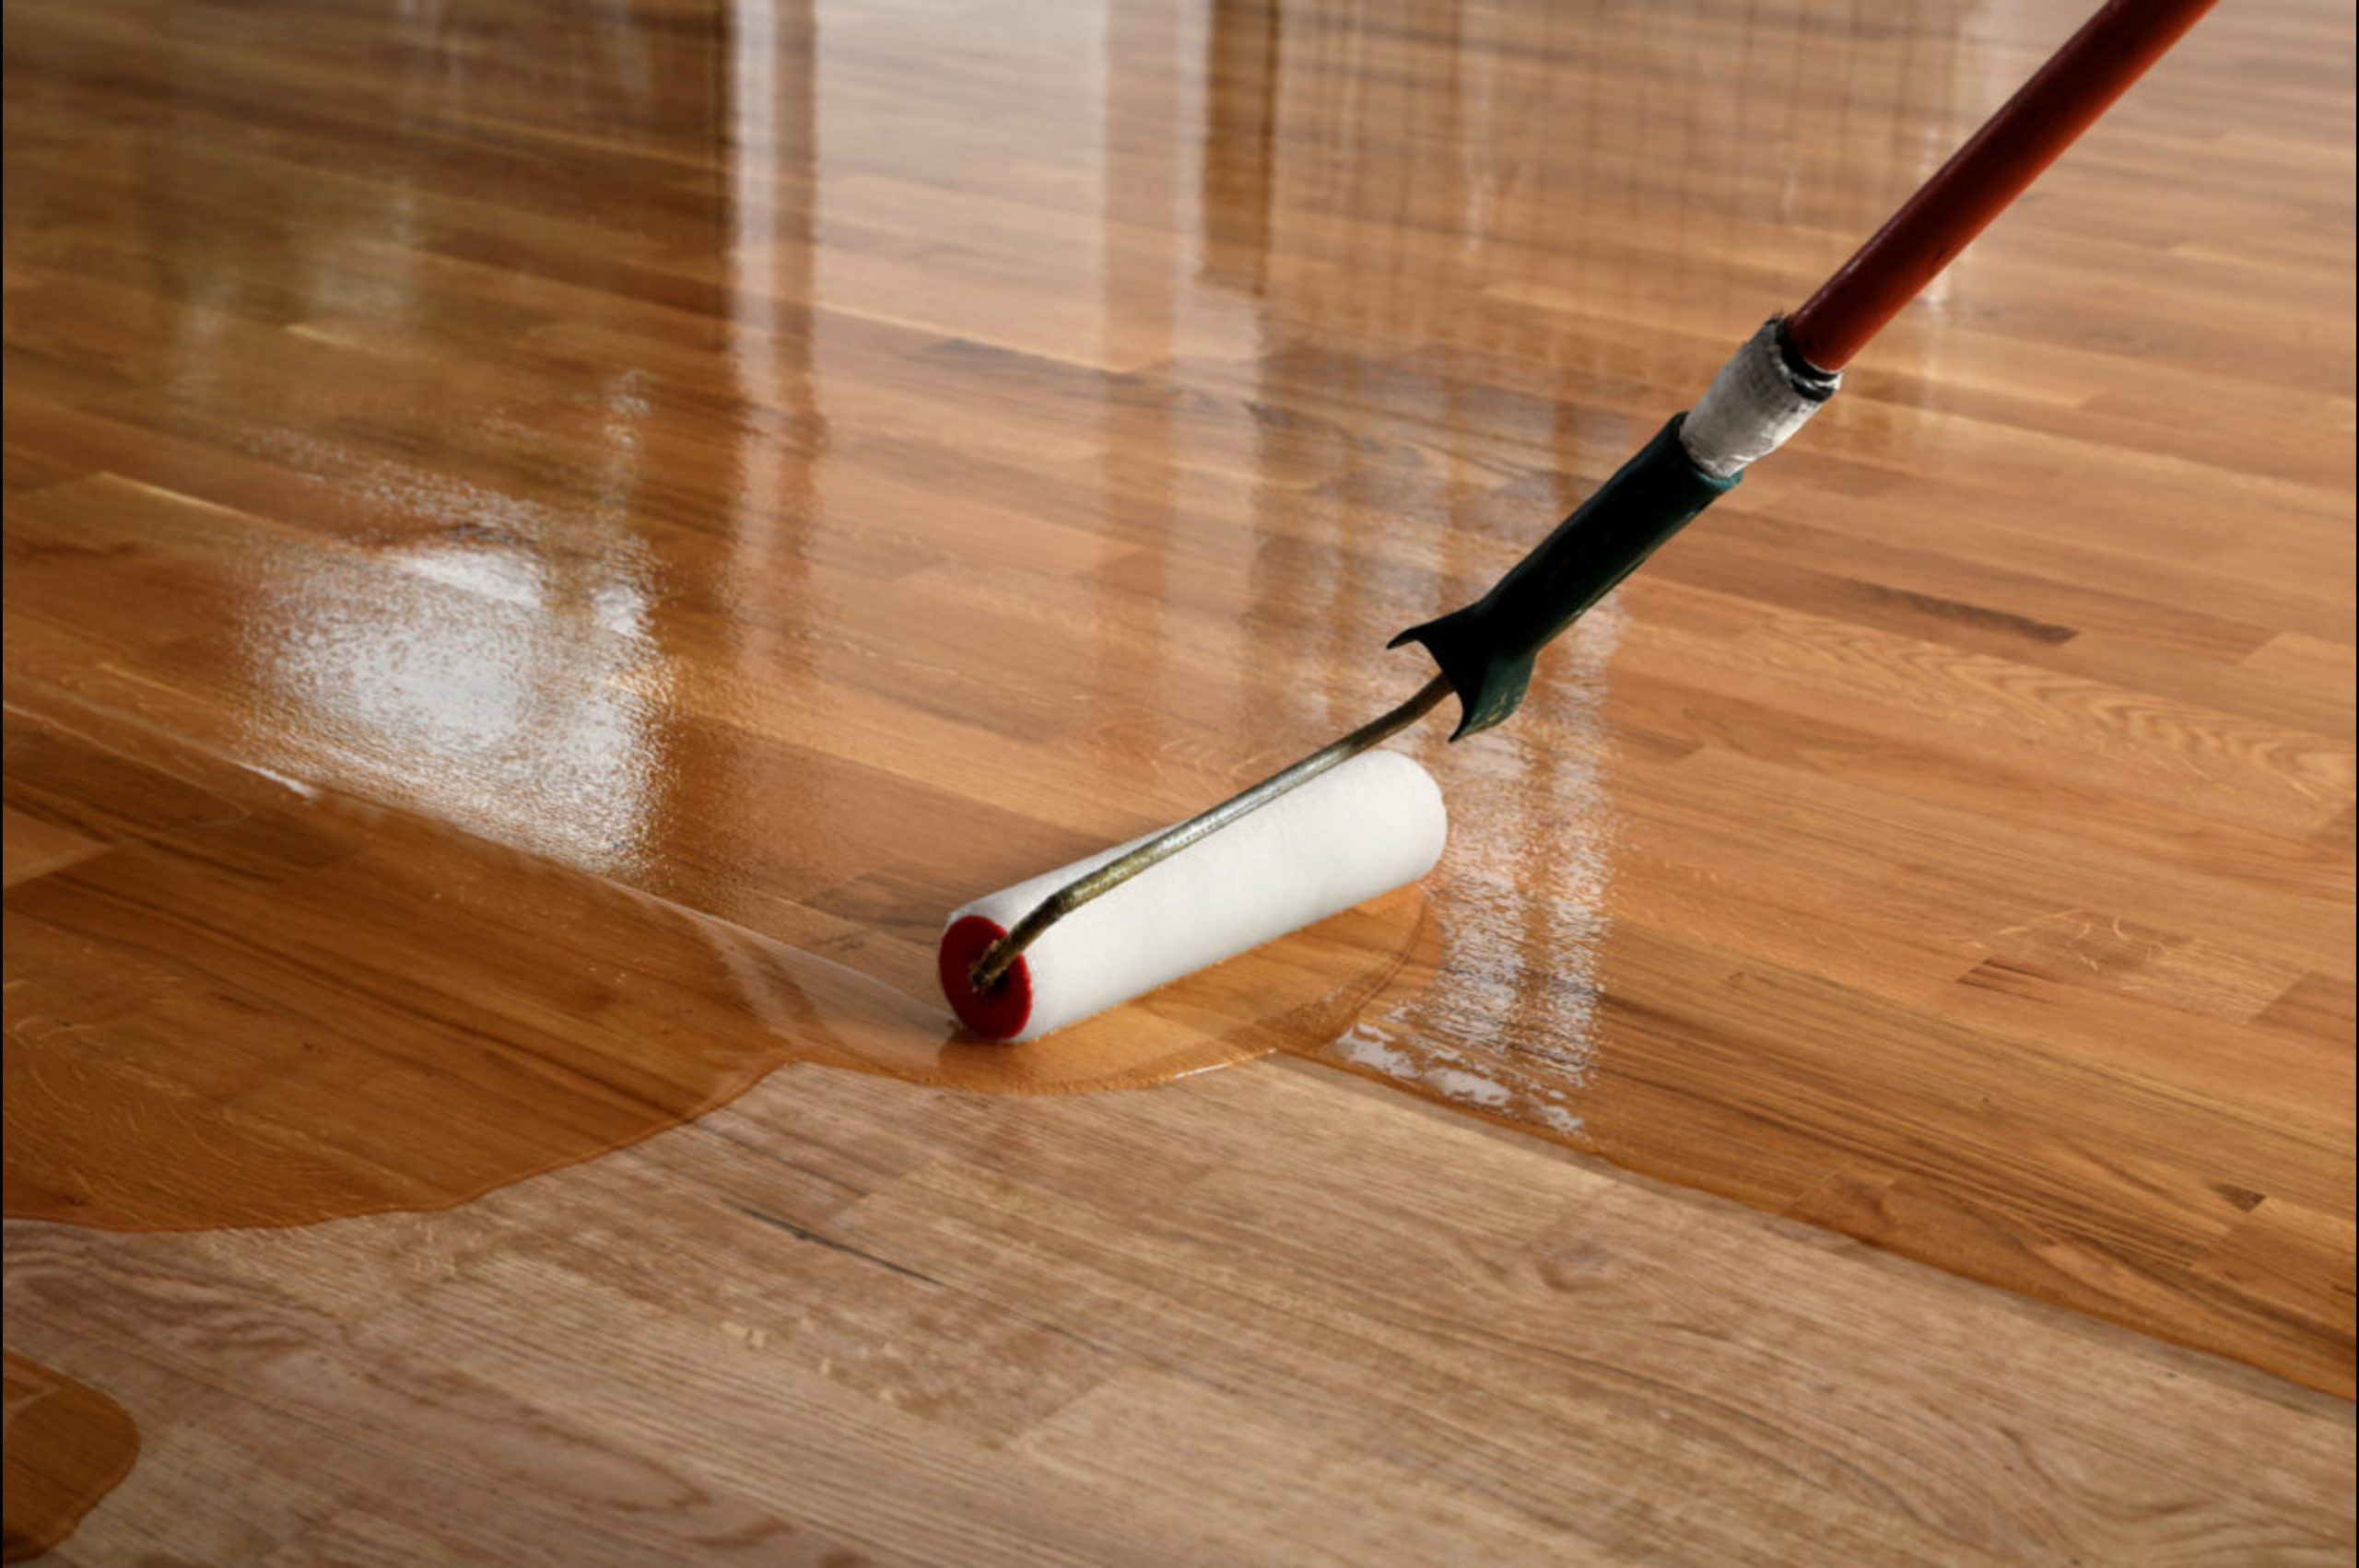
After staining, it is important to seal the wood to protect it from spills and everyday wear and tear. There are many types of sealants available, such as polyurethane, lacquer, or shellac. Using a brush or cloth, apply the sealant evenly in the direction of the wood grain. Allow it to dry completely before lightly sanding with a fine-grit sandpaper. Repeat this process for a few coats, depending on the type of sealant used and the level of protection desired.3. Applying a Sealant


3. Applying a sealant


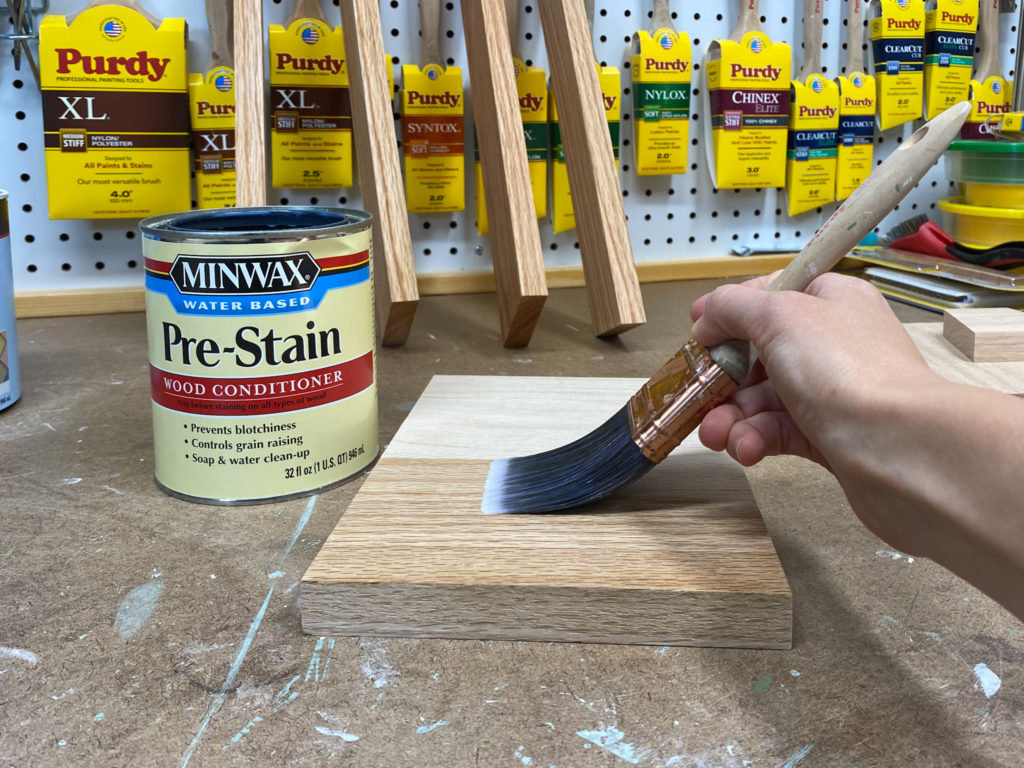
If you are working with a soft or porous wood, it is recommended to use a wood conditioner before staining. This will help the stain to absorb evenly and prevent blotchy or uneven coloration. Apply the conditioner evenly with a brush or cloth, following the direction of the wood grain. Let it sit for the recommended amount of time, then wipe off any excess with a clean cloth before proceeding with staining.4. Using a Wood Conditioner

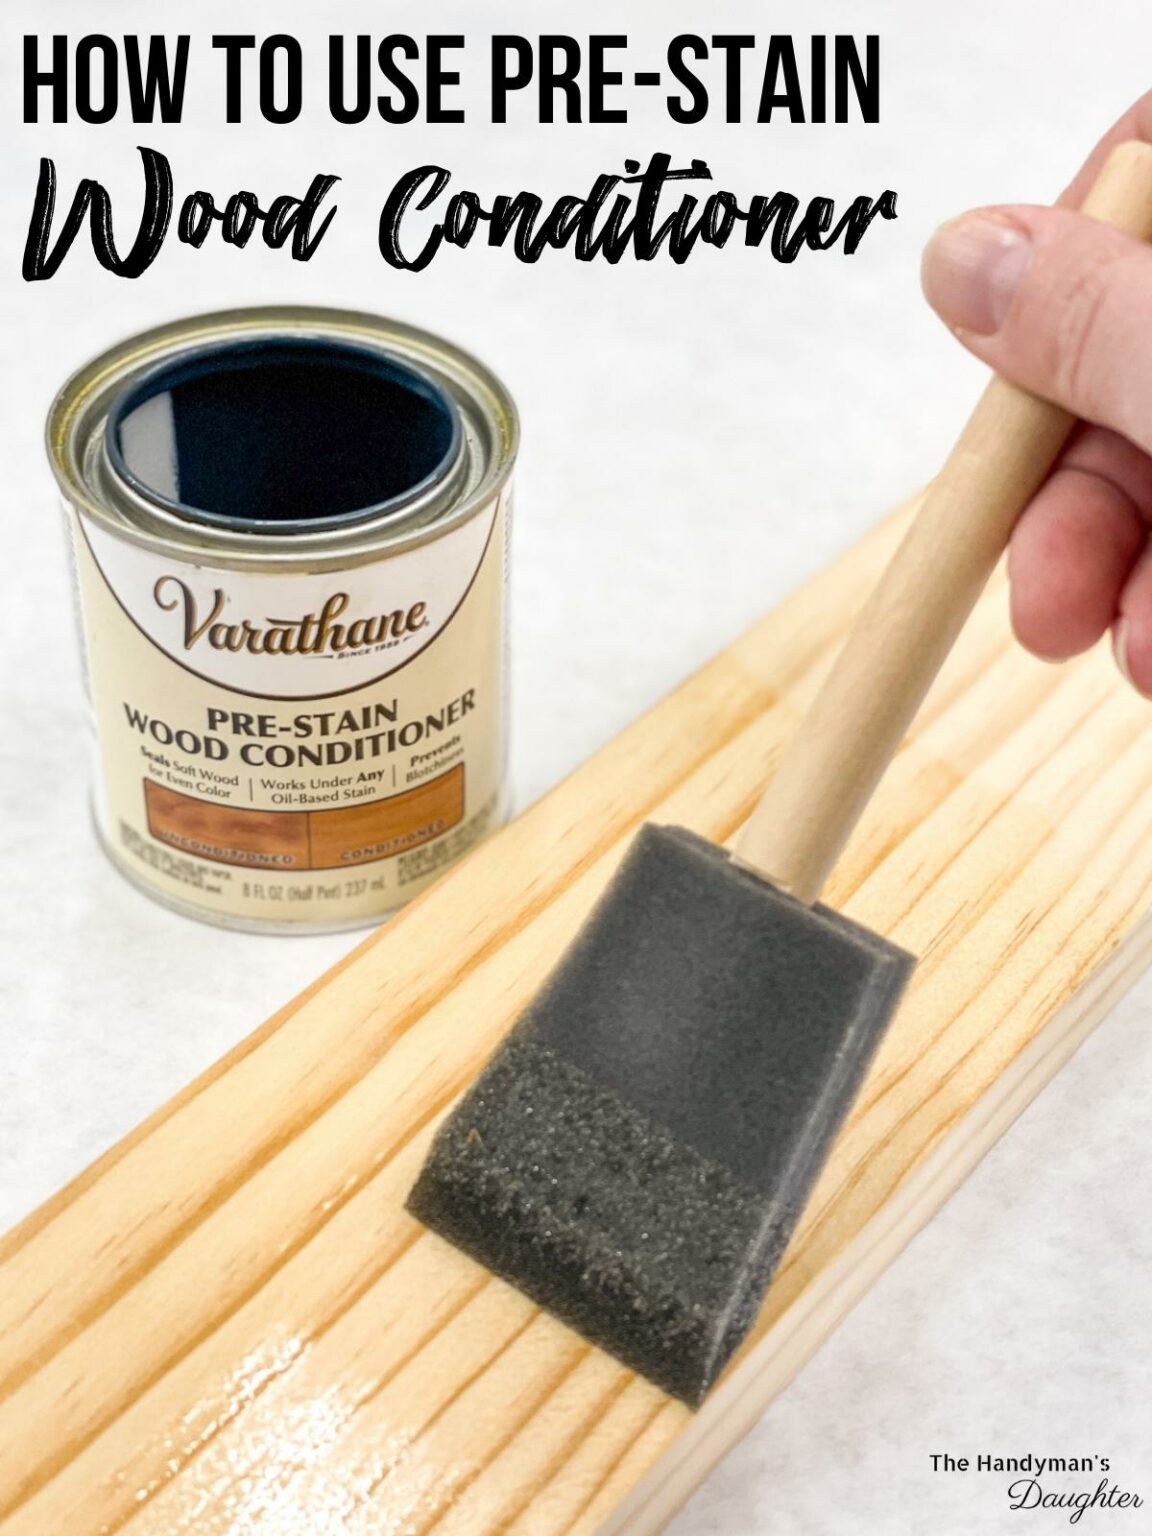

4. Using a wood conditioner


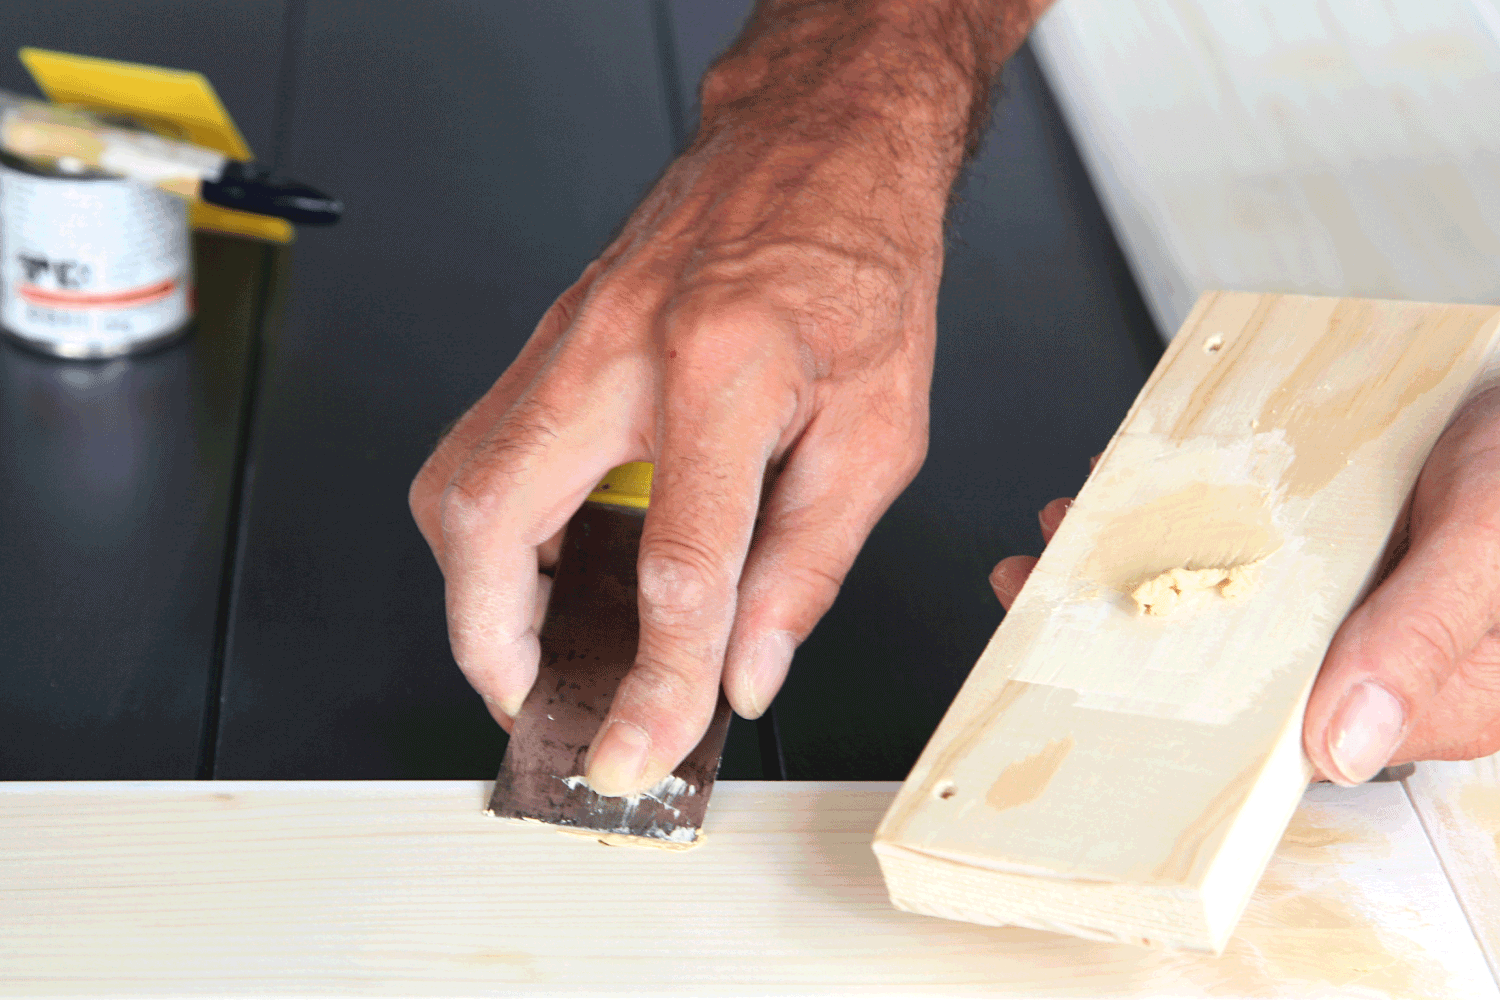
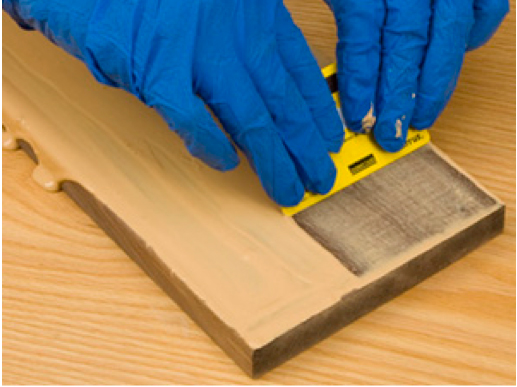
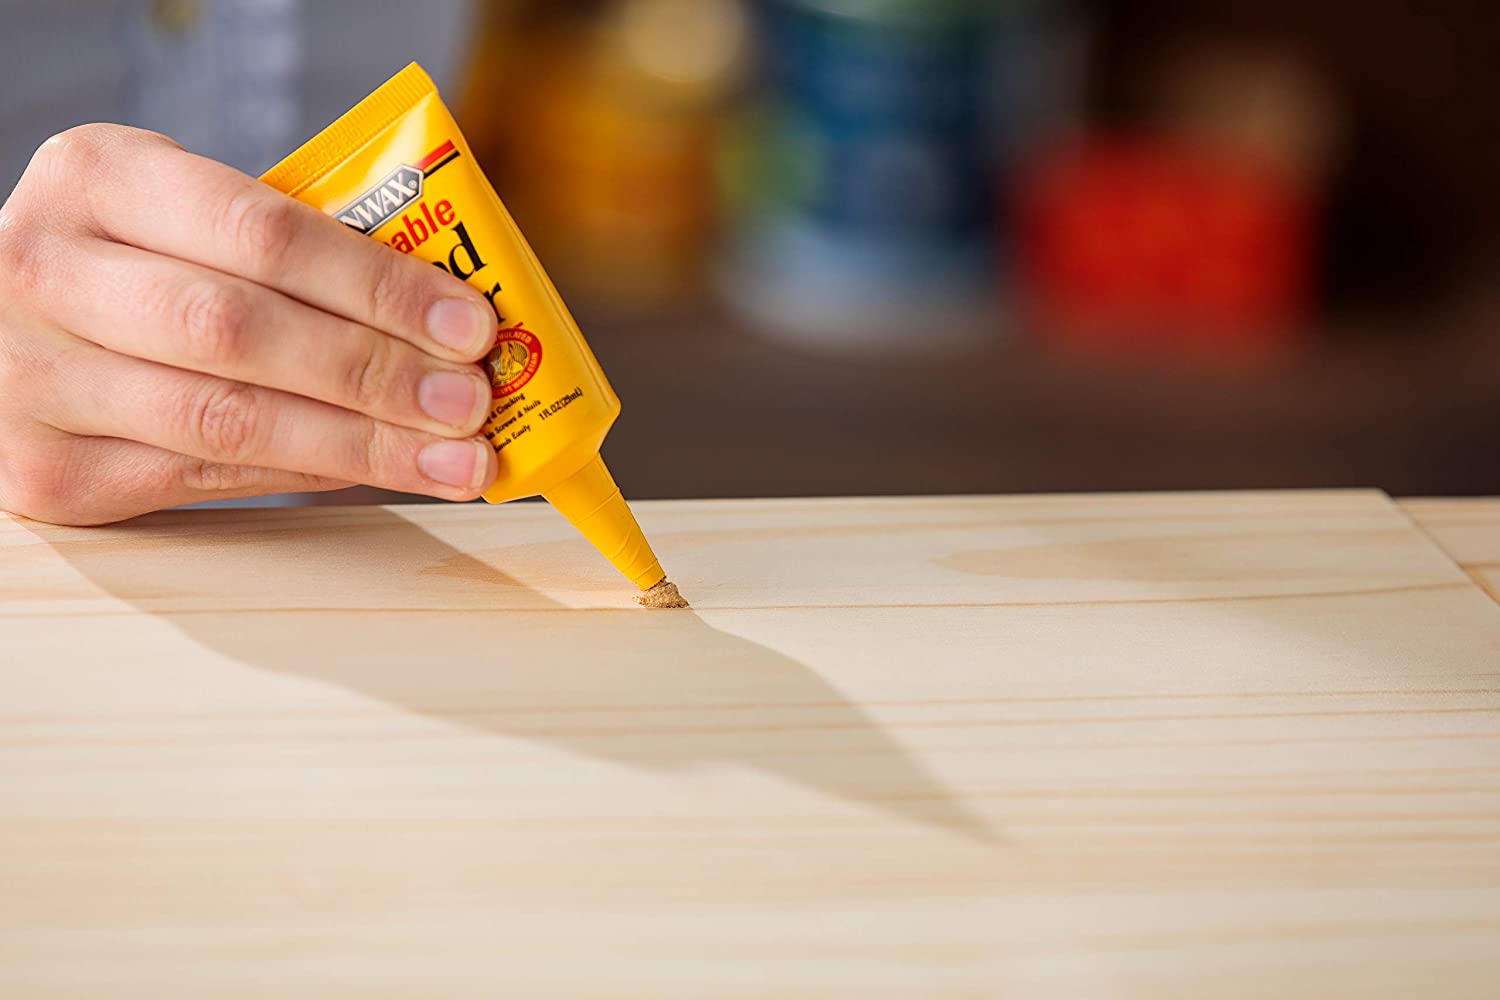
If your wood kitchen table has any cracks, holes, or imperfections, you may need to use a wood filler to fill them in before finishing. Choose a wood filler that matches the color of your table or can be stained to match. Apply the wood filler with a putty knife, smoothing it out and removing any excess. Once it has dried, sand it down with a fine-grit sandpaper until it is smooth and level with the surface of the table.5. Applying a Wood Filler

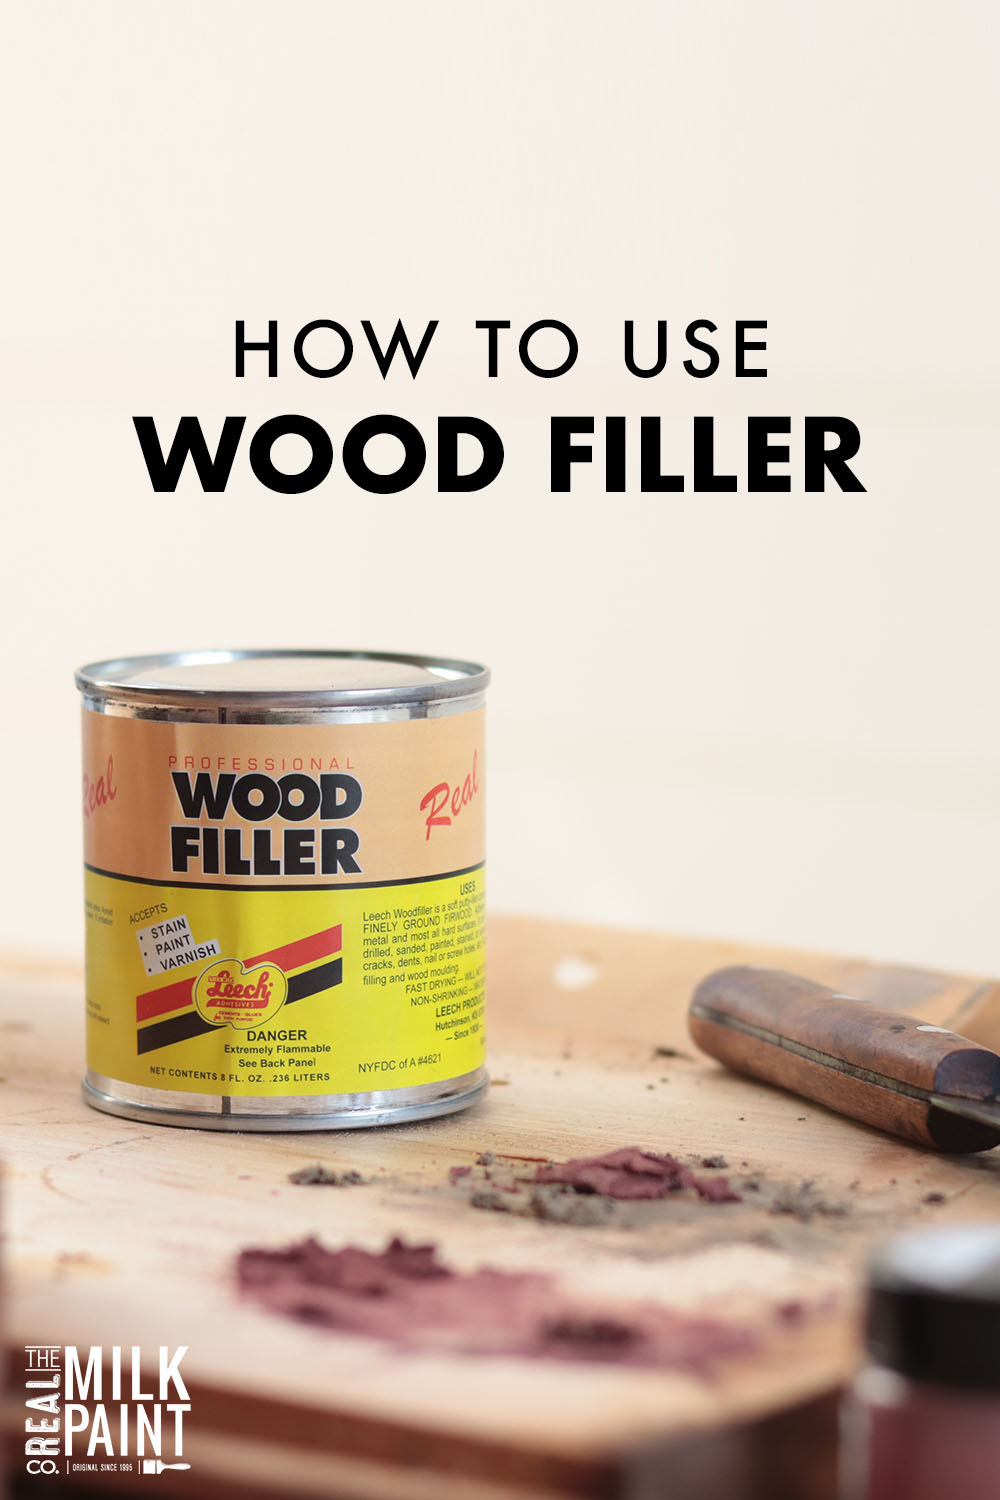

5. Applying a wood filler


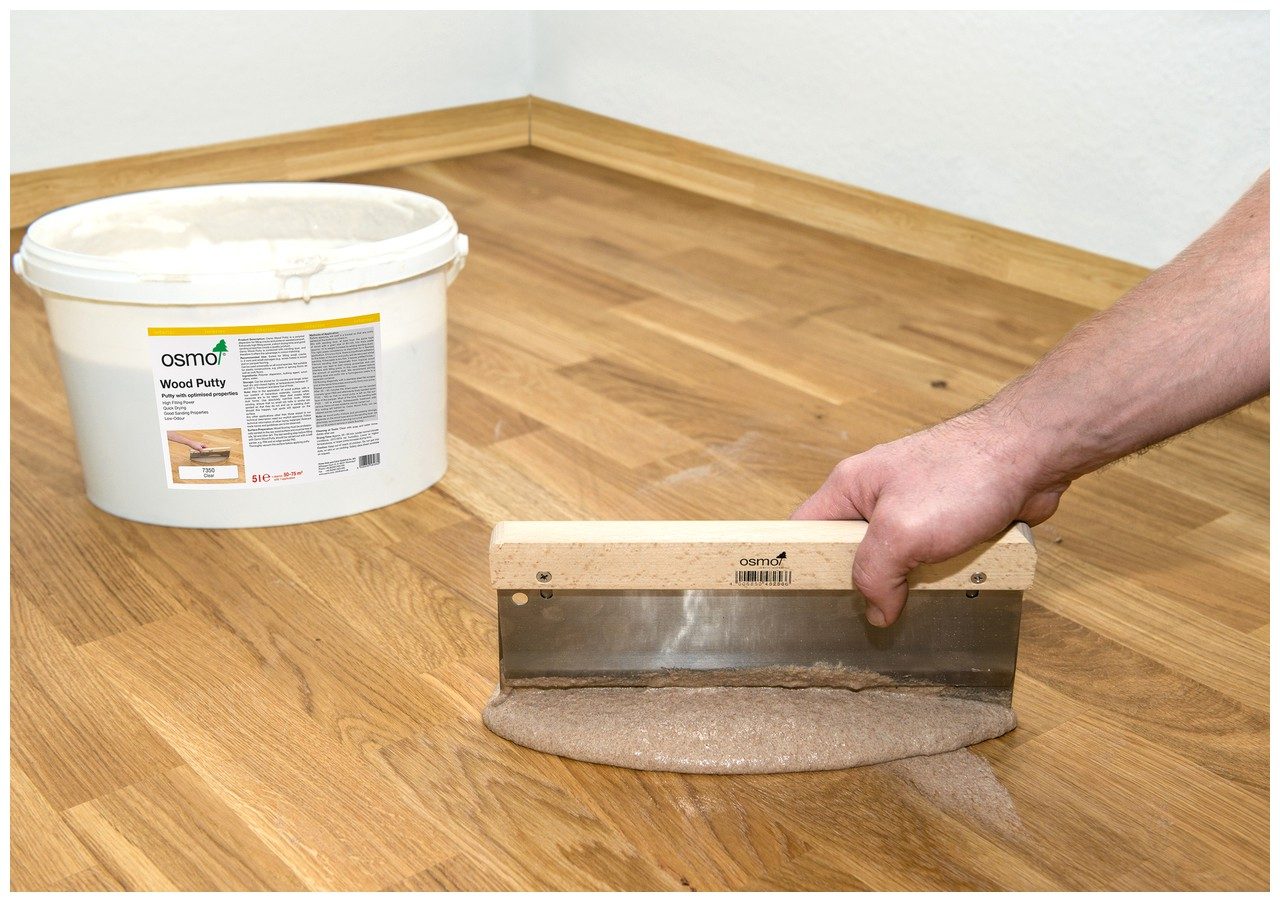


For a smoother and more polished finish, you may want to consider using a wood grain filler. This product helps to fill in the natural pores and grain of the wood, creating a smoother and more even surface. Apply the wood grain filler with a putty knife, filling in the pores and grain of the wood. Once it has dried, sand it down with a fine-grit sandpaper until it is smooth and level with the surface of the table.6. Using a Wood Grain Filler
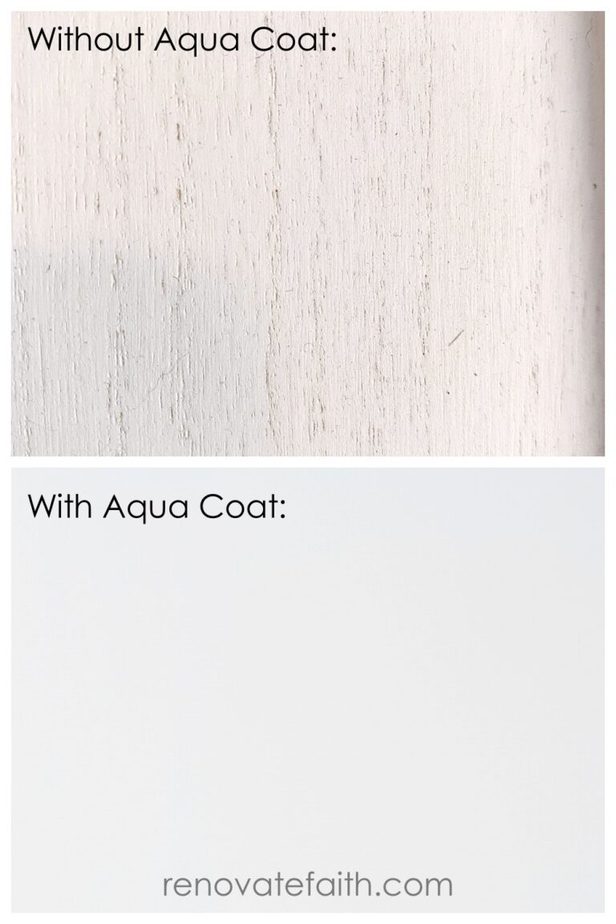


6. Using a wood grain filler


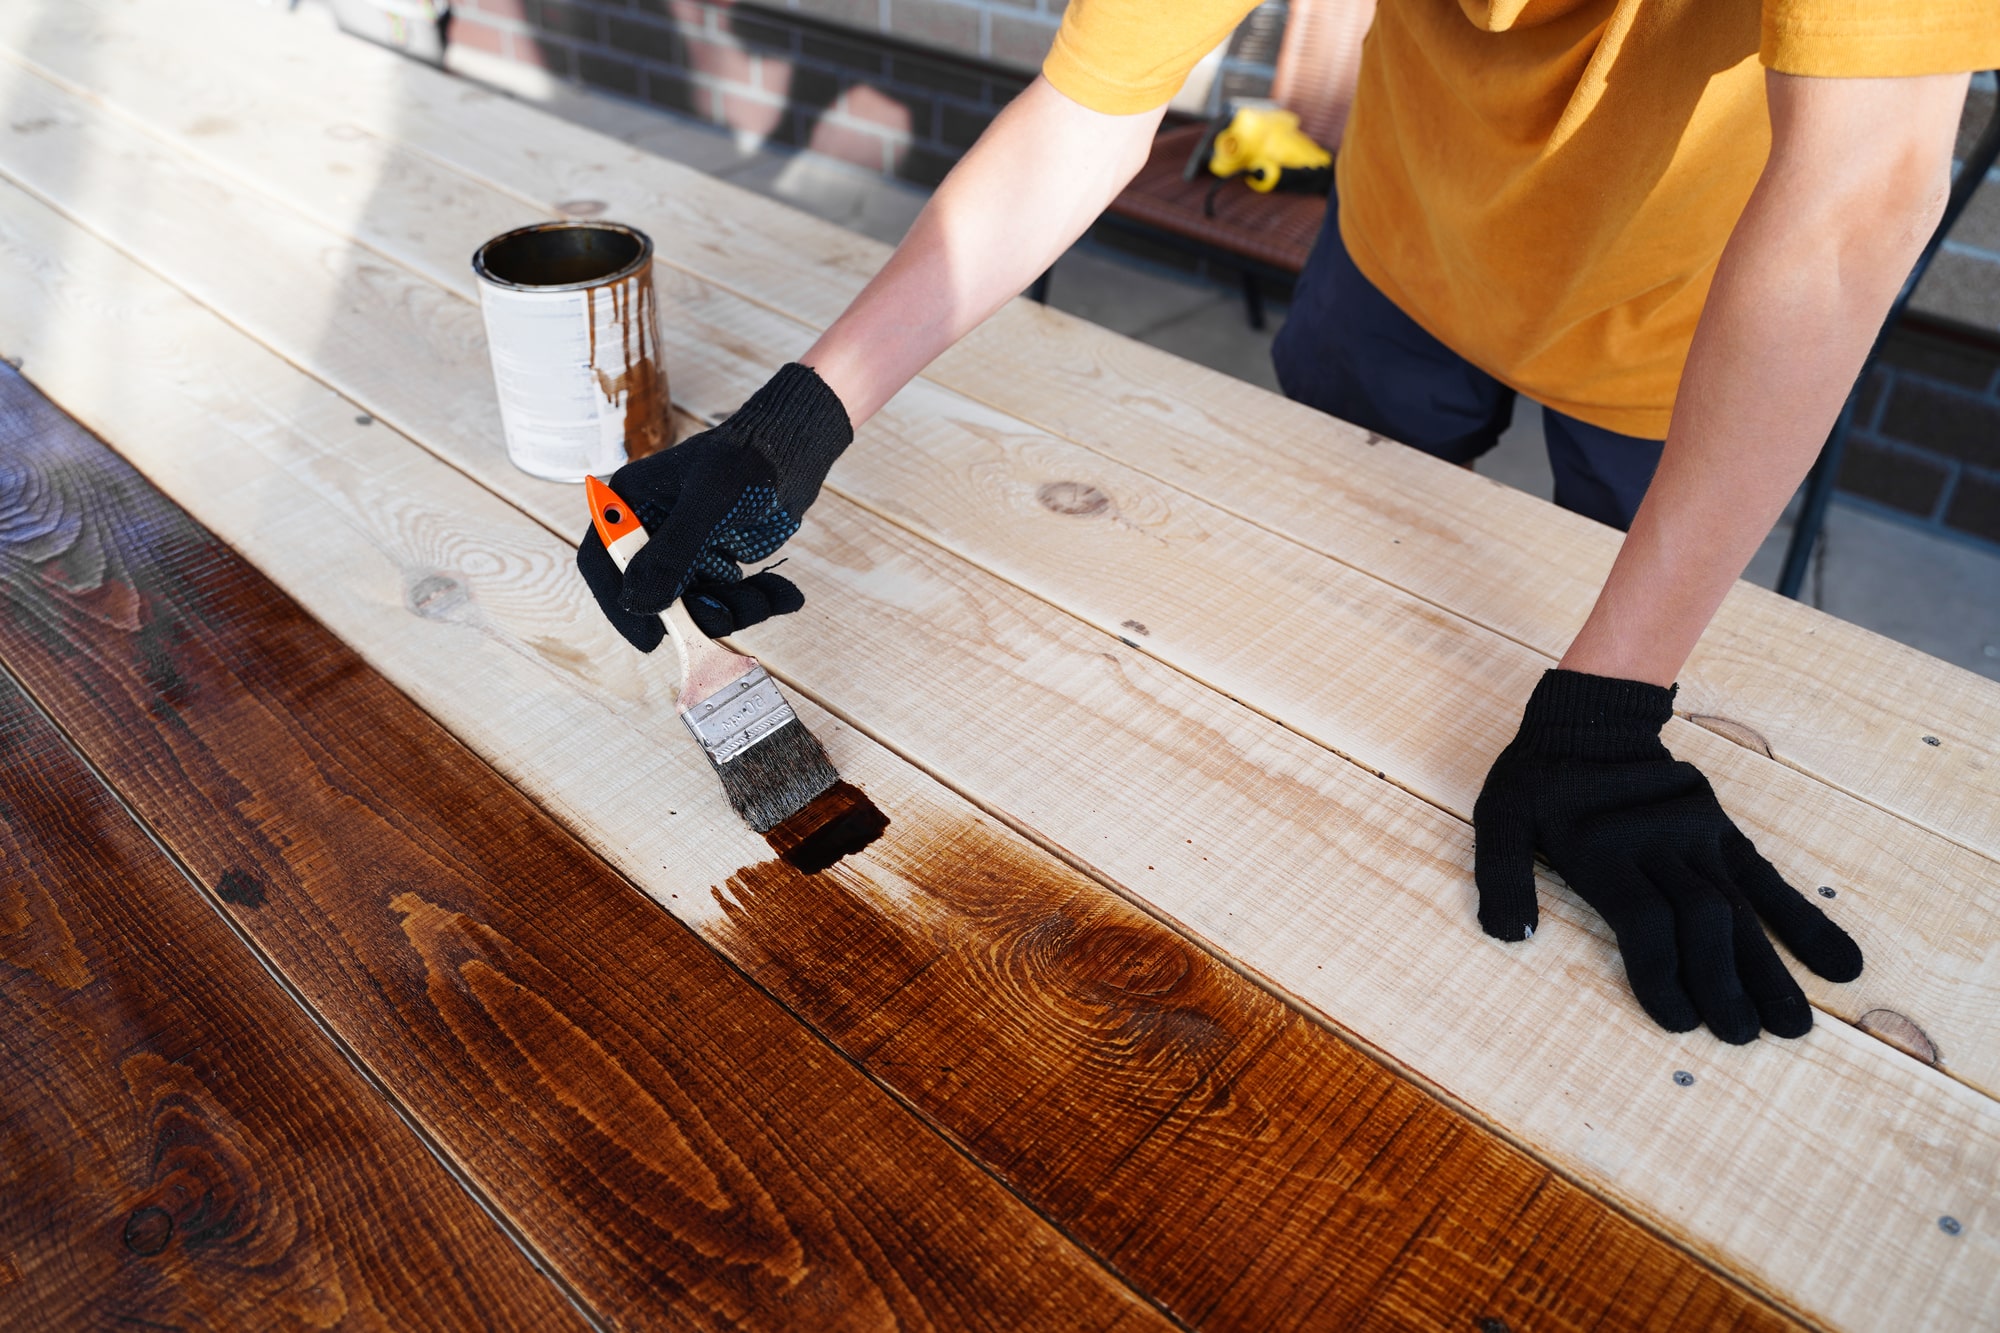
If you want to add more color or depth to your wood kitchen table, you can also use a wood stain. Unlike paint, stain penetrates the wood and enhances its natural beauty. Using a brush or cloth, apply the stain evenly in the direction of the wood grain. Let it sit for the recommended amount of time, then wipe off any excess with a clean cloth. You can apply multiple coats for a darker color or to achieve the desired shade.7. Applying a Wood Stain


7. Applying a wood stain


Similar to sealant, varnish also provides a protective layer over the wood. It is important to note that varnish can alter the color of the wood, so be sure to test it on a small area before applying it to the entire table. Using a brush or cloth, apply the varnish evenly in the direction of the wood grain. Allow it to dry completely before lightly sanding with a fine-grit sandpaper. Repeat this process for a few coats, depending on the type of varnish used and the level of protection desired.8. Using a Wood Varnish
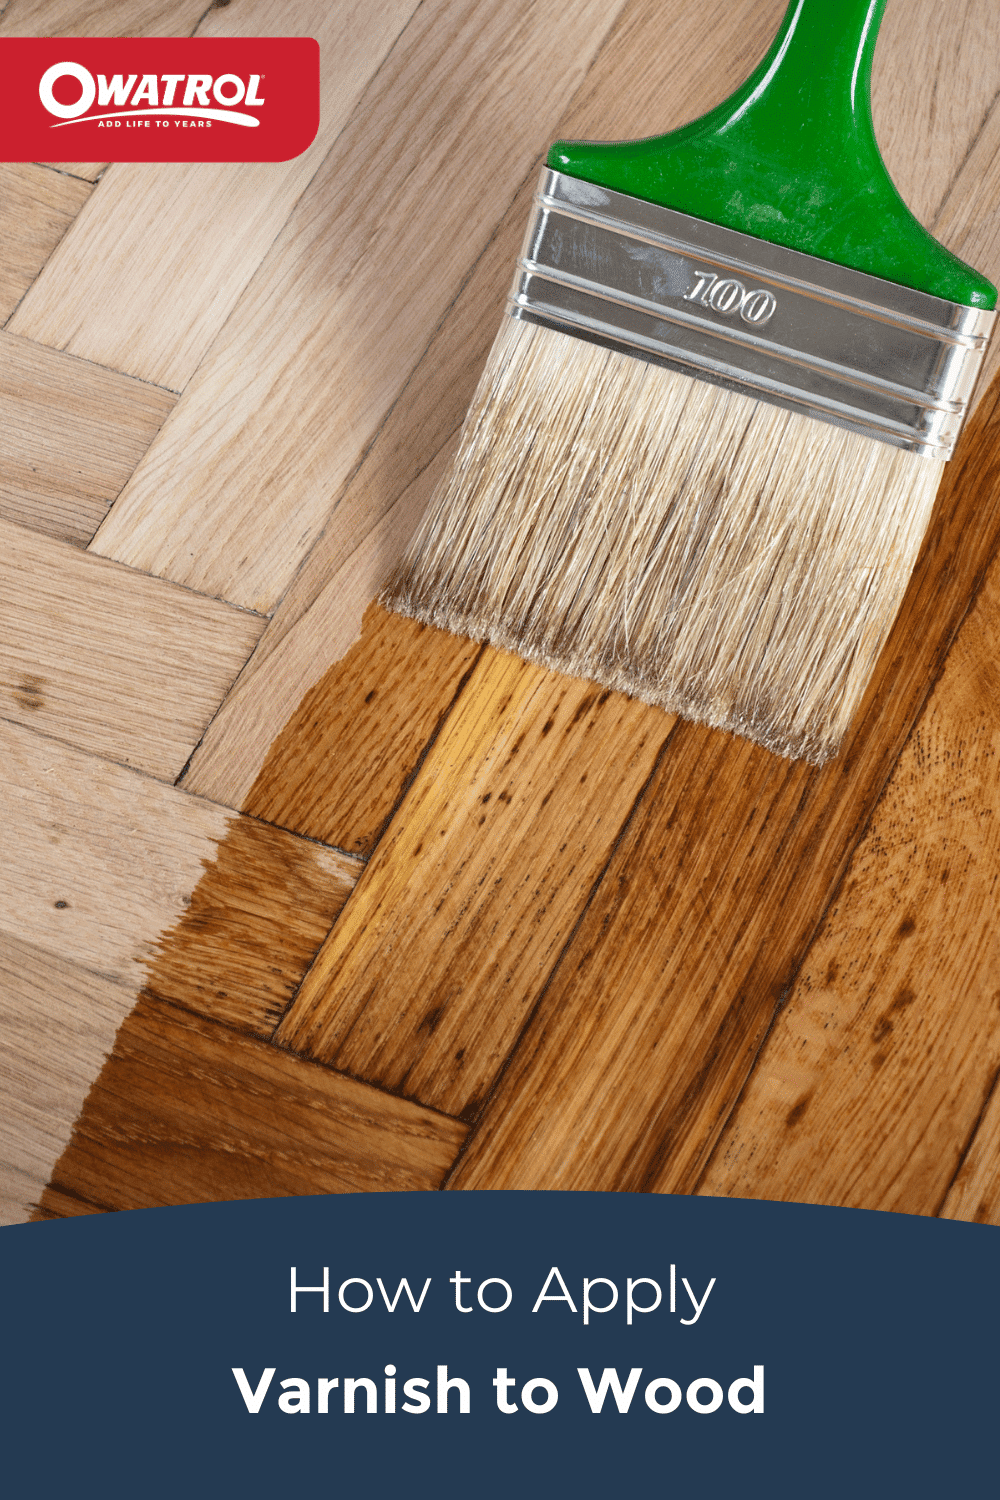

8. Using a wood varnish


For a more natural and matte finish, you can use a wood oil to finish your kitchen table. This product helps to enhance the color and grain of the wood while also providing protection. Apply the wood oil evenly with a brush or cloth, following the direction of the wood grain. Allow it to dry completely before lightly sanding with a fine-grit sandpaper. Repeat this process for a few coats, depending on the type of oil used and the level of protection desired.9. Applying a Wood Oil
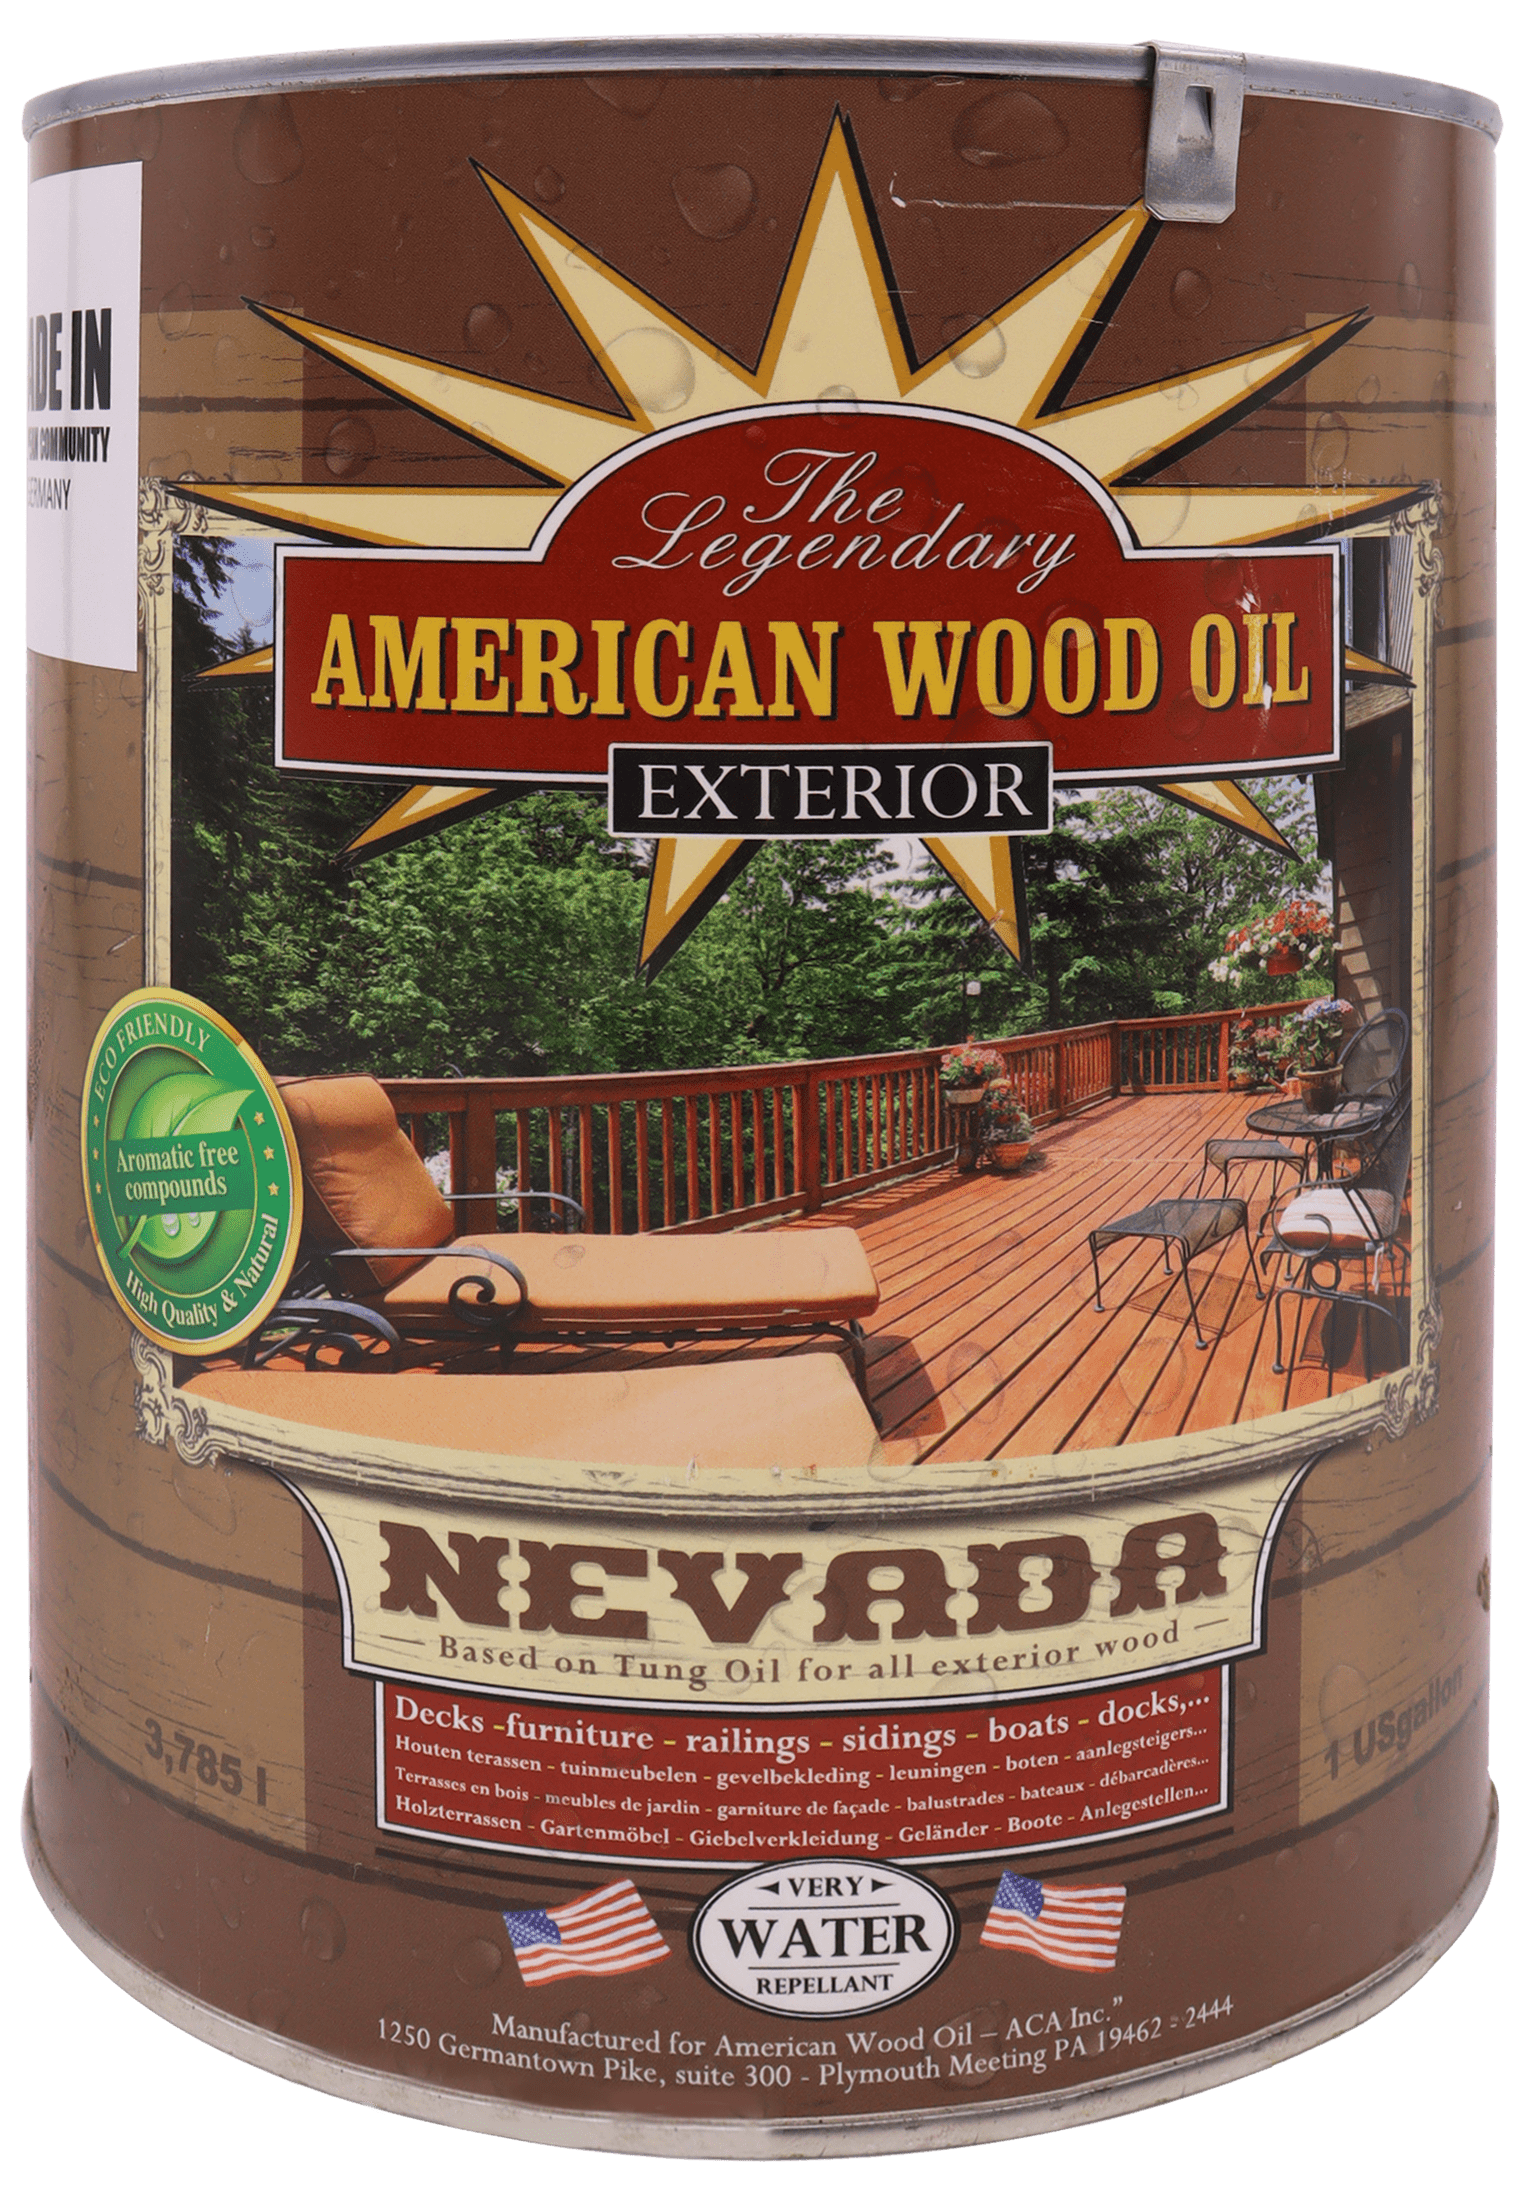


9. Applying a wood oil


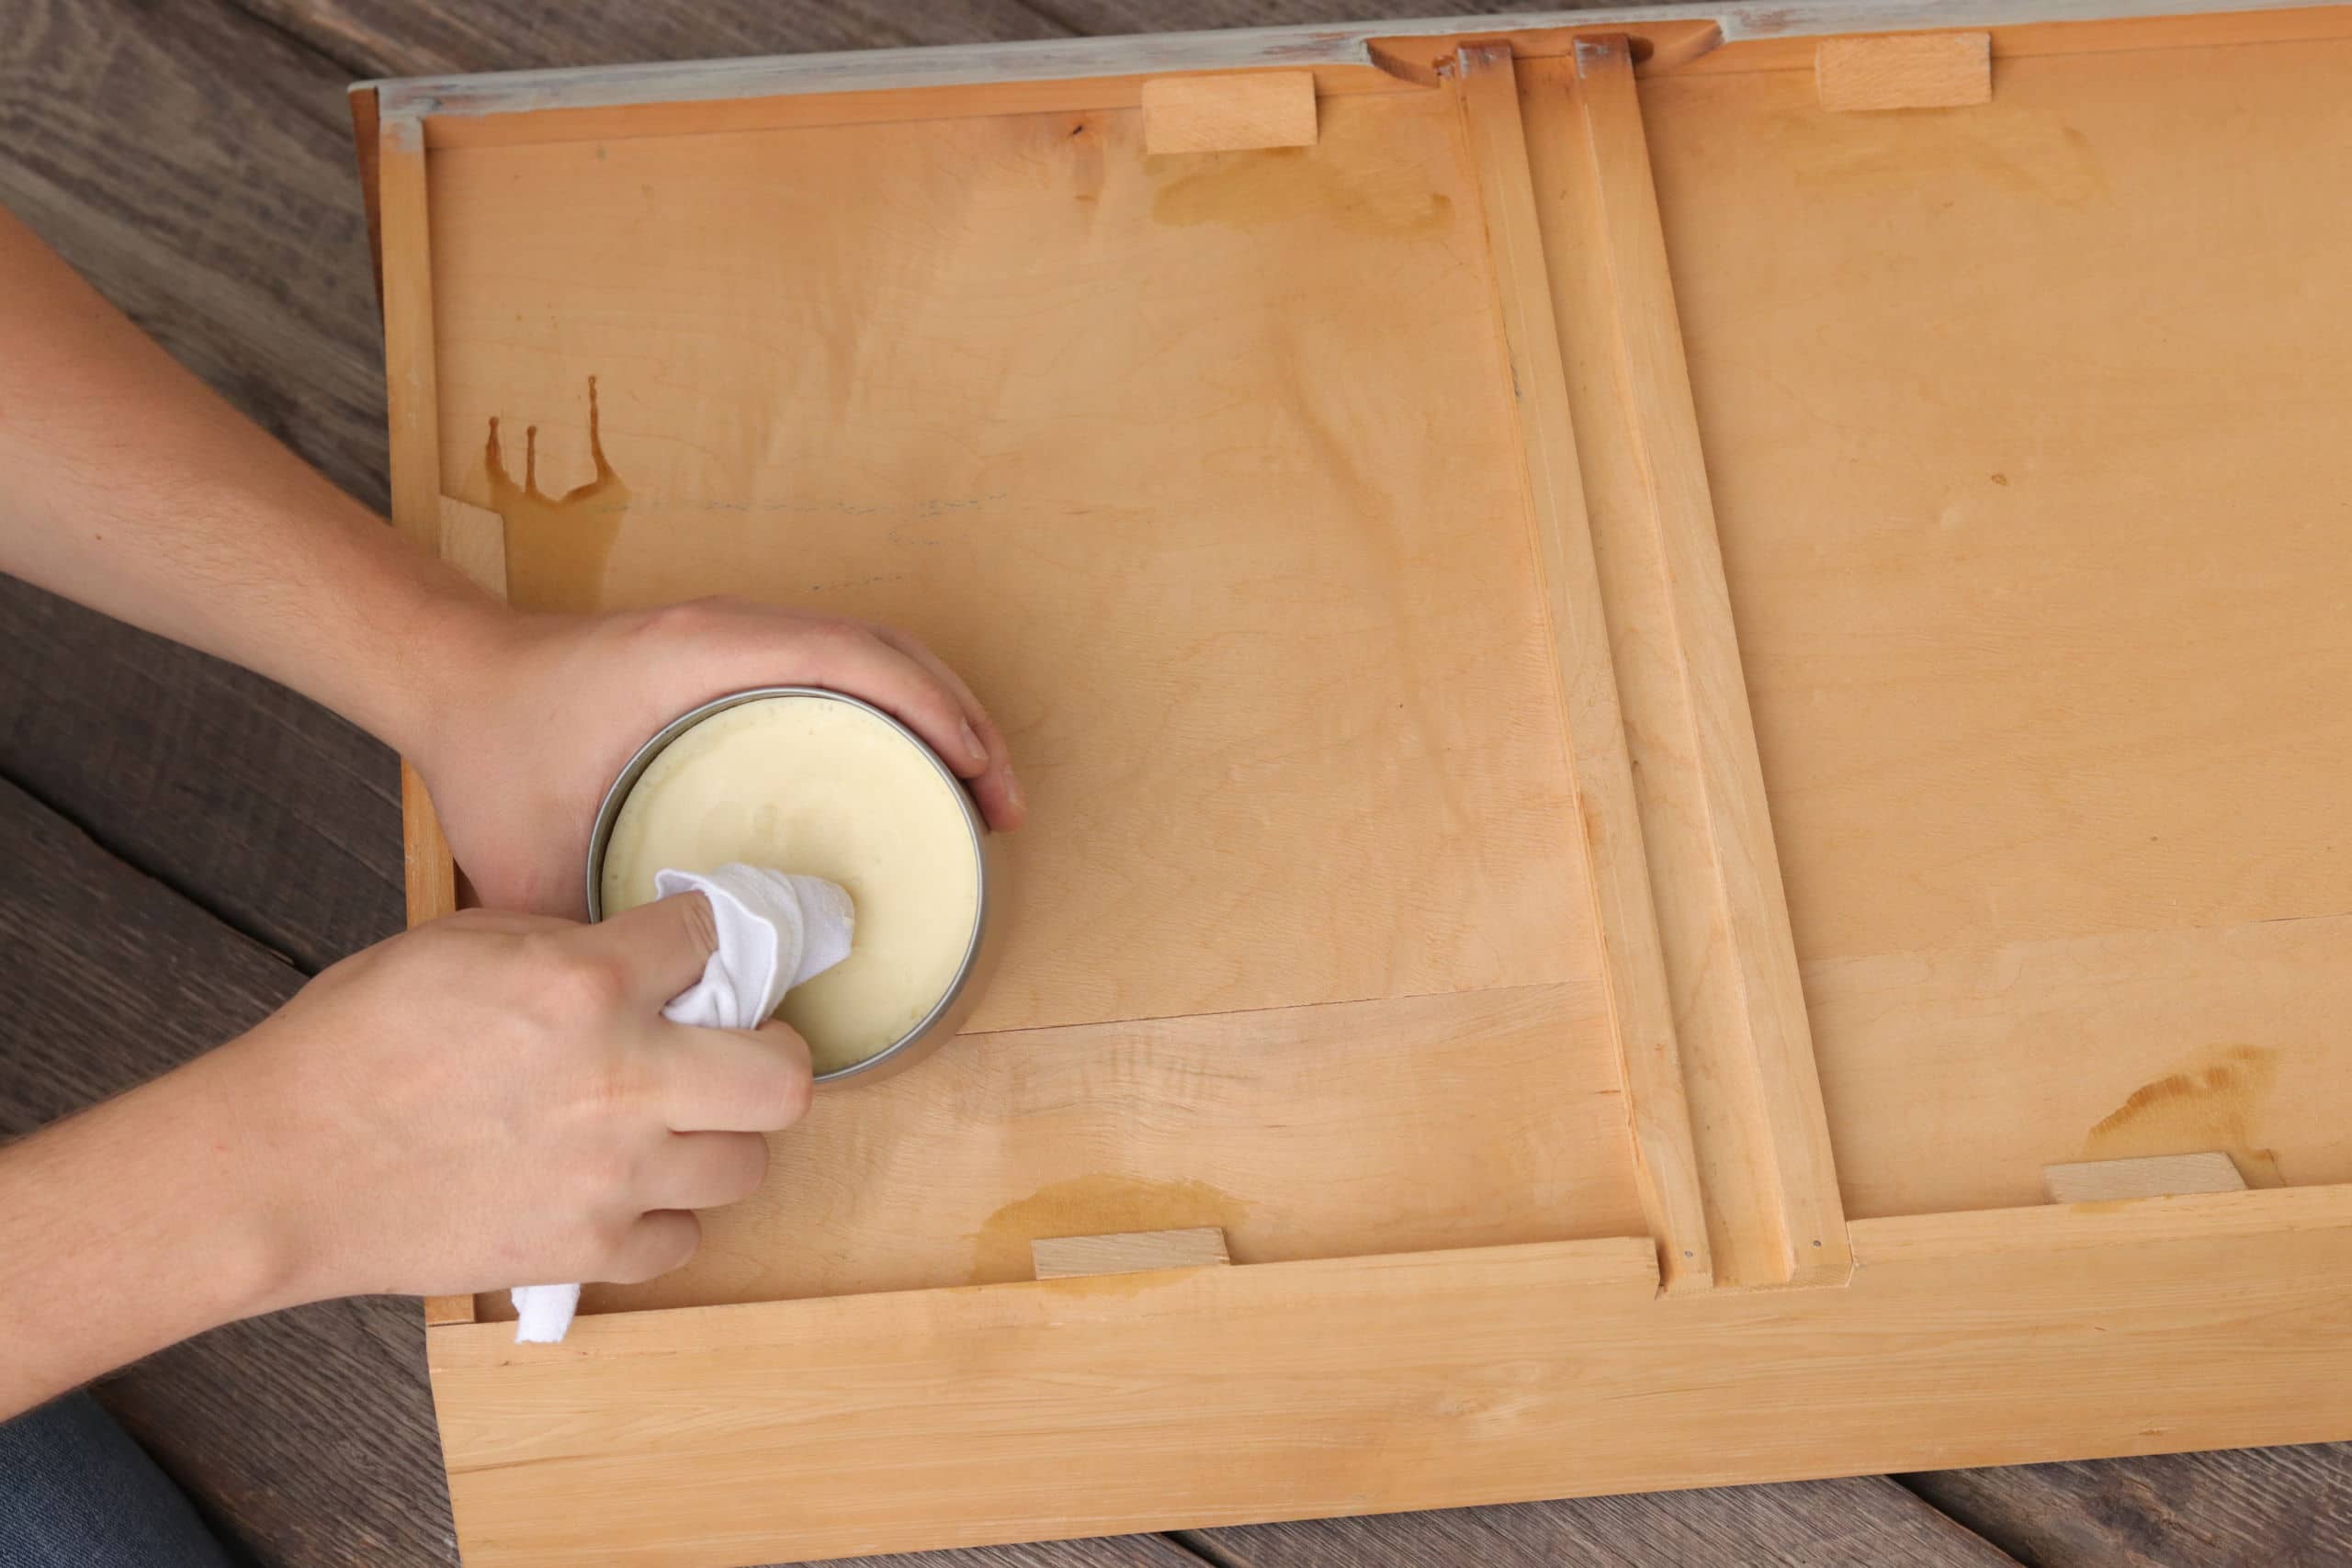
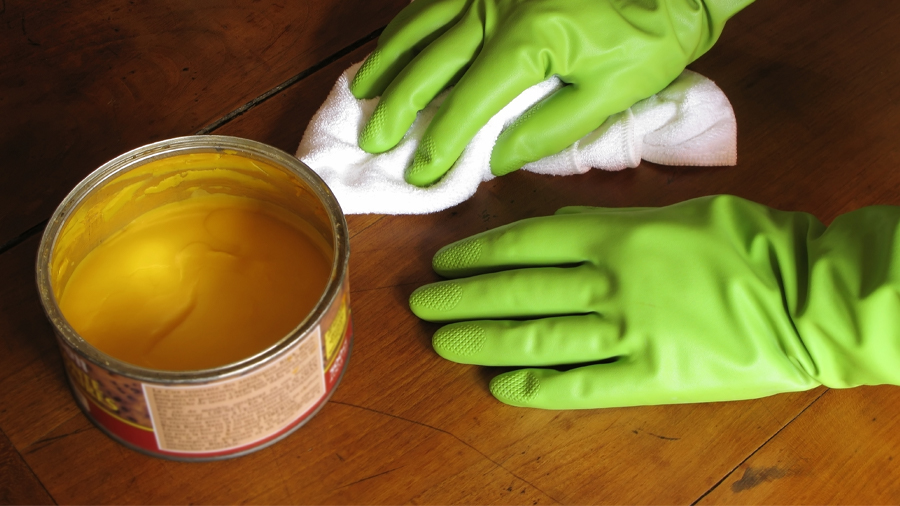
For a final touch, you can use a wood wax to add a glossy or satin finish to your kitchen table. This product helps to protect the wood and give it a smooth and polished look. Apply the wood wax with a cloth or brush, following the direction of the wood grain. Allow it to dry completely before buffing it with a clean cloth to achieve the desired shine. With these 10 steps, you can achieve a beautifully finished wood kitchen table that will be the centerpiece of your home. Remember to always work in a well-ventilated area and follow the instructions on the products you are using for the best results.10. Using a Wood Wax


10. Using a wood wax


Finishing a Wood Kitchen Table: Tips and Techniques for a Beautiful and Durable Finish

Preparing the Wood
 Before beginning the finishing process, it is important to properly prepare the wood kitchen table. This includes sanding down any rough spots or imperfections, filling in any holes or cracks with wood filler, and wiping down the surface with a damp cloth to remove any dust or debris.
Proper preparation is key to achieving a smooth and even finish that will last for years to come.
Before beginning the finishing process, it is important to properly prepare the wood kitchen table. This includes sanding down any rough spots or imperfections, filling in any holes or cracks with wood filler, and wiping down the surface with a damp cloth to remove any dust or debris.
Proper preparation is key to achieving a smooth and even finish that will last for years to come.
Choosing the Right Finish
 There are many different types of finishes available for wood furniture, including varnish, polyurethane, lacquer, and oil-based finishes.
When selecting a finish for your wood kitchen table, consider the level of protection and durability you need, as well as the desired look and feel of the finished product.
Varnish and polyurethane finishes are known for their durability and water resistance, while lacquer finishes offer a high-gloss shine. Oil-based finishes are a popular choice for their ease of application and ability to enhance the natural beauty of the wood.
There are many different types of finishes available for wood furniture, including varnish, polyurethane, lacquer, and oil-based finishes.
When selecting a finish for your wood kitchen table, consider the level of protection and durability you need, as well as the desired look and feel of the finished product.
Varnish and polyurethane finishes are known for their durability and water resistance, while lacquer finishes offer a high-gloss shine. Oil-based finishes are a popular choice for their ease of application and ability to enhance the natural beauty of the wood.
Applying the Finish
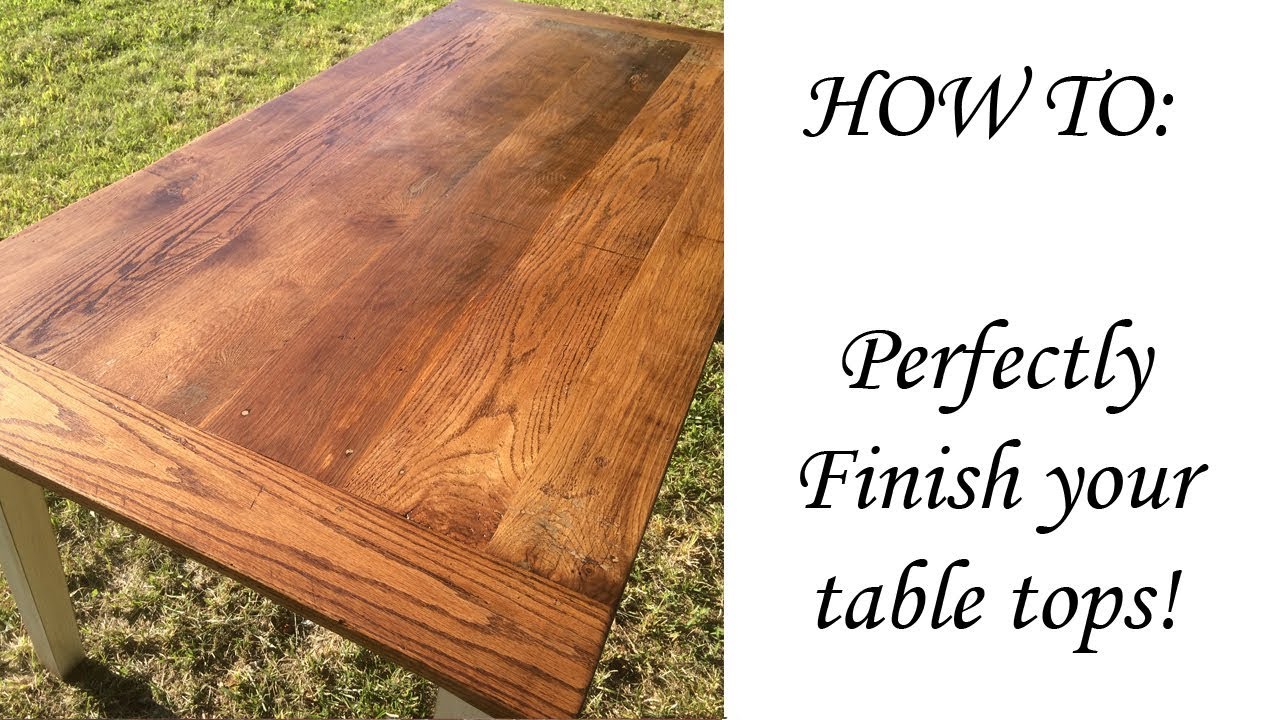 The application process for finishing a wood kitchen table may vary depending on the type of finish chosen, but there are some general guidelines to follow.
It is important to read and follow the instructions on the finish product carefully to ensure proper application and the best results.
Generally, finishes are applied with a brush or cloth in thin, even coats. Allow each coat to dry completely before lightly sanding with fine-grit sandpaper and applying the next coat.
Multiple coats may be necessary to achieve the desired level of protection and finish.
The application process for finishing a wood kitchen table may vary depending on the type of finish chosen, but there are some general guidelines to follow.
It is important to read and follow the instructions on the finish product carefully to ensure proper application and the best results.
Generally, finishes are applied with a brush or cloth in thin, even coats. Allow each coat to dry completely before lightly sanding with fine-grit sandpaper and applying the next coat.
Multiple coats may be necessary to achieve the desired level of protection and finish.
Maintaining the Finish
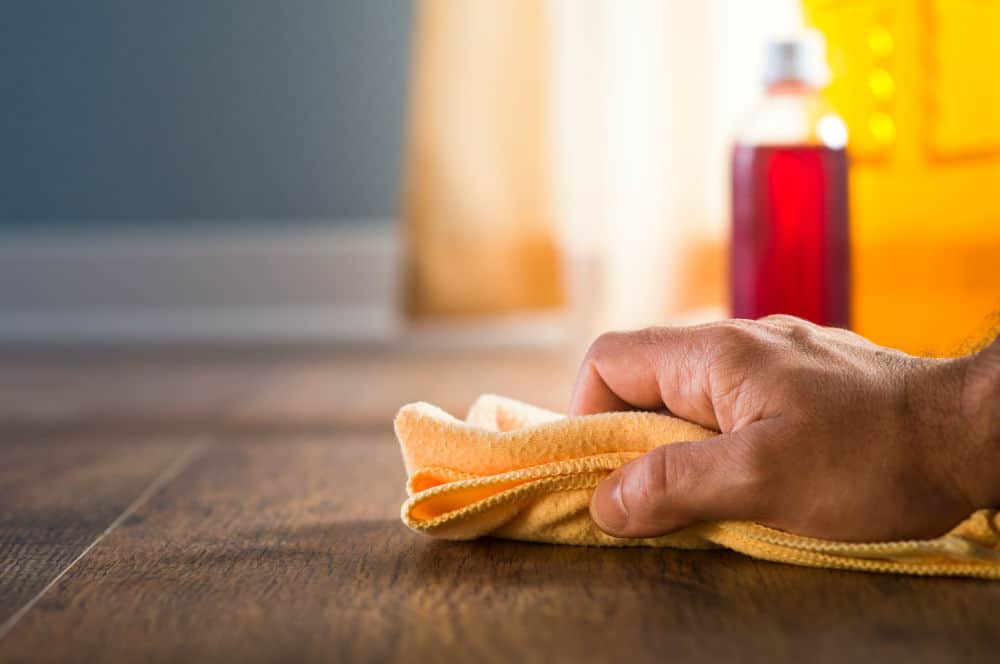
 After the wood kitchen table has been finished, it is important to properly maintain the finish to keep it looking beautiful and protect it from wear and tear.
Regularly dusting and wiping down the table with a damp cloth can help prevent dust and debris from scratching or damaging the finish.
Avoid using harsh chemicals or abrasive cleaners, as these can strip away the finish and damage the wood.
If the finish starts to look dull or worn over time, it may be necessary to reapply a new coat of finish to restore its shine and protection.
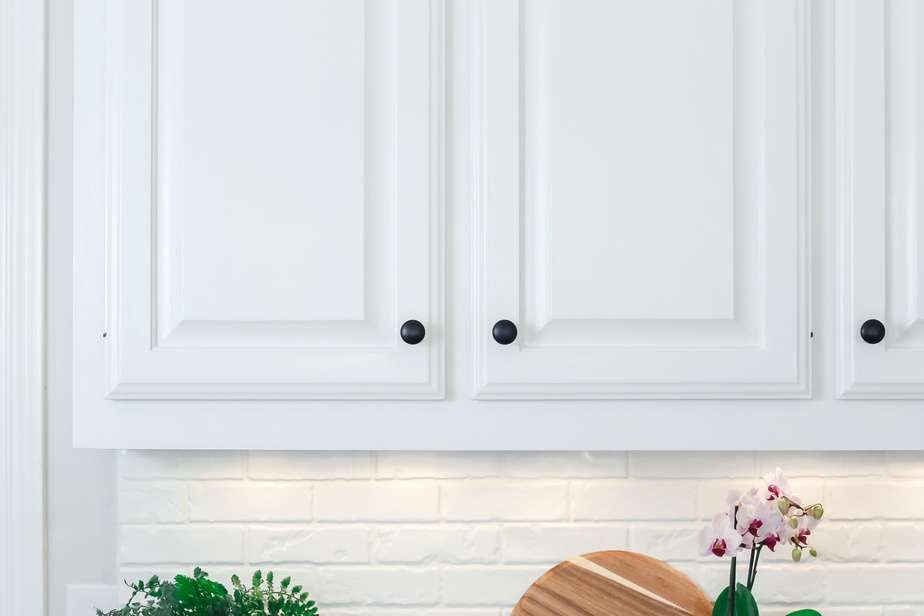
In conclusion, finishing a wood kitchen table is an important step in creating a beautiful and durable piece of furniture for your home. By properly preparing the wood, choosing the right finish, and following the proper application and maintenance techniques, you can achieve a stunning finish that will last for years to come.
Remember to take your time, read the instructions carefully, and have patience for the best results.
With proper care and maintenance, your wood kitchen table can be a centerpiece in your home for generations to come.
After the wood kitchen table has been finished, it is important to properly maintain the finish to keep it looking beautiful and protect it from wear and tear.
Regularly dusting and wiping down the table with a damp cloth can help prevent dust and debris from scratching or damaging the finish.
Avoid using harsh chemicals or abrasive cleaners, as these can strip away the finish and damage the wood.
If the finish starts to look dull or worn over time, it may be necessary to reapply a new coat of finish to restore its shine and protection.
In conclusion, finishing a wood kitchen table is an important step in creating a beautiful and durable piece of furniture for your home. By properly preparing the wood, choosing the right finish, and following the proper application and maintenance techniques, you can achieve a stunning finish that will last for years to come.
Remember to take your time, read the instructions carefully, and have patience for the best results.
With proper care and maintenance, your wood kitchen table can be a centerpiece in your home for generations to come.