Having a comfortable and functional air mattress is essential for a good night's sleep, whether you're camping or hosting guests. However, a leak can quickly turn your cozy sleep surface into a deflated and uncomfortable mess. Don't worry, though - finding and repairing an air mattress leak is a manageable task that you can do on your own. In this guide, we will walk you through the steps to locate and fix a leak in your air mattress, so you can get back to enjoying a restful night's sleep.How to Find and Repair an Air Mattress Leak


How to Find and Repair an Air Mattress Leak


Before we dive into the details, here are the five basic steps to find and repair an air mattress leak:5 Easy Steps to Fixing an Air Mattress Leak


5 Easy Steps to Fixing an Air Mattress Leak


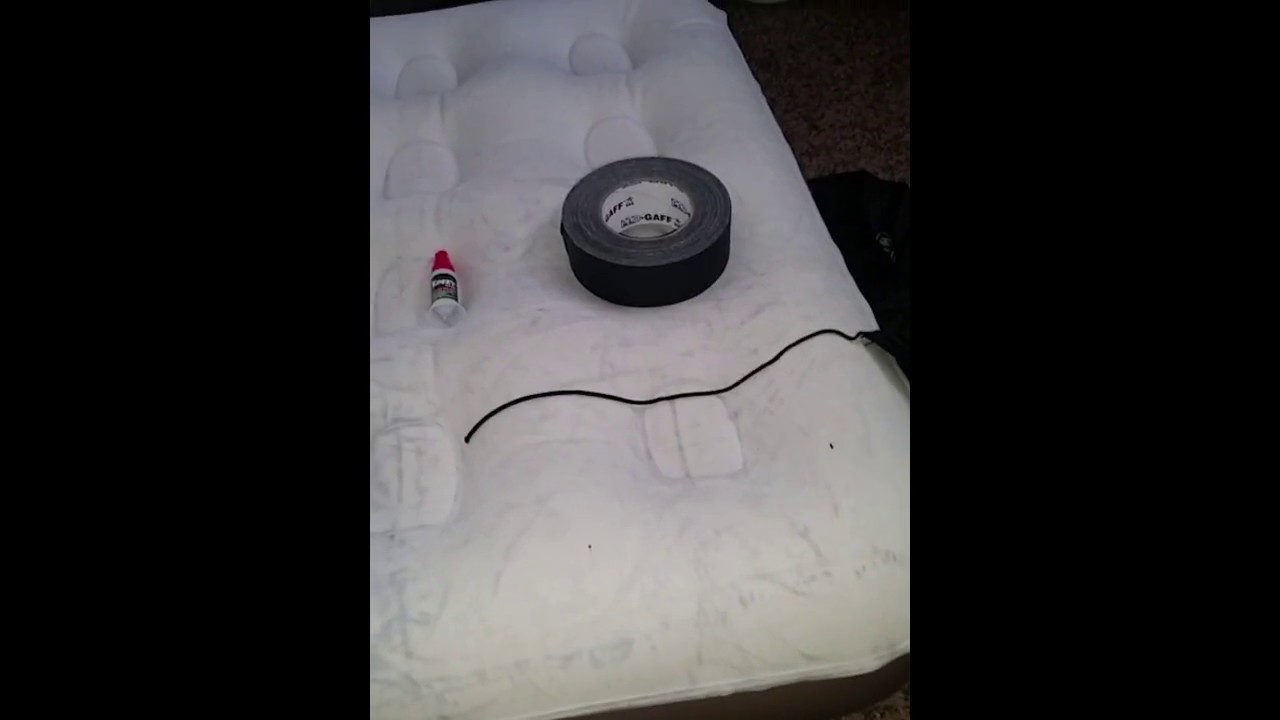
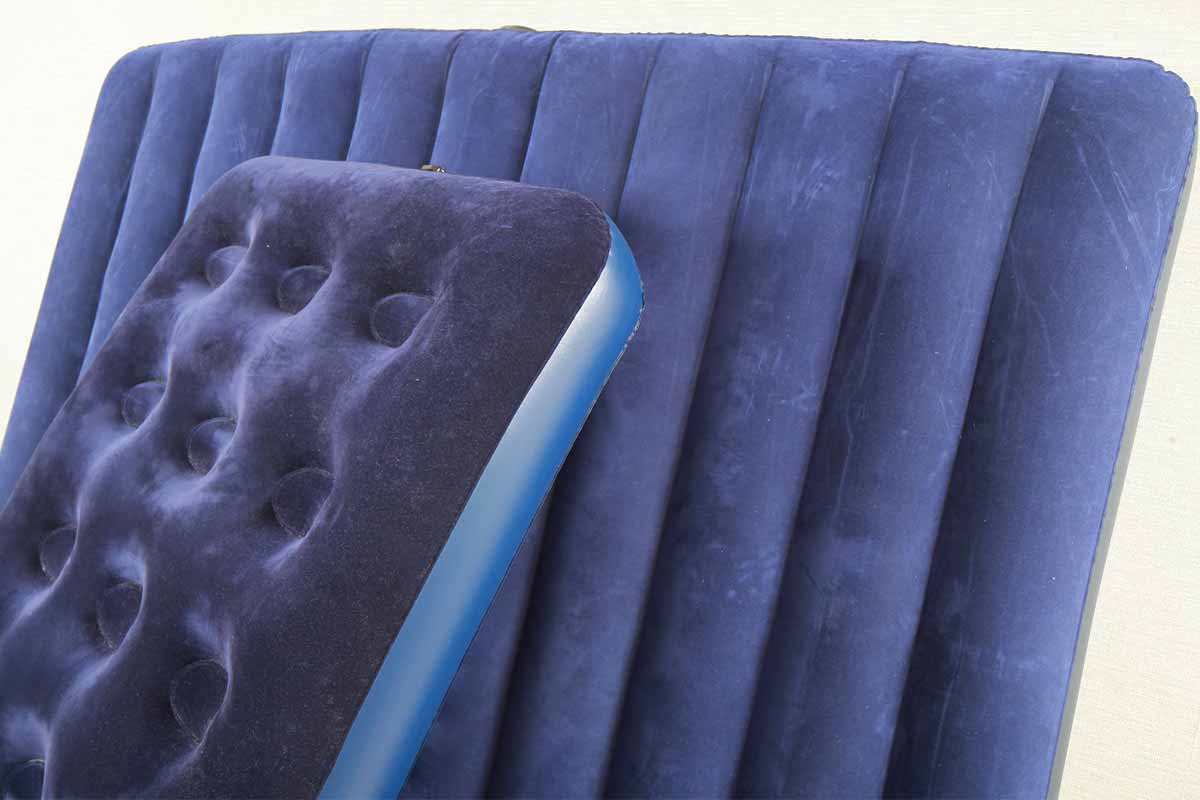
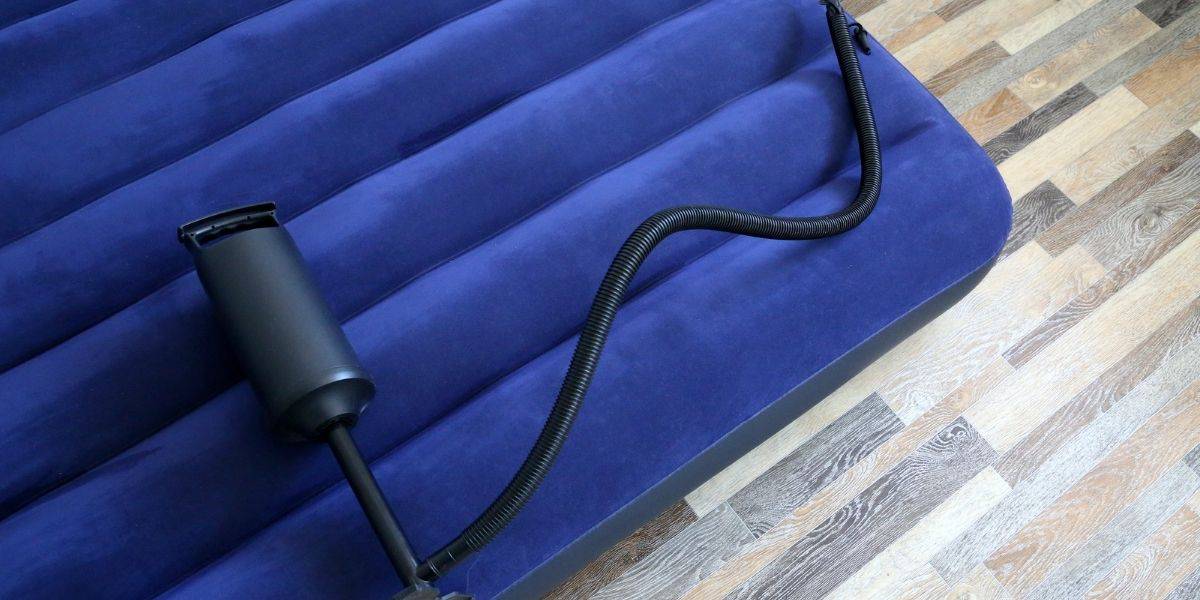
Now, let's break down each step in detail. Step 1: Inflate the Air Mattress The first step in finding a leak in your air mattress is to fully inflate it. This will make it easier to identify any hissing sounds or noticeable changes in air pressure. If you have an electric pump, use it to inflate the mattress. If you have a manual pump, make sure you have enough air in the mattress to make it firm and comfortable. Once the mattress is fully inflated, lie down on it and move around to see if you can feel any air escaping. If you can't find any obvious leaks, move on to the next step. Step 2: Submerge the Air Mattress in Water Submerging your air mattress in water is a foolproof way to find any small leaks that may not be audible or easily felt. Fill a bathtub or large container with water and carefully place the inflated mattress inside. Make sure the air valve is above the water level and that the mattress is fully submerged. If there is a leak, you should see bubbles forming at the location. If you don't see any bubbles, move the mattress around in the water to see if you can find the leak. Once you have identified the location, carefully remove the mattress from the water and dry it off. Step 3: Mark the Location of the Leak Using a permanent marker, mark the location of the leak on the mattress. This will make it easier to find when you are ready to make the repair. If the leak is small, you may want to circle the area or draw an arrow pointing to it. Step 4: Clean and Dry the Area Before making the repair, it's crucial to clean and dry the area around the leak. This will ensure that the patch or sealant adheres properly. Use a gentle cleaner and a cloth to clean the area, and then let it dry completely before moving on to the next step. Step 5: Apply a Patch or Sealant There are several options for repairing an air mattress leak. If the leak is small, you can use a patch kit specifically designed for air mattresses. Follow the instructions on the kit to apply the patch over the leak. If the leak is larger or in an awkward spot, you can use a sealant designed for air mattresses. Apply a small amount of the sealant to the leak and spread it evenly using a spatula or your finger. Make sure to cover the entire leak and let it dry completely before using the mattress again.DIY Guide: Finding and Fixing an Air Mattress Leak


DIY Guide: Finding and Fixing an Air Mattress Leak

Now that you know how to find and repair an air mattress leak, let's take a look at some of the common causes of leaks and how to fix them. Punctures from Sharp Objects One of the most common causes of air mattress leaks is punctures from sharp objects. This could be anything from a stray twig while camping to a pet's sharp claws. To prevent this type of leak, make sure to clear the area where you will be using the air mattress and keep pets away from it. If you do end up with a puncture, follow the steps outlined above to locate and repair the leak. You may also want to invest in a puncture-resistant air mattress for future use. Wear and Tear from Overuse Another common cause of air mattress leaks is wear and tear from overuse. If you frequently use your air mattress, it may start to develop small holes or tears over time. To prevent this, make sure to properly store and care for your air mattress when not in use. If you do notice small leaks from wear and tear, follow the steps above to fix them. You may also want to consider investing in a more durable air mattress for long-term use.Common Causes of Air Mattress Leaks and How to Fix Them


Locating and Repairing an Air Mattress Leak: A Comprehensive Guide


Here are some additional tips to keep in mind when finding and repairing an air mattress leak: Use a Cloth to Locate Small Leaks If you are having trouble locating a small leak, try running a damp cloth over the surface of the mattress. The cloth will be more sensitive to air movement, making it easier to find the leak.
Don't Overinflate Your Air Mattress Overinflating your air mattress can put unnecessary strain on the seams and increase the chances of a leak. Make sure to follow the manufacturer's instructions for inflating your air mattress to avoid any potential issues.Expert Tips for Finding and Repairing an Air Mattress Leak


Quick and Easy Ways to Find and Fix an Air Mattress Leak
If you have followed all the steps above and are still having trouble finding or fixing the leak, here are some additional troubleshooting tips: Check the Valve Sometimes, the source of the leak may not be a hole in the mattress, but a problem with the valve. Make sure the valve is securely closed and not loose or damaged. If it is, you may need to replace the valve or use a valve repair kit.
Check for Multiple Leaks If you have found and repaired one leak, but your air mattress is still deflating, there may be multiple leaks. Follow the steps above to repeat the process and fix any additional leaks you may find.
In conclusion, finding and repairing an air mattress leak is a straightforward process that you can do on your own. By following the steps outlined in this guide and keeping these expert tips in mind, you can quickly identify and fix any leaks in your air mattress, ensuring a comfortable and worry-free sleep experience. Happy sleeping!Troubleshooting: How to Find and Fix an Air Mattress Leak
The Ultimate Guide to Finding and Repairing an Air Mattress Leak


Step-by-Step Guide to Finding and Repairing an Air Mattress Leak


How to Find and Repair a Leak in Your Air Mattress

The Importance of a Good Night's Sleep
 A good night's sleep is crucial for our physical and mental well-being. However, a leak in your air mattress can disrupt your sleep and leave you feeling tired and restless. Not to mention, constantly inflating your mattress can be a hassle and a waste of money. To ensure a comfortable and restful night's sleep, it is important to
find and repair any leaks in your air mattress
as soon as possible. Here's how you can do it.
A good night's sleep is crucial for our physical and mental well-being. However, a leak in your air mattress can disrupt your sleep and leave you feeling tired and restless. Not to mention, constantly inflating your mattress can be a hassle and a waste of money. To ensure a comfortable and restful night's sleep, it is important to
find and repair any leaks in your air mattress
as soon as possible. Here's how you can do it.
Step 1: Determine the Location of the Leak
 The first step in repairing your air mattress is to locate the source of the leak. Begin by inflating your mattress and listening for a hissing sound, which indicates the location of the leak. If you are unable to hear any sound, you can also use a spray bottle filled with soapy water and spray it over the surface of the mattress.
Pay special attention to the seams and corners as these are the most common areas for leaks
.
The first step in repairing your air mattress is to locate the source of the leak. Begin by inflating your mattress and listening for a hissing sound, which indicates the location of the leak. If you are unable to hear any sound, you can also use a spray bottle filled with soapy water and spray it over the surface of the mattress.
Pay special attention to the seams and corners as these are the most common areas for leaks
.
Step 2: Mark the Leak
 Once you have identified the location of the leak,
mark it with a piece of tape or a marker
. This will make it easier for you to find the leak again when you are ready to repair it.
Once you have identified the location of the leak,
mark it with a piece of tape or a marker
. This will make it easier for you to find the leak again when you are ready to repair it.
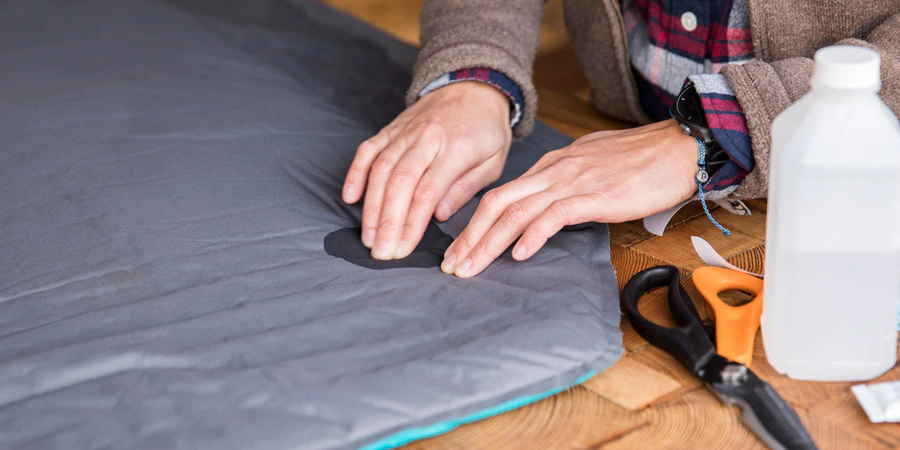
Step 3: Clean and Dry the Area
 Before repairing the leak, it is important to
clean and dry the area around it
. Use a damp cloth to remove any dirt or debris and then dry it thoroughly with a towel. This will ensure that the patch adheres properly to the surface of the mattress.
Before repairing the leak, it is important to
clean and dry the area around it
. Use a damp cloth to remove any dirt or debris and then dry it thoroughly with a towel. This will ensure that the patch adheres properly to the surface of the mattress.
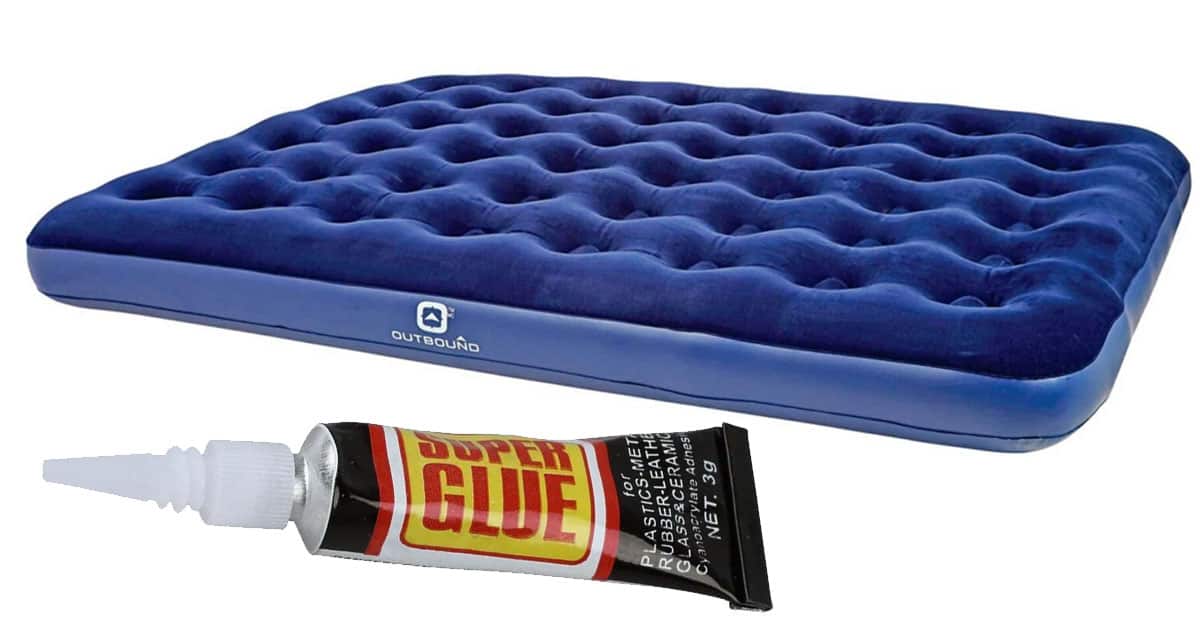
Step 4: Use a Repair Kit
 Most air mattresses come with a repair kit which includes a patch and adhesive. If you do not have a repair kit, you can purchase one from a hardware store or online.
Follow the instructions on the repair kit carefully
, as different types of patches may require different methods of application.
Most air mattresses come with a repair kit which includes a patch and adhesive. If you do not have a repair kit, you can purchase one from a hardware store or online.
Follow the instructions on the repair kit carefully
, as different types of patches may require different methods of application.
Step 5: Apply the Patch
 Using the adhesive provided in the repair kit,
apply the patch over the marked area
. Smooth out any air bubbles and ensure that the patch is securely attached to the mattress. Let it dry for the recommended amount of time before inflating the mattress again.
Using the adhesive provided in the repair kit,
apply the patch over the marked area
. Smooth out any air bubbles and ensure that the patch is securely attached to the mattress. Let it dry for the recommended amount of time before inflating the mattress again.
Step 6: Test the Repair
 Once the patch has dried,
inflate the mattress and check for any remaining leaks
. If there are no more leaks, your air mattress is now ready to use. If there are still leaks, you may need to repeat the process or try a different repair method.
Once the patch has dried,
inflate the mattress and check for any remaining leaks
. If there are no more leaks, your air mattress is now ready to use. If there are still leaks, you may need to repeat the process or try a different repair method.
In Conclusion
 Finding and repairing a leak in your air mattress is not as daunting as it may seem. With the right tools and techniques, you can easily fix the problem and enjoy a good night's sleep on your comfortable and fully inflated air mattress. Remember to
regularly check your mattress for leaks and repair them promptly
to ensure its longevity and your well-rested sleep.
Finding and repairing a leak in your air mattress is not as daunting as it may seem. With the right tools and techniques, you can easily fix the problem and enjoy a good night's sleep on your comfortable and fully inflated air mattress. Remember to
regularly check your mattress for leaks and repair them promptly
to ensure its longevity and your well-rested sleep.


.jpg)

