Installing a drop-in bathroom sink is a simple and cost-effective way to upgrade your bathroom. Whether you're remodeling your space or just looking for a quick refresh, a drop-in sink can add both functionality and style to your bathroom. With the right tools and a little bit of know-how, you can easily install a drop-in bathroom sink yourself. In this guide, we'll take you through the step-by-step process of installing a drop-in bathroom sink.Drop-in Bathroom Sink Installation Instructions


Drop-in Bathroom Sink Installation Instructions


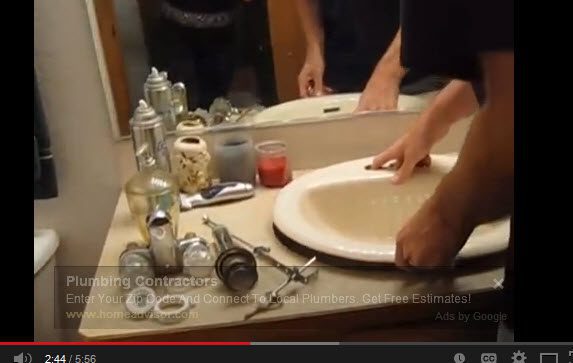
Before you begin the installation process, make sure you have all the necessary tools and materials. This includes a drop-in sink, a faucet, a drain assembly, plumber's putty, a wrench, and a screwdriver. Once you have everything you need, follow these simple steps to install your drop-in bathroom sink: Step 1: Prepare the Sink and Countertop Start by preparing the sink and countertop where you will be installing the sink. Clean the countertop and make sure it is free of any debris. Then, place the sink upside down on the countertop and trace the outline of the sink with a pencil. This will serve as a guide for where to cut the hole in the countertop. Step 2: Cut the Hole in the Countertop Using a jigsaw, carefully cut along the traced outline on the countertop. Make sure to follow the manufacturer's instructions for the size of the hole. Once the hole is cut, test fit the sink to ensure a proper fit. Step 3: Apply Plumber's Putty Take a small amount of plumber's putty and roll it into a thin rope. Apply the putty around the edge of the sink where it will come in contact with the countertop. This will create a watertight seal and prevent any leaks. Step 4: Install the Faucet and Drain Assembly Before placing the sink into the hole, install the faucet and drain assembly. Follow the manufacturer's instructions for proper installation. Once the faucet and drain are in place, you can now place the sink into the hole in the countertop. Step 5: Secure the Sink Using a wrench, tighten the clips or mounting hardware to secure the sink in place. Make sure the sink is level and adjust if necessary. Step 6: Connect the Plumbing Attach the water supply lines to the faucet and the drain to the drain assembly. Turn on the water and check for any leaks. If everything looks good, you're all set!How to Install a Drop-In Bathroom Sink


How to Install a Drop-In Bathroom Sink


For a more detailed step-by-step guide on how to install a drop-in bathroom sink, check out the following instructions: Step 1: Gather Your Tools and Materials As mentioned earlier, make sure you have all the necessary tools and materials before starting the installation process. This includes a drop-in sink, a faucet, a drain assembly, plumber's putty, a wrench, and a screwdriver. Step 2: Prepare the Sink and Countertop Clean the countertop and place the sink upside down on the countertop. Trace the outline of the sink with a pencil and remove the sink. Step 3: Cut the Hole in the Countertop Using a jigsaw, carefully cut along the traced outline on the countertop. Make sure to follow the manufacturer's instructions for the size of the hole. Test fit the sink to ensure a proper fit. Step 4: Apply Plumber's Putty Roll a small amount of plumber's putty into a thin rope and apply it around the edge of the sink where it will come in contact with the countertop. Step 5: Install the Faucet and Drain Assembly Follow the manufacturer's instructions to install the faucet and drain assembly before placing the sink into the hole. Step 6: Secure the Sink Using a wrench, tighten the clips or mounting hardware to secure the sink in place. Make sure the sink is level and adjust if necessary. Step 7: Connect the Plumbing Attach the water supply lines to the faucet and the drain to the drain assembly. Turn on the water and check for any leaks. Step 8: Clean Up and Enjoy Your New Sink Clean up any excess putty and debris, and you're all done! Admire your new drop-in bathroom sink and enjoy the added functionality and style it brings to your bathroom.Step-by-Step Drop-In Bathroom Sink Installation Guide


Step-by-Step Drop-In Bathroom Sink Installation Guide


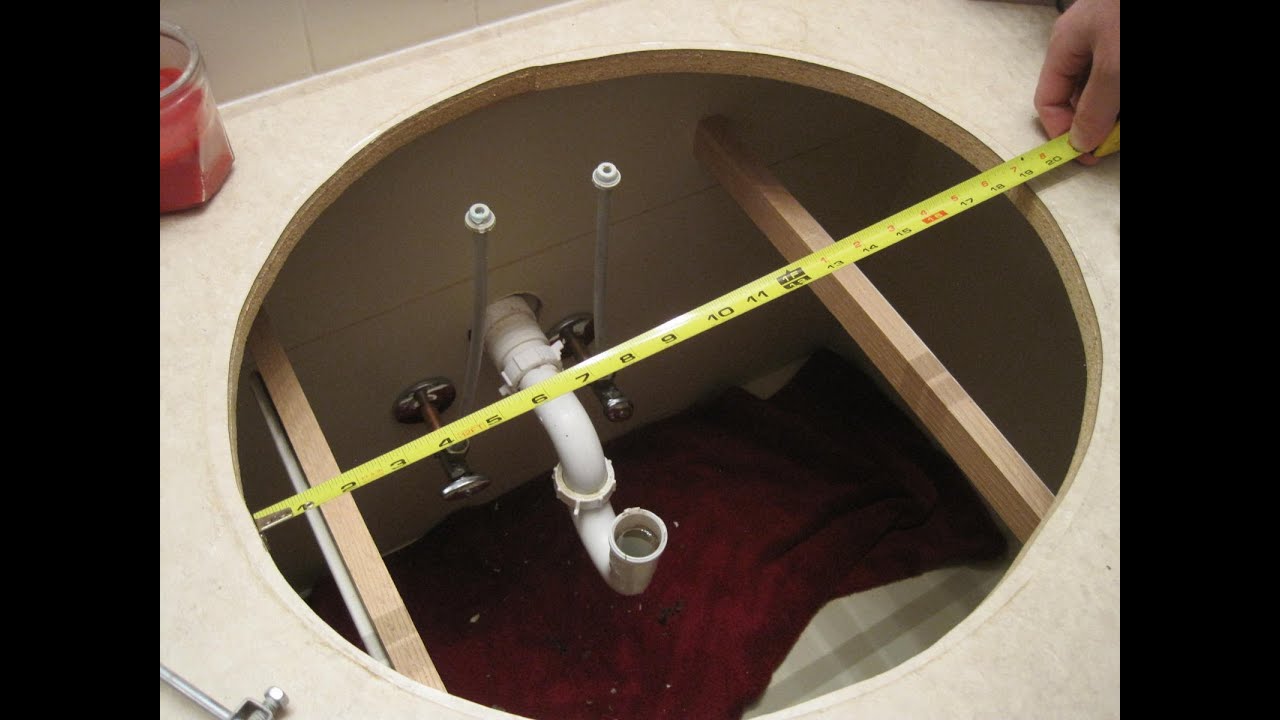
Here are some helpful tips to keep in mind when installing a drop-in bathroom sink: Tip 1: Measure Twice, Cut Once Make sure to carefully measure and double-check the size of the hole you need to cut in the countertop. You don't want to end up with a hole that is too big or too small for your sink. Tip 2: Use a Silicone Sealant In addition to plumber's putty, you can also use a silicone sealant to create a watertight seal around the edge of the sink. Tip 3: Don't Over-Tighten When securing the sink in place, make sure not to over-tighten the clips or mounting hardware. This can cause damage to the sink or countertop. Tip 4: Follow Manufacturer's Instructions It's always important to follow the specific manufacturer's instructions for installation. This will ensure that the sink is installed correctly and functions properly. Tip 5: Ask for Help If you're unsure about any part of the installation process, don't hesitate to ask for help from a friend or a professional. It's better to get it right the first time than to make a mistake and have to start over.DIY Drop-In Bathroom Sink Installation Tips

DIY Drop-In Bathroom Sink Installation Tips


If you're looking for a quick and easy way to install a drop-in bathroom sink, follow these simplified steps: Step 1: Prepare the Sink and Countertop Clean the countertop and place the sink upside down on the countertop. Trace the outline of the sink with a pencil and remove the sink. Step 2: Apply Plumber's Putty Roll a small amount of plumber's putty into a thin rope and apply it around the edge of the sink where it will come in contact with the countertop. Step 3: Install the Faucet and Drain Assembly Follow the manufacturer's instructions to install the faucet and drain assembly before placing the sink into the hole. Step 4: Secure the Sink Using a wrench, tighten the clips or mounting hardware to secure the sink in place. Make sure the sink is level and adjust if necessary. Step 5: Connect the Plumbing Attach the water supply lines to the faucet and the drain to the drain assembly. Turn on the water and check for any leaks.Quick and Easy Drop-In Bathroom Sink Installation


Quick and Easy Drop-In Bathroom Sink Installation


Here are 10 essential tips to help you successfully install a drop-in bathroom sink: Tip 1: Plan Ahead Before starting the installation process, make sure to plan out the placement and size of the sink to avoid any mistakes or adjustments later on. Tip 2: Use the Right Tools Having the right tools on hand will make the installation process much smoother and easier. Make sure to have a wrench, screwdriver, and plumber's putty on hand. Tip 3: Check for Levelness Before securing the sink, make sure it is level by using a level tool. This will ensure proper water drainage and prevent any issues down the line. Tip 4: Don't Forget to Connect the Plumbing Before admiring your newly installed sink, don't forget to connect the plumbing. This includes attaching the water supply lines to the faucet and the drain to the drain assembly. Tip 5: Use a Drop Cloth To avoid any damage to your bathroom surfaces, lay down a drop cloth before starting the installation process. This will catch any debris or spills. Tip 6: Follow the Manufacturer's Instructions Make sure to carefully read and follow the manufacturer's instructions for installation. This will ensure that the sink is installed correctly and functions properly. Tip 7: Use a Silicone Sealant In addition to plumber's putty, using a silicone sealant can provide extra protection and create a watertight seal around the sink. Tip 8: Take Your Time Installing a drop-in bathroom sink may seem like a quick and easy task, but taking your time and being precise will ensure a better end result. Tip 9: Test for Leaks After connecting the plumbing, make sure to turn on the water and check for any leaks. If you see any, make the necessary adjustments before using the sink. Tip 10: Ask for Help If you're unsure about any part of the installation process, don't hesitate to ask for help from a friend or a professional. It's always better to get it right the first time.Top 10 Tips for Installing a Drop-In Bathroom Sink


Top 10 Tips for Installing a Drop-In Bathroom Sink


Make sure to have the following tools on hand before starting the installation process: 1. Wrench A wrench will be used to tighten the clips or mounting hardware to secure the sink in place. 2. Screwdriver A screwdriver will be needed to attach the faucet and drain assembly to the sink. 3. Plumber's Putty Plumber's putty is used to create a watertight seal around the edge of the sink. 4. Jigsaw A jigsaw will be used to cut the hole in the countertop for the sink. 5. Level Tool A level tool will ensure that the sink is level before securing it in place.Essential Tools for Drop-In Bathroom Sink Installation


Essential Tools for Drop-In Bathroom Sink Installation
Here are some common mistakes to avoid when installing a drop-in bathroom sink: Mistake #1: Not Measuring Correctly Measuring the sink and the hole in the countertop incorrectly can lead to a poorly fitting sink and potential leaks. Mistake #2: Forgetting to Connect the Plumbing It's easy to get caught up in the installation process and forget to connect the plumbing. Make sure to double-check before finishing the installation. Mistake #3: Over-Tightening Over-tightening the clips or mounting hardware can cause damage to the sink or countertop. Make sure to tighten them just enough to secure the sink in place. Mistake #4: Not Using Plumber's Putty Skipping the plumber's putty step can lead to leaks and water damage. Make sure to use it to create a watertight seal around the sink. Mistake #5: Rushing the Process Installing a drop-in bathroom sink may seem like a quick and easy task, but taking your time and being precise will ensure a better end result.Common Mistakes to Avoid When Installing a Drop-In Bathroom Sink


Common Mistakes to Avoid When Installing a Drop-In Bathroom Sink


If you're feeling unsure about installing a drop-in bathroom sink, seeking advice from an expert can be helpful. Here are some tips from professionals: Tip 1: Follow the Manufacturer's Instructions Always follow the manufacturer's instructions for installation to ensure a proper fit and functioning sink. Tip 2: Take Your Time Don't rush the installation process. Take your time and be precise for the best results. Tip 3: Use Plumber's Putty Make sure to use plumber's putty to create a watertight seal around the sink. This will prevent any leaks. Tip 4: Test for Leaks After connecting the plumbing, turn on the water and check for any leaks. If you see any, make the necessary adjustments before using the sink.Expert Advice on Drop-In Bathroom Sink Installation
.png)
Expert Advice on Drop-In Bathroom Sink Installation


Why Choosing the Right Bathroom Sink Installation is Essential for Your House Design

The Importance of Bathroom Sinks in House Design
 When it comes to designing your dream home, one of the most important spaces is undoubtedly the bathroom. This is where you start and end your day, and it should be a place of relaxation and functionality. A crucial element of any bathroom design is the
bathroom sink
. Not only does it serve a practical purpose, but it also adds to the overall aesthetic of the space. That's why choosing the right bathroom sink installation is essential for your house design.
When it comes to designing your dream home, one of the most important spaces is undoubtedly the bathroom. This is where you start and end your day, and it should be a place of relaxation and functionality. A crucial element of any bathroom design is the
bathroom sink
. Not only does it serve a practical purpose, but it also adds to the overall aesthetic of the space. That's why choosing the right bathroom sink installation is essential for your house design.
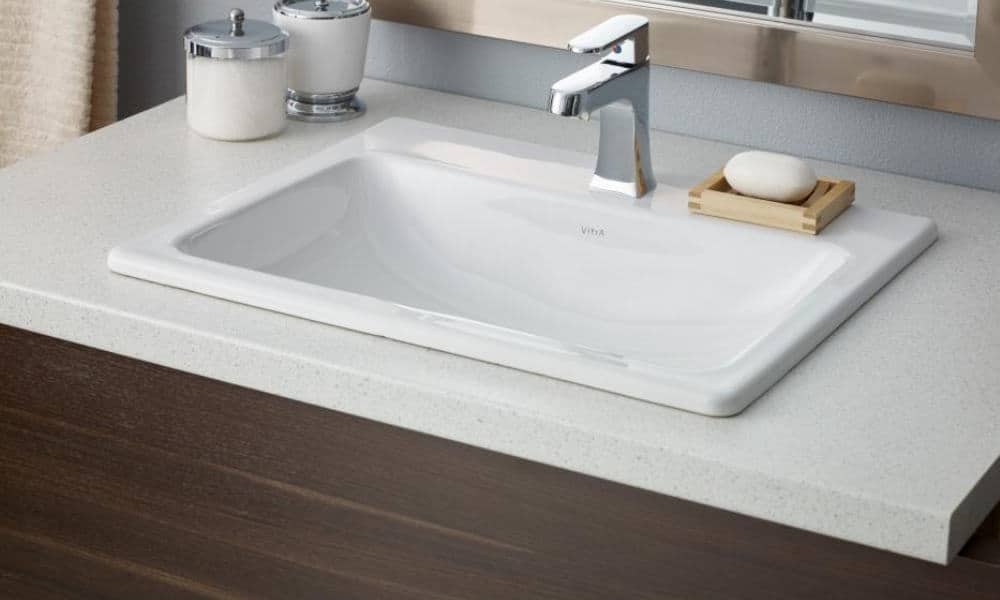
The Advantages of Drop-In Bathroom Sink Installation
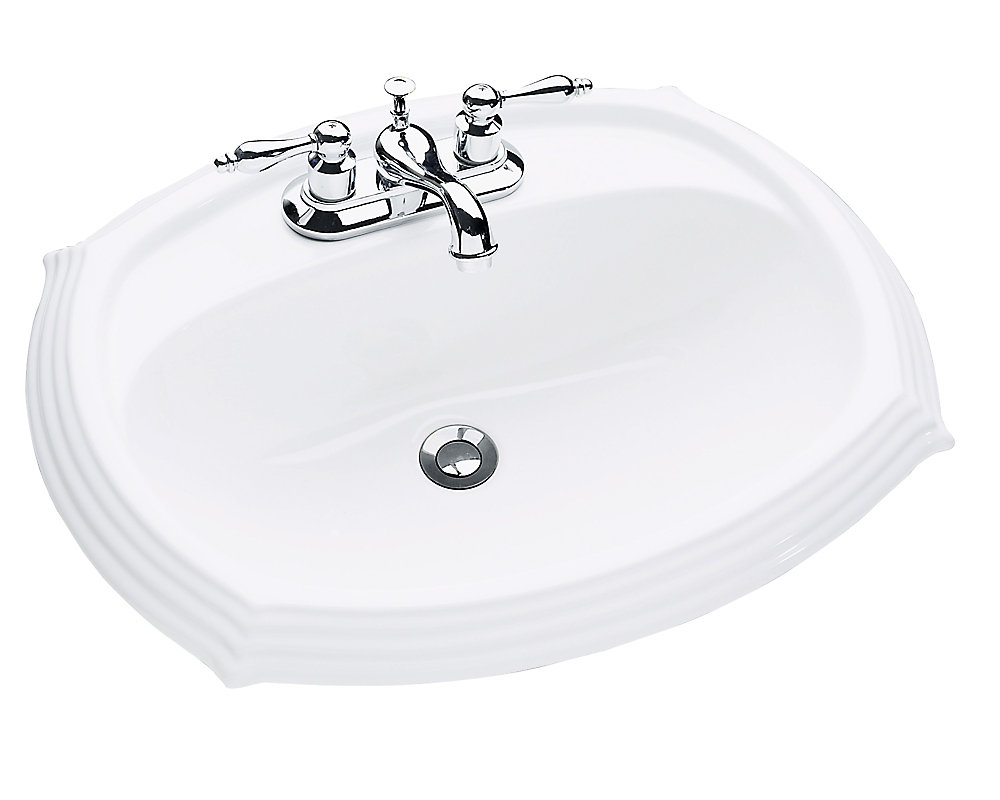
 When it comes to the installation of a bathroom sink, there are several options available, including undermount, pedestal, and
drop-in
sinks. However,
drop-in sinks
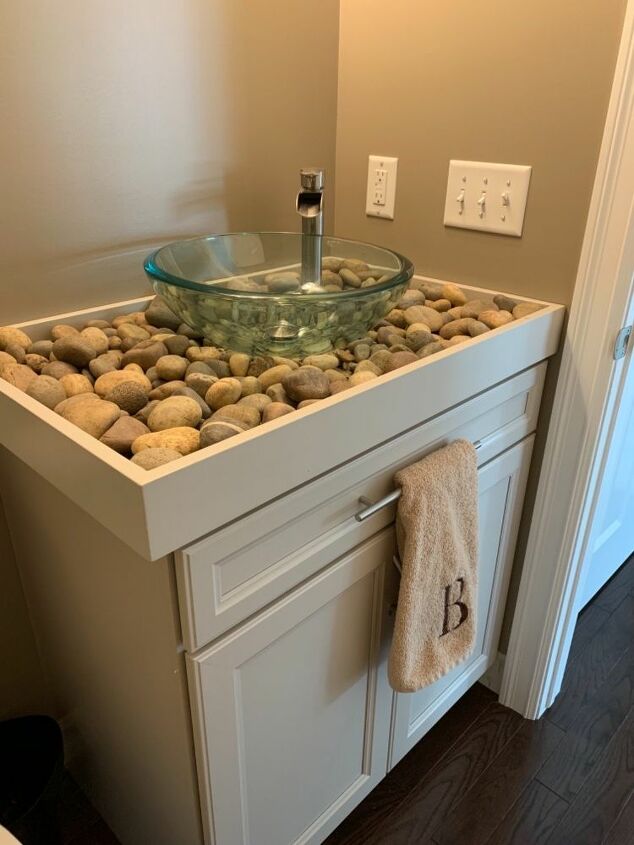
offer several advantages that make them a popular choice among homeowners. They are easy to install, require minimal maintenance, and come in a variety of designs, making them a versatile choice for any bathroom design.
When it comes to the installation of a bathroom sink, there are several options available, including undermount, pedestal, and
drop-in
sinks. However,
drop-in sinks
offer several advantages that make them a popular choice among homeowners. They are easy to install, require minimal maintenance, and come in a variety of designs, making them a versatile choice for any bathroom design.
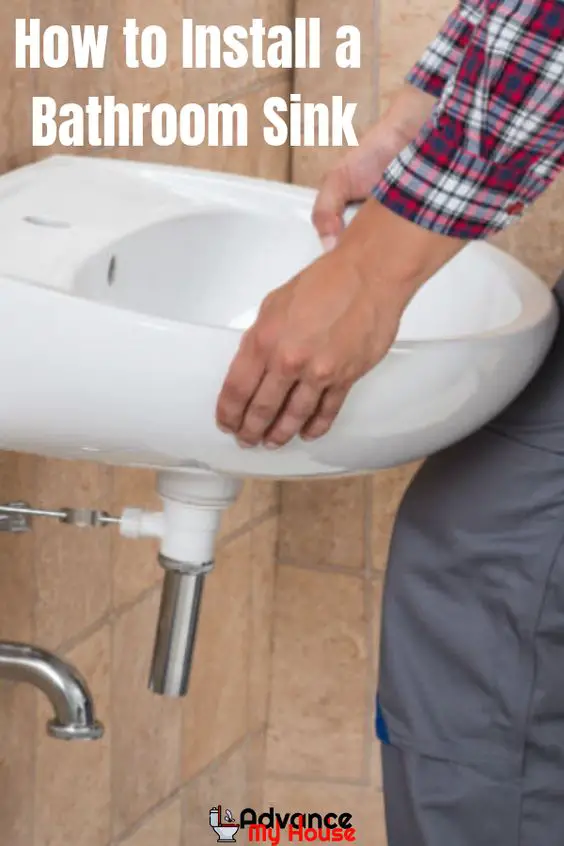
Step-by-Step Guide for Drop-In Bathroom Sink Installation
 Now that you have chosen a drop-in sink for your bathroom, it's time to install it. Here is a step-by-step guide to help you with the
drop-in bathroom sink installation
process:
Now that you have chosen a drop-in sink for your bathroom, it's time to install it. Here is a step-by-step guide to help you with the
drop-in bathroom sink installation
process:
Step 1: Gather your tools and materials
Before beginning the installation process, make sure you have all the necessary tools and materials, including the sink, faucet, silicone caulk, plumber's putty, and a wrench.Step 2: Prepare the sink and countertop
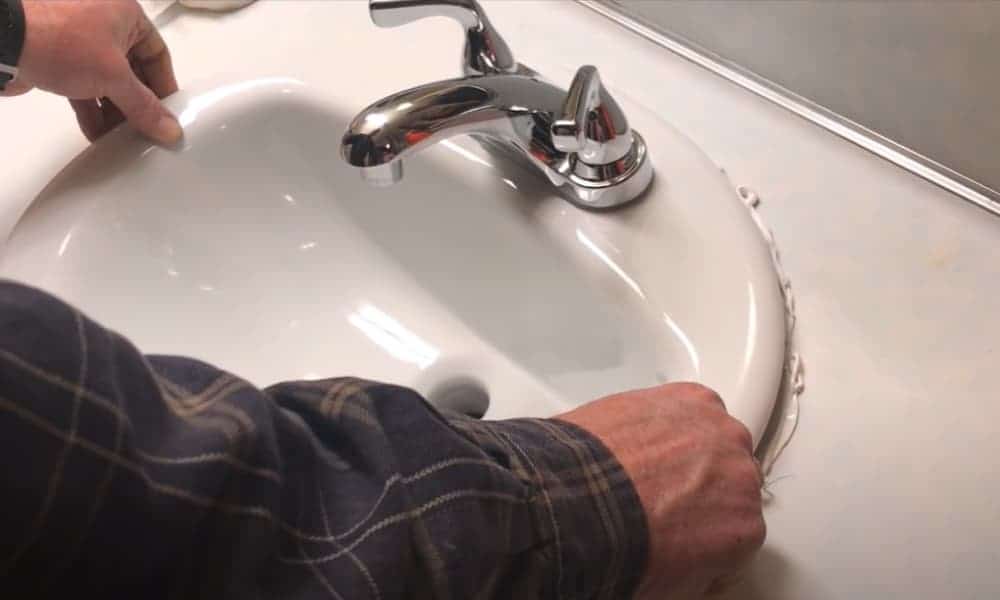
Start by placing the sink upside down on a flat surface and applying a bead of silicone caulk around the rim. Then, place the sink onto the countertop and press down firmly to create a seal.Step 3: Secure the sink in place
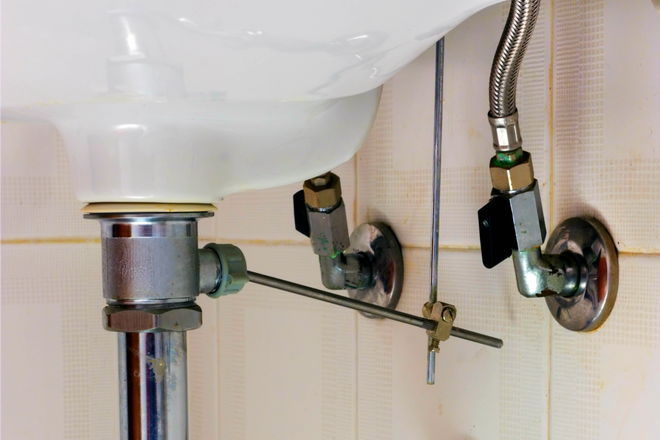
Using a wrench, tighten the sink clips or brackets to secure the sink in place. Make sure the sink is level and adjust if necessary.Step 4: Connect the faucet and drain
Follow the manufacturer's instructions to connect the faucet and drain to the sink. Use plumber's putty to create a watertight seal around the drain.Step 5: Test for leaks
Once everything is connected, turn on the water to test for any leaks. If there are no leaks, your drop-in bathroom sink installation is complete!Final Thoughts
 In conclusion, choosing the right bathroom sink installation is crucial for a well-designed and functional bathroom. Drop-in sinks offer numerous advantages and are easy to install with the right tools and materials. With this step-by-step guide, you can confidently install your drop-in sink and elevate your bathroom design.