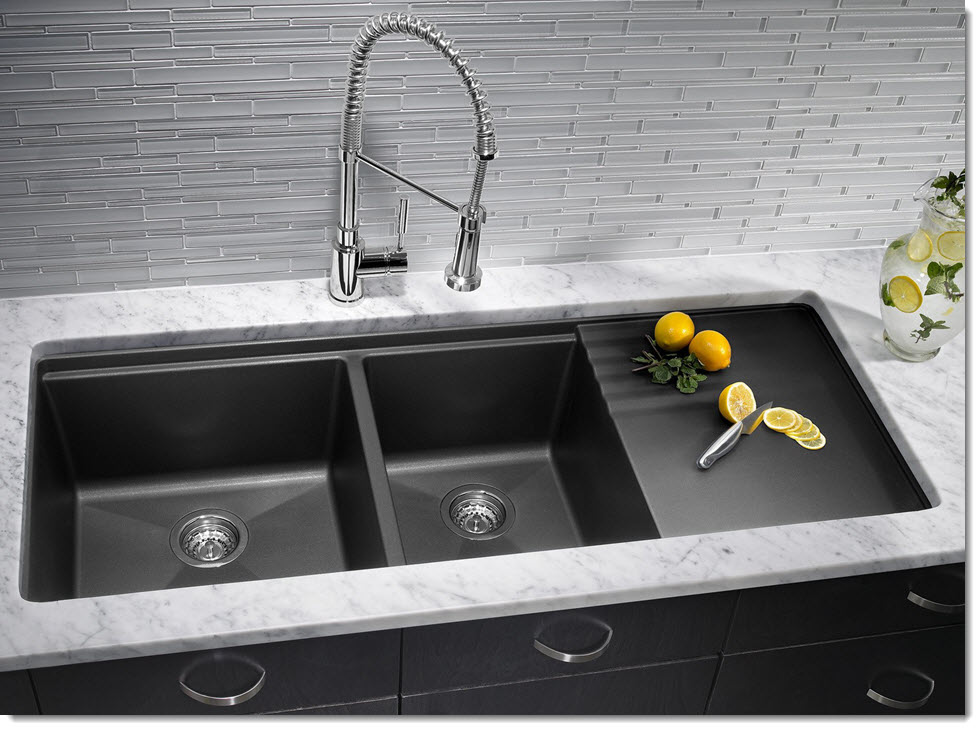
Drilling holes in a kitchen sink may seem like a daunting task, but with the right tools and techniques, it can be a simple and straightforward process. Whether you need to install a new faucet or add a soap dispenser, drilling holes in your kitchen sink is a necessary skill to have. In this article, we will provide you with a step-by-step guide on how to drill holes in a kitchen sink, along with some tips and precautions to ensure a successful and safe drilling experience.How to Drill Holes in a Kitchen Sink
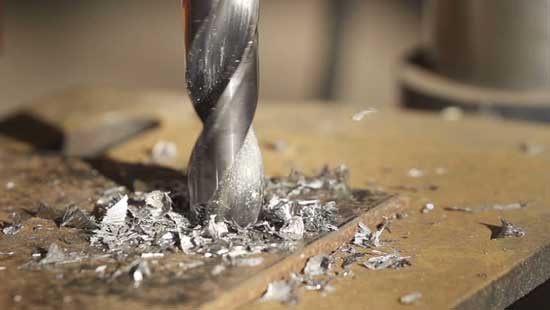
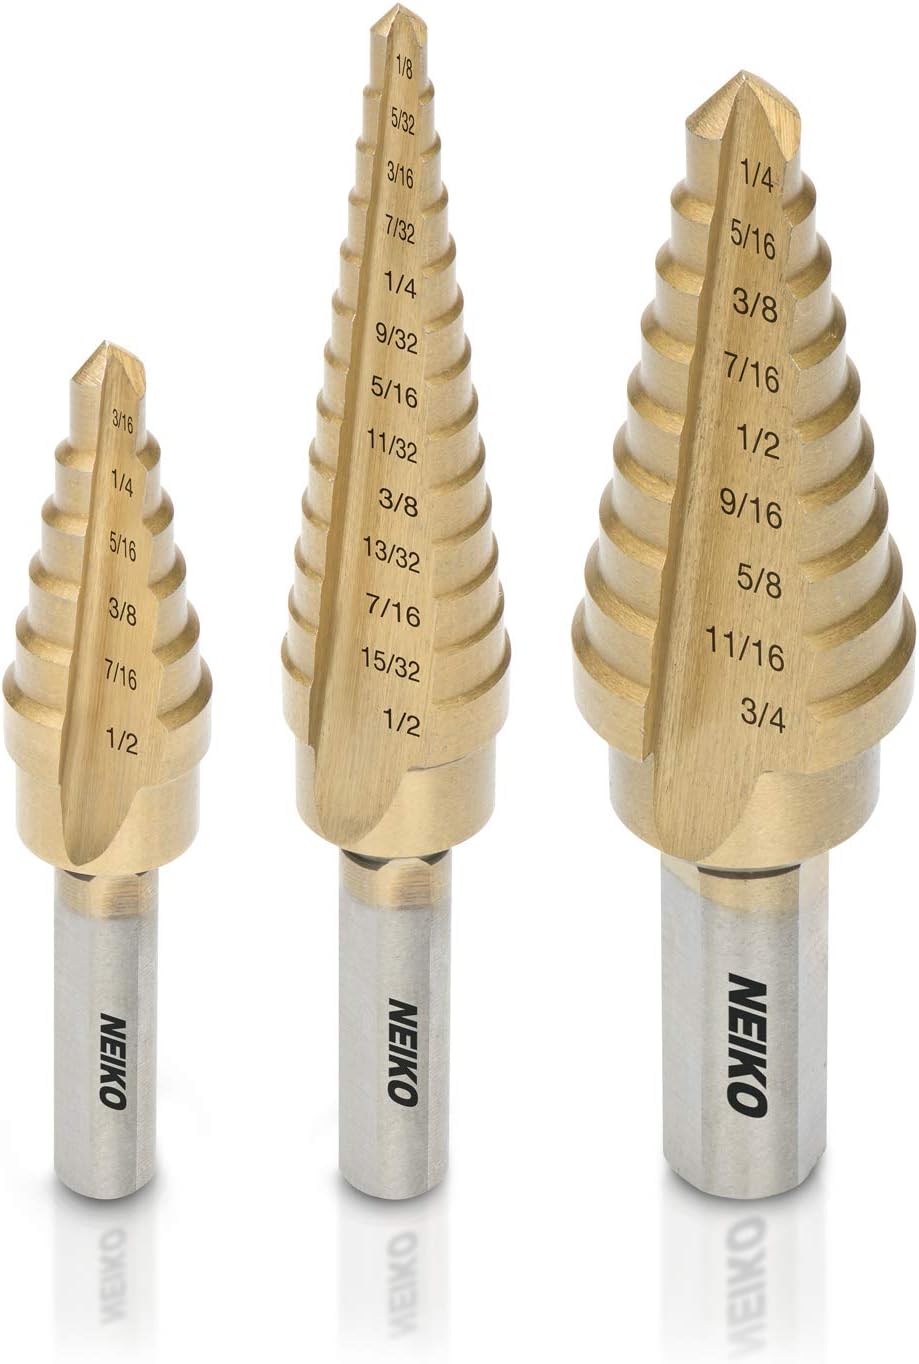
Stainless steel kitchen sinks are a popular choice due to their durability and sleek appearance. However, drilling holes in a stainless steel sink can be a bit trickier than other materials. The key to successfully drilling holes in a stainless steel sink is to use the correct tools and techniques. You will need a high-quality drill with a variable speed, a center punch, and the right drill bits. It is recommended to use a cobalt or titanium-coated drill bit for stainless steel as they are designed to withstand the hardness of the material.Drilling Holes in a Stainless Steel Kitchen Sink
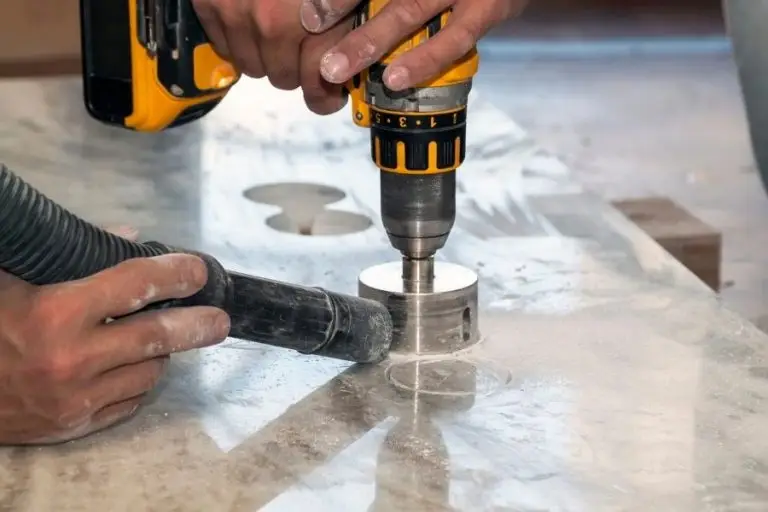
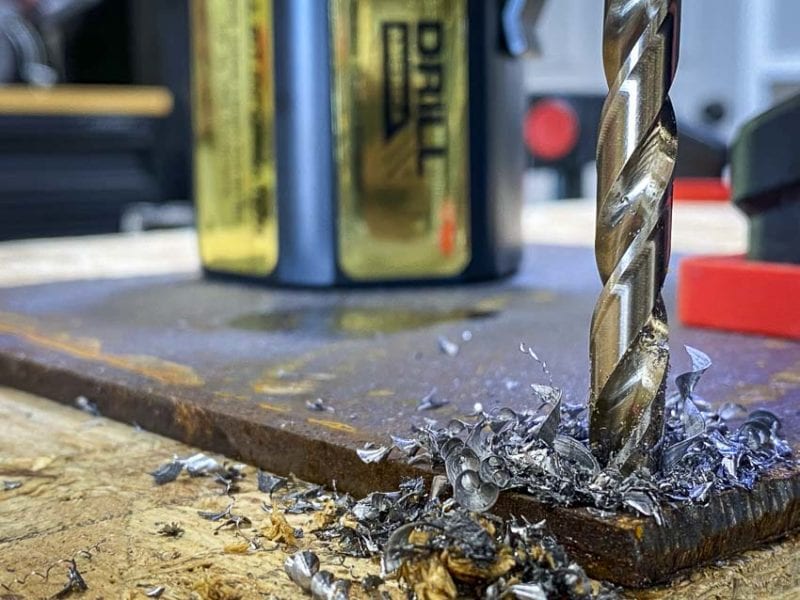
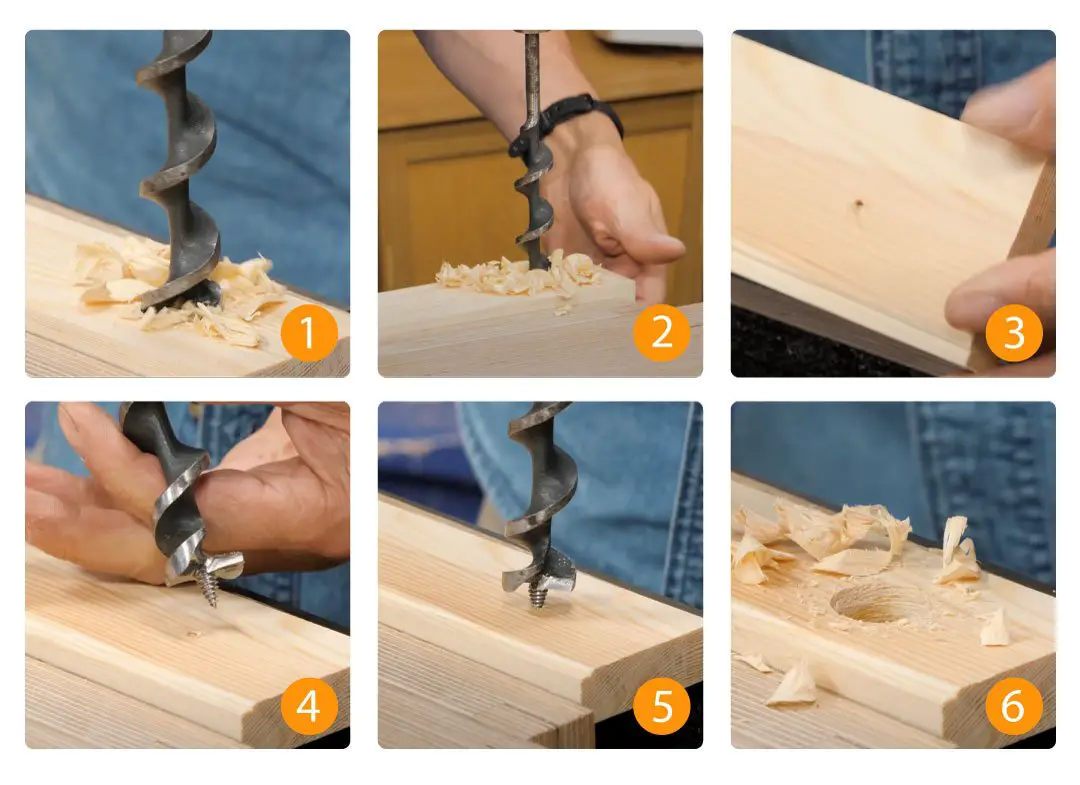
Step 1: Measure and mark the exact location of the hole(s) you need to drill. Use a measuring tape and a permanent marker to mark the center of the hole(s) on the sink's surface. Step 2: Place a small piece of masking tape over the marked spot. This will prevent the drill bit from slipping and scratching the sink's surface. Step 3: Use a center punch to make a small indentation on the marked spot. This will create a starting point for the drill bit and prevent it from slipping off the smooth surface of the sink. Step 4: Secure the sink in place to prevent it from moving while drilling. You can use clamps or have someone hold the sink firmly for you. Step 5: Put on safety glasses and gloves to protect yourself from any flying debris. Step 6: Set your drill to a low speed and start drilling on the marked spot. Apply gentle and steady pressure, and let the drill do the work. Avoid using too much force as it can damage the sink's surface. Step 7: Once the drill bit has penetrated the sink's surface, gradually increase the speed and continue drilling until you have reached the desired depth. Step 8: Repeat the process for any additional holes needed.Step-by-Step Guide for Drilling Holes in a Kitchen Sink
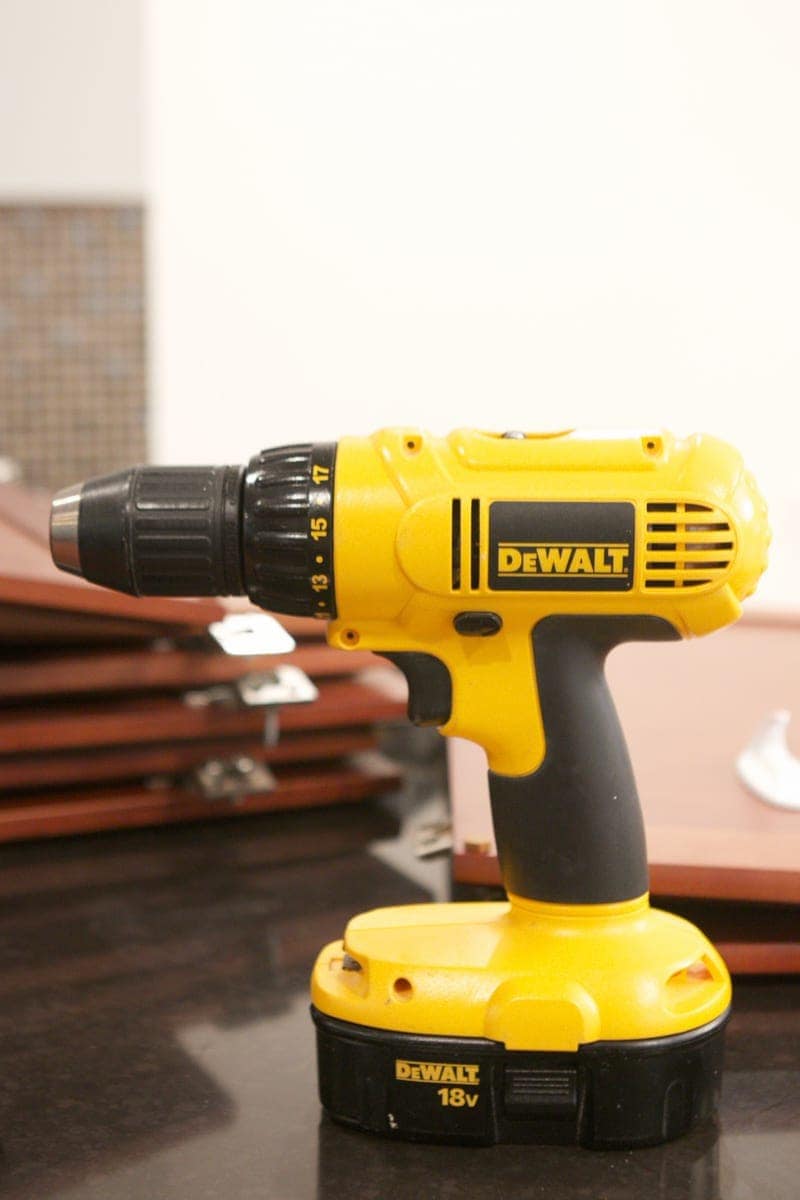
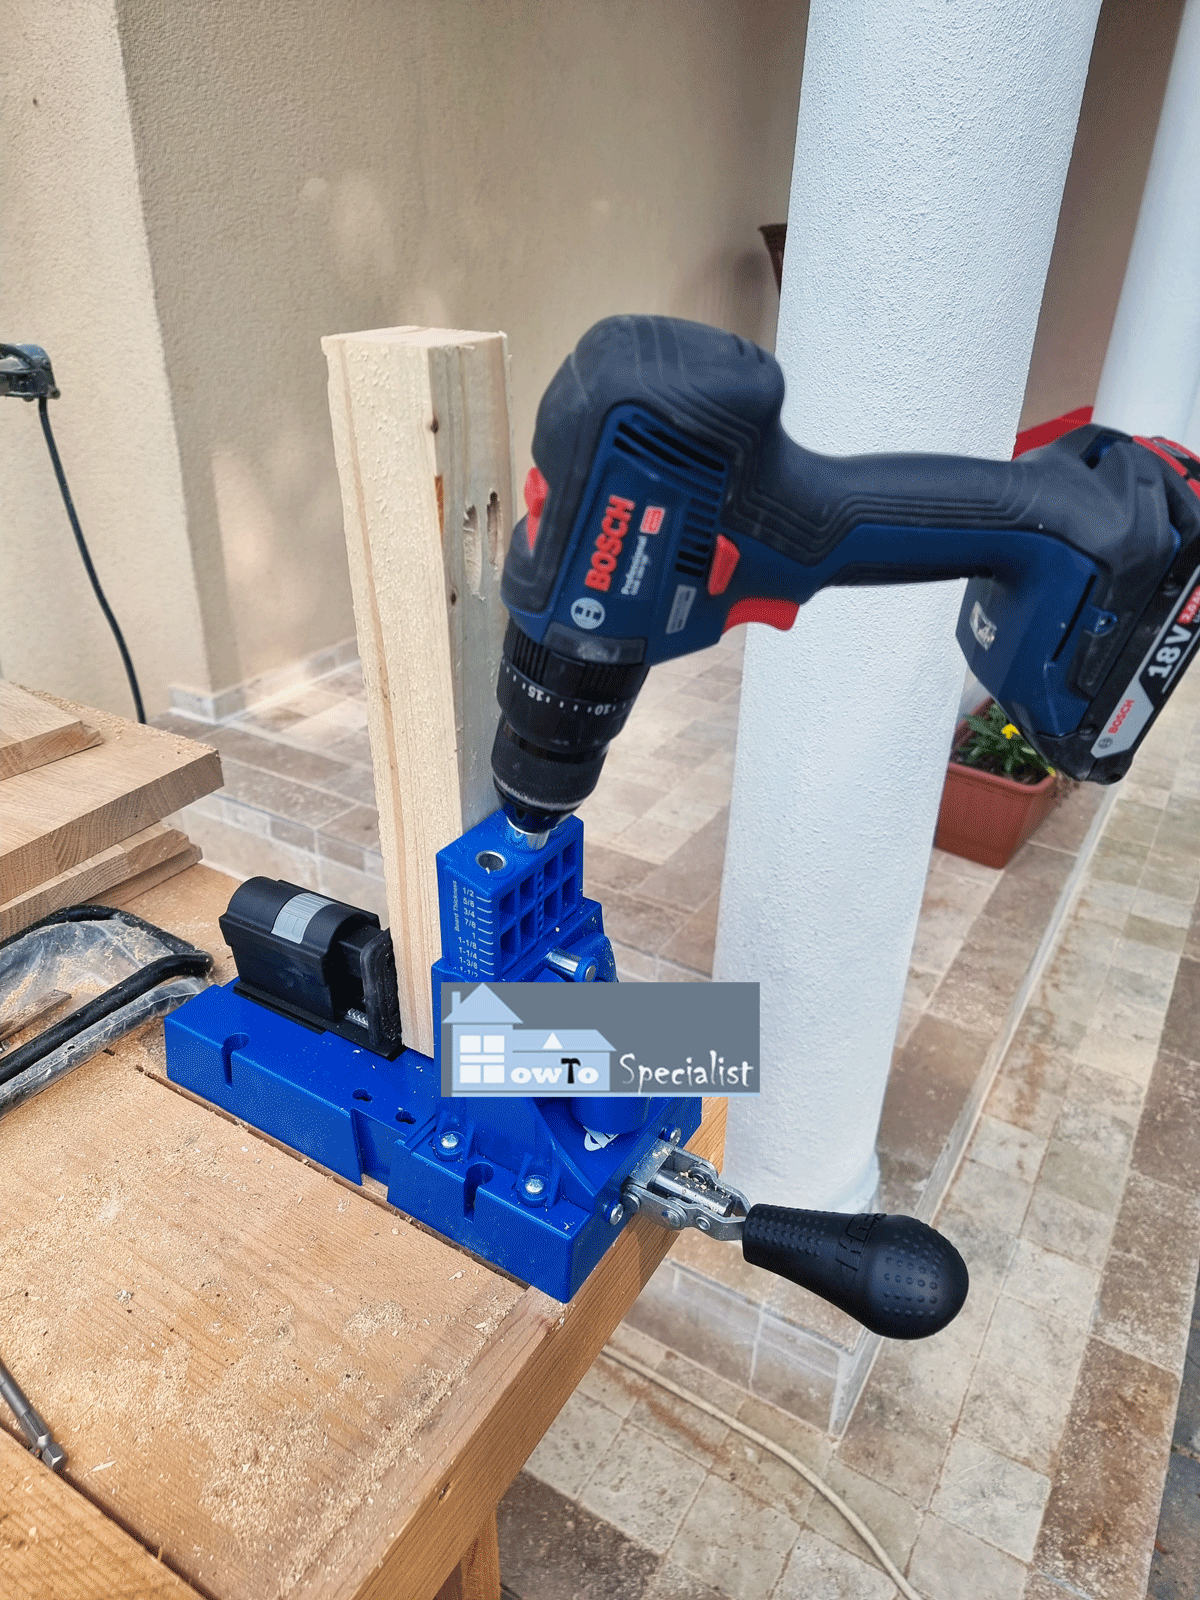
To successfully drill holes in a kitchen sink, you will need the following tools: - Drill with variable speed - Center punch - Masking tape - Measuring tape - Permanent marker - Safety glasses - GlovesTools Needed for Drilling Holes in a Kitchen Sink
While drilling holes in a kitchen sink is a relatively simple task, it is essential to take some precautions to ensure a safe and successful outcome. Here are some precautions to keep in mind: - Always wear safety glasses and gloves to protect yourself from any flying debris. - Secure the sink in place to prevent it from moving while drilling. - Use a low-speed setting on your drill to avoid damaging the sink's surface. - Avoid using too much force as it can damage the sink's surface and cause the drill bit to break.Precautions to Take When Drilling Holes in a Kitchen Sink
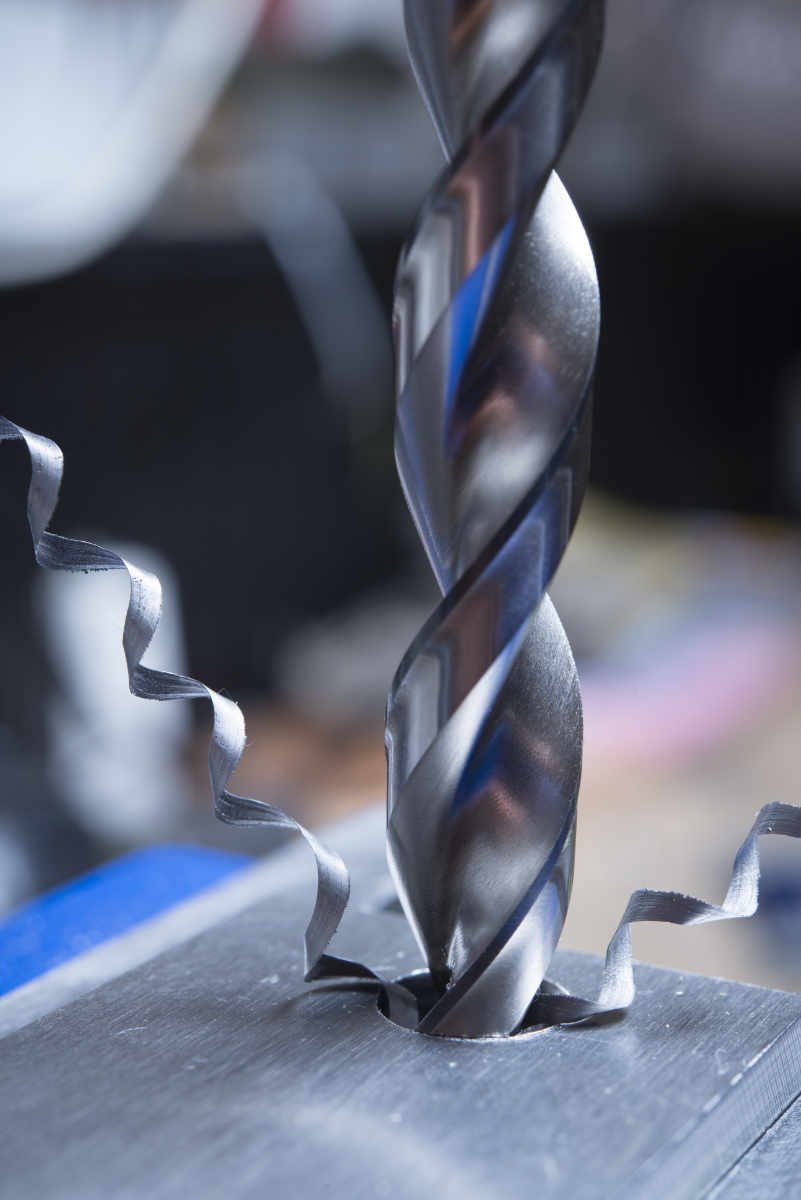
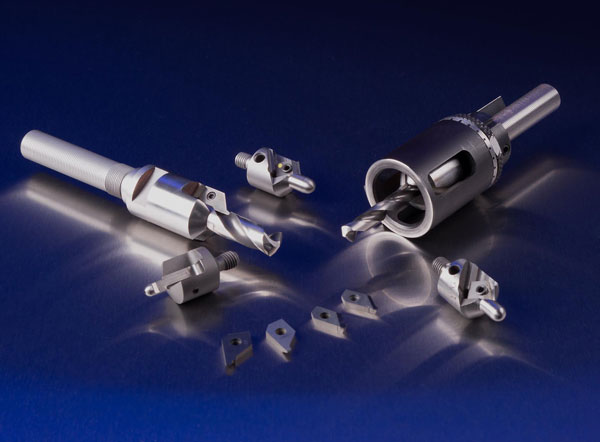
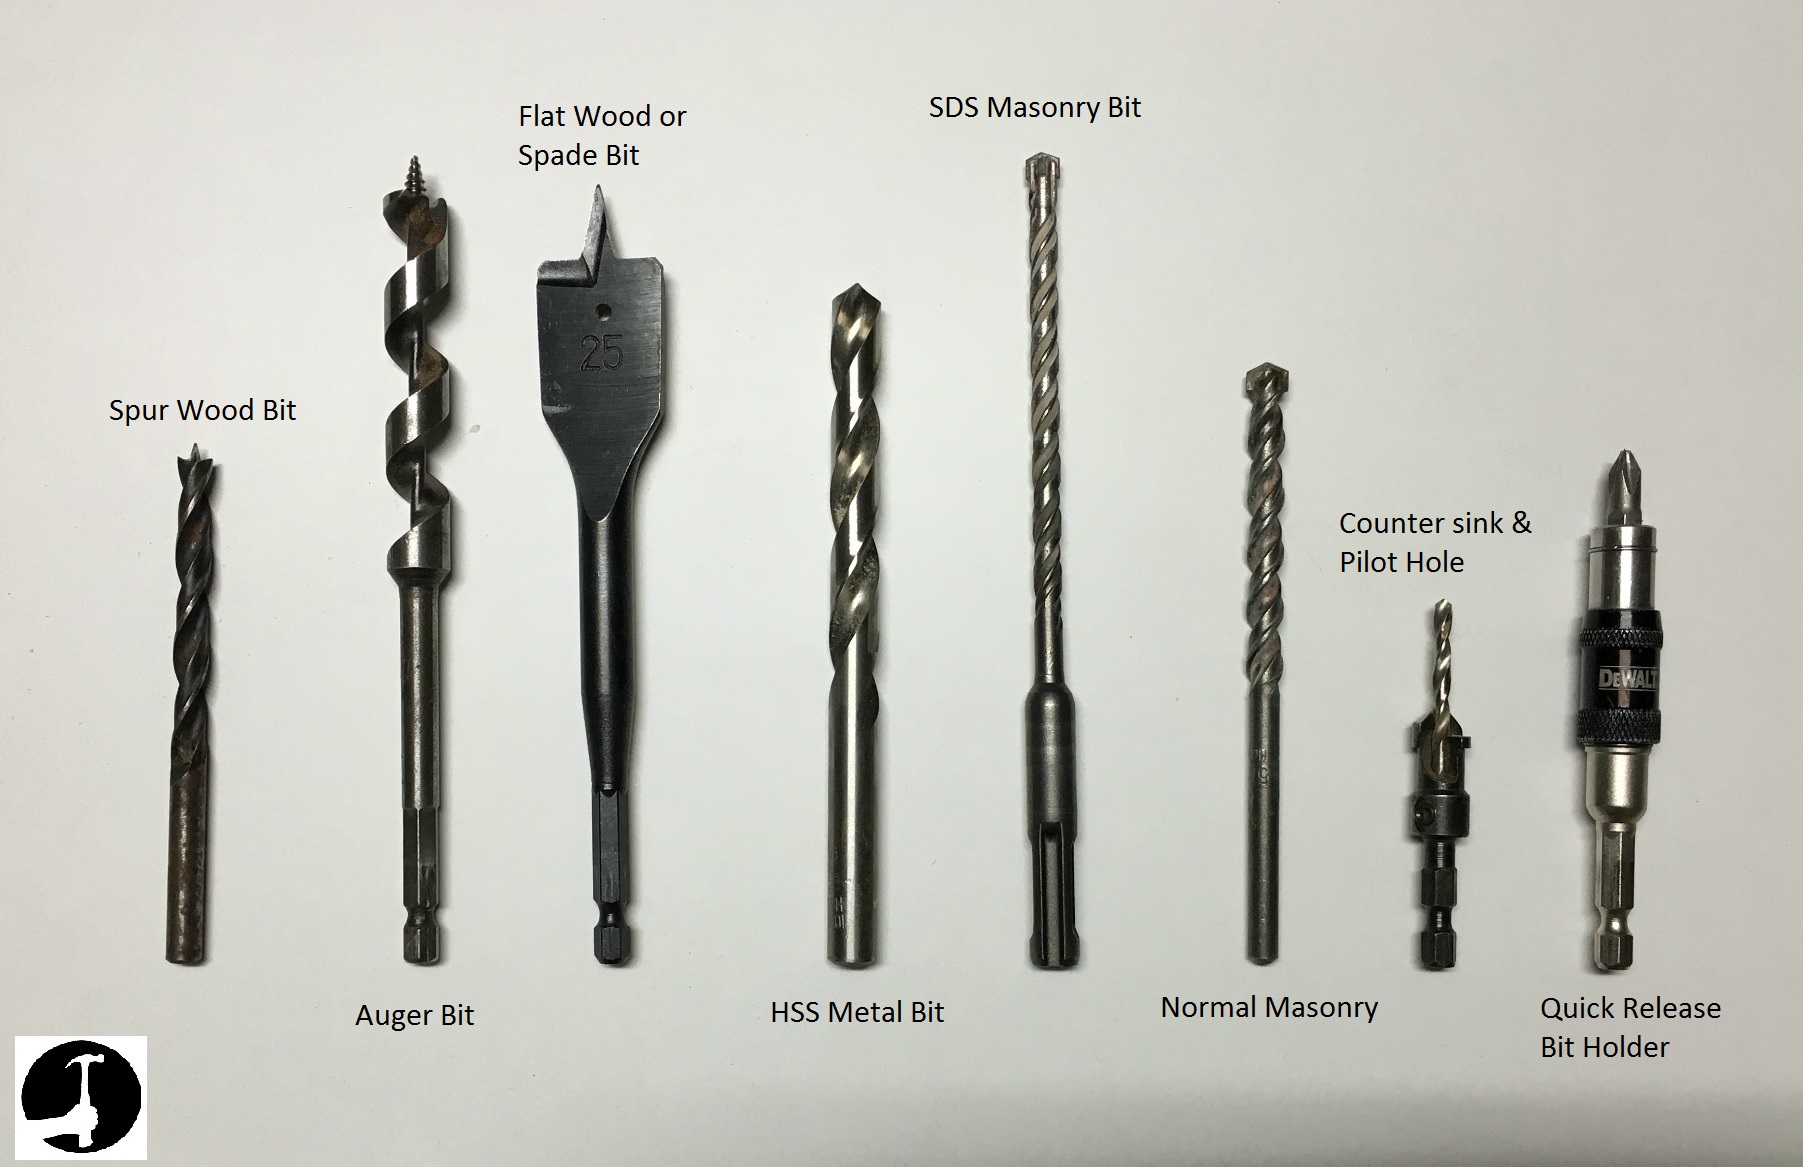
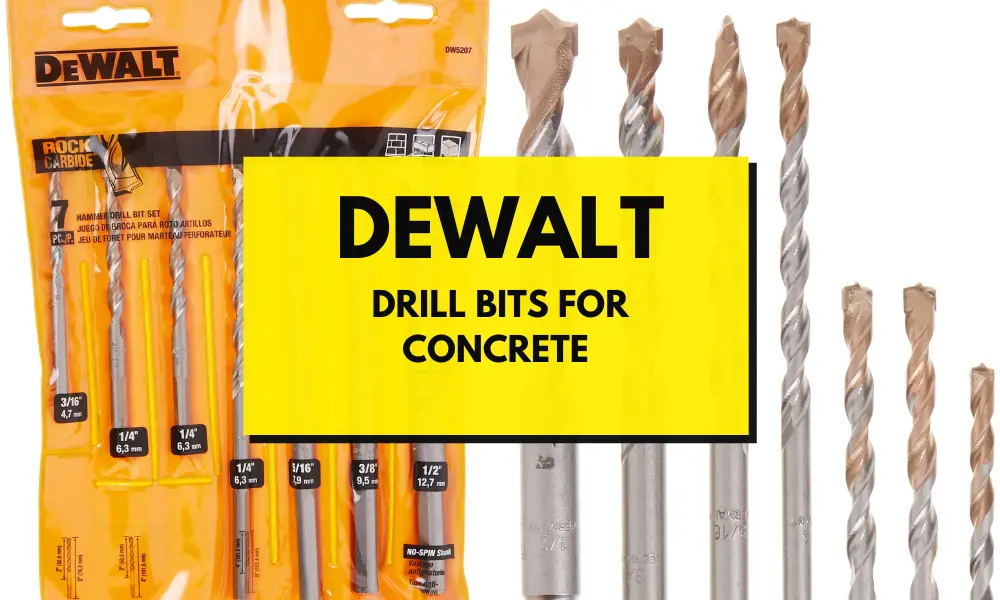
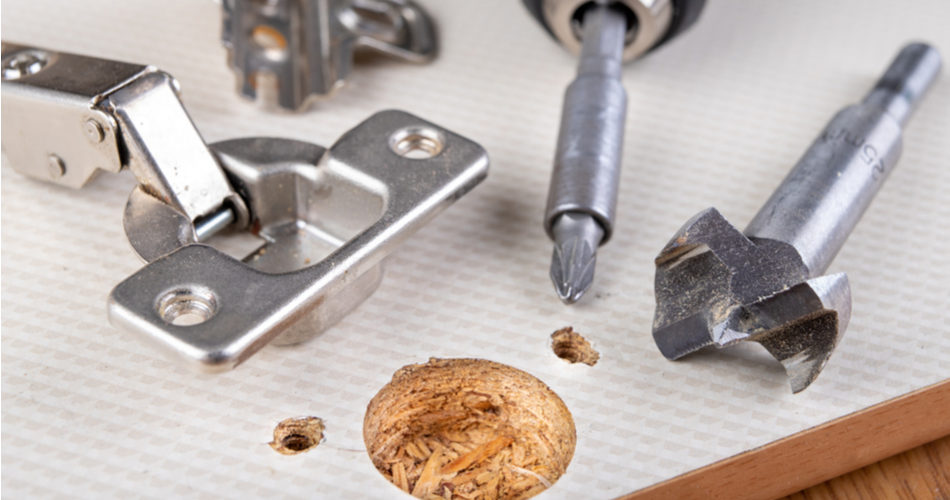
As mentioned earlier, it is recommended to use cobalt or titanium-coated drill bits when drilling through stainless steel kitchen sinks. These drill bits are designed to withstand the hardness of the material and provide a smooth and clean hole. It is also essential to use the correct size drill bit for the hole you need to create.Best Drill Bits for Drilling Holes in a Kitchen Sink
Even with the right tools and techniques, drilling holes in a kitchen sink can go wrong if not done correctly. Here are some common mistakes to avoid: - Using the wrong type of drill bit for the material. - Not securing the sink in place, causing it to move and result in an uneven or crooked hole. - Applying too much force, which can damage the sink's surface and cause the drill bit to break. - Using a high-speed setting on the drill, which can also damage the sink's surface.Common Mistakes When Drilling Holes in a Kitchen Sink
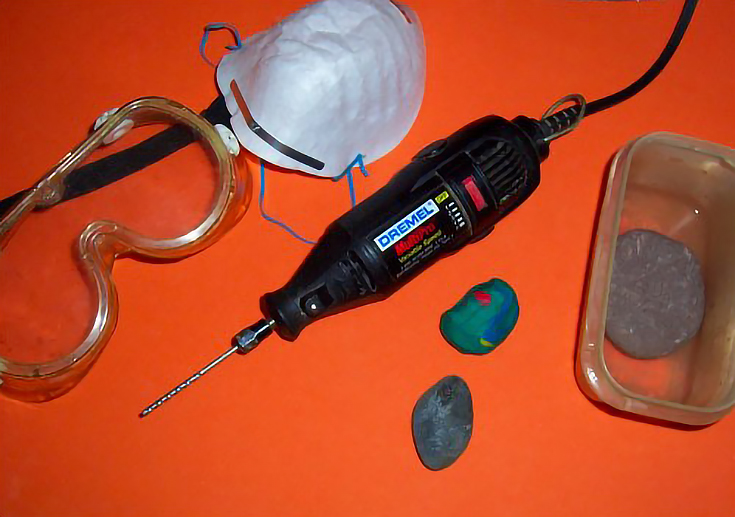
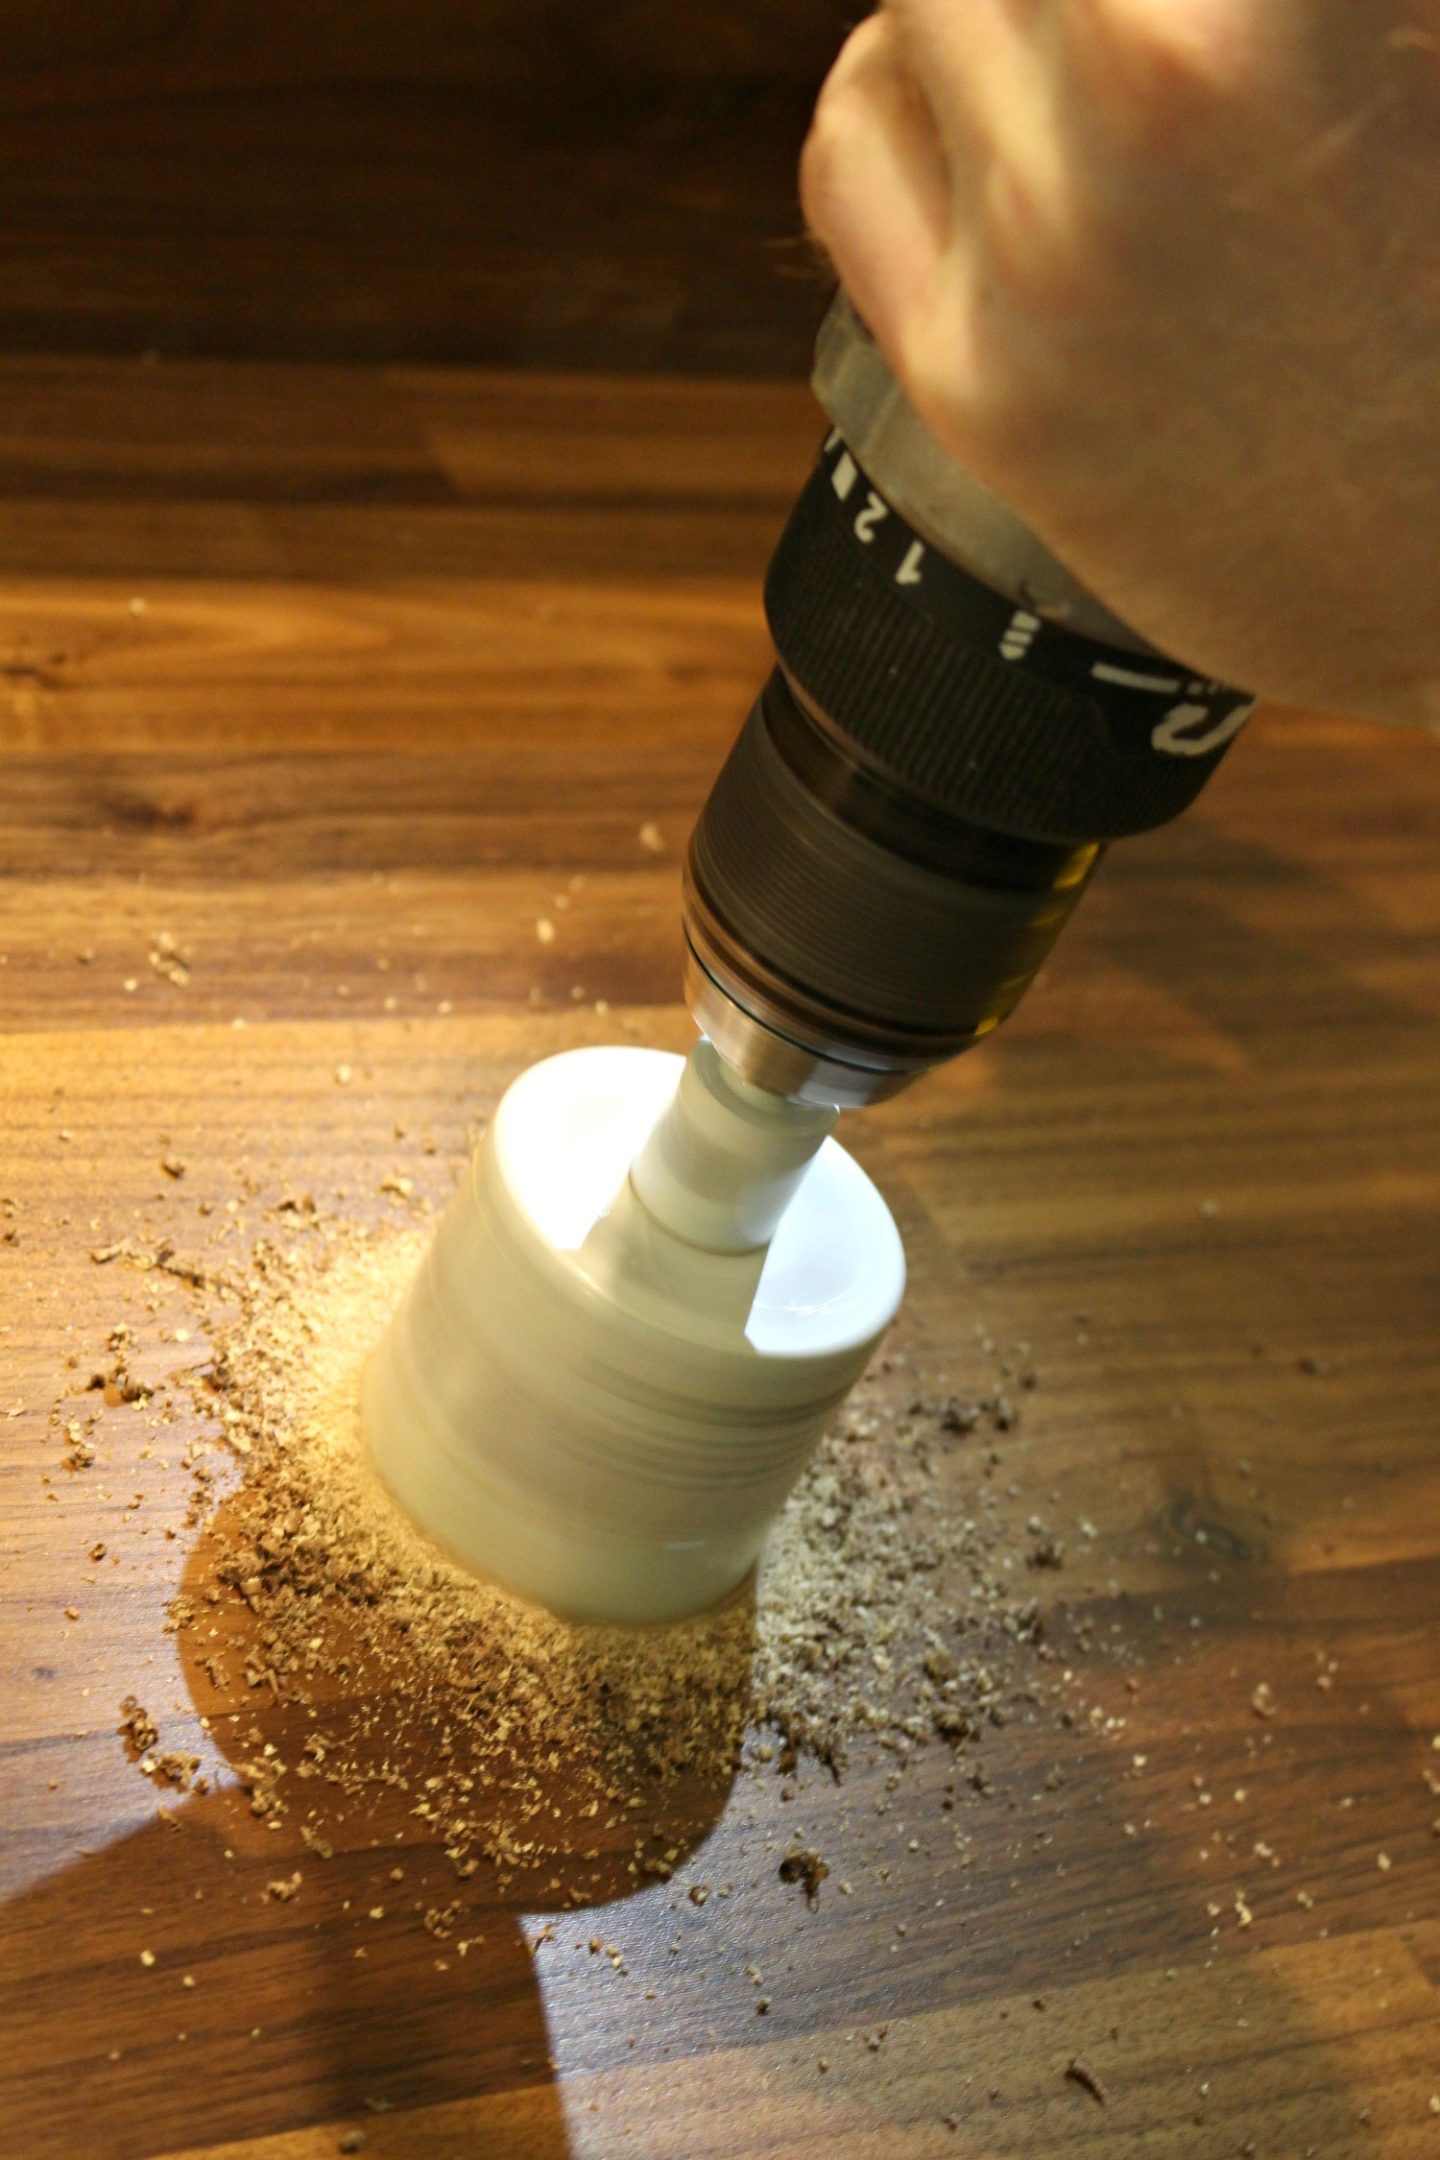
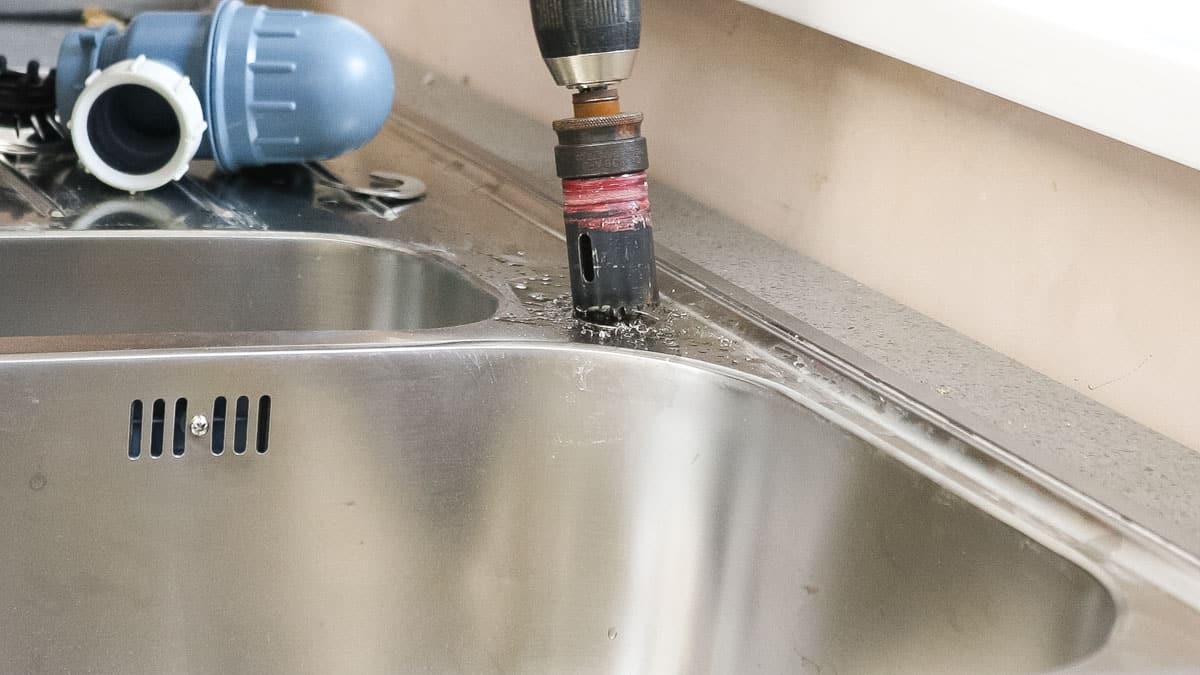
If you do not have a drill or are not comfortable using one, there are alternative methods for drilling holes in a kitchen sink. One option is to use a hole saw, which is a circular blade mounted on a drill. Another option is to use a rotary tool with a diamond-tipped bit, which can also be used to cut through stainless steel.Alternative Methods for Drilling Holes in a Kitchen Sink
After drilling holes in a kitchen sink, it is essential to seal them properly to prevent any water leakage. You can use silicone caulk or plumber's putty to seal the holes. Apply a thin layer around the edges of the hole and smooth it out with your finger. Wipe away any excess before it dries.How to Seal Holes in a Kitchen Sink After Drilling
Here are some additional tips to keep in mind when drilling holes in a kitchen sink: - Use a sharp drill bit for a clean and precise hole. - Take your time and apply gentle and steady pressure when drilling. - Use a lubricant or cutting oil to reduce friction and prevent the drill bit from overheating. - Make sure to measure and mark the exact location of the hole(s) before drilling. - Always follow the manufacturer's instructions for the drill and drill bits. Now that you have a better understanding of how to drill holes in a kitchen sink, you can confidently tackle any installation or repair task that requires creating holes. Remember to take the necessary precautions and use the right tools and techniques for a successful outcome. Happy drilling!Tips for Successfully Drilling Holes in a Kitchen Sink
Why Drilling Holes in Your Kitchen Sink Can Enhance Your House Design

Efficiency and Convenience
 When it comes to designing your kitchen, every detail counts.
Drilling holes in your kitchen sink
may seem like a minor aspect, but it can actually have a significant impact on both the functionality and aesthetics of your space. By
drilling holes
into your sink, you can add convenience and efficiency to your daily routine.
Adding holes
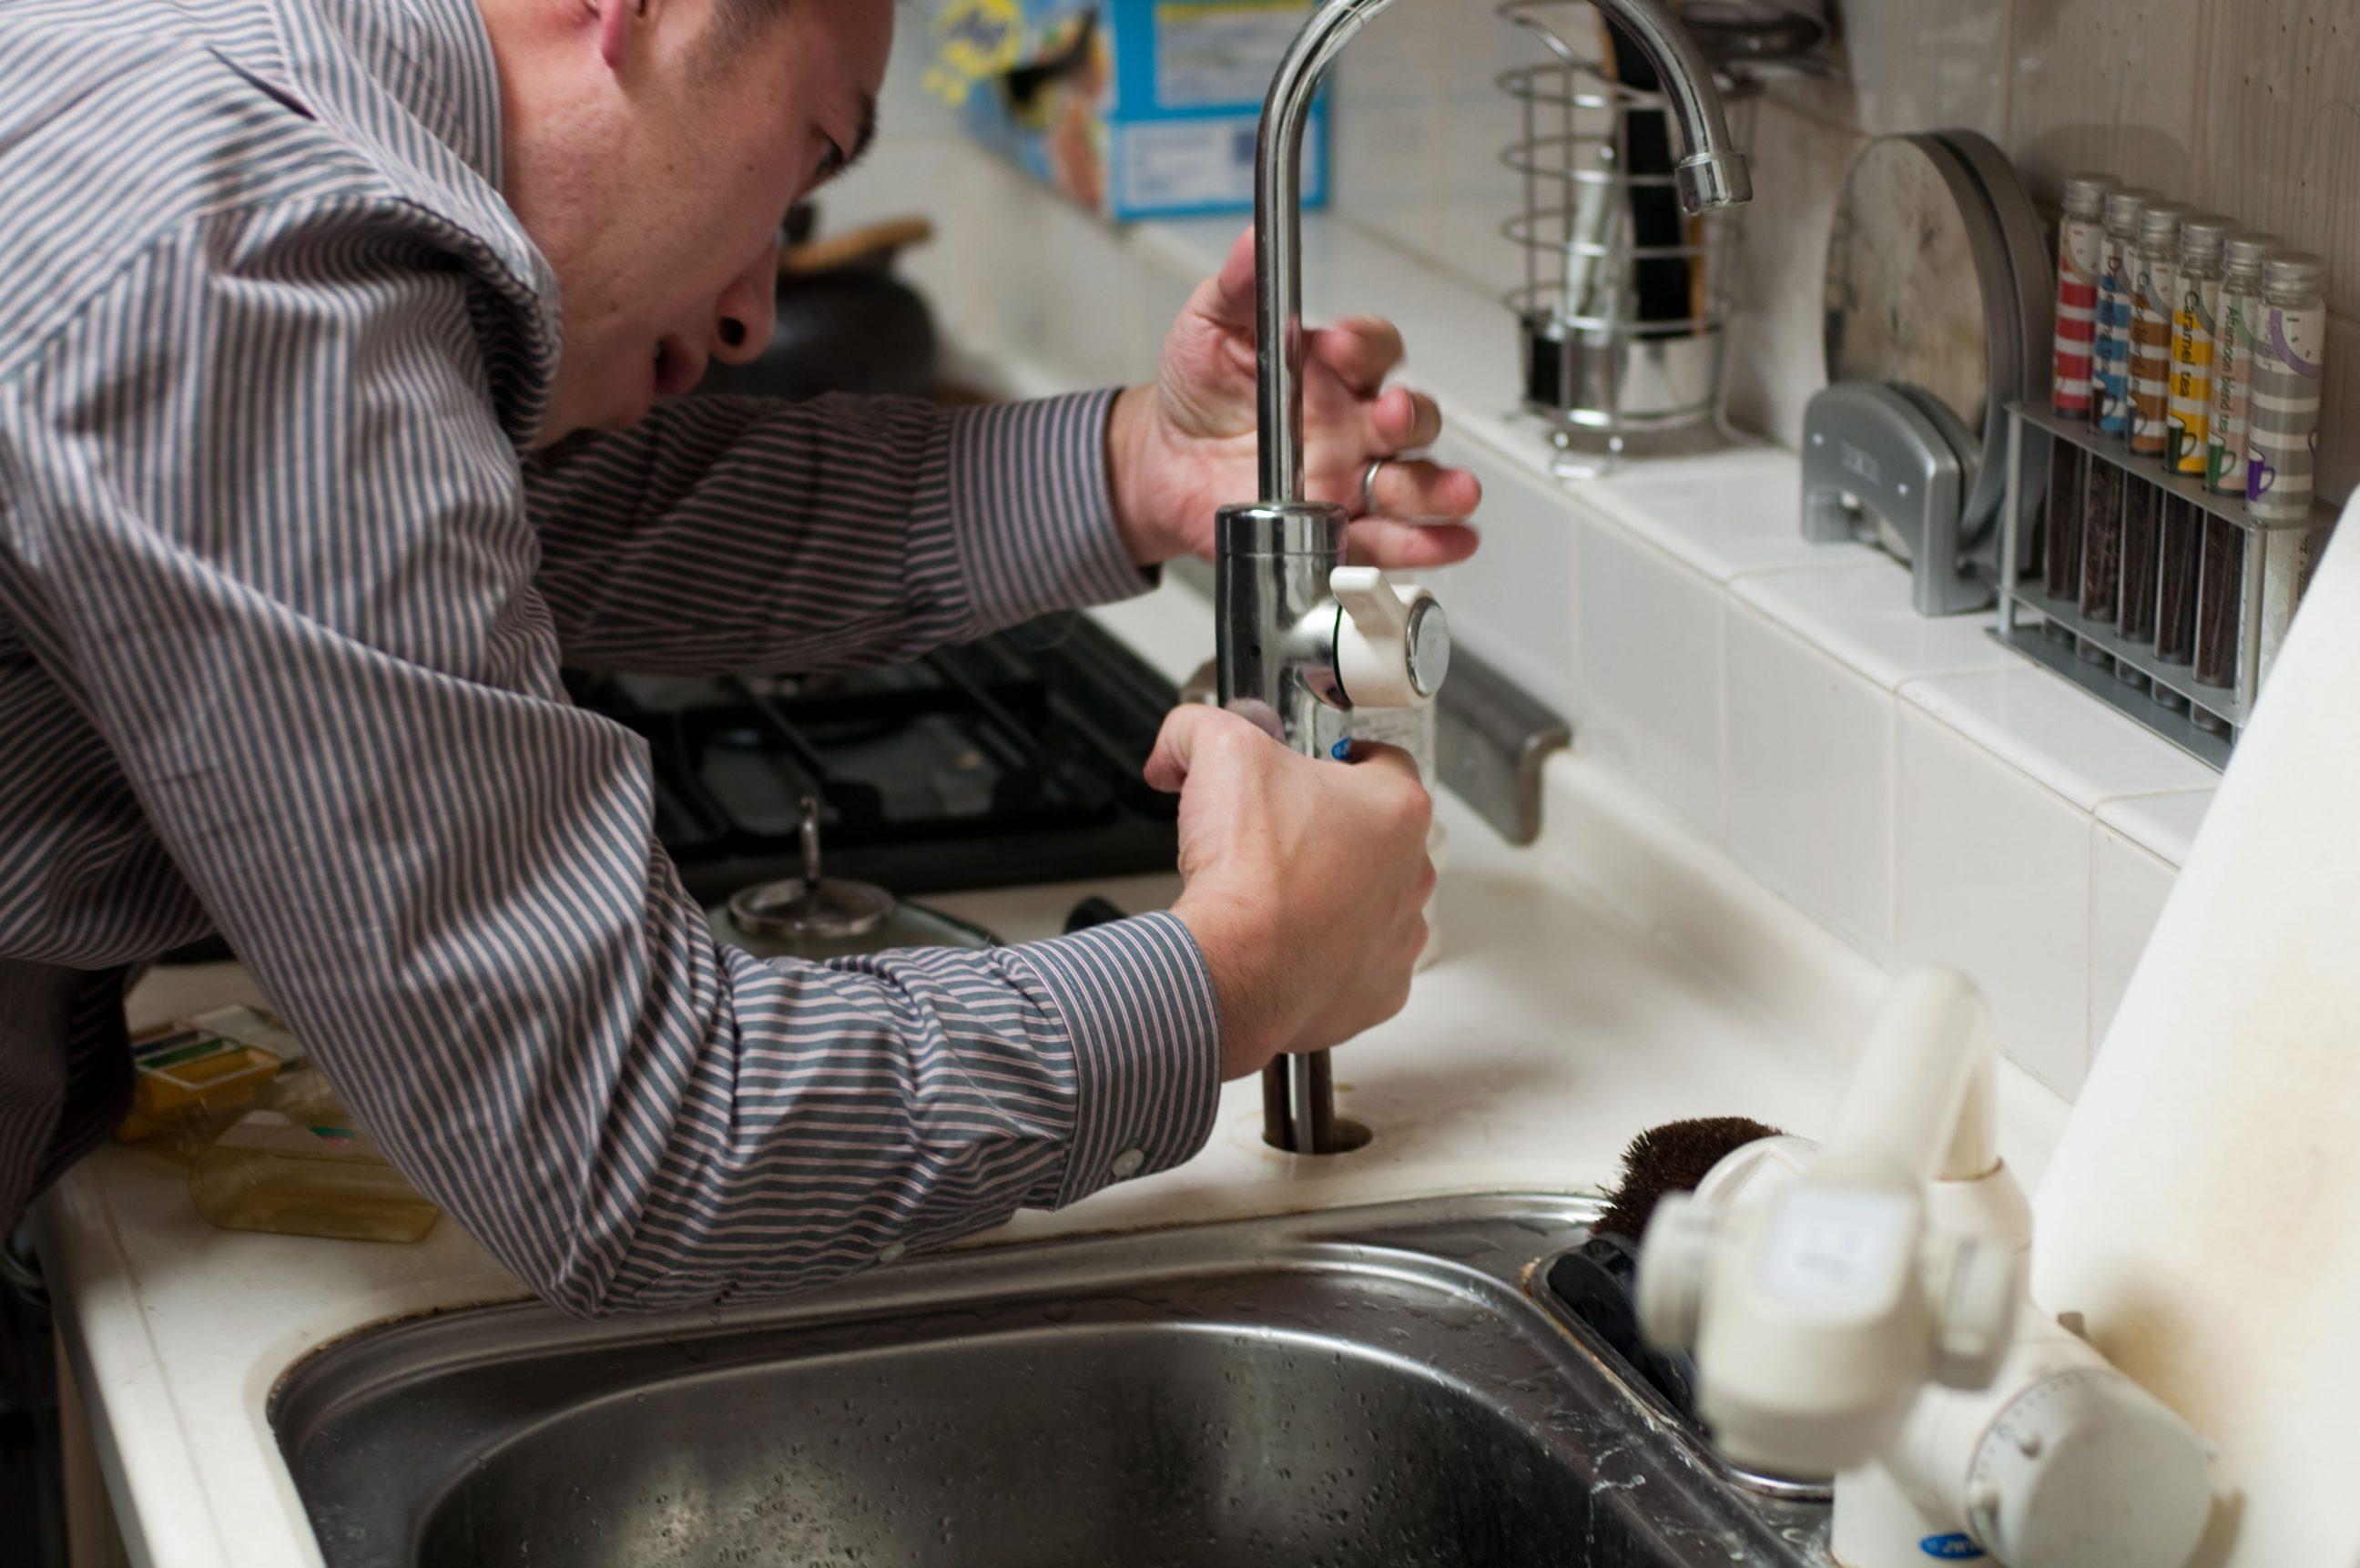
allows for easy installation of accessories such as soap dispensers, filtered water faucets, and sprayers. This eliminates the need for multiple standalone items on your counter, freeing up valuable space and creating a sleeker, more organized look.
Customization and Personalization
 Another benefit of
drilling holes in your kitchen sink
is the ability to customize and personalize your space. With various sizes and styles of
holes
available, you have the flexibility to choose the perfect fit for your desired accessories. This allows you to create a kitchen sink that is tailored to your specific needs and preferences. Whether you want a minimalist look with just a few
holes
or a more functional sink with multiple
holes
, the possibilities for customization are endless.
Enhanced Design and Visual Appeal
 In addition to functionality,
drilling holes in your kitchen sink
can also enhance the overall design and visual appeal of your kitchen. By incorporating
holes
into your sink, you can add a touch of elegance and sophistication to your space. With the right accessories, such as a brushed nickel soap dispenser or a sleek black sprayer, your sink can become a focal point in your kitchen. This not only adds a stylish element to your design but also increases the value of your home.
Cost-Effective Solution
 Lastly,
drilling holes in your kitchen sink
is a cost-effective solution for upgrading your kitchen design. Rather than purchasing a new sink with pre-drilled holes, you can simply modify your existing sink to fit your needs. This not only saves you money but also gives you the freedom to choose the perfect accessories to complement your design without being limited by pre-drilled holes.
In conclusion,
drilling holes in your kitchen sink
may seem like a small detail, but it can have a big impact on your house design. From improving efficiency and customization to enhancing the overall design and saving money, adding holes to your sink is a simple and effective way to elevate your kitchen space. So why settle for a standard sink when you can create a personalized and functional sink that truly reflects your unique style?
