How to Unclog a Kitchen Sink Drain
Clogged kitchen sink drains are a common household problem that can cause frustration and inconvenience. However, with the right tools and techniques, you can easily unclog a kitchen sink drain and get your sink back to working properly. Here's a step-by-step guide on how to unclog your kitchen sink drain.
Step 1: Gather Your Supplies
The first step to unclogging a kitchen sink drain is to gather all the necessary supplies. You will need a plunger, an auger or snake, a bucket, and a pair of rubber gloves. You may also want to have some baking soda, vinegar, and hot water on hand for a natural solution.
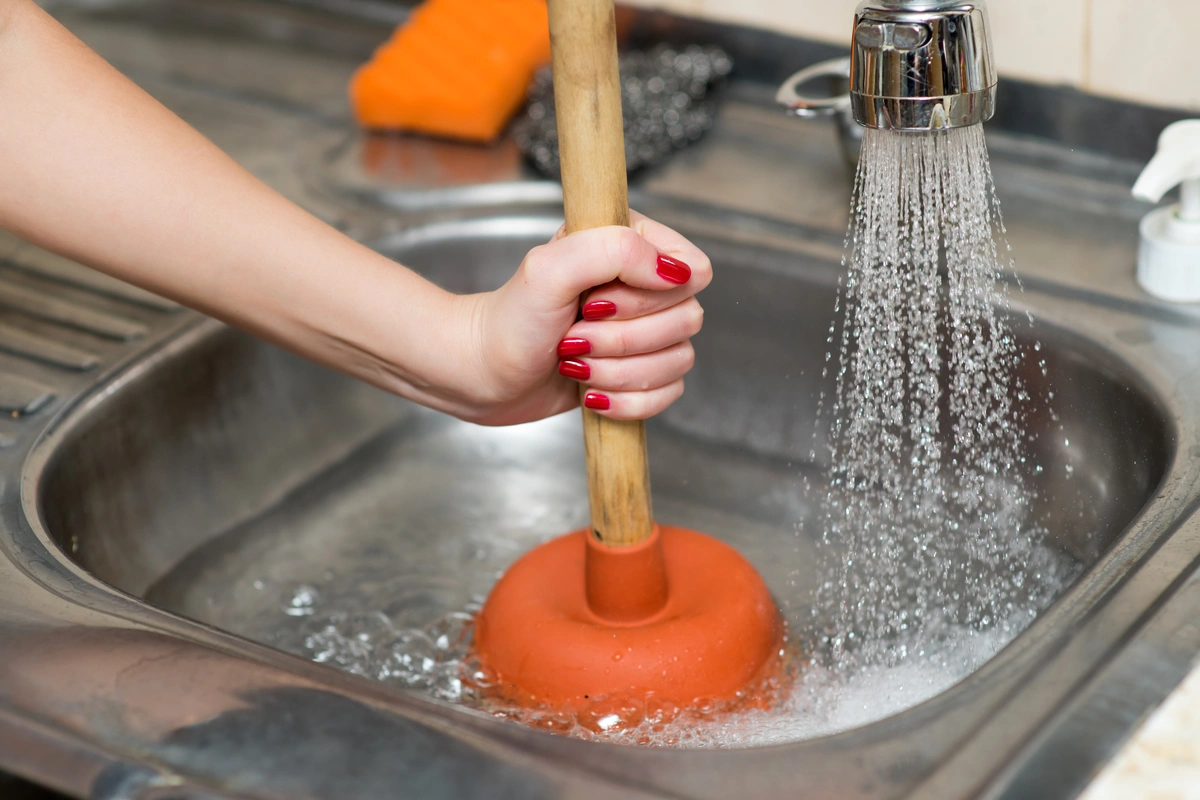
Step 2: Plunge the Drain
Start by placing the plunger over the drain and making sure it covers the entire opening. Add enough water to cover the rubber part of the plunger. Then, using quick, forceful plunges, push and pull the plunger to create suction. This should help dislodge any clogs in the drain.
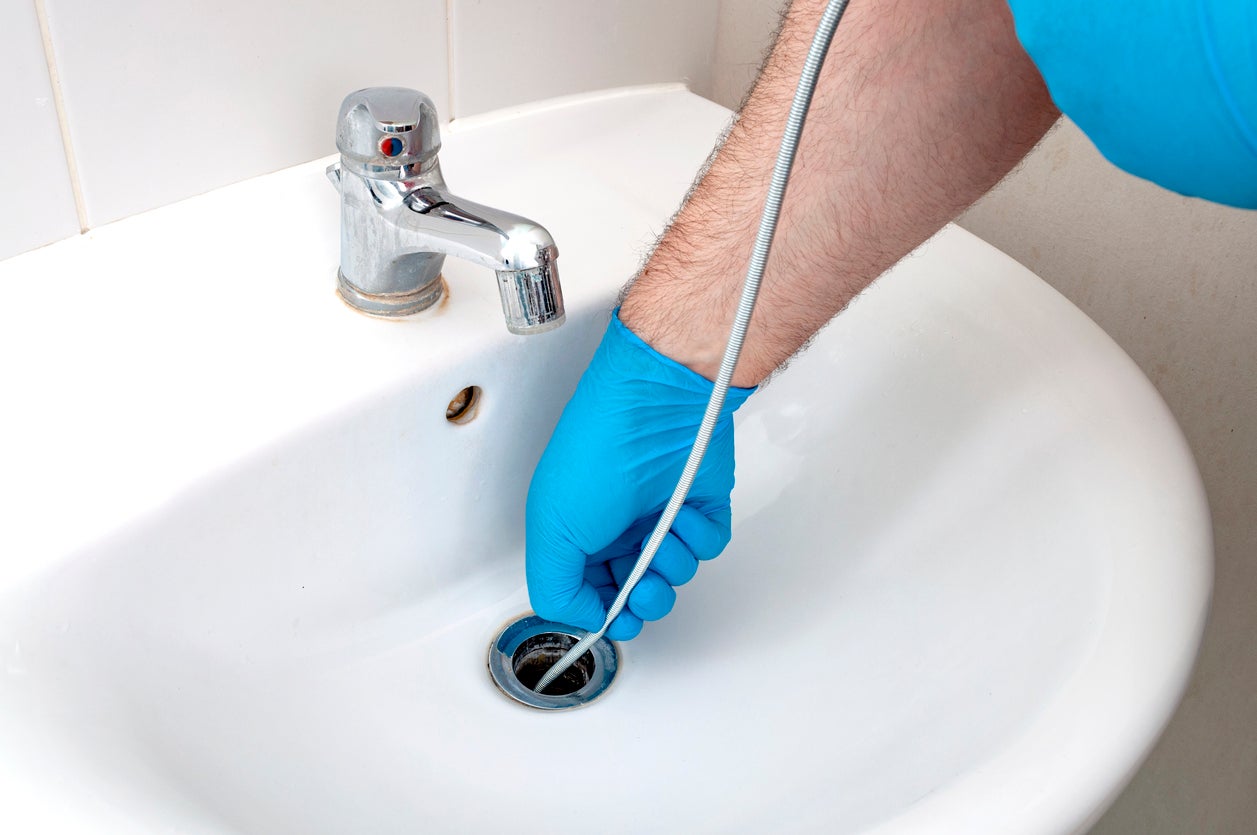
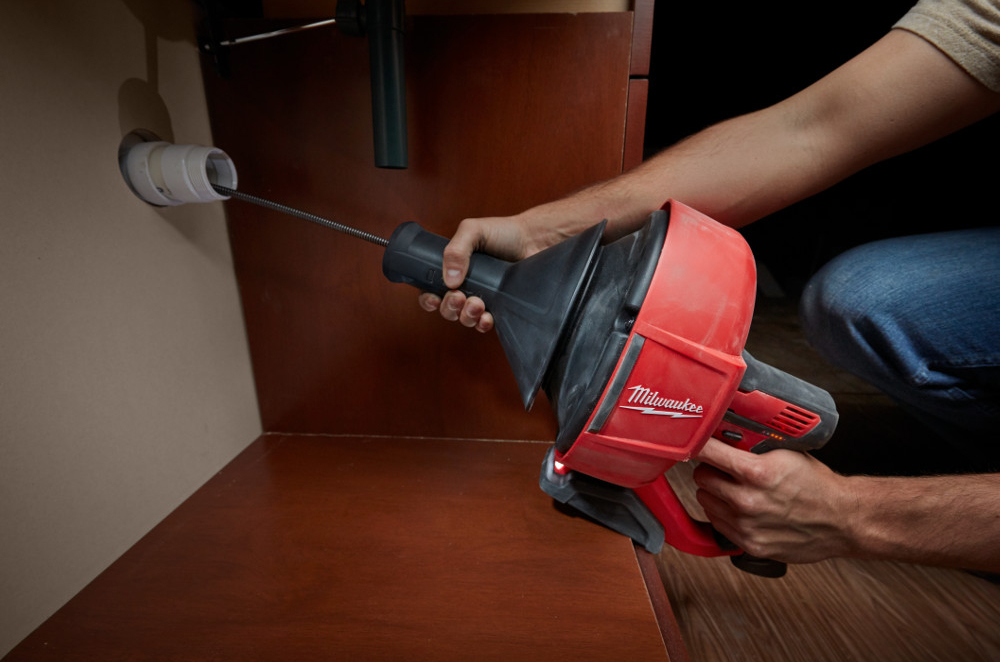
Step 3: Use an Auger or Snake
If plunging doesn't work, you can try using an auger or snake. Insert the tool into the drain and turn it clockwise until you feel resistance. This means you've reached the clog. Keep turning and pushing until the clog is broken up and the water starts to drain.
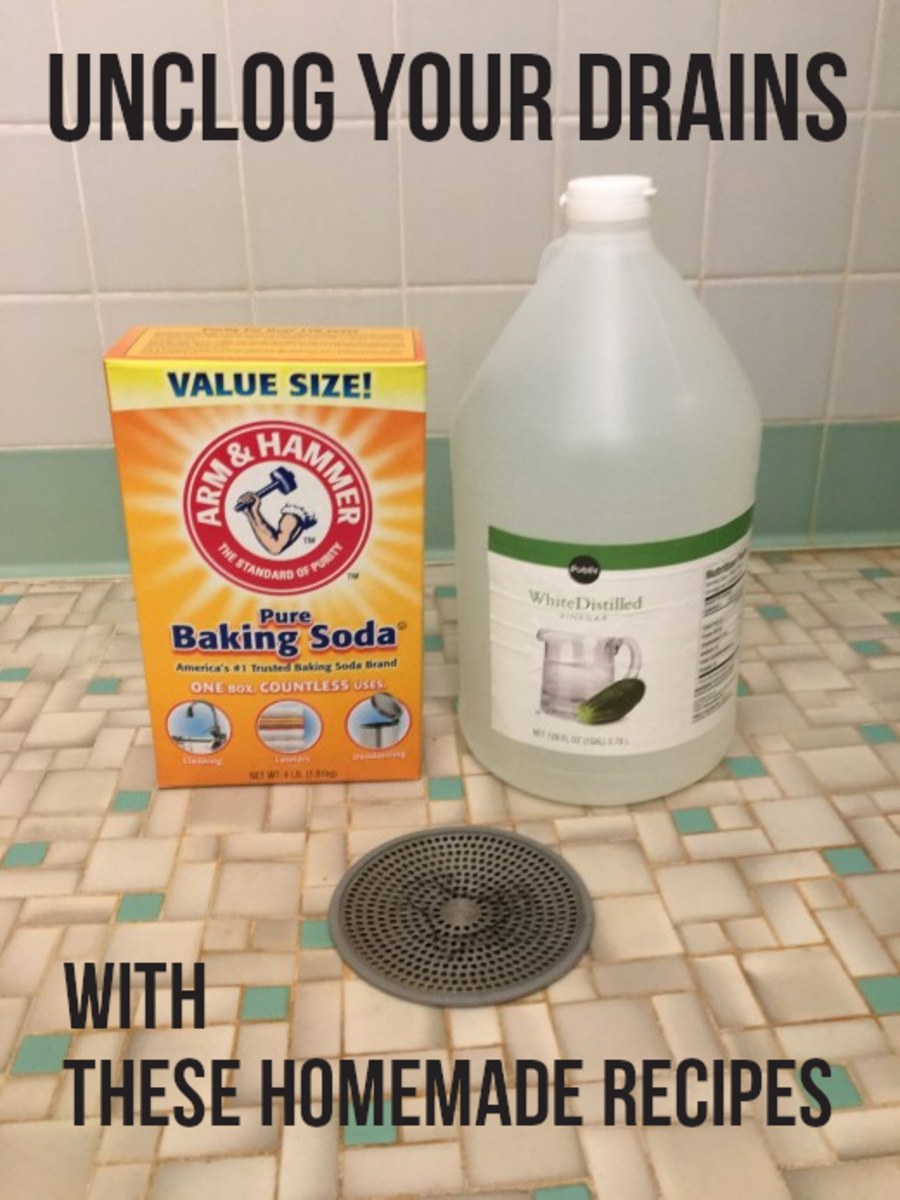
Step 4: Try a Natural Solution
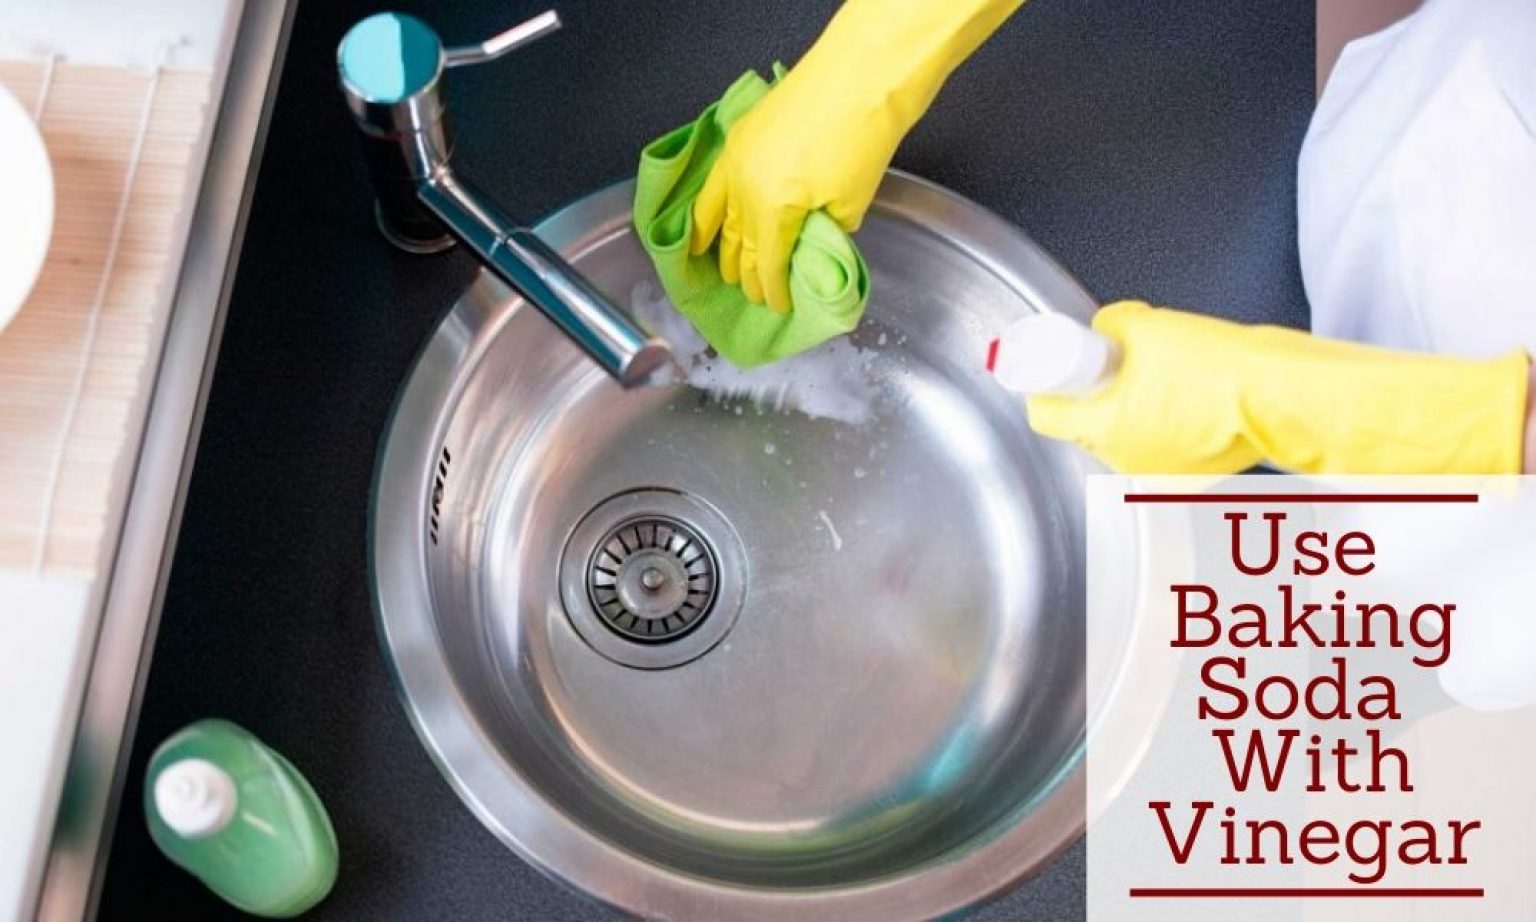
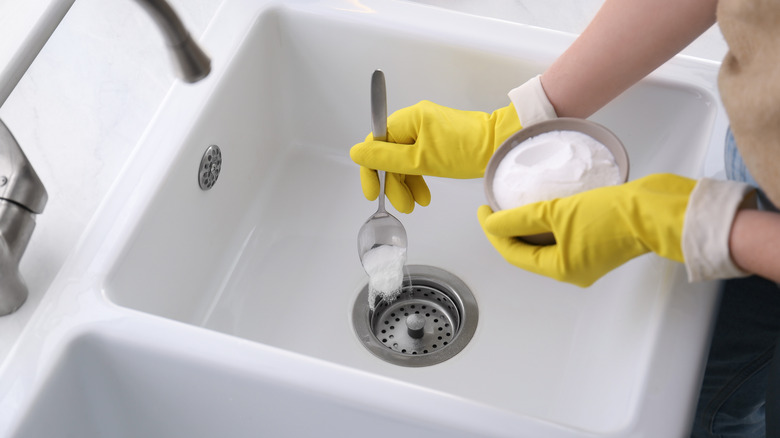
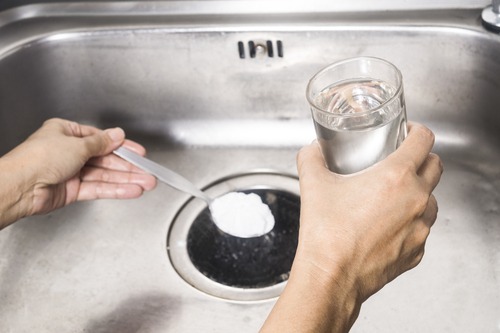
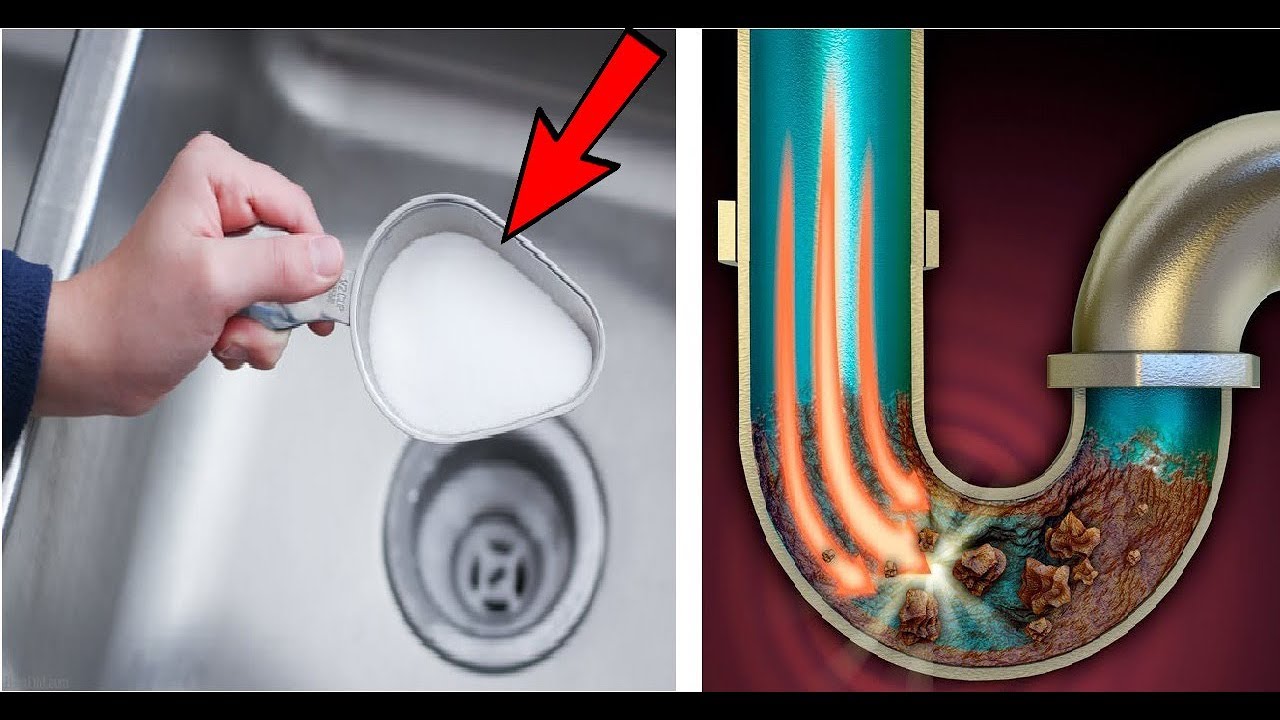
If you prefer a natural solution, you can pour a cup of baking soda down the drain, followed by a cup of vinegar. Let it sit for about 30 minutes, then pour hot water down the drain to flush it out. This can help dissolve any organic matter causing the clog.
Step 5: Clean the Drain
Once the clog is cleared, it's important to clean the drain to prevent future build-up. Use a mixture of hot water and dish soap to scrub away any remaining debris. You can also pour a cup of baking soda down the drain followed by a cup of vinegar to keep your drain smelling fresh.


How to Unclog a Kitchen Sink Drain

:max_bytes(150000):strip_icc()/freshen-and-unclog-drain-with-baking-soda-1900466-22-bbf940b70afa4d5abef0c54da23b1d3f.jpg)


/how-to-unclog-a-kitchen-sink-2718799_sketch_FINAL-8c5caa805a69493ab22dfb537c72a1b7.png)
How to Fix a Leaky Kitchen Sink Drain
A leaky kitchen sink drain can be a nuisance and can also cause water damage if left untreated. Here's how you can fix a leaky kitchen sink drain and save yourself from costly repairs.
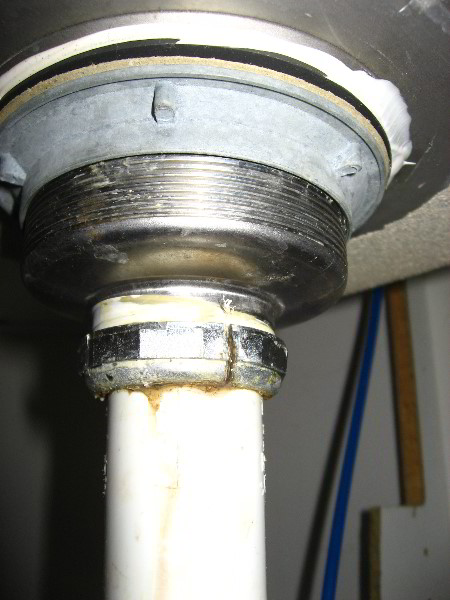
Step 1: Identify the Source of the Leak
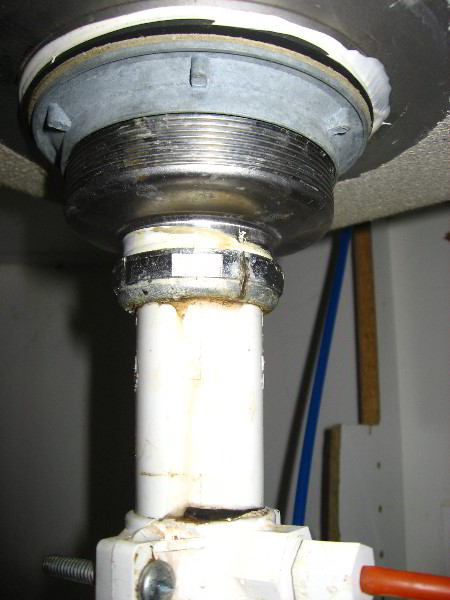
The first step to fixing a leaky kitchen sink drain is to identify where the leak is coming from. It could be from the drain itself, the pipes, or the connection between the drain and the sink. Once you know where the leak is, you can proceed with the necessary repairs.
Step 2: Tighten the Connections
If the leak is coming from the connection between the drain and the sink, you can try tightening the connections. Use a wrench to tighten the nuts and bolts, and make sure they are secure. This should stop the leak in most cases.
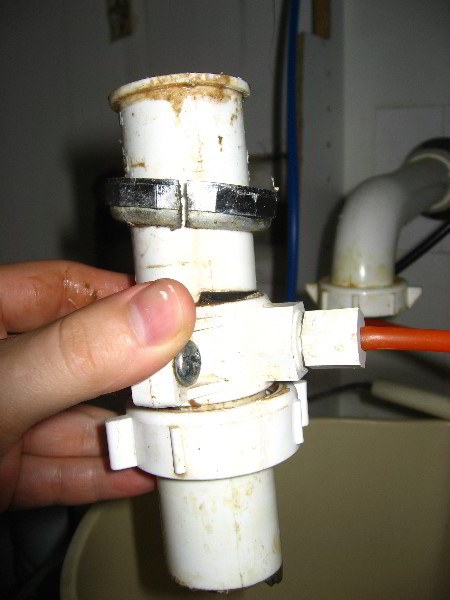
Step 3: Replace the O-Ring
If the leak is coming from the drain itself, you may need to replace the O-ring. This is a small rubber ring that seals the connection between the drain and the sink. Simply remove the old O-ring and replace it with a new one to fix the leak.
Step 4: Patch Up Cracks or Holes
If you notice any cracks or holes in the pipes, you can use a plumbing epoxy or tape to patch them up. This will create a temporary seal until you can get the pipes replaced.
Step 5: Call a Professional
If the leak is coming from a more complex issue, or if you're not comfortable with DIY repairs, it's best to call a professional plumber. They can assess the situation and make the necessary repairs to fix your leaky kitchen sink drain.

How to Fix a Leaky Kitchen Sink Drain


How to Install a Kitchen Sink Drain
If you're remodeling your kitchen or simply need to replace an old kitchen sink drain, you can save money by installing it yourself. Here's a step-by-step guide on how to install a kitchen sink drain.
Step 1: Gather Your Supplies
Before you start the installation process, make sure you have all the necessary supplies. This includes a new sink drain, plumber's putty, a wrench, plumber's tape, and a screwdriver.
Step 2: Remove the Old Drain
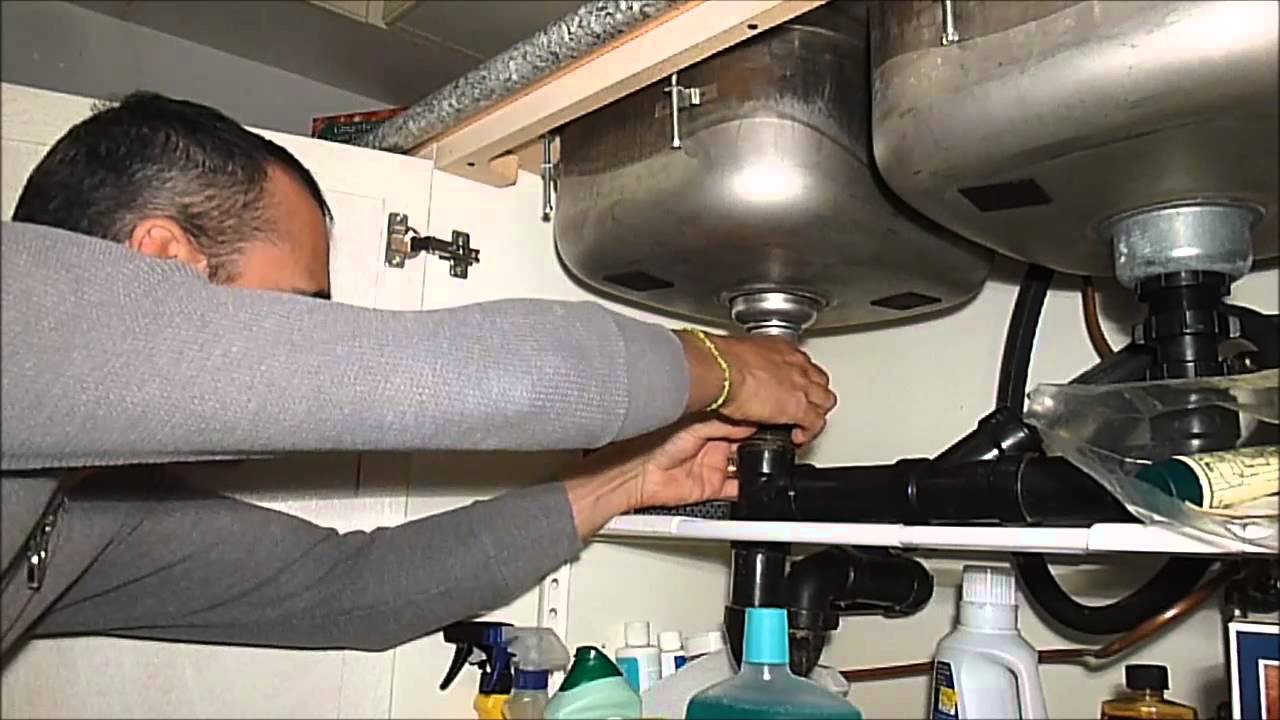
Start by removing the old drain. Use a wrench to loosen the nuts and bolts connecting the drain to the sink and the pipes. Once they are removed, you can pull the old drain out.
Step 3: Apply Plumber's Putty
Roll a small amount of plumber's putty into a snake-like shape and place it around the opening of the new drain. This will create a watertight seal when you install it.
Step 4: Install the New Drain
Place the new drain into the sink opening and secure it by tightening the nuts and bolts. Make sure it is centered and level before tightening completely.
Step 5: Connect the Pipes
Using plumber's tape, wrap the threads of the drain pipe and the tailpiece. Then, connect the pipes and tighten the nuts and bolts. Make sure they are secure and there are no leaks.


How to Install a Kitchen Sink Drain

/how-to-install-a-sink-drain-2718789-hero-b5b99f72b5a24bb2ae8364e60539cece.jpg)


:max_bytes(150000):strip_icc()/how-to-install-a-sink-drain-2718789-hero-24e898006ed94c9593a2a268b57989a3.jpg)


How to Replace a Kitchen Sink Drain
If your kitchen sink drain is beyond repair, you may need to replace it. Here's how you can easily replace a kitchen sink drain and get your sink back in working order.
Step 1: Gather Your Supplies
Before you start the replacement process, make sure you have all the necessary supplies. This includes a new sink drain, plumber's putty, a wrench, plumber's tape, and a screwdriver.
Step 2: Remove the Old Drain
Start by removing the old drain. Use a wrench to loosen the nuts and bolts connecting the drain to the sink and the pipes. Once they are removed, you can pull the old drain out.
Step 3: Clean the Area
Before installing the new drain, make sure to thoroughly clean the area and remove any old plumber's putty or debris. This will ensure a tight seal for the new drain.
Step 4: Apply Plumber's Putty
Roll a small amount of plumber's putty into a snake-like shape and place it around the opening of the new drain. This will create a watertight seal when you install it.
Step 5: Install the New Drain
Place the new drain into the sink opening and secure it by tightening the nuts and bolts. Make sure it is centered and level before tightening completely.
Step 6: Connect the Pipes
Using plumber's tape, wrap the threads of the drain pipe and the tailpiece. Then, connect the pipes and tighten the nuts and bolts. Make sure they are secure and there are no leaks.


How to Replace a Kitchen Sink Drain


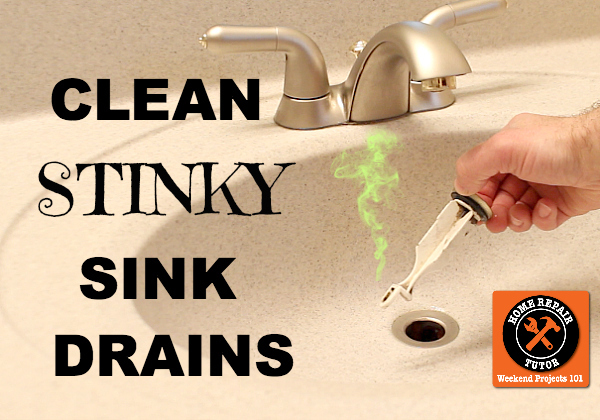
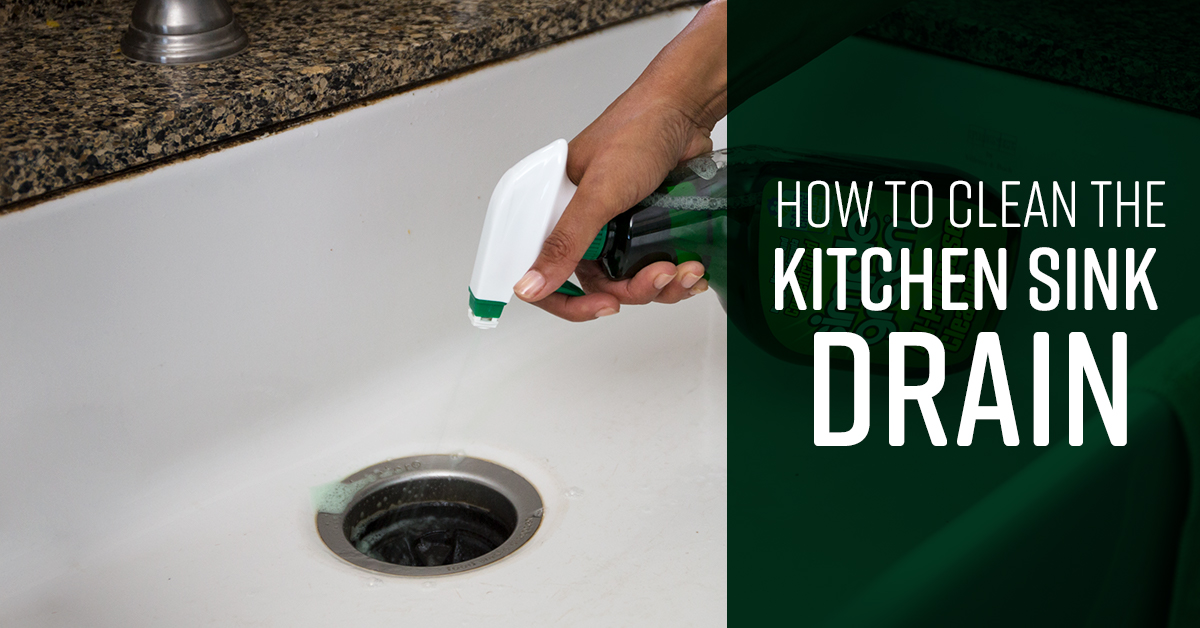
How to Clean a Kitchen Sink Drain
Cleaning your kitchen sink drain is an important part of maintaining a healthy and functional sink. Here's how you can easily clean your kitchen sink drain and prevent clogs and unpleasant odors.
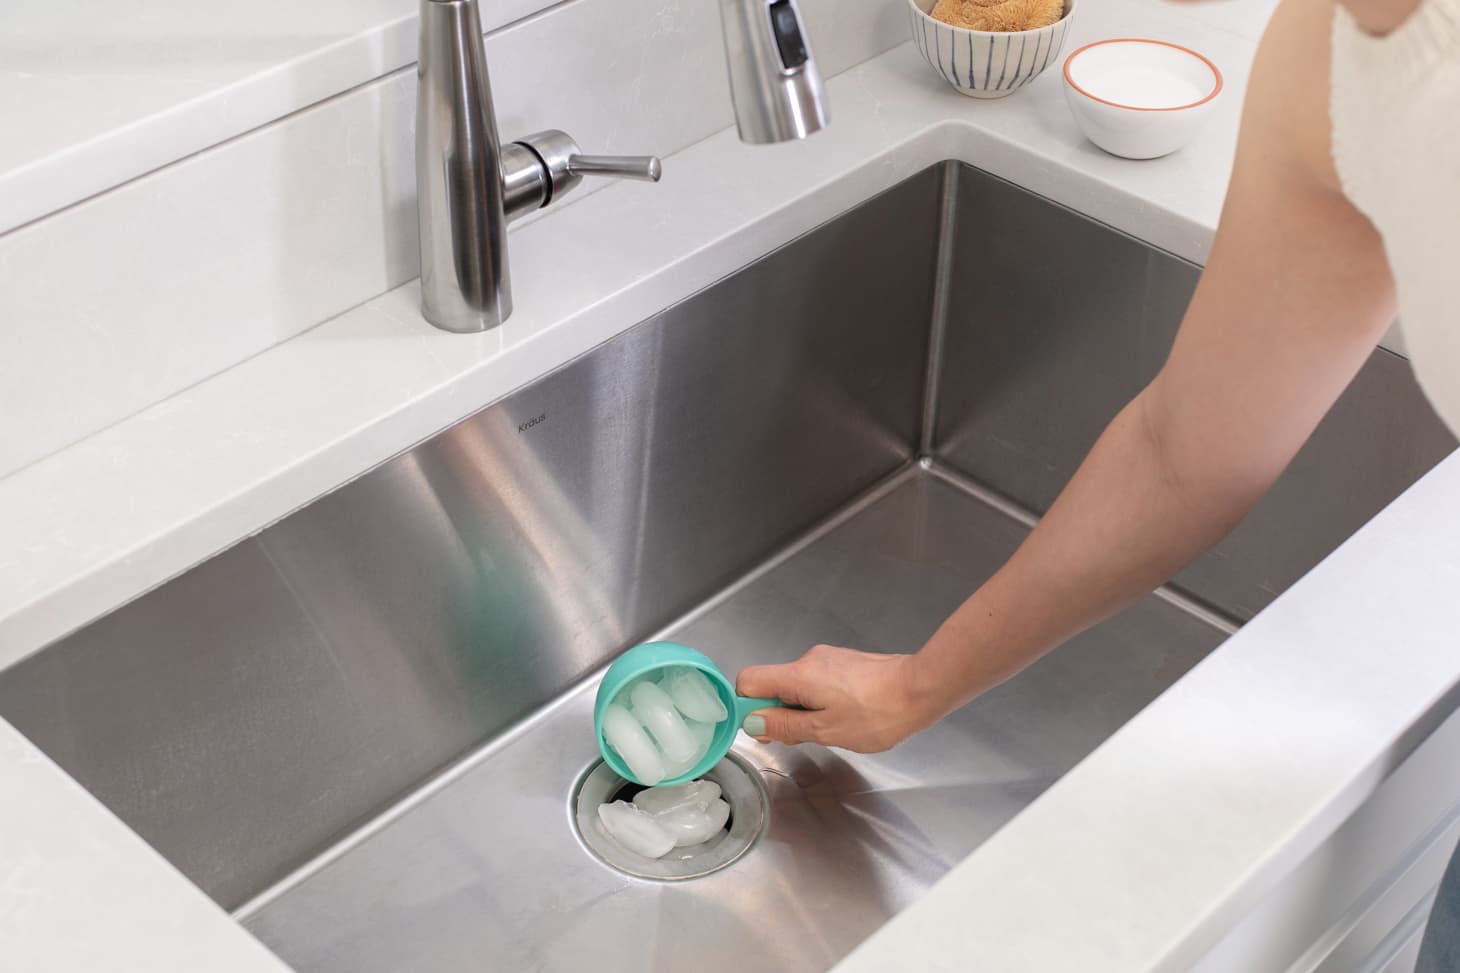
Step 1: Remove Debris
Start by removing any visible debris from the drain, such as food scraps or hair. You can use a pair of gloves or a small brush to do this.
Step 2: Pour Hot Water
Pour a pot of hot water down the drain to help loosen and flush away any remaining debris. You can also add a few drops of dish soap for extra cleaning power.
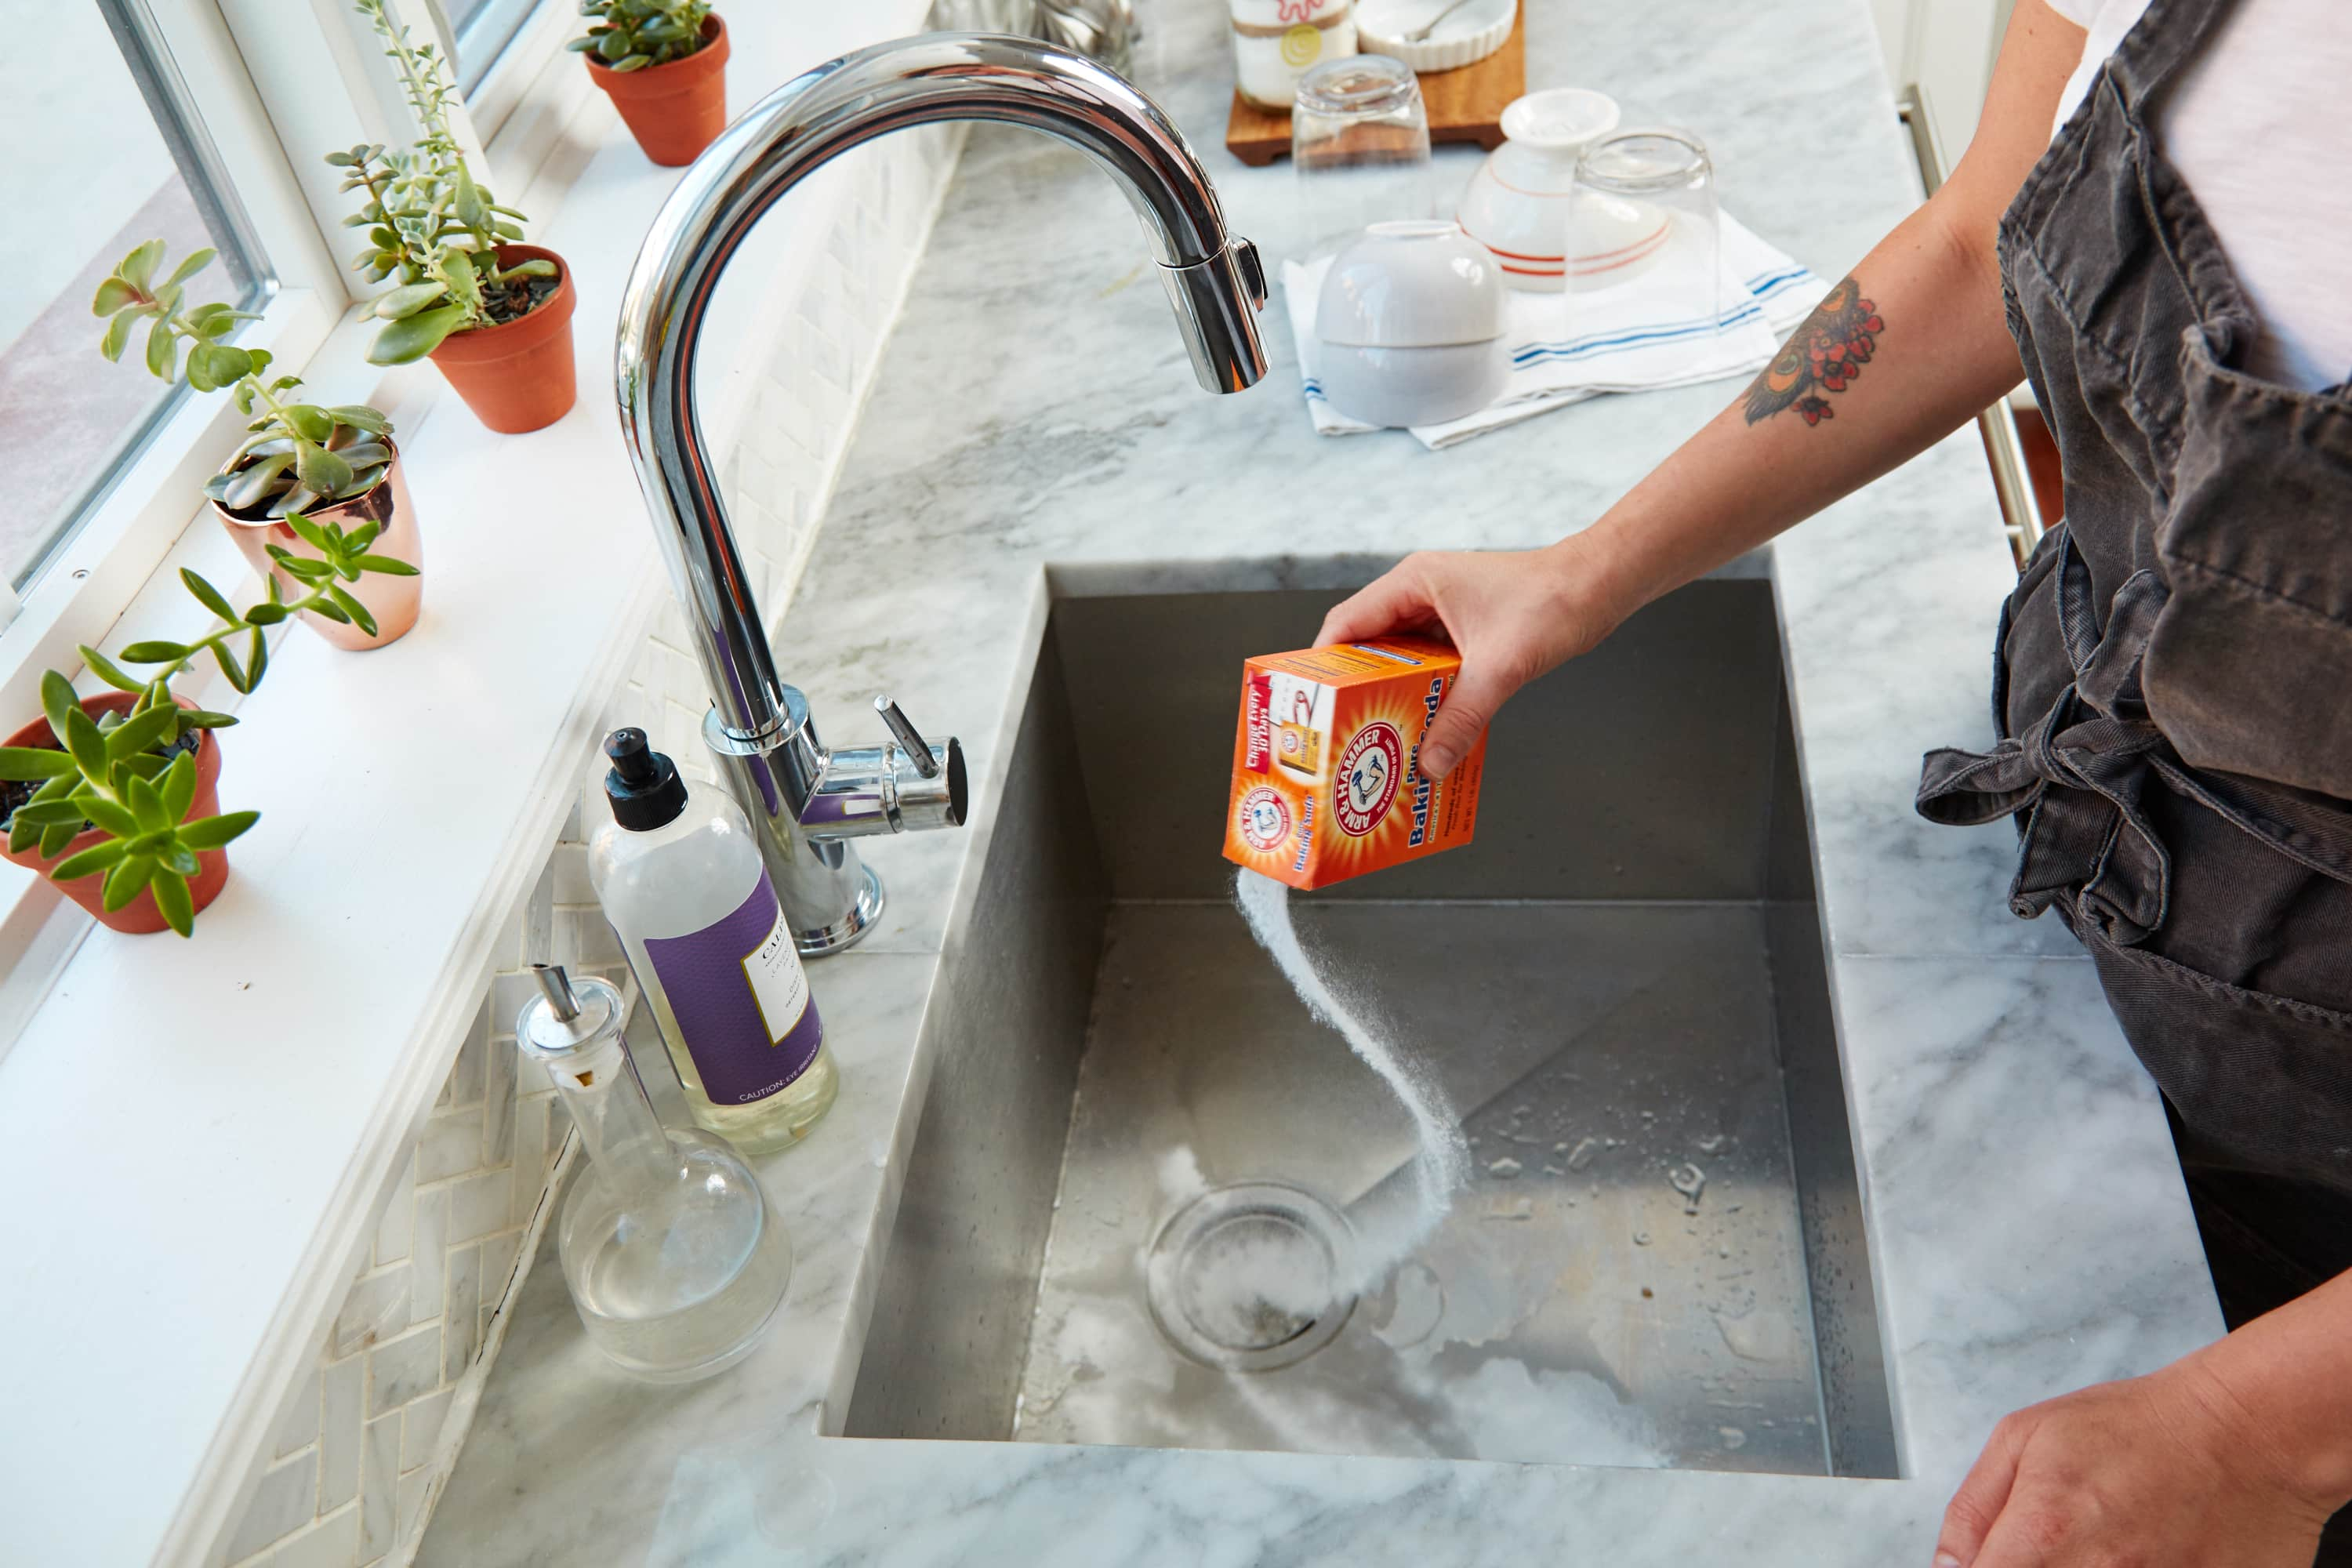
Step 3: Use Baking Soda and Vinegar
If you prefer a natural solution, you can pour a cup of baking soda down the drain, followed by a cup of vinegar. Let it sit for about 30 minutes, then pour hot water down the drain to flush it out. This can help dissolve any organic matter and eliminate odors.
Step 4: Clean the Drain Cover
Remove the drain cover and clean it with hot water and dish soap. You can also use a small brush to scrub away any build-up. Rinse and dry before replacing it.
Step 5: Repeat Regularly
To keep your kitchen sink drain clean and prevent clogs, it's important to repeat this cleaning process regularly, at least once a month.


How to Clean a Kitchen Sink Drain
:strip_icc()/how-to-clean-a-kitchen-sink-and-drain-04-5660035-d06ca6443e794a9f89b0963e6dba321d.jpg)


How to Snake a Kitchen Sink Drain
If you have a stubborn clog in your kitchen sink drain, you may need to use a snake or auger to clear it. Here's how you can easily snake your kitchen sink drain and get the water flowing again.
Step 1: Gather Your Supplies
Before you start snaking the drain, make sure you have all the necessary supplies. This includes an auger or snake, a bucket, and a pair of rubber gloves.
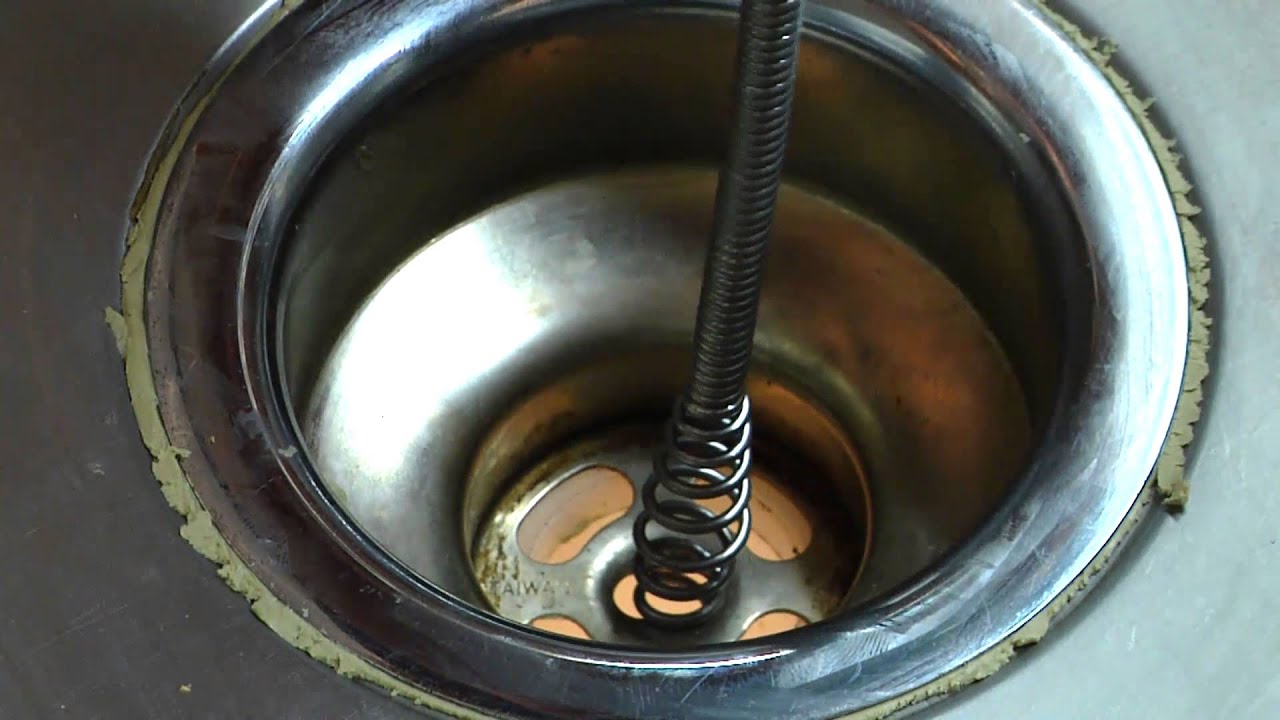
Step 2: Insert the Snake
Insert the snake into the drain and turn it clockwise until you feel resistance. This means you've reached the clog. Keep turning and pushing until the clog is broken up and the water starts to drain.
Step 3: Flush with Hot Water
Once the clog is cleared, pour a pot of hot water down the drain to flush out any remaining debris. This will ensure that the clog is completely cleared and the water is flowing freely.
Step 4: Clean the Snake
After using the snake, it's important to clean it thoroughly with hot water and dish soap. This will help prevent any bacteria or odors from building up on the tool.
Step 5: Repeat if Necessary
If the clog is still not completely cleared, you may need to repeat the snaking process a few times. If it still doesn't work, it's best to call a professional plumber.


How to Snake a Kitchen Sink Drain


How to Clear a Clogged Kitchen Sink Drain
Dealing with a clogged kitchen sink drain can be a frustrating and messy experience. Here's how you can easily clear a clogged kitchen sink drain and get your sink back to working properly.
Step 1: Gather Your Supplies
Before you start clearing the clog, make sure you have all the necessary supplies. This includes a plunger, an auger or snake, a bucket, and a pair of rubber gloves.
Step 2: Plunge the Drain
Start by plunging the drain using a plunger. Make sure it covers the entire opening and use quick, forceful plunges to create suction. This may dislodge the clog and allow the water to drain.
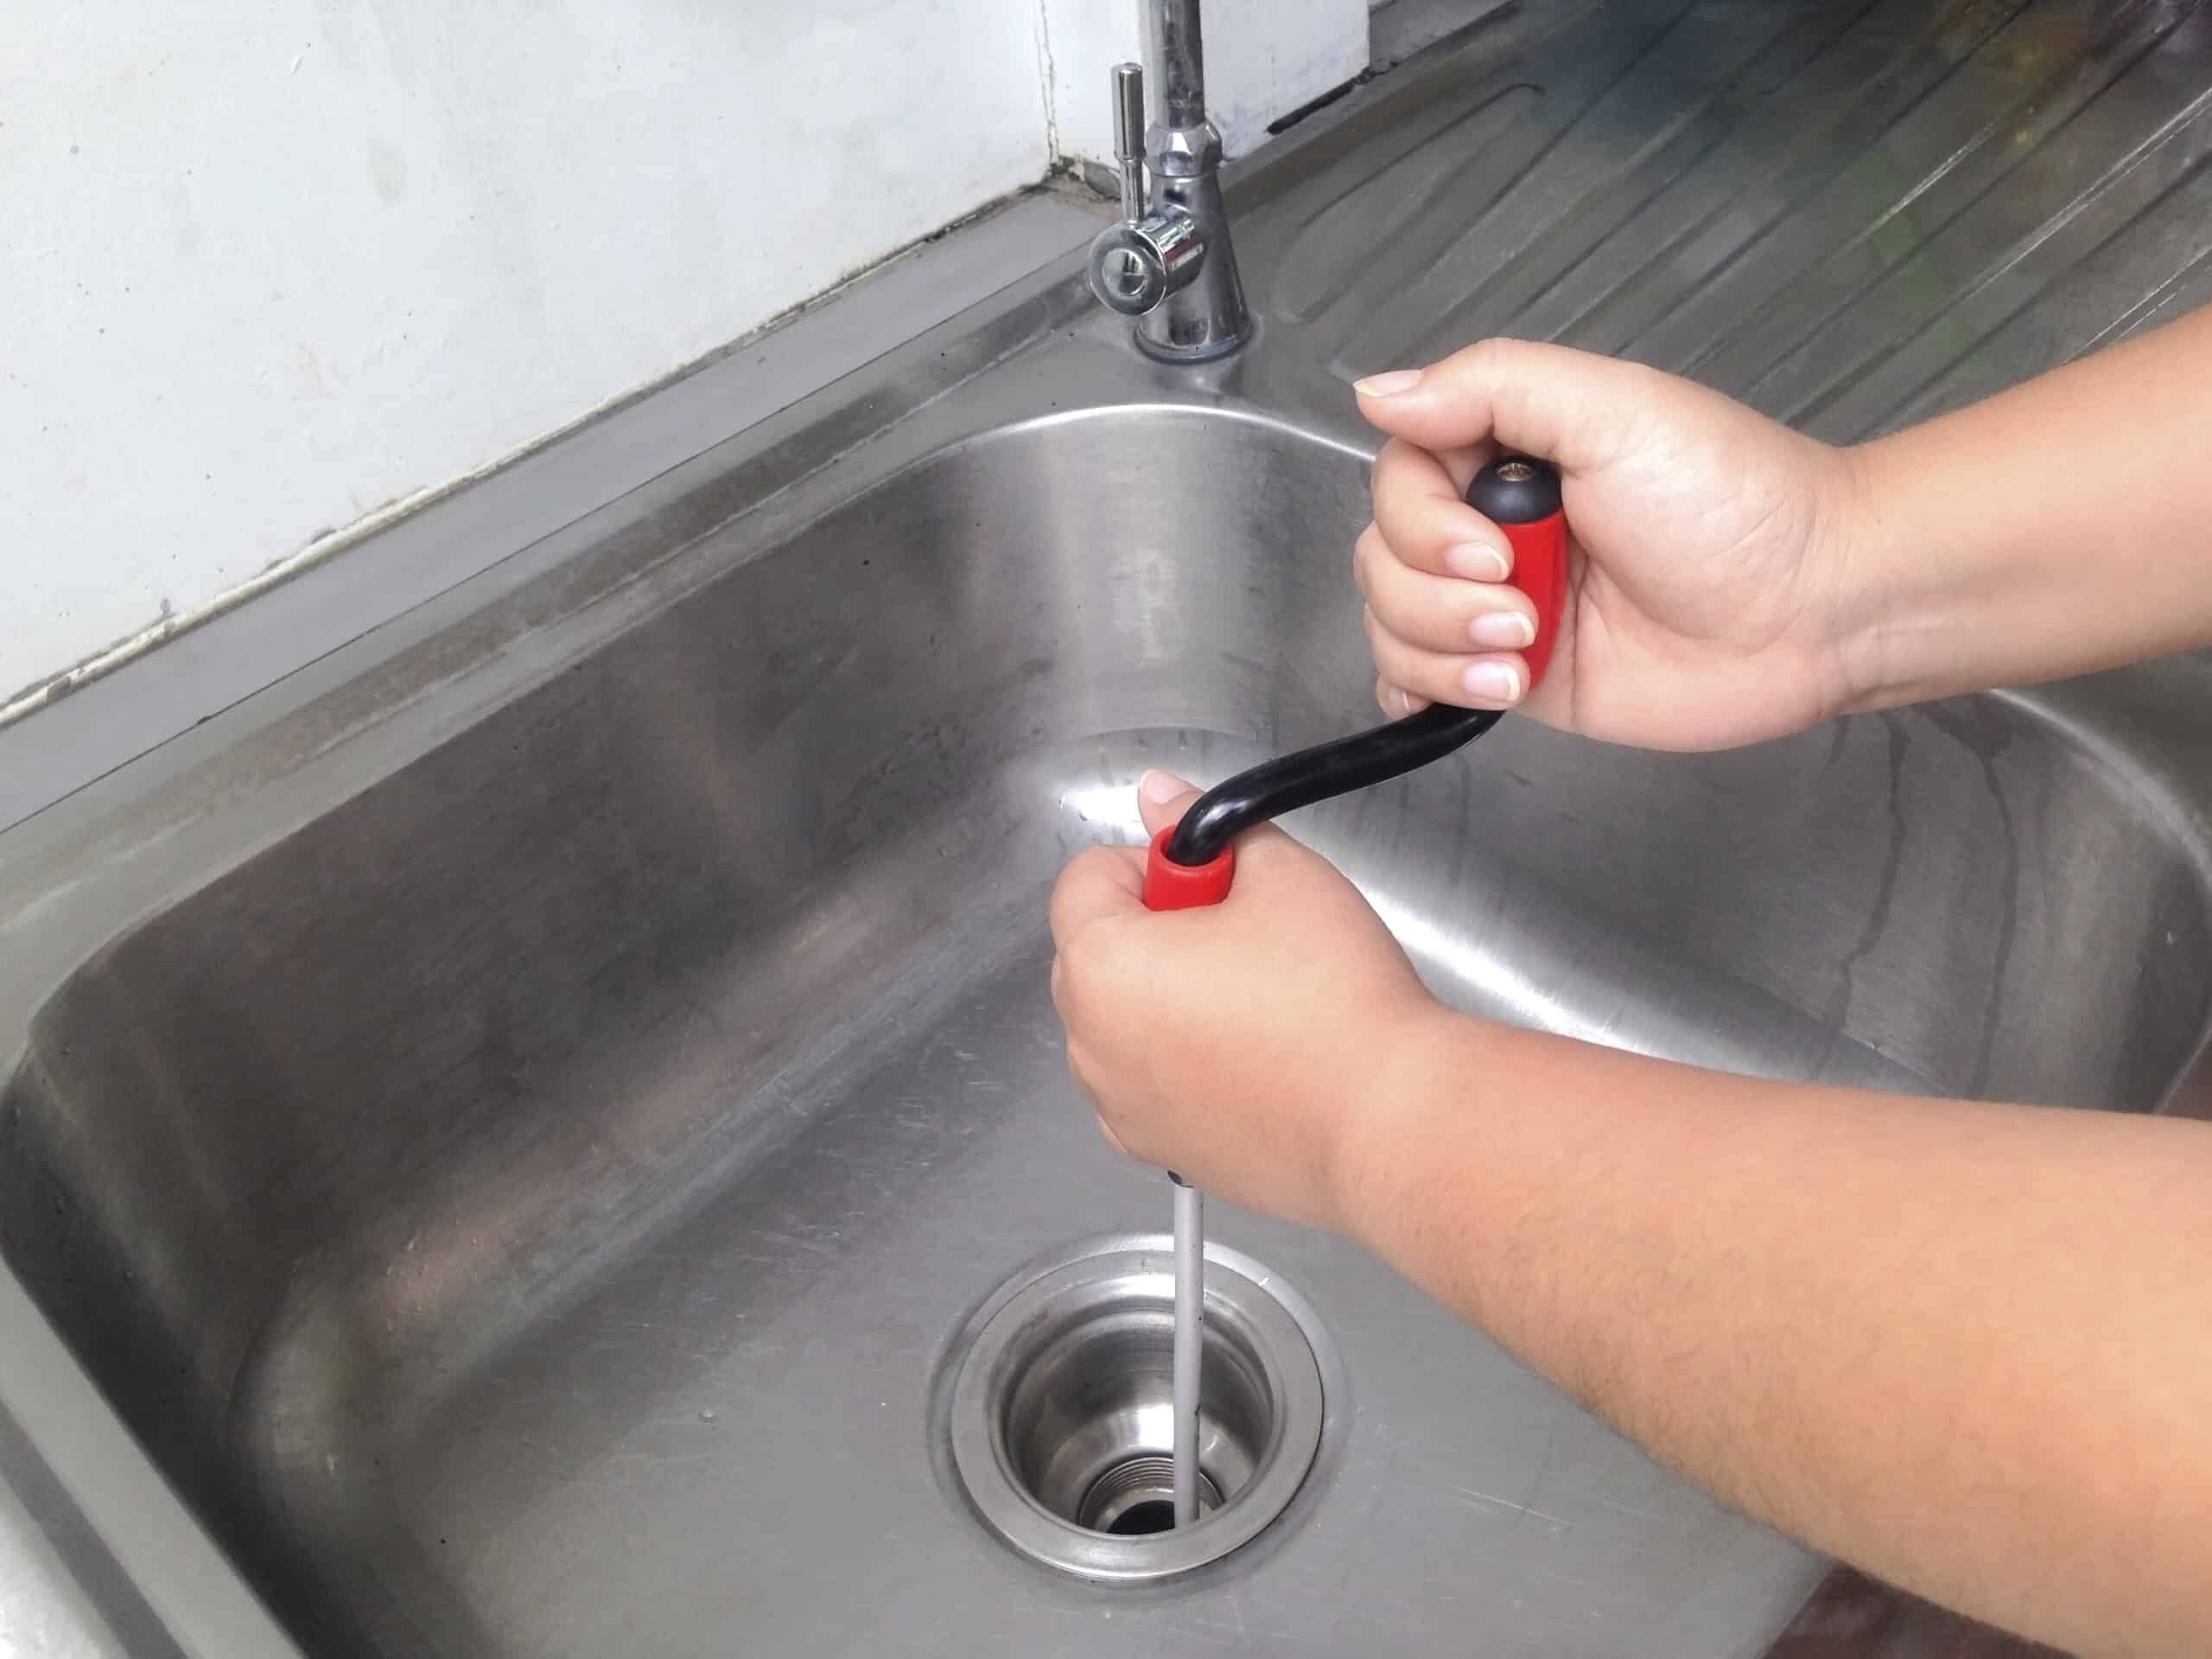
Step 3: Use an Auger or Snake
If plunging doesn't work, you can try using an auger or snake. Insert the tool into the drain and turn it clockwise until you feel resistance. This means you've reached the clog. Keep turning and pushing until the clog is broken up and the water starts to drain.
Step 4: Try a Natural Solution
If you prefer a natural solution, you can pour a cup of baking soda down the drain, followed by a cup of vinegar. Let it sit for about 30 minutes, then pour hot water down the drain to flush it out. This can help dissolve any organic matter causing the clog.
Step 5: Call a Professional
If none of these methods work, or if you're not comfortable with DIY solutions, it's best to call a professional plumber. They can assess the situation and use more advanced techniques to clear the clog.


How to Clear a Clogged Kitchen Sink Drain


How to Repair a Kitchen Sink Drain
Over time, kitchen sink drains can become damaged or worn out, causing leaks and clogs. Here's how you can easily repair a kitchen sink drain and prevent further problems.
Step 1: Identify the Issue
The first step to repairing a kitchen sink drain is to identify the issue. Is it leaking? Clogged? Damaged? Once you know the problem, you can proceed with the appropriate repairs.
Step 2: Tighten Connections
If the issue is a loose connection, you can easily tighten the nuts and bolts using a wrench. Make sure they are secure and there are no leaks.
Step 3: Replace the O-Ring
If the issue is a leaky drain, you may need to replace the O-ring. This is a small rubber ring that seals the connection between the drain and the sink. Simply remove the old O-ring and replace it with a new one.

How to Repair a Kitchen Sink Drain


Why You Need a Proper Drain Under Your Kitchen Sink

The Importance of a Functional Kitchen Sink Drain
/how-to-install-a-sink-drain-2718789-hero-24e898006ed94c9593a2a268b57989a3.jpg) Kitchen sinks
are an essential part of any household. They serve as the focal point for meal preparation, dishwashing, and general cleaning. However, many people tend to overlook the
drain under the kitchen sink
, focusing more on the aesthetics and functionality of the sink itself. But a properly functioning drain is crucial for maintaining a clean and hygienic kitchen, and neglecting it can lead to costly plumbing issues down the line.
Kitchen sinks
are an essential part of any household. They serve as the focal point for meal preparation, dishwashing, and general cleaning. However, many people tend to overlook the
drain under the kitchen sink
, focusing more on the aesthetics and functionality of the sink itself. But a properly functioning drain is crucial for maintaining a clean and hygienic kitchen, and neglecting it can lead to costly plumbing issues down the line.
Preventing Clogs and Blockages
 One of the main reasons why having a functional drain under your kitchen sink is important is to prevent clogs and blockages. Over time, food scraps, grease, and other debris can build up in the drain, causing it to become blocked. This can lead to slow draining water and unpleasant odors in your kitchen. Additionally, if left untreated, clogs can cause water to back up into your sink and potentially damage your pipes. By regularly cleaning and maintaining your drain, you can prevent these issues and keep your kitchen running smoothly.
Protecting Your Health
 A
drain under the kitchen sink
that is not functioning properly can also pose a health risk. When water cannot flow freely through the drain, it can create a breeding ground for bacteria and mold. This can lead to unpleasant odors and potentially harmful contaminants in your kitchen. By ensuring your drain is working correctly, you can keep your kitchen clean and safe for you and your family.
A
drain under the kitchen sink
that is not functioning properly can also pose a health risk. When water cannot flow freely through the drain, it can create a breeding ground for bacteria and mold. This can lead to unpleasant odors and potentially harmful contaminants in your kitchen. By ensuring your drain is working correctly, you can keep your kitchen clean and safe for you and your family.
Preserving Your Home's Value
 A well-maintained, functional
kitchen sink drain
is not only important for your immediate health and well-being but also for the long-term value of your home. If left untreated, clogs and blockages can cause damage to your pipes and potentially lead to costly repairs. By taking care of your drain and addressing any issues promptly, you can avoid these expenses and preserve the value of your home.
A well-maintained, functional
kitchen sink drain
is not only important for your immediate health and well-being but also for the long-term value of your home. If left untreated, clogs and blockages can cause damage to your pipes and potentially lead to costly repairs. By taking care of your drain and addressing any issues promptly, you can avoid these expenses and preserve the value of your home.
Conclusion
 While it may be easy to overlook, the
drain under your kitchen sink
plays a significant role in the overall functionality and hygiene of your kitchen. Regularly cleaning and maintaining your drain can prevent clogs, protect your health, and preserve the value of your home. So next time you're doing dishes or preparing a meal, take a moment to give your
kitchen sink drain
the attention it deserves. Your kitchen (and wallet) will thank you.
While it may be easy to overlook, the
drain under your kitchen sink
plays a significant role in the overall functionality and hygiene of your kitchen. Regularly cleaning and maintaining your drain can prevent clogs, protect your health, and preserve the value of your home. So next time you're doing dishes or preparing a meal, take a moment to give your
kitchen sink drain
the attention it deserves. Your kitchen (and wallet) will thank you.