1. How to Properly Prime a Kitchen Sink for Painting
Painting your kitchen sink can be a great way to update the look of your kitchen without spending a lot of money. However, in order to ensure that the paint sticks well and lasts for a long time, proper priming is essential. Here's a step-by-step guide on how to properly prime your kitchen sink for painting.
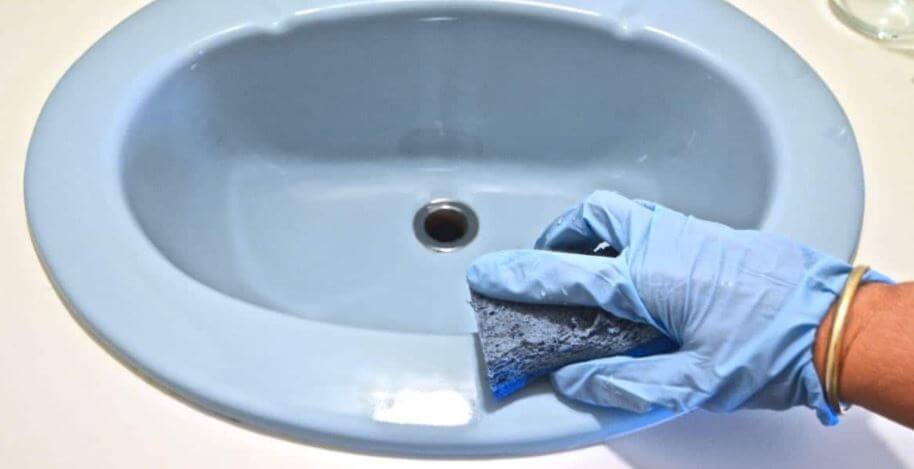
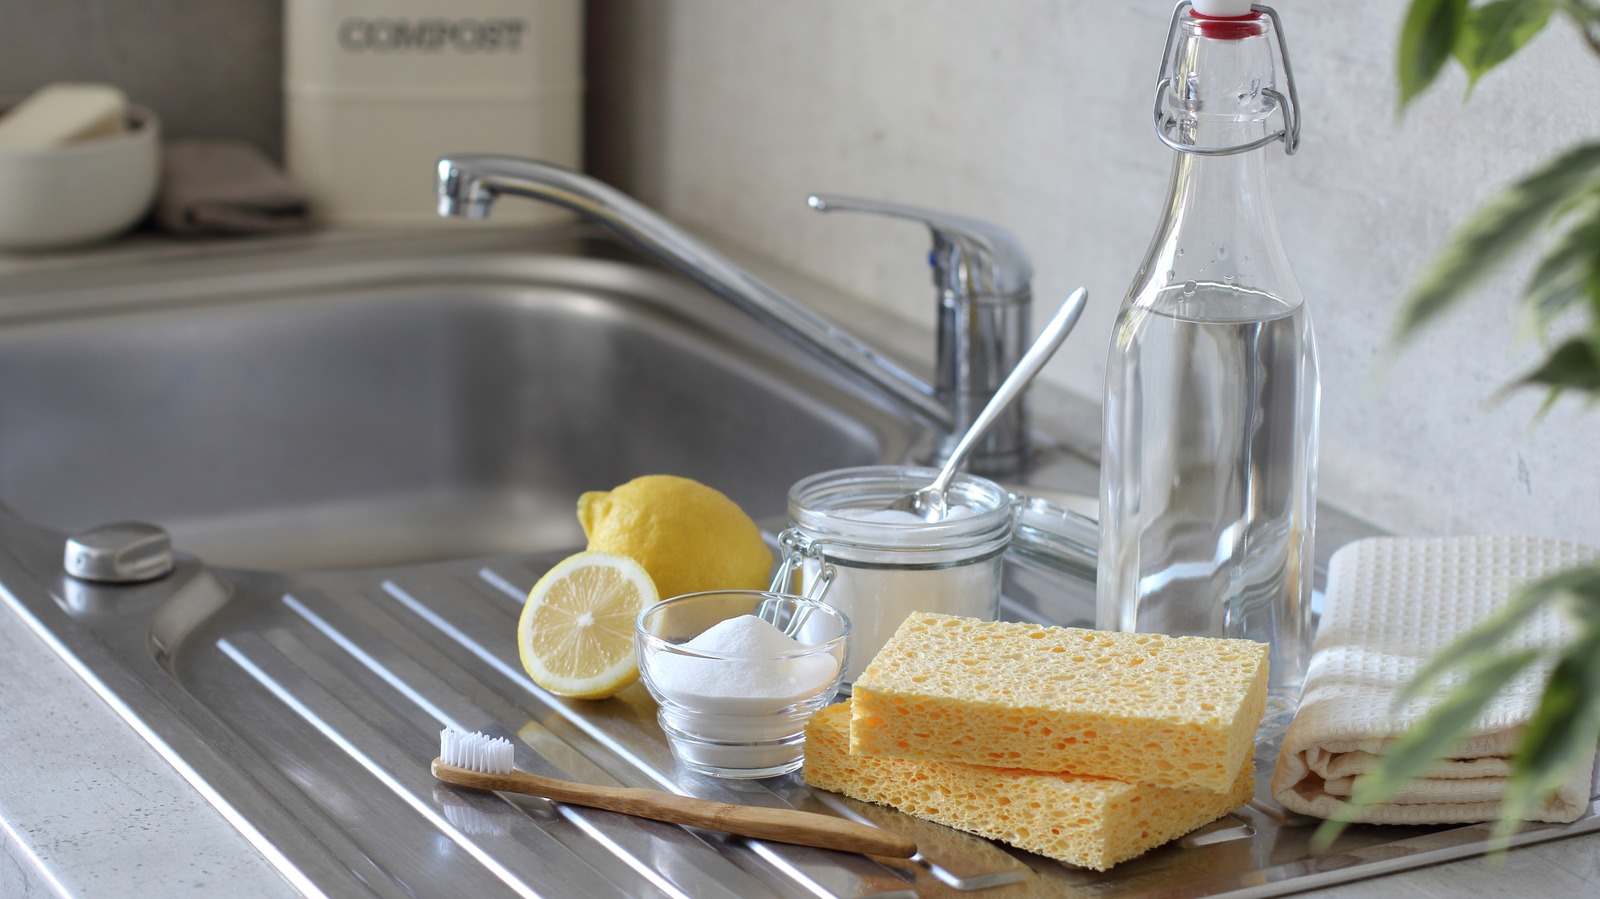
Step 1: Clean the sink thoroughly with a degreaser to remove any dirt, grime, and residue. This will help the primer adhere better to the surface.
Step 2: Sand the sink lightly using a fine-grit sandpaper. This will help create a rough surface for the primer to adhere to.
Step 3: Use a damp cloth to remove any dust or debris from sanding.
Step 4: Apply a thin coat of metal etching primer to the entire surface of the sink. This type of primer is specifically designed for metal surfaces and will help the paint adhere better.
Step 5: Let the primer dry completely according to the manufacturer's instructions.
Step 6: Lightly sand the sink again to create an even smoother surface.
Step 7: Wipe the sink down with a damp cloth to remove any dust from sanding.
Step 8: Apply a second coat of metal etching primer and let it dry completely.
Step 9: Inspect the sink for any missed spots or imperfections. If necessary, lightly sand and apply a third coat of primer.
Step 10: Once the primer is completely dry, you are ready to paint your sink with your desired color!

1. How to Properly Prime a Kitchen Sink for Painting


2. The Best Primer for Painting a Kitchen Sink
When it comes to painting your kitchen sink, using the right primer is key to ensuring a long-lasting and durable finish. There are many primers available on the market, but the best one for painting a kitchen sink is a metal etching primer.
This type of primer is specifically designed for metal surfaces and creates a strong bond between the surface and the paint. It also helps prevent rust and corrosion, ensuring the paint job lasts for a long time.


2. The Best Primer for Painting a Kitchen Sink


3. Tips for Ensuring Primer Paint Sticks Well to Your Kitchen Sink
While using the right primer is crucial, there are a few other tips you can follow to ensure the primer paint sticks well to your kitchen sink:
- Clean the sink thoroughly: Use a degreaser to remove any dirt, grime, and residue from the sink. This will help the primer adhere better to the surface.
- Sand the sink: Lightly sand the sink with a fine-grit sandpaper to create a rough surface for the primer to adhere to.
- Apply thin coats of primer: Instead of one thick coat, apply thin coats of primer. This will help the primer dry faster and create a smoother surface.
- Let the primer dry completely between coats: It's important to follow the manufacturer's instructions and let the primer dry completely between coats. This will ensure a strong bond between the surface and the paint.


3. Tips for Ensuring Primer Paint Sticks Well to Your Kitchen Sink


4. Common Mistakes When Priming a Kitchen Sink for Painting
While priming a kitchen sink may seem like a simple process, there are a few common mistakes that can affect the outcome of your paint job. These include:
- Not cleaning the sink properly: If the sink is not cleaned properly, the primer will not adhere well to the surface.
- Skipping sanding: Sanding the sink is essential to create a rough surface for the primer to adhere to. Skipping this step can result in the paint peeling or chipping off.
- Applying too thick of a coat: Applying a thick coat of primer can lead to drips and an uneven finish. It's best to apply thin, even coats for the best results.
- Not letting the primer dry completely: Rushing the process and not allowing the primer to dry completely can result in a weak bond between the surface and the paint.


4. Common Mistakes When Priming a Kitchen Sink for Painting


5. How to Choose the Right Primer for Your Kitchen Sink
When it comes to choosing a primer for your kitchen sink, it's important to look for one that is specifically designed for metal surfaces. A metal etching primer is the best option as it will create a strong bond between the surface and the paint, ensuring a long-lasting finish.
You should also consider the type of paint you will be using for your sink. Some primers are designed to work with specific types of paint, so be sure to read the label and choose a primer that is compatible with your chosen paint.


5. How to Choose the Right Primer for Your Kitchen Sink

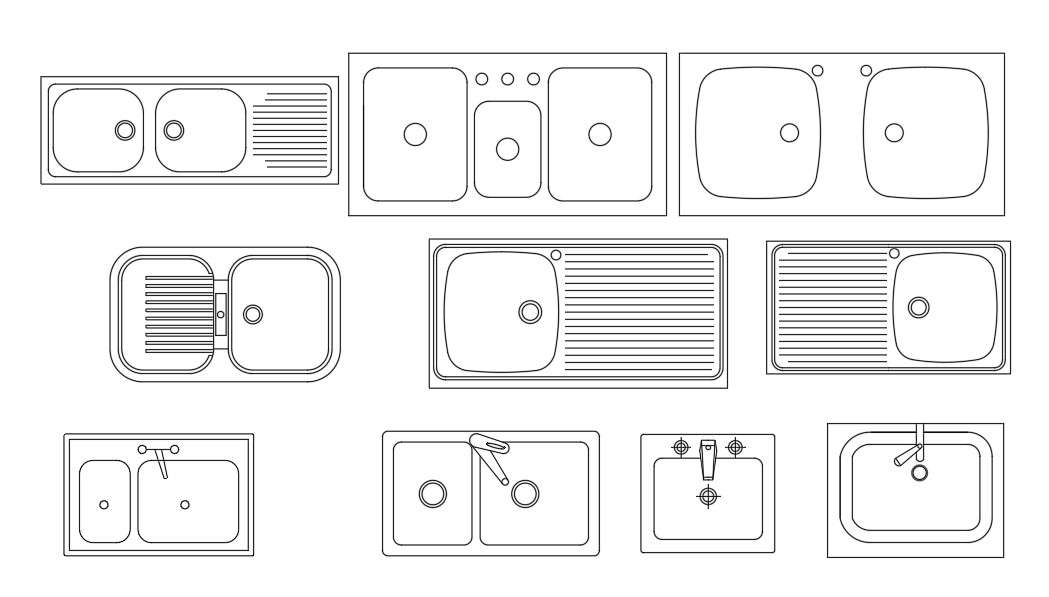
:max_bytes(150000):strip_icc()/Basic-kitchen-sink-types-1821207_color_rev-0b539306b9ef4236a136624ad2a89a4c.jpg)


6. The Importance of Properly Preparing Your Kitchen Sink Before Painting
Properly preparing your kitchen sink before painting is crucial to ensuring a successful and long-lasting paint job. This includes thoroughly cleaning the sink, sanding it to create a rough surface, and using a high-quality primer.
By taking the time to properly prepare your sink, you can avoid common issues such as paint peeling or chipping off and ensure a professional-looking finish.


6. The Importance of Properly Preparing Your Kitchen Sink Before Painting


7. How to Ensure Your Primer Paint Sticks Well to Your Kitchen Sink
In addition to following the steps mentioned earlier, there are a few other things you can do to ensure your primer paint sticks well to your kitchen sink:
- Use a good quality primer: It's worth investing in a high-quality metal etching primer to ensure a strong bond between the surface and the paint.
- Follow the manufacturer's instructions: Be sure to read and follow the instructions on the primer label for the best results.
- Allow the primer to cure: After applying the final coat of primer, let it cure for at least 24 hours before painting. This will ensure the primer has fully bonded to the surface.


7. How to Ensure Your Primer Paint Sticks Well to Your Kitchen Sink


8. The Benefits of Using a High-Quality Primer for Your Kitchen Sink
Using a high-quality primer for your kitchen sink offers several benefits, including:
- Strong bond: A good primer will create a strong bond between the surface and the paint, ensuring the paint lasts for a long time.
- Rust and corrosion prevention: Metal etching primers are specifically designed to prevent rust and corrosion, protecting your sink from damage.
- Better paint adhesion: By creating a rough surface for the paint to adhere to, a primer can help the paint stick better and last longer.
- Smoother finish: A primer can help even out imperfections and create a smoother surface for painting, resulting in a professional-looking finish.


8. The Benefits of Using a High-Quality Primer for Your Kitchen Sink

9. Step-by-Step Guide for Priming Your Kitchen Sink for Painting
Here's a quick recap of the step-by-step guide for priming your kitchen sink for painting:
1. Clean the sink thoroughly with a degreaser.
2. Lightly sand the sink with a fine-grit sandpaper.
3. Use a damp cloth to remove any dust from sanding.
4. Apply a thin coat of metal etching primer and let it dry completely.
5. Lightly sand the sink again and wipe it down with a damp cloth.
6. Apply a second coat of primer and let it dry completely.
7. Inspect the sink for any missed spots or imperfections.
8. If necessary, lightly sand and apply a third coat of primer.
9. Let the primer cure for 24 hours before painting.
10. Paint your sink with your desired color!


9. Step-by-Step Guide for Priming Your Kitchen Sink for Painting


10. Common Questions About Using Primer on a Kitchen Sink
Here are some frequently asked questions about using primer on a kitchen sink:
- Can I use any type of primer on my kitchen sink?
It's best to use a primer that is specifically designed for metal surfaces, such as a metal etching primer.
- Do I need to sand my sink before priming?
Yes, sanding the sink is crucial to creating a rough surface for the primer to adhere to.
- How many coats of primer do I need to apply?
This will depend on the condition of your sink and the type of primer you are using. It's best to follow the manufacturer's instructions and apply as many coats as necessary for a smooth, even surface.
- How long should I wait before painting my sink after priming?
It's recommended to wait at least 24 hours before painting to allow the primer to cure and create a strong bond with the surface.
Now that you know how to properly prime your kitchen sink for painting, you can confidently update the look of your kitchen without breaking the bank. By following these tips and using the right primer, your newly painted sink is sure to look great for years to come.


10. Common Questions About Using Primer on a Kitchen Sink


How to Properly Prime Your Kitchen Sink for Long-Lasting Results
Why Primer Paint is Essential for Your Kitchen Sink
 When it comes to designing your dream kitchen, every detail matters. From the cabinets to the countertops, you want everything to be perfect. However, one crucial element that is often overlooked is the kitchen sink. Not only does it serve as a functional necessity, but it also adds to the overall aesthetic of your space. That's why it's important to give your kitchen sink the proper attention and preparation it deserves, including using
primer paint
.
When it comes to designing your dream kitchen, every detail matters. From the cabinets to the countertops, you want everything to be perfect. However, one crucial element that is often overlooked is the kitchen sink. Not only does it serve as a functional necessity, but it also adds to the overall aesthetic of your space. That's why it's important to give your kitchen sink the proper attention and preparation it deserves, including using
primer paint
.
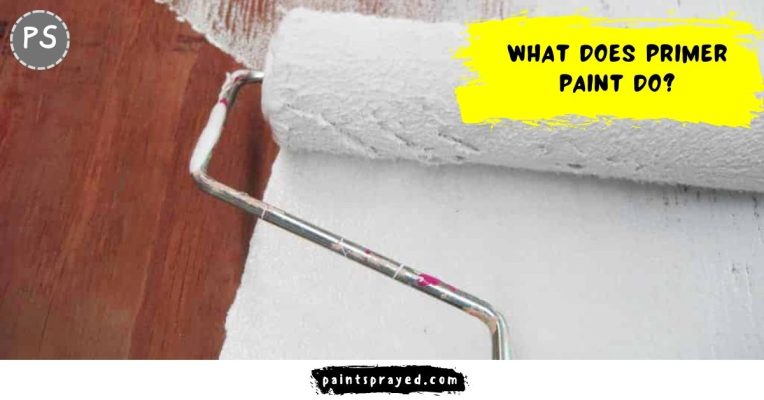
What is Primer Paint and Why Does it Matter?
 Primer paint is a type of paint specifically designed to create a smooth and durable surface for your topcoat. It acts as a base layer, helping the paint adhere better and ensuring a long-lasting finish. When it comes to your kitchen sink, which is constantly exposed to water, soap, and other chemicals, using a primer paint can make all the difference in the durability and longevity of your sink's new color.
Primer paint
also helps to hide any imperfections on the surface of your sink, such as scratches or stains. This ensures that your final paint job looks flawless and professional. It also helps to prevent the topcoat from chipping or peeling, giving you a smooth and beautiful finish that will last for years to come.
Primer paint is a type of paint specifically designed to create a smooth and durable surface for your topcoat. It acts as a base layer, helping the paint adhere better and ensuring a long-lasting finish. When it comes to your kitchen sink, which is constantly exposed to water, soap, and other chemicals, using a primer paint can make all the difference in the durability and longevity of your sink's new color.
Primer paint
also helps to hide any imperfections on the surface of your sink, such as scratches or stains. This ensures that your final paint job looks flawless and professional. It also helps to prevent the topcoat from chipping or peeling, giving you a smooth and beautiful finish that will last for years to come.
How to Properly Prime Your Kitchen Sink
 Before you begin the priming process, make sure to thoroughly clean and dry your sink. Any dirt, grease, or residue can prevent the primer from properly adhering to the surface. Next, use a fine-grit sandpaper to lightly sand the entire surface of your sink. This will create a slightly rough texture, allowing the primer to bond better.
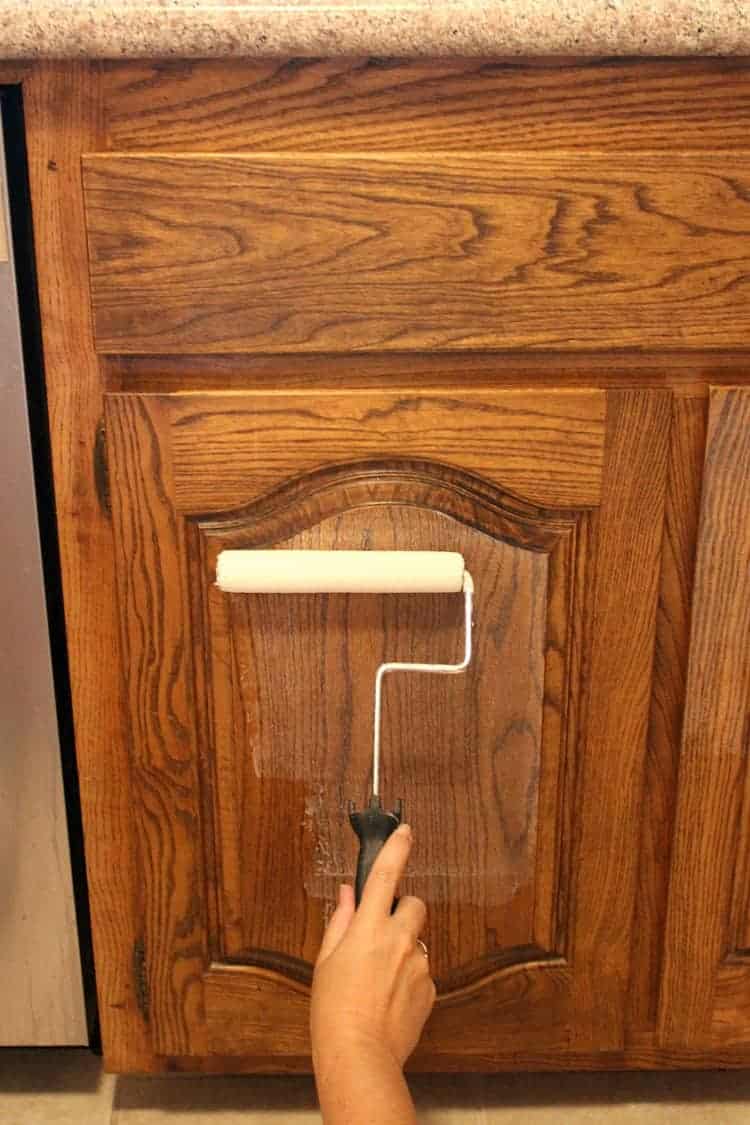
Once your sink is clean and sanded, it's time to apply the primer. Using a paintbrush or roller, evenly coat the entire sink with the primer paint. Make sure to follow the manufacturer's instructions and allow the primer to dry completely before applying your topcoat.
Before you begin the priming process, make sure to thoroughly clean and dry your sink. Any dirt, grease, or residue can prevent the primer from properly adhering to the surface. Next, use a fine-grit sandpaper to lightly sand the entire surface of your sink. This will create a slightly rough texture, allowing the primer to bond better.
Once your sink is clean and sanded, it's time to apply the primer. Using a paintbrush or roller, evenly coat the entire sink with the primer paint. Make sure to follow the manufacturer's instructions and allow the primer to dry completely before applying your topcoat.
The Best Primer Paint for Your Kitchen Sink
 When choosing a primer paint for your kitchen sink, it's important to select one that is specifically designed for use on metal surfaces. Look for a rust-inhibiting primer that is also water-resistant, as this will provide the best protection for your sink. Some popular options include Rust-Oleum Specialty Metal Primer and Krylon Rust Protector Primer.
In conclusion,
primer paint
is an essential step in the process of painting your kitchen sink. It not only helps your topcoat adhere better, but it also provides a smooth and durable surface for a long-lasting finish. By following these tips and using the right primer paint, you can transform your kitchen sink into a beautiful and functional centerpiece of your dream kitchen.
When choosing a primer paint for your kitchen sink, it's important to select one that is specifically designed for use on metal surfaces. Look for a rust-inhibiting primer that is also water-resistant, as this will provide the best protection for your sink. Some popular options include Rust-Oleum Specialty Metal Primer and Krylon Rust Protector Primer.
In conclusion,
primer paint
is an essential step in the process of painting your kitchen sink. It not only helps your topcoat adhere better, but it also provides a smooth and durable surface for a long-lasting finish. By following these tips and using the right primer paint, you can transform your kitchen sink into a beautiful and functional centerpiece of your dream kitchen.