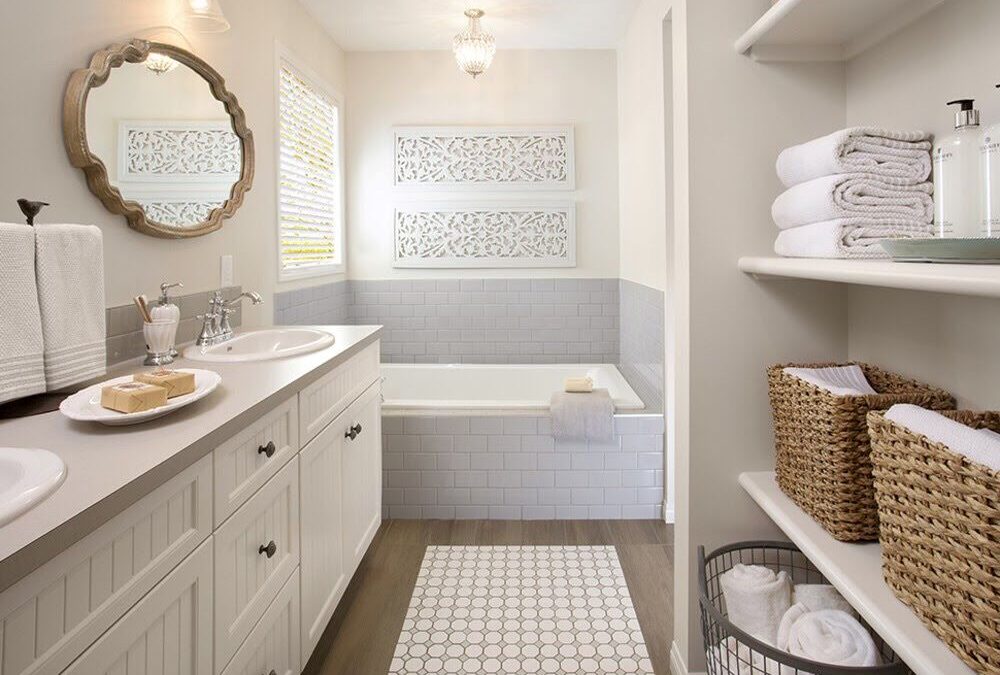
When it comes to organizing your bathroom, one of the trickiest areas to tackle is often the space under the sink. It's a small and often overlooked area, but with the right DIY storage shelves, you can transform it into a functional and organized space. In this article, we'll explore the top 10 DIY storage shelves for under the bathroom sink to help you make the most of this often underutilized space.The Ultimate Guide to DIY Storage Shelves for Under the Bathroom Sink

diy storage shelves


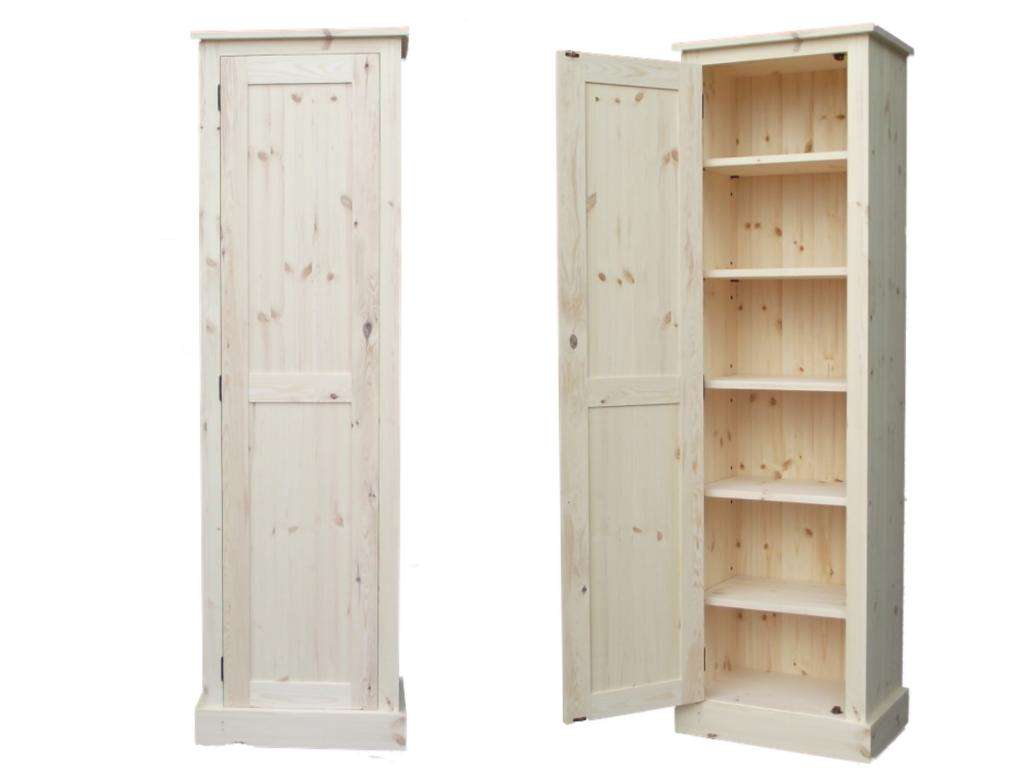
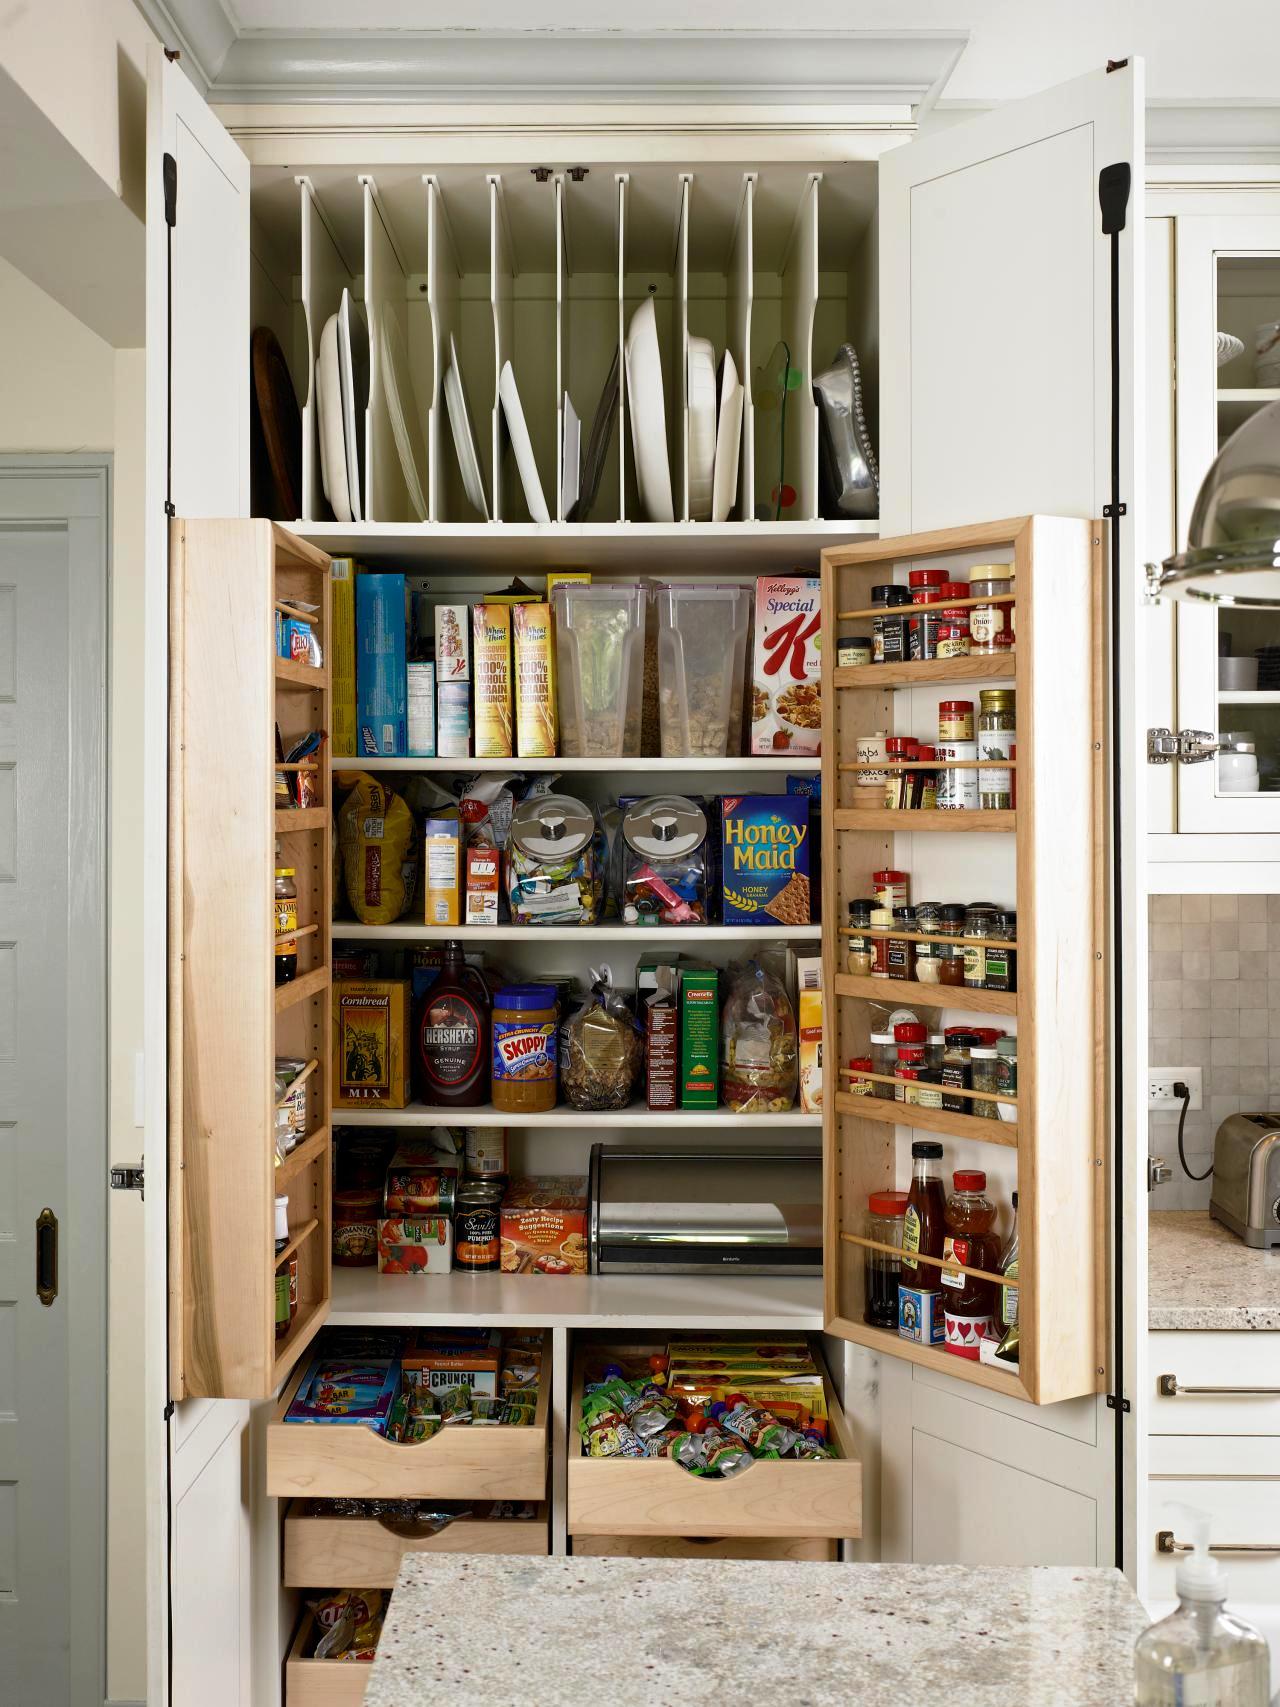
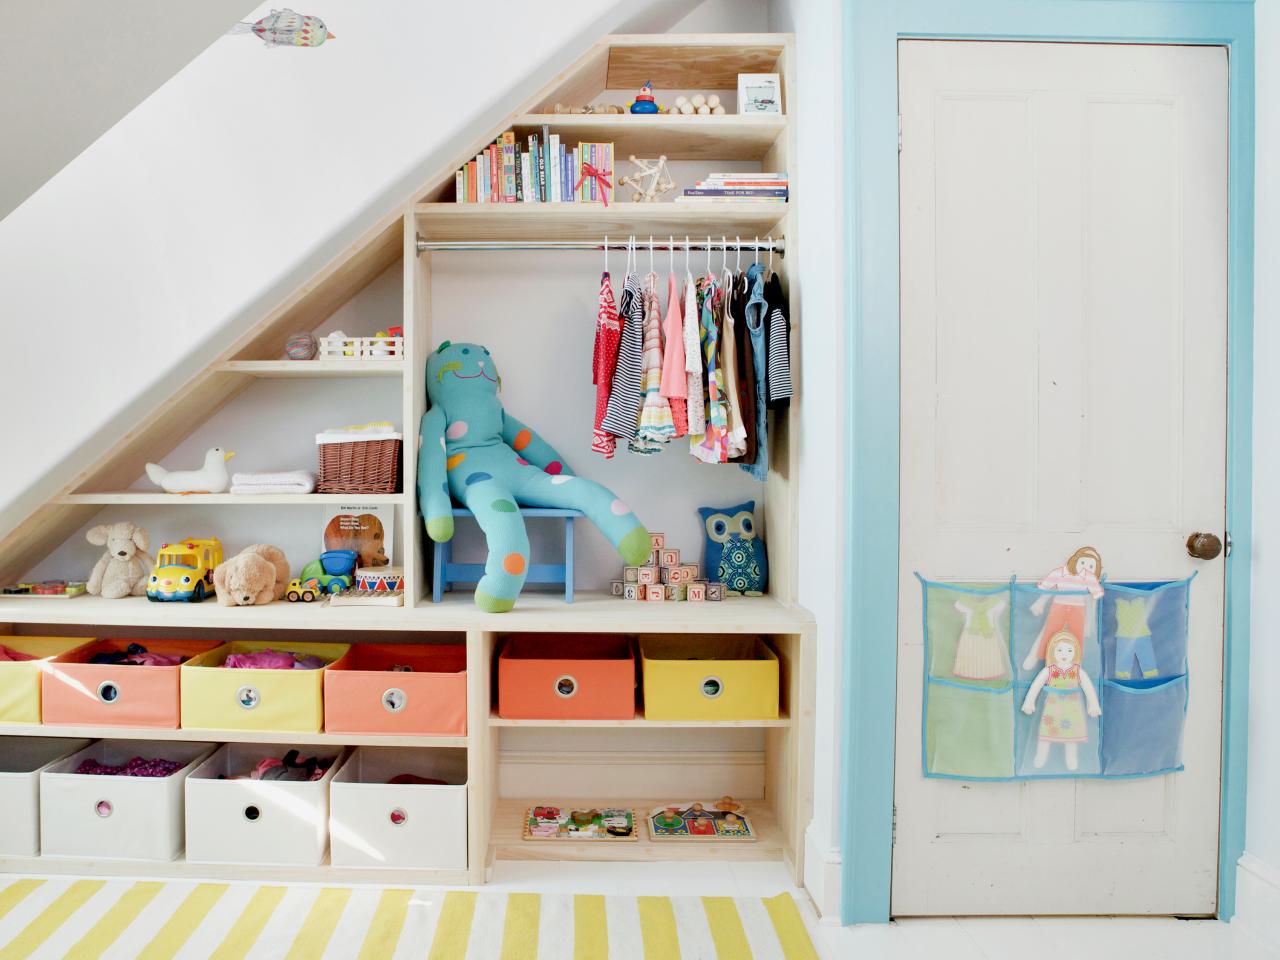
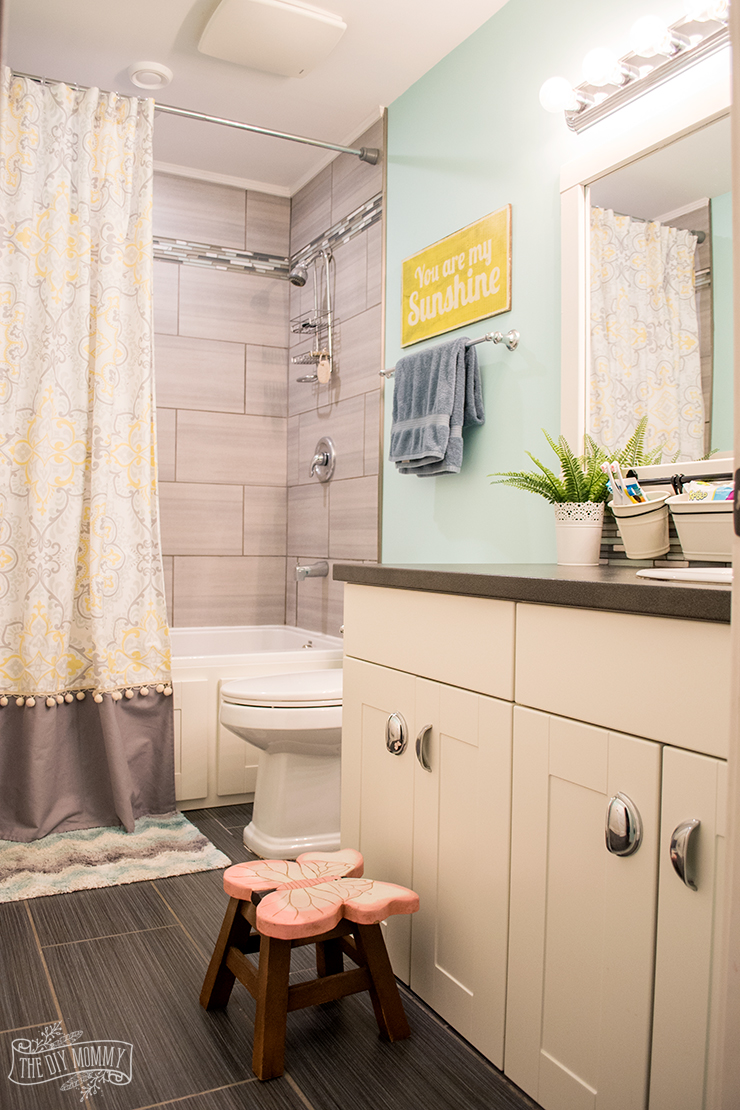
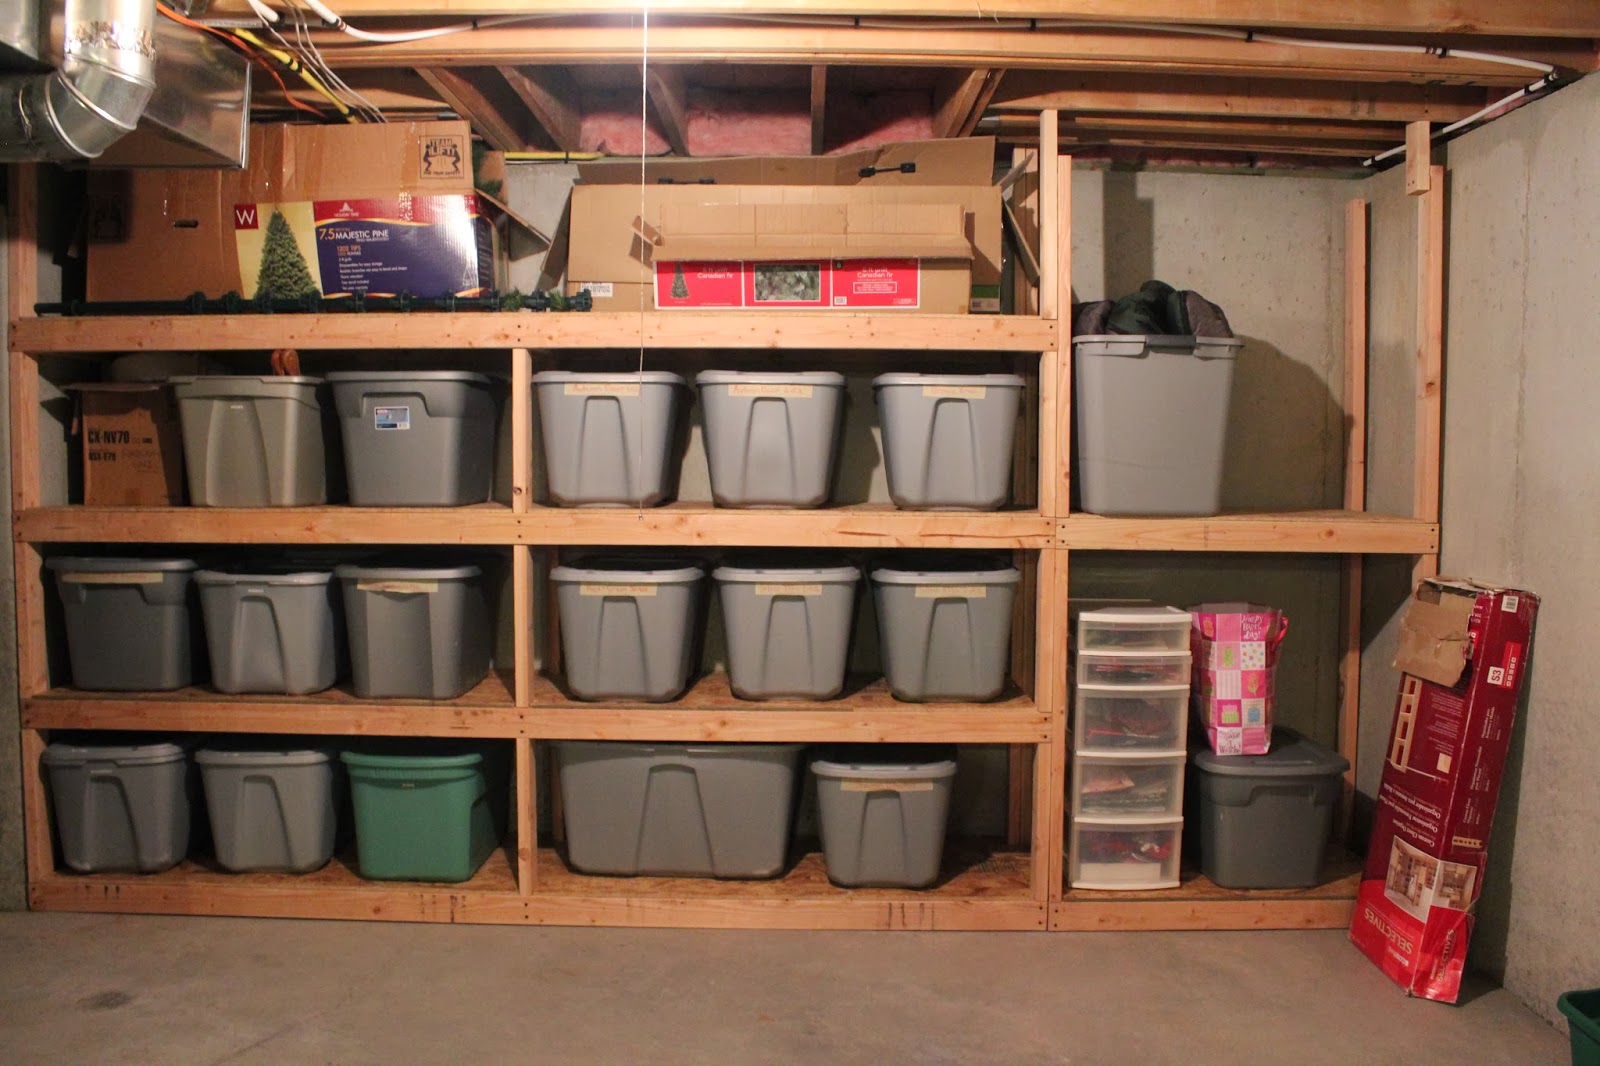
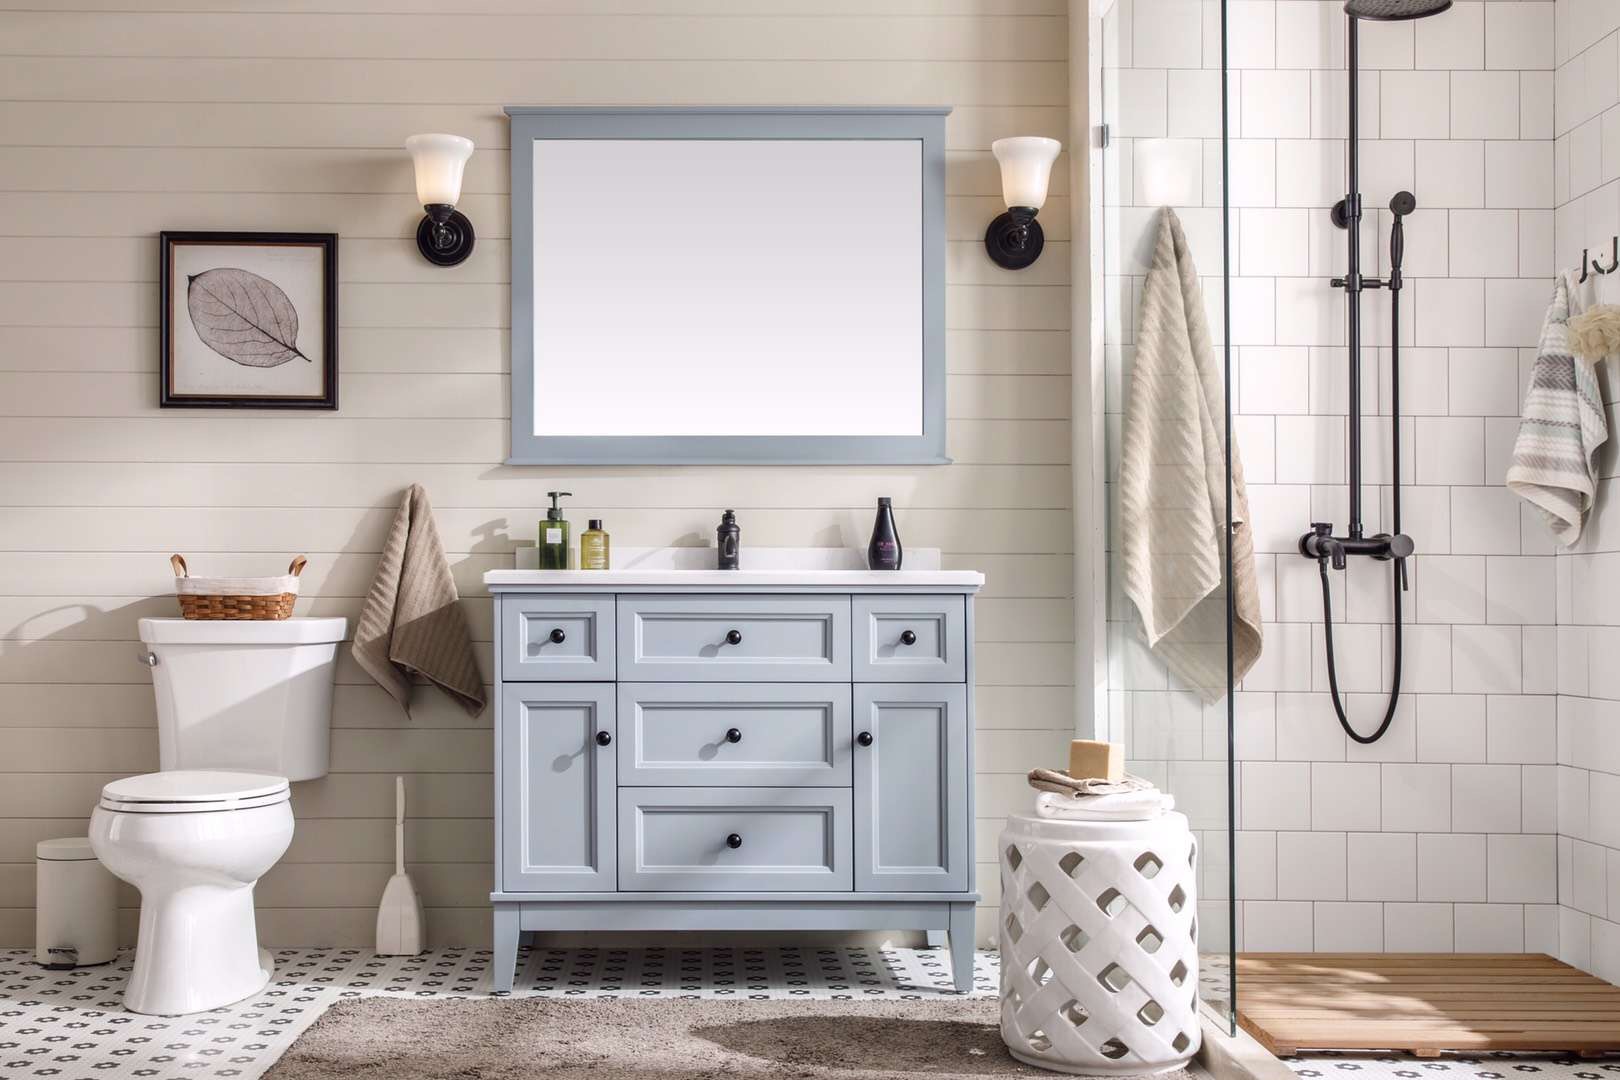
If you have a small under-sink space, every inch counts. Consider building custom shelves that fit perfectly within the dimensions of your cabinet. This will allow you to make the most of the space and accommodate items of varying sizes.1. Utilize Every Inch with Customized Shelves


under bathroom sink


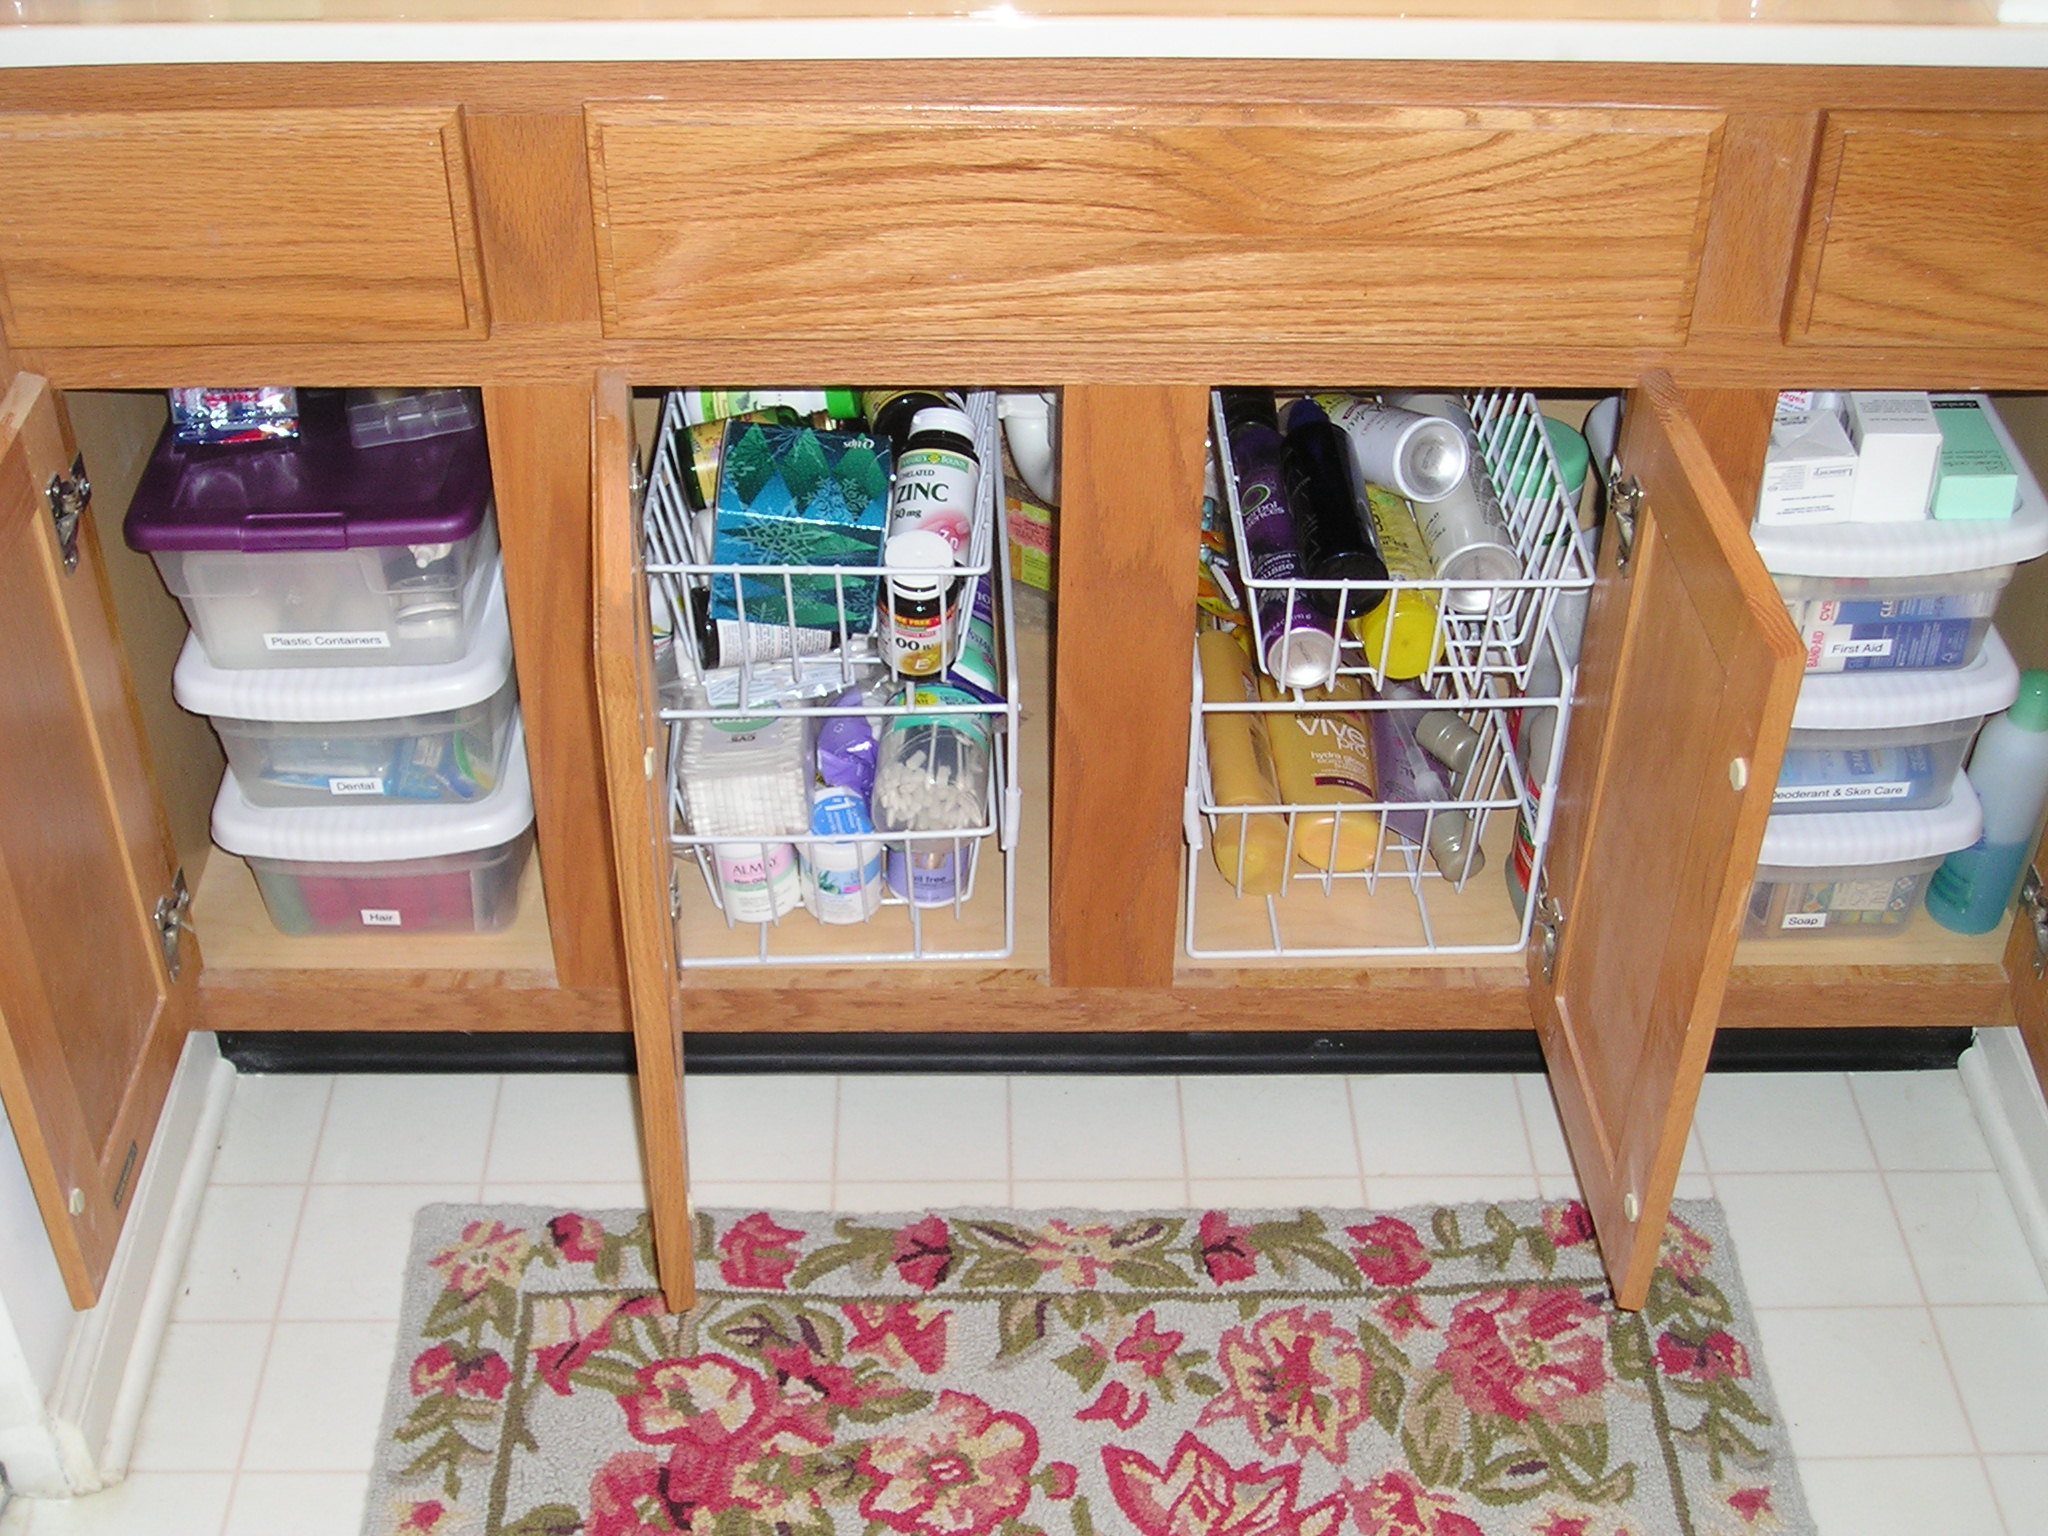


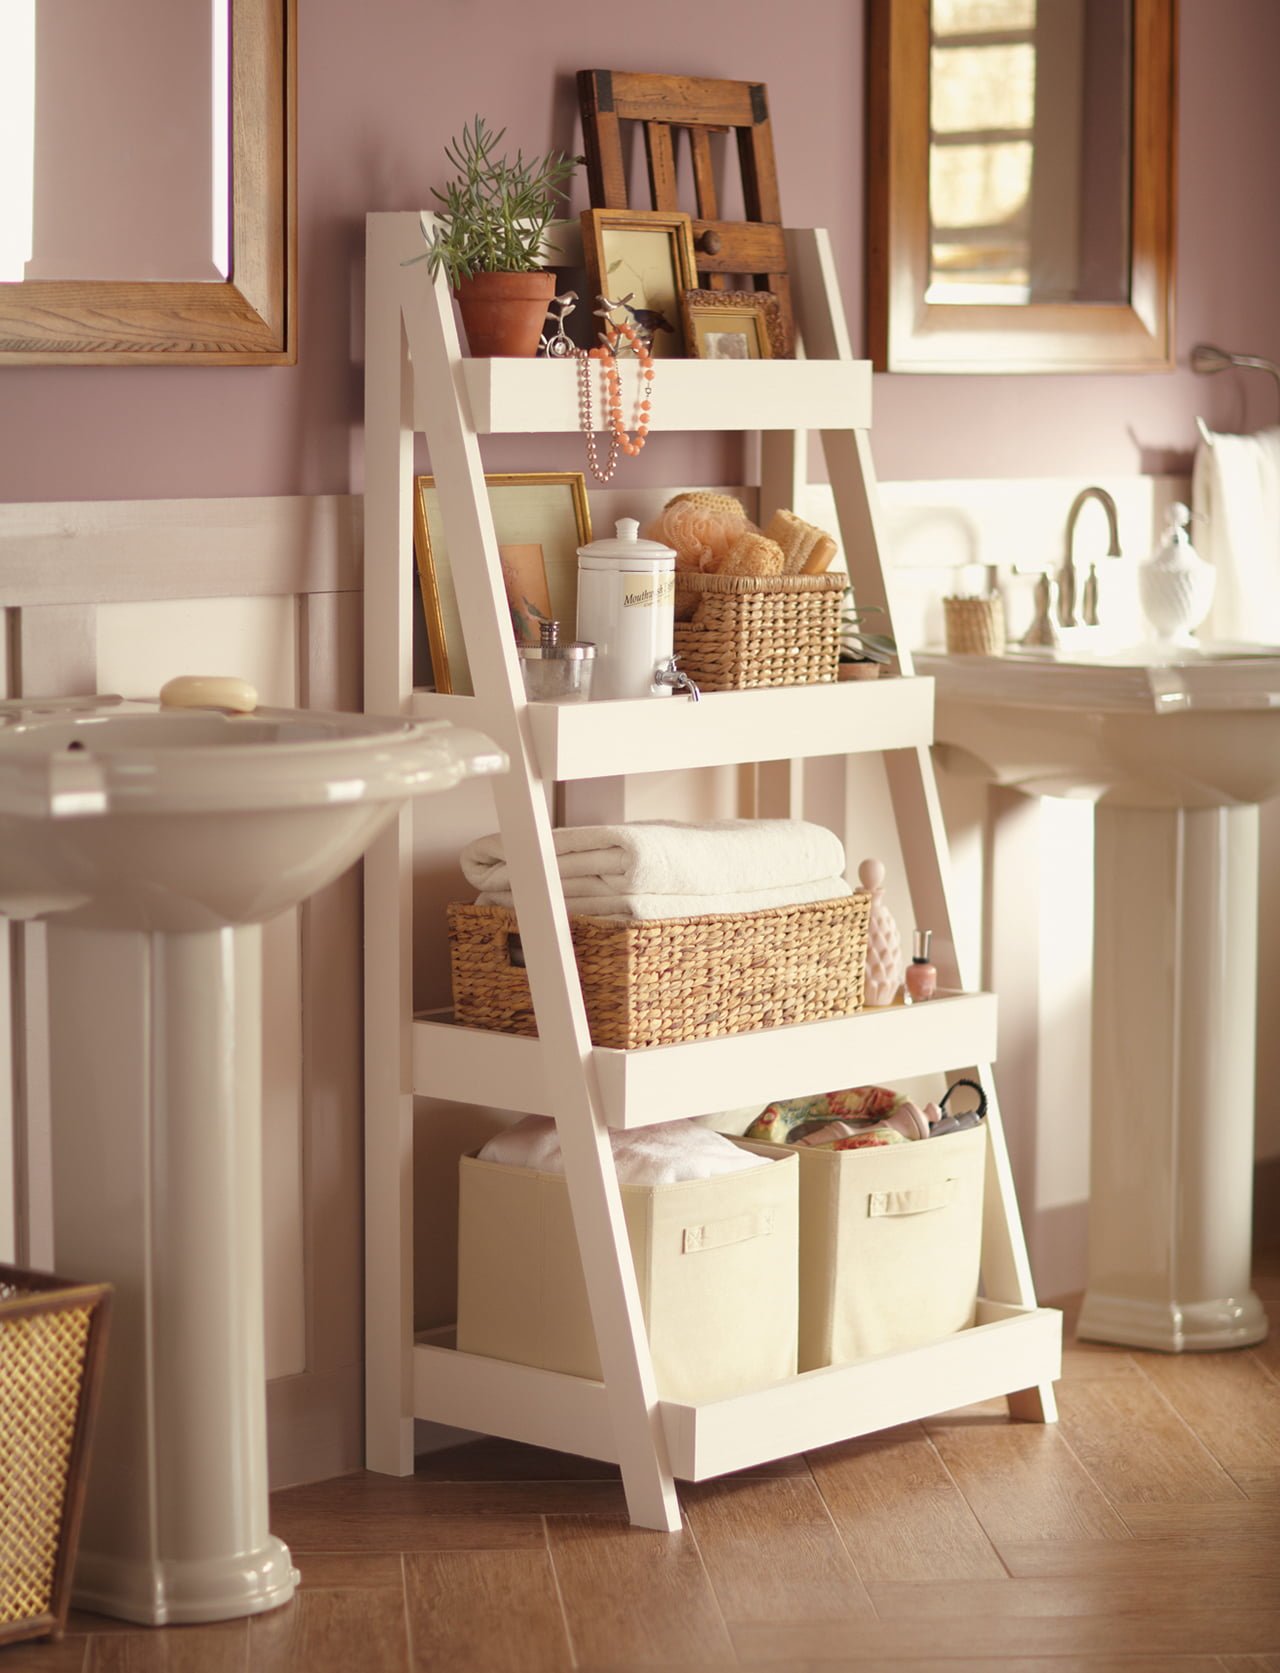
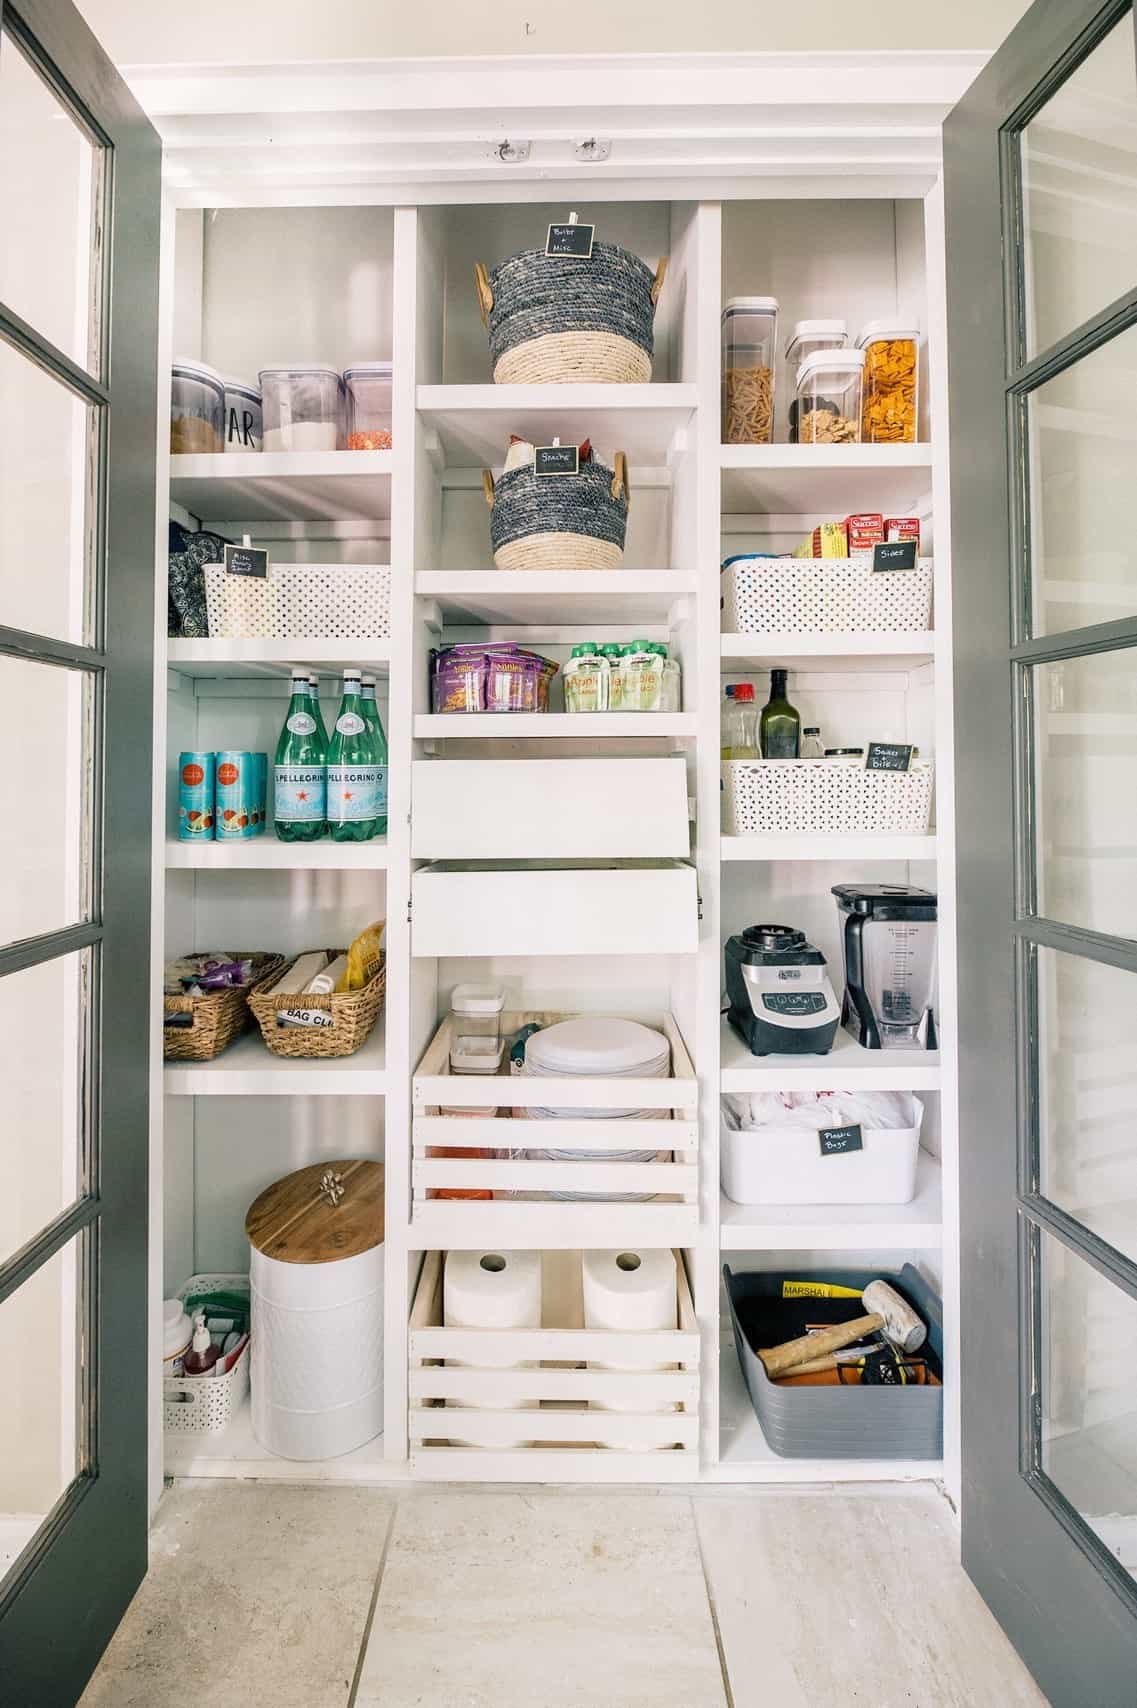
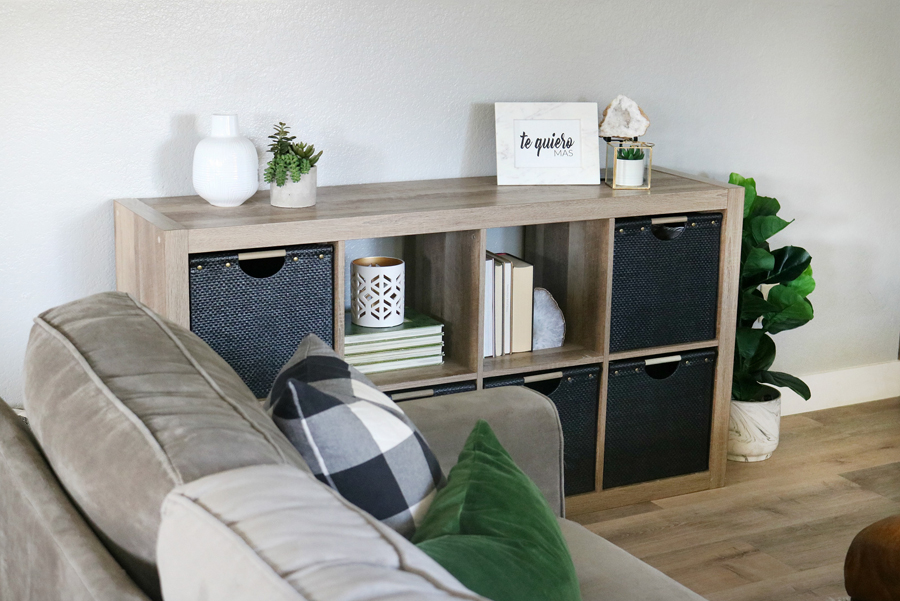
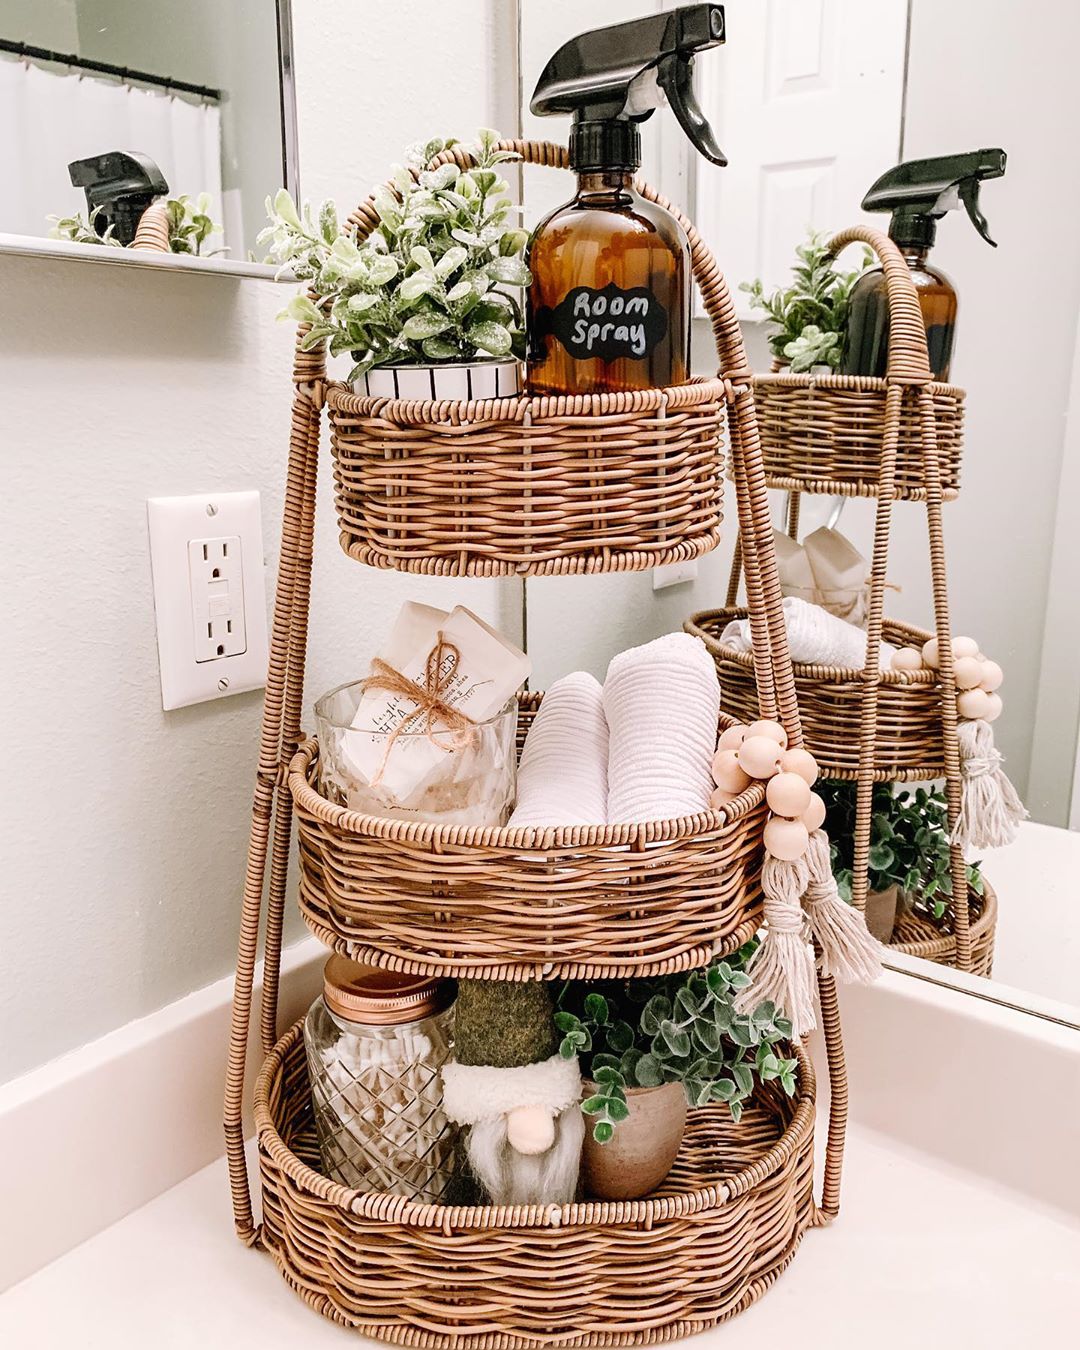
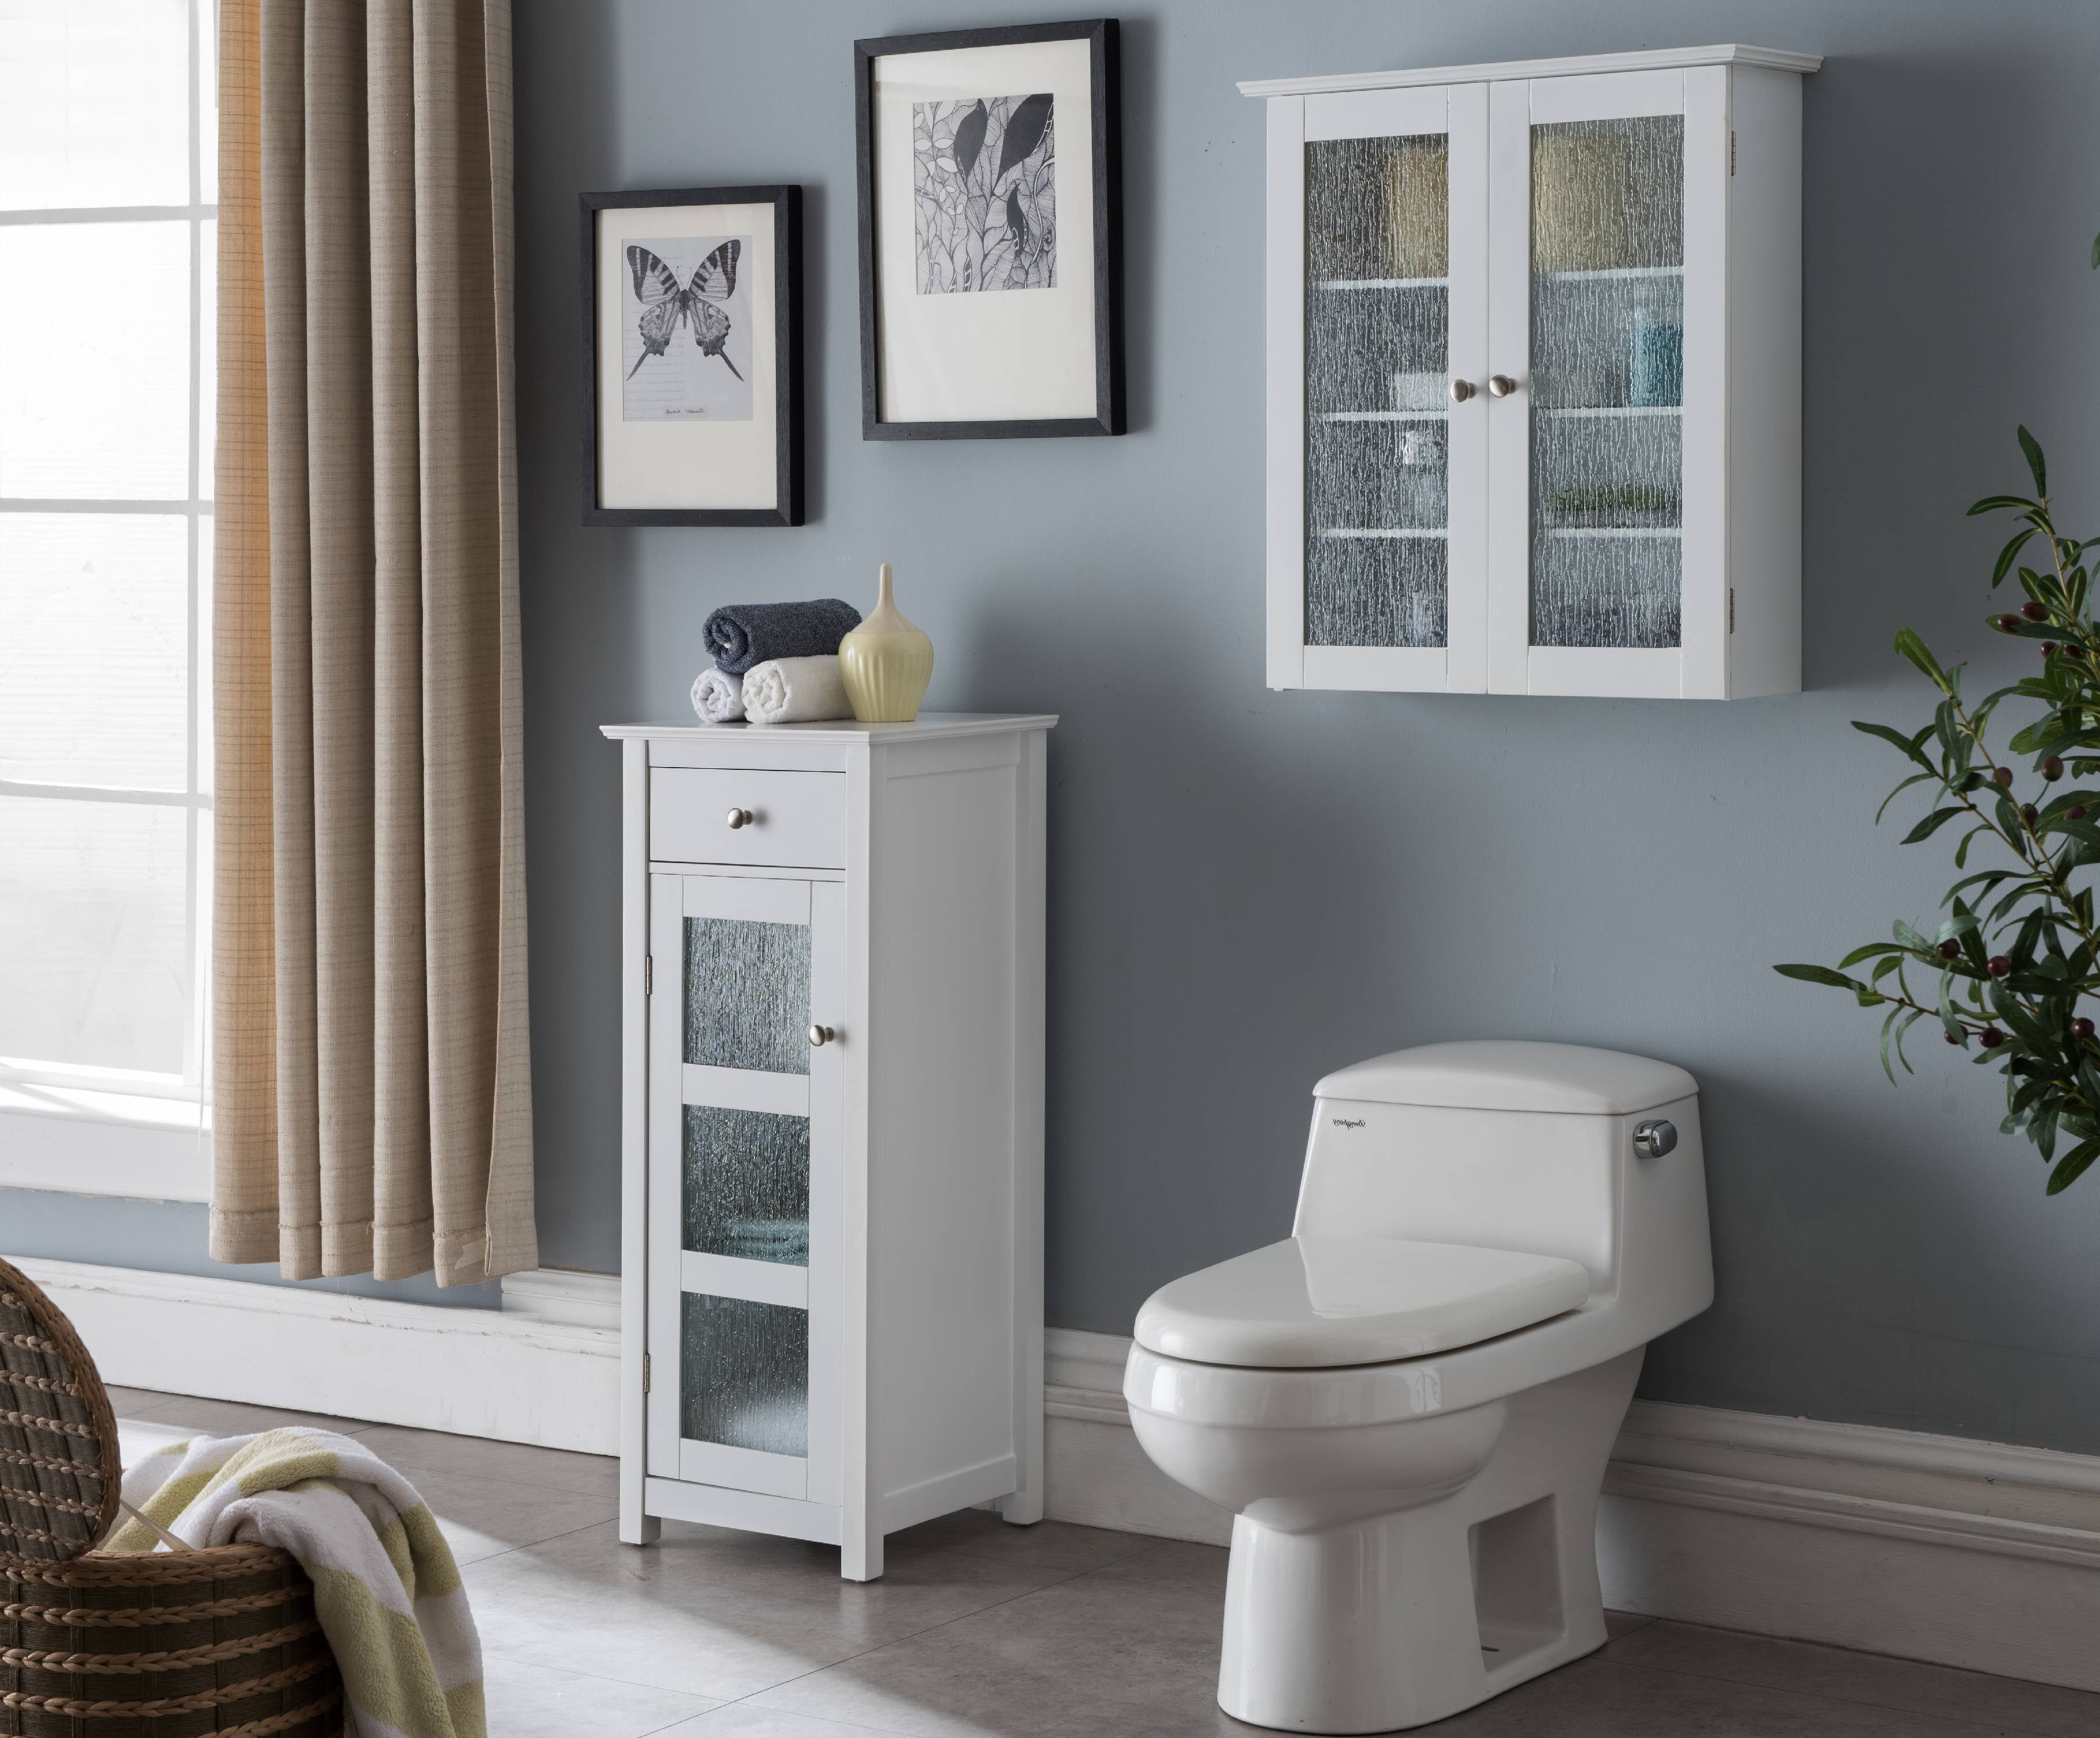
Stackable baskets are a great solution for organizing your under-sink area. They can be easily stacked on top of each other and allow you to store items in a vertical manner. This not only saves space but also keeps items easily accessible.2. Invest in Stackable Baskets

organization


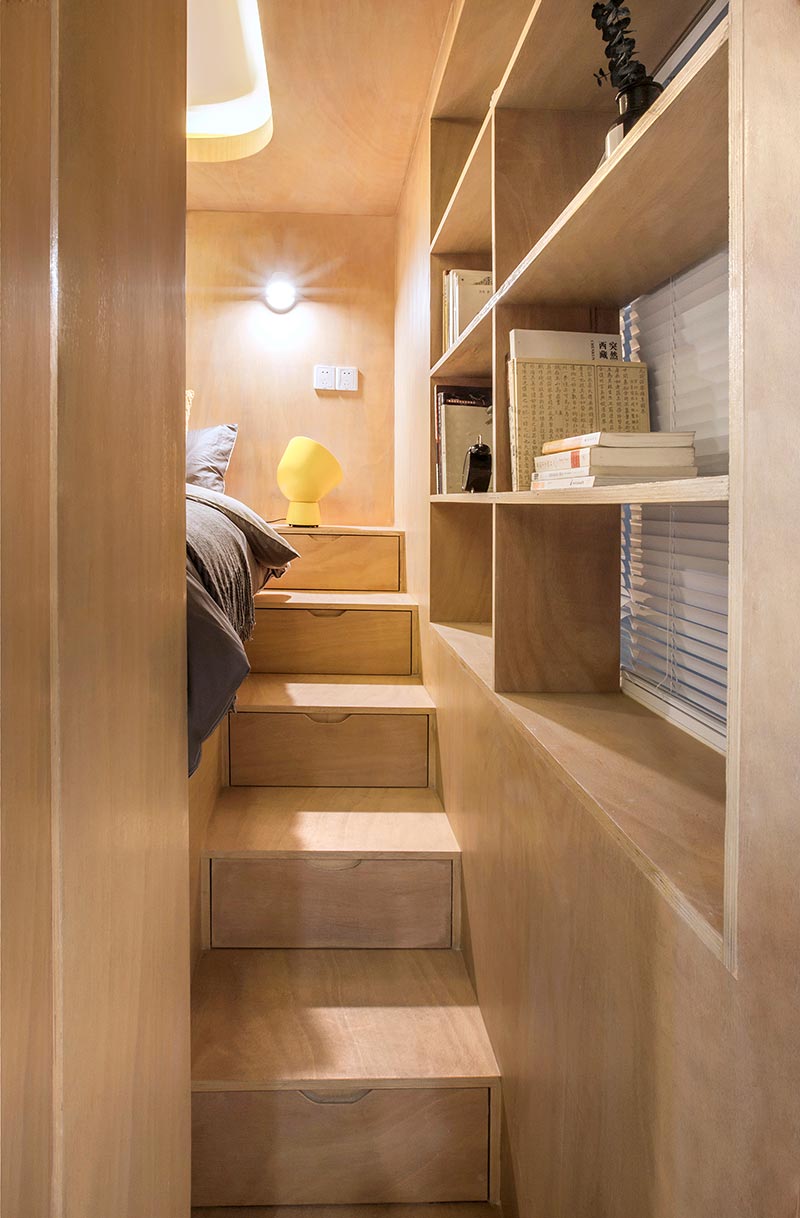
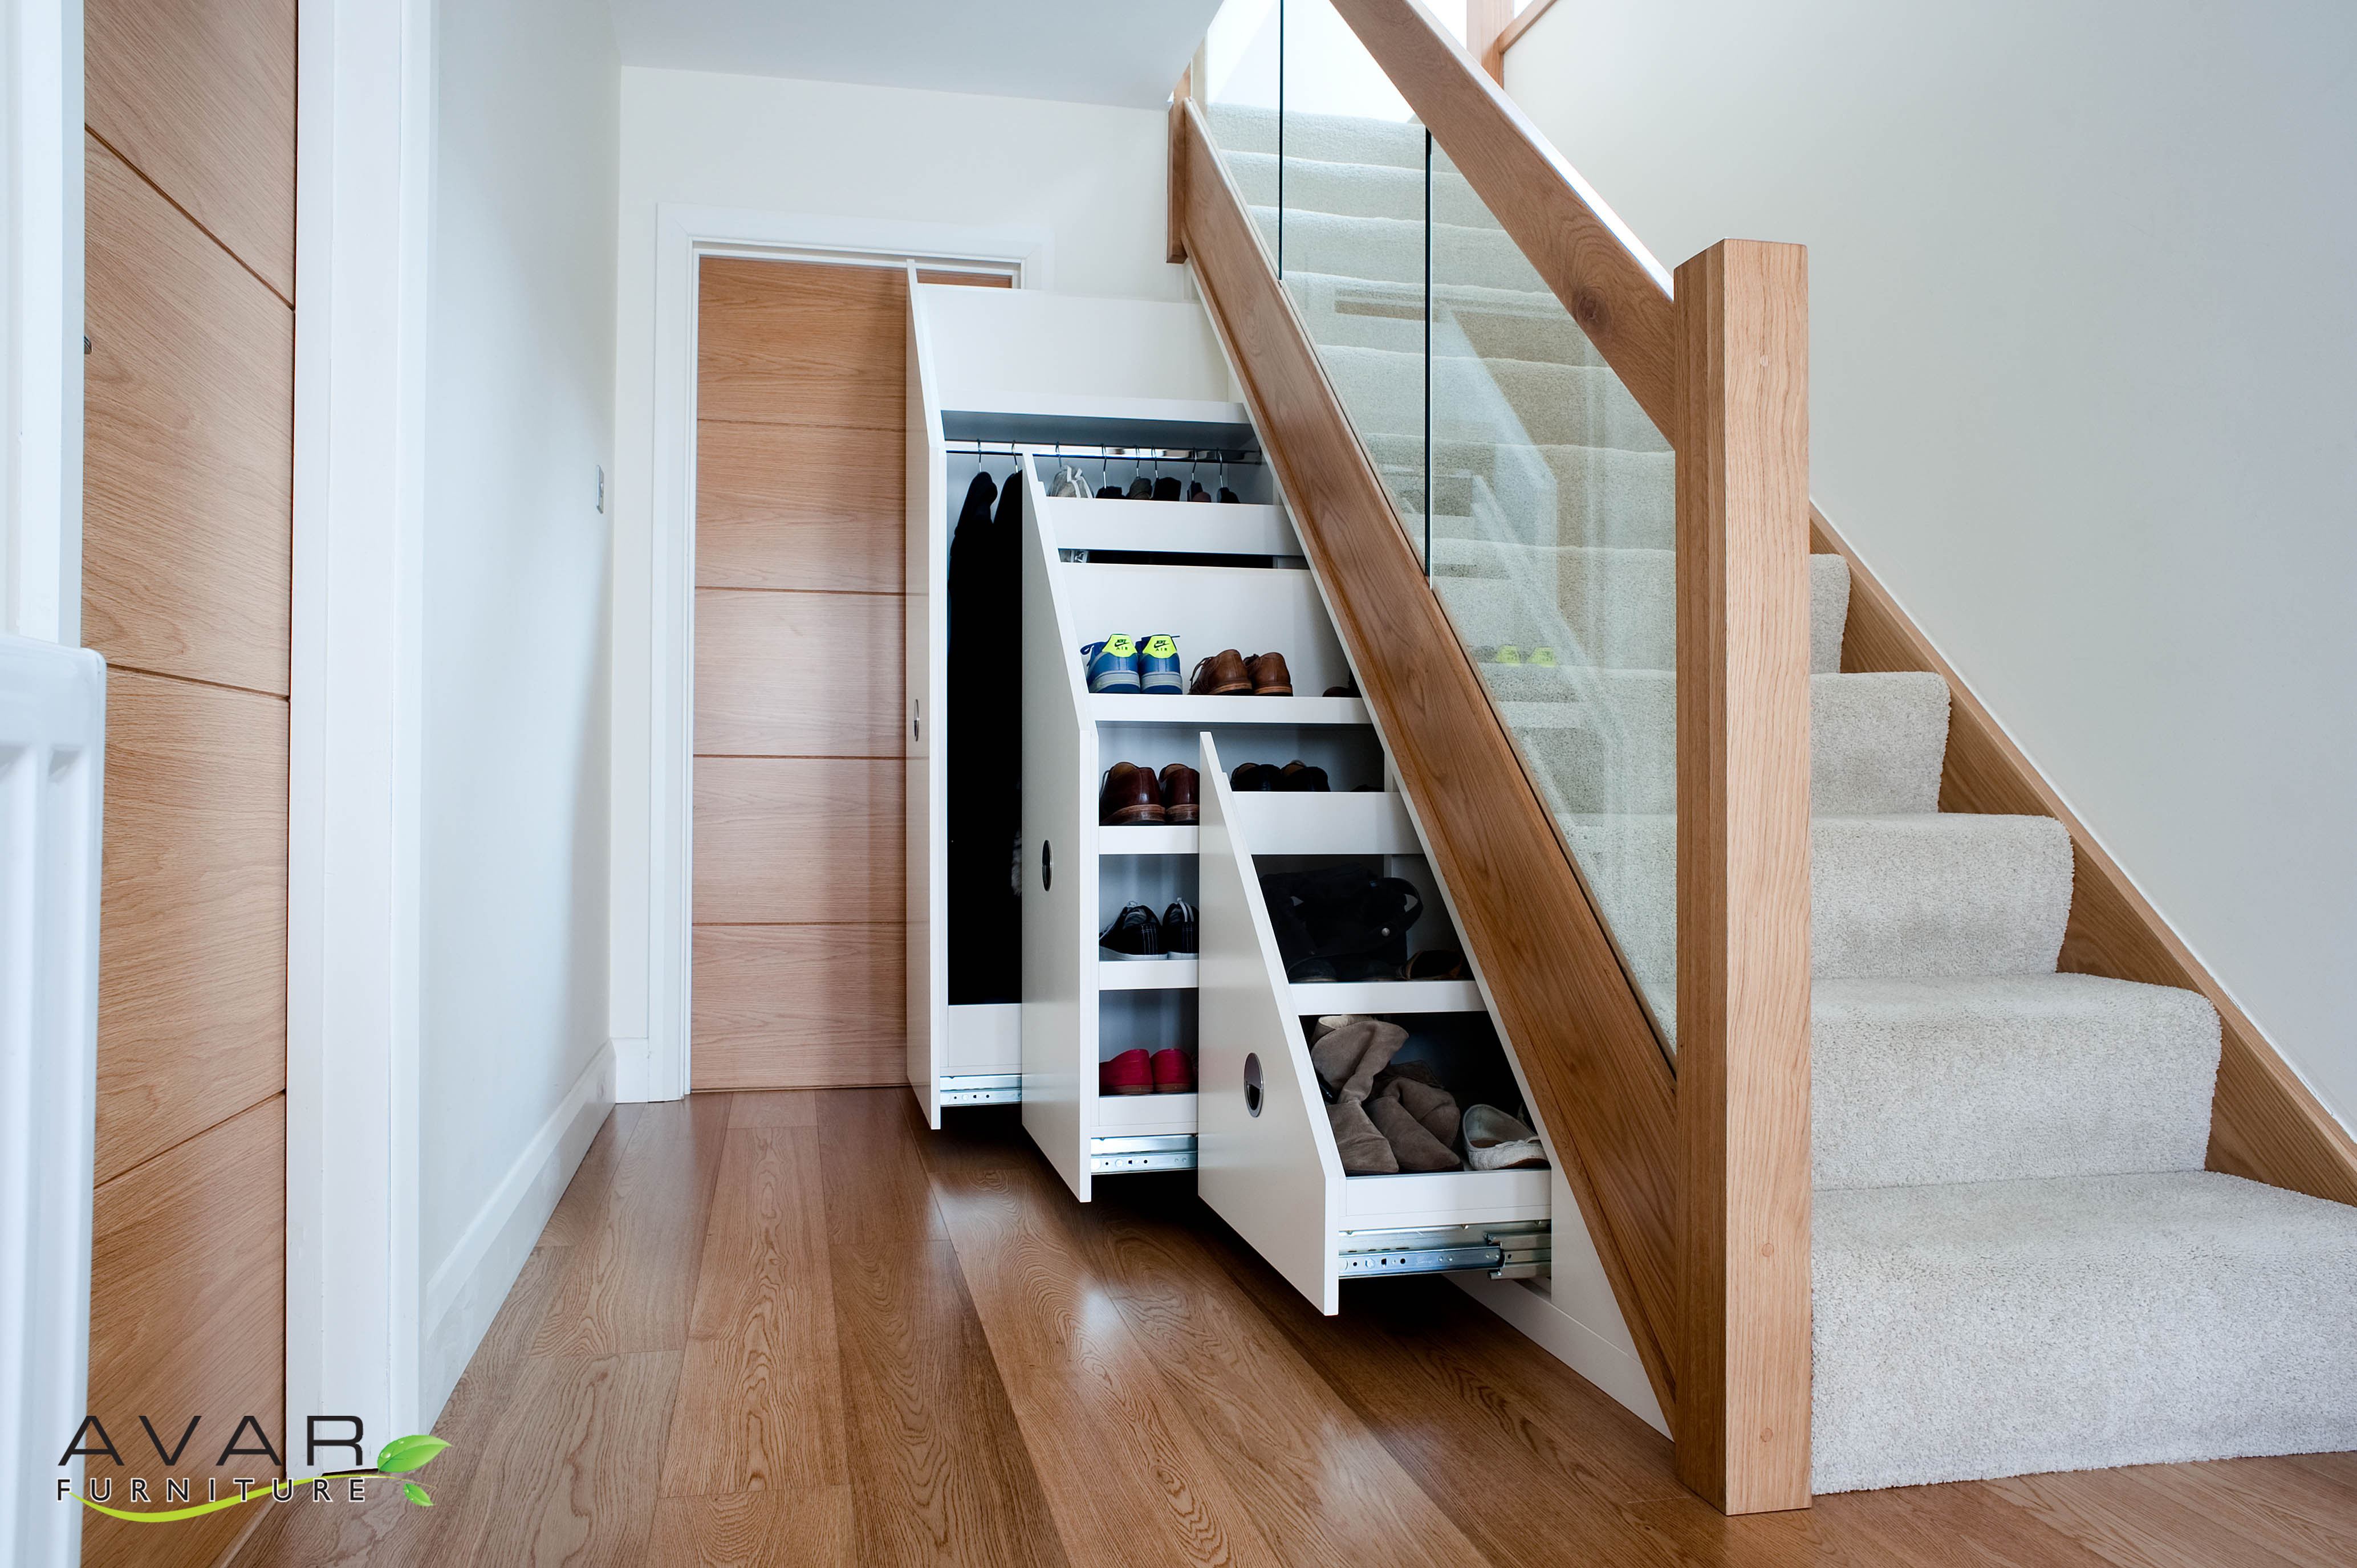
For a more efficient use of space, consider installing a pull-out shelf under your sink. This allows you to easily access items without having to dig through the back of the cabinet. Plus, it can be easily customized to fit your specific needs.3. Install a Pull-Out Shelf
bathroom storage


Tension rods are a versatile and inexpensive solution for creating additional storage under the sink. Simply install them vertically and use them to hang cleaning supplies or spray bottles. This helps maximize space and keeps frequently used items within reach.4. Utilize Tension Rods

DIY


/Epoxy-DIY-Countertops-Via-Smallspaces.about.com-56d33a003df78cfb37d23f47.jpg)


Wire baskets are a popular choice for under-sink storage as they are lightweight, easy to install, and provide ample space for storing items. Hang them on the inside of your cabinet door for easy access to items such as brushes, sponges, and other bathroom essentials.5. Hang Wire Baskets
small space storage
/Stocksy_txp174c7a16zUK100_Medium_1183989-588a601f5f9b5874ee232e64.jpg)


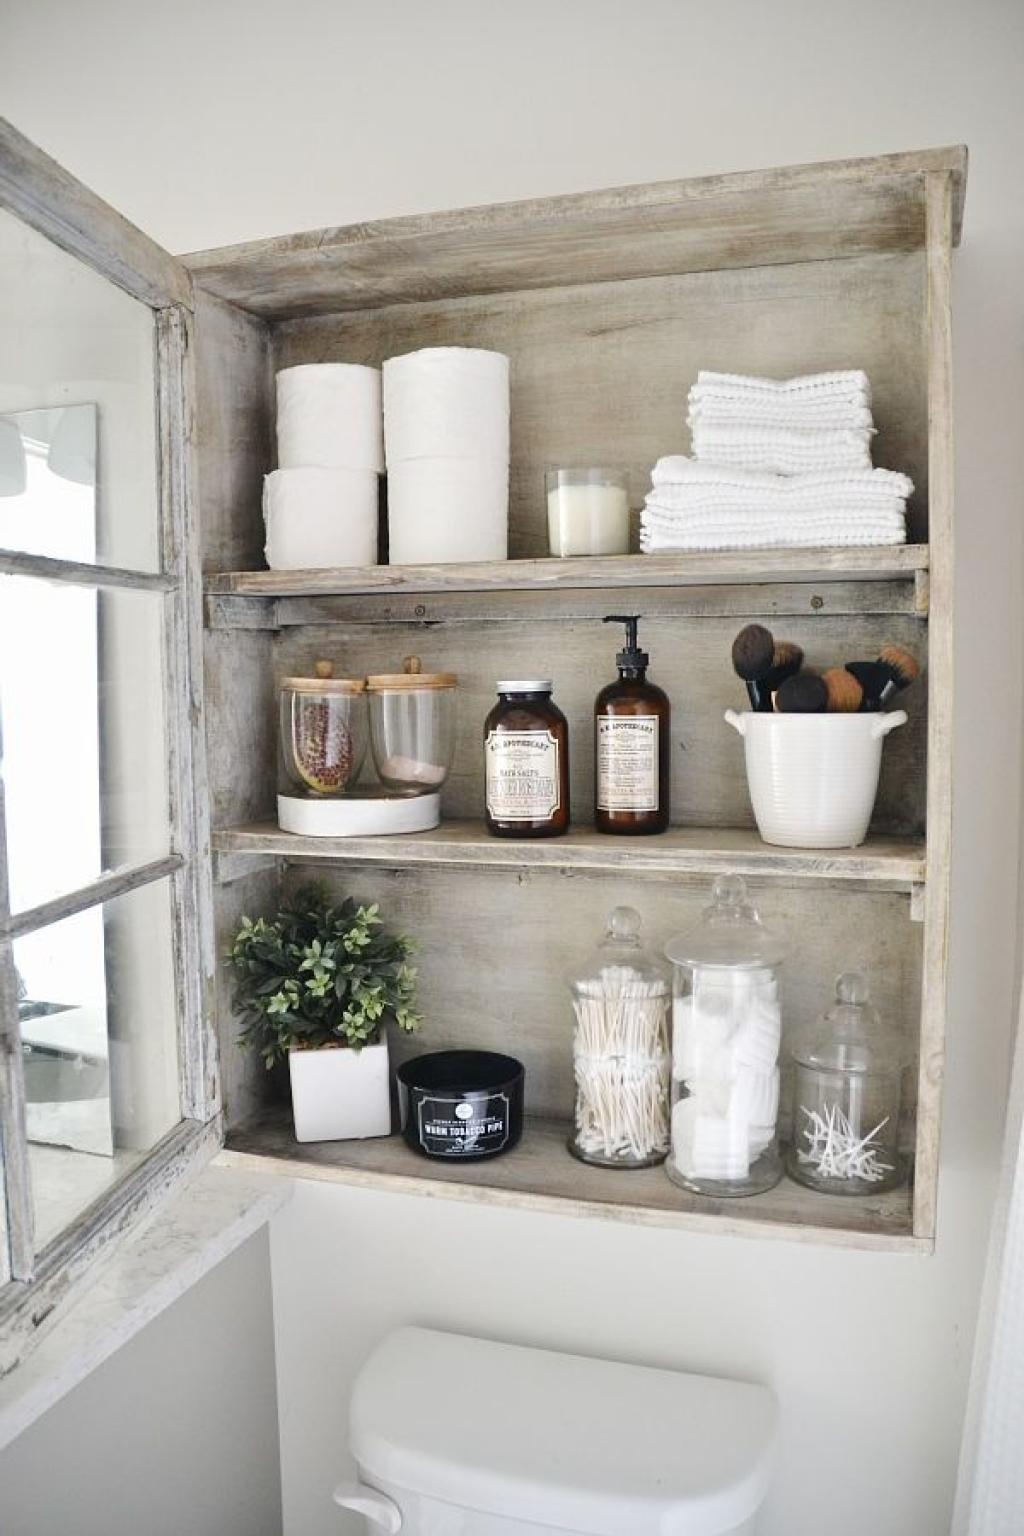
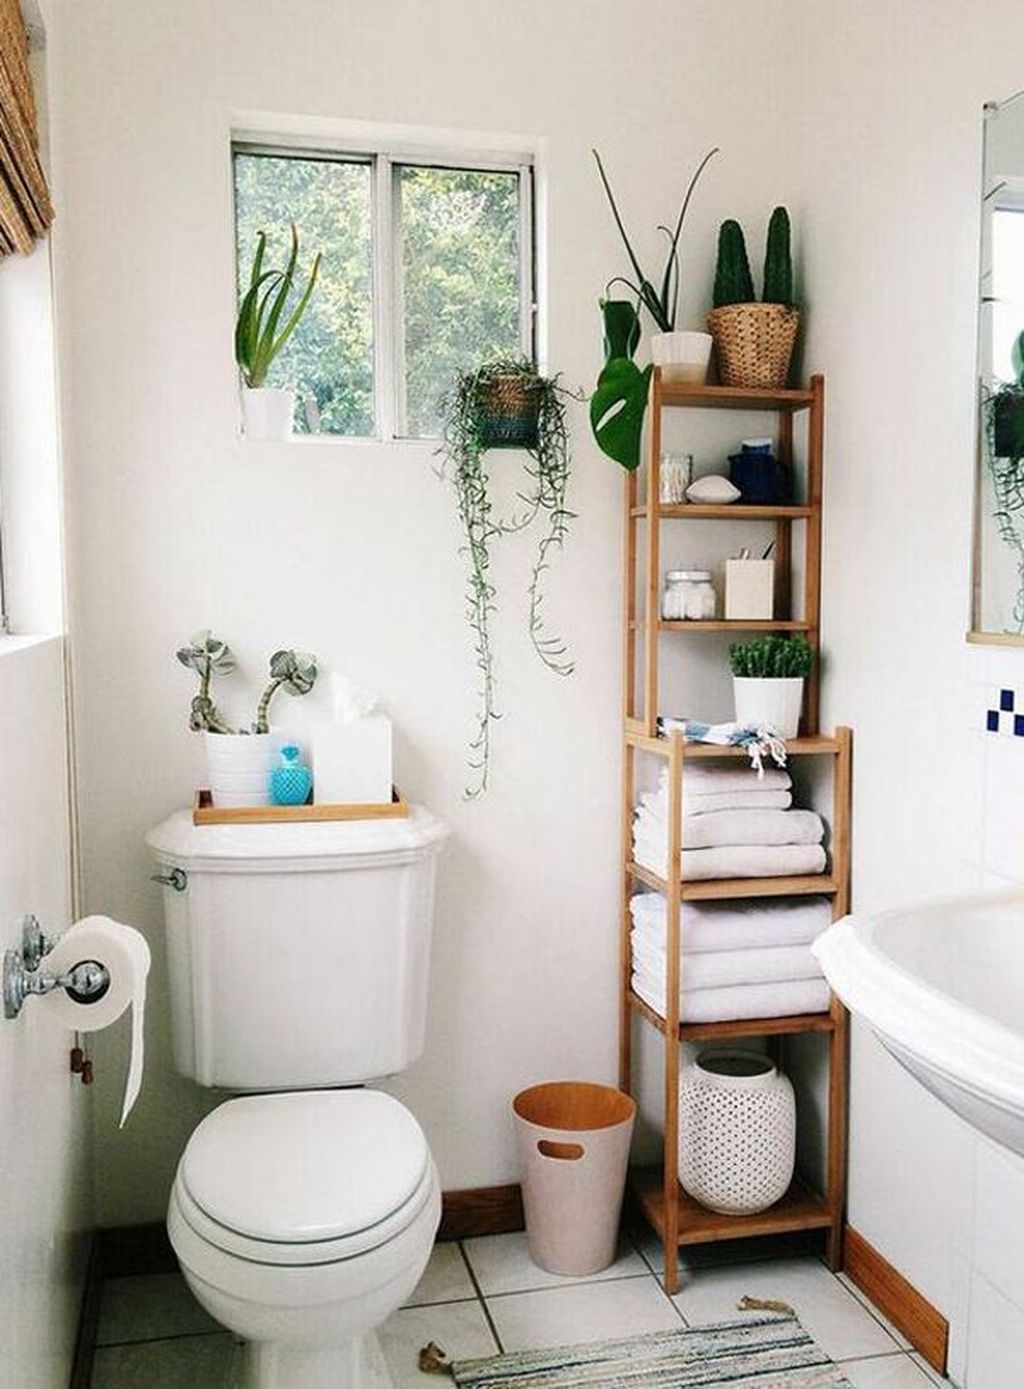
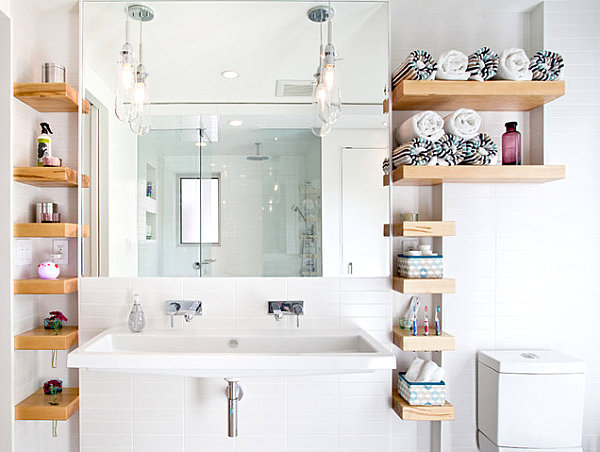
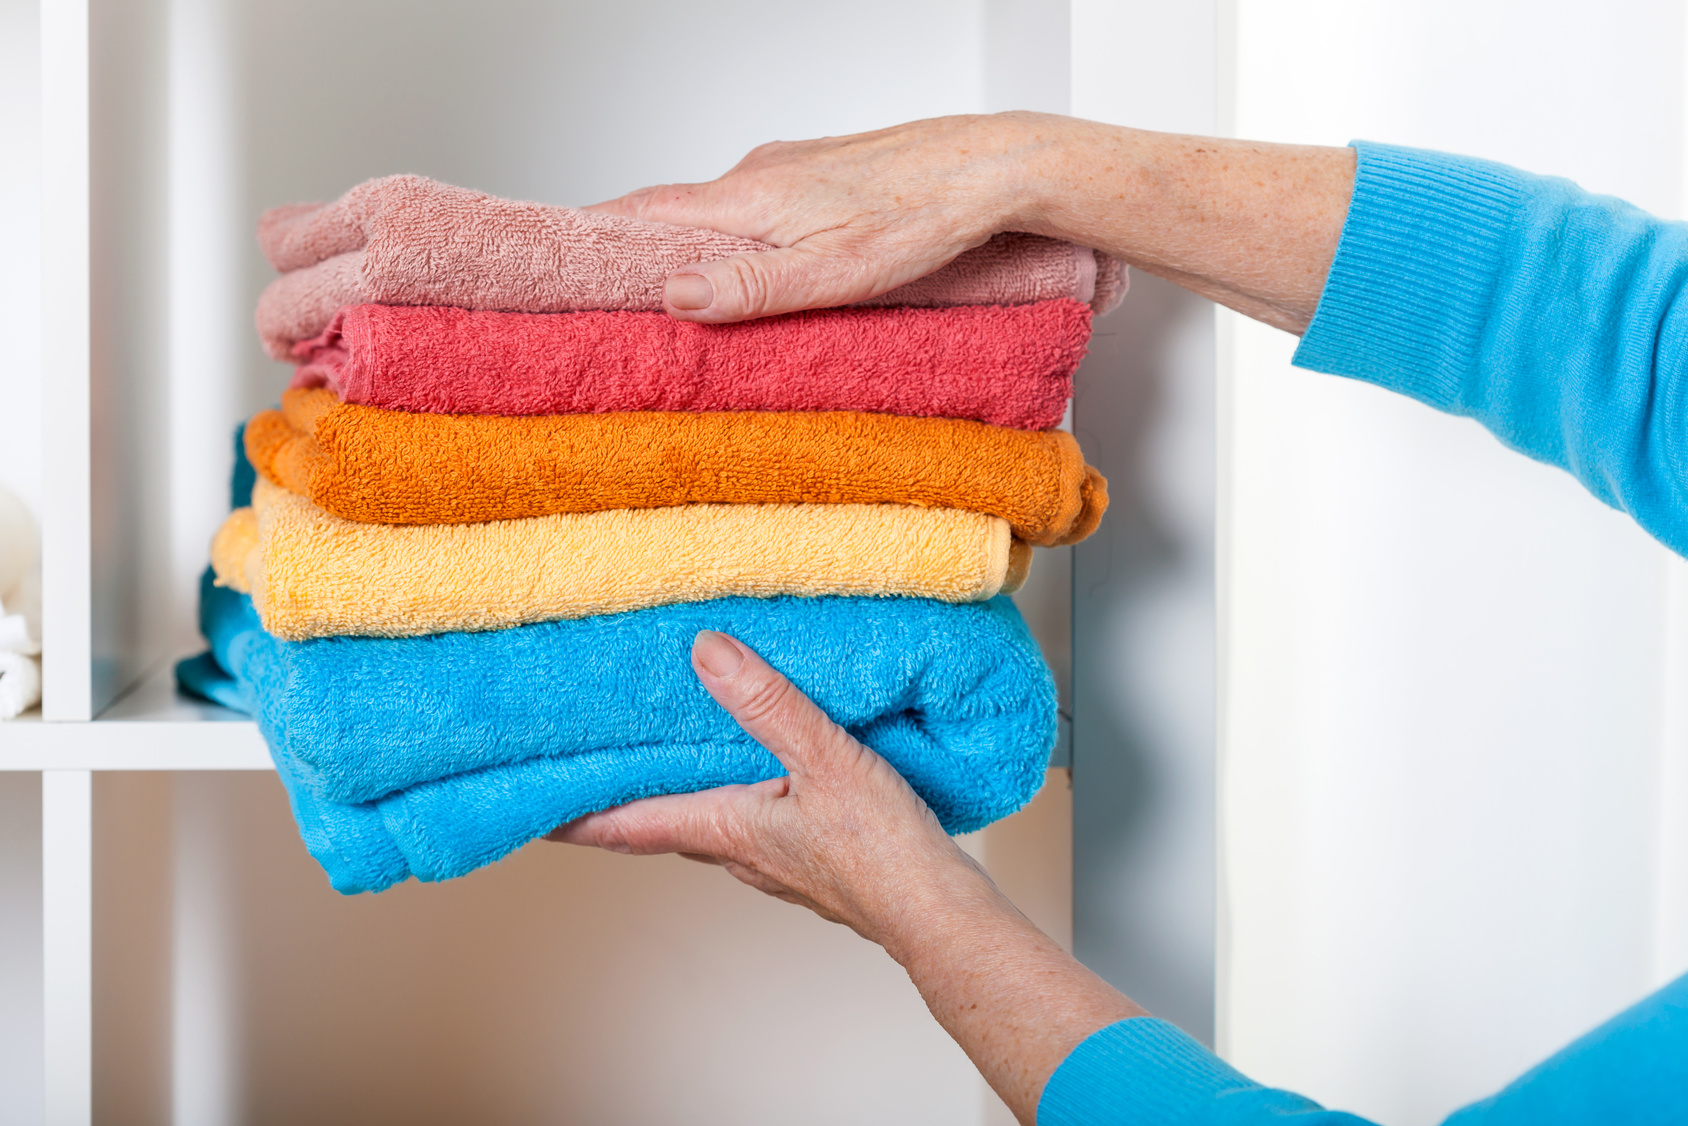
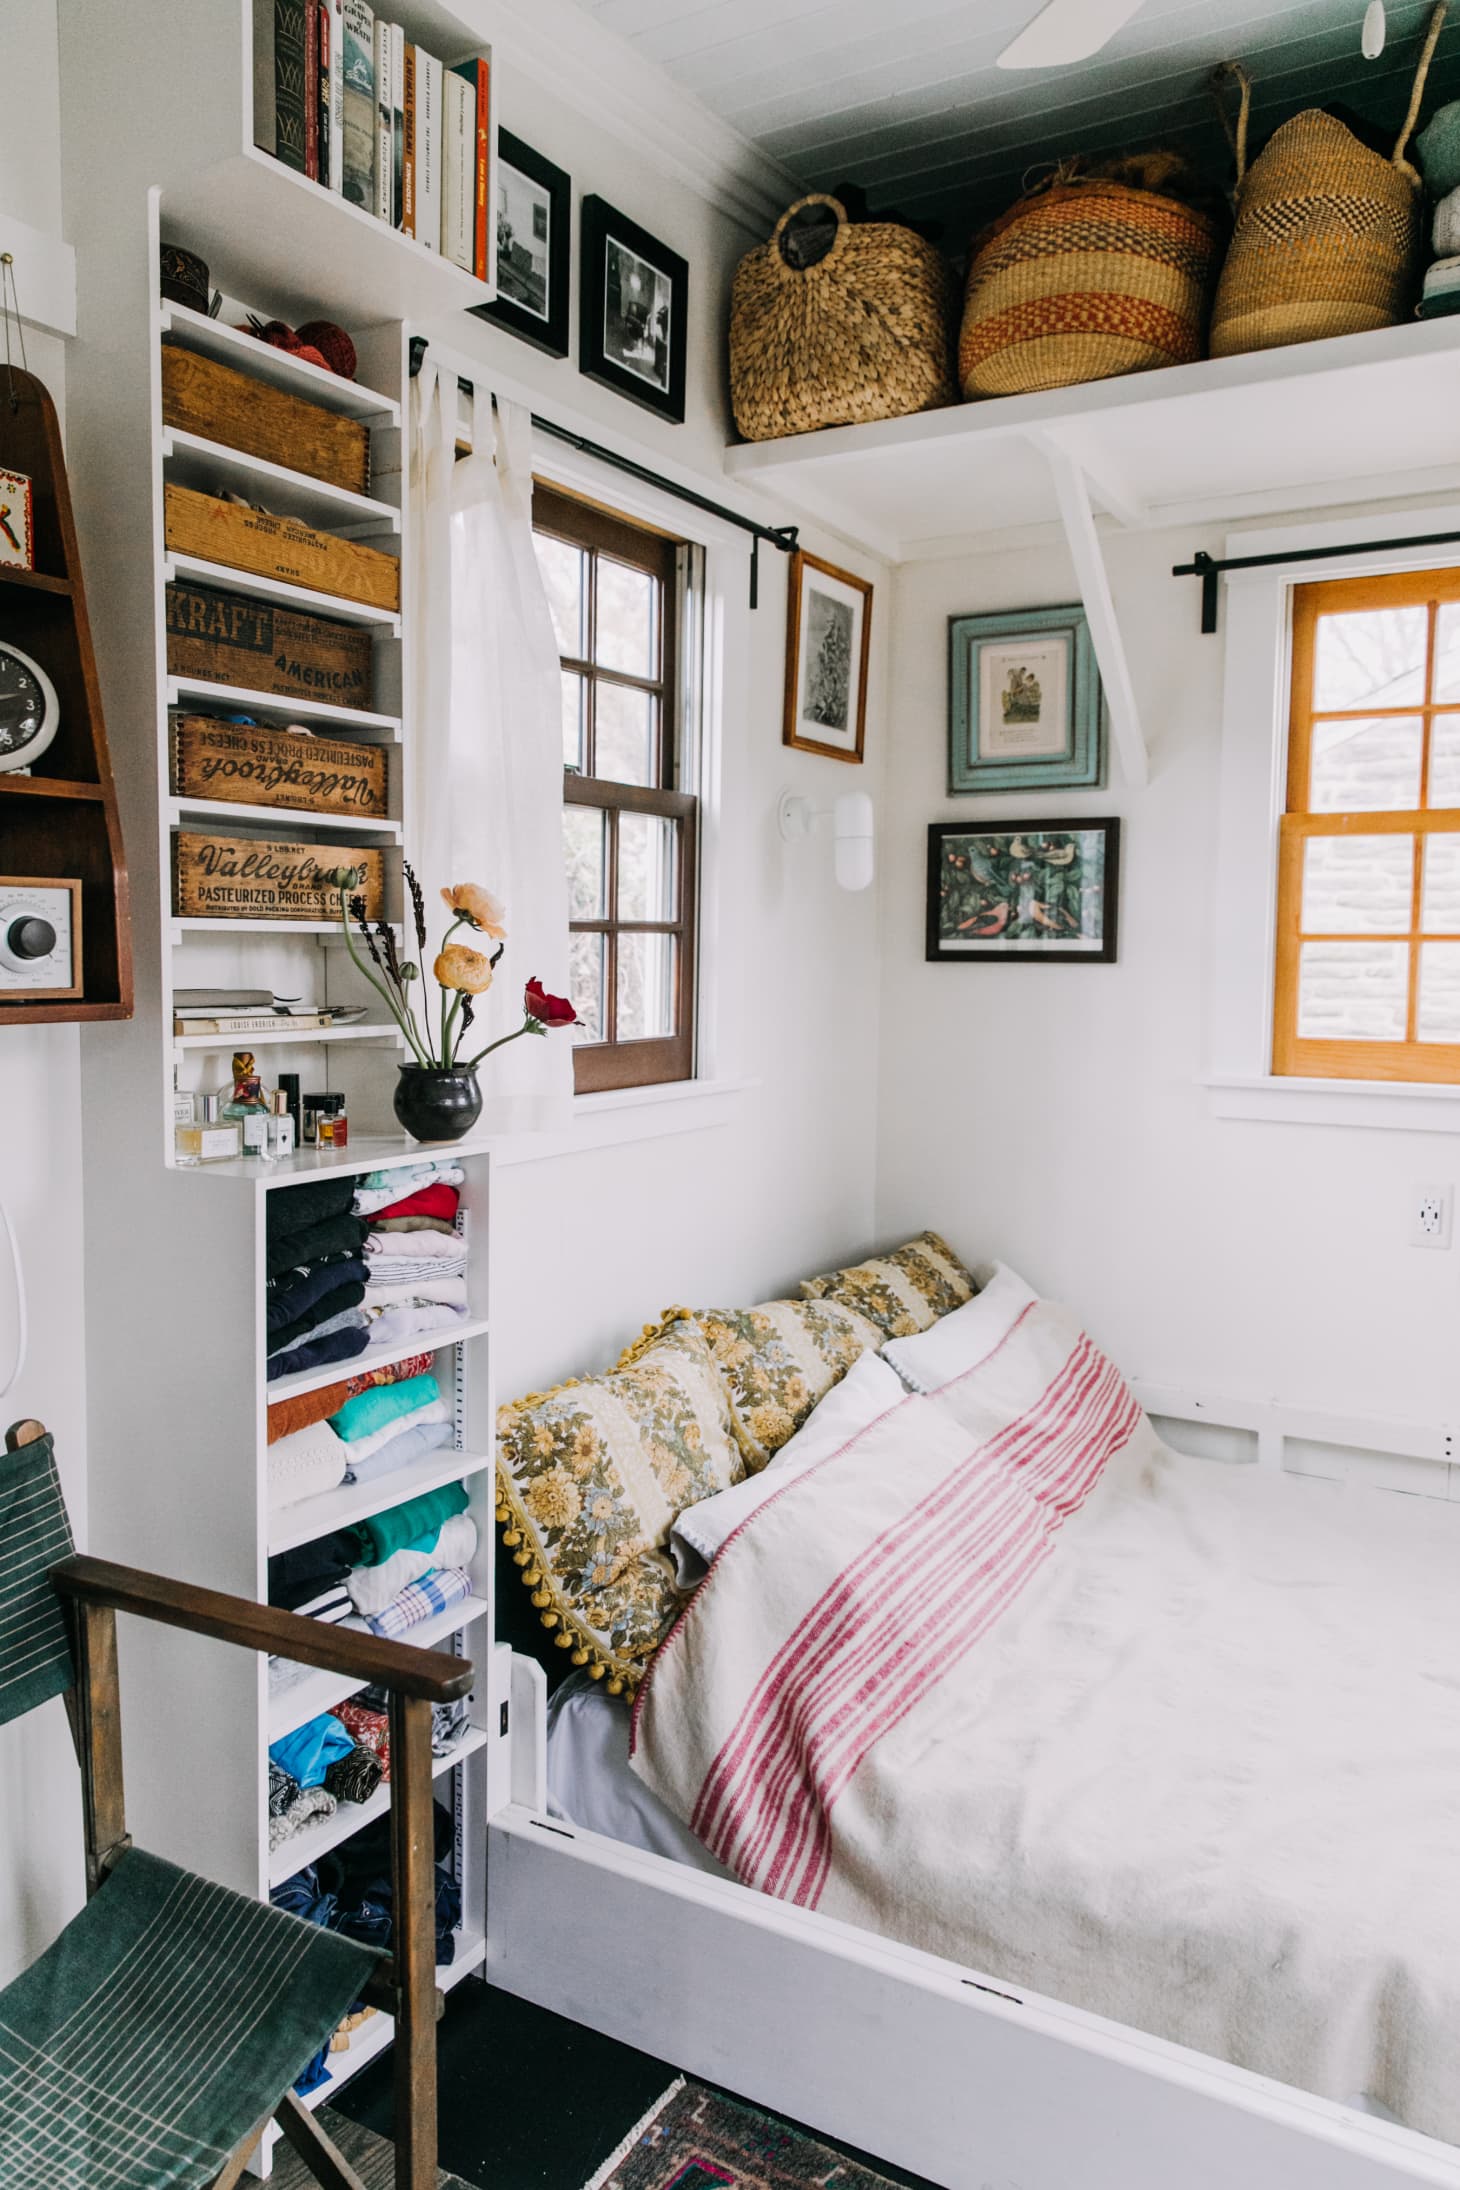
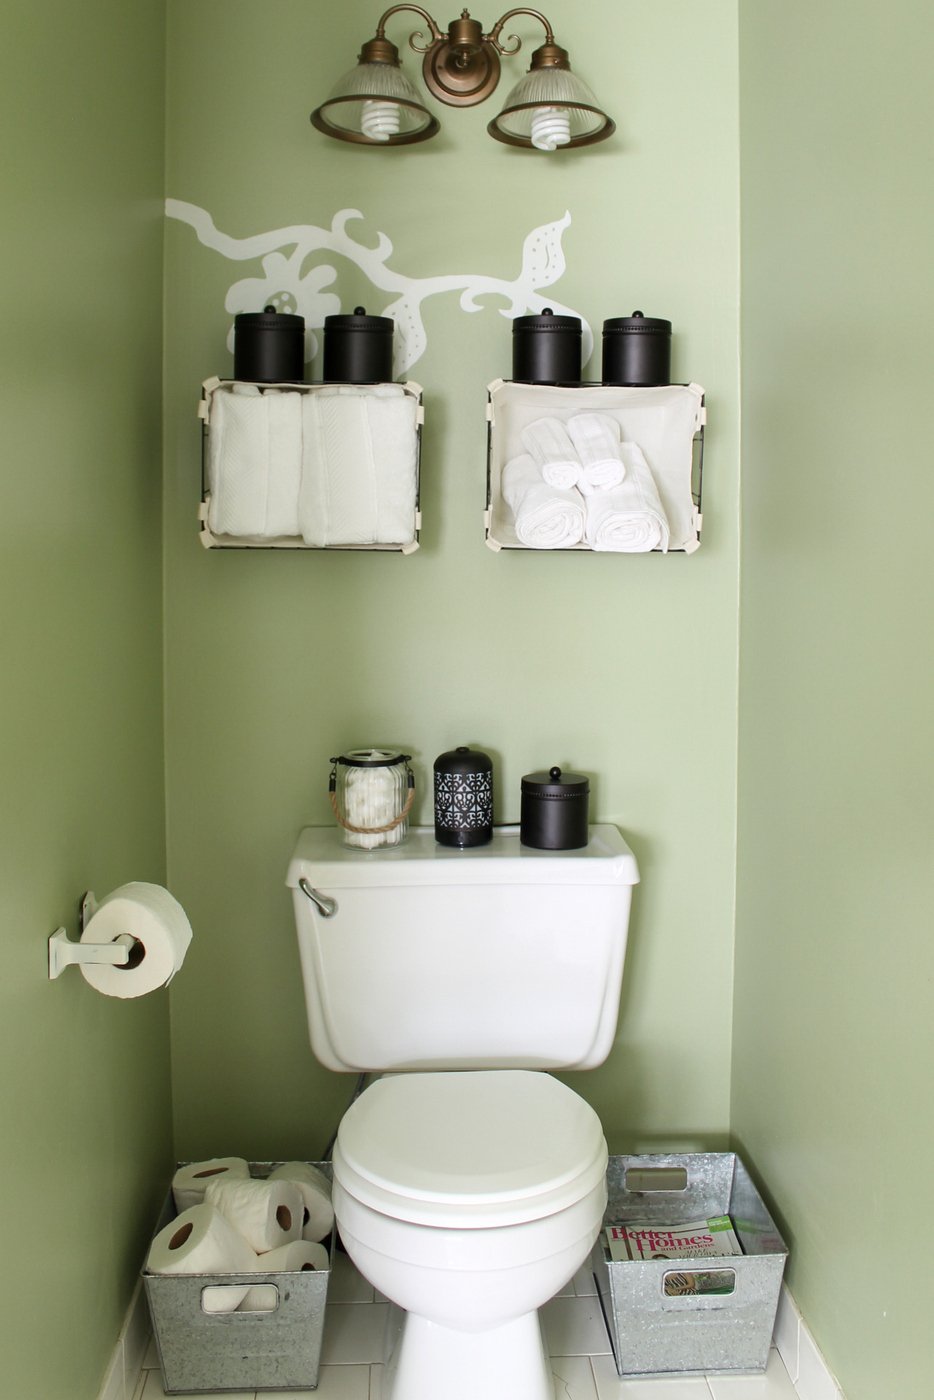
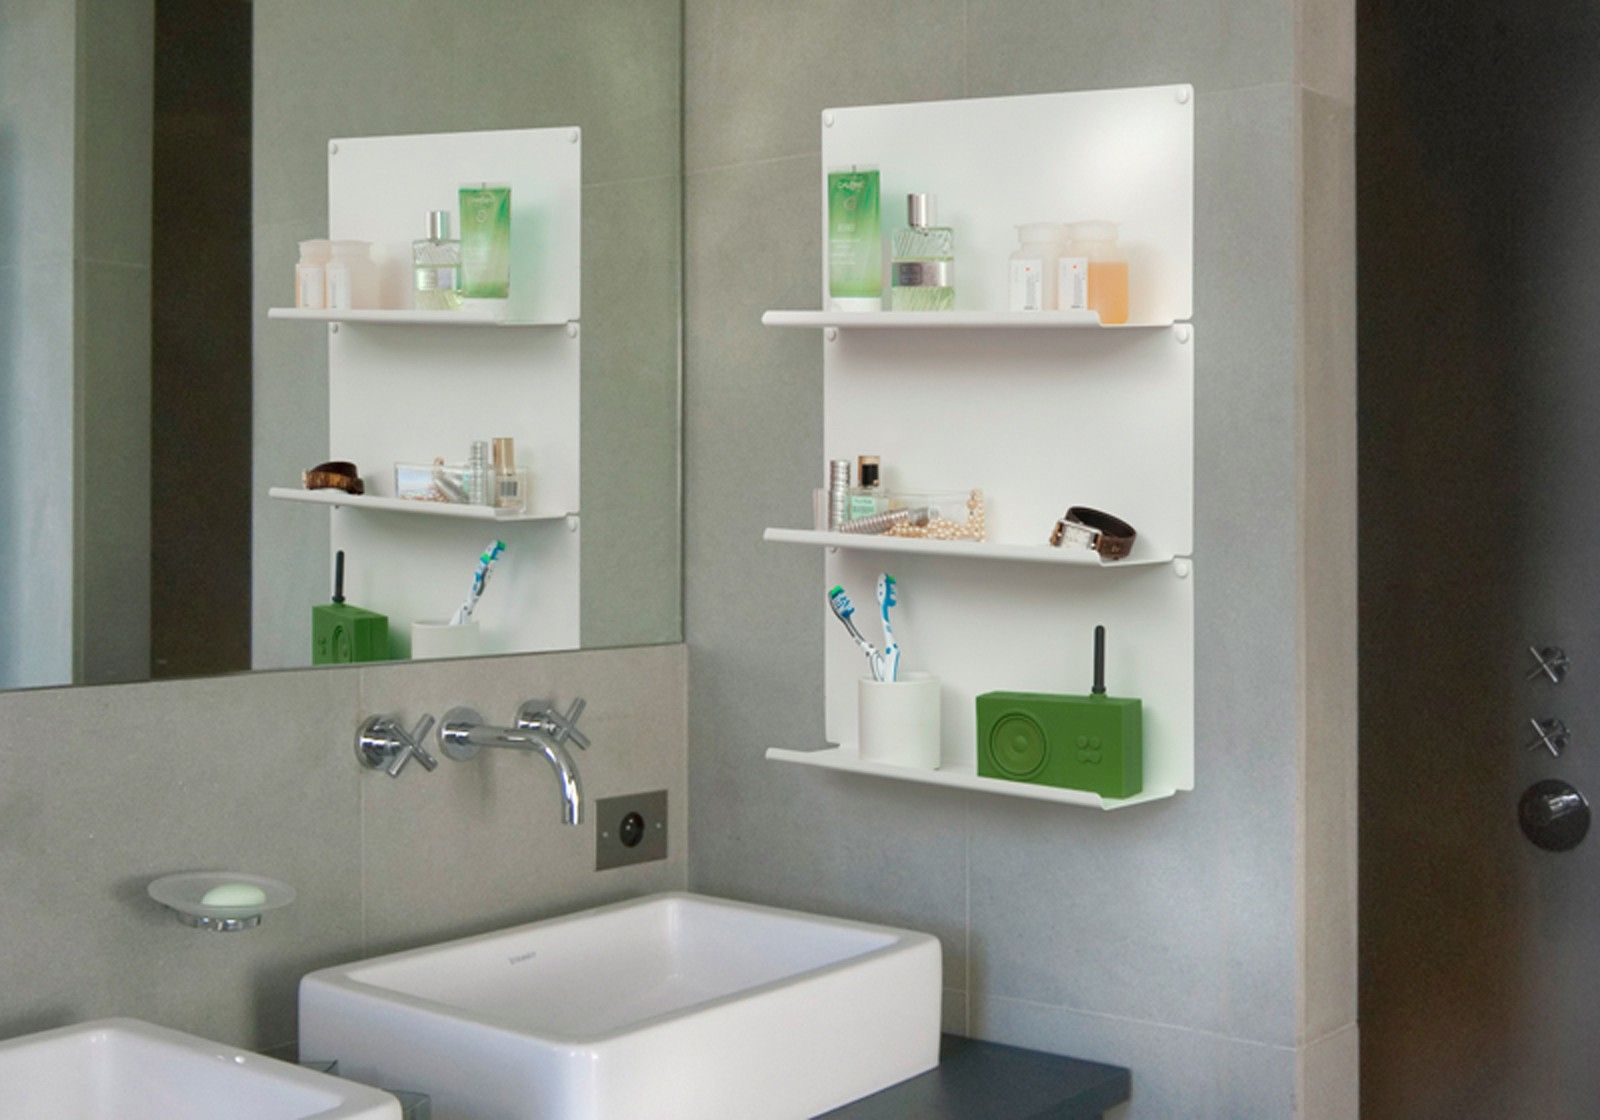
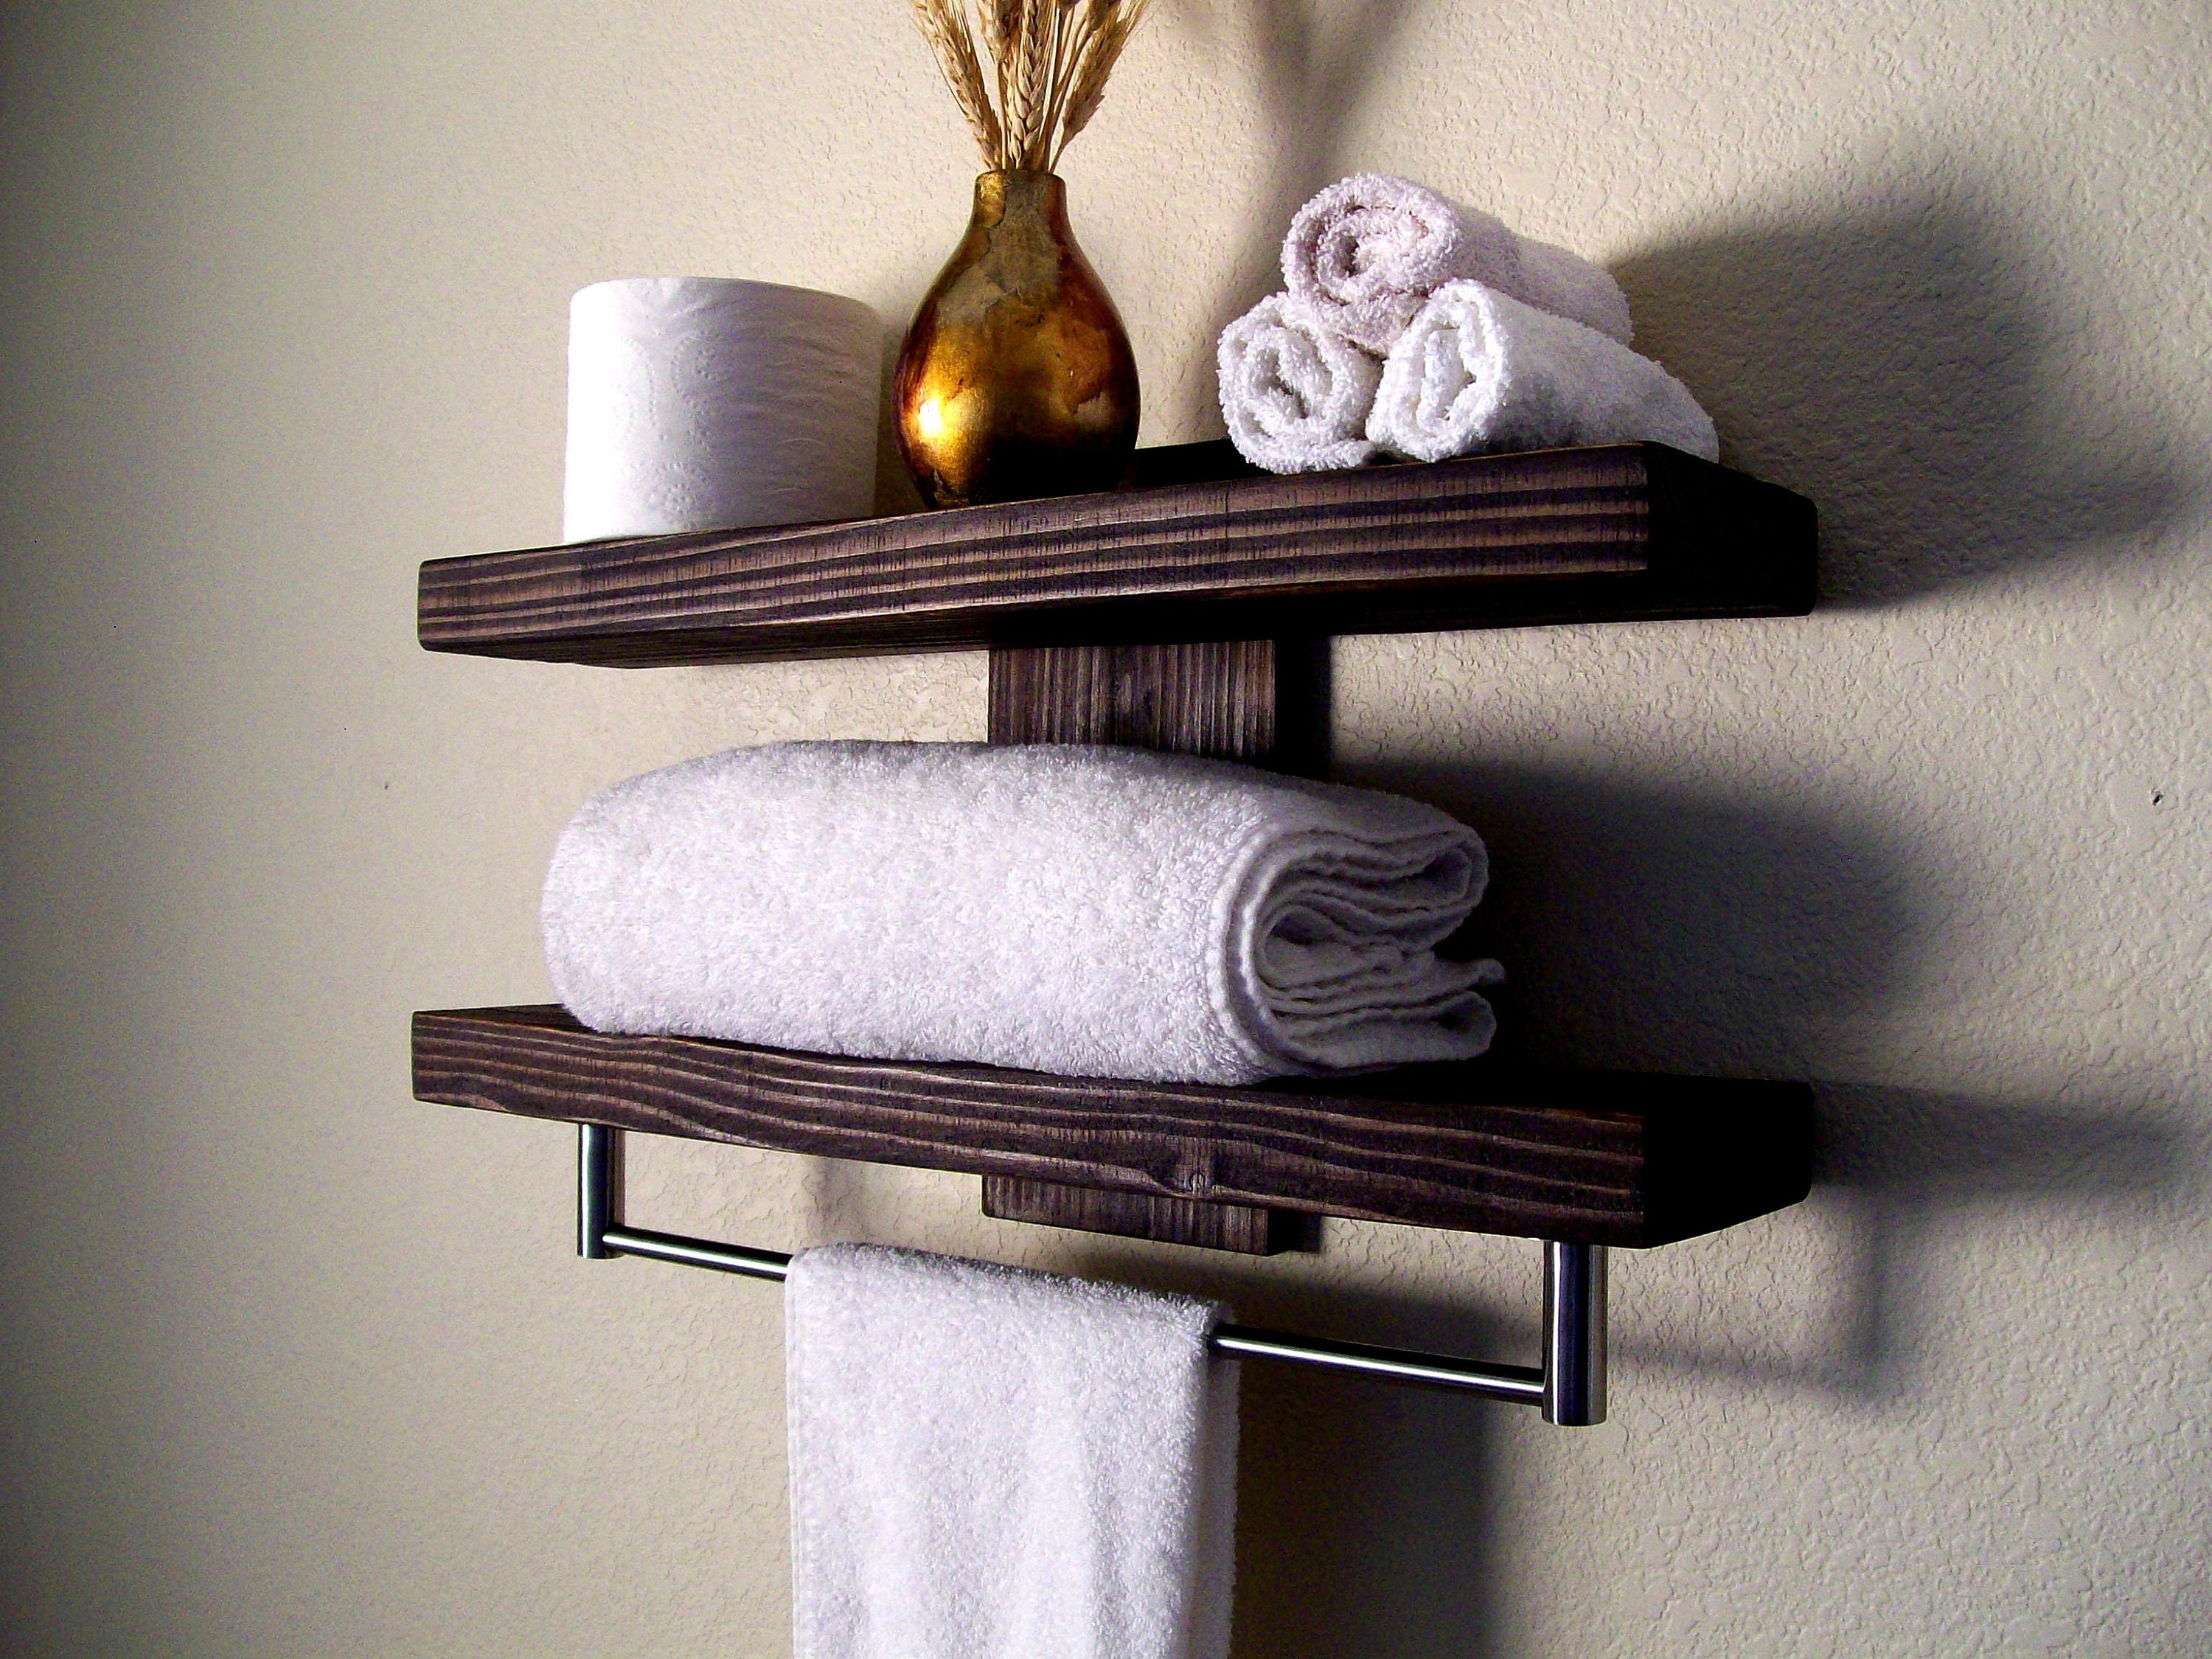
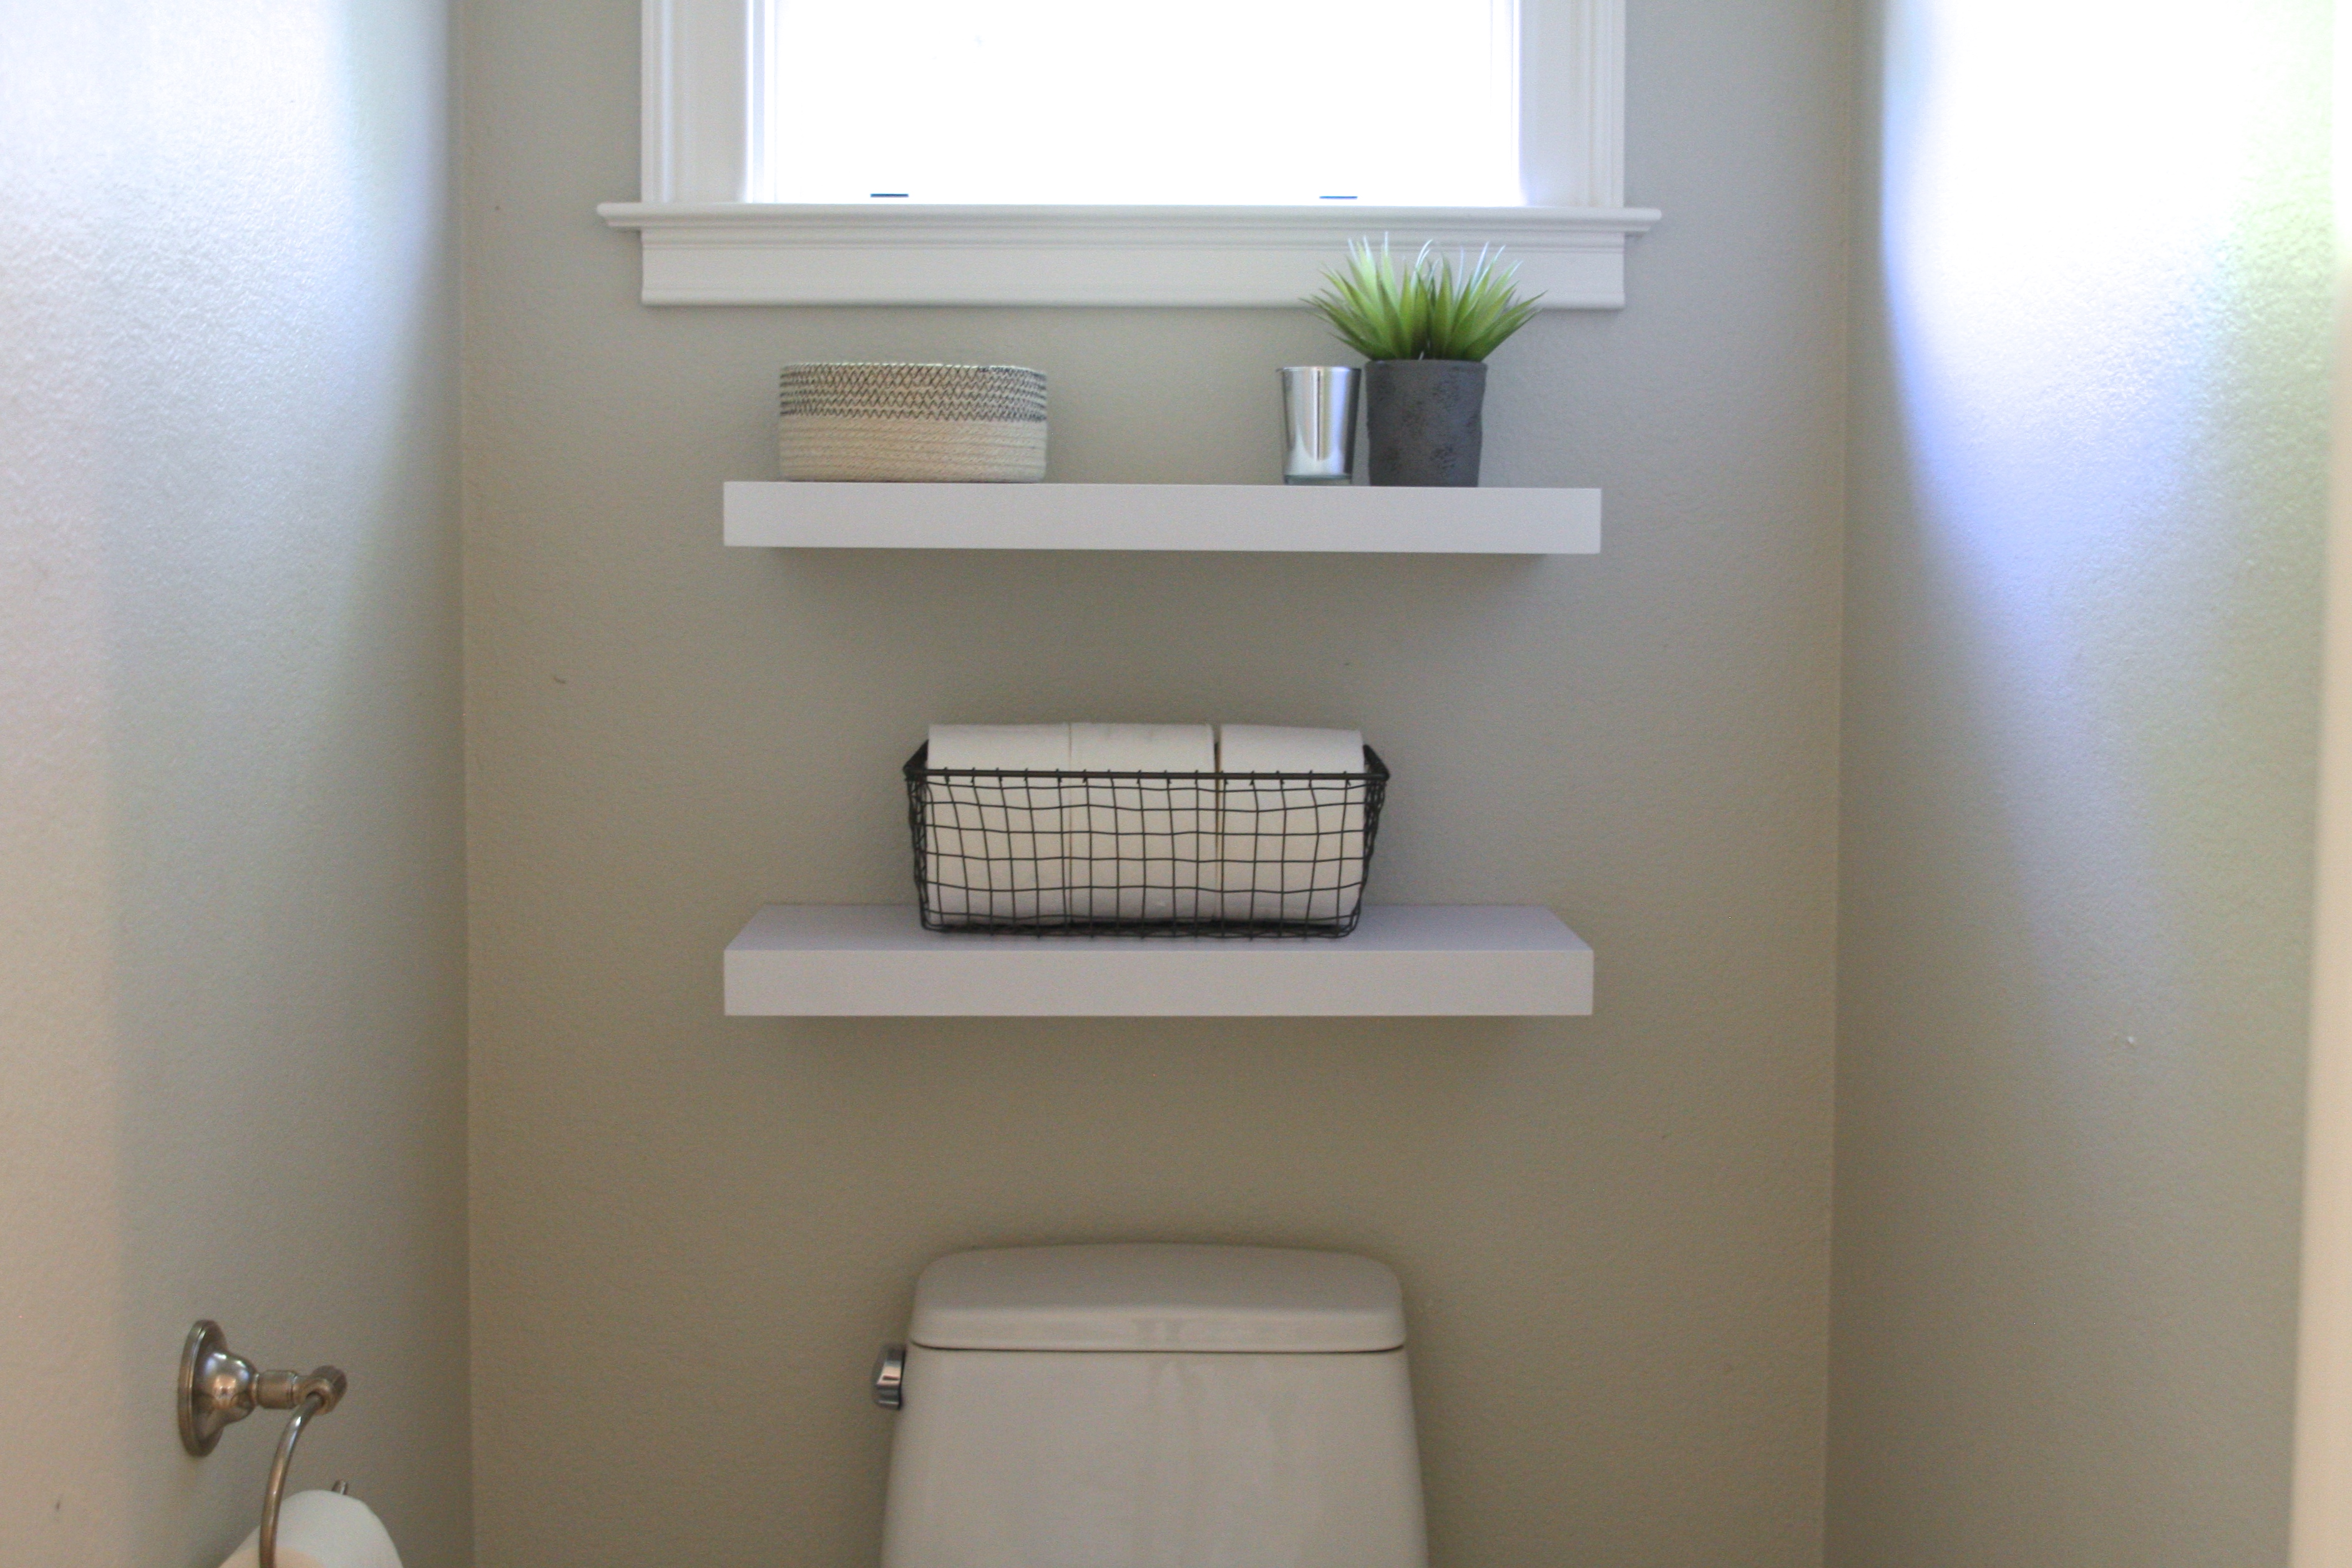
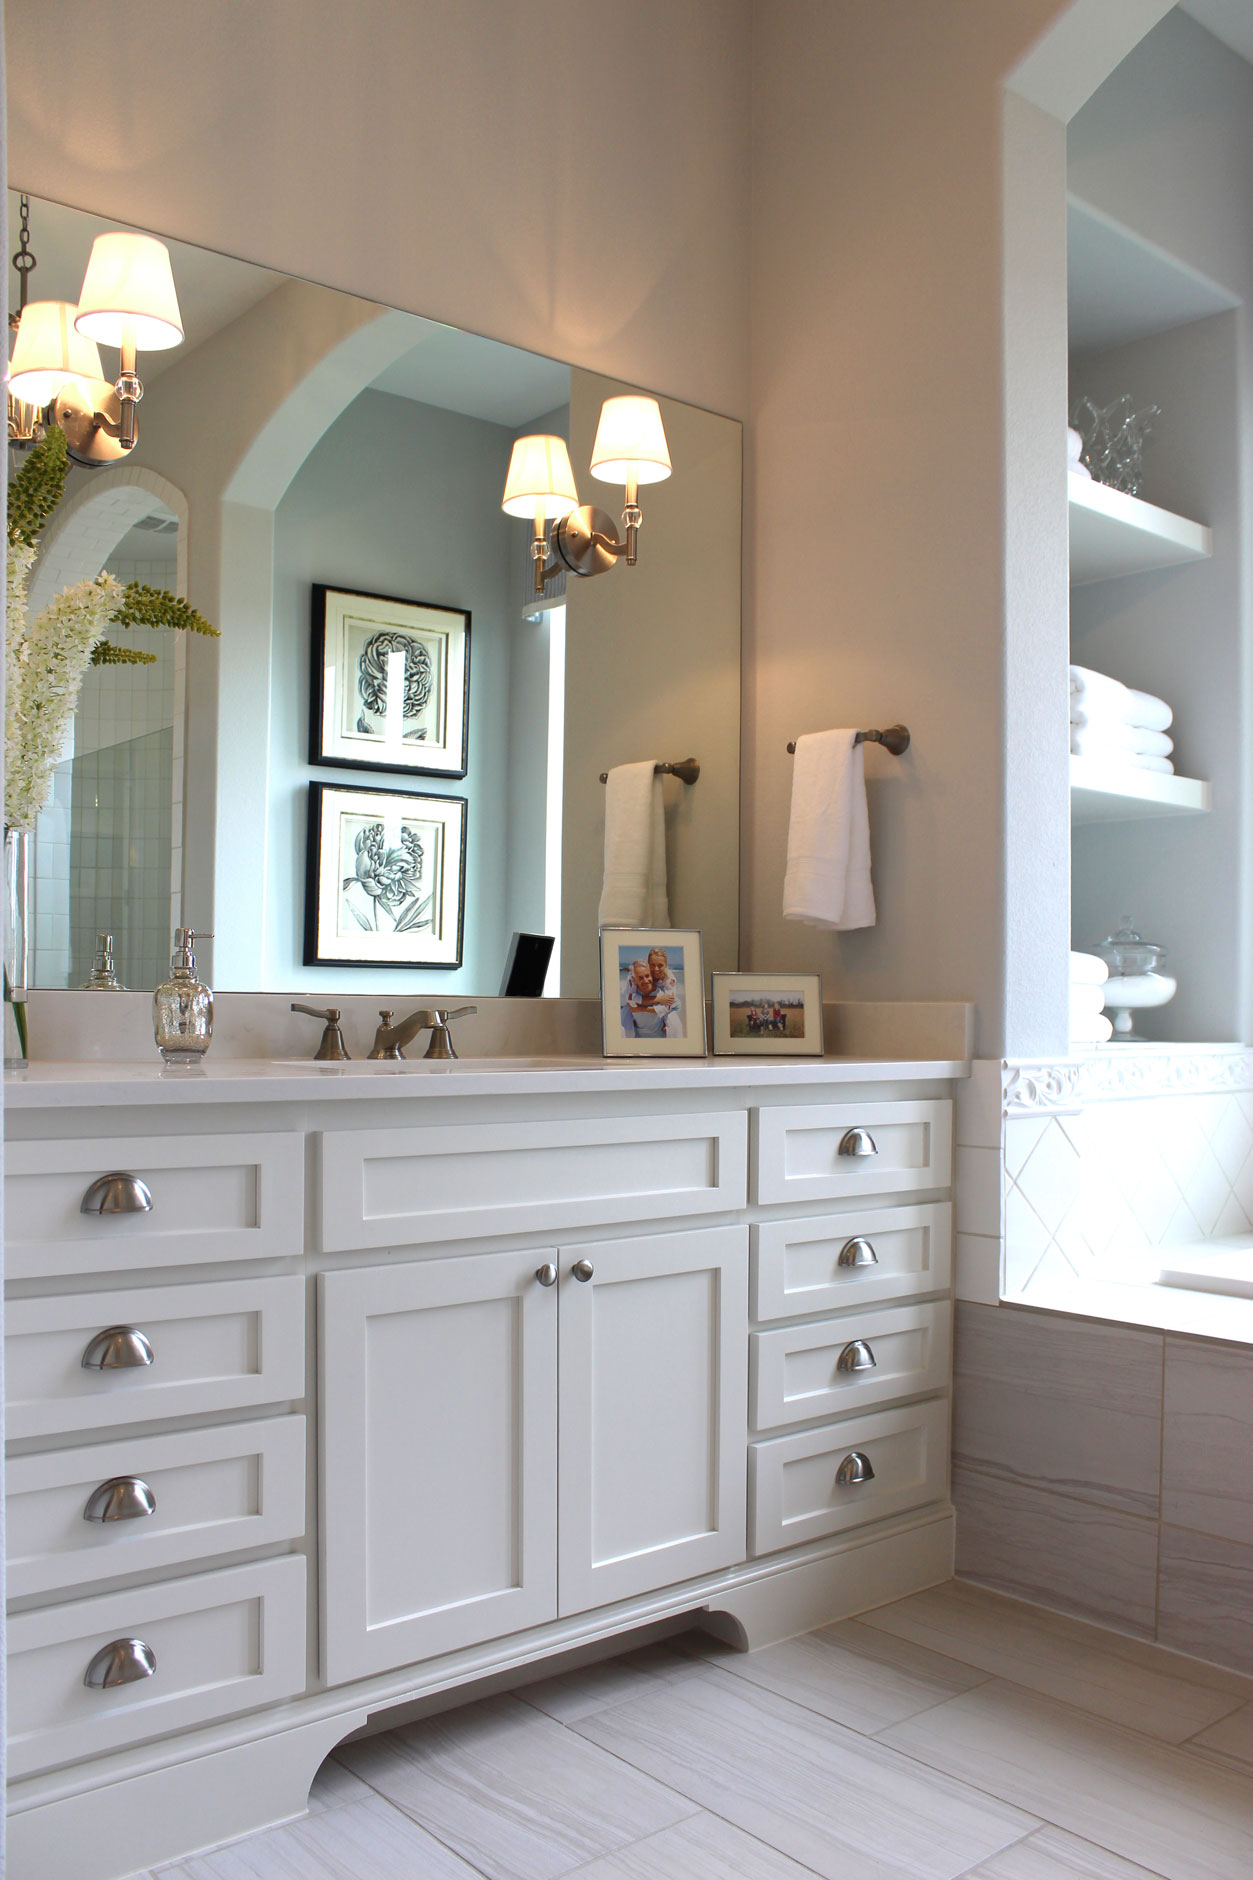
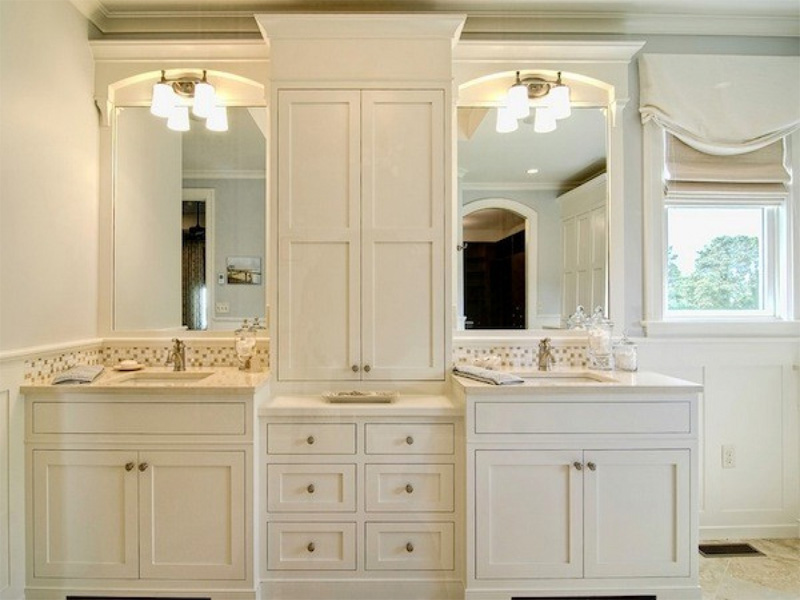
If your under-sink area is limited, consider utilizing the wall space above the sink for additional storage. Install shelves or hanging baskets to keep items like towels, extra toilet paper, and toiletries organized and within reach.6. Utilize Wall Space
bathroom organization


A DIY Lazy Susan is a great way to make the most of a small under-sink space. Simply install a swiveling turntable and use it to store items such as cleaning supplies, hair products, and other bathroom essentials. This allows you to easily access items without having to dig through a cluttered cabinet.7. Create a DIY Lazy Susan

storage ideas


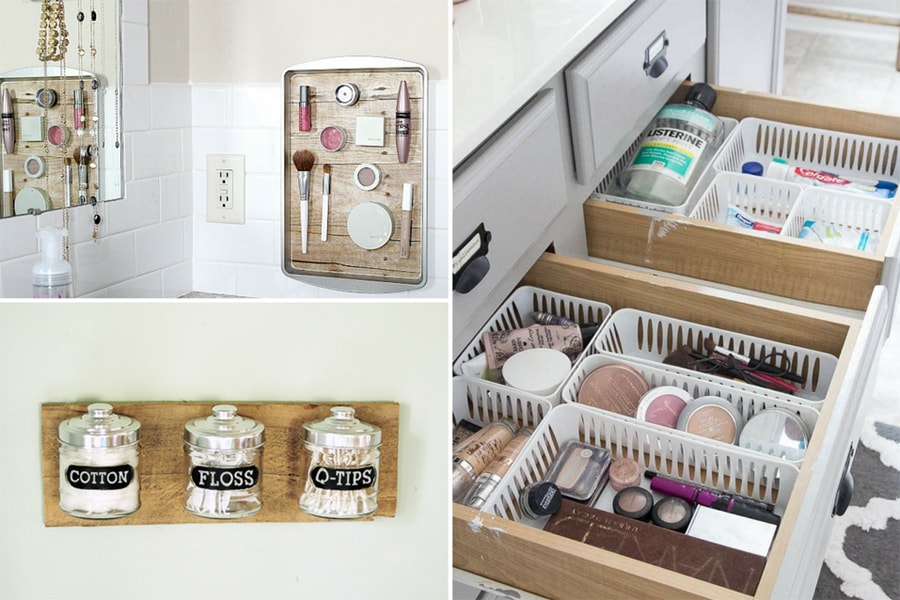
Mason jars are a stylish and functional solution for under-sink storage. Use them to store items like cotton balls, Q-tips, and other small bathroom essentials. You can also paint or decorate the jars to add a personal touch to your under-sink organization.8. Use Mason Jars for Organization


bathroom shelves


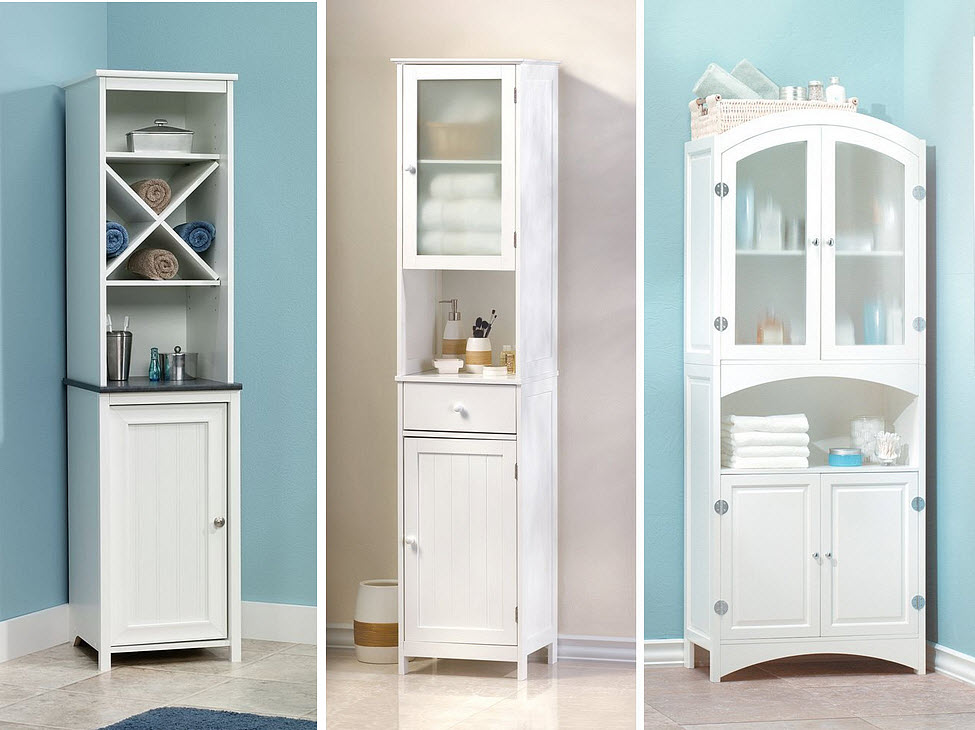
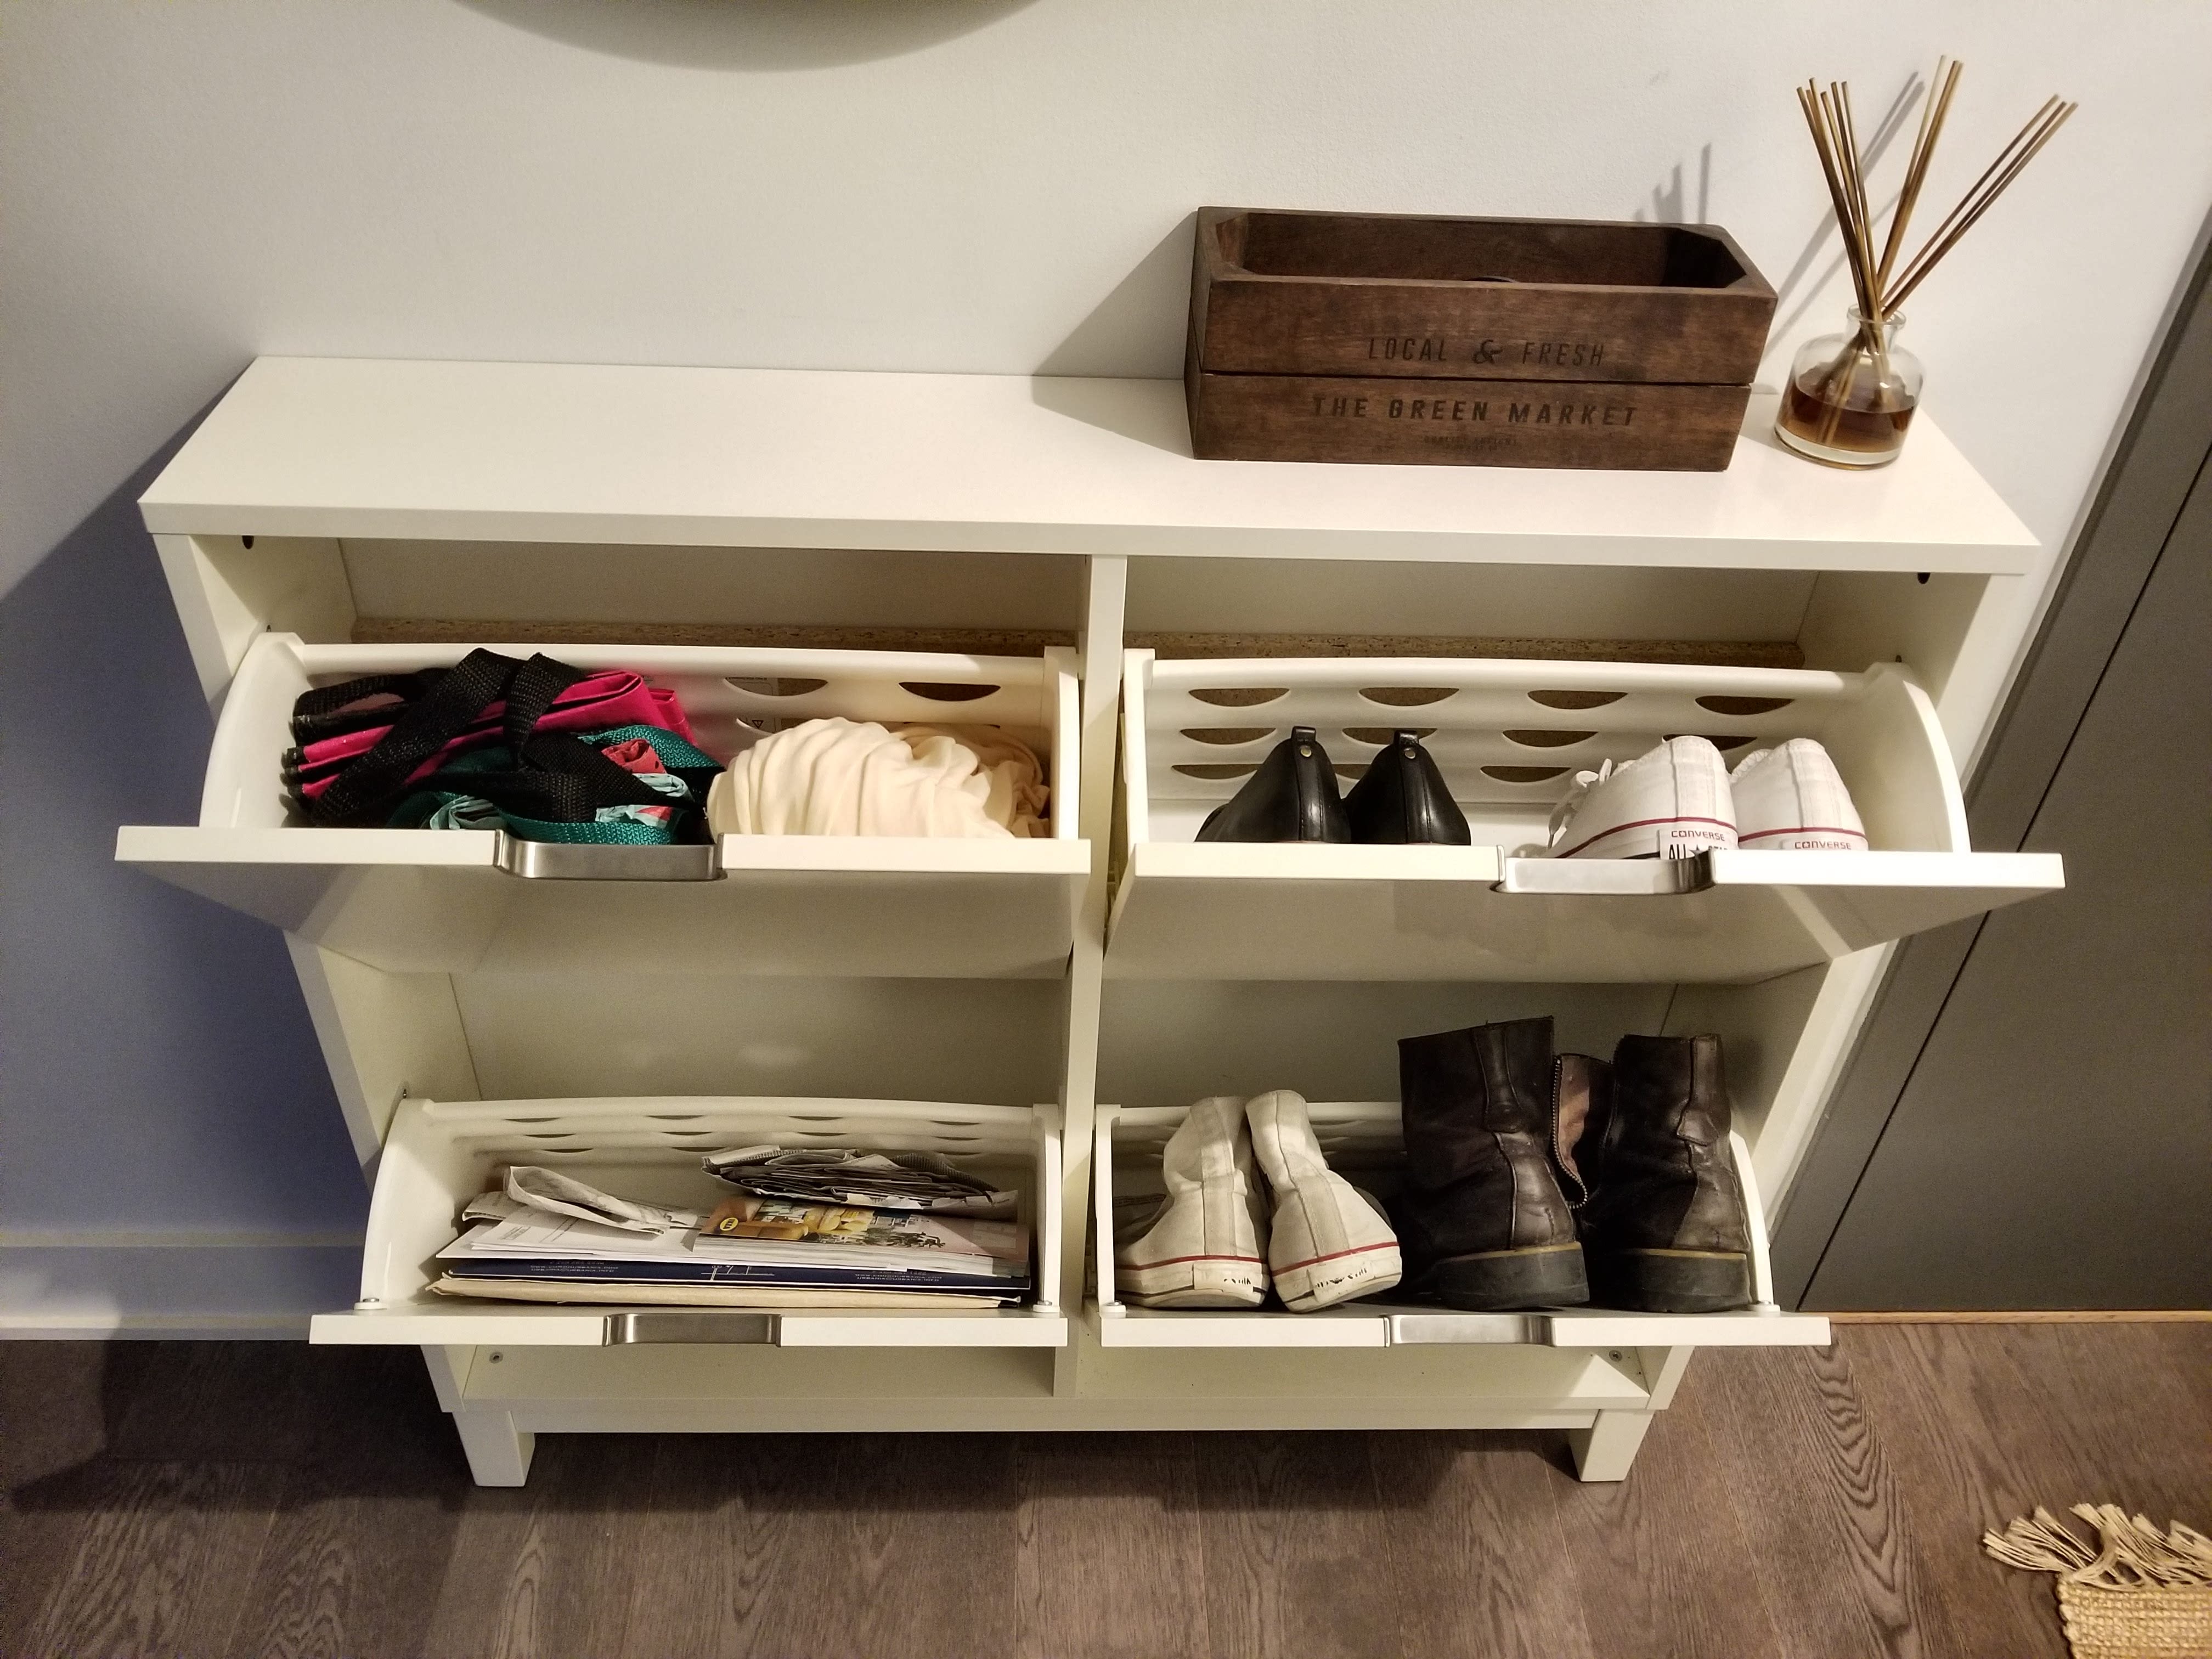
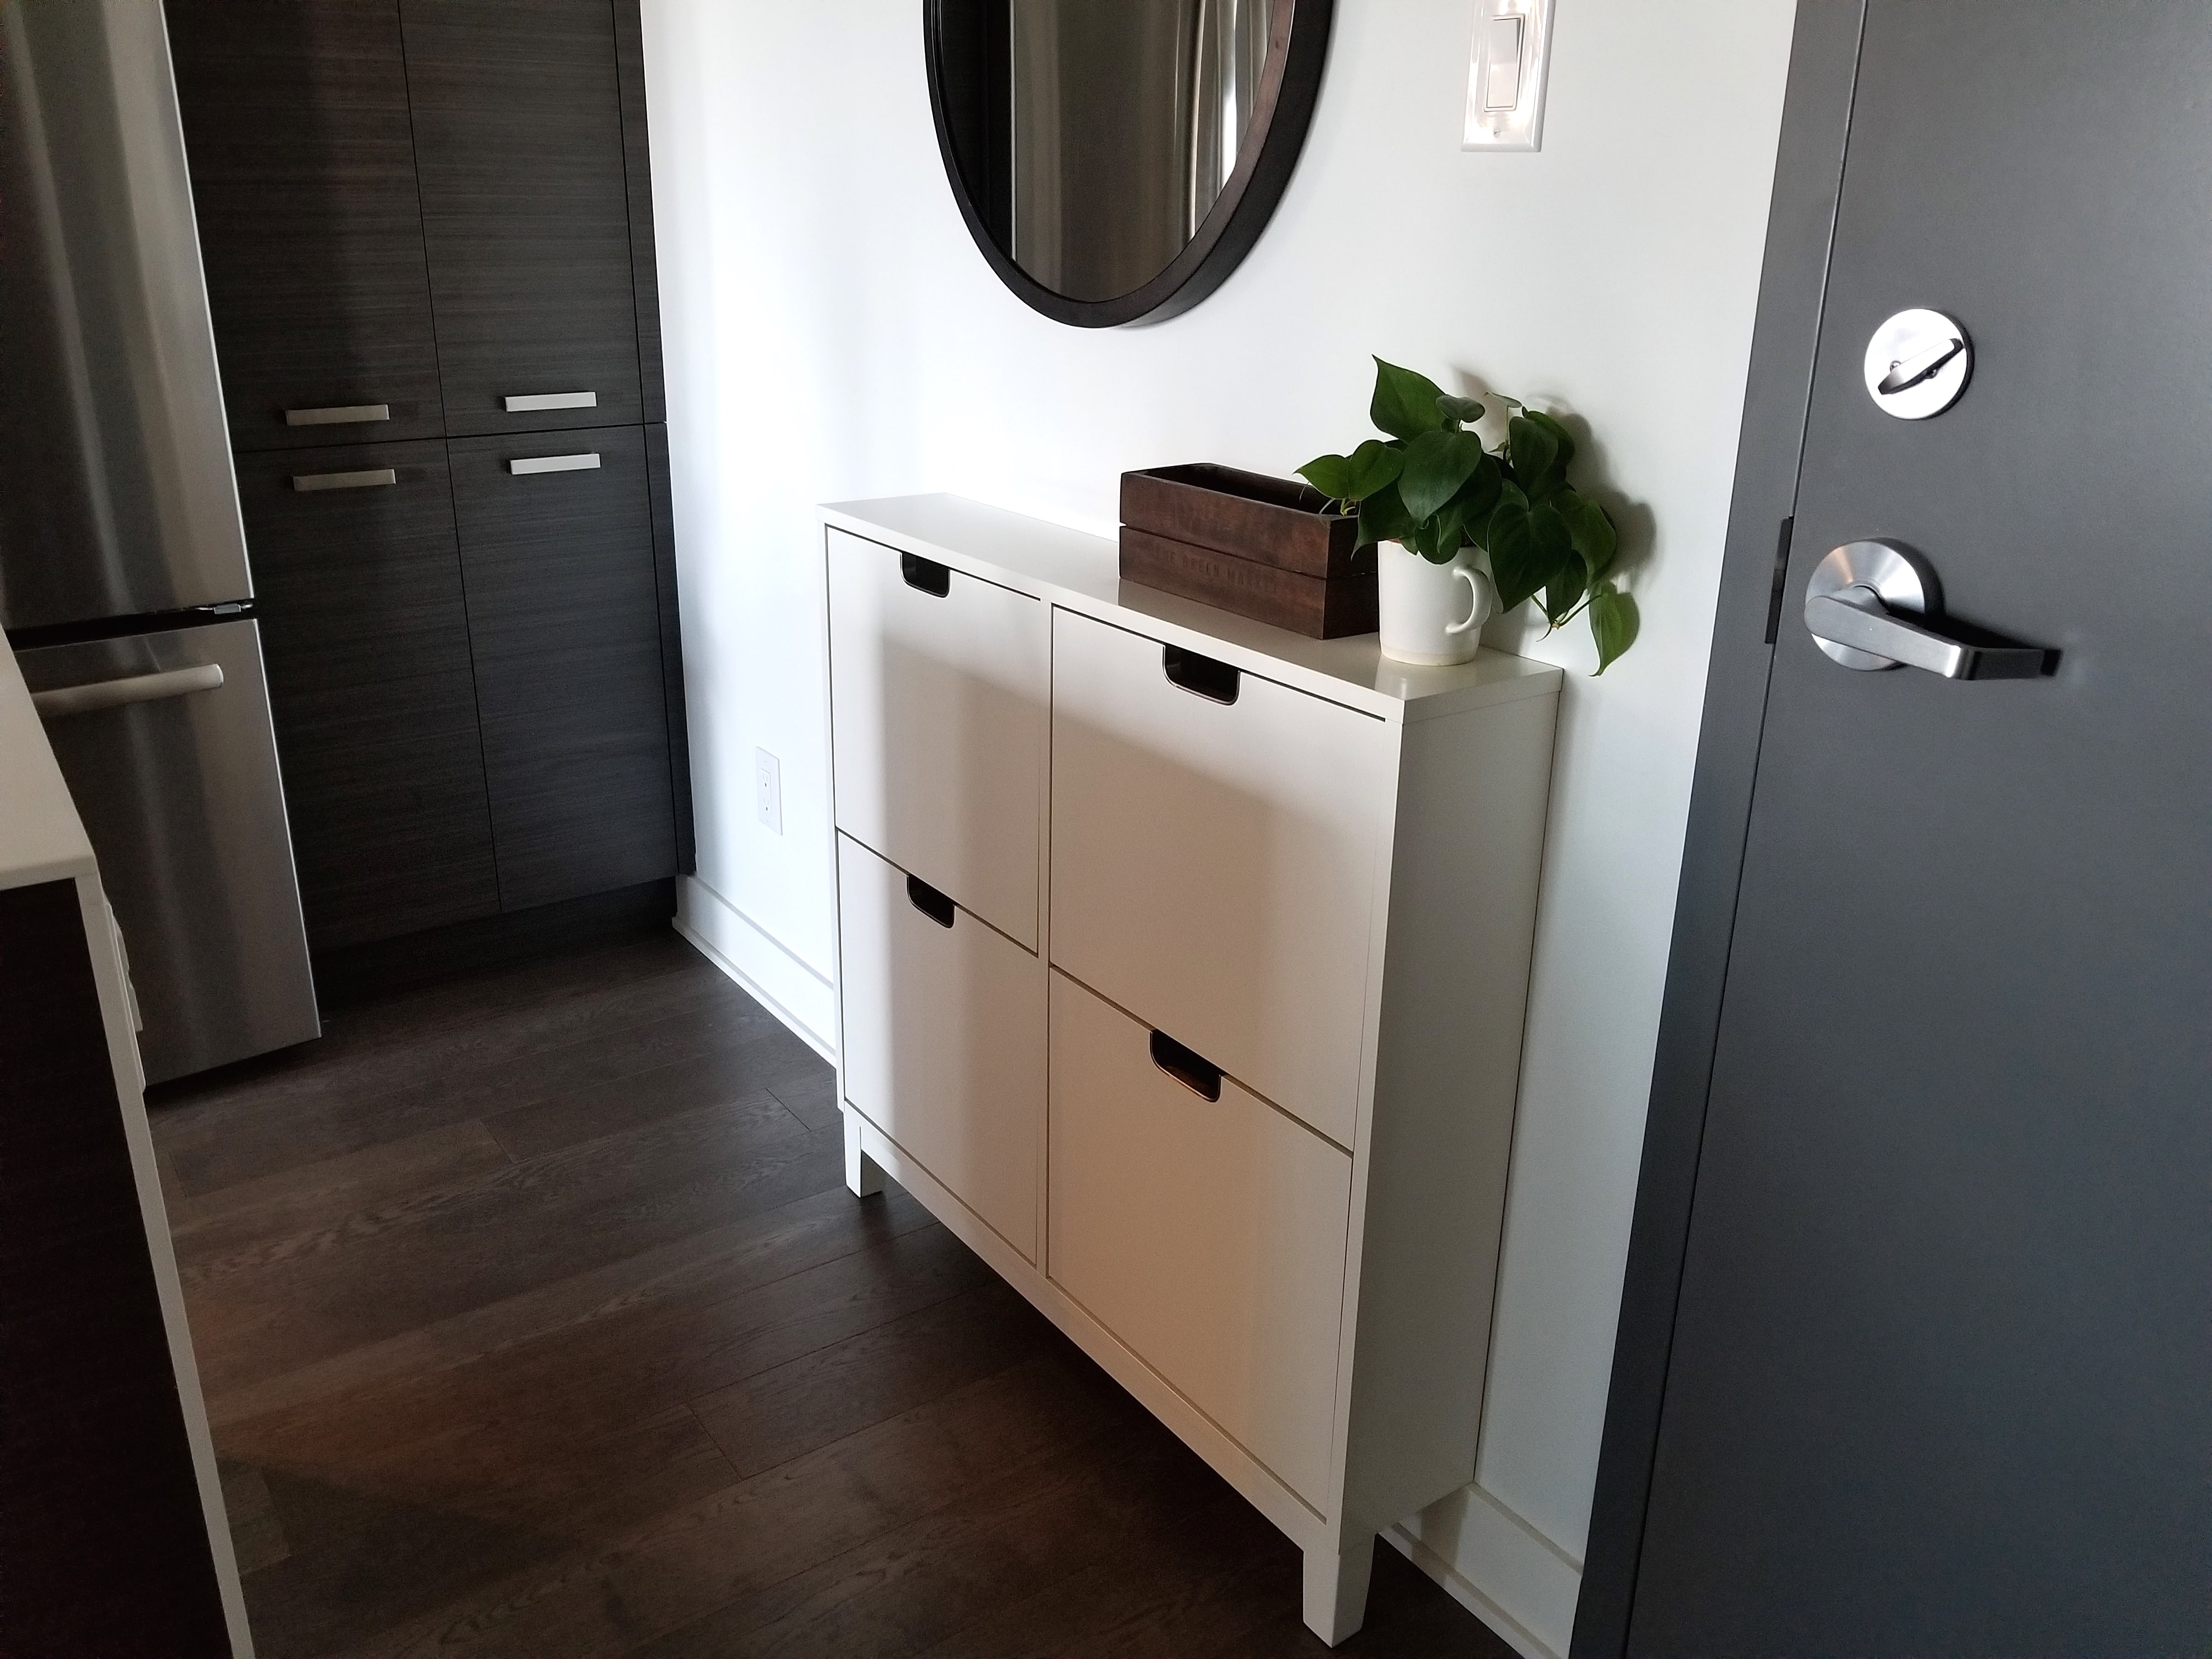
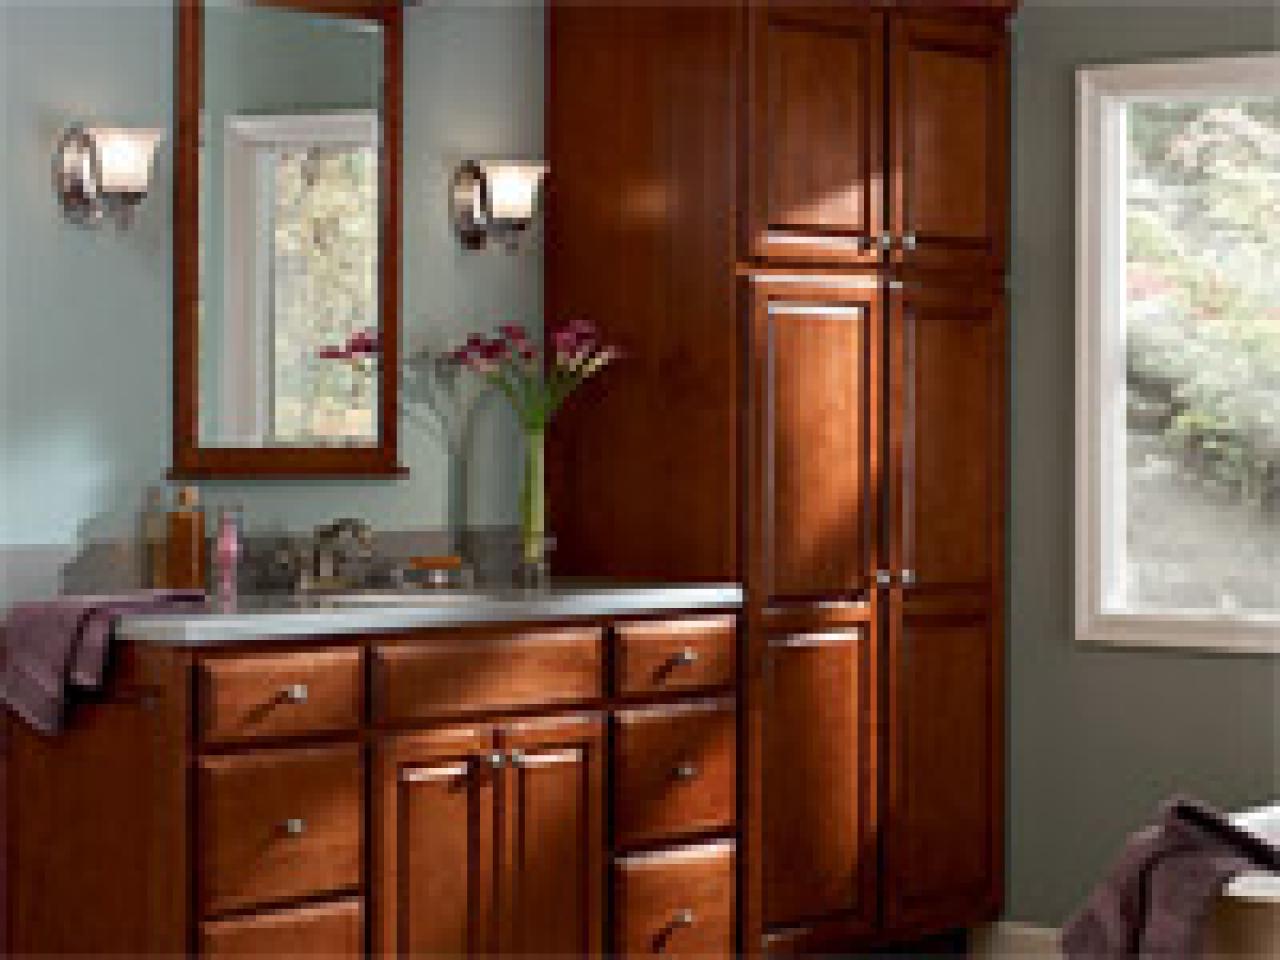
Tilt-out drawers are a popular choice for under-sink storage as they allow for easy access to items while keeping them hidden away. These can be purchased or easily made with some basic woodworking skills. They are ideal for storing items such as cleaning supplies, toiletries, and extra towels.9. Make Use of Tilt-Out Drawers


bathroom cabinet


Maximizing Space: DIY Storage Shelves for the Under Bathroom Sink

Efficient and Organized Storage Solutions
 When it comes to house design, storage is often a major concern. Keeping our homes organized and clutter-free can be a daunting task, especially in smaller spaces. This is especially true in one of the most commonly overlooked areas of the home - the under bathroom sink. Most of us simply toss our toiletries and cleaning supplies into a jumbled mess under there, making it difficult to find what we need and leaving little room for anything else. But fear not, with a little bit of creativity and some simple DIY skills, you can transform that chaotic space into an efficient and organized storage solution.
DIY storage shelves
are a fantastic solution for under sink storage. They are customizable, affordable, and easy to install. Plus, by building your own shelves, you can make them fit perfectly in the space under your sink, utilizing every inch of available space.
Maximizing space
is key when it comes to small bathrooms, and these shelves will do just that.
When it comes to house design, storage is often a major concern. Keeping our homes organized and clutter-free can be a daunting task, especially in smaller spaces. This is especially true in one of the most commonly overlooked areas of the home - the under bathroom sink. Most of us simply toss our toiletries and cleaning supplies into a jumbled mess under there, making it difficult to find what we need and leaving little room for anything else. But fear not, with a little bit of creativity and some simple DIY skills, you can transform that chaotic space into an efficient and organized storage solution.
DIY storage shelves
are a fantastic solution for under sink storage. They are customizable, affordable, and easy to install. Plus, by building your own shelves, you can make them fit perfectly in the space under your sink, utilizing every inch of available space.
Maximizing space
is key when it comes to small bathrooms, and these shelves will do just that.
Materials and Tools
 Before you start building, you'll need to gather your materials and tools. You can
customize
the size and design of your shelves based on your specific needs and the dimensions of your under sink area. For this project, you'll need:
Before you start building, you'll need to gather your materials and tools. You can
customize
the size and design of your shelves based on your specific needs and the dimensions of your under sink area. For this project, you'll need:
- Wooden boards (1x4 or 1x6)
- Screws
- Drill
- Saw
- Tape measure
- Sandpaper
- Paint or stain (optional)
Step-by-Step Guide
 Once you have all of your materials and tools, it's time to get building! Follow these simple steps to create your own DIY storage shelves for under the bathroom sink:
1. Measure:
Measure the width and height of the space under your sink. This will determine the dimensions of your shelves.
2. Cut:
Using a saw, cut the wooden boards to the desired lengths based on your measurements. Sand down any rough edges.
3. Assemble:
Using your drill and screws, assemble the shelves by attaching the boards together to form a rectangular frame. Make sure the corners are square and the shelves are level.
4. Add support:
To ensure your shelves can hold the weight of your items, add a few support pieces of wood underneath each shelf. Attach them with screws.
5. Paint or stain:
If desired, you can paint or stain your shelves to match your bathroom decor.
6. Install:
Using screws, attach the shelves to the walls of the under sink area. Make sure they are securely attached and level.
Once you have all of your materials and tools, it's time to get building! Follow these simple steps to create your own DIY storage shelves for under the bathroom sink:
1. Measure:
Measure the width and height of the space under your sink. This will determine the dimensions of your shelves.
2. Cut:
Using a saw, cut the wooden boards to the desired lengths based on your measurements. Sand down any rough edges.
3. Assemble:
Using your drill and screws, assemble the shelves by attaching the boards together to form a rectangular frame. Make sure the corners are square and the shelves are level.
4. Add support:
To ensure your shelves can hold the weight of your items, add a few support pieces of wood underneath each shelf. Attach them with screws.
5. Paint or stain:
If desired, you can paint or stain your shelves to match your bathroom decor.
6. Install:
Using screws, attach the shelves to the walls of the under sink area. Make sure they are securely attached and level.
Organizing Tips
 Now that you have your DIY storage shelves in place, it's time to organize your items. Here are a few tips to help you make the most of your new storage space:
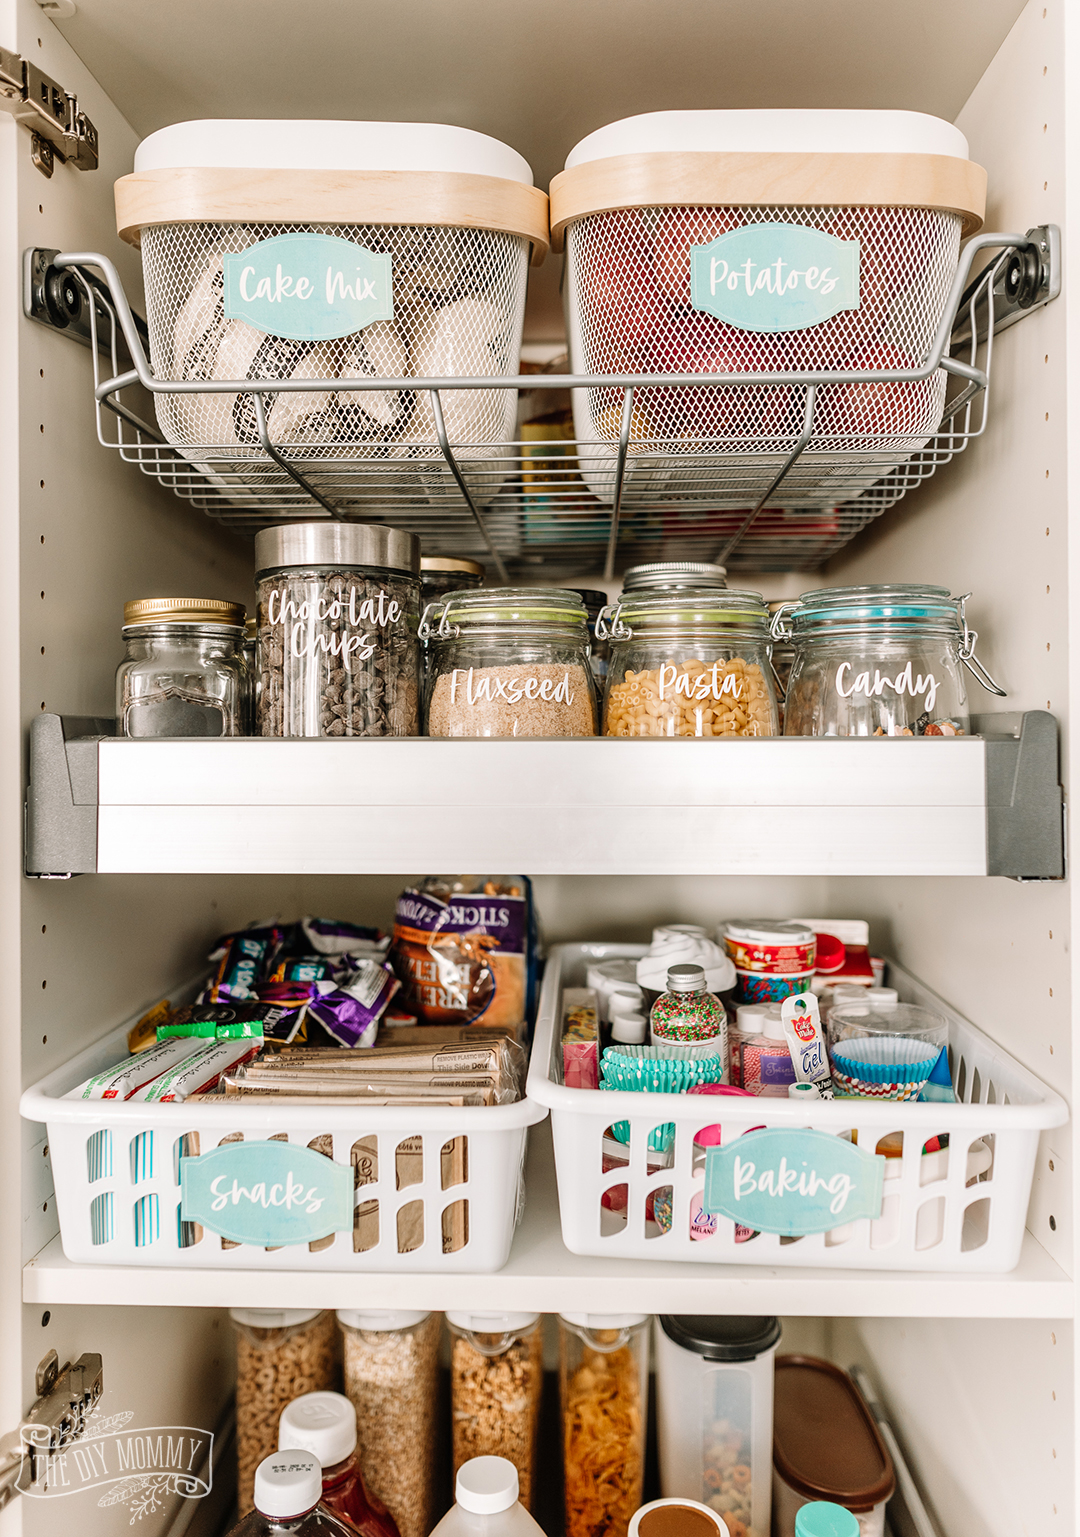
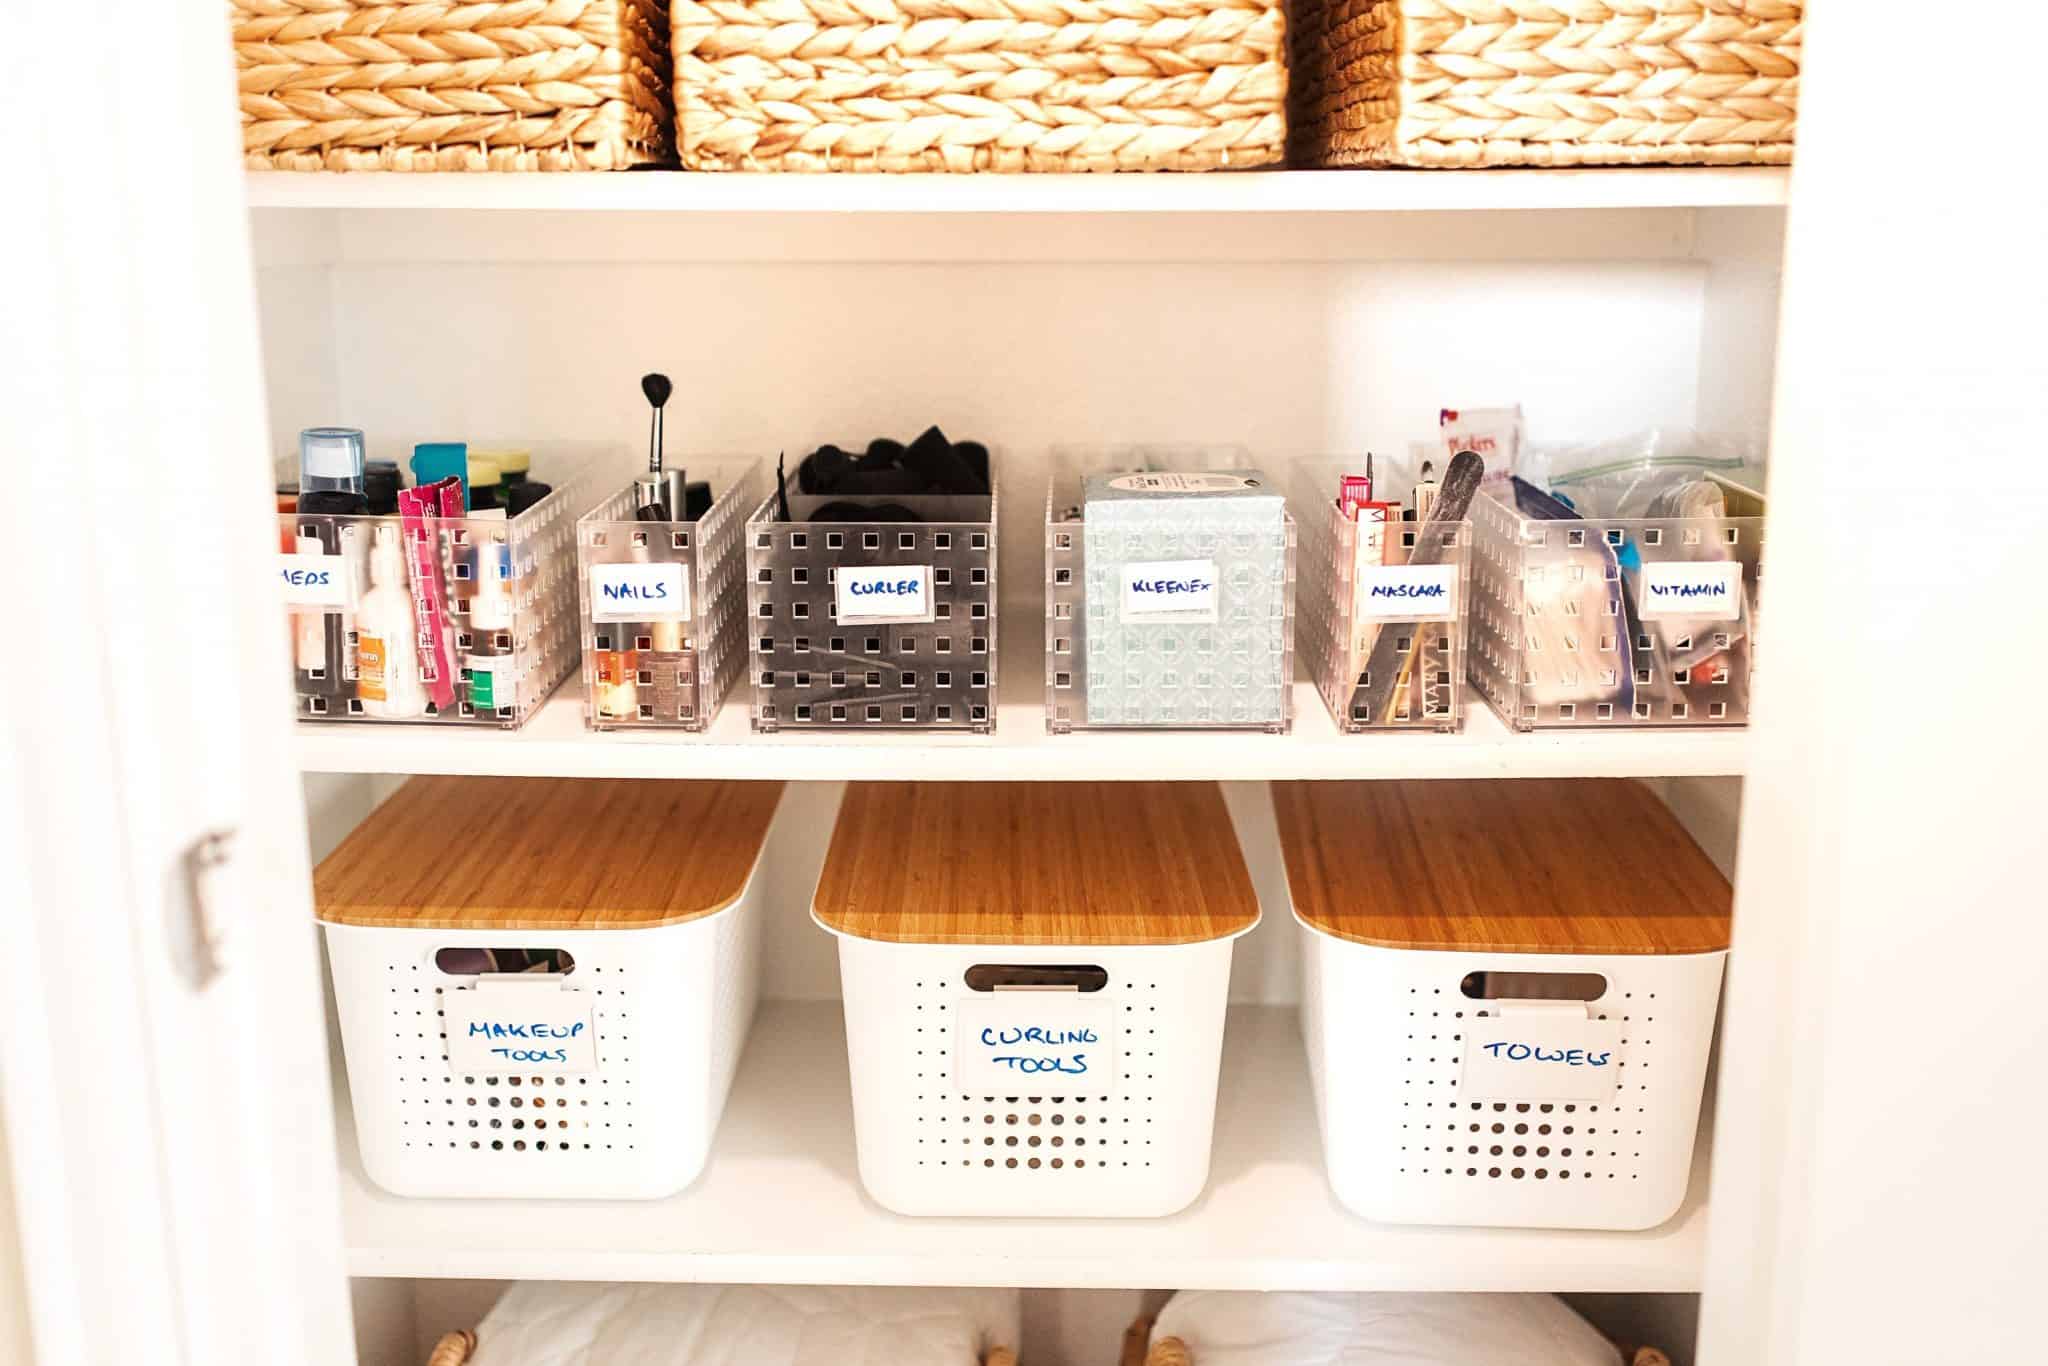
- Use small baskets or bins to group similar items together, making them easier to find.
- Label your bins for even easier access to your items.
- Store items you use less frequently on the higher shelves.
- Utilize the space on the inside of your cabinet doors for extra storage with hanging organizers or adhesive hooks.
In Conclusion
 With just a little bit of time and effort, you can transform the chaotic space under your bathroom sink into an efficient and organized storage area. DIY storage shelves are a simple and affordable solution for maximizing space in small bathrooms and can be customized to fit your specific needs. So go ahead and give it a try, you'll be amazed at how much more functional and beautiful your under sink area can be.