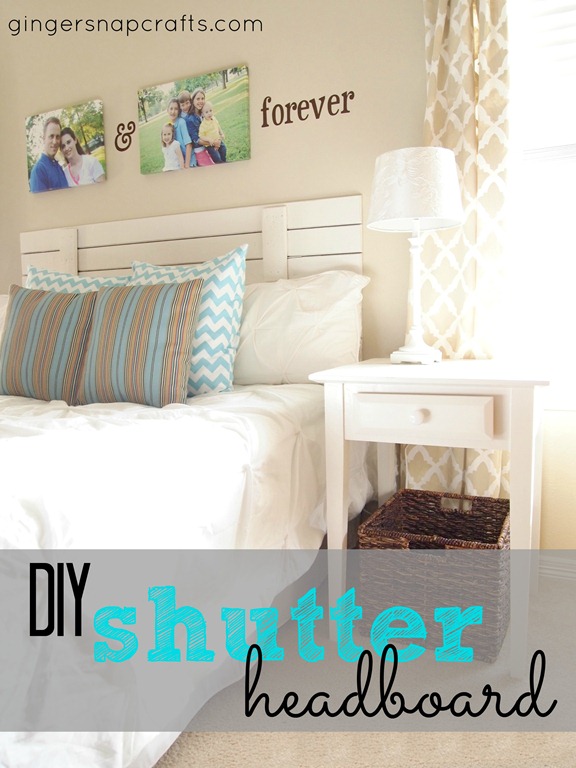
Transform your bedroom into a cozy and rustic retreat with a DIY shutter headboard. This simple and affordable project will add character and charm to your sleeping space. Plus, you can customize it to fit your personal style and bedroom decor. To make your own shutter headboard, start by measuring the width of your bed frame. You will want the headboard to be slightly wider than the bed to create a balanced look. Next, head to your local thrift store or flea market to find old shutters. Look for ones with an interesting design or distressed finish for a more rustic look. Once you have your shutters, clean them and sand down any rough edges. You can also paint or stain them to match your bedroom decor. Once they are dry, attach them to the wall behind your bed frame using screws or brackets. For a more secure fit, you can also attach the shutters directly to the bed frame. For an added touch, you can hang string lights or a wreath on the shutter headboard to create a cozy and romantic atmosphere in your bedroom.DIY Shutter Headboard
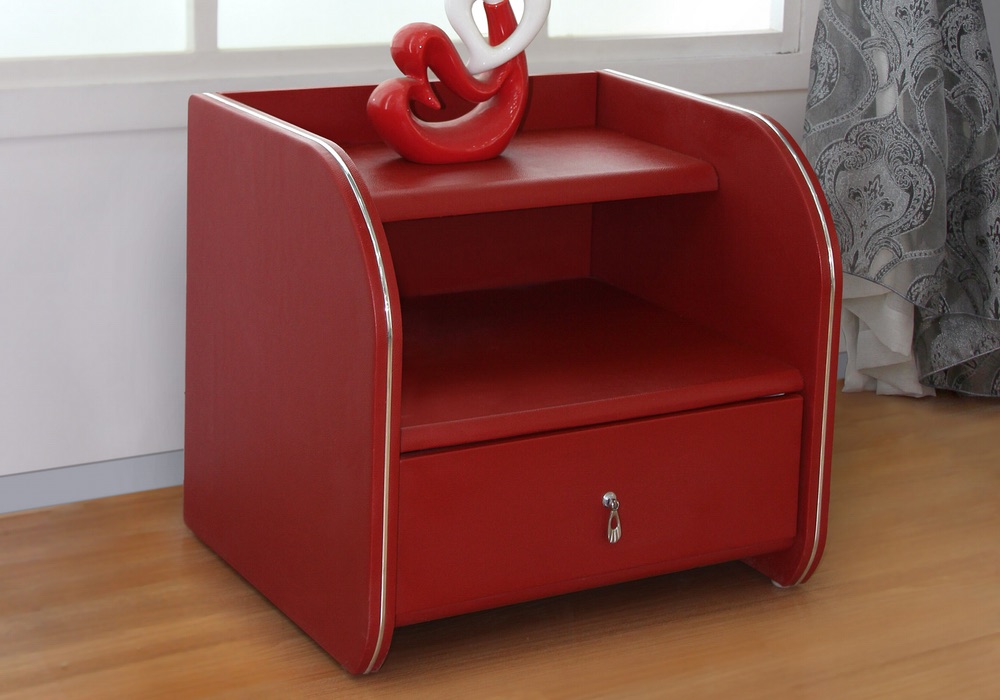
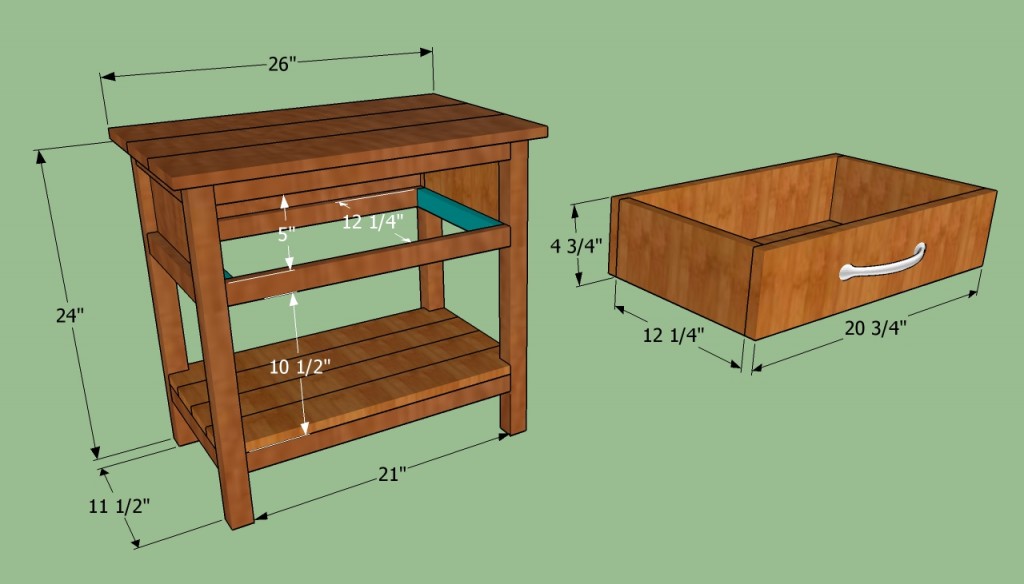
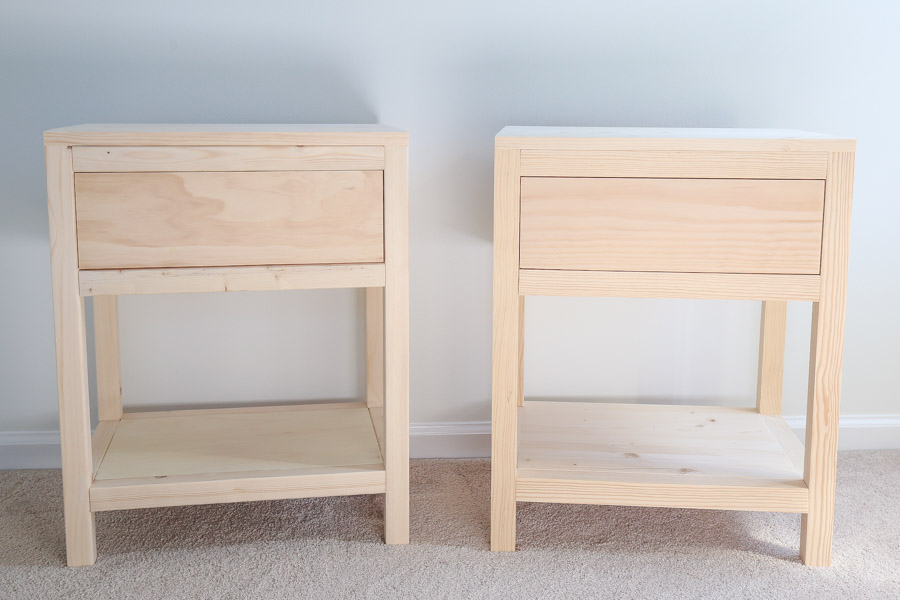
Add a touch of vintage charm to your bedroom with a DIY shutter nightstand. This project is perfect for those who love the farmhouse or cottage style. It's also a great way to repurpose old shutters and give them new life. To make your own shutter nightstand, you will need two shutters of equal size, a wooden board, and some basic tools. Start by sanding down the shutters and board, then paint or stain them to your desired finish. Next, attach the shutters to the sides of the board using screws or brackets. You can also add a bottom shelf by attaching another board to the bottom of the shutters. Your new shutter nightstand can be used to store books, a lamp, or any other bedside essentials. It's also a great way to add a pop of color or texture to your bedroom.DIY Shutter Nightstand
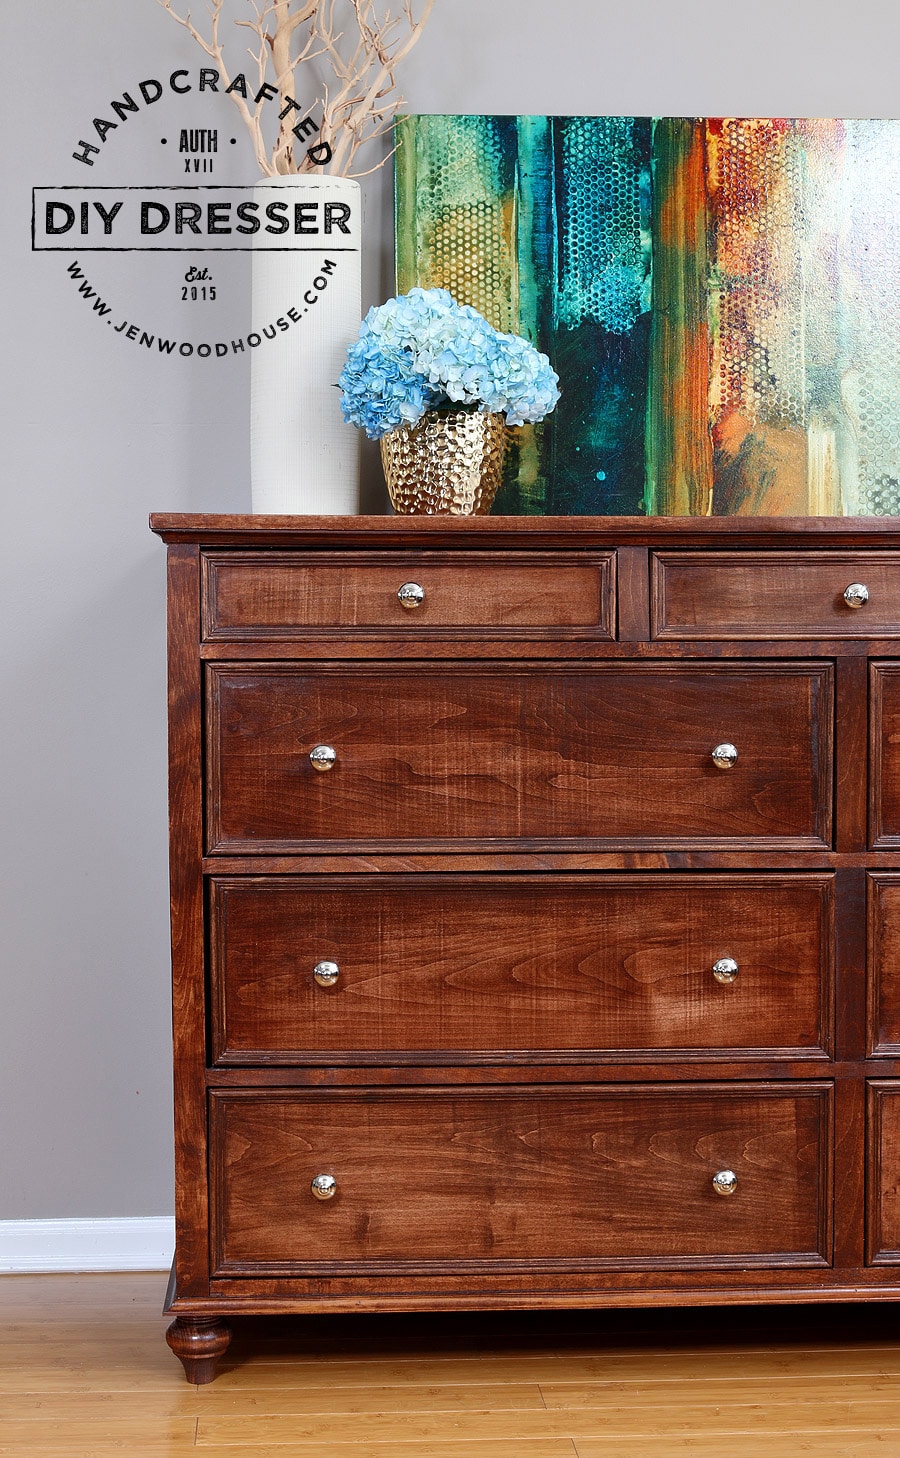
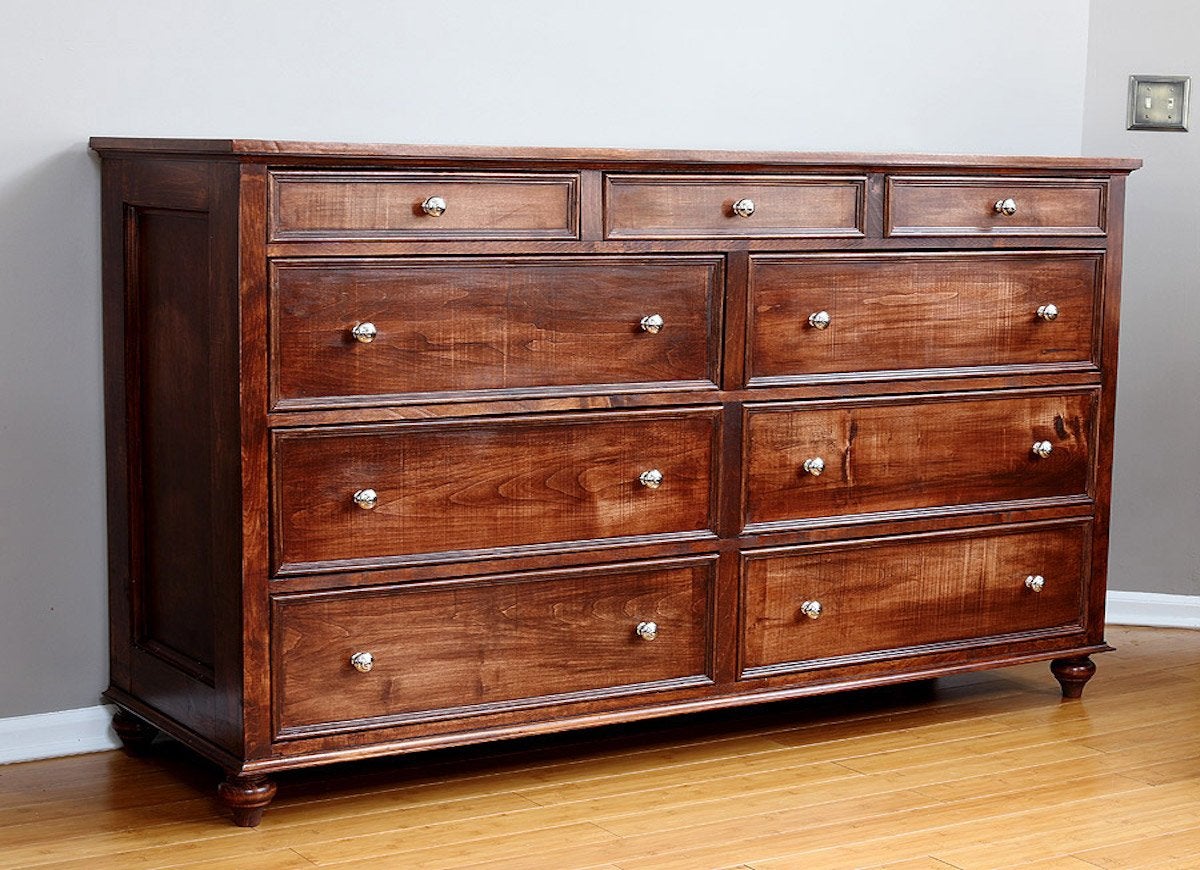
Give your bedroom a unique and stylish piece of furniture with a DIY shutter dresser. This project is perfect for those who want to add a vintage touch to their bedroom decor. To make your own shutter dresser, you will need a dresser of your choice and enough shutters to cover the front of each drawer. Start by removing the drawers from the dresser and sanding down the shutters and dresser. Paint or stain them to your desired finish. Next, attach the shutters to the front of each drawer using screws or adhesive. You can also add new knobs or handles to complete the look. Your new shutter dresser will not only provide functional storage but also add character and charm to your bedroom. It's a great way to repurpose old shutters and create a one-of-a-kind piece of furniture.DIY Shutter Dresser
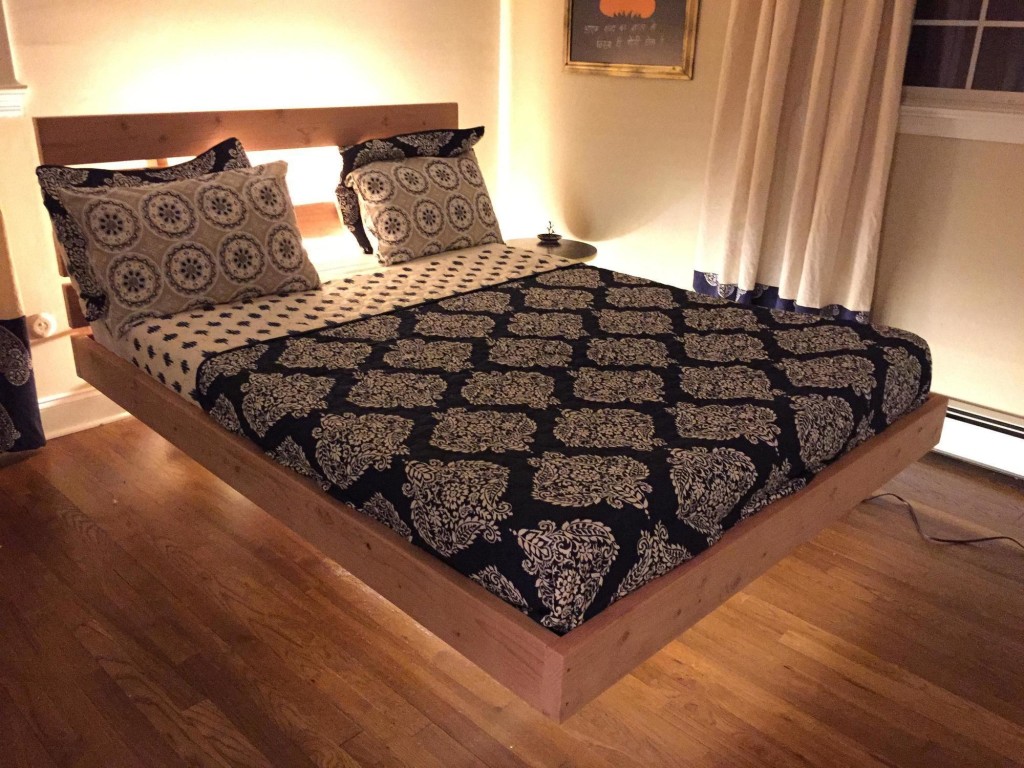
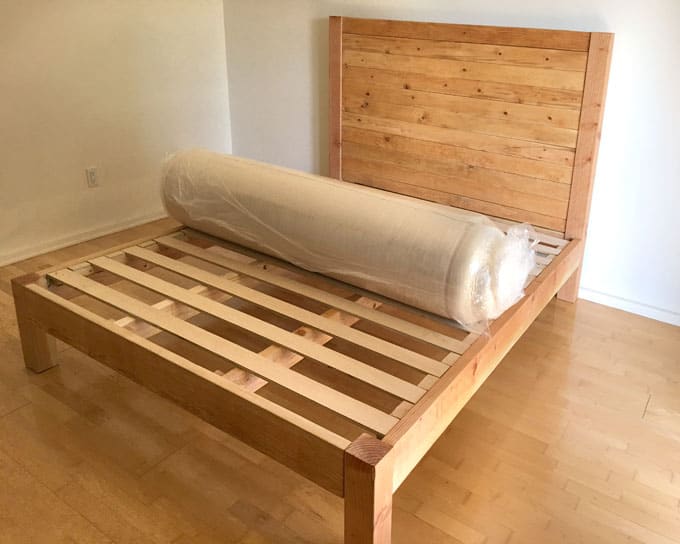
Transform your ordinary bed into a statement piece with a DIY shutter bed frame. This project is perfect for those who want to add a touch of rustic elegance to their bedroom. To make your own shutter bed frame, you will need four shutters of equal size and a wooden frame or base. Start by sanding down the shutters and painting or staining them to your desired finish. Next, attach the shutters to each side of the wooden frame using screws or brackets. You can also add a bottom board for added support. Your new shutter bed frame will not only add style to your bedroom but also provide a unique and cozy sleeping space. You can also add string lights or a canopy to create a romantic and dreamy atmosphere.DIY Shutter Bed Frame
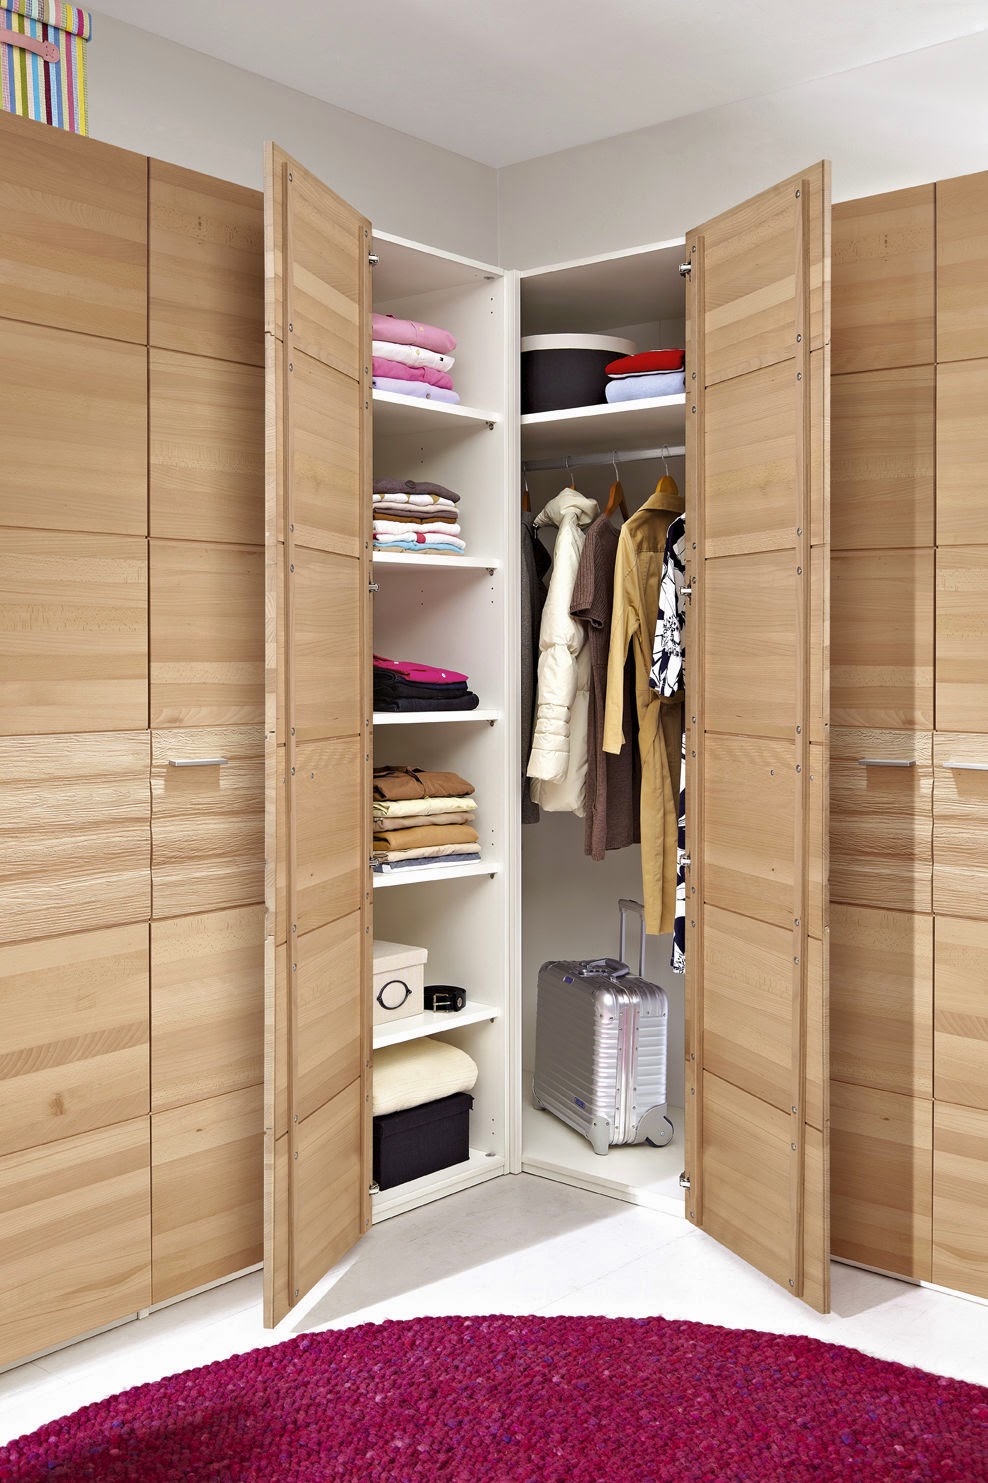
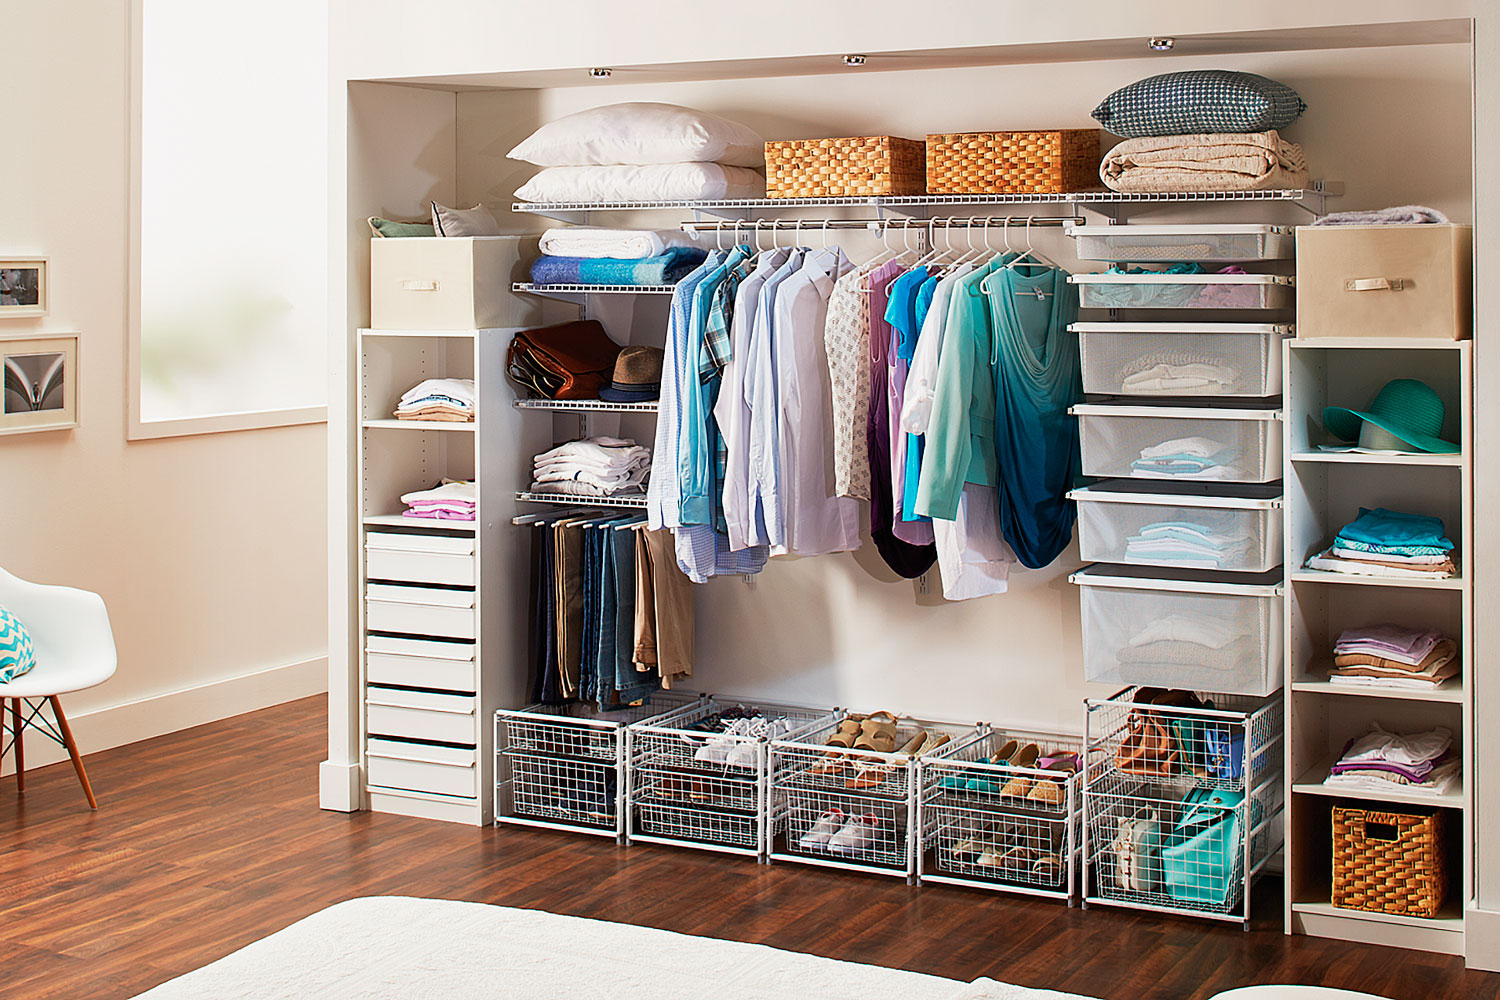
Upgrade your bedroom storage with a DIY shutter wardrobe. This project is perfect for those who want to add a touch of vintage charm to their bedroom while also maximizing storage space. To make your own shutter wardrobe, you will need two shutters of equal size and a wooden frame or base. Start by sanding down the shutters and painting or staining them to your desired finish. Next, attach the shutters to each side of the wooden frame using screws or brackets. You can also add shelves or a hanging rod inside for added storage. Your new shutter wardrobe will not only provide functional storage but also add character and style to your bedroom. It's a great way to repurpose old shutters and create a unique piece of furniture.DIY Shutter Wardrobe
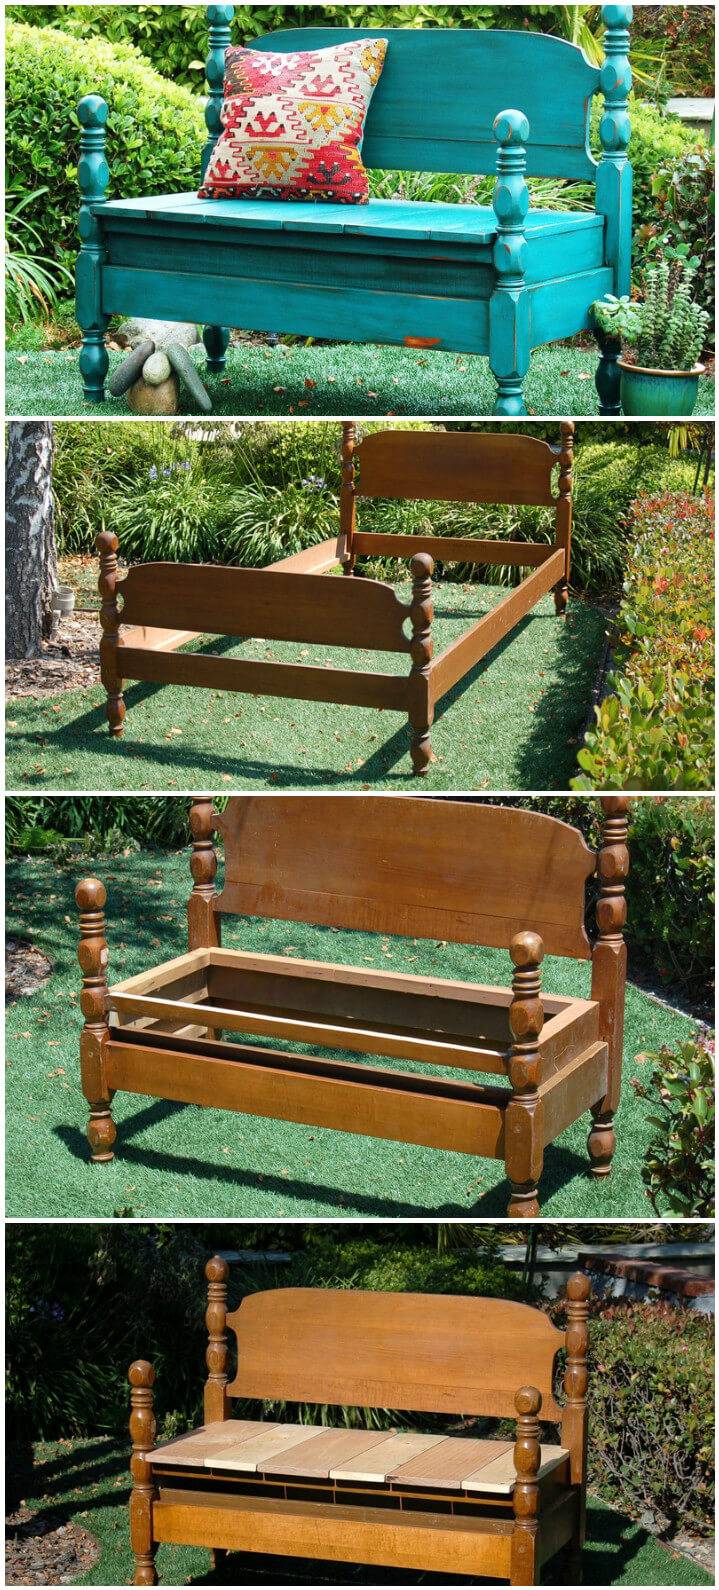
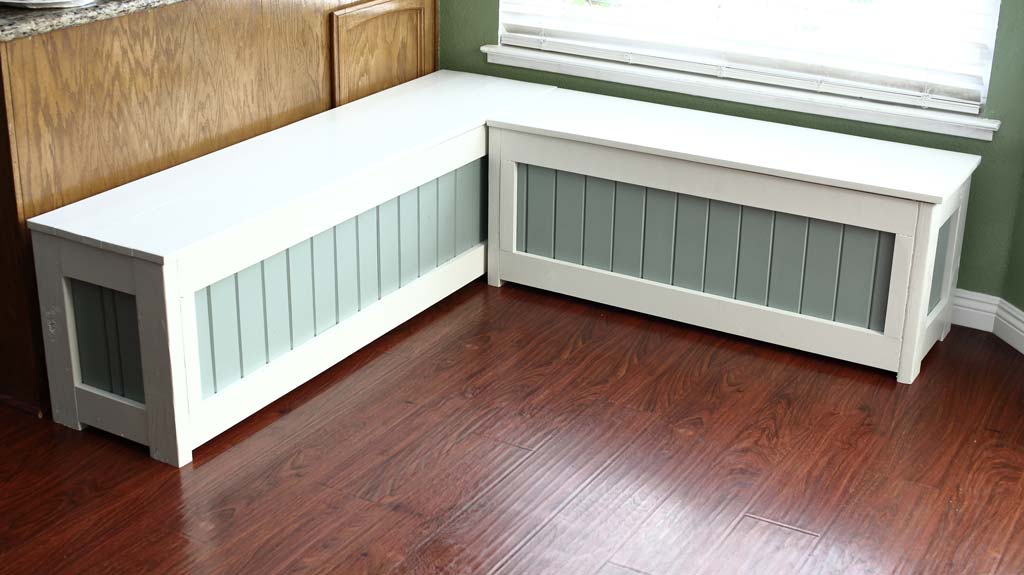
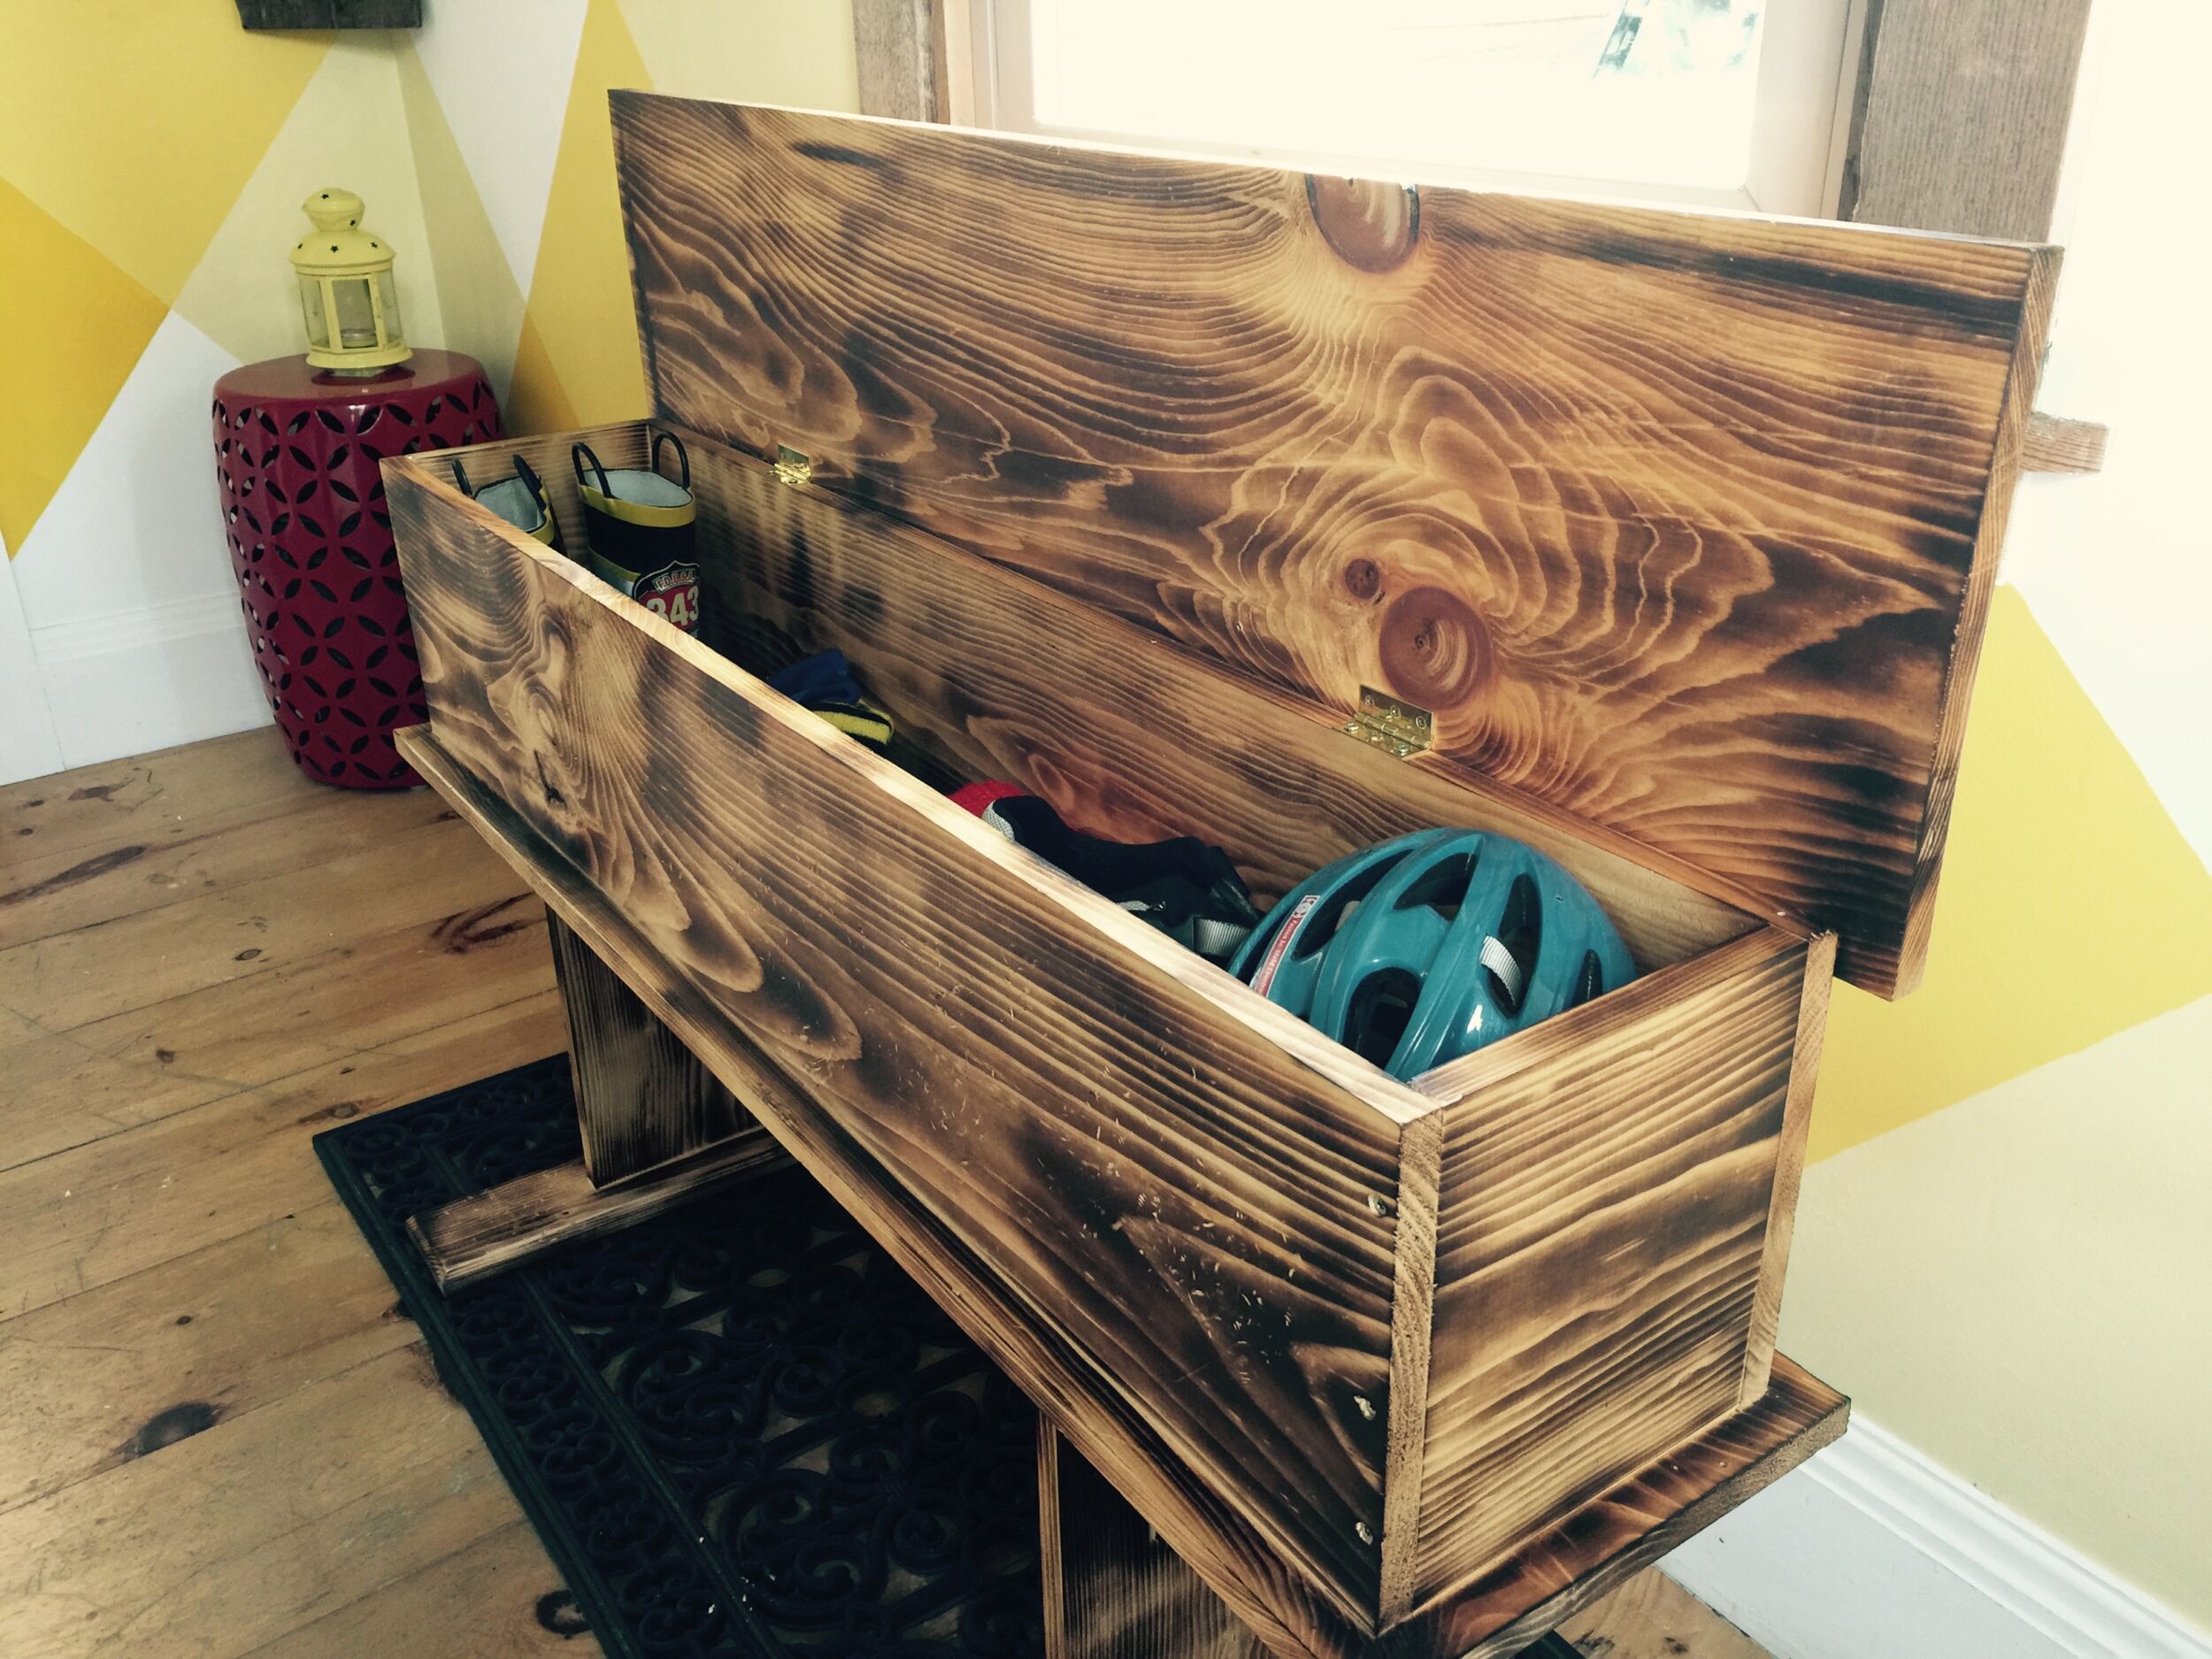
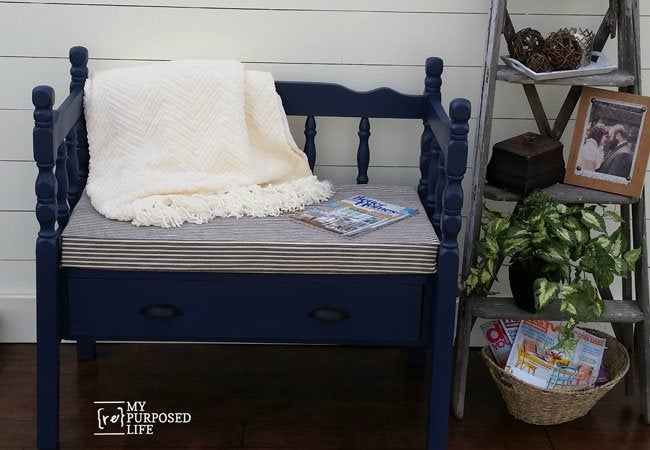
Add functionality and style to your bedroom with a DIY shutter storage bench. This project is perfect for those who want to make the most out of limited space while also adding a rustic touch to their bedroom. To make your own shutter storage bench, you will need two shutters, a wooden board, and basic tools. Start by sanding down the shutters and board, then painting or staining them to your desired finish. Next, attach the shutters to the sides of the board using screws or brackets. You can also add a bottom shelf for extra storage space. Your new shutter storage bench can be used to store extra blankets, pillows, or even shoes. It's a versatile piece of furniture that will add charm and character to your bedroom.DIY Shutter Storage Bench
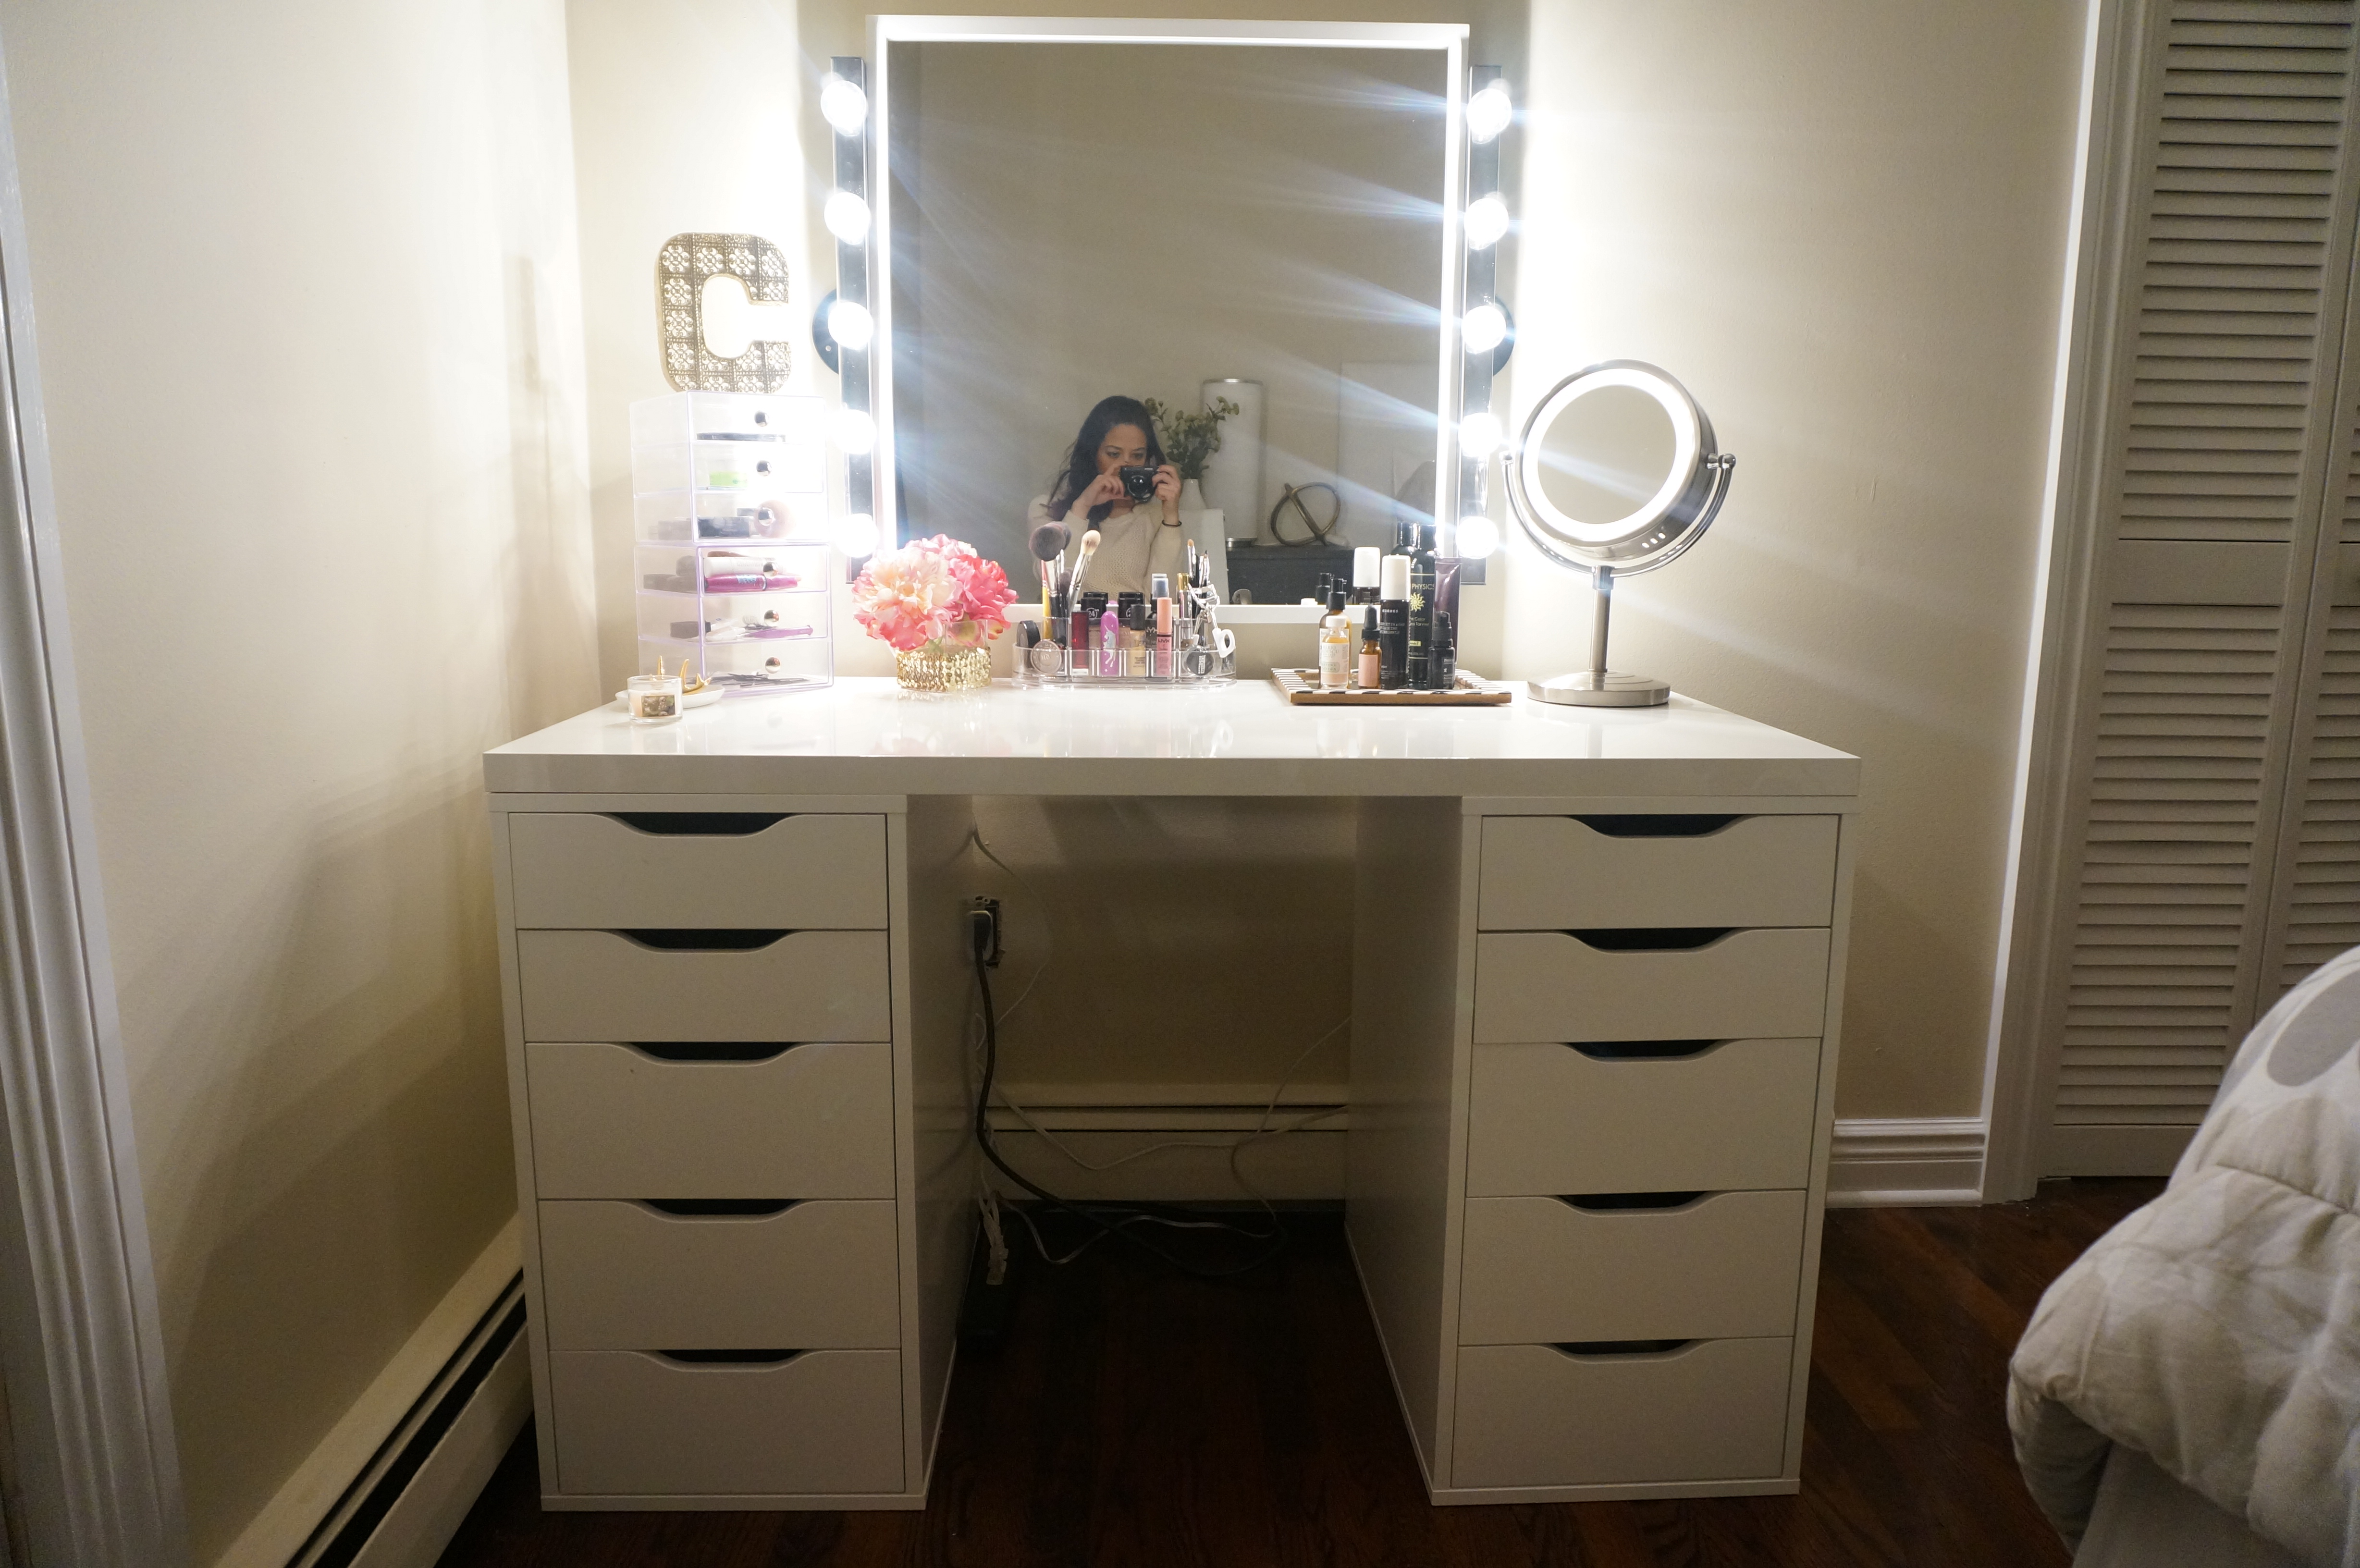
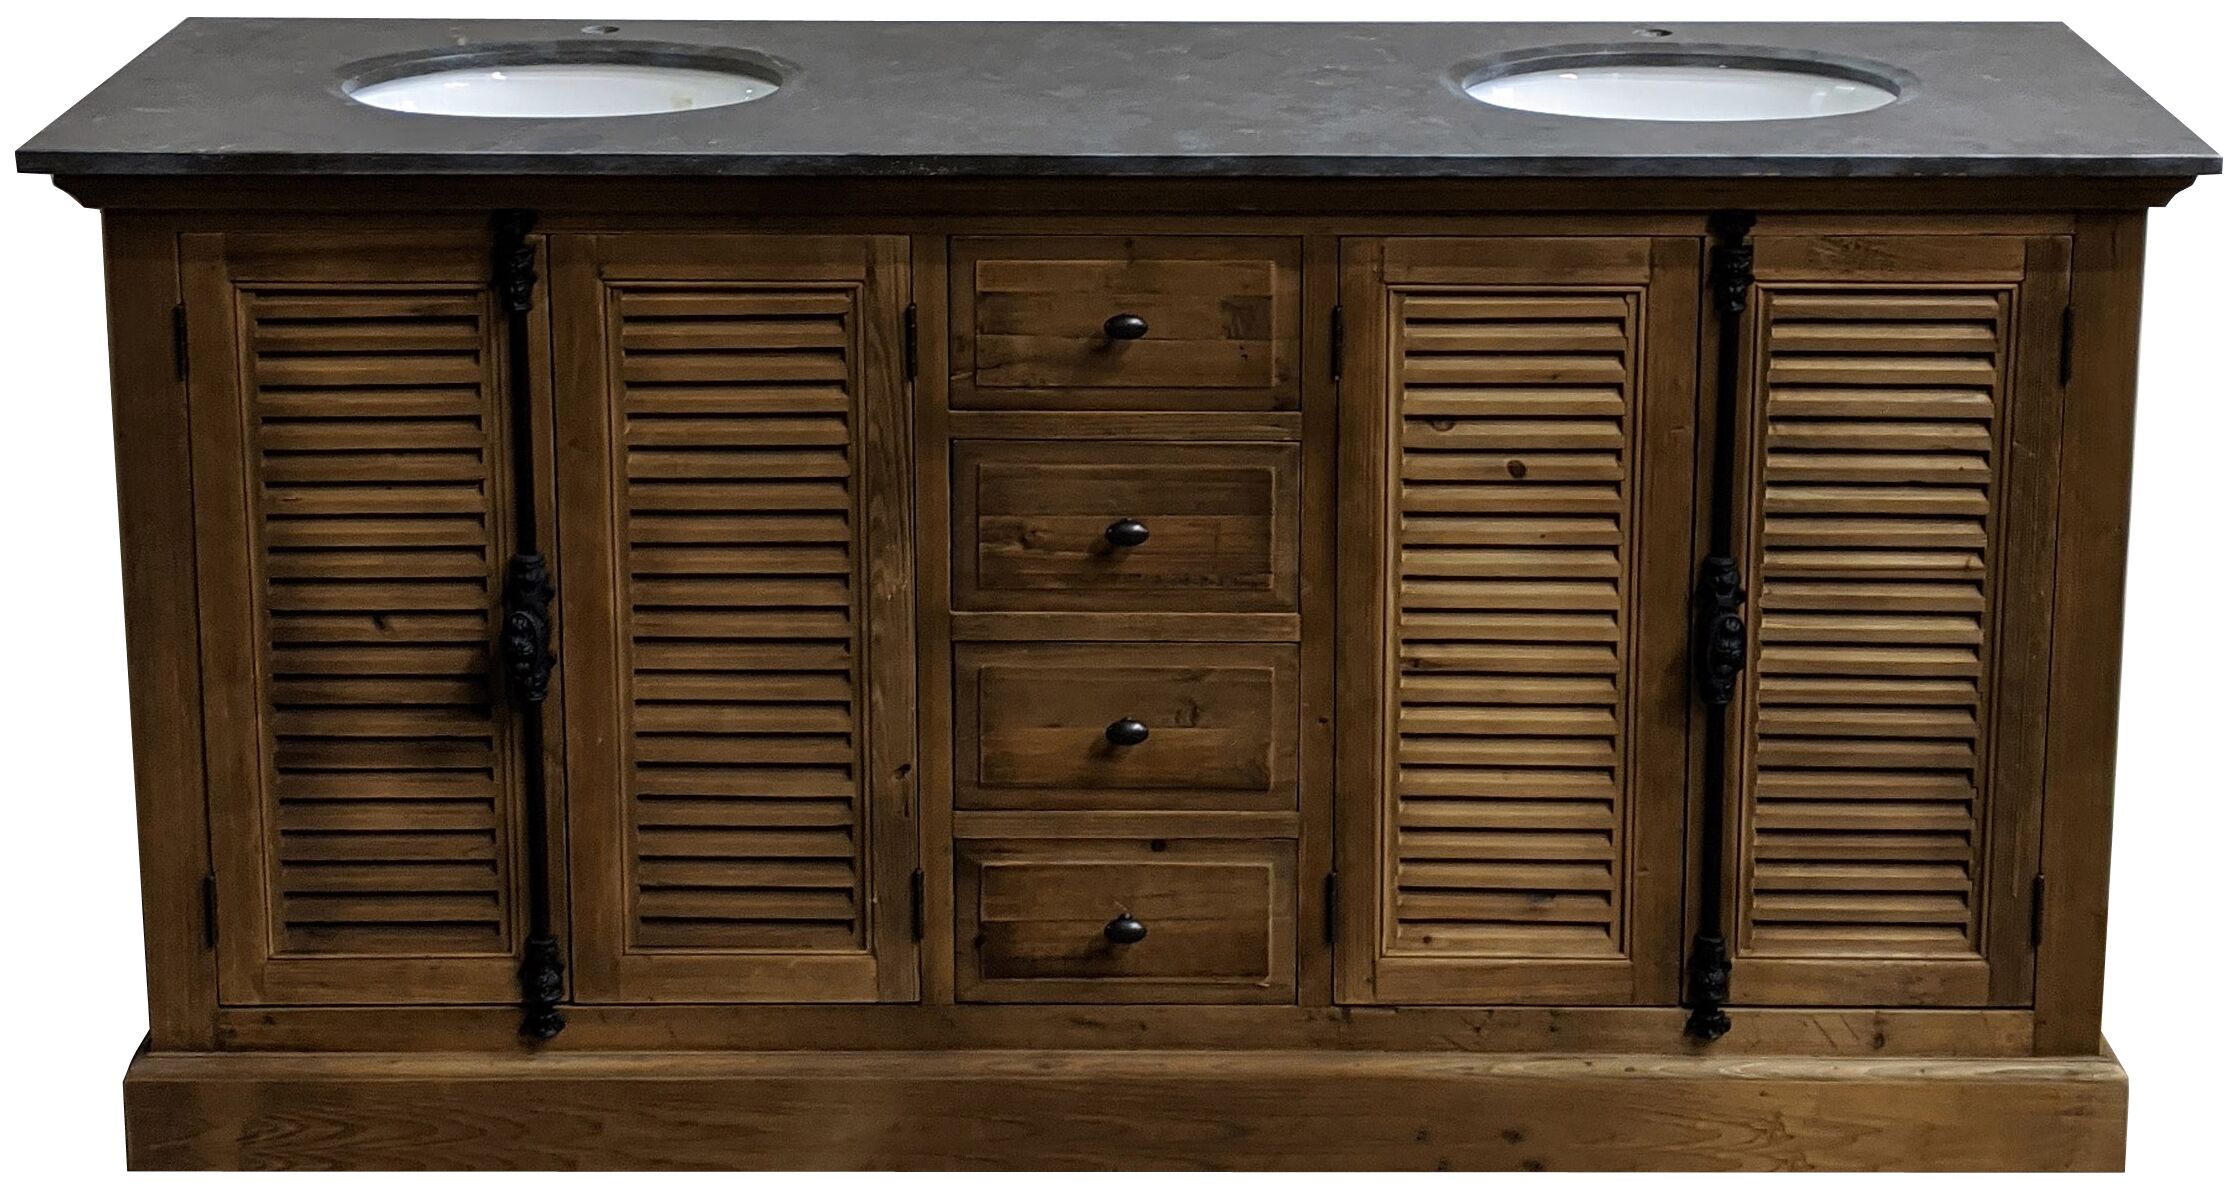
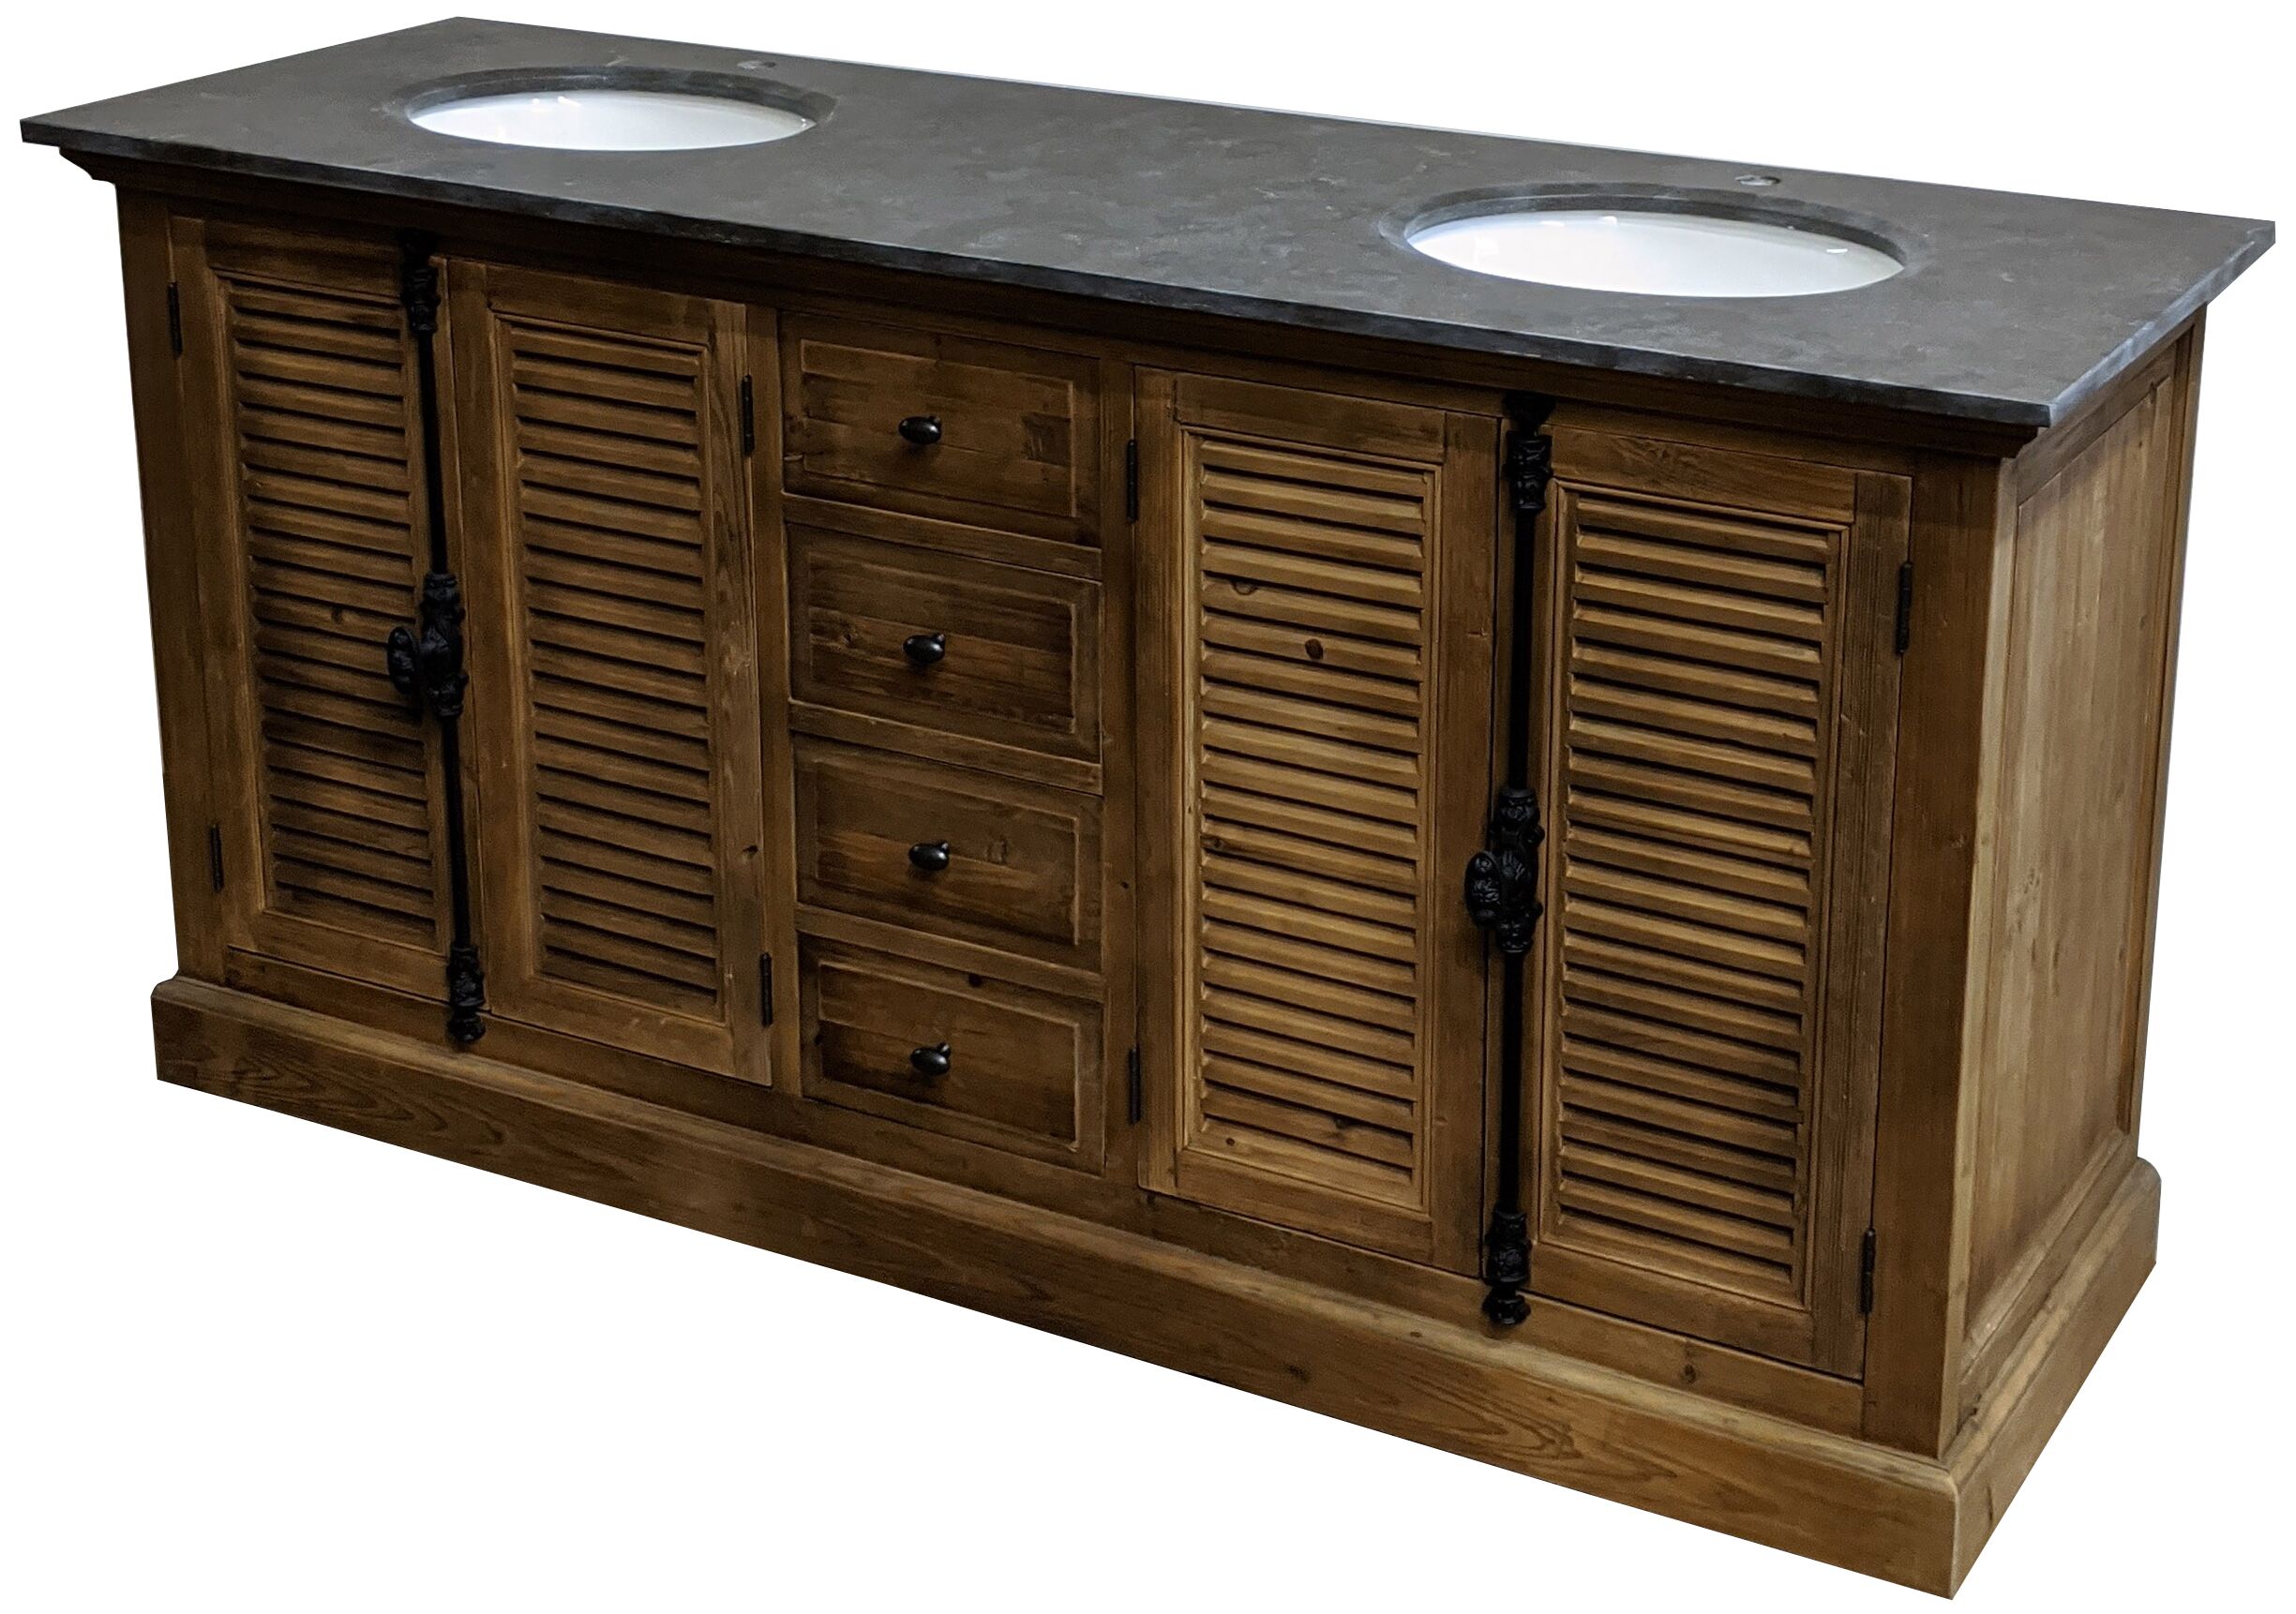
Create a charming and functional vanity for your bedroom with a DIY shutter vanity. This project is perfect for those who want to add a touch of vintage elegance to their bedroom decor. To make your own shutter vanity, you will need two shutters, a wooden board, a mirror, and some basic tools. Start by sanding down the shutters and board, then painting or staining them to your desired finish. Next, attach the shutters to the sides of the board using screws or brackets. Finally, attach the mirror to the top of the board using adhesive or brackets. Your new shutter vanity will not only provide a designated space for getting ready but also add charm and character to your bedroom. You can also add a small stool or chair to complete the look.DIY Shutter Vanity
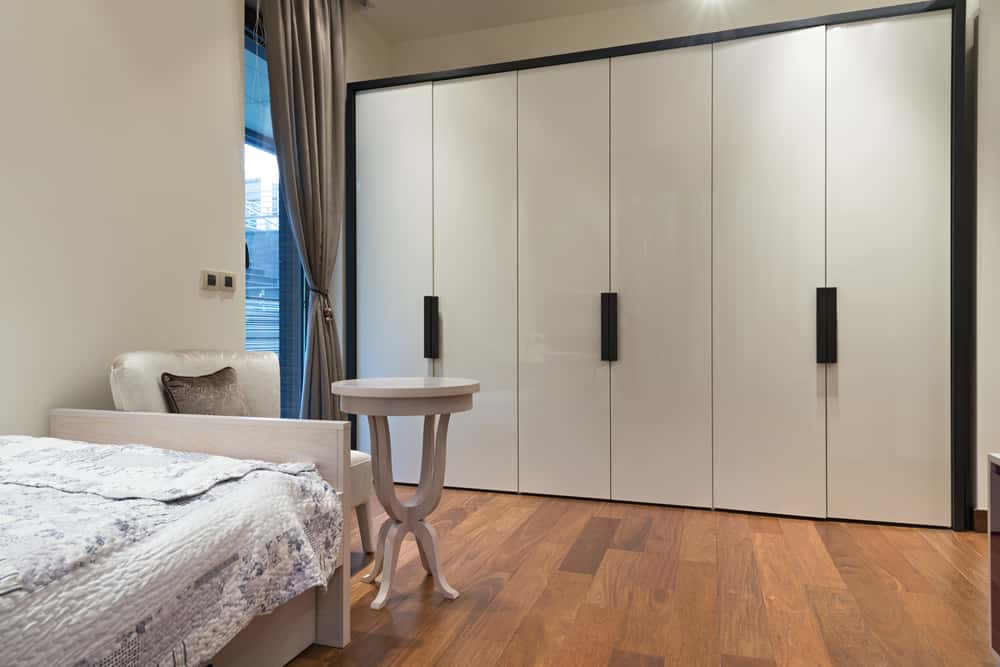
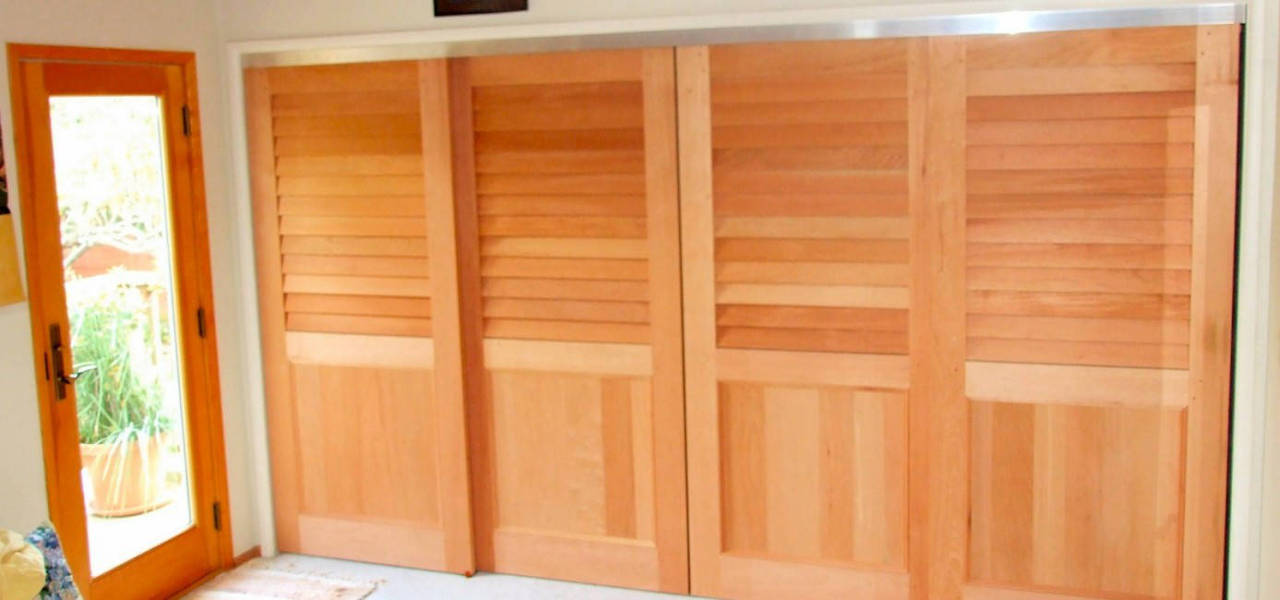
Add a touch of farmhouse charm to your bedroom by replacing your plain closet doors with DIY shutter closet doors. This project is perfect for those who want to add character and style to their bedroom while also hiding clutter. To make your own shutter closet doors, you will need two shutters of equal size and some basic tools. Start by sanding down the shutters and painting or staining them to your desired finish. Next, attach the shutters to each side of the closet opening using hinges. You can also add a latch or handle for easy opening and closing. Your new shutter closet doors will not only add a unique and rustic touch to your bedroom but also provide a functional and stylish solution for hiding your wardrobe.DIY Shutter Closet Doors
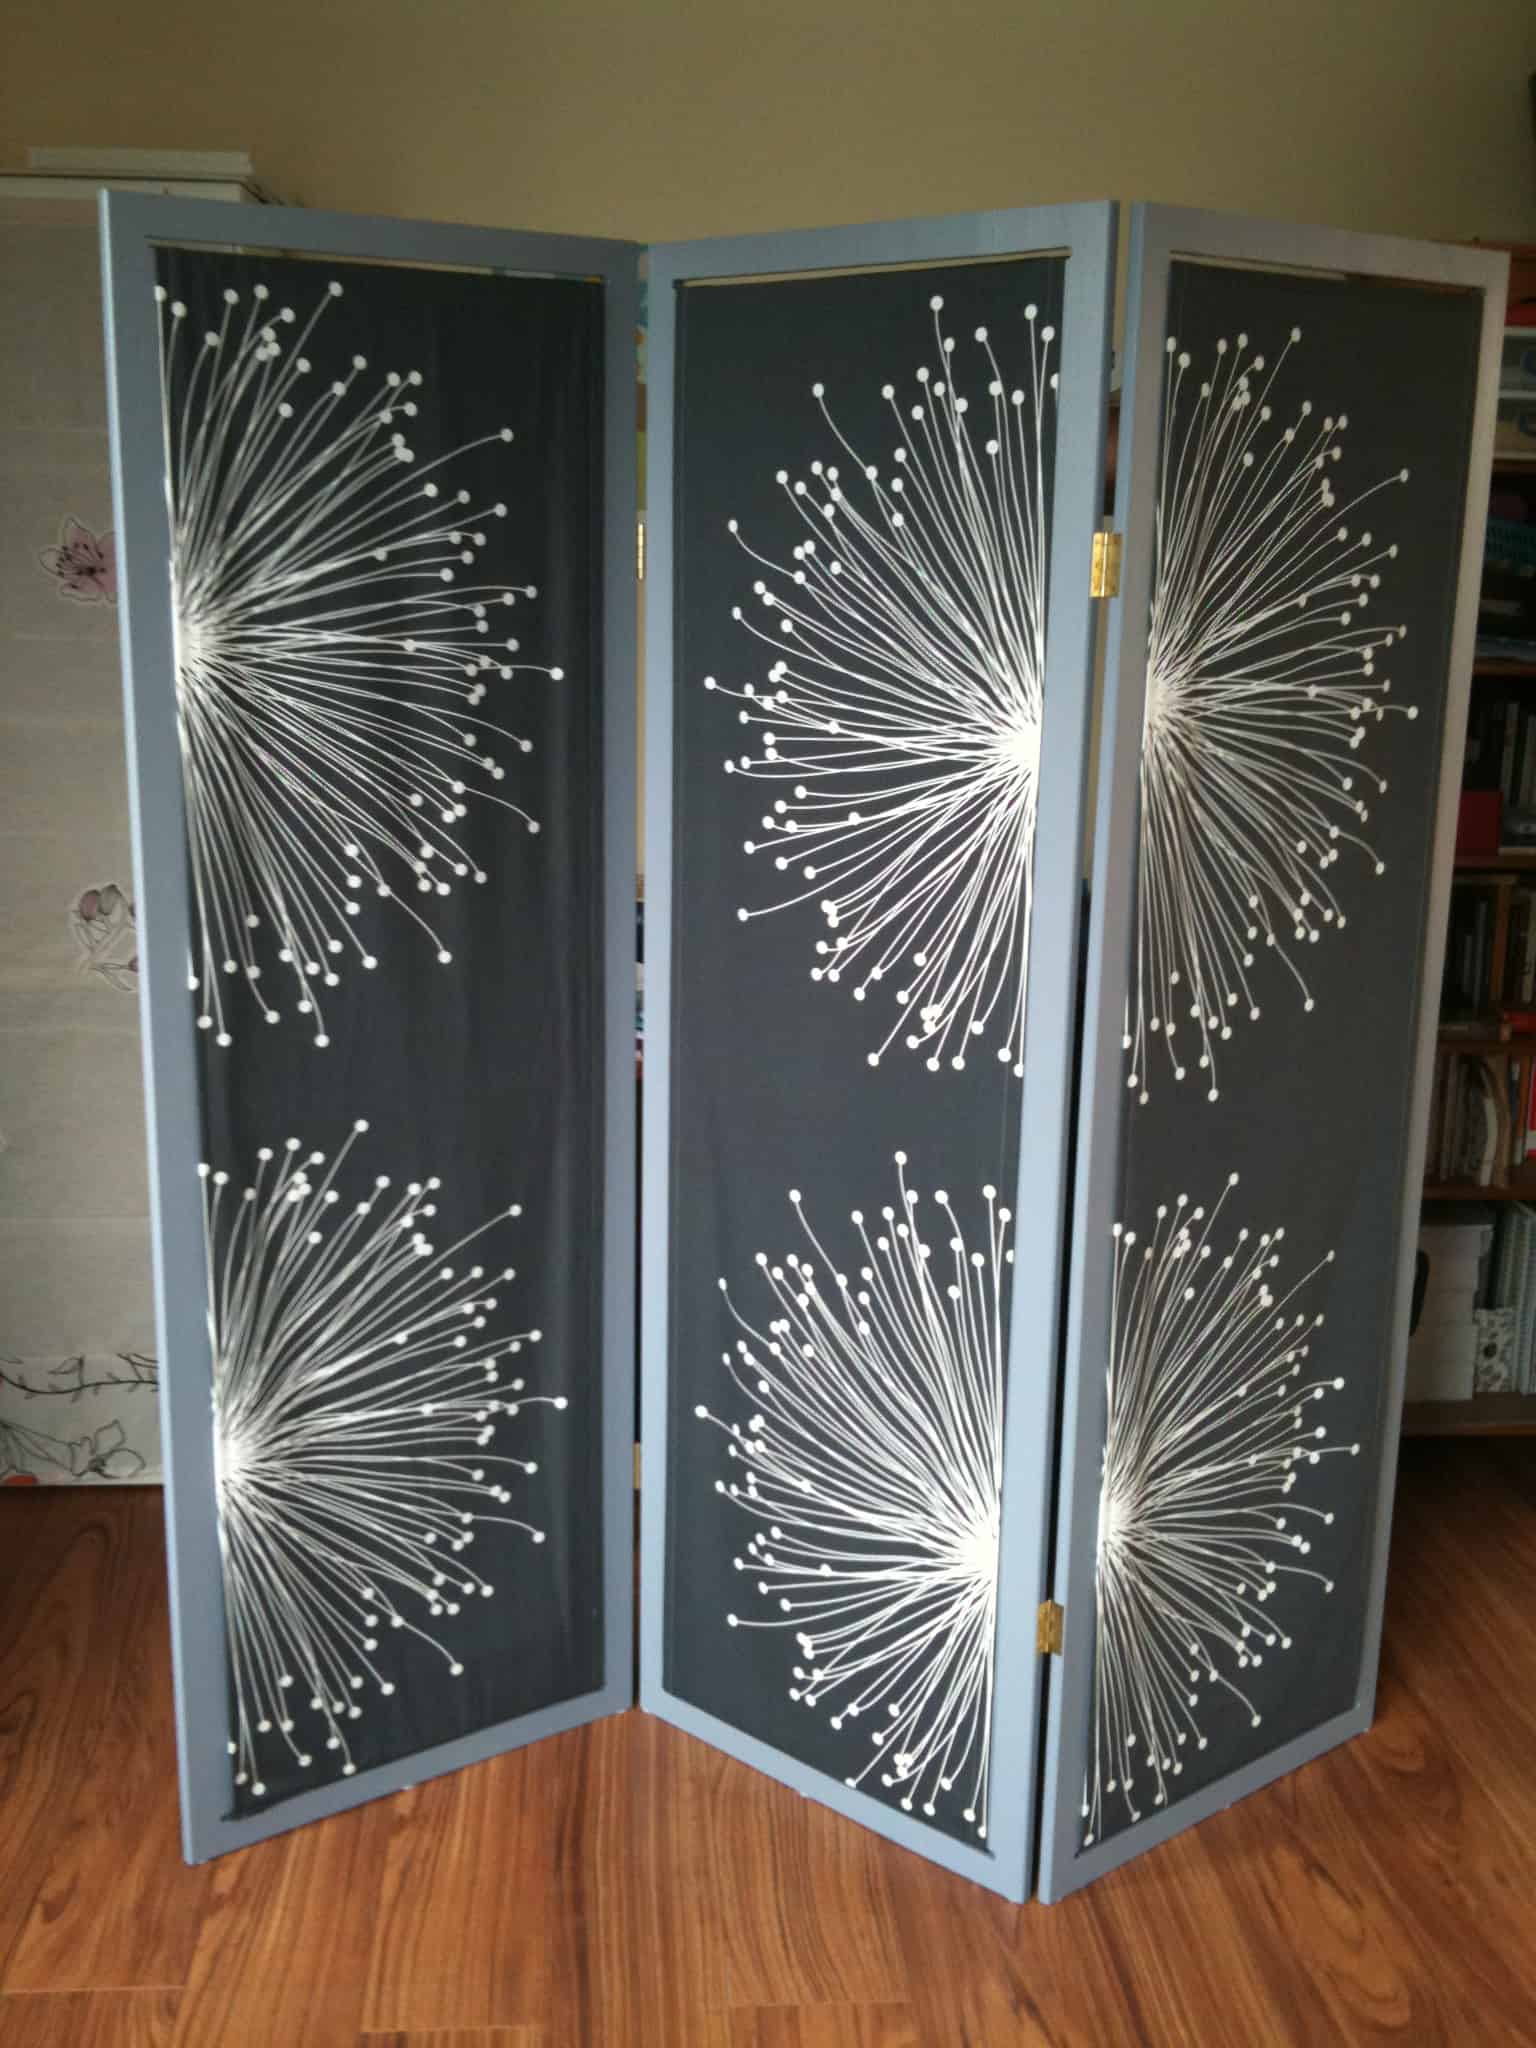
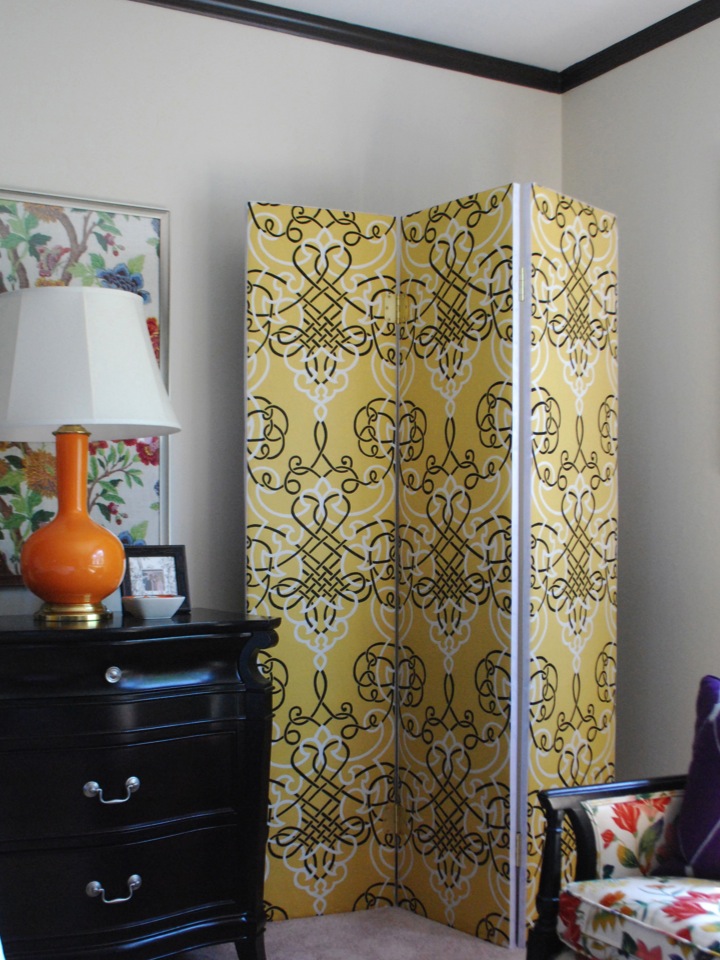
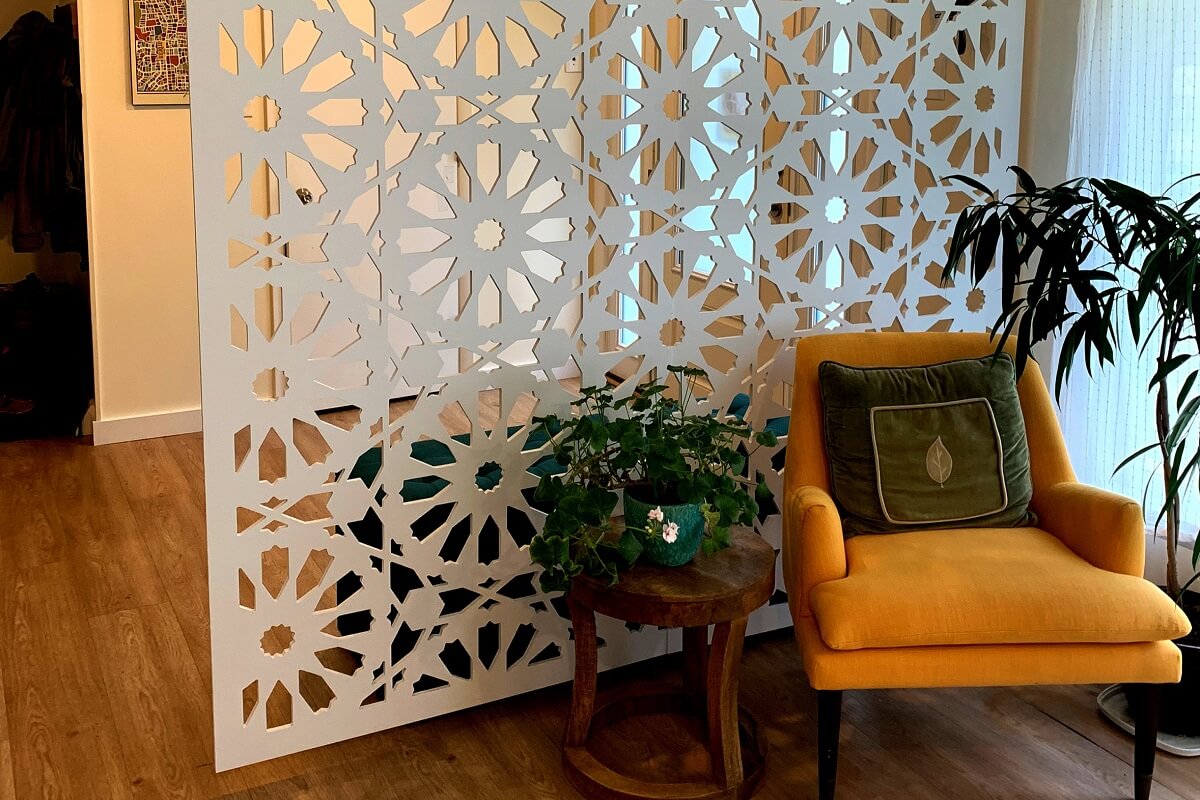
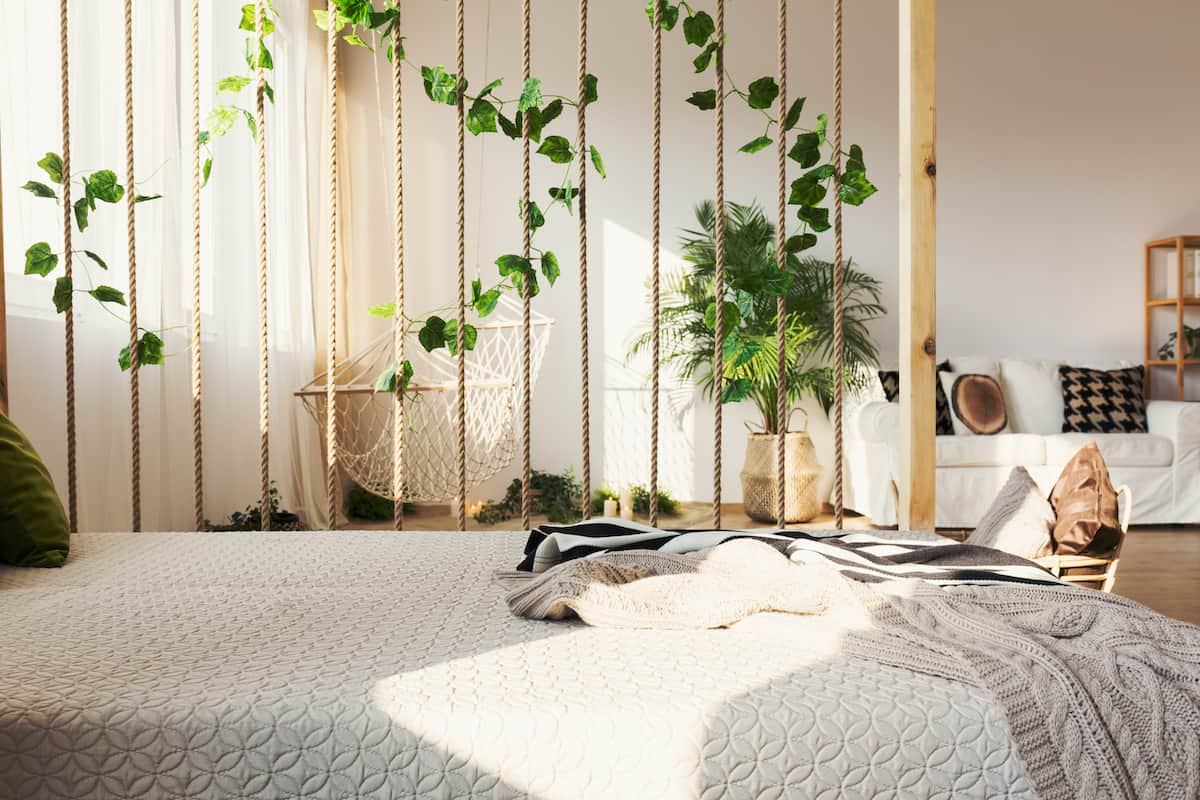
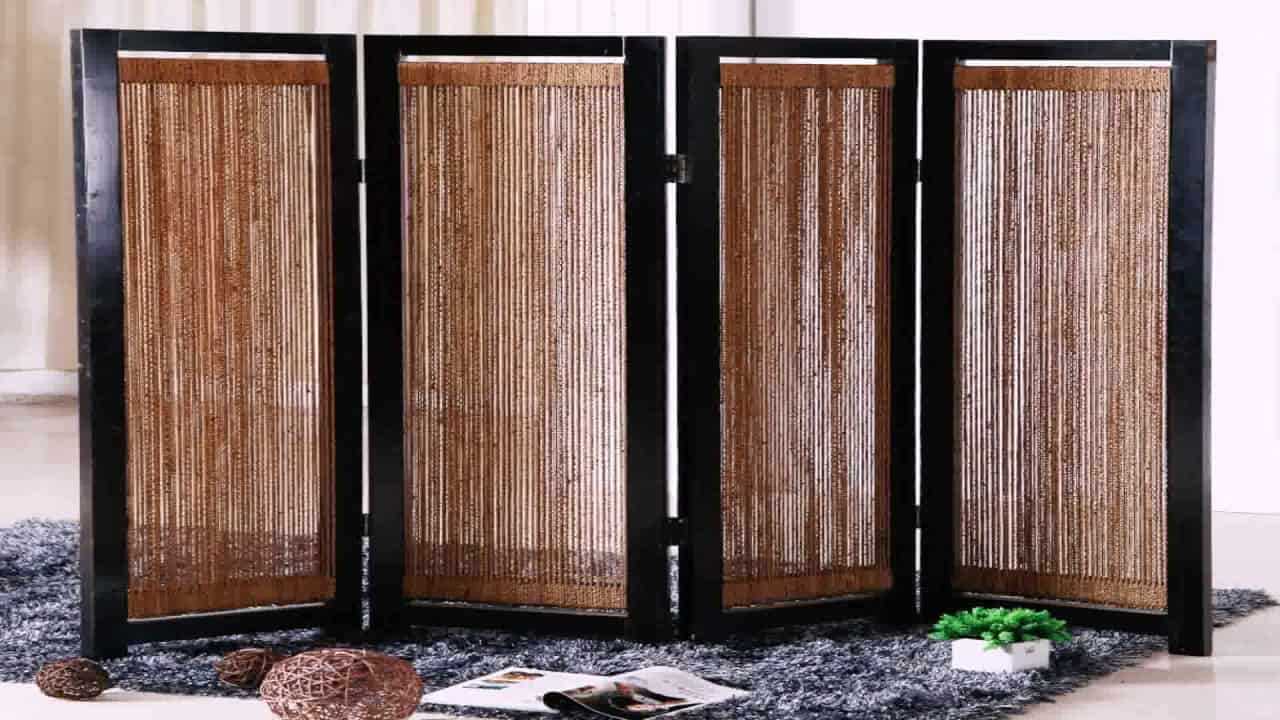
Separate your bedroom or create a cozy reading nook with a DIY shutter room divider. This project is perfect for those who want to add a touch of privacy and style to their bedroom. To make your own shutter room divider, you will need three shutters of equal size and some basic tools. Start by sanding down the shutters and painting or staining them to your desired finish. Next, attach the shutters to each other using hinges. You can also add legs or wheels to make it easier to move around. Your new shutter room divider can be used to create a separate dressing area or to add a cozy corner to your bedroom. You can also decorate it with string lights or plants for added charm.DIY Shutter Room Divider
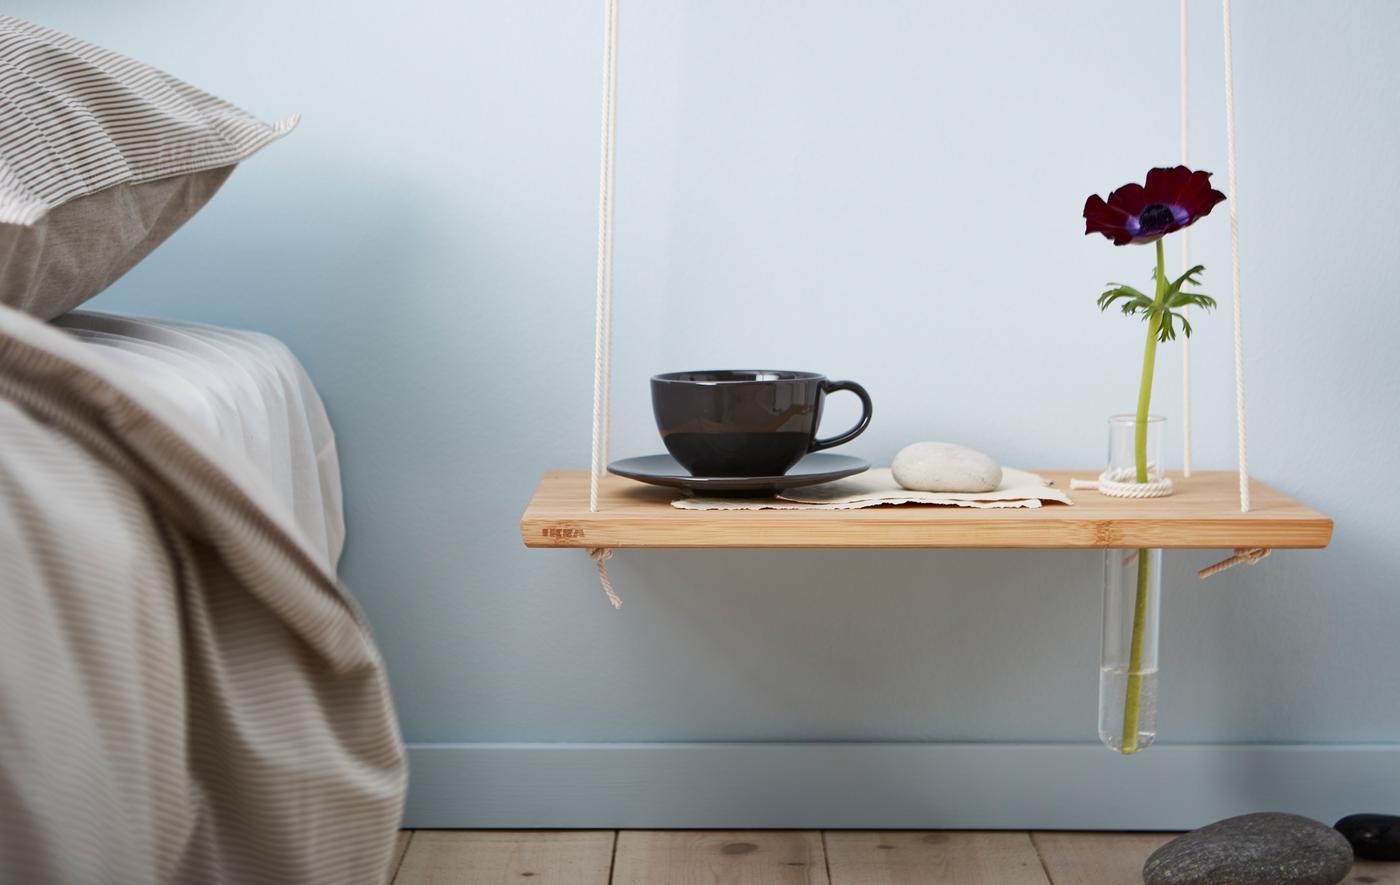
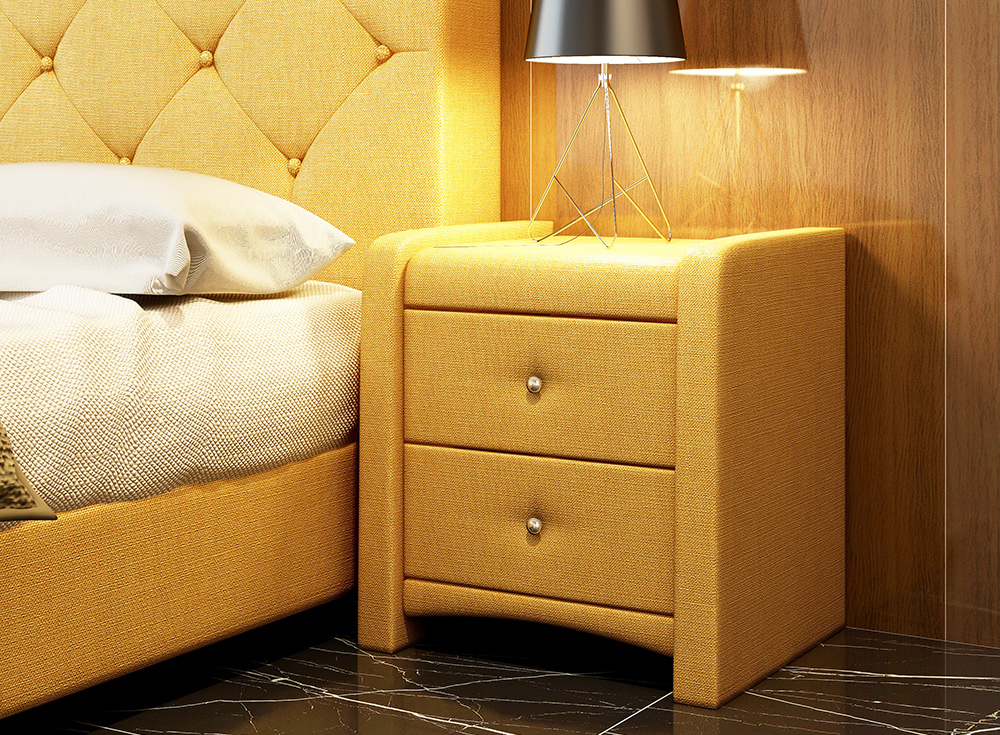
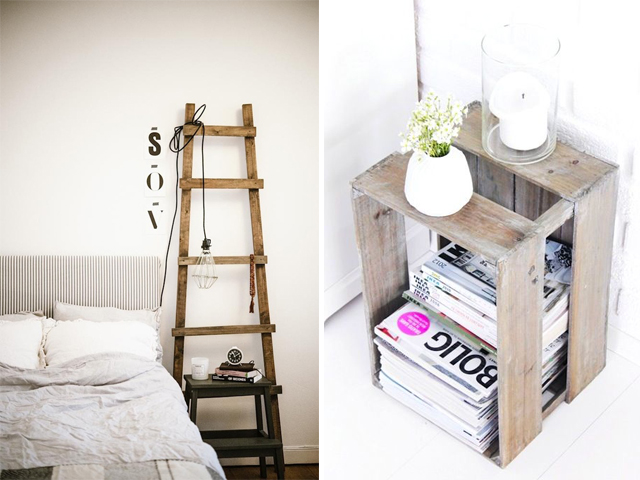
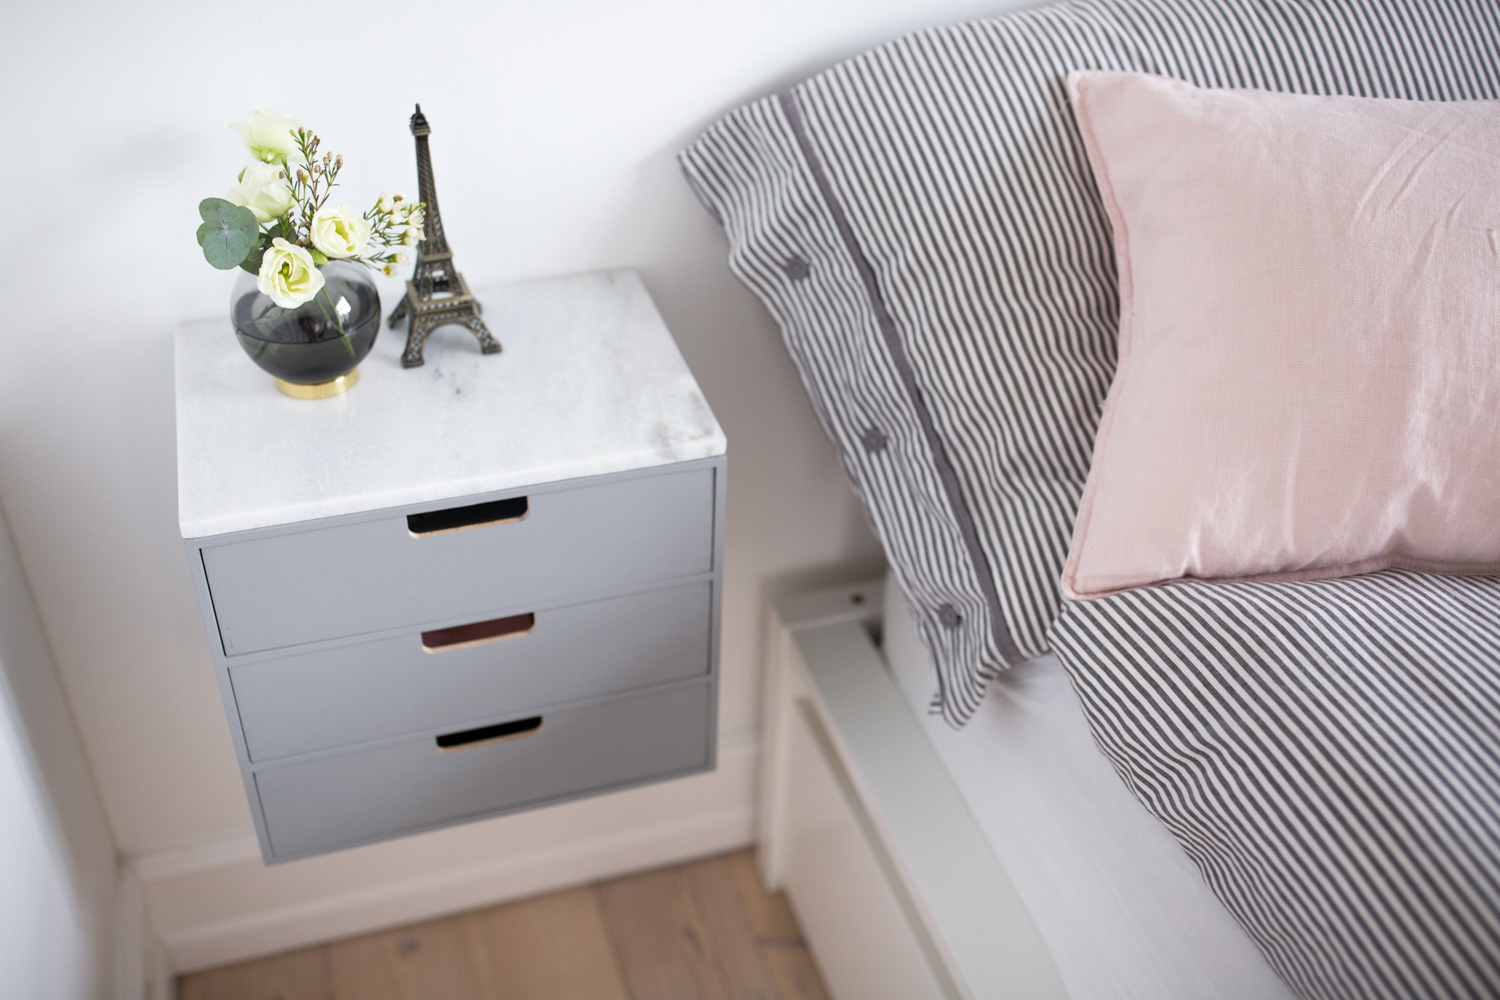
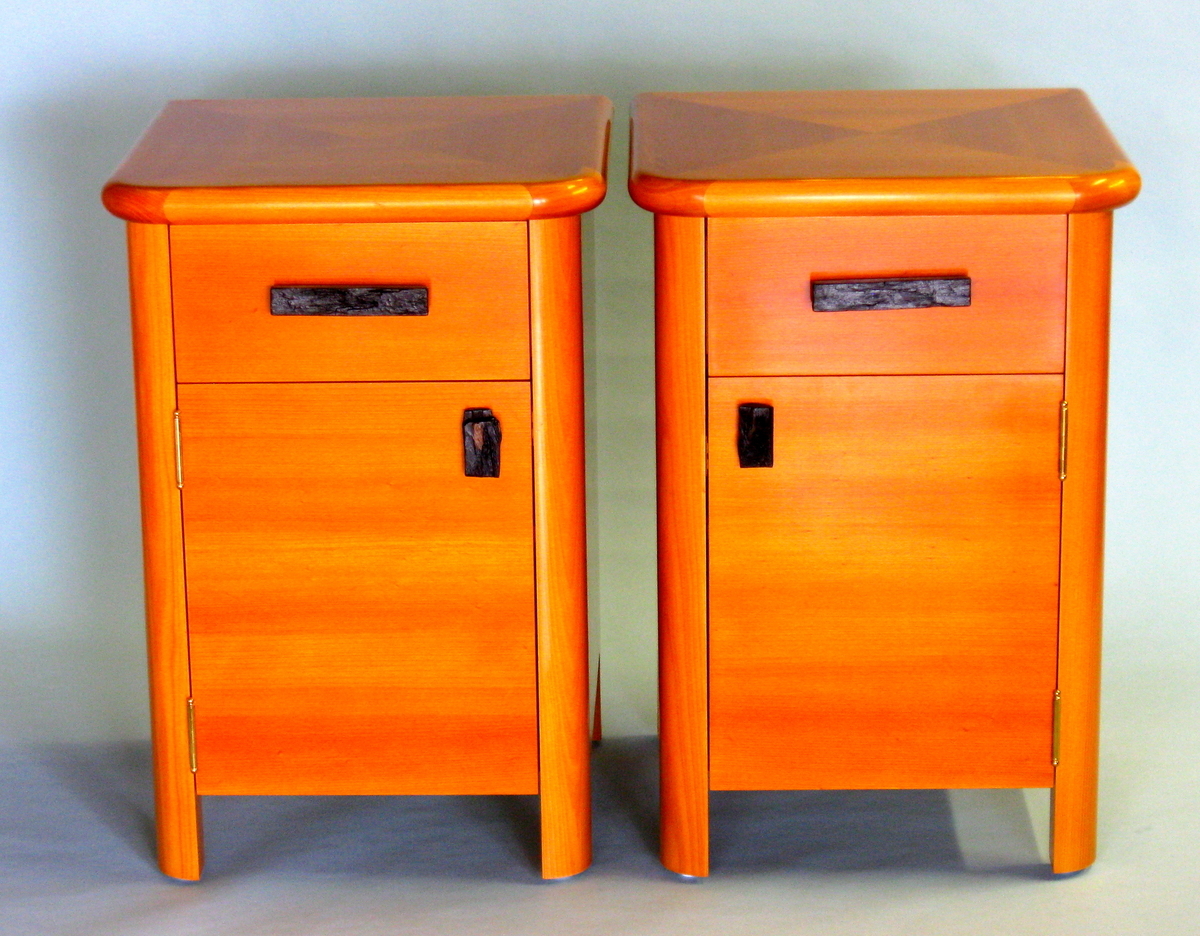
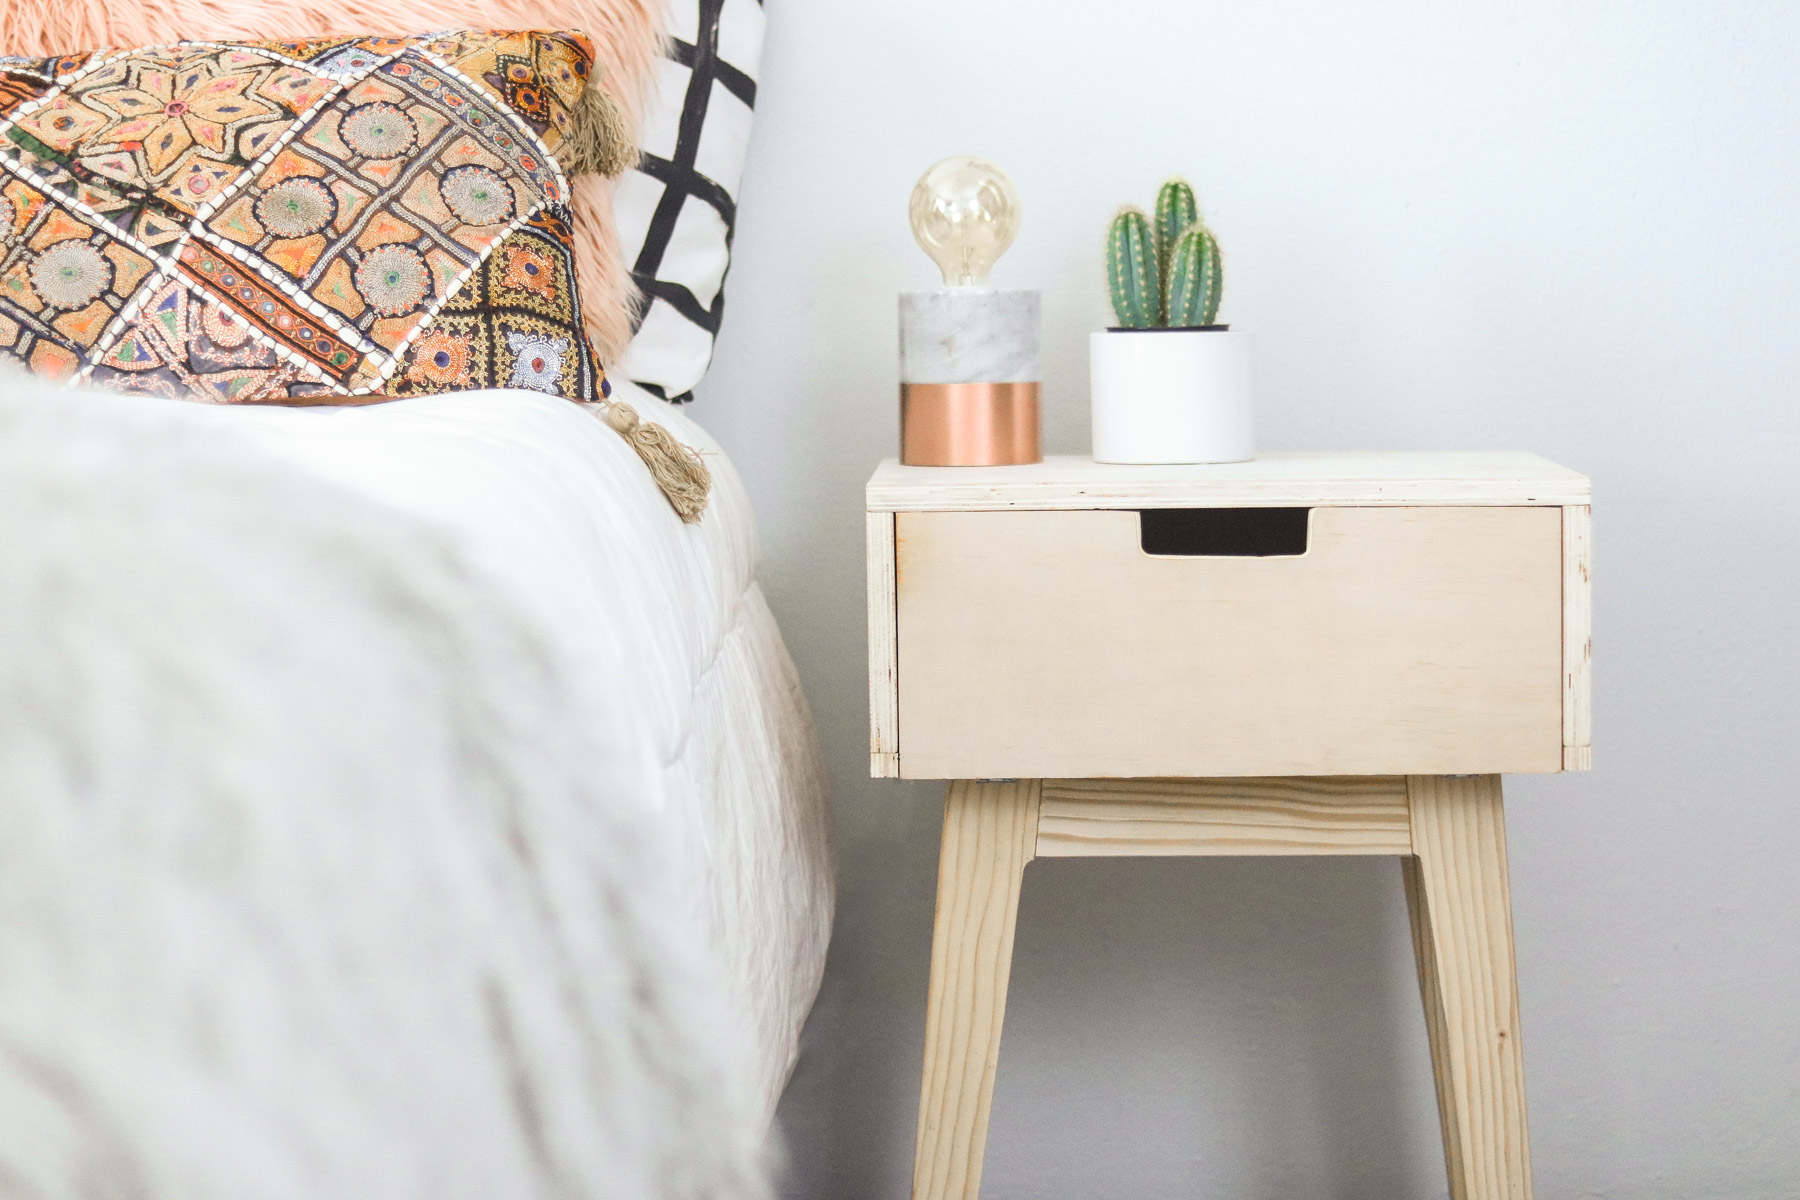
Add a touch of character and charm to your bedside with a DIY shutter bedside table. This project is perfect for those who want to add a unique and vintage touch to their bedroom decor. To make your own shutter bedside table, you will need one shutter and a small wooden board or crate. Start by sanding down the shutter and painting or staining it to your desired finish. Next, attach the shutter to the board or crate using screws or brackets. You can also add a bottom shelf for extra storage space. Your new shutter bedside table will not only provide a designated spot for your alarm clock and bedside essentials but also add a unique and charming touch to your bedroom. It's a simple and affordable project that will enhance the overall look and feel of your sleeping space.DIY Shutter Bedside Table
Dress Up Your Bedroom with DIY Shutter Furniture
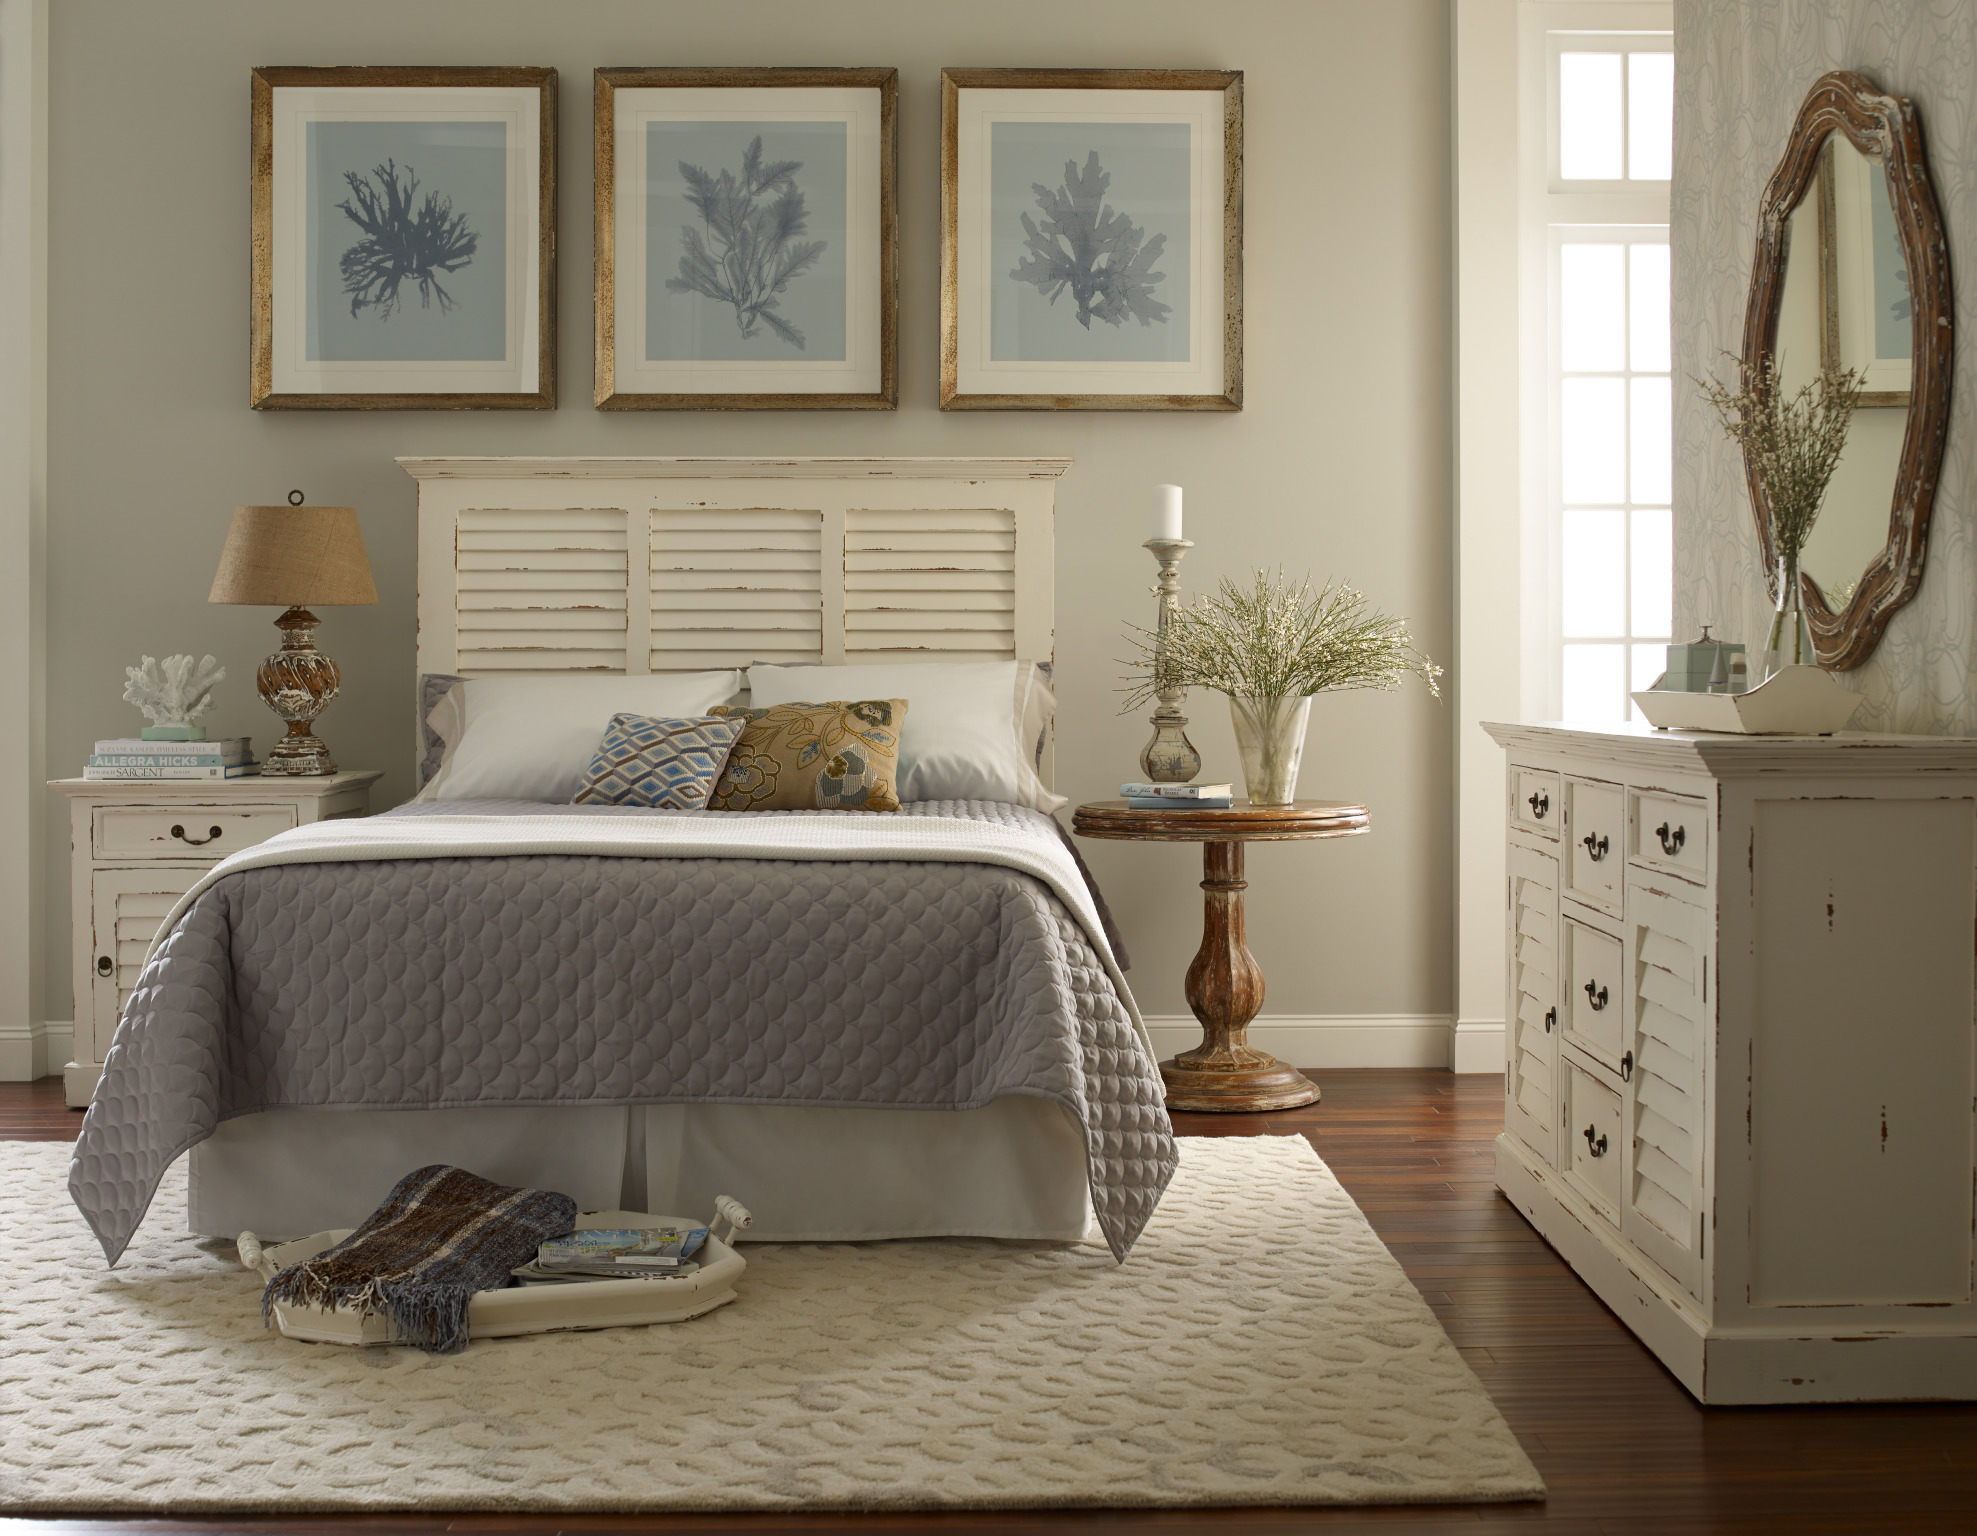
Why Choose DIY Shutter Furniture
 Are you tired of the same old bedroom furniture that can be found in any department store? Are you looking for a unique and creative way to spice up your bedroom design? Look no further than DIY shutter furniture! Not only is it a budget-friendly option, but it also adds a touch of character and charm to any room.
Get Creative with Shutter Headboards
 One of the main advantages of using shutter furniture is the versatility it offers. With just a few simple materials and tools, you can create a one-of-a-kind headboard for your bed. Whether you prefer a rustic, farmhouse look or a more modern and sleek design, shutter headboards can be customized to fit your personal style.
Using
old shutters as the main material not only adds a unique touch, but also promotes sustainability and repurposing.
Transform Your Dresser with Shutter Drawers
 Another way to incorporate shutter furniture into your bedroom is by using shutters as drawer fronts for your dresser. This simple and easy DIY project can instantly transform a plain and boring dresser into a statement piece.
Use
bold and bright colors to make a statement or opt for
neutral and distressed shutters for a more subtle and shabby chic look.
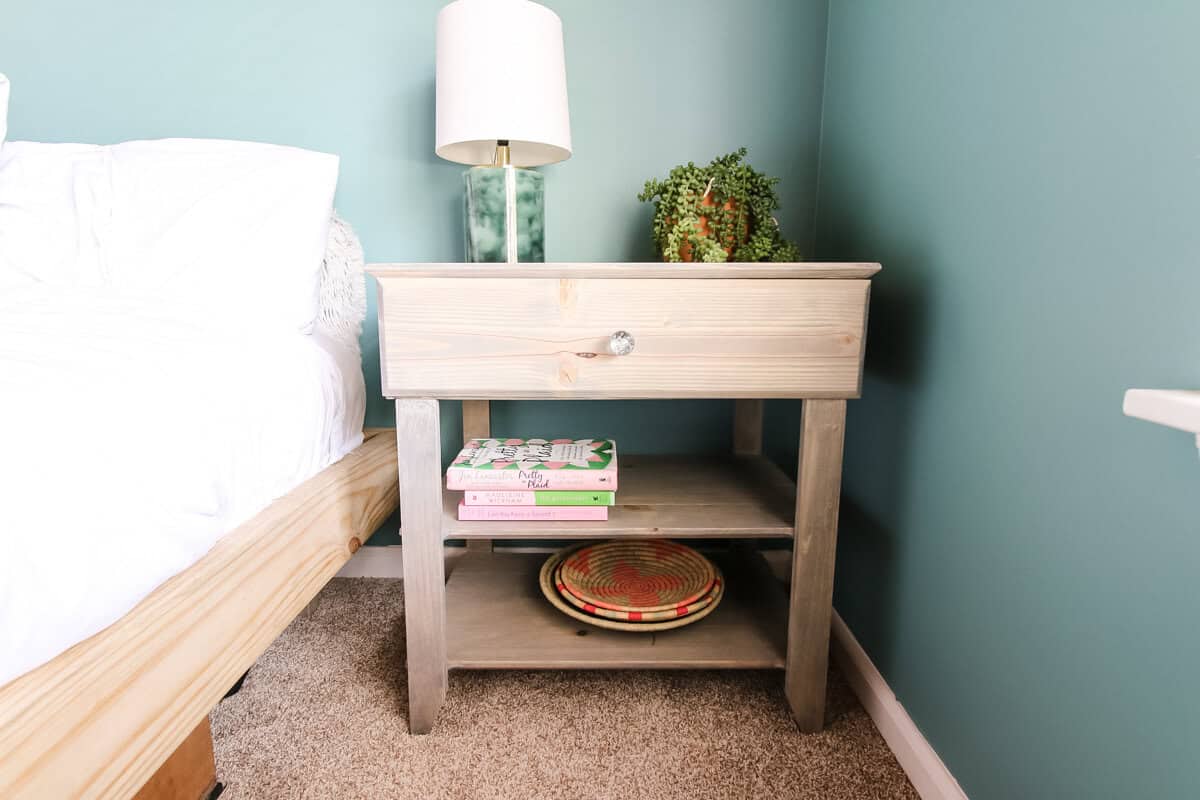
Add Storage with Shutter Nightstands
 Tired of having cluttered bedside tables? Say goodbye to that problem with shutter nightstands. Not only do they add a unique touch to your bedroom, but they also provide additional storage space. Use
shutters with multiple panels or shelves for extra storage or opt for a single panel shutter for a minimalist look.
Conclusion
 In conclusion, DIY shutter furniture is a great way to add character, charm, and functionality to your bedroom design. With endless customization options and budget-friendly materials, you can easily transform your bedroom into a unique and personalized space.
So why settle for generic furniture when you can create your own unique pieces with DIY shutter furniture?
Try out some of these ideas and see the difference it makes in your bedroom!






























:max_bytes(150000):strip_icc()/build-something-diy-vanity-594402125f9b58d58ae21158.jpg)




:max_bytes(150000):strip_icc()/GettyImages-543342926-932a13b405494f258f622d406bec43b3.jpg)




:max_bytes(150000):strip_icc()/DeconstructedDividerWall-591257da3df78c92830ea2df.jpg)

/Roomdivider-GettyImages-1130430856-40a5514b6caa41d19185ef69d2e471e1.jpg)


