Are you tired of your old, worn-out bedroom furniture? Do you want to give it a new life and a fresh look without breaking the bank? Look no further – DIY furniture refinishing is the perfect solution for you! Not only is it budget-friendly, but it also allows you to express your creativity and add a personal touch to your furniture. In this article, we will guide you through the process and provide you with all the tips and tricks to help you achieve professional-looking results.DIY Furniture Refinishing: How to Refinish Furniture Like a Pro
Refinishing furniture may seem like a daunting task, but with the right tools and techniques, anyone can do it. The first step is to determine the type of finish on your furniture – is it painted, stained, or has a clear coating? This will determine the method you will use to refinish it. Next, gather all the necessary supplies, including sandpaper, paint or stain, brushes, and a protective finish. Make sure to work in a well-ventilated area and wear protective gear to avoid any health hazards.How to Refinish Furniture | DIY Furniture Refinishing
Now that you have your supplies ready, it's time to start refinishing your bedroom furniture. One of the most important tips is to always sand in the direction of the wood grain to avoid damaging the surface. Use a medium-grit sandpaper to remove the old finish, and then switch to a finer grit for a smooth finish. Another tip is to use a wood filler to fill in any cracks or holes before sanding. This will ensure a seamless and professional-looking finish.DIY Furniture Refinishing Tips and Tricks
Step 1: Remove any hardware such as knobs or handles from your furniture. If they cannot be removed, cover them with painter's tape to protect them from the paint or stain.
Step 2: Sand the furniture using a medium-grit sandpaper, following the wood grain.
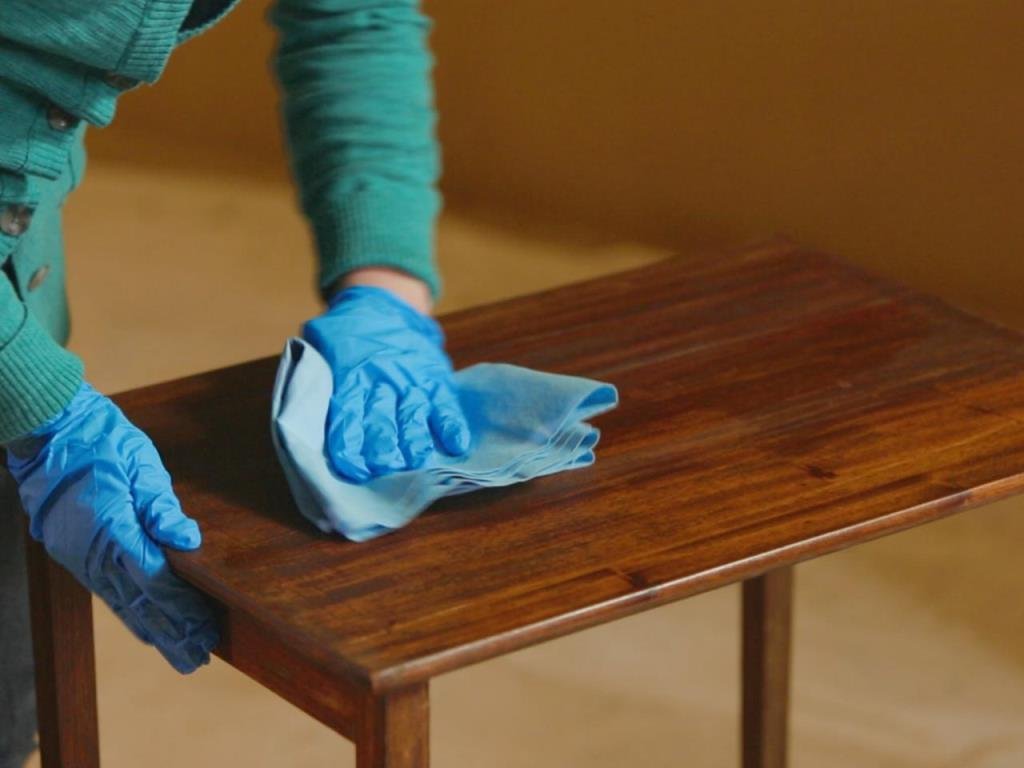
Step 3: Wipe off any dust with a damp cloth and let it dry.
Step 4: Apply a coat of primer to ensure that the new finish will adhere properly.
Step 5: Let the primer dry, and then sand with a fine-grit sandpaper.
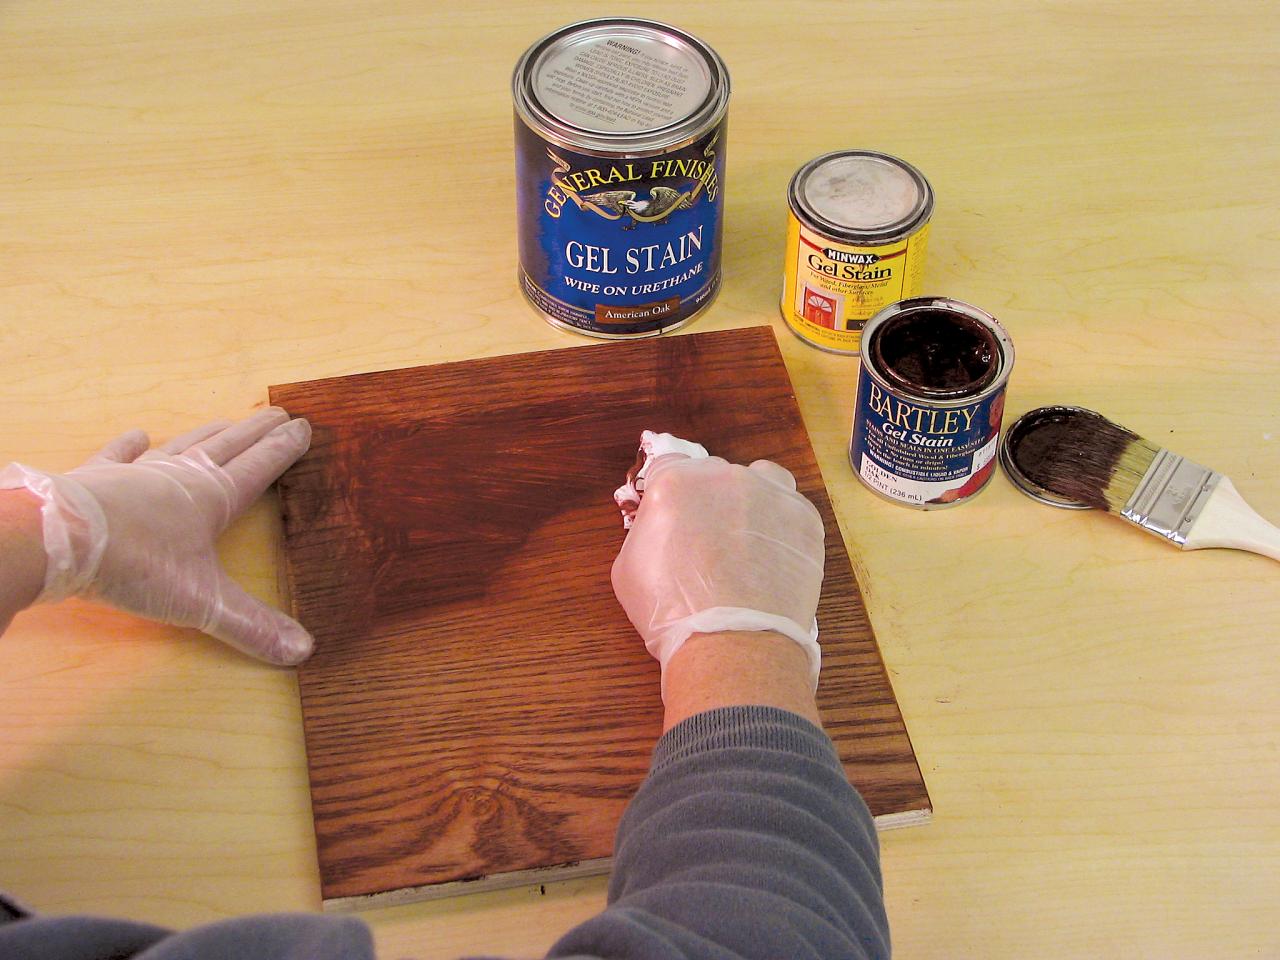
Step 6: Apply your chosen paint or stain, following the manufacturer's instructions.
Step 7: Let the first coat dry completely, and then apply a second coat if necessary.
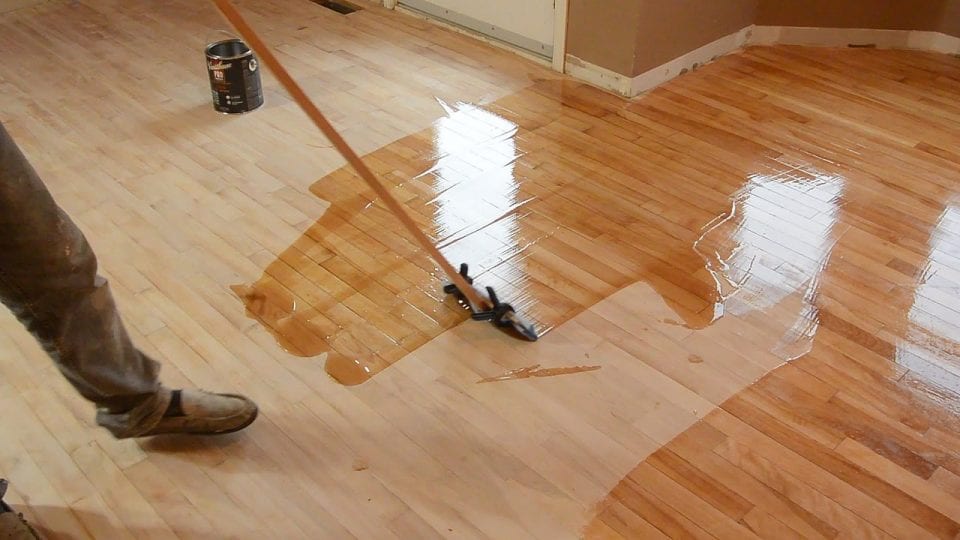
Step 8: Once the final coat is dry, apply a protective finish to seal the new finish and protect it from wear and tear.Refinishing Bedroom Furniture: A Step-by-Step Guide
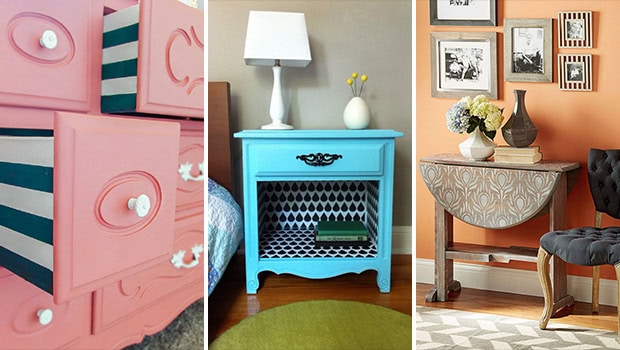
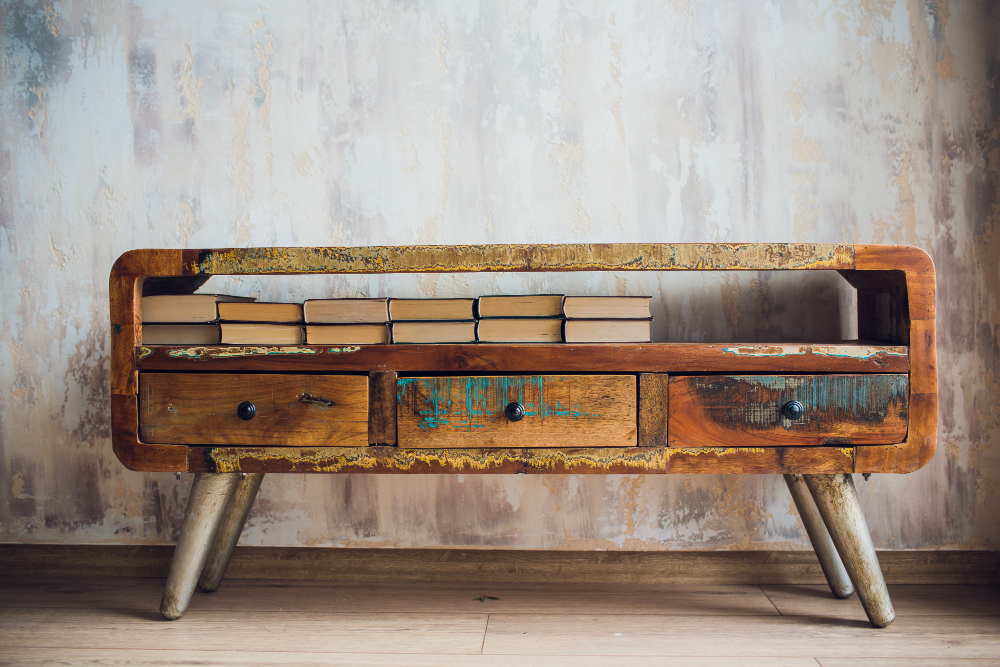
Refinishing your bedroom furniture doesn't have to be limited to just painting or staining it. Get creative and try out different techniques to give your furniture a unique and personalized look. You can use stencils to add patterns or designs, distress the wood for a rustic look, or even decoupage with fabric or paper. The possibilities are endless, and you can let your imagination run wild!DIY Bedroom Furniture Makeover Ideas
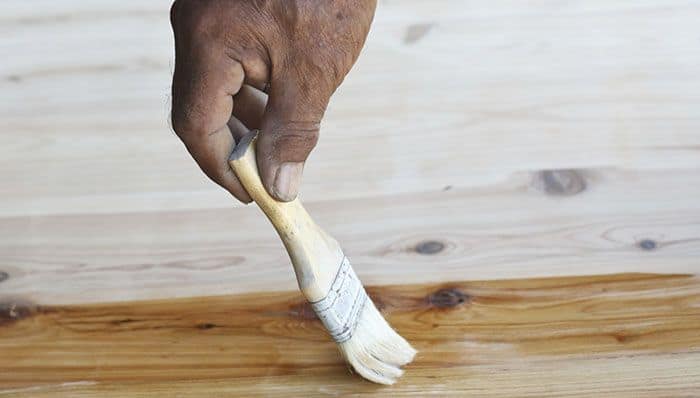
Refinishing old furniture not only saves you money but also helps reduce waste and gives new life to old pieces. However, it's essential to know the right techniques to achieve a beautiful and long-lasting finish. For example, when staining, always use long and even strokes in the direction of the wood grain. When painting, use a high-quality paintbrush and apply thin coats to avoid drips and brush marks. Remember to take your time and be patient – the end result will be worth it!Refinishing Old Furniture: DIY Techniques for a Fresh Look
Before embarking on your DIY furniture refinishing project, make sure you have all the necessary supplies. This includes sandpaper of different grits, primer, paint or stain, brushes, wood filler, protective finish, and painter's tape. It's also a good idea to have a drop cloth or newspaper to protect your workspace from any spills or drips. Having all your supplies ready will make the process smoother and more efficient.DIY Furniture Refinishing Supplies You Need to Get Started
If you're new to DIY furniture refinishing, it can be overwhelming to know where to start. The key is to take it one step at a time and follow the proper techniques. Start with a smaller piece of furniture to gain confidence and experience before tackling larger projects. Watch tutorials or read guides to learn different techniques and tips from experienced DIYers. With practice, you'll become a pro at refinishing wood furniture in no time!How to Refinish Wood Furniture: A Beginner's Guide
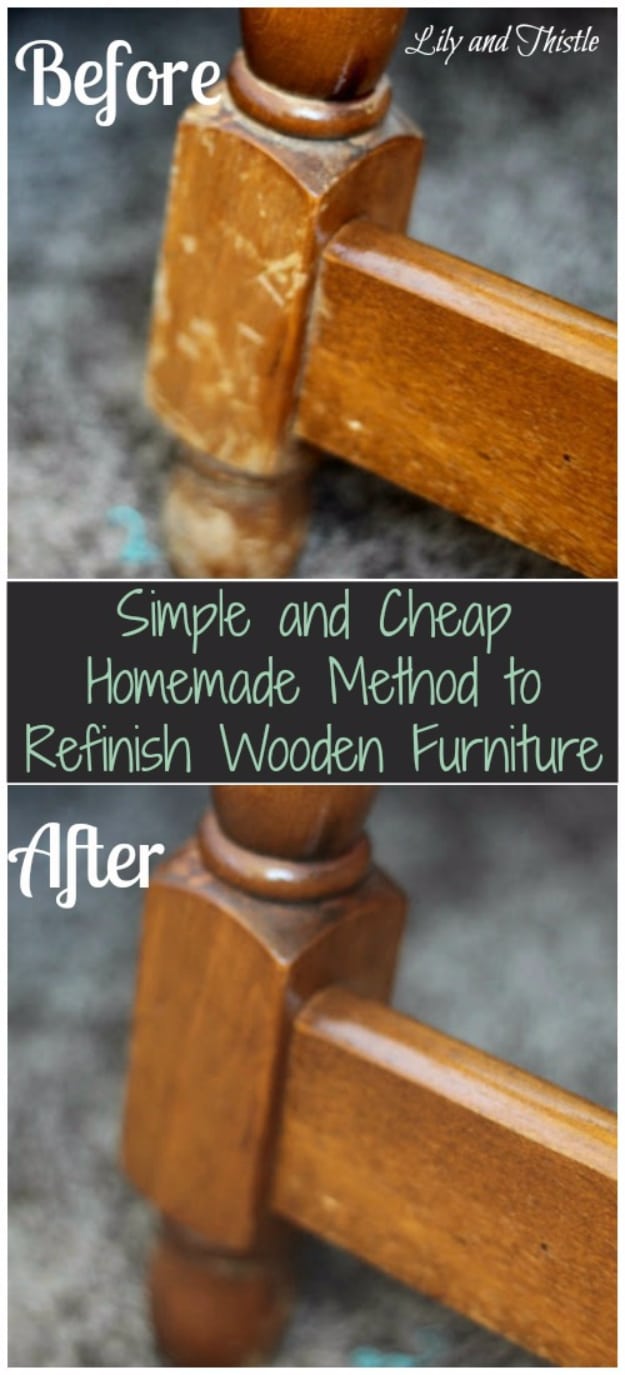
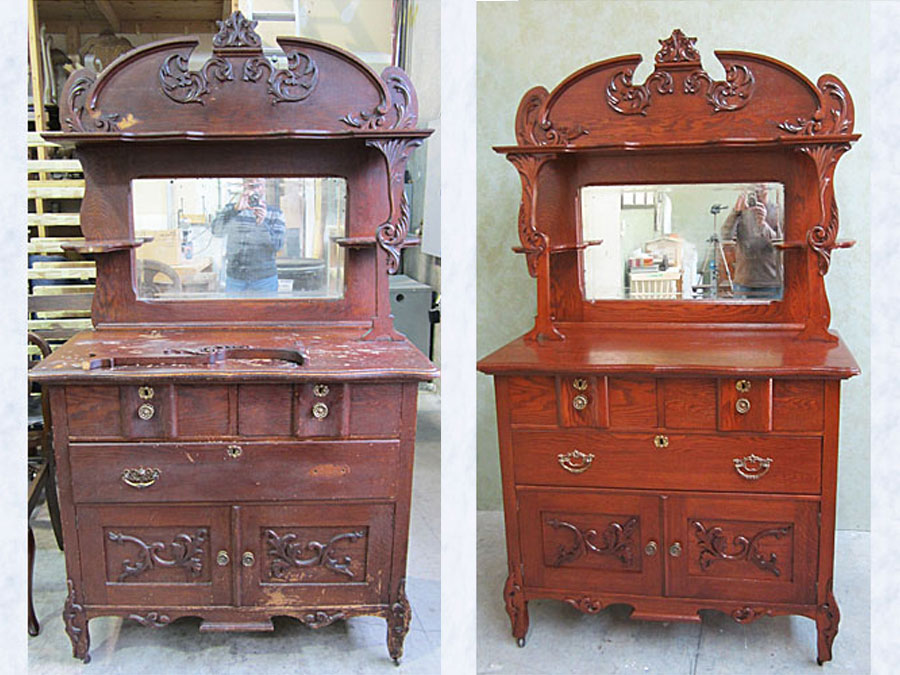
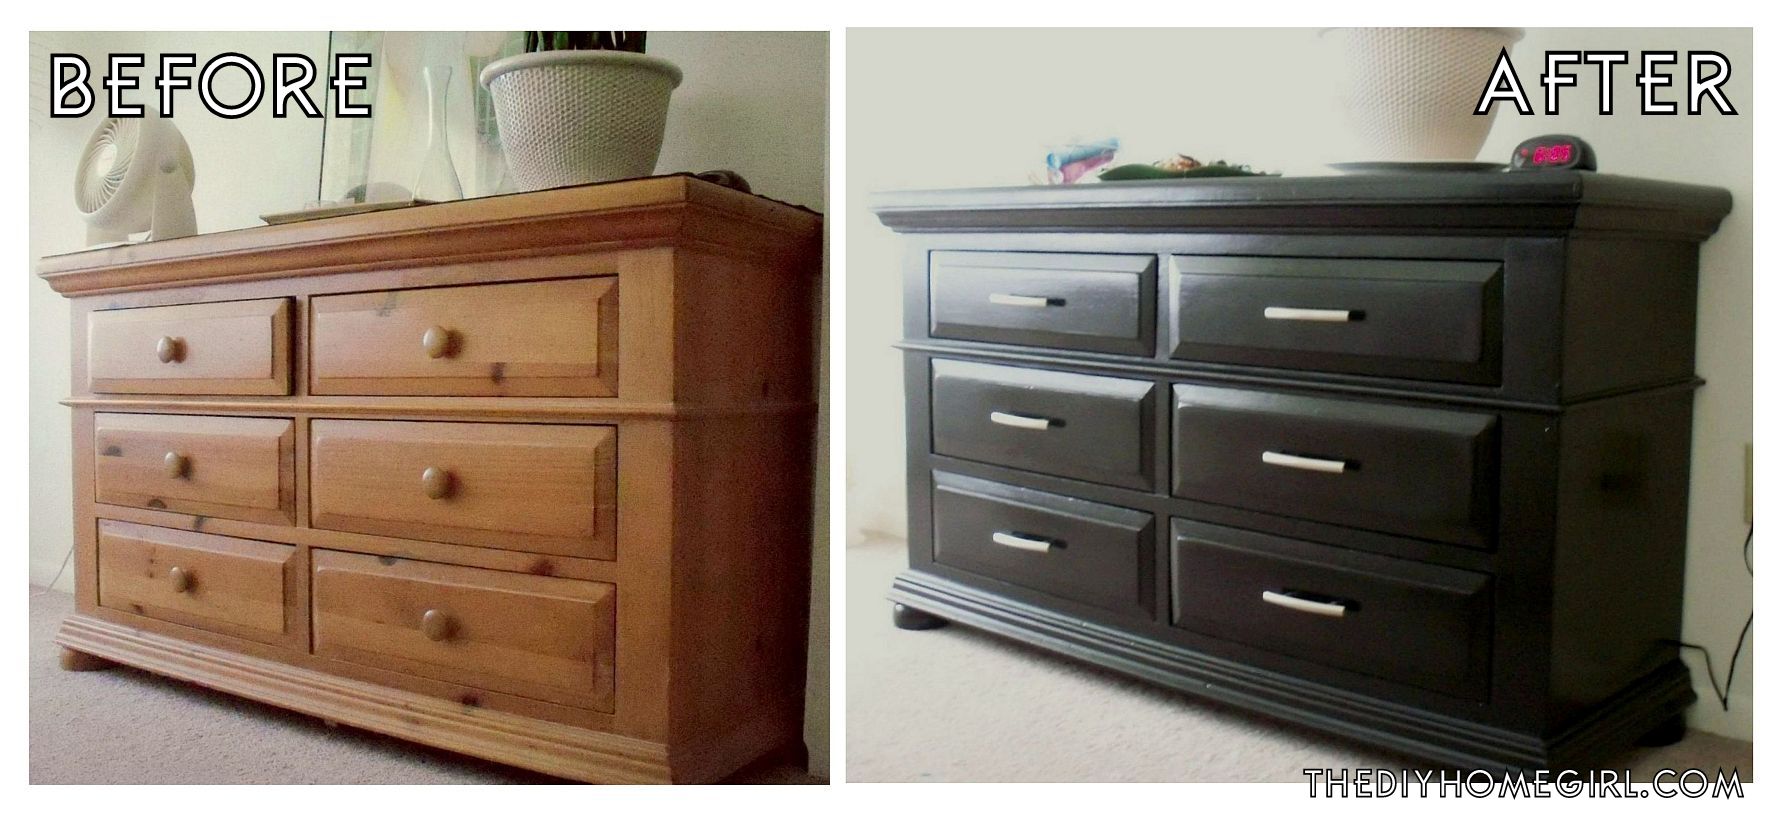
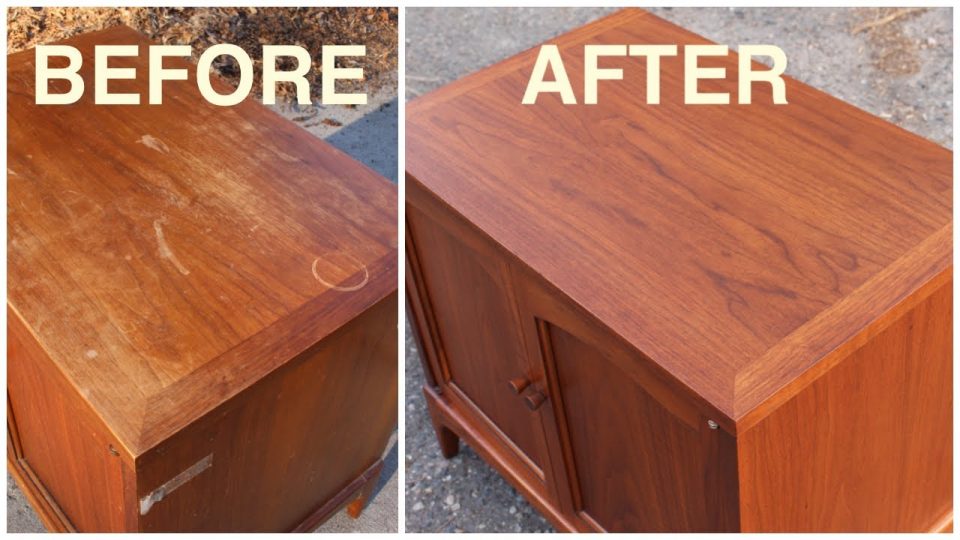
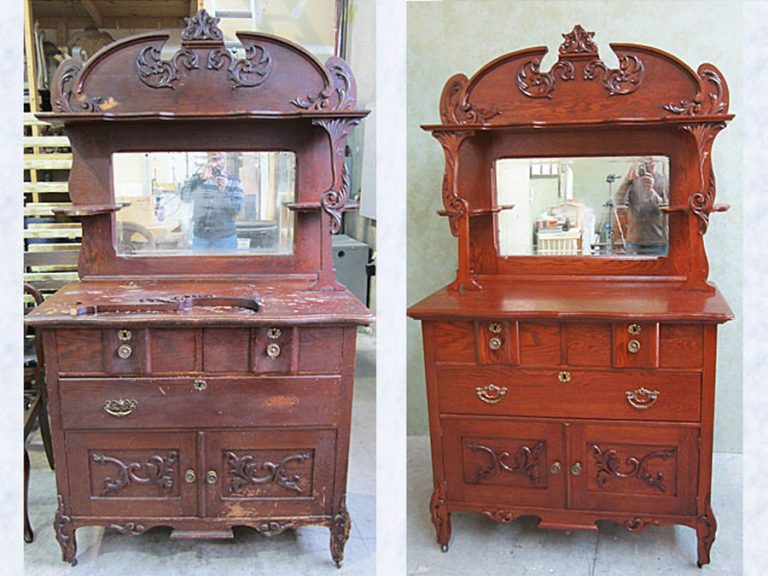
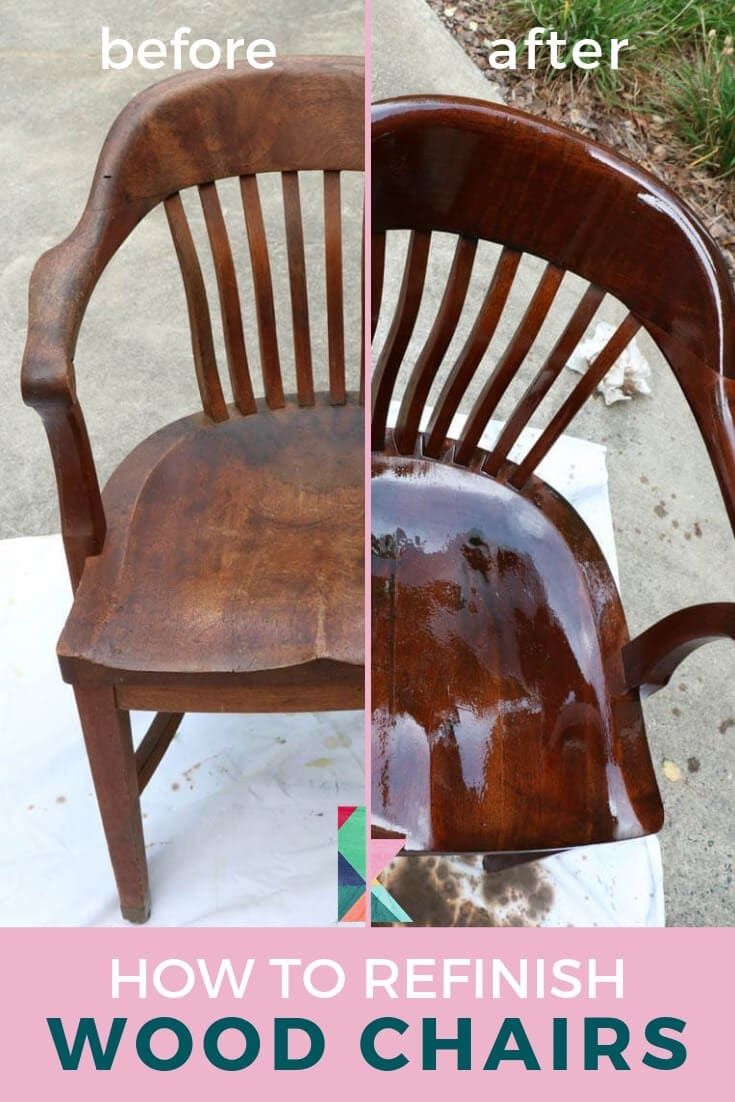
Still not convinced that DIY furniture refinishing is worth the effort? Just take a look at the countless before and after photos online, and you'll see the incredible transformation that can be achieved with a little bit of time and effort. Not only will your furniture look brand new, but you'll also feel a sense of accomplishment and pride every time you look at it.DIY Furniture Refinishing: Before and After Inspiration
While DIY furniture refinishing is a relatively simple process, there are some common mistakes that beginners make. These include not sanding properly, not using the right tools or techniques, and rushing the process. It's important to take your time and follow the steps carefully to avoid any mishaps. If you're unsure about a particular step, don't hesitate to ask for help or do some research to ensure you get the best results. In conclusion, DIY furniture refinishing is a budget-friendly and fun way to give your bedroom furniture a fresh and unique look. With the right supplies, techniques, and a little bit of creativity, you can achieve professional-looking results and transform your old furniture into beautiful pieces that you'll love for years to come.Refinishing Bedroom Furniture: Common Mistakes to Avoid
DIY Refinish Bedroom Furniture: An Affordable Way to Update Your Space

Introduction
 Are you tired of your bedroom furniture looking worn and outdated? Want to give your space a fresh new look without breaking the bank? Look no further than DIY refinishing! Refinishing your bedroom furniture is a cost-effective way to update your space and give it a modern, personalized touch. Not only is it budget-friendly, but it also allows you to unleash your creativity and create a one-of-a-kind piece that reflects your unique style.
Why Refinish Your Bedroom Furniture?
 Refinishing furniture involves sanding and painting or staining existing pieces to give them a new look. Instead of spending hundreds or even thousands of dollars on new furniture, you can
save money
by breathing new life into your current pieces. It's also a great way to
reduce waste
and be more environmentally friendly by repurposing furniture instead of throwing it away.
Choose Your Design
 The first step in refinishing bedroom furniture is to decide on a design. You can
get creative
and try out different techniques such as distressing, stenciling, or ombre painting. You can also
choose a color scheme
that complements your bedroom decor. Are you going for a rustic, farmhouse look? Opt for a distressed white finish. Want a more modern and sleek look? Try a bold, high-gloss paint in a vibrant color.
Tools and Supplies
 To successfully refinish your bedroom furniture, you will need some basic tools and supplies. These include sandpaper, paint or stain, brushes or rollers, and a protective sealant. Depending on your chosen design, you may also need stencils, painter's tape, or other decorative elements. Make sure to
choose high-quality
tools and materials to ensure a professional-looking finish.
The Refinishing Process
 Once you have your design and supplies ready, it's time to start the refinishing process. Start by thoroughly
cleaning
your furniture to remove any dirt, dust, or grime. Next, use sandpaper to
sand down the surface
of the furniture to remove any existing finish or imperfections. Then, apply your chosen paint or stain, following the manufacturer's instructions. Once the paint is dry, you can add any decorative elements or seal it with a protective coat.
Enjoy Your Newly Refinished Furniture
 With a little time and effort, you can
transform
your old, tired bedroom furniture into a stunning and personalized piece that adds character and charm to your space. Not only is it a budget-friendly option, but it also allows you to
express your creativity
and make your furniture truly one-of-a-kind. So why wait? Start your DIY refinishing project today and enjoy your beautiful, updated bedroom furniture in no time!


