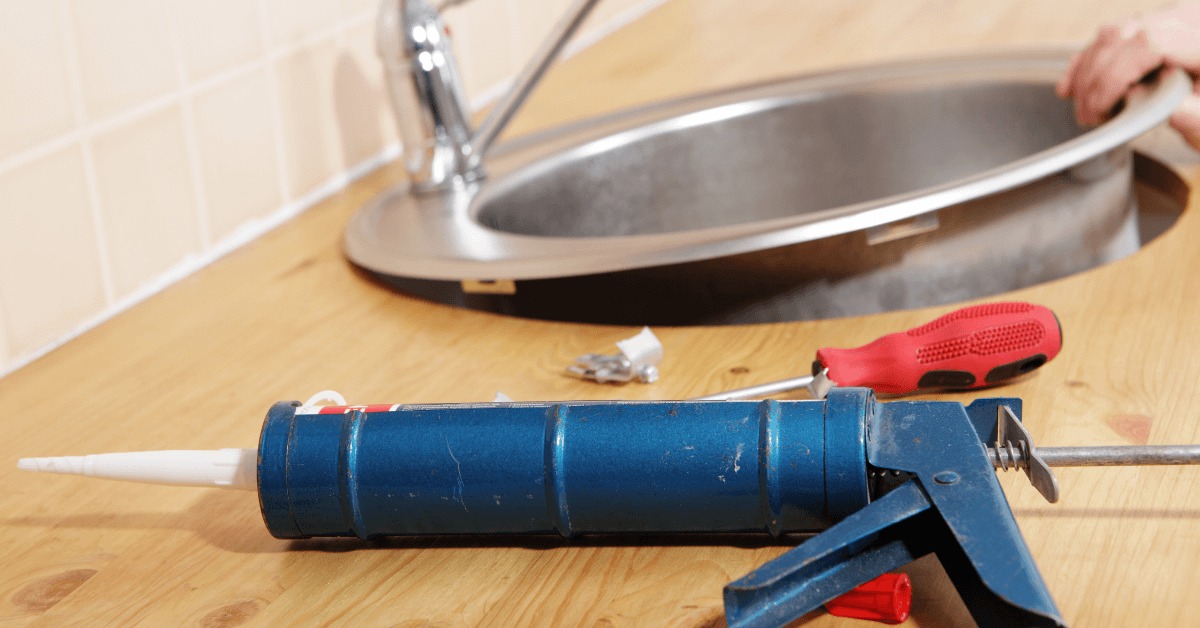
Re-caulking your kitchen sink may seem like a daunting task, but with the right tools and techniques, it can be a simple and cost-effective DIY project. By re-caulking your sink, you can improve its appearance, prevent water damage and mold growth, and ensure a tight seal between the sink and countertop. Follow these steps to learn how to re-caulk your kitchen sink like a pro.How to Re-Caulk a Kitchen Sink
Caulking a kitchen sink requires a few basic tools and materials. You will need a caulk gun, a utility knife, a putty knife, a damp cloth, and a tube of caulk. When selecting a caulk, look for one that is specifically designed for use in the kitchen and is mold and mildew resistant. Silicone caulk is a popular choice for kitchen sinks as it is waterproof and flexible, making it perfect for areas that are prone to moisture and movement.DIY Kitchen Sink Caulking Tips
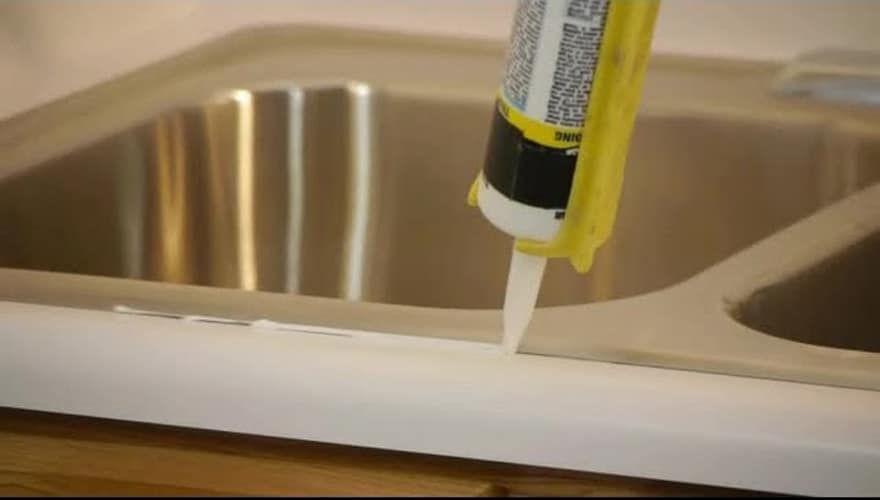
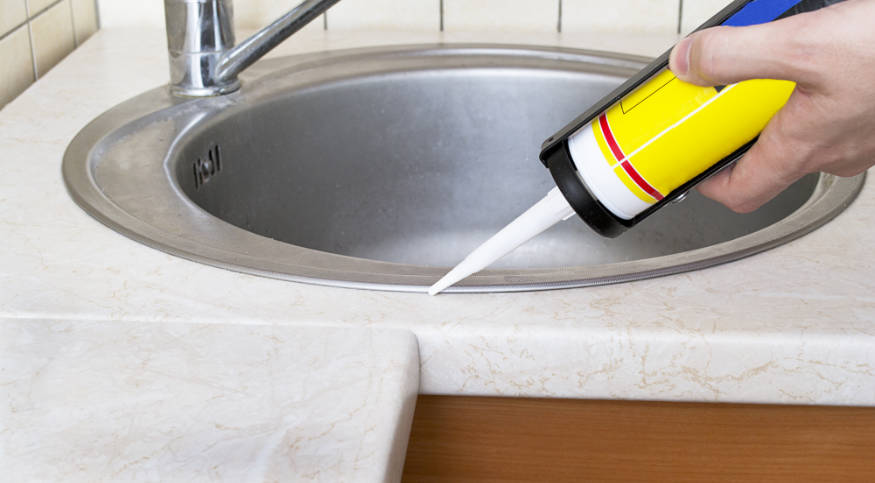
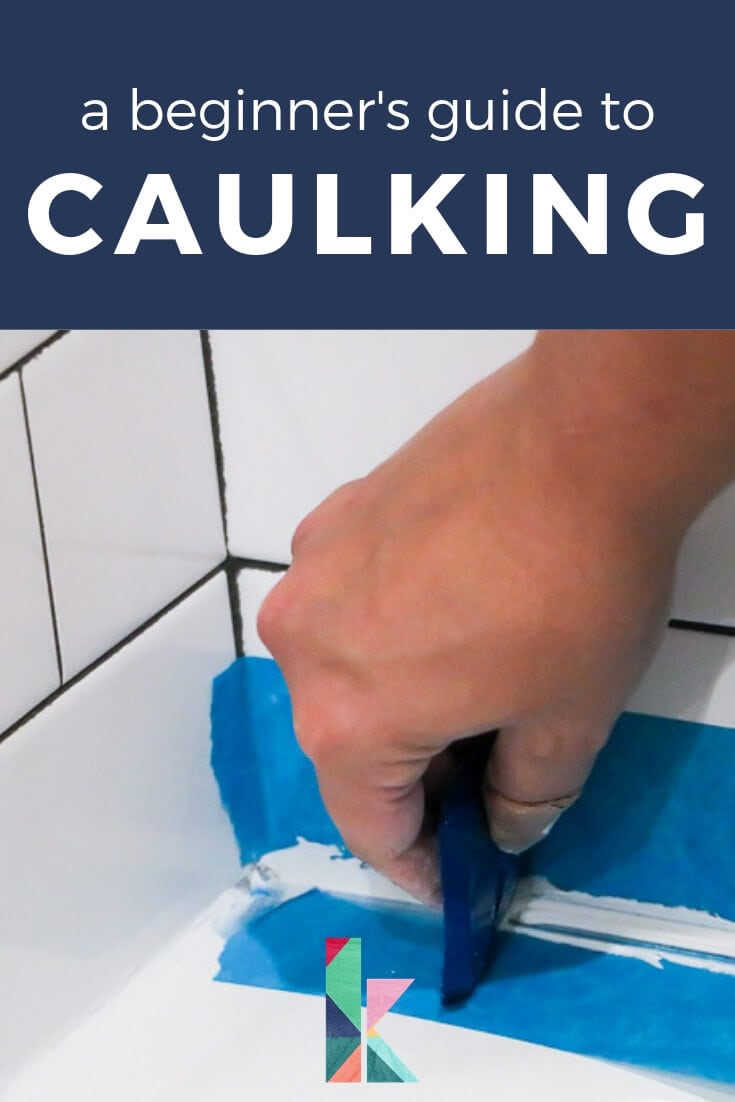
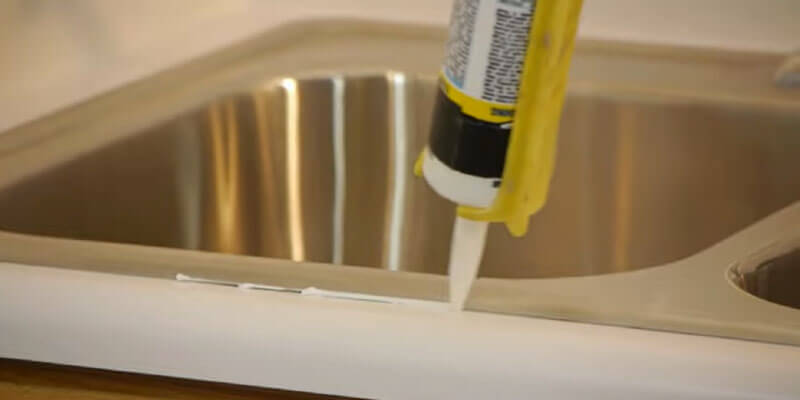
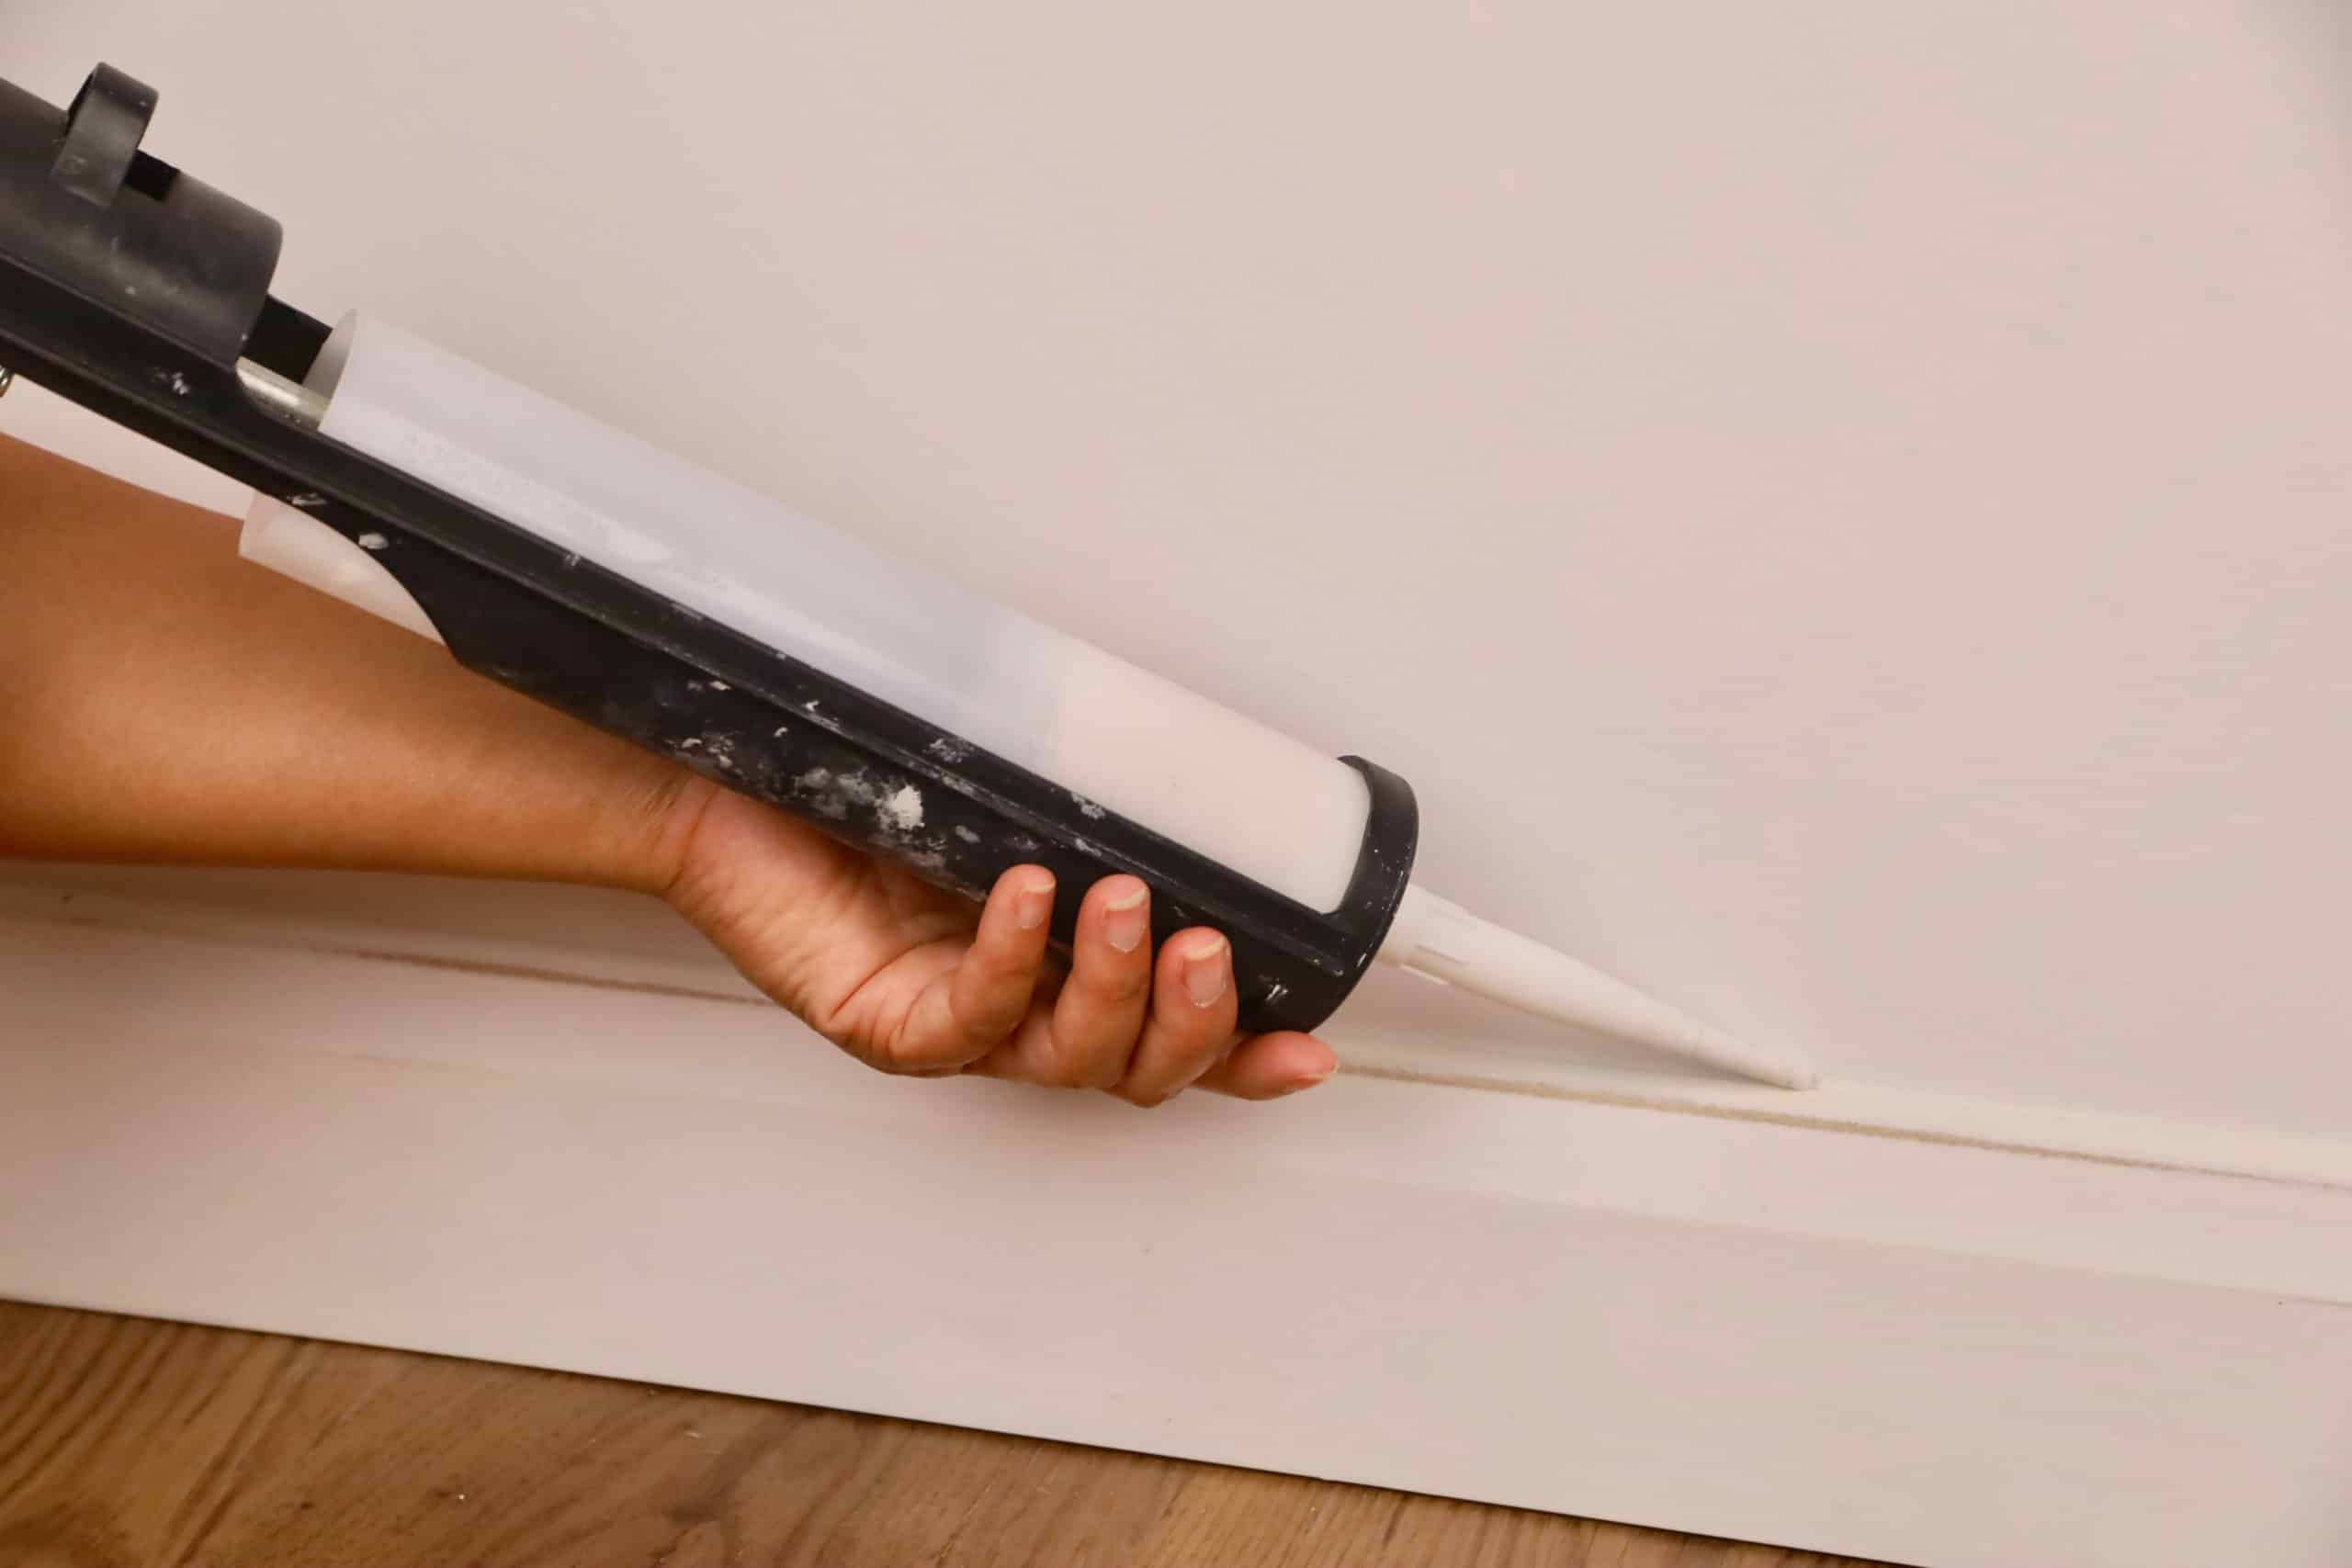
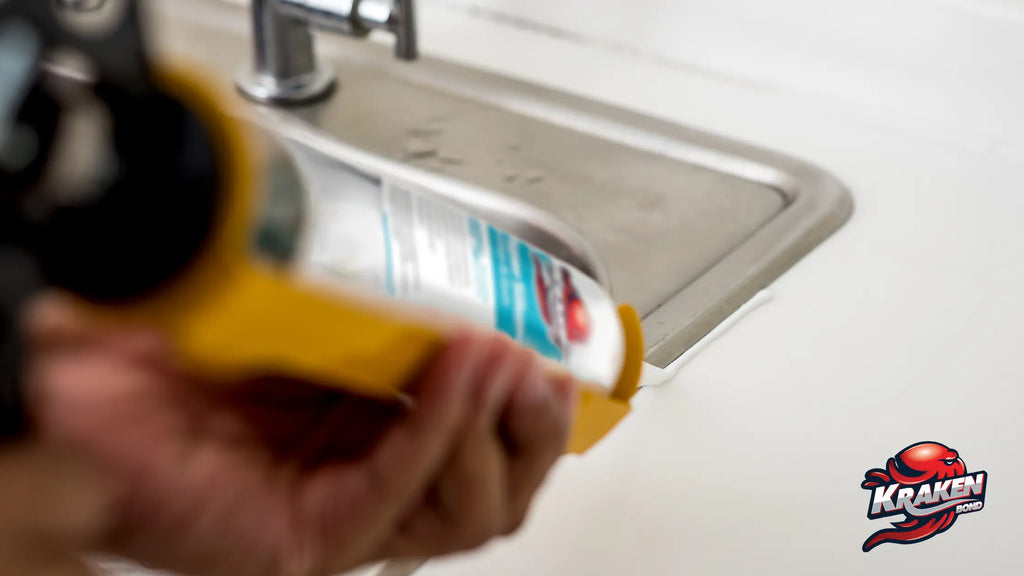
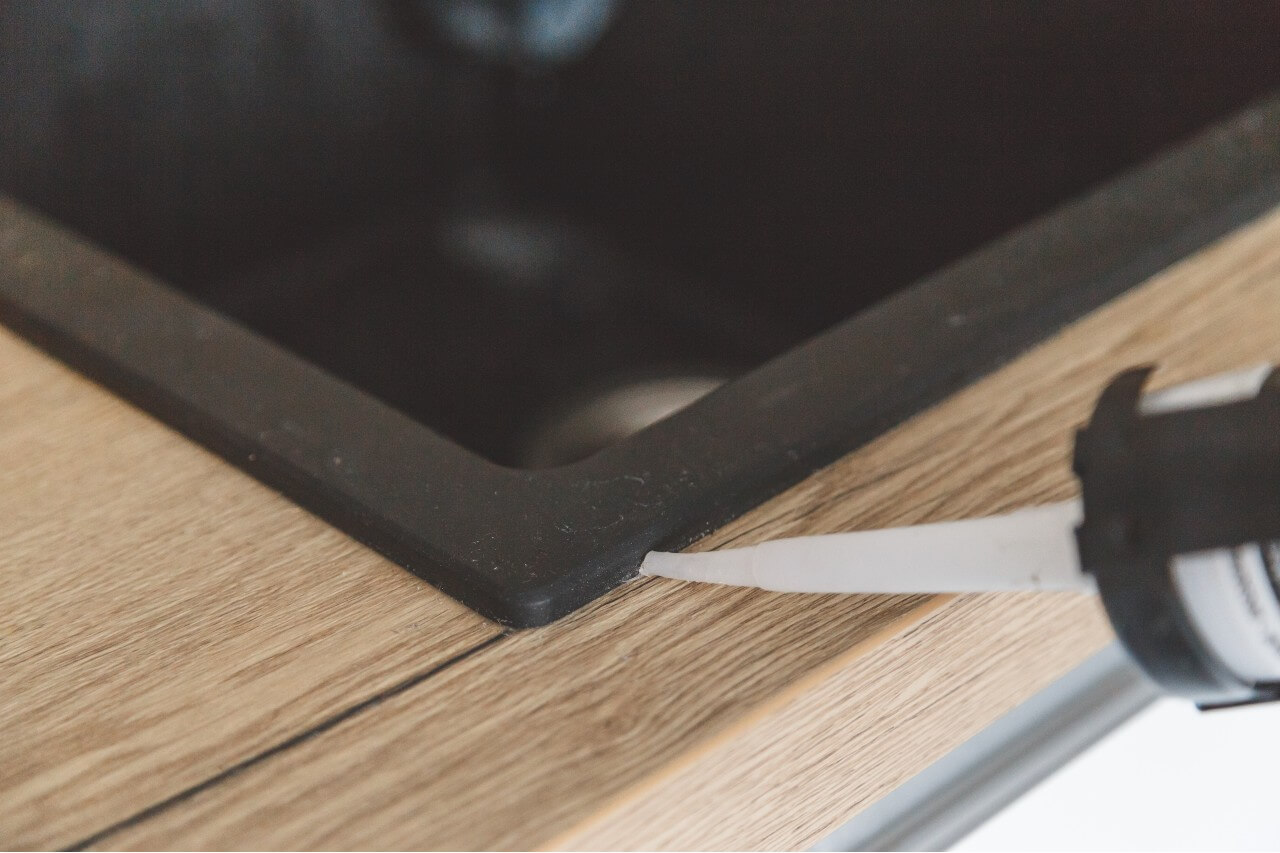
Step 1: Remove the old caulk. Use a utility knife or a putty knife to carefully scrape away the old caulk around the edges of your kitchen sink. Be sure to remove all the old caulk to ensure a clean and smooth surface for the new caulk to adhere to. Step 2: Clean the area. Use a damp cloth to wipe down the edges of the sink and countertop. This will remove any remaining debris or residue from the old caulk and ensure a clean surface for the new caulk to stick to. Step 3: Load the caulk gun. Cut the tip of the caulk tube at a 45-degree angle and insert it into the caulk gun. Squeeze the trigger a few times to get the caulk flowing. Step 4: Apply the caulk. Starting at one end of the sink, hold the caulk gun at a 45-degree angle and slowly squeeze the trigger to apply a thin and even bead of caulk along the edge of the sink. Use steady pressure and keep the caulk gun moving in a continuous motion to prevent any gaps or air bubbles. Step 5: Smooth the caulk. Use a putty knife or your finger to smooth out the caulk along the edges of the sink and countertop. If using your finger, be sure to wear a latex glove to prevent getting caulk on your skin. Smooth the caulk in one continuous motion to create a neat and professional-looking finish. Step 6: Clean up. Use a damp cloth to wipe away any excess caulk or smudges. Be sure to clean up any caulk that may have gotten on the sink or countertop before it dries.Step-by-Step Guide for Caulking a Kitchen Sink
When it comes to choosing the best caulk for your kitchen sink, look for one that is specifically designed for use in the kitchen and is mold and mildew resistant. Silicone caulk is a popular choice for kitchen sinks as it is waterproof and flexible, making it perfect for areas that are prone to moisture and movement. Some popular brands of caulk for kitchen sinks include GE Silicone II Kitchen & Bath Caulk, DAP Kwik Seal Plus Kitchen & Bath Adhesive Caulk, and Loctite Clear Silicone Waterproof Sealant.Best Caulk for Kitchen Sink
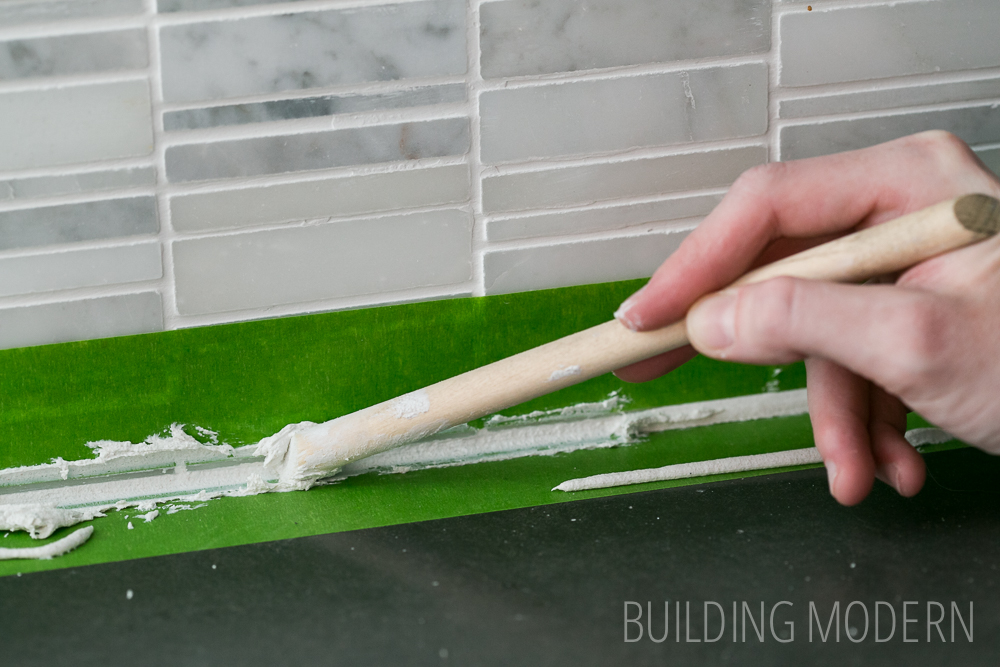
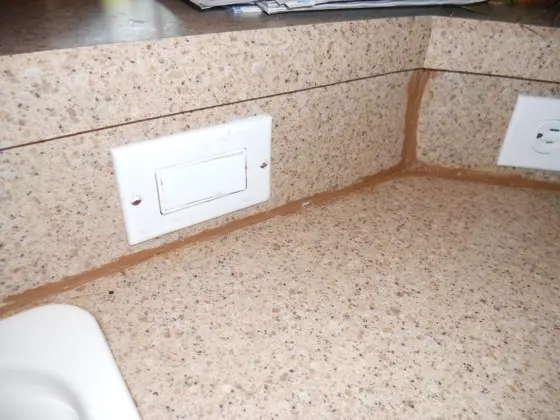
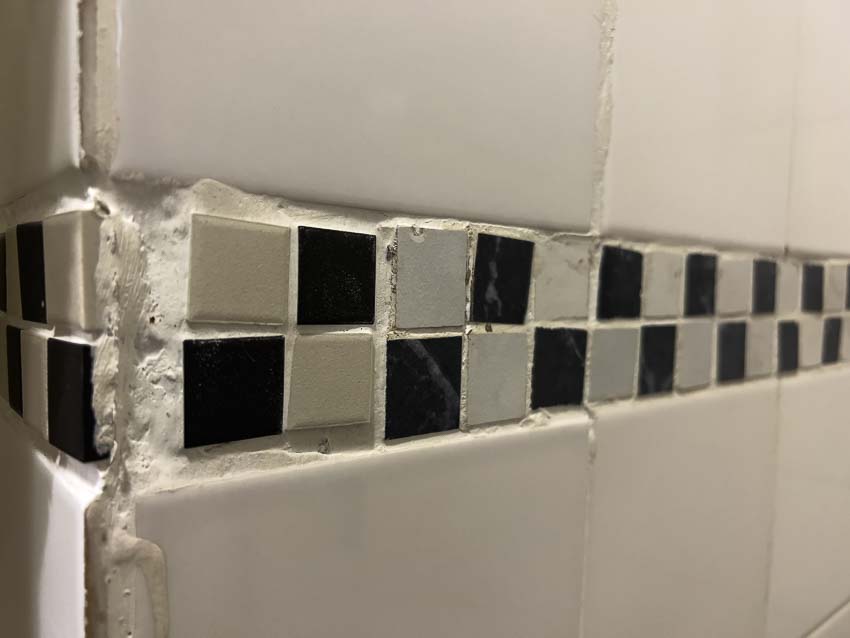
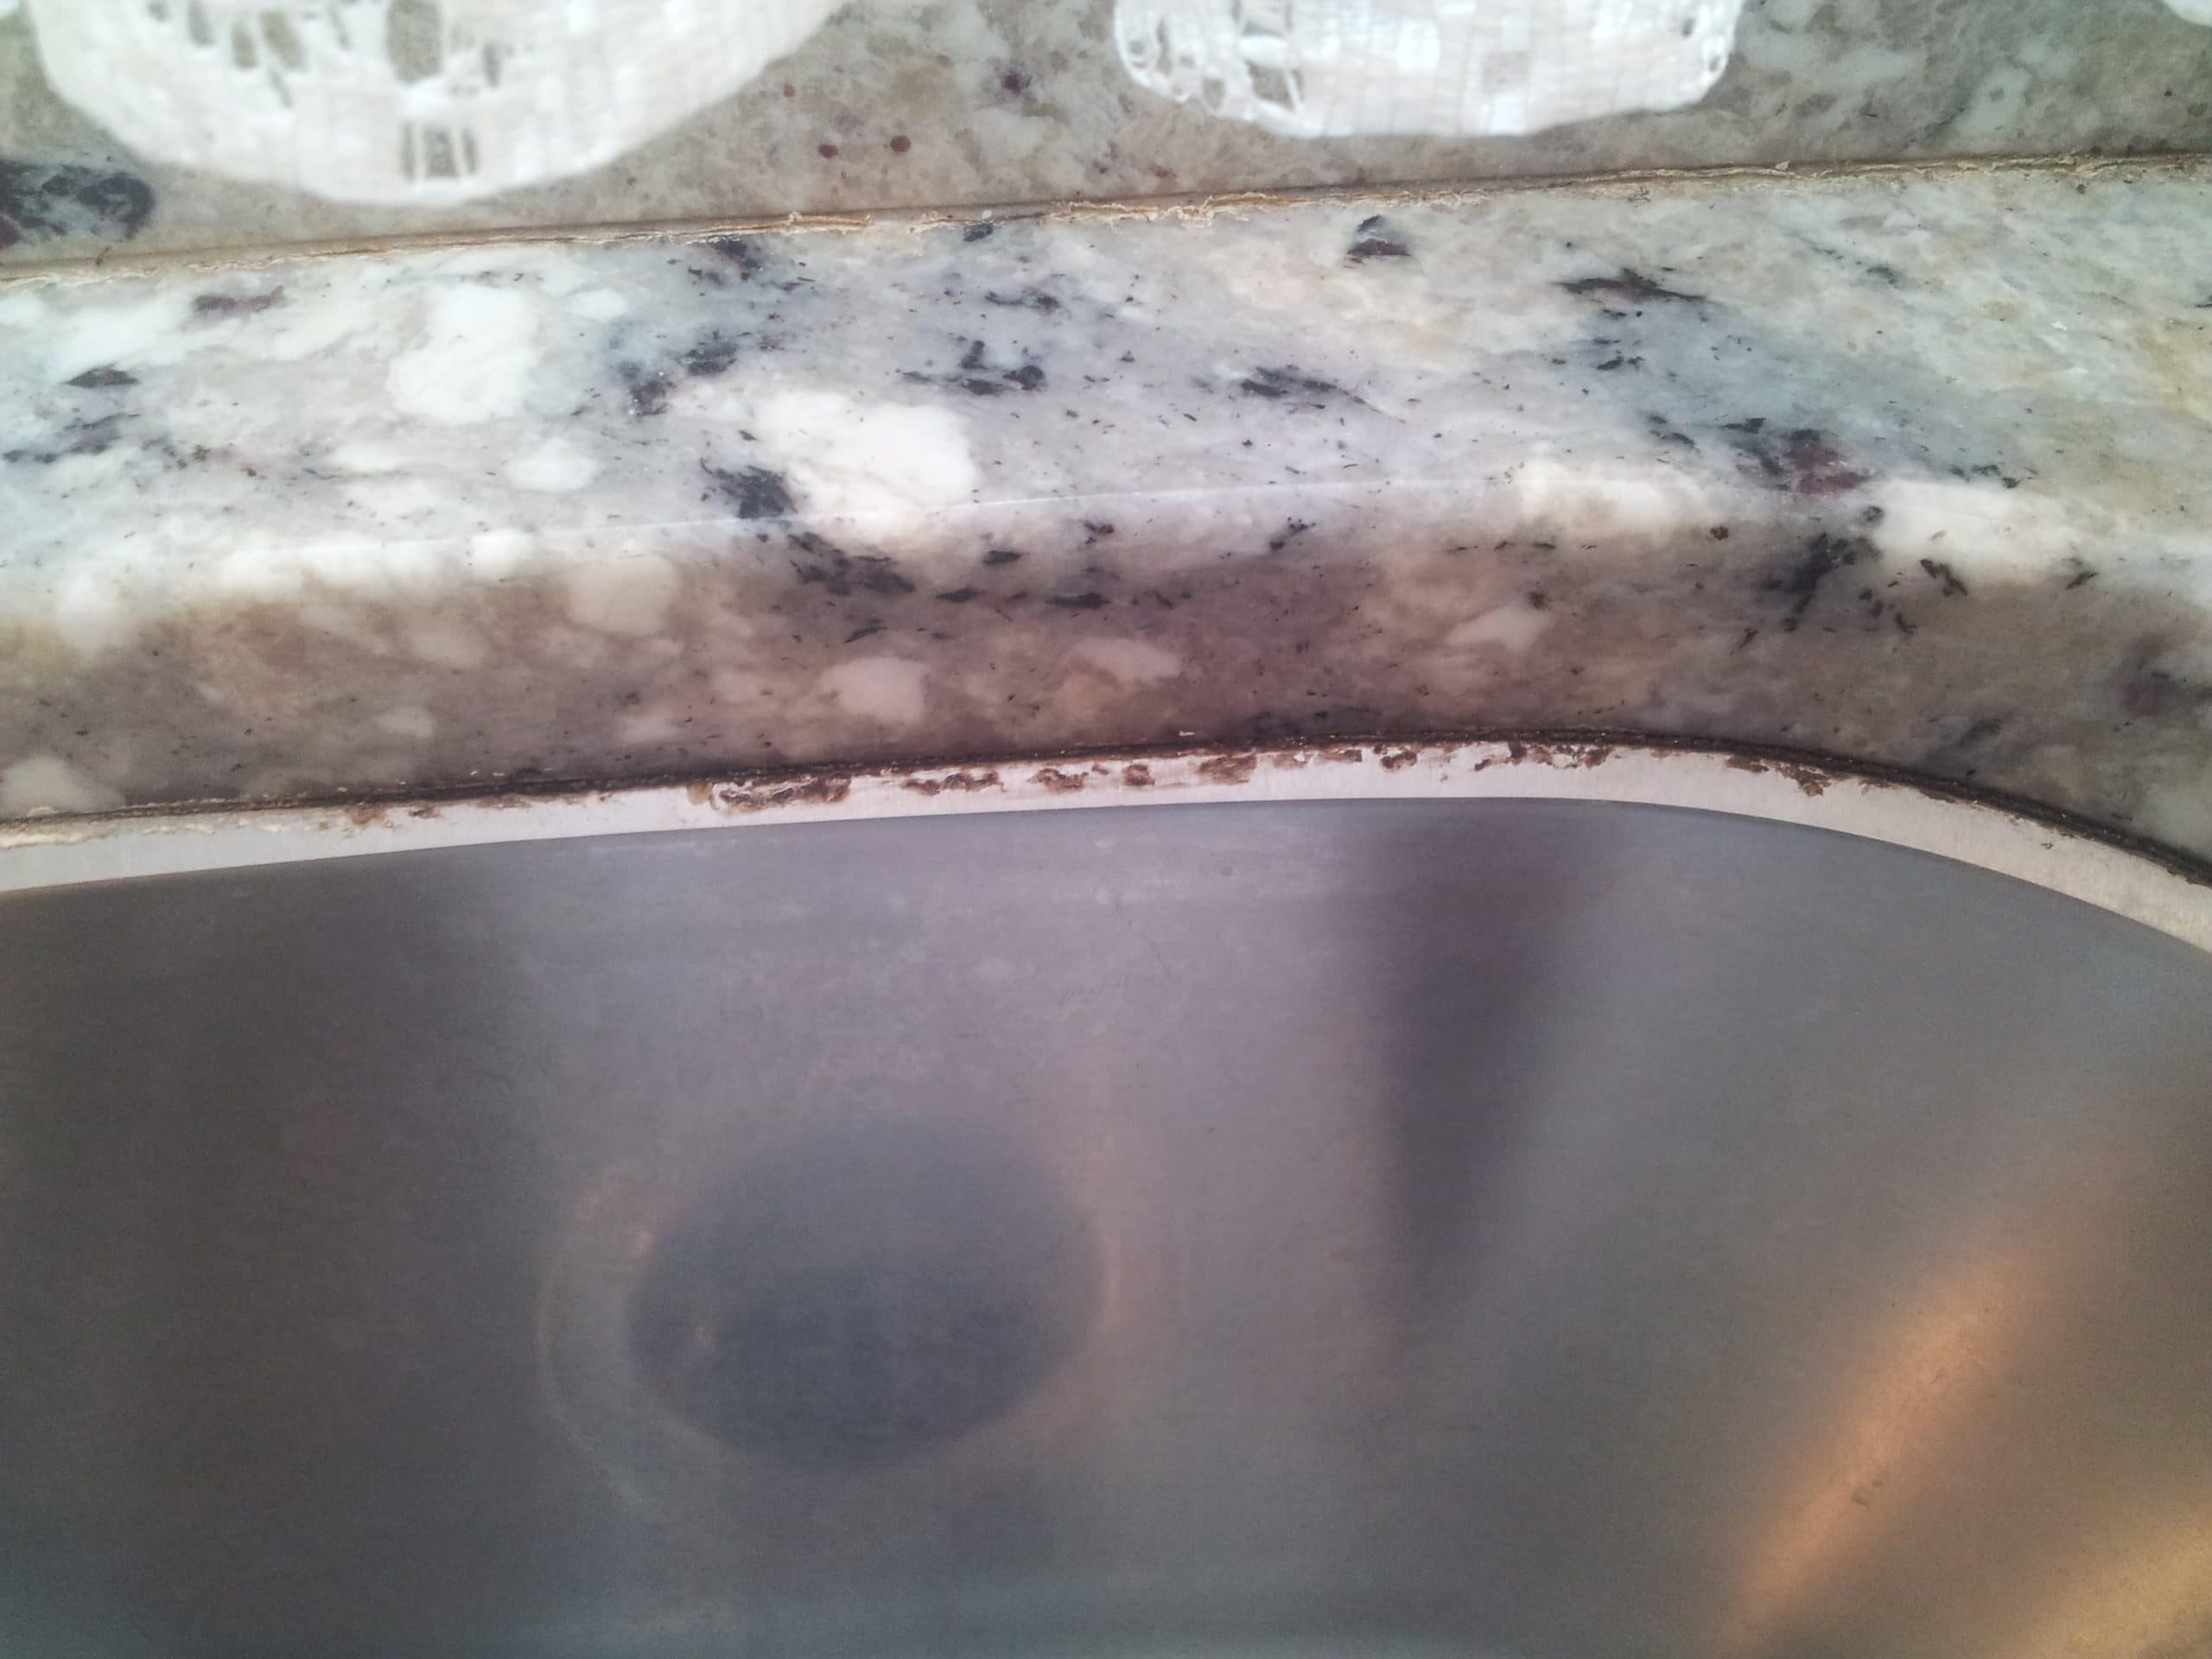
Removing old caulk from your kitchen sink can be a tedious task, but it is necessary to ensure a proper and long-lasting seal when re-caulking. Use a utility knife or a putty knife to carefully scrape away the old caulk. Be sure to remove all the old caulk to ensure a clean and smooth surface for the new caulk to adhere to. If the old caulk is stubborn and difficult to remove, you can use a caulk remover product or a heat gun to soften and loosen it for easier removal.Removing Old Caulk from Kitchen Sink
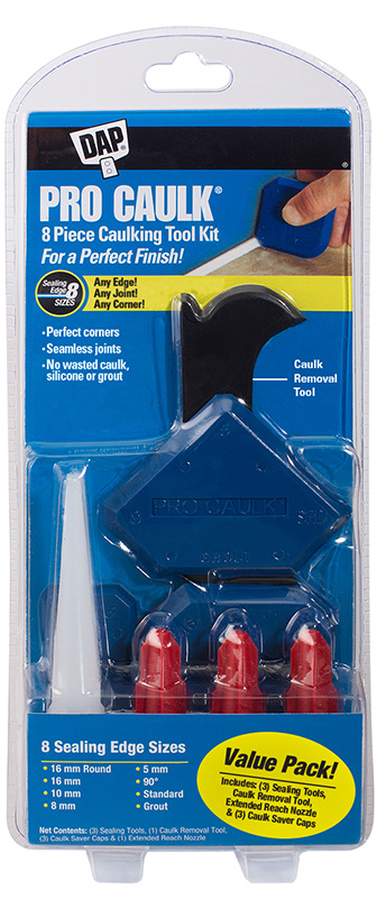
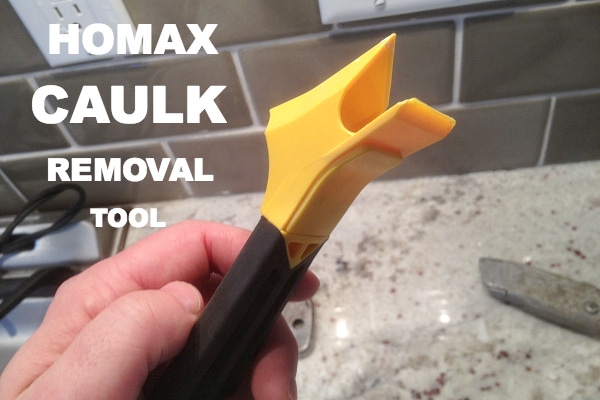
To re-caulk your kitchen sink, you will need a few basic tools such as a caulk gun, a utility knife, a putty knife, and a damp cloth. You may also want to invest in a few specialized tools to help make the job easier and give you a professional finish. Some useful caulking tools for kitchen sinks include a caulk smoother, a caulk finishing tool, and a caulk removal tool.Caulking Tools for Kitchen Sink
To achieve a professional-looking caulk job on your kitchen sink, here are a few tips to keep in mind: 1. Prepare the area: Before starting, make sure to thoroughly clean and dry the area where you will be caulking. This will ensure a strong bond between the caulk and the surface. 2. Use the right caulk: As mentioned before, use a caulk that is specifically designed for use in the kitchen and is mold and mildew resistant. 3. Don't skimp on caulk: Be sure to apply enough caulk to fill the gap between the sink and countertop. A thin bead of caulk will not provide a tight seal and can lead to water leaks. 4. Smooth and clean as you go: Smooth out the caulk with a putty knife or your finger as you go along to create a neat and even finish. Also, be sure to clean up any excess caulk or smudges before it dries. 5. Practice: If you are new to caulking, it may take a few tries to get the hang of it. Practice on a scrap piece of material before tackling your kitchen sink.Tips for a Professional-Looking Caulk Job on Kitchen Sink
It is recommended to re-caulk your kitchen sink every 1-2 years to ensure a strong and watertight seal. However, if you notice any signs of wear or damage, such as cracking or mold growth, it is best to re-caulk your sink immediately.How Often Should You Re-Caulk a Kitchen Sink?
Here are some common mistakes to avoid when re-caulking your kitchen sink: 1. Not removing the old caulk: Skipping this step can result in an uneven and weak seal. 2. Using the wrong caulk: Using the wrong type of caulk can lead to mold growth and a weak seal. 3. Applying too little caulk: As mentioned before, be sure to apply enough caulk to fill the gap between the sink and countertop. 4. Not smoothing out the caulk: This can result in an unprofessional-looking and uneven finish.Common Mistakes to Avoid When Caulking a Kitchen Sink
There are a few signs that indicate it's time to re-caulk your kitchen sink: 1. Cracks or gaps: If you notice any cracks or gaps between the sink and countertop, it's time to re-caulk. 2. Mold and mildew: If you see any mold or mildew growing around the edges of your sink, it's a clear indication that the caulk has failed and needs to be replaced. 3. Water leaks: If you notice any water leaking from the sink to the countertop, it's a sign that the caulk has deteriorated and needs to be re-applied. With these tips and techniques, you can easily re-caulk your kitchen sink and ensure a strong and watertight seal. Remember to always use the right tools and materials, and to regularly check and re-caulk your sink to prevent any potential water damage or mold growth. Happy caulking!How to Tell When It's Time to Re-Caulk Your Kitchen Sink
Why Re-caulking Your Kitchen Sink is Essential for Every Homeowner

The Importance of Maintaining Your Kitchen
 As a homeowner, it is important to constantly assess and maintain the different areas of your house to ensure its longevity and functionality. The kitchen, being one of the most used and essential rooms in the house, is no exception. From regularly cleaning and decluttering to making necessary repairs and upgrades, maintaining your kitchen should be a top priority.
The Role of Caulking in Your Kitchen
 Caulking is a crucial part of any kitchen, especially around the sink area. It not only provides a clean and polished look, but it also serves as a barrier to prevent water and moisture from seeping into the walls and causing damage. Over time, caulk can deteriorate due to wear and tear, leaving gaps and cracks that can lead to mold and mildew growth. This is why re-caulking your kitchen sink is an essential task for every homeowner.
The Benefits of DIY Re-caulking
 Re-caulking your kitchen sink may seem like a daunting task, but it can actually be done easily and efficiently as a DIY project. Not only does it save you money from hiring a professional, but it also gives you the opportunity to customize and personalize the caulk color and style to match your kitchen design. Plus, you have full control over the quality and thoroughness of the job.
DIY Re-caulking Your Kitchen Sink
If you're ready to take on the task of re-caulking your kitchen sink, here are some simple steps to follow:
Step 1:
Gather all necessary materials such as a caulk gun, caulk remover, new caulk, and a putty knife.
Step 2:
Use the caulk remover to completely remove the old caulk from the sink area. Make sure to clean the surface thoroughly for the new caulk to adhere properly.
Step 3:
Load the caulk gun with the new caulk and cut the tip at an angle to allow for easy application.
Step 4:
Slowly and steadily apply the caulk in a continuous line along the edges of the sink, making sure to fill any gaps or cracks.
Step 5:
Use a damp cloth or your finger to smooth out the caulk and remove any excess.
Step 6:
Let the caulk dry completely before using the sink again.
In Conclusion
 Re-caulking your kitchen sink is a simple and necessary task that every homeowner should regularly do to maintain the integrity and cleanliness of their kitchen. With these easy steps, you can DIY and achieve a professional-looking result in no time. So don't wait for any signs of damage, make it a part of your regular kitchen maintenance routine for a beautiful and functional kitchen.


.jpg)









.jpg)


:max_bytes(150000):strip_icc()/how-to-remove-old-caulk-1824827-01-3d0370c59e124dbbaa6560c68bab111c.jpg)

:max_bytes(150000):strip_icc()/caulk-removal-tool-56ec7f1b3df78ce5f83535fe.jpg)


