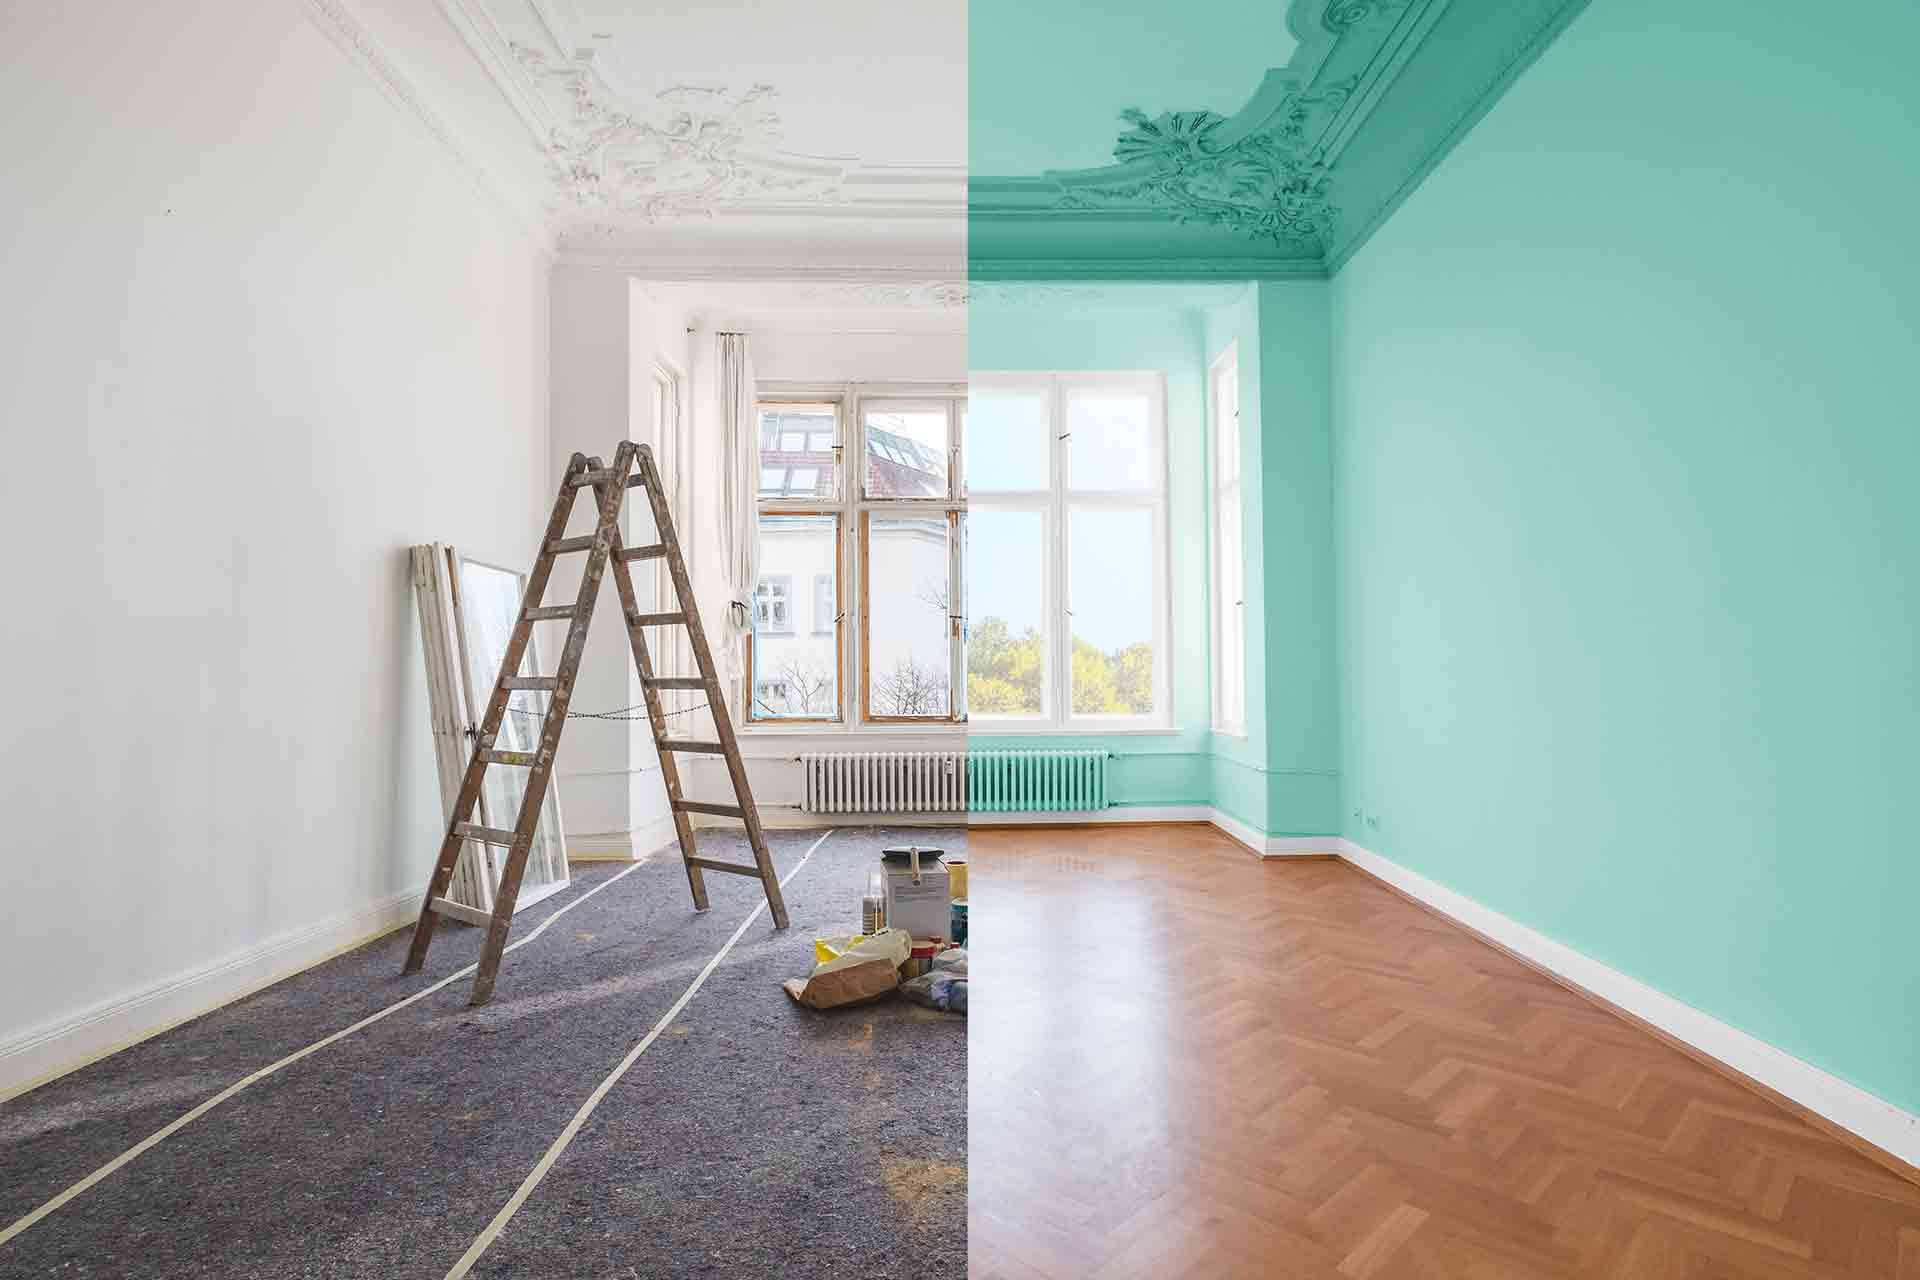
Painting your living room is a great way to add a fresh and new look to your home. It's also a budget-friendly way to give your space a makeover without breaking the bank. With a little creativity and some DIY skills, you can transform your living room into a stylish and inviting space. Here are our top 10 tips for DIY painting a living room that will inspire you to get started.1. Get Inspired with DIY Painting for Your Living Room
Before you start painting, it's important to choose the right type of paint for your living room. Consider the walls' texture, the amount of natural light, and the color scheme you want to achieve. For example, if you have textured walls, a matte finish will help to hide imperfections. If you have a small living room with limited natural light, opt for a lighter color to make the space feel larger.2. Choose the Right Paint for Your Living Room
Preparation is key when it comes to DIY painting a living room. Make sure to clean your walls and remove any dirt, dust, or grease buildup. This will ensure that the paint adheres properly and results in a smooth finish. If you have any holes or cracks, fill them in with spackling paste and sand them down before painting.3. Prep Your Walls Before Painting
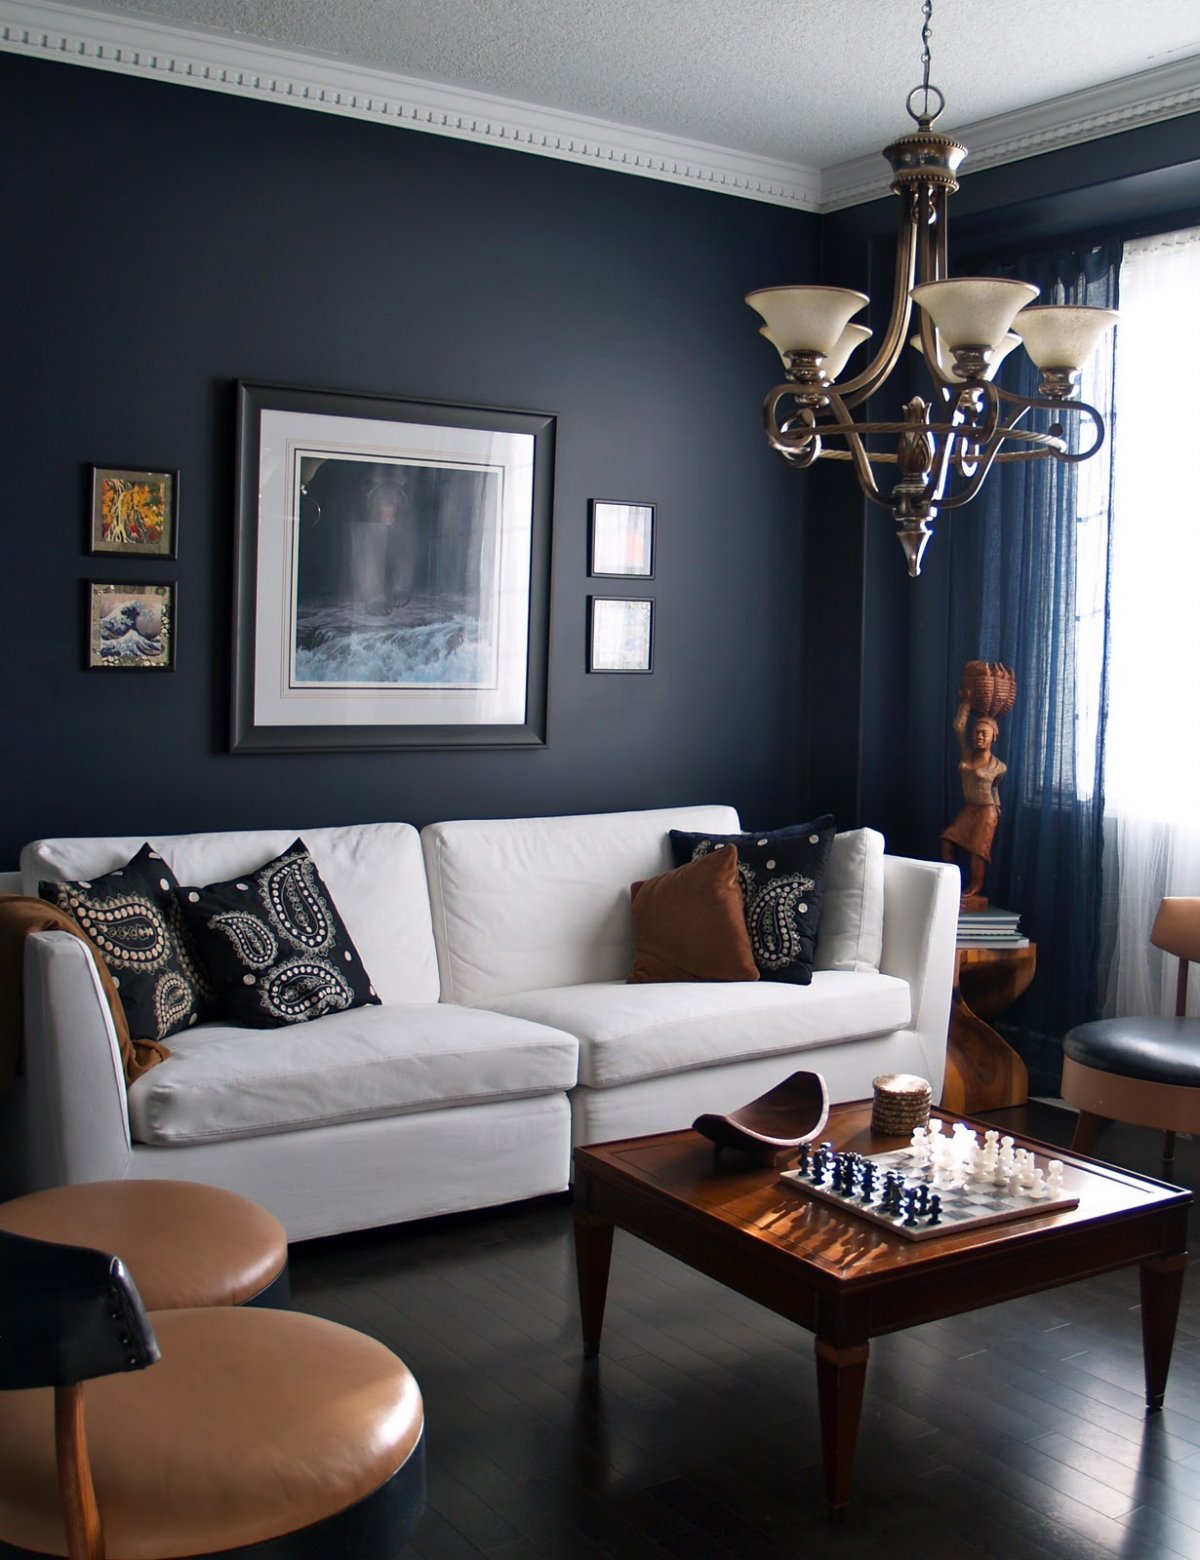
The color scheme you choose for your living room will set the tone for the entire space. Think about the mood you want to create and choose a color palette that reflects it. Neutral colors such as beige, gray, or white are versatile and timeless, while bolder colors like navy blue or emerald green can add a pop of personality to your living room.4. Consider the Color Scheme
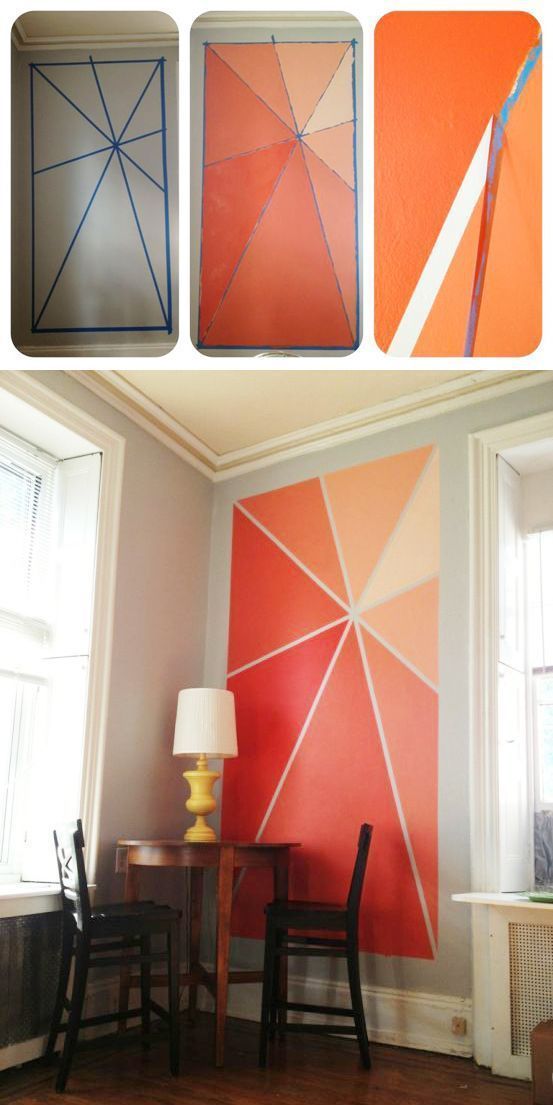
When it comes to painting, achieving clean and straight lines can be a challenge. This is where painter's tape comes in handy. Use it to create crisp lines between the walls and the ceiling, or between different colored walls. Make sure to press the tape firmly to prevent any paint from bleeding through.5. Use Painter's Tape for Clean Lines
Priming your walls before painting is an important step that many people tend to skip. A primer will help to create a smooth and even base for your paint to adhere to. It also helps to cover up any stains or imperfections on your walls. Invest in a good quality primer for the best results.6. Don't Forget the Primer
If you want to add some texture and dimension to your living room walls, consider using different painting techniques. For example, you can create a faux brick wall using a sponge or a textured roller. You can also try using a dry brush technique to create a distressed or rustic look.7. Add Texture with Different Painting Techniques
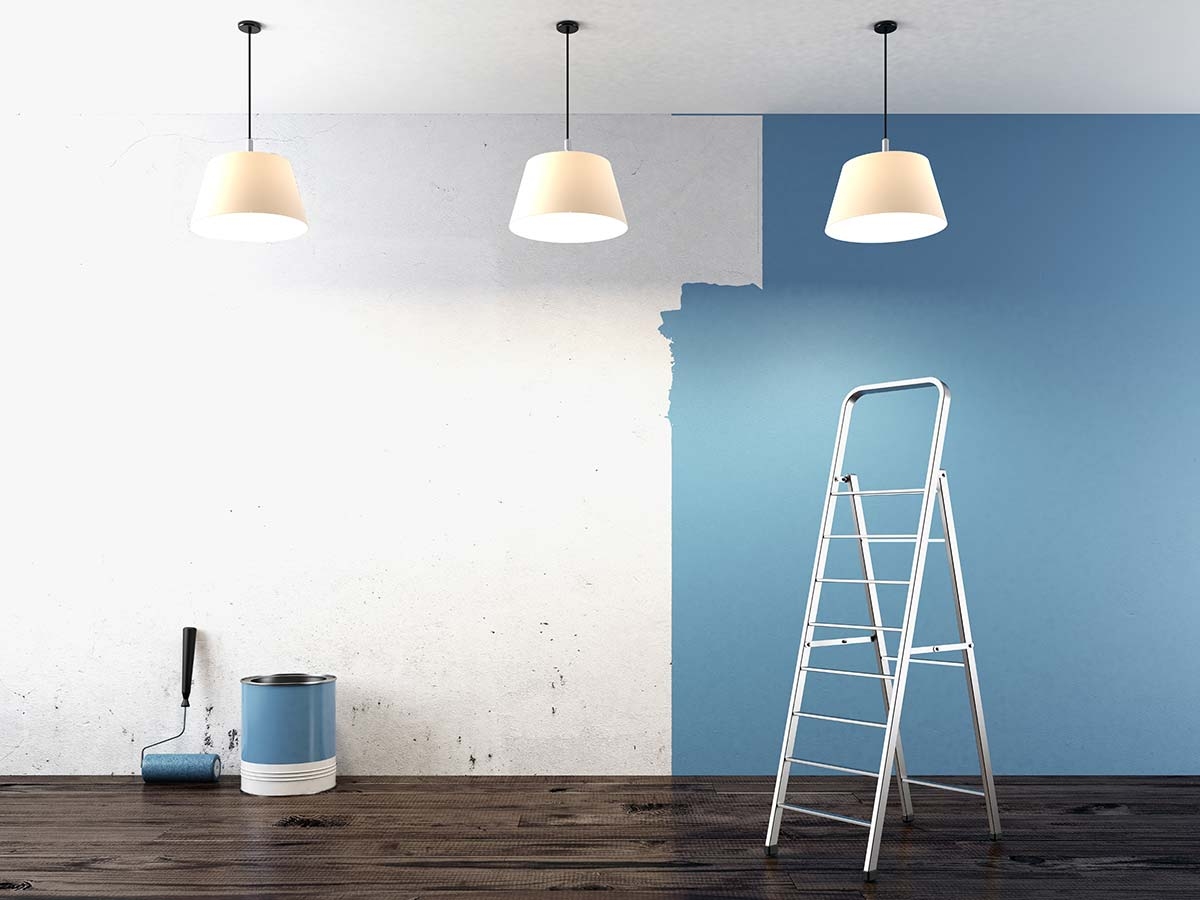
Now that you have prepped your walls and chosen your color scheme, it's time to start painting! Start with the edges and corners of the walls using a brush, then use a roller to cover the larger areas. Make sure to paint in a W pattern to ensure even coverage. Take your time and paint in thin layers to prevent drips.8. Time to Paint!
When DIY painting a living room, it's important to consider the placement of your furniture. You don't want to paint yourself into a corner! Move your furniture to the center of the room or cover it with drop cloths to protect it from any paint splatters. This will also give you more space to move around and paint.9. Consider Furniture Placement
Once the paint has dried, remove the painter's tape and touch up any areas that need it. You can also add some final touches, such as hanging new artwork or rearranging your furniture to complete your living room's new look. Sit back, relax, and enjoy your newly painted living room!10. Finishing Touches
Choosing the Right Paint Color for Your Living Room
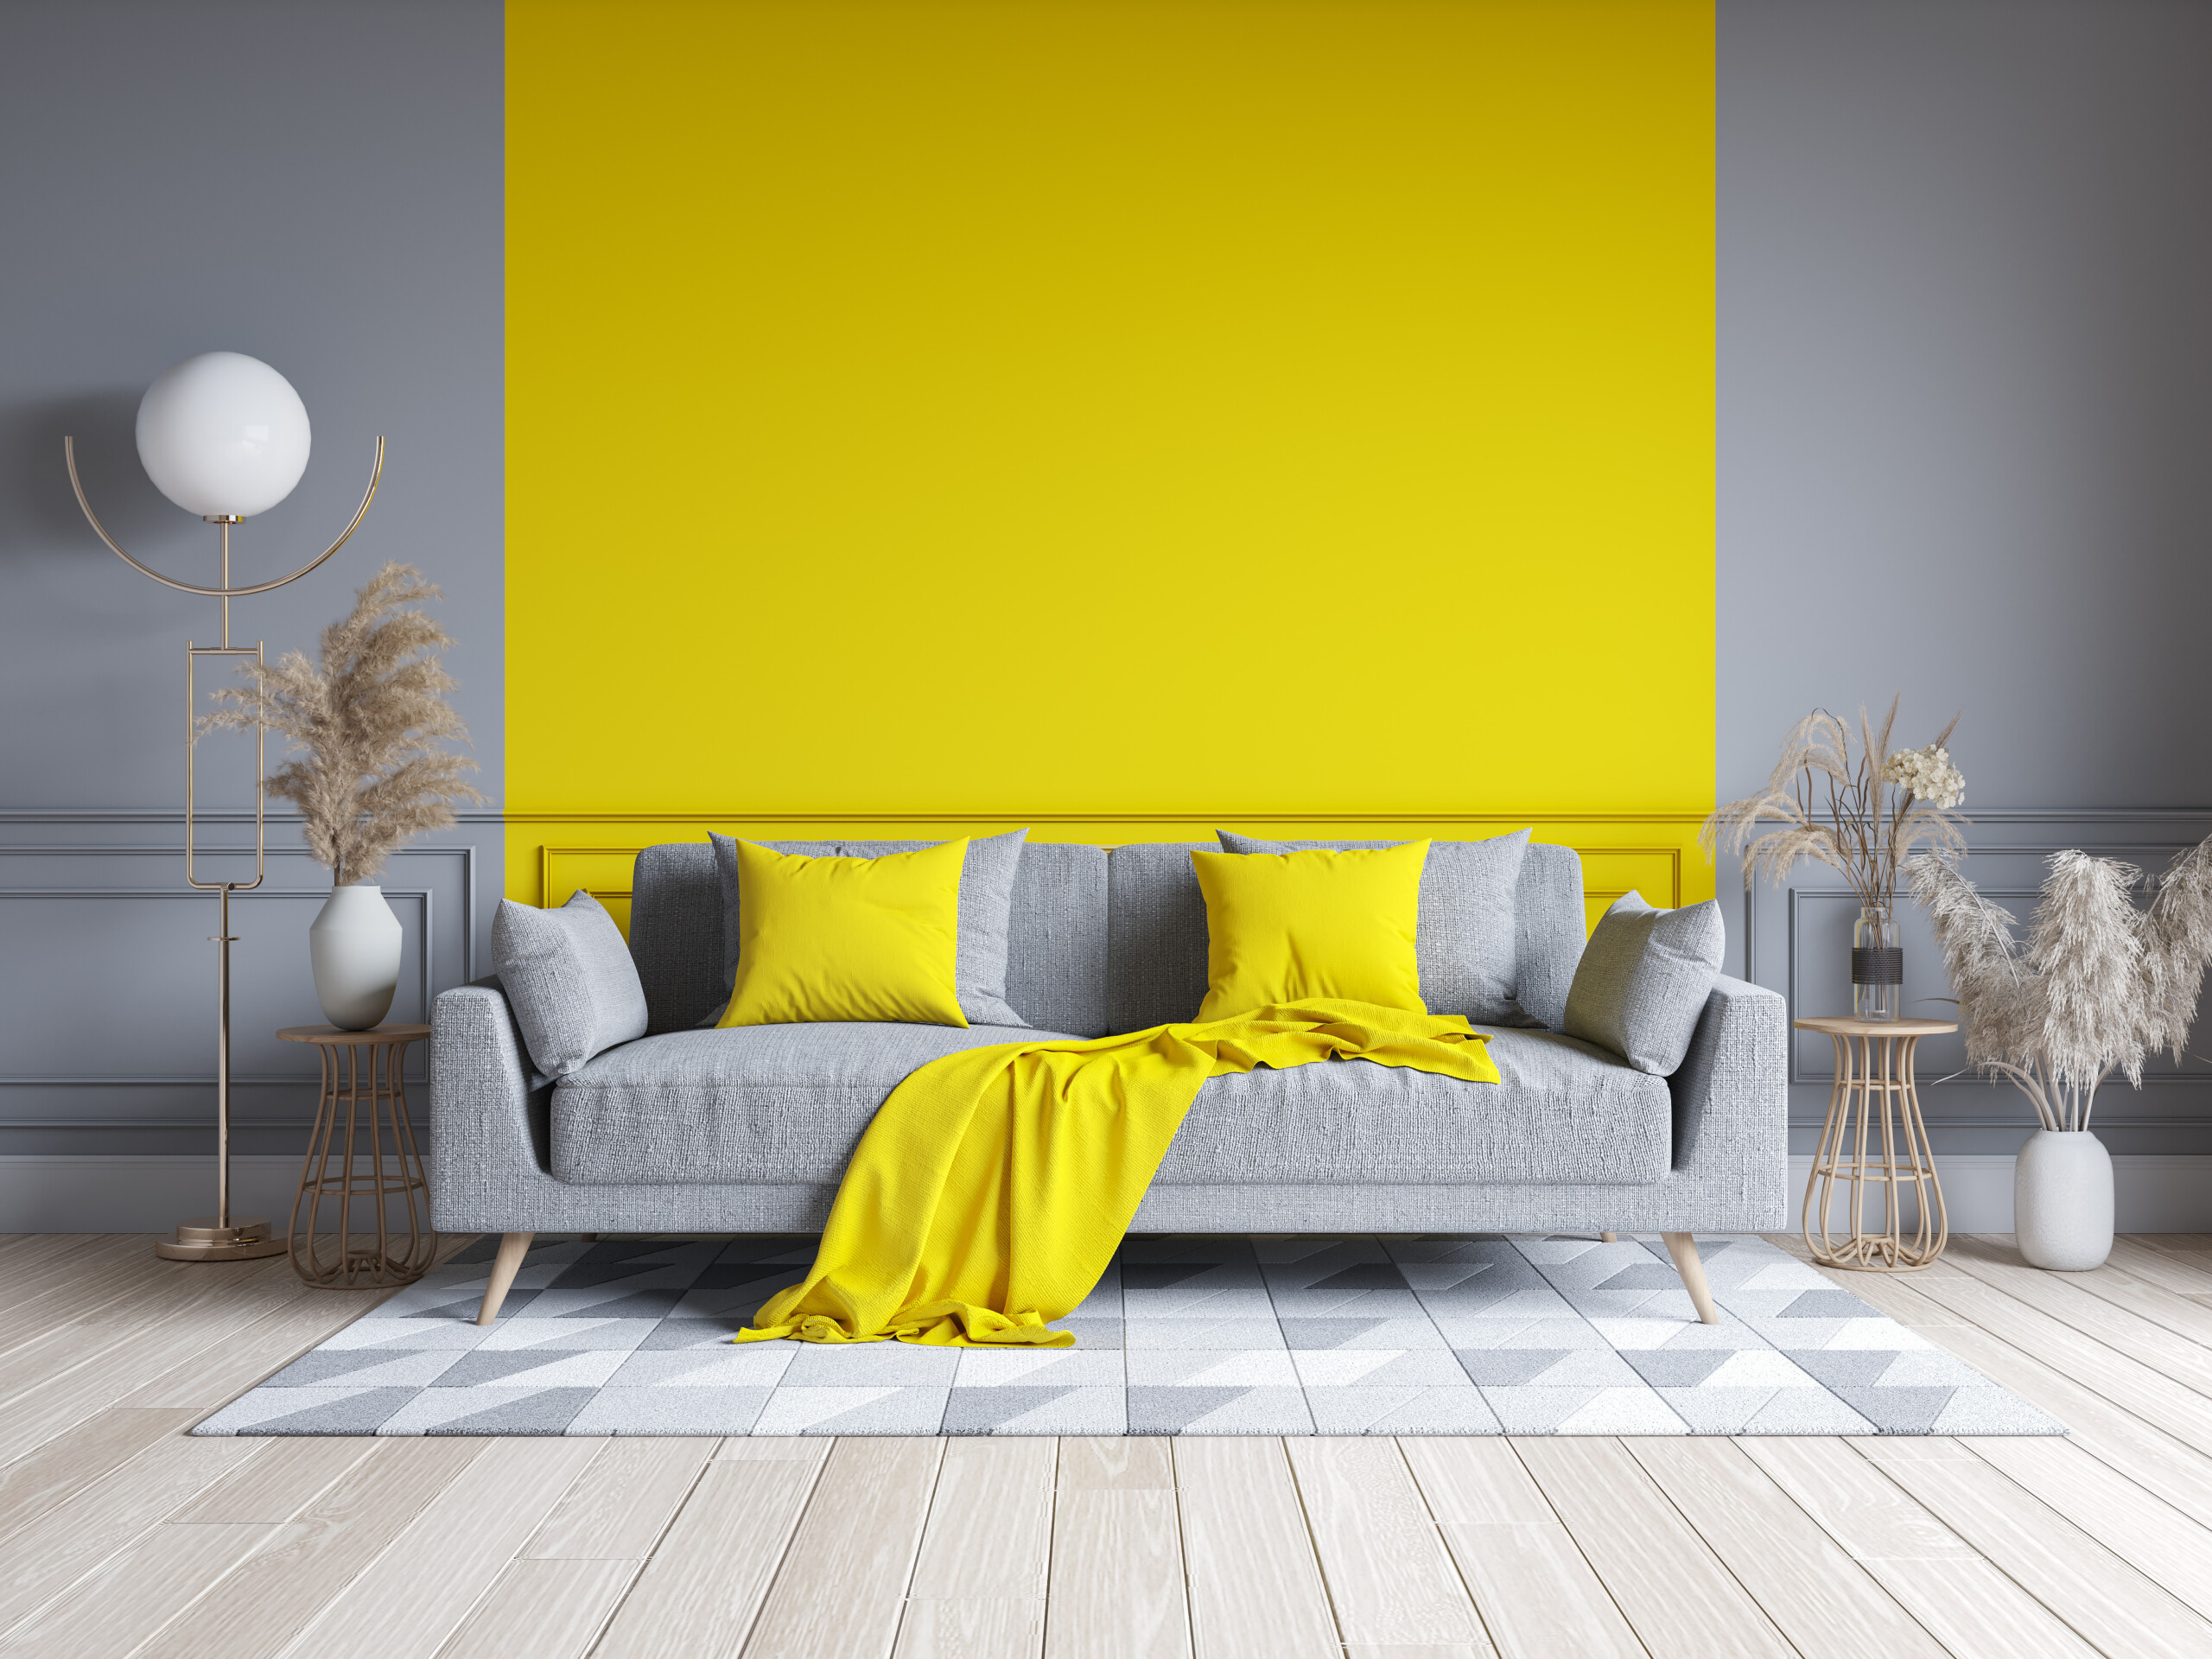
Adding Personality to Your Space
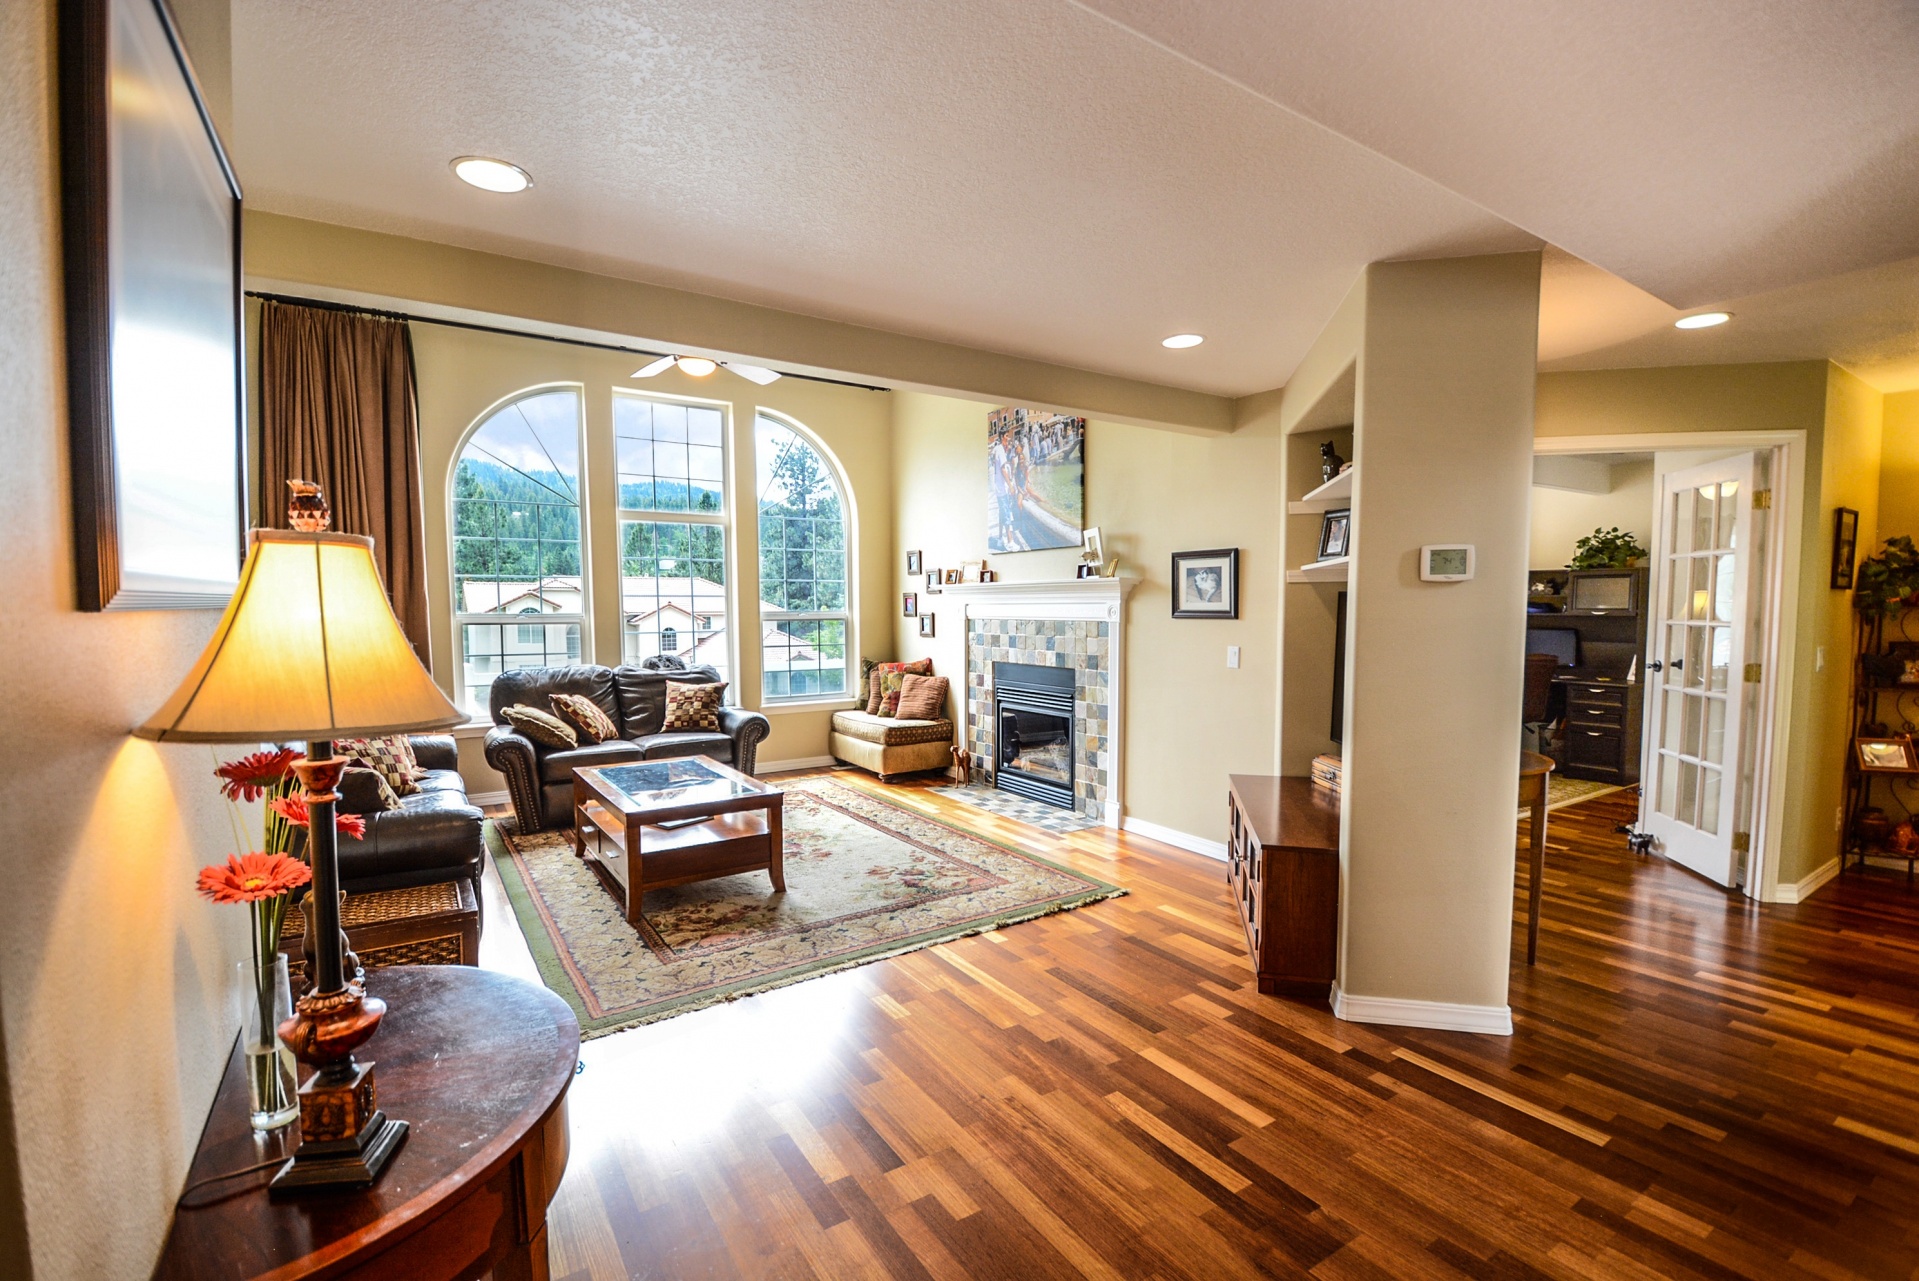
 When it comes to painting your living room, choosing the right color can make all the difference in creating a space that reflects your personal style and sets the tone for the rest of your home.
Painting is one of the most cost-effective and impactful ways to transform a room, and with a little planning and creativity, you can achieve a professional-looking finish
DIY style.
Here are some tips to help you choose the perfect paint color for your living room.
Consider the Room's Purpose
 The first step in choosing a paint color for your living room is to consider the room's purpose.
Is it a formal space used for entertaining guests, or a cozy spot for family gatherings?
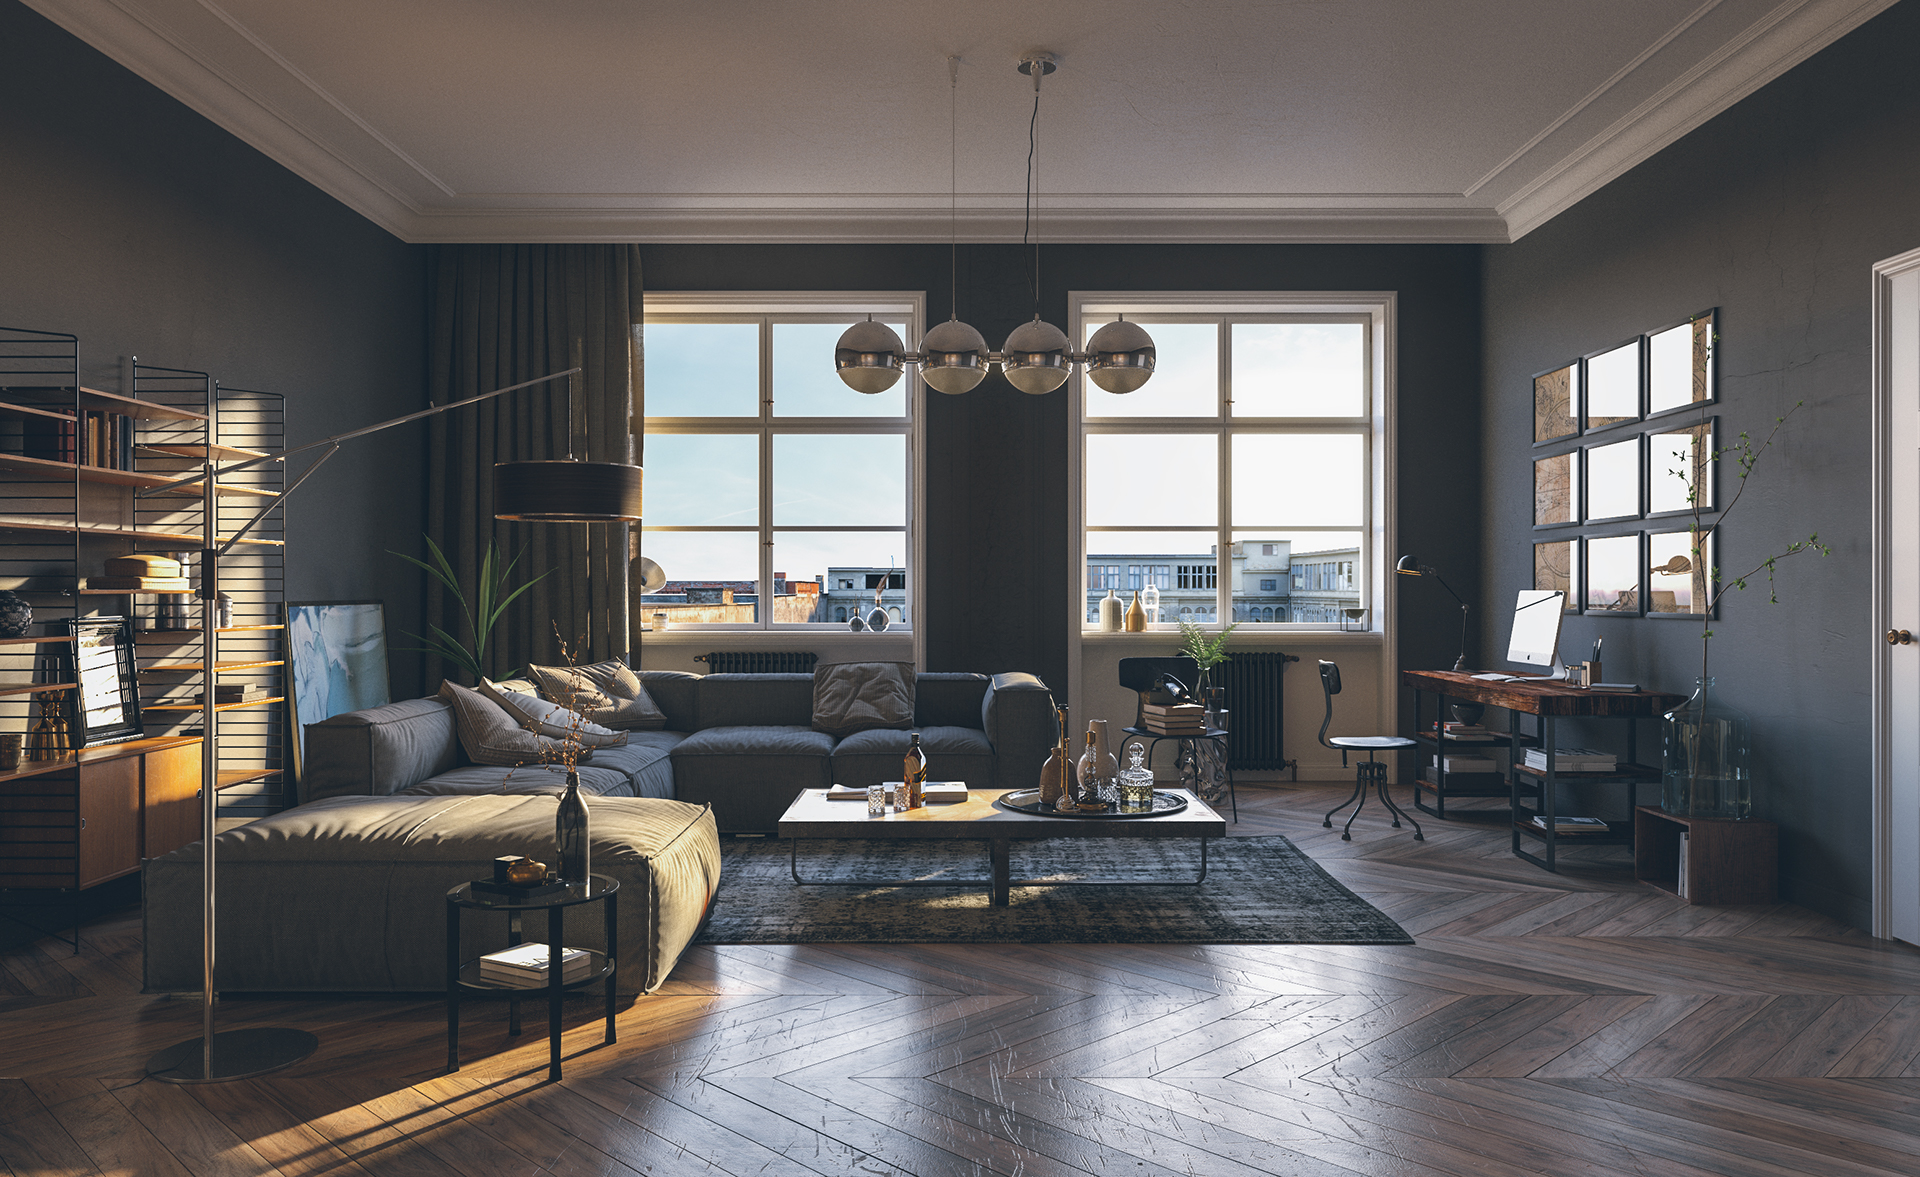
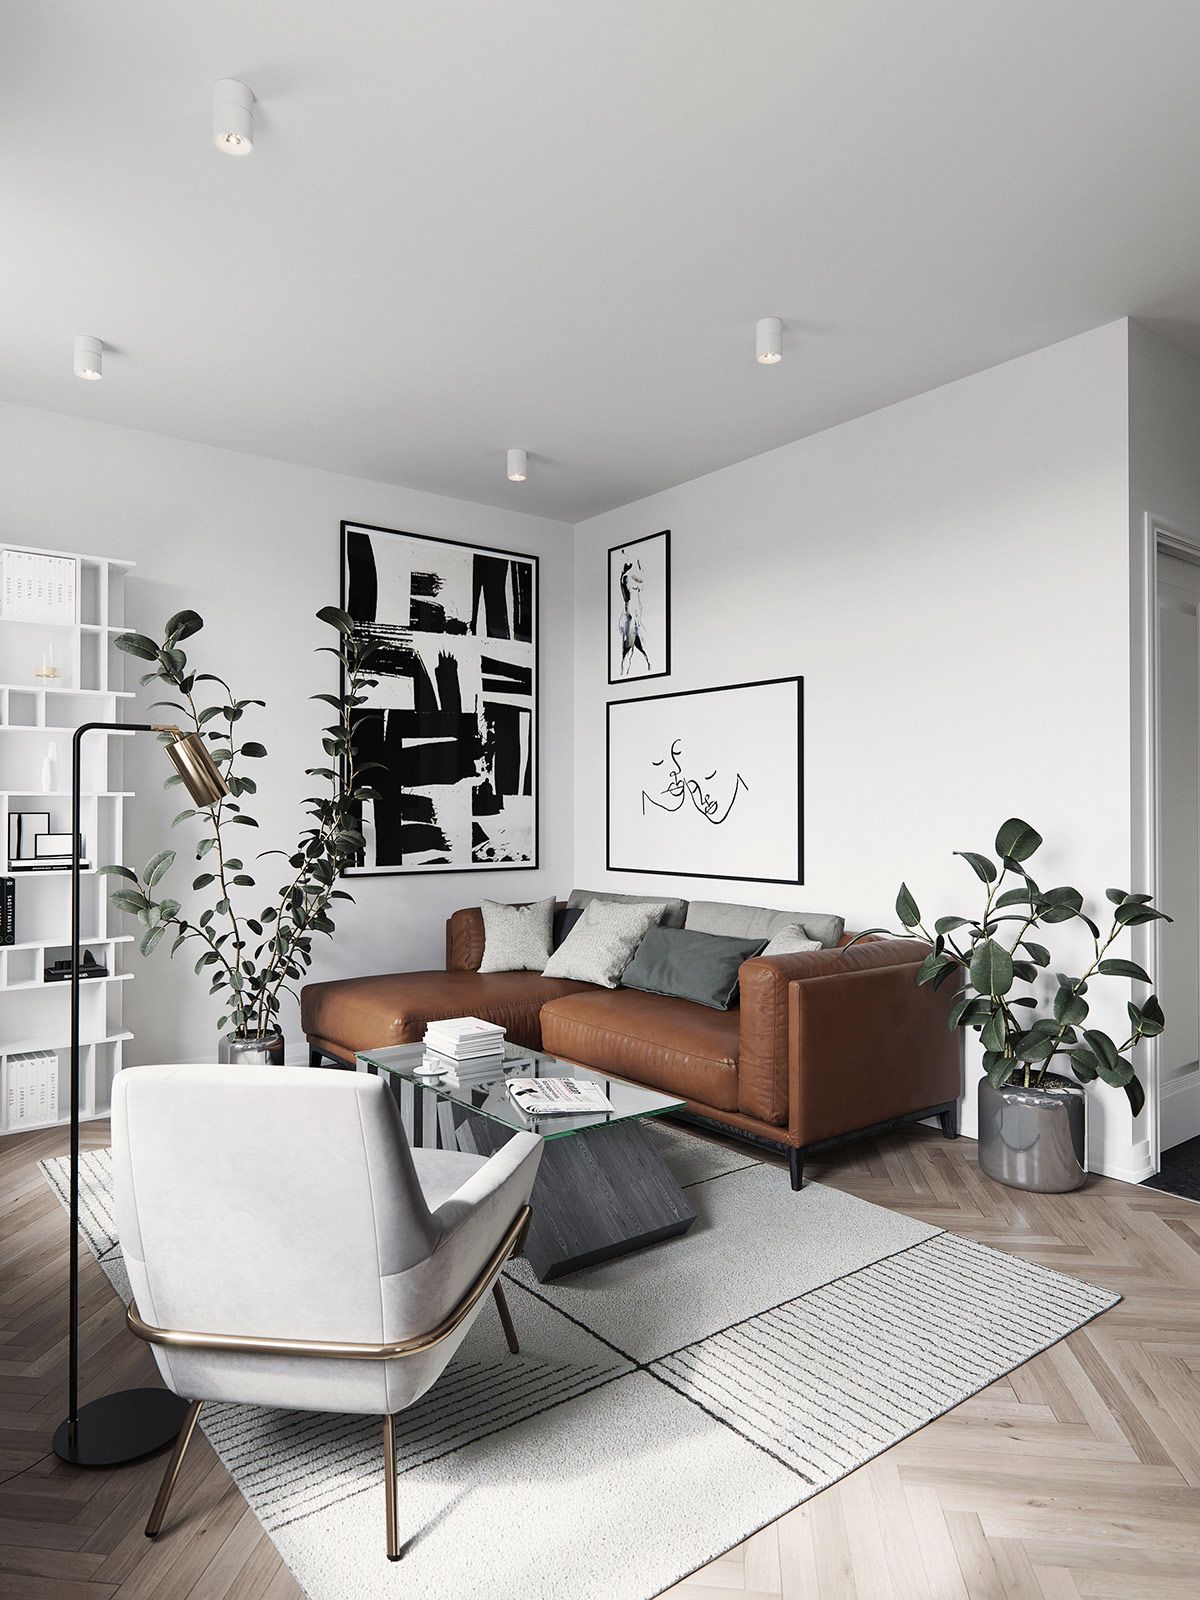
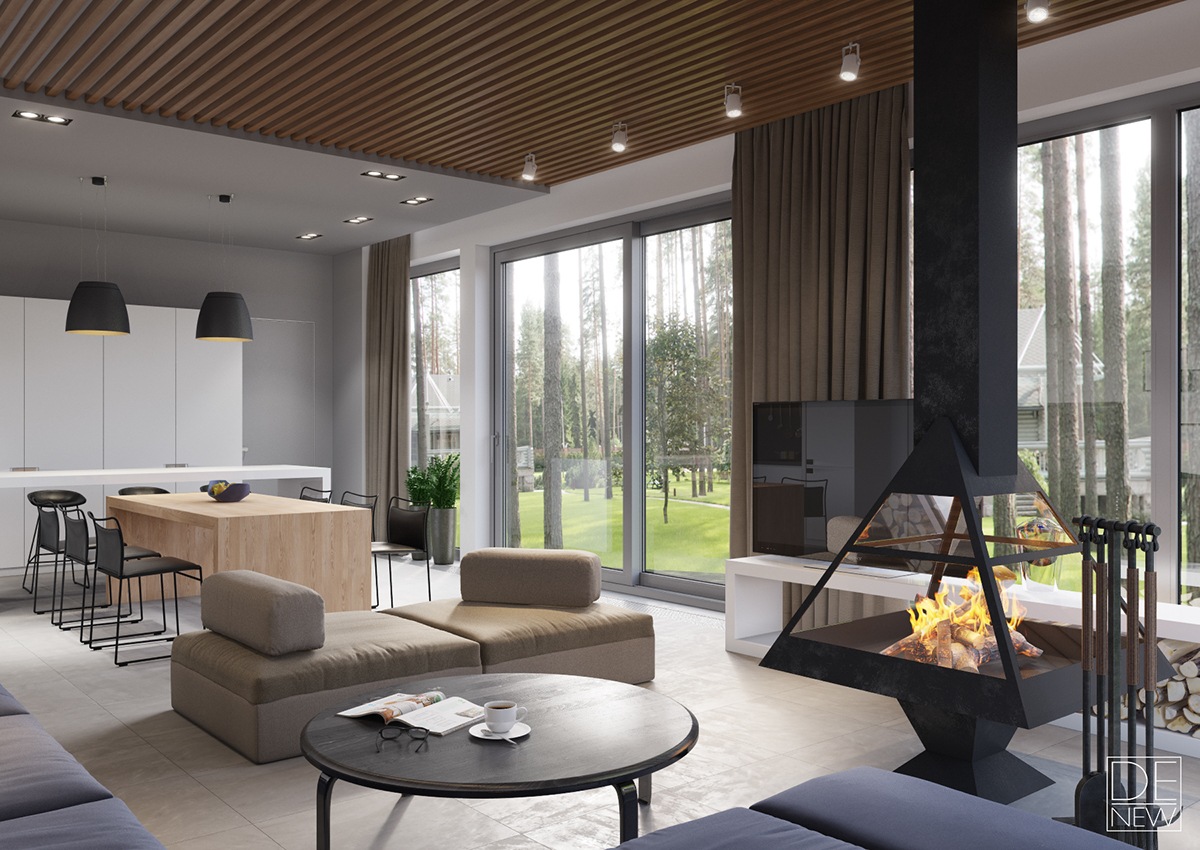
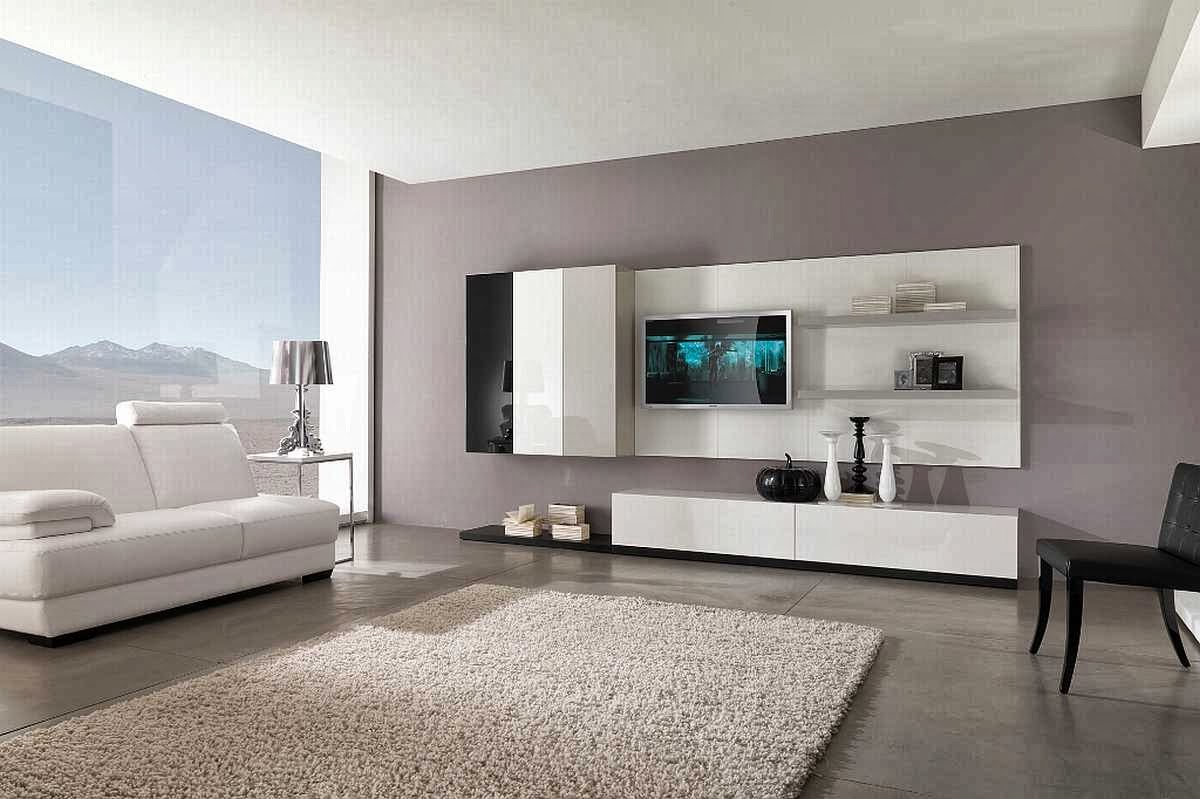
For a more formal living room, neutral colors like beige, gray, or white can create a sophisticated and elegant atmosphere.
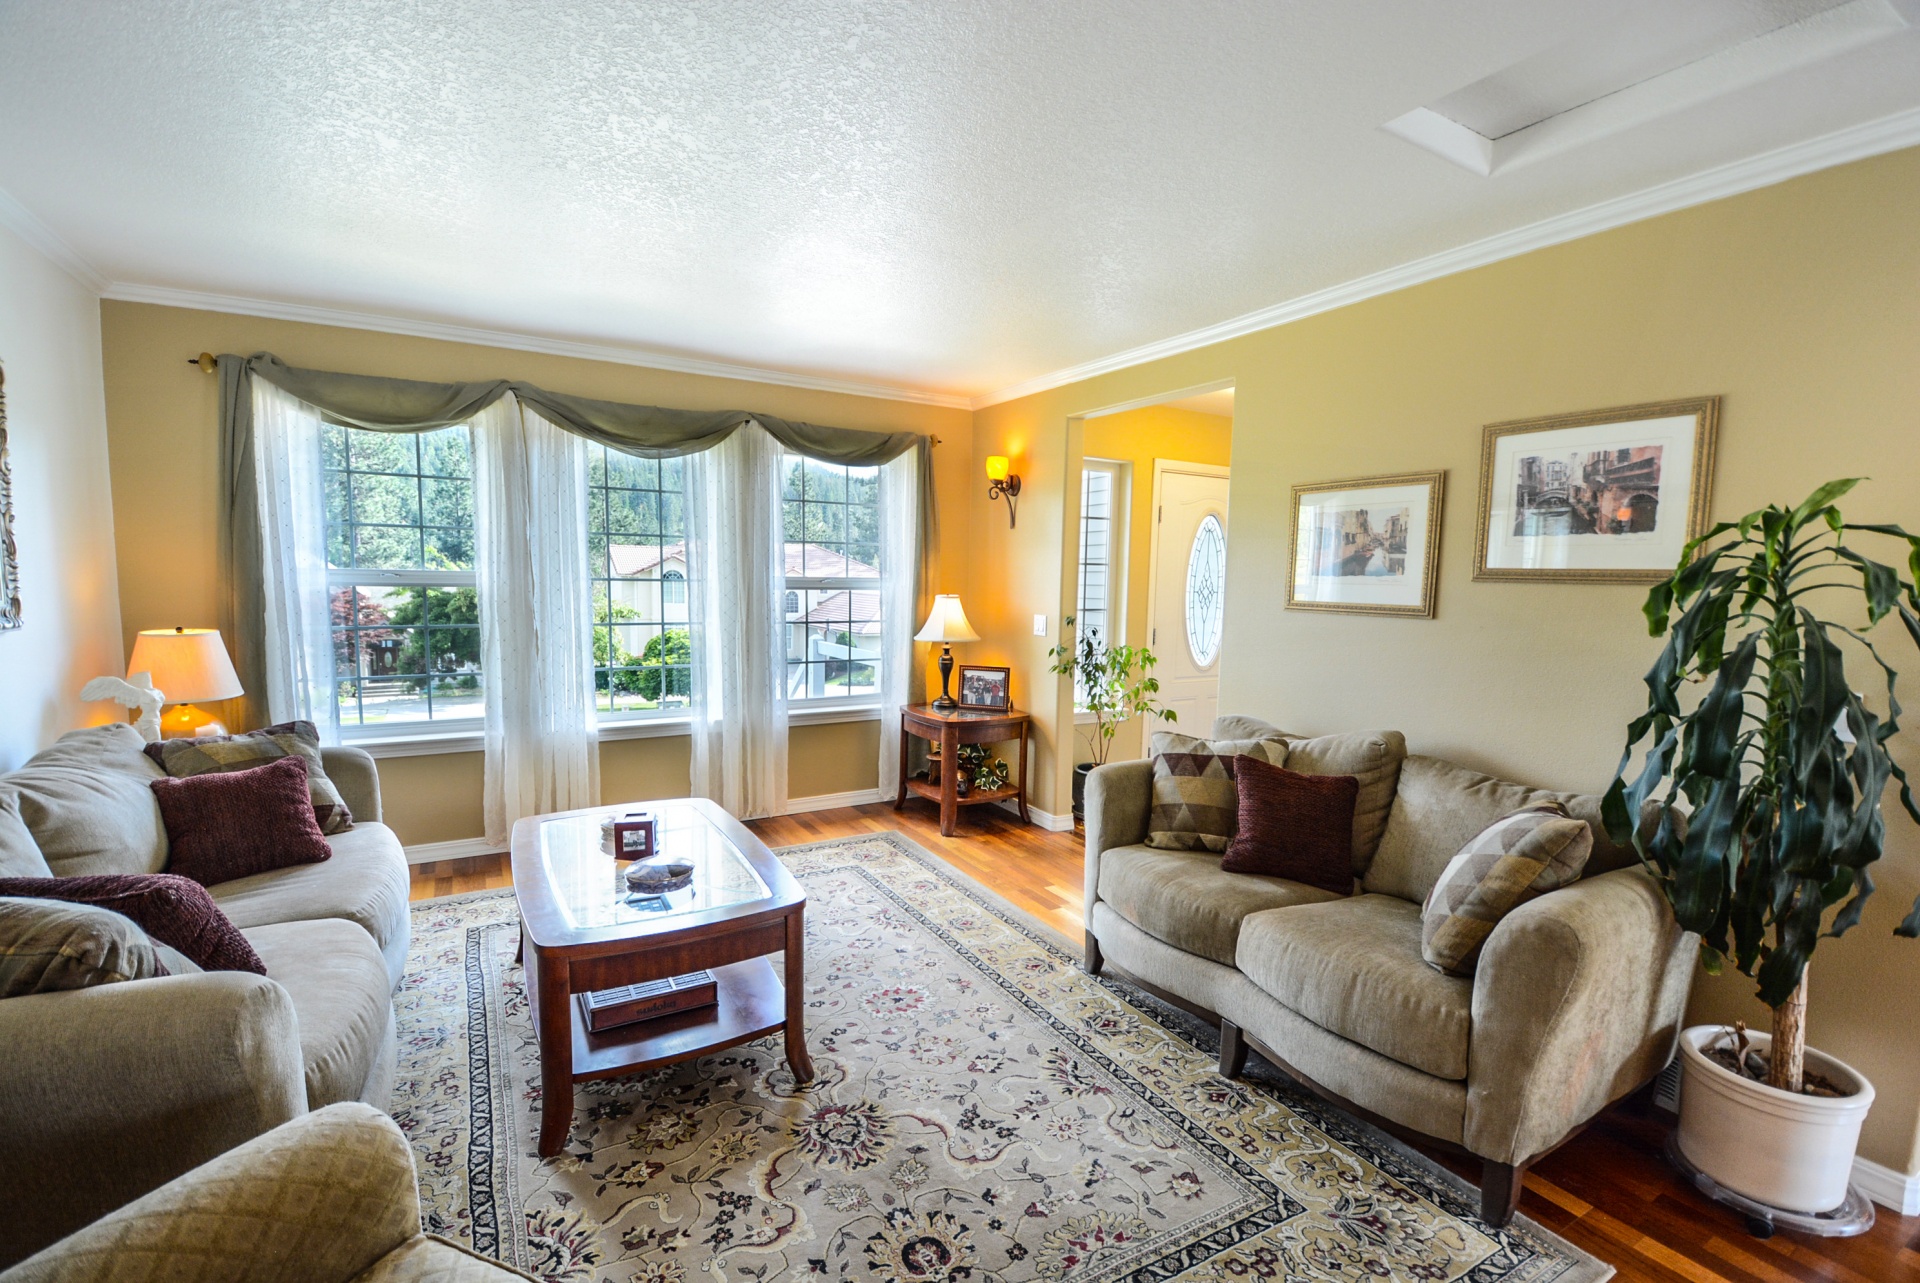
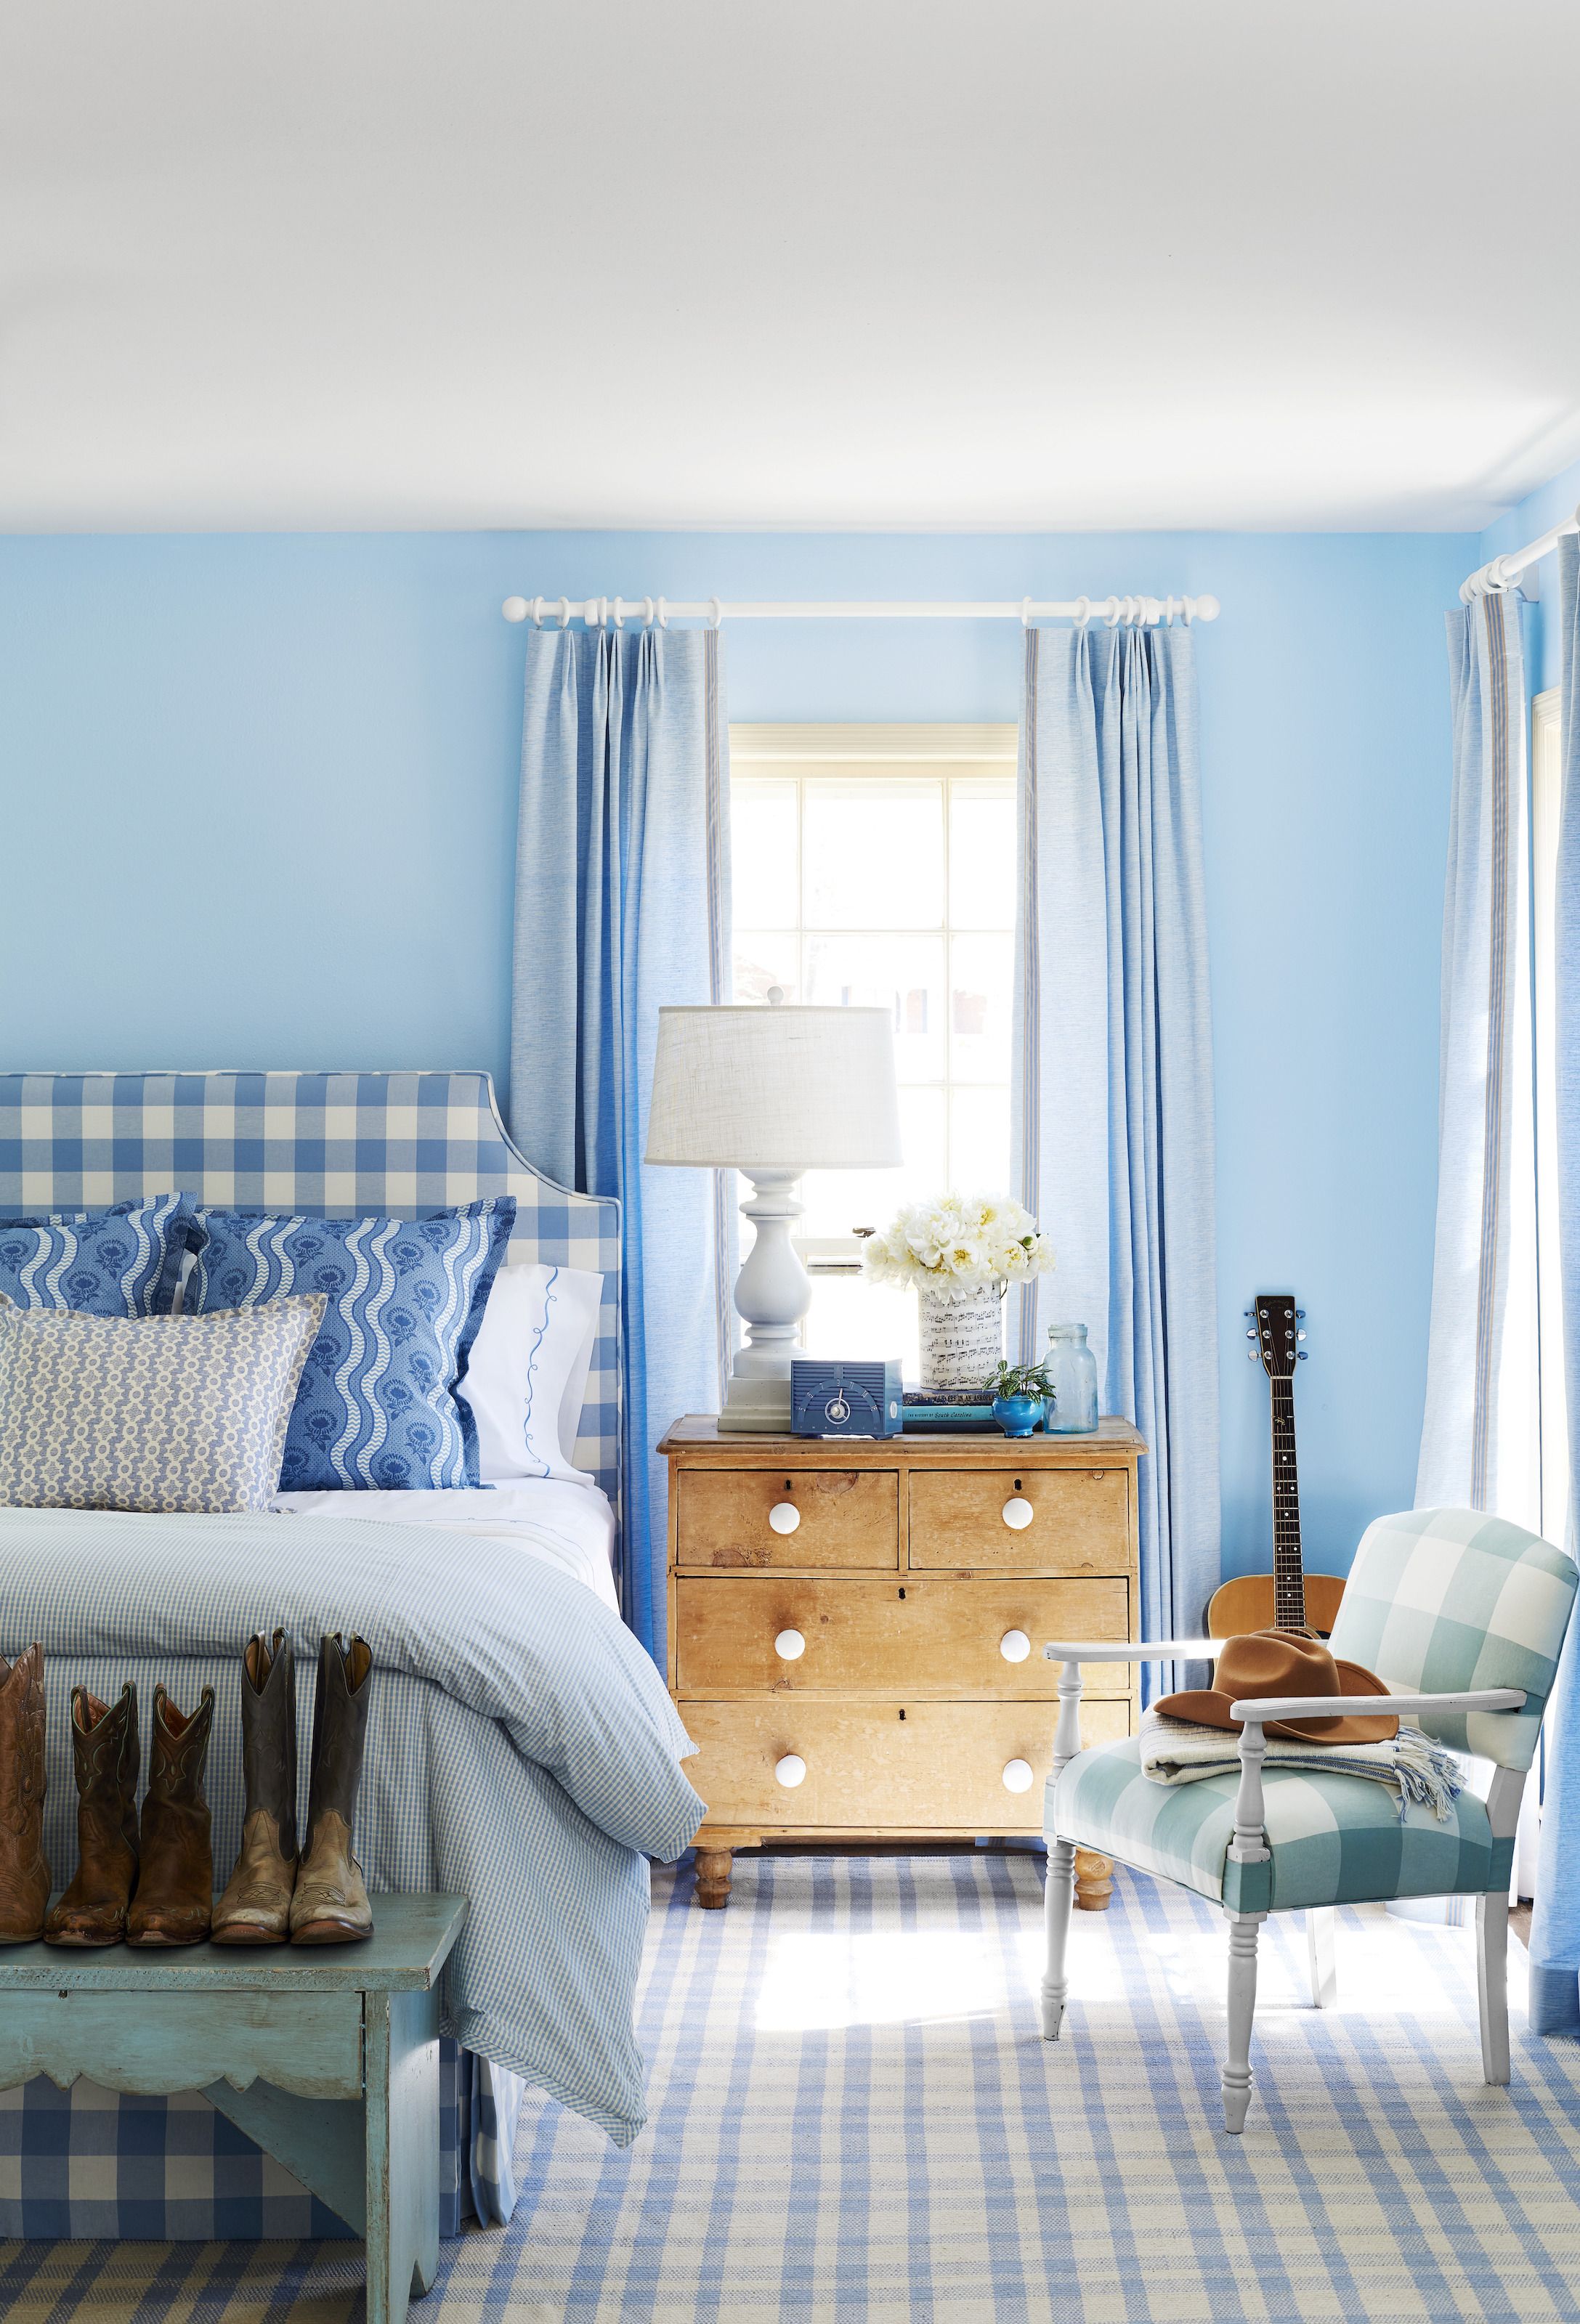
If you want a more inviting and casual feel, consider warmer colors like soft yellows, muted greens, or warm blues.
These colors can also make a smaller space feel bigger and more open.
Think About Lighting
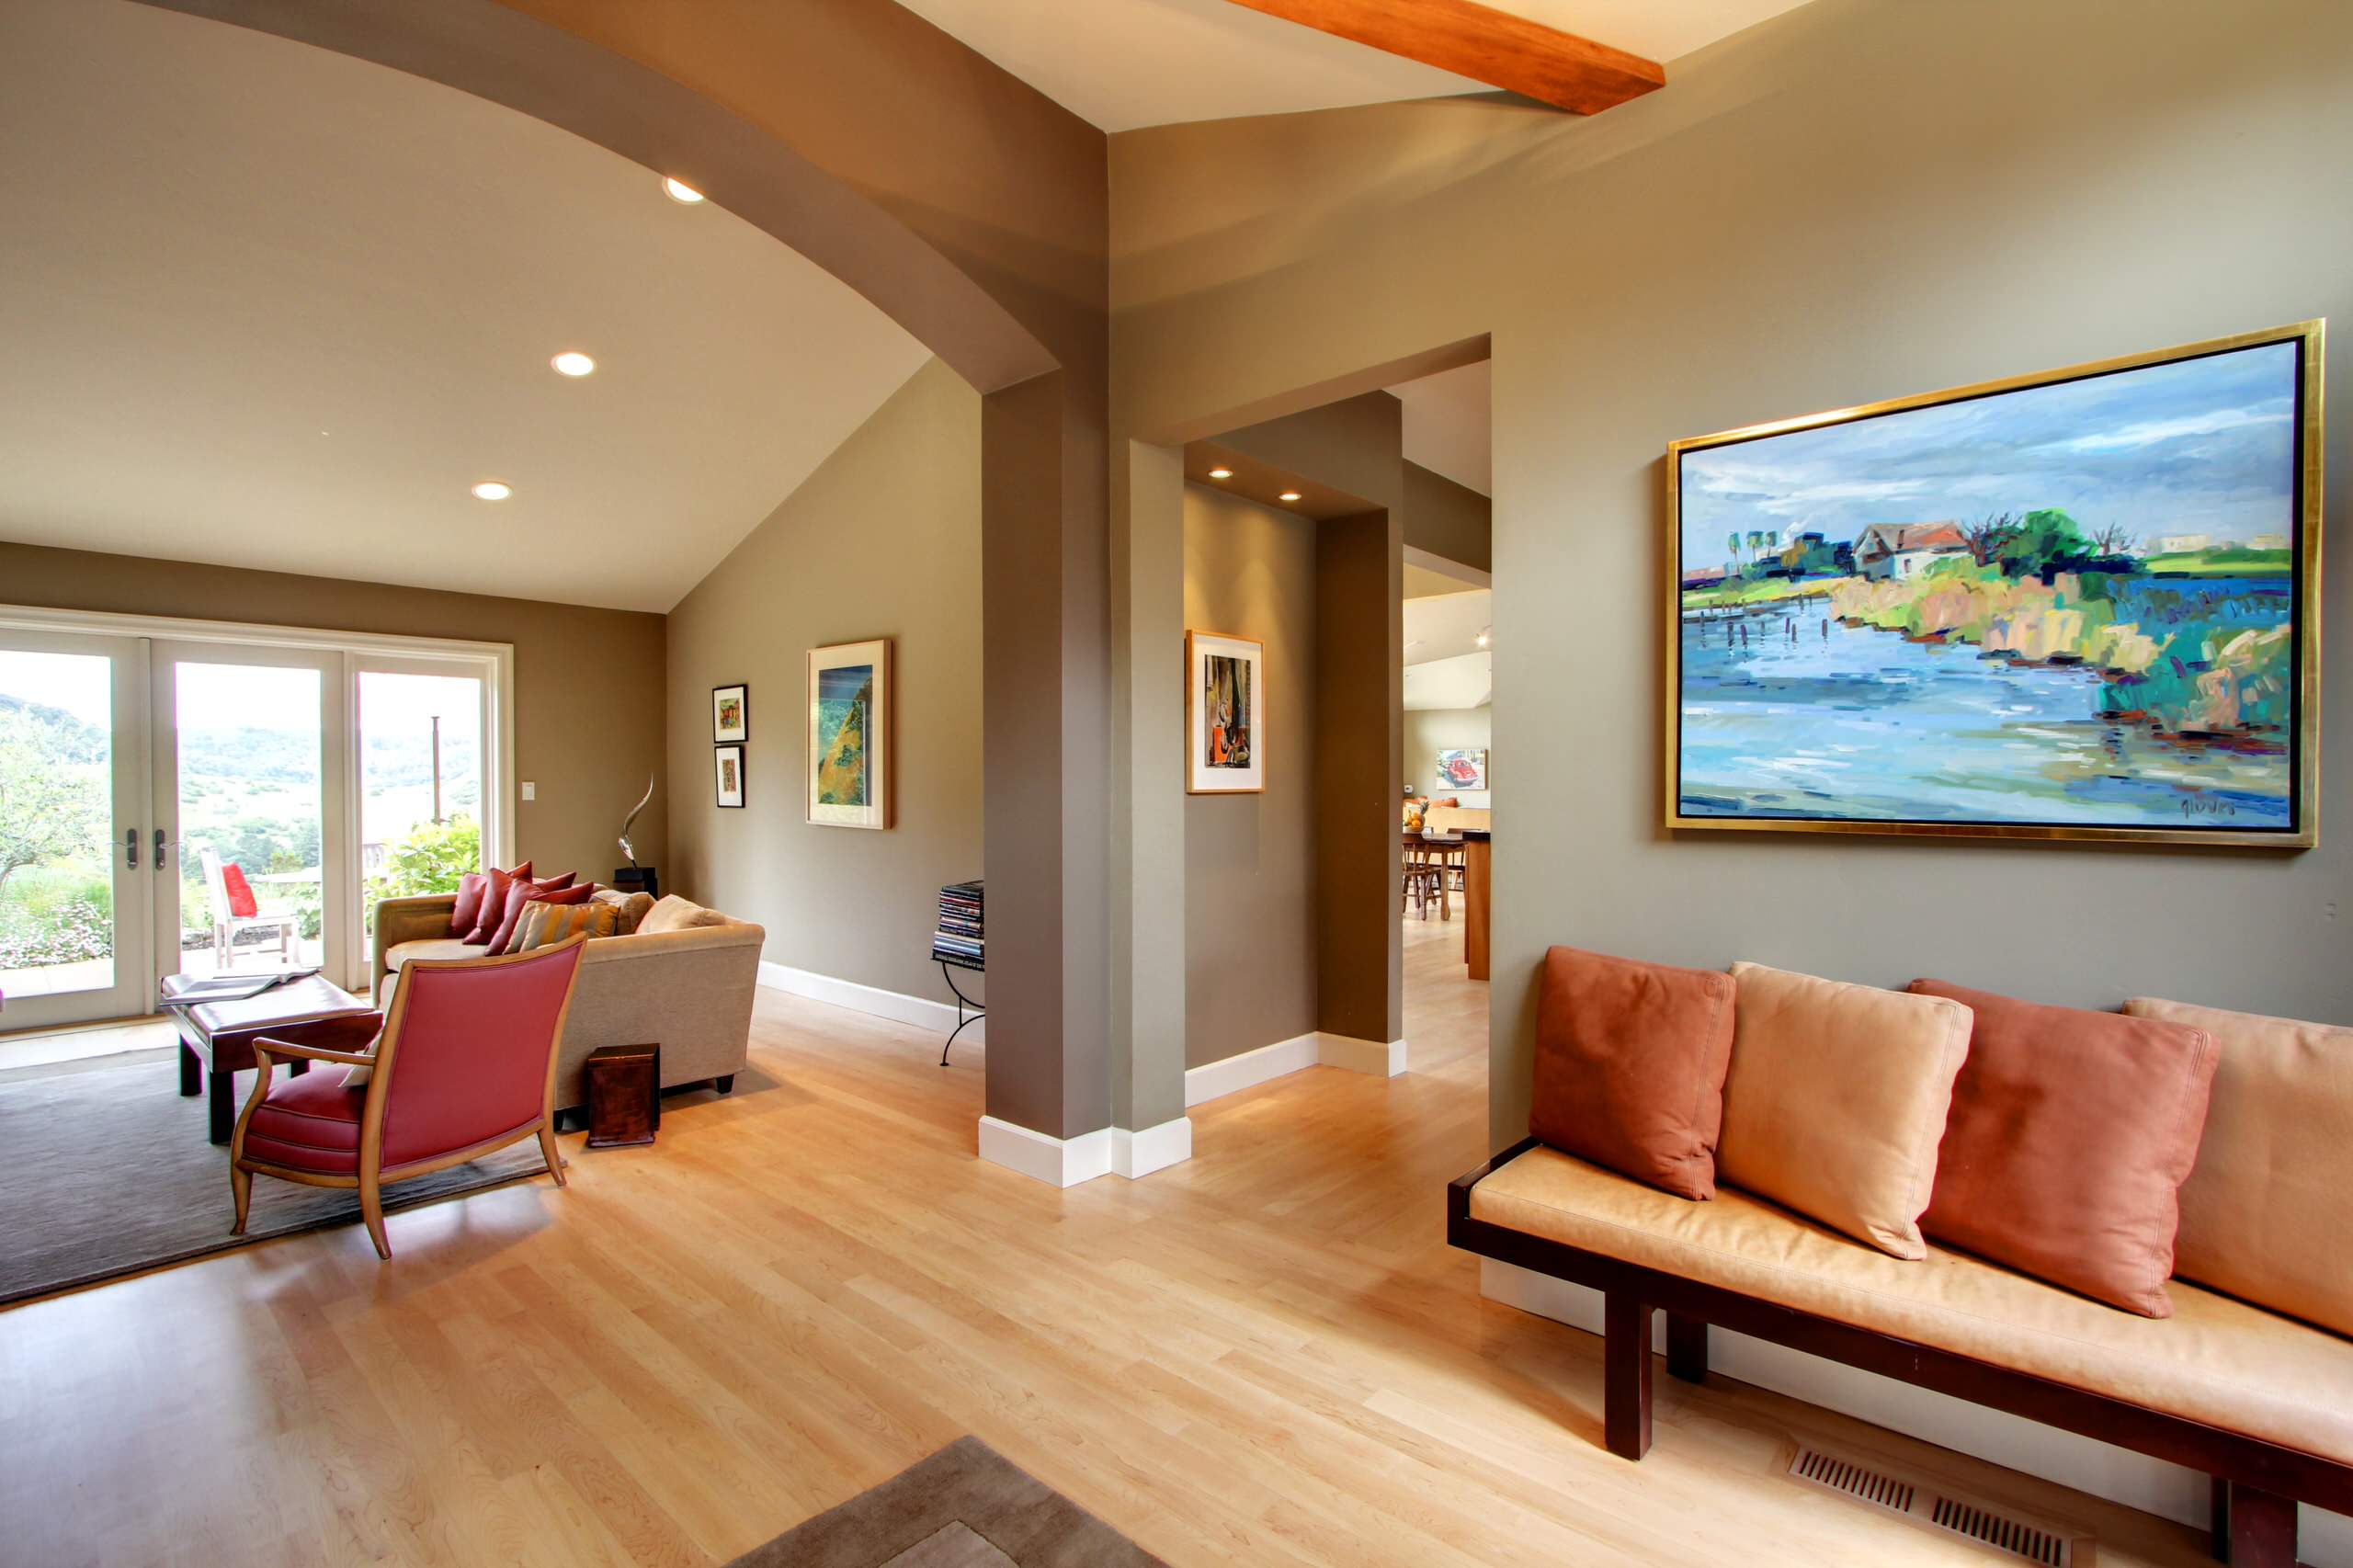 Lighting plays a crucial role in how a paint color will look in your living room.
Rooms with lots of natural light can handle darker colors, while those with limited natural light may benefit from lighter shades.
It's also essential to consider the direction your living room faces. Rooms that face north tend to have cooler light, so warmer colors can help balance the space.
Conversely, rooms that face south tend to have warm light, so cooler colors can help create a more balanced and soothing atmosphere.
Get Inspired by Your Decor
 If you're struggling to choose a paint color, look to your existing decor for inspiration.
Consider the colors and patterns in your furniture, curtains, and artwork.
Pulling a color from these elements can tie the room together and create a cohesive look.
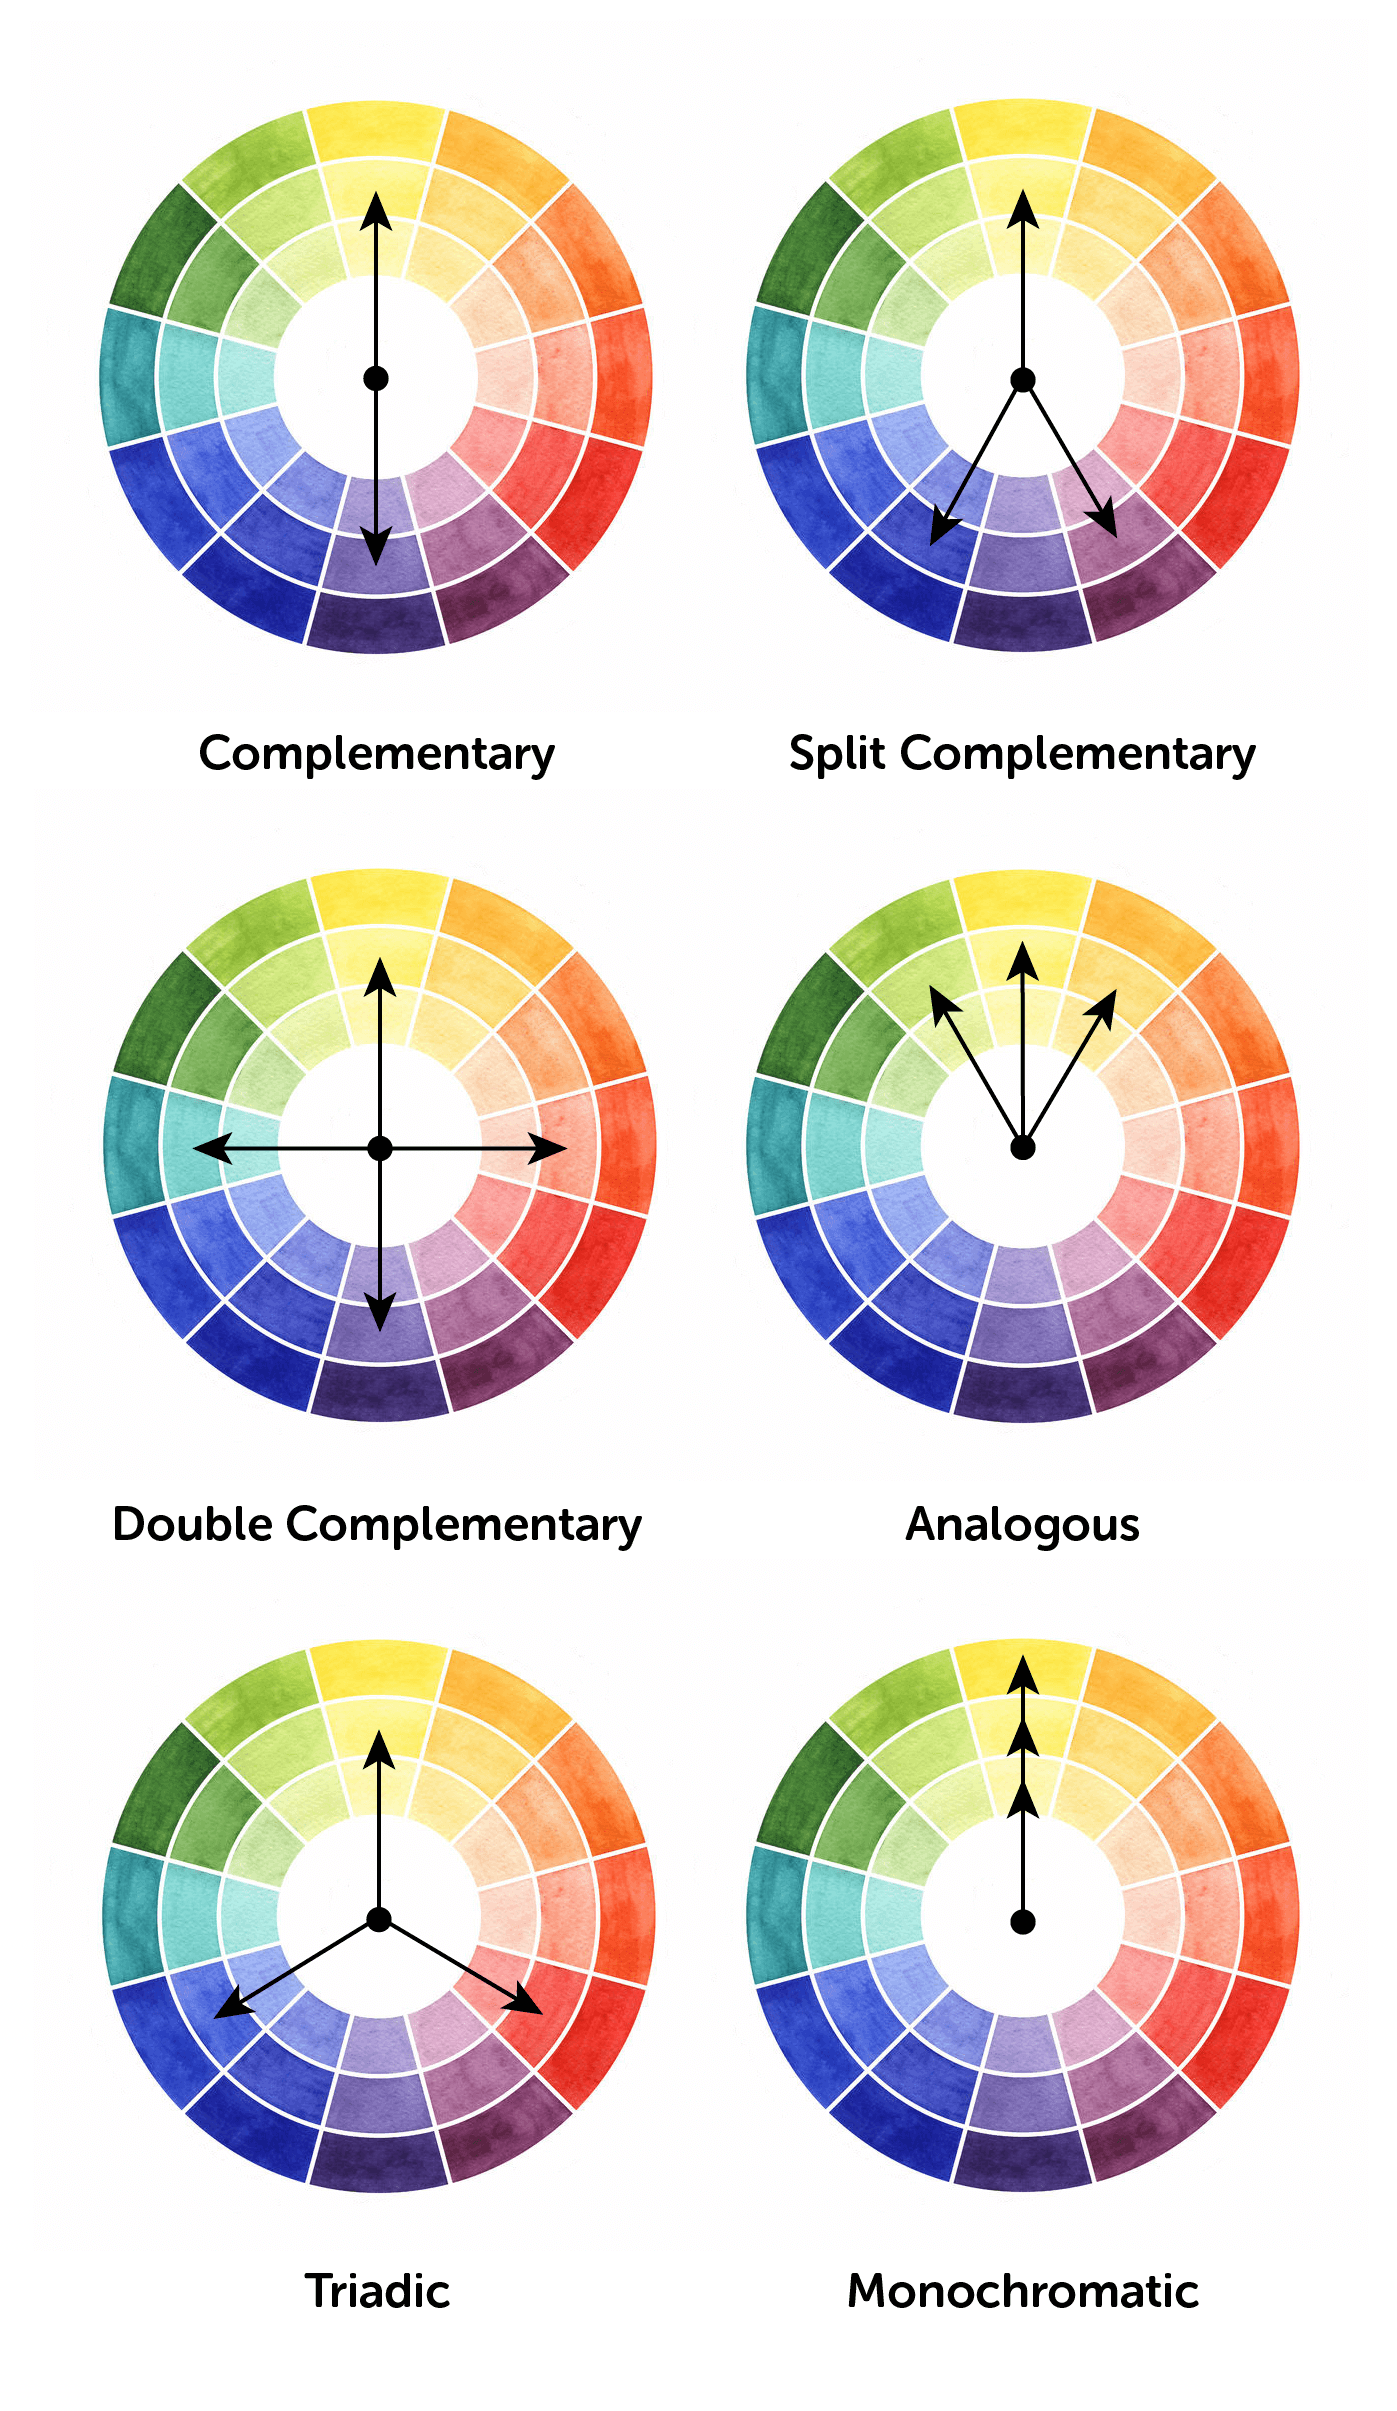
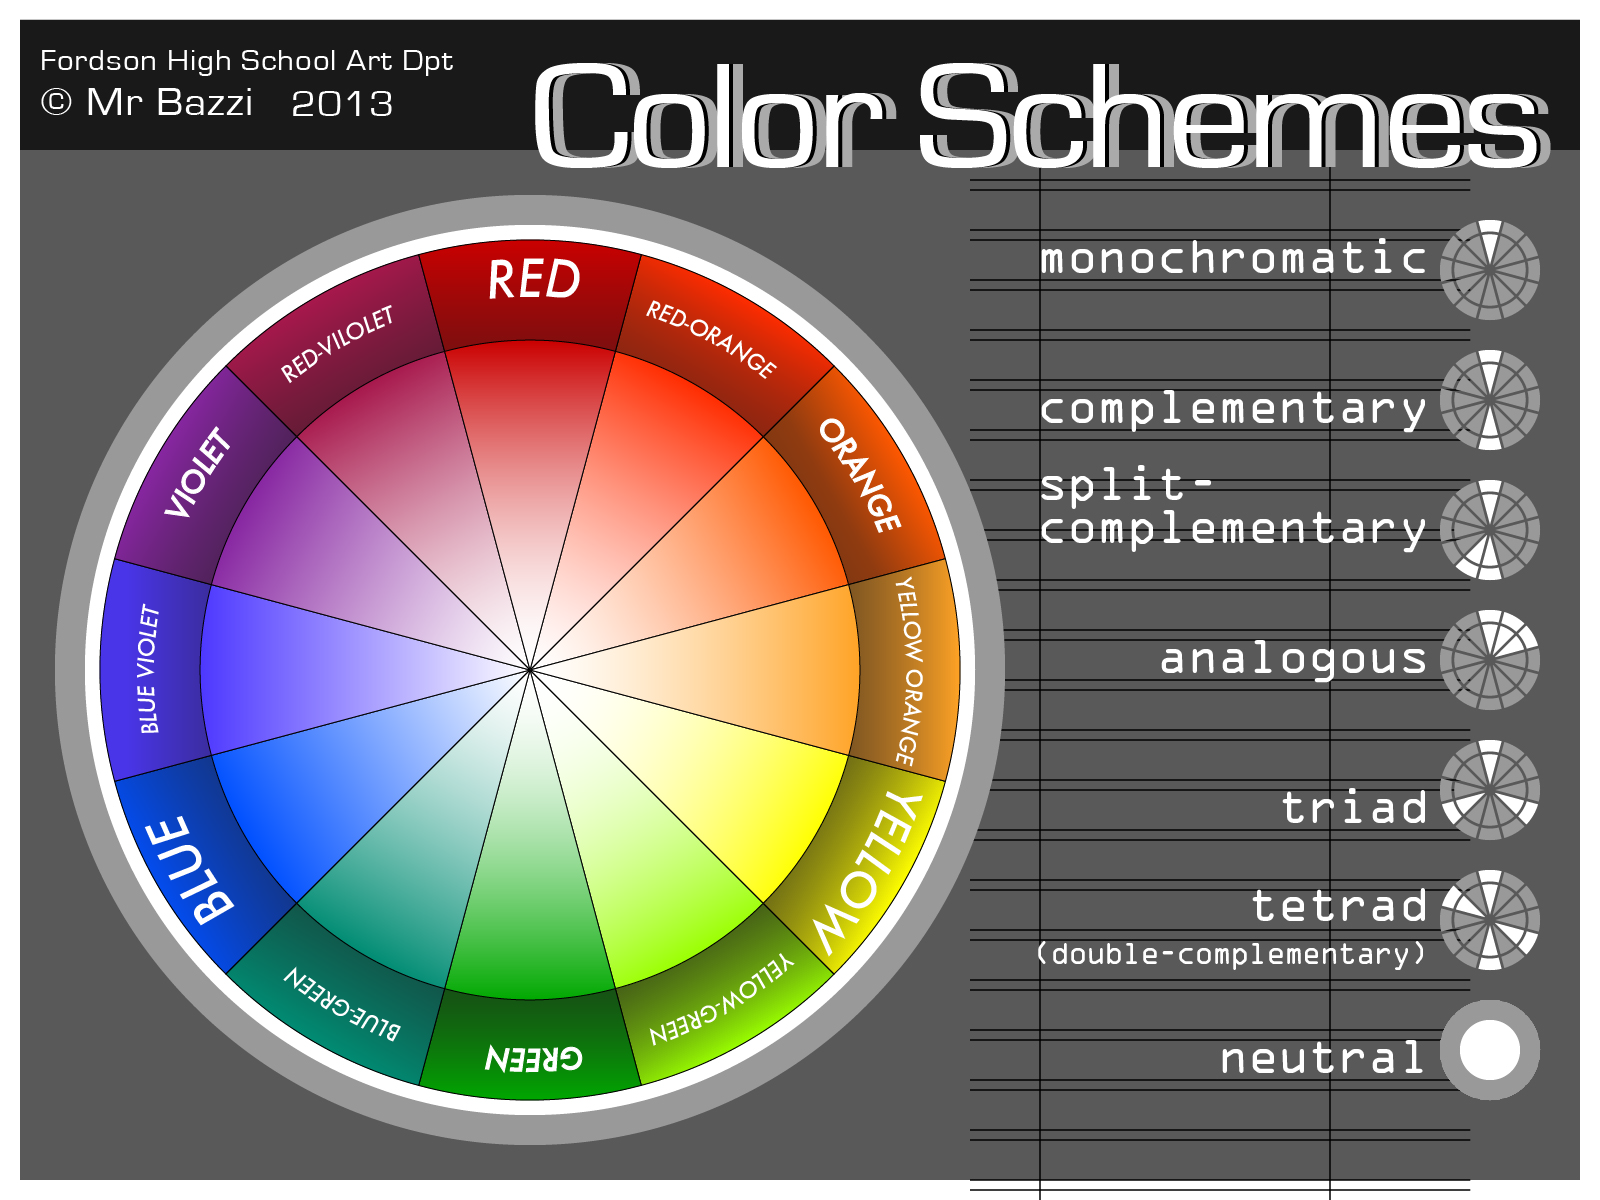
You can also use complementary colors to create a bold and dynamic statement.
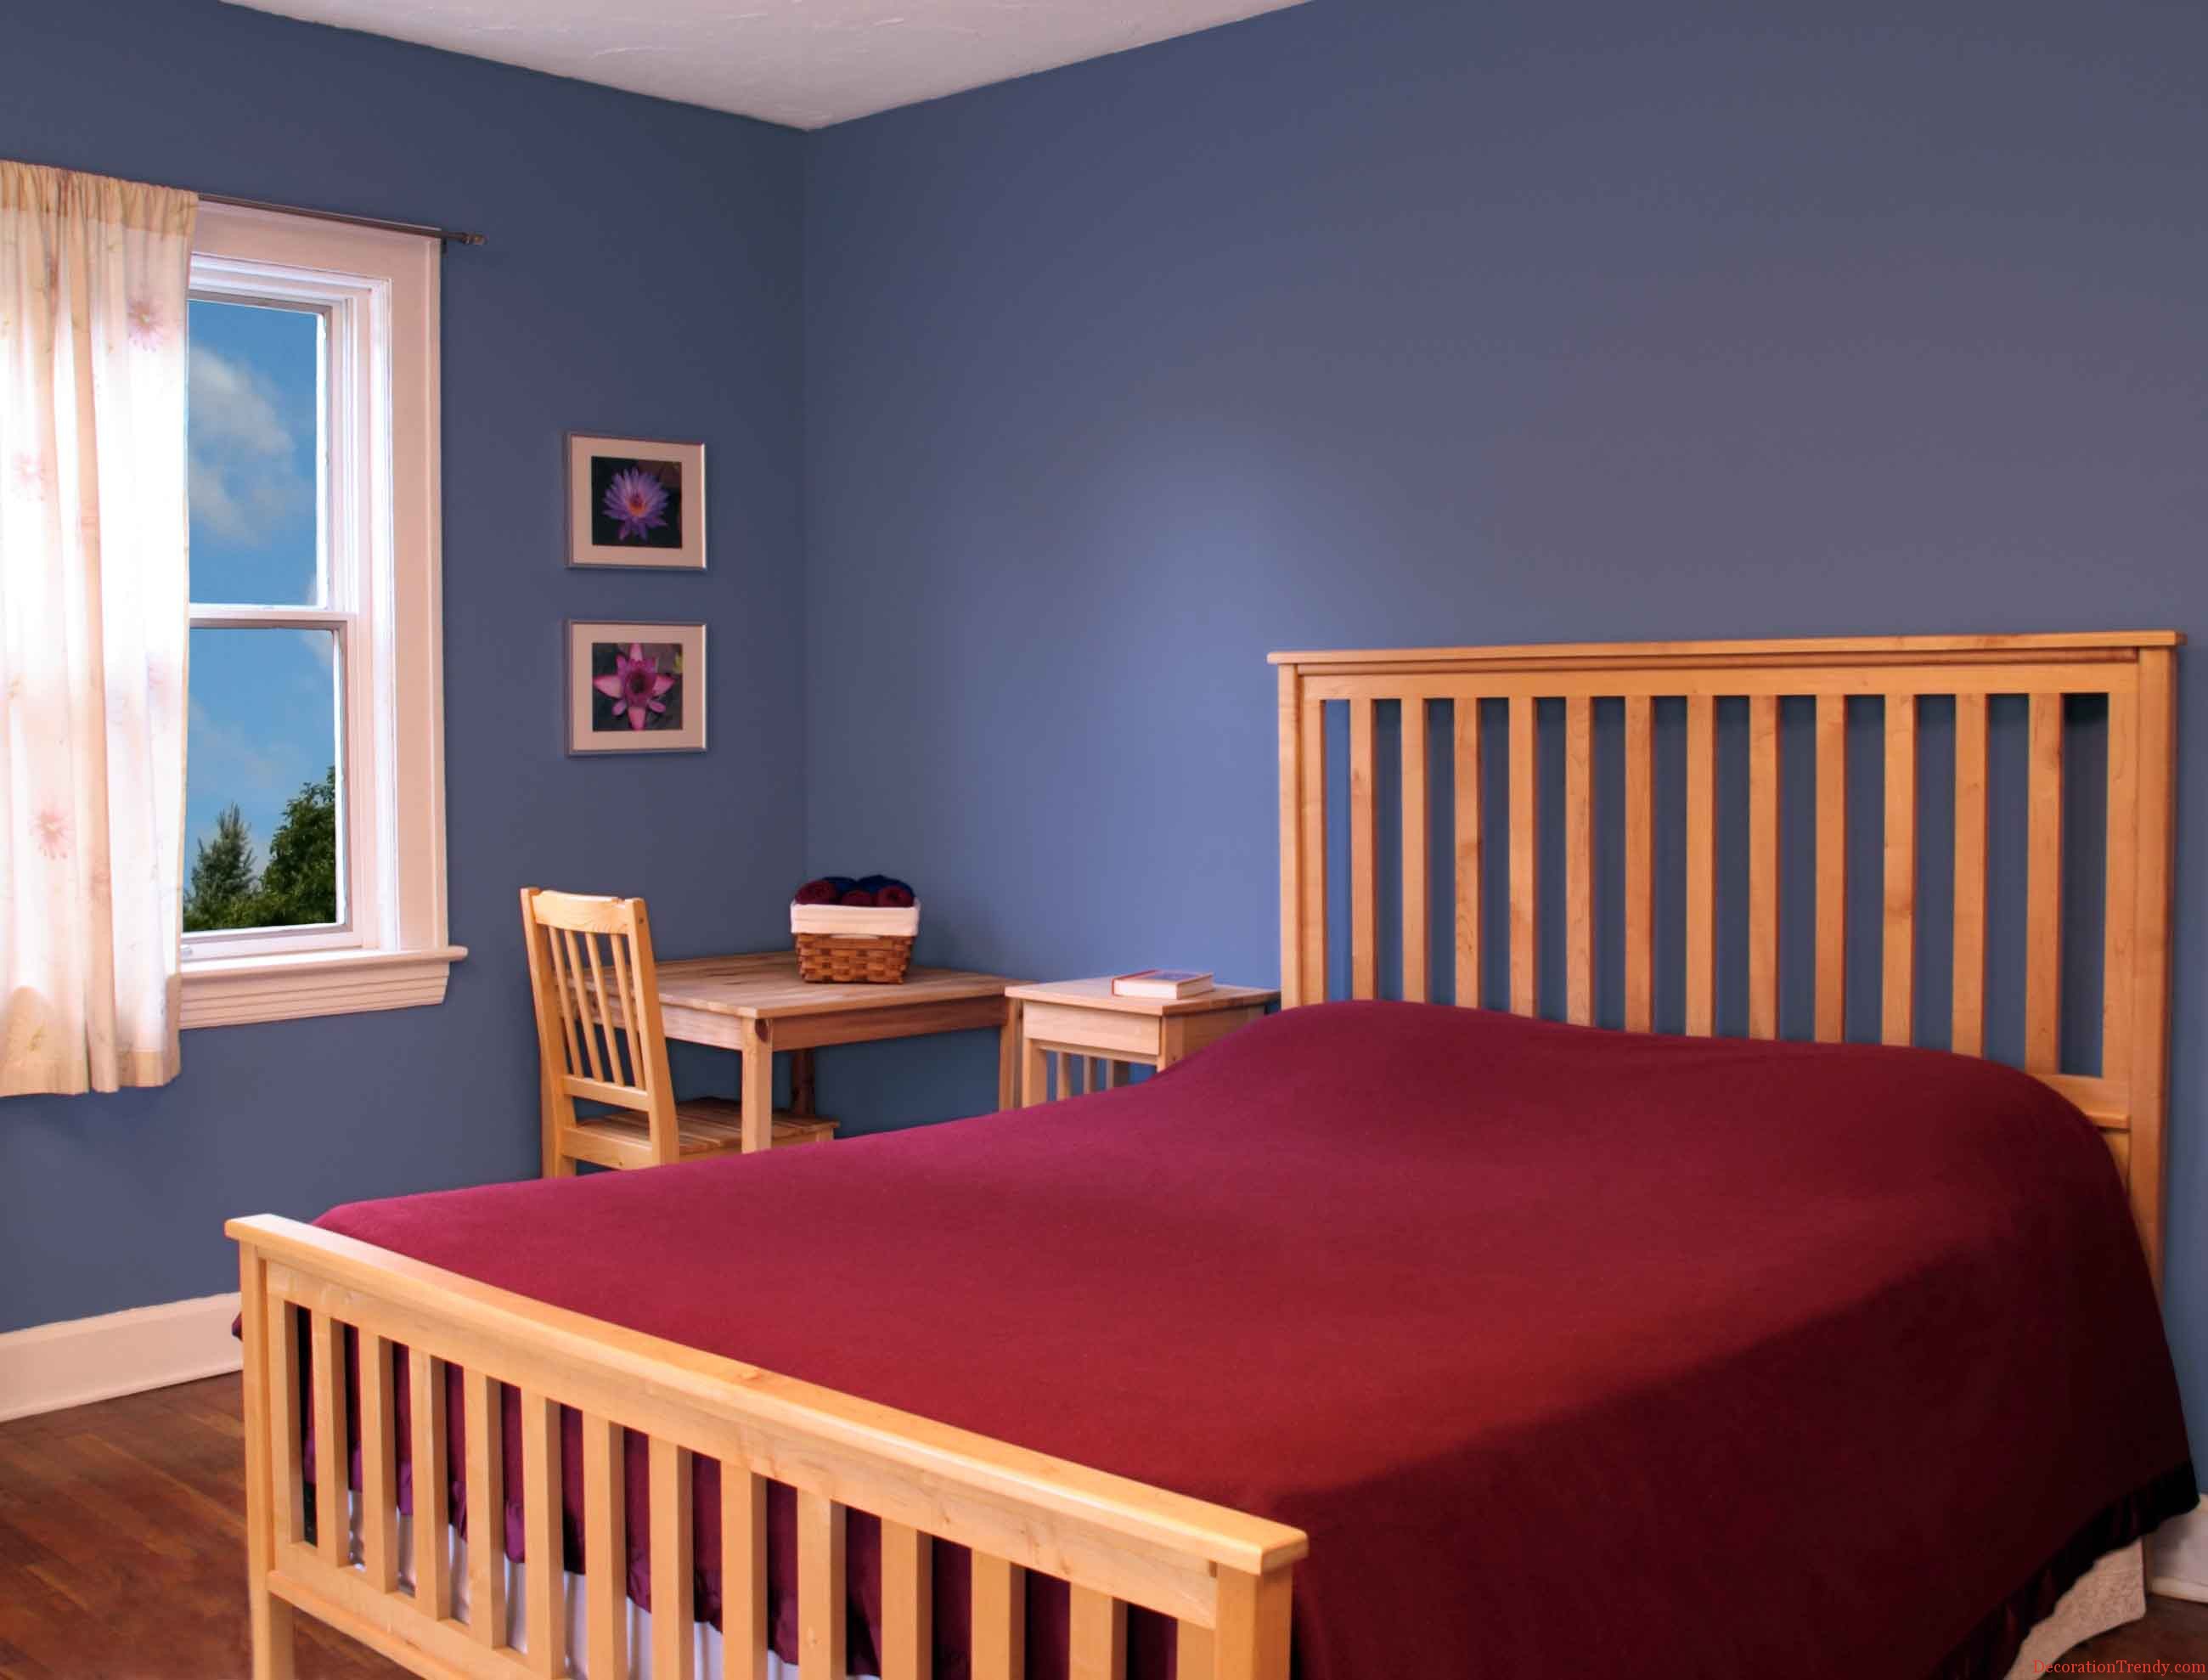
For example, if you have a lot of blue in your decor, consider painting an accent wall in a complementary orange shade to create a striking contrast.
Test Before You Commit
 Once you have a few paint colors in mind, it's essential to test them out in your living room before making a final decision.
Paint a small section of each color on the wall and observe how it looks in different lighting throughout the day.
Keep in mind that the color may look different in natural light versus artificial light.
You can also test the color by painting a large piece of poster board and moving it around the room to see how it looks in different areas.
This will help you make sure you're happy with the color before committing to painting the entire room.
With these tips in mind, you can confidently choose a paint color for your living room that will reflect your personal style and create a welcoming and inviting space for you and your guests to enjoy.
Remember to take your time and have fun with the process, and soon you'll have a beautifully painted living room that you can be proud of.


.jpg)




:max_bytes(150000):strip_icc()/Chuck-Schmidt-Getty-Images-56a5ae785f9b58b7d0ddfaf8.jpg)



:max_bytes(150000):strip_icc()/Traditional-lakefront-living-room-58bc72c73df78c353c0905bd.png)





/Epoxy-DIY-Countertops-Via-Smallspaces.about.com-56d33a003df78cfb37d23f47.jpg)













.jpg)












.jpg)
