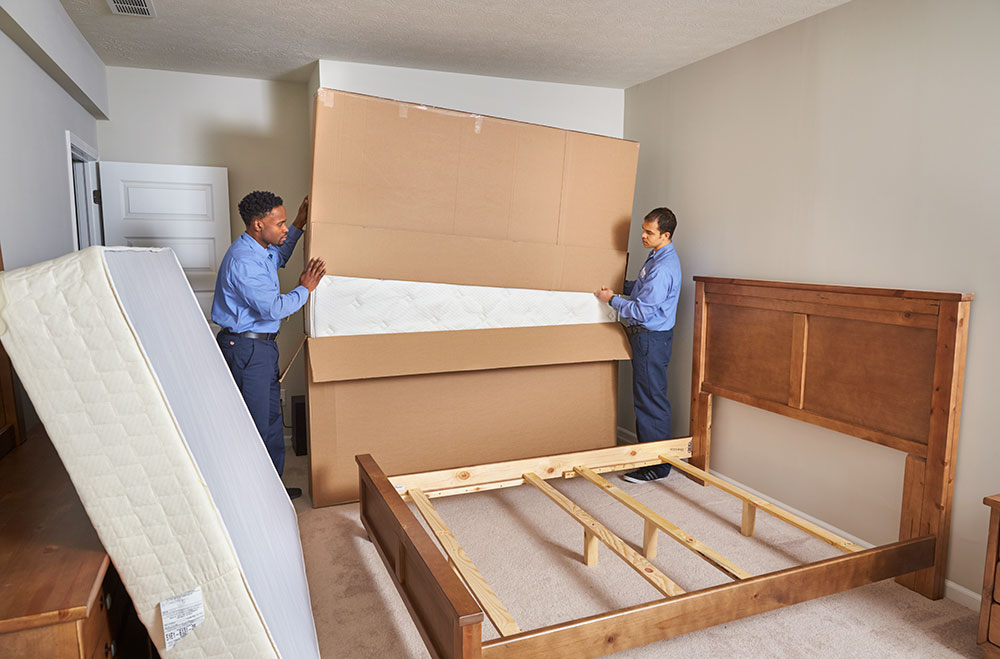
Moving can be a stressful and chaotic process, and one of the most challenging items to transport is a mattress. Not only is it bulky and heavy, but it is also susceptible to damage during the move. That's why it's essential to have a proper mattress cover to protect it from scratches, tears, and dirt. In this article, we will show you how to make a DIY mattress cover for moving, so you can have peace of mind during your move.How to Make a DIY Mattress Cover for Moving


How to Make a DIY Mattress Cover for Moving


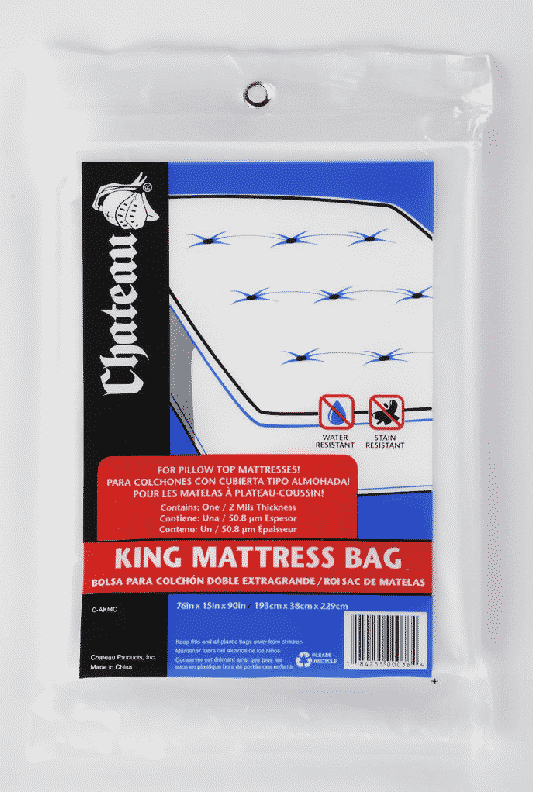
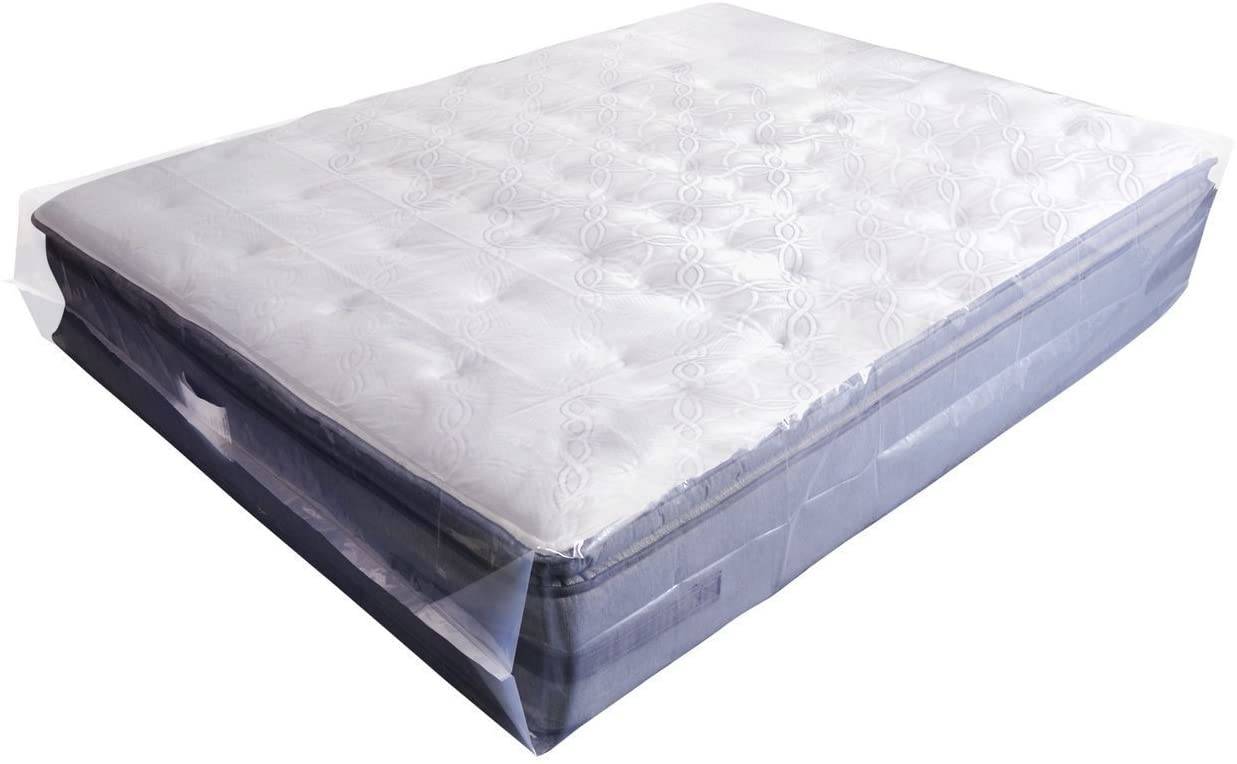
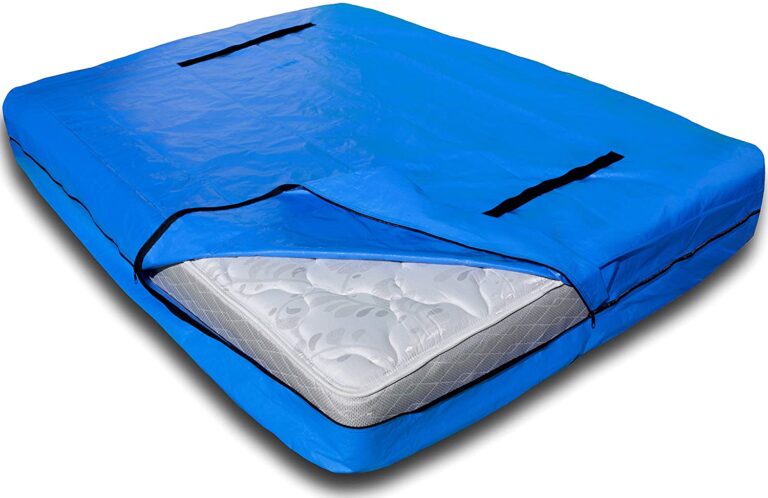
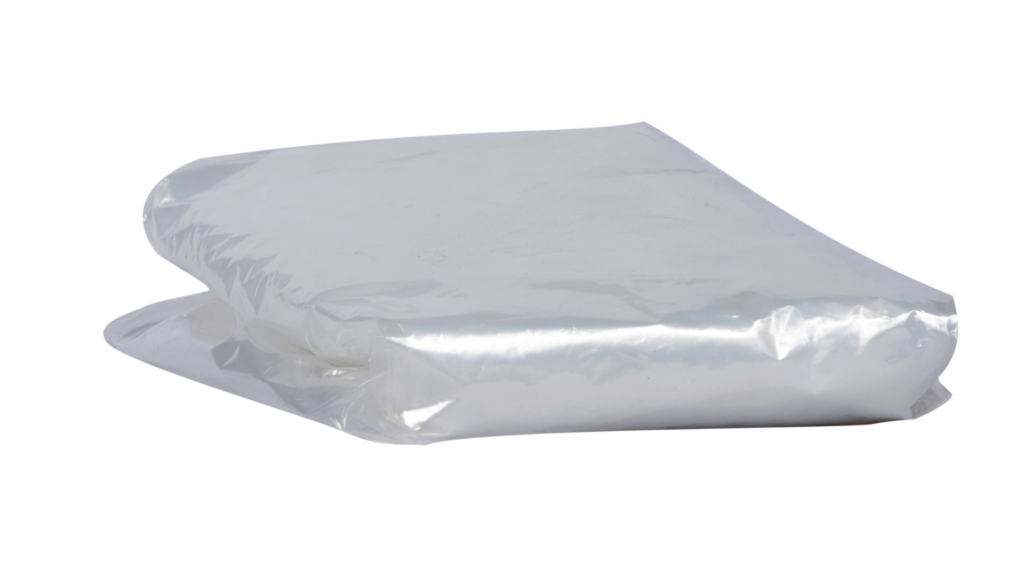
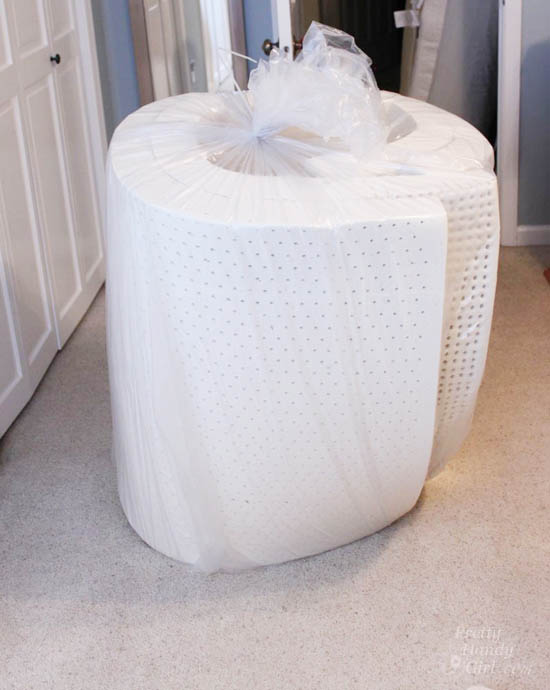
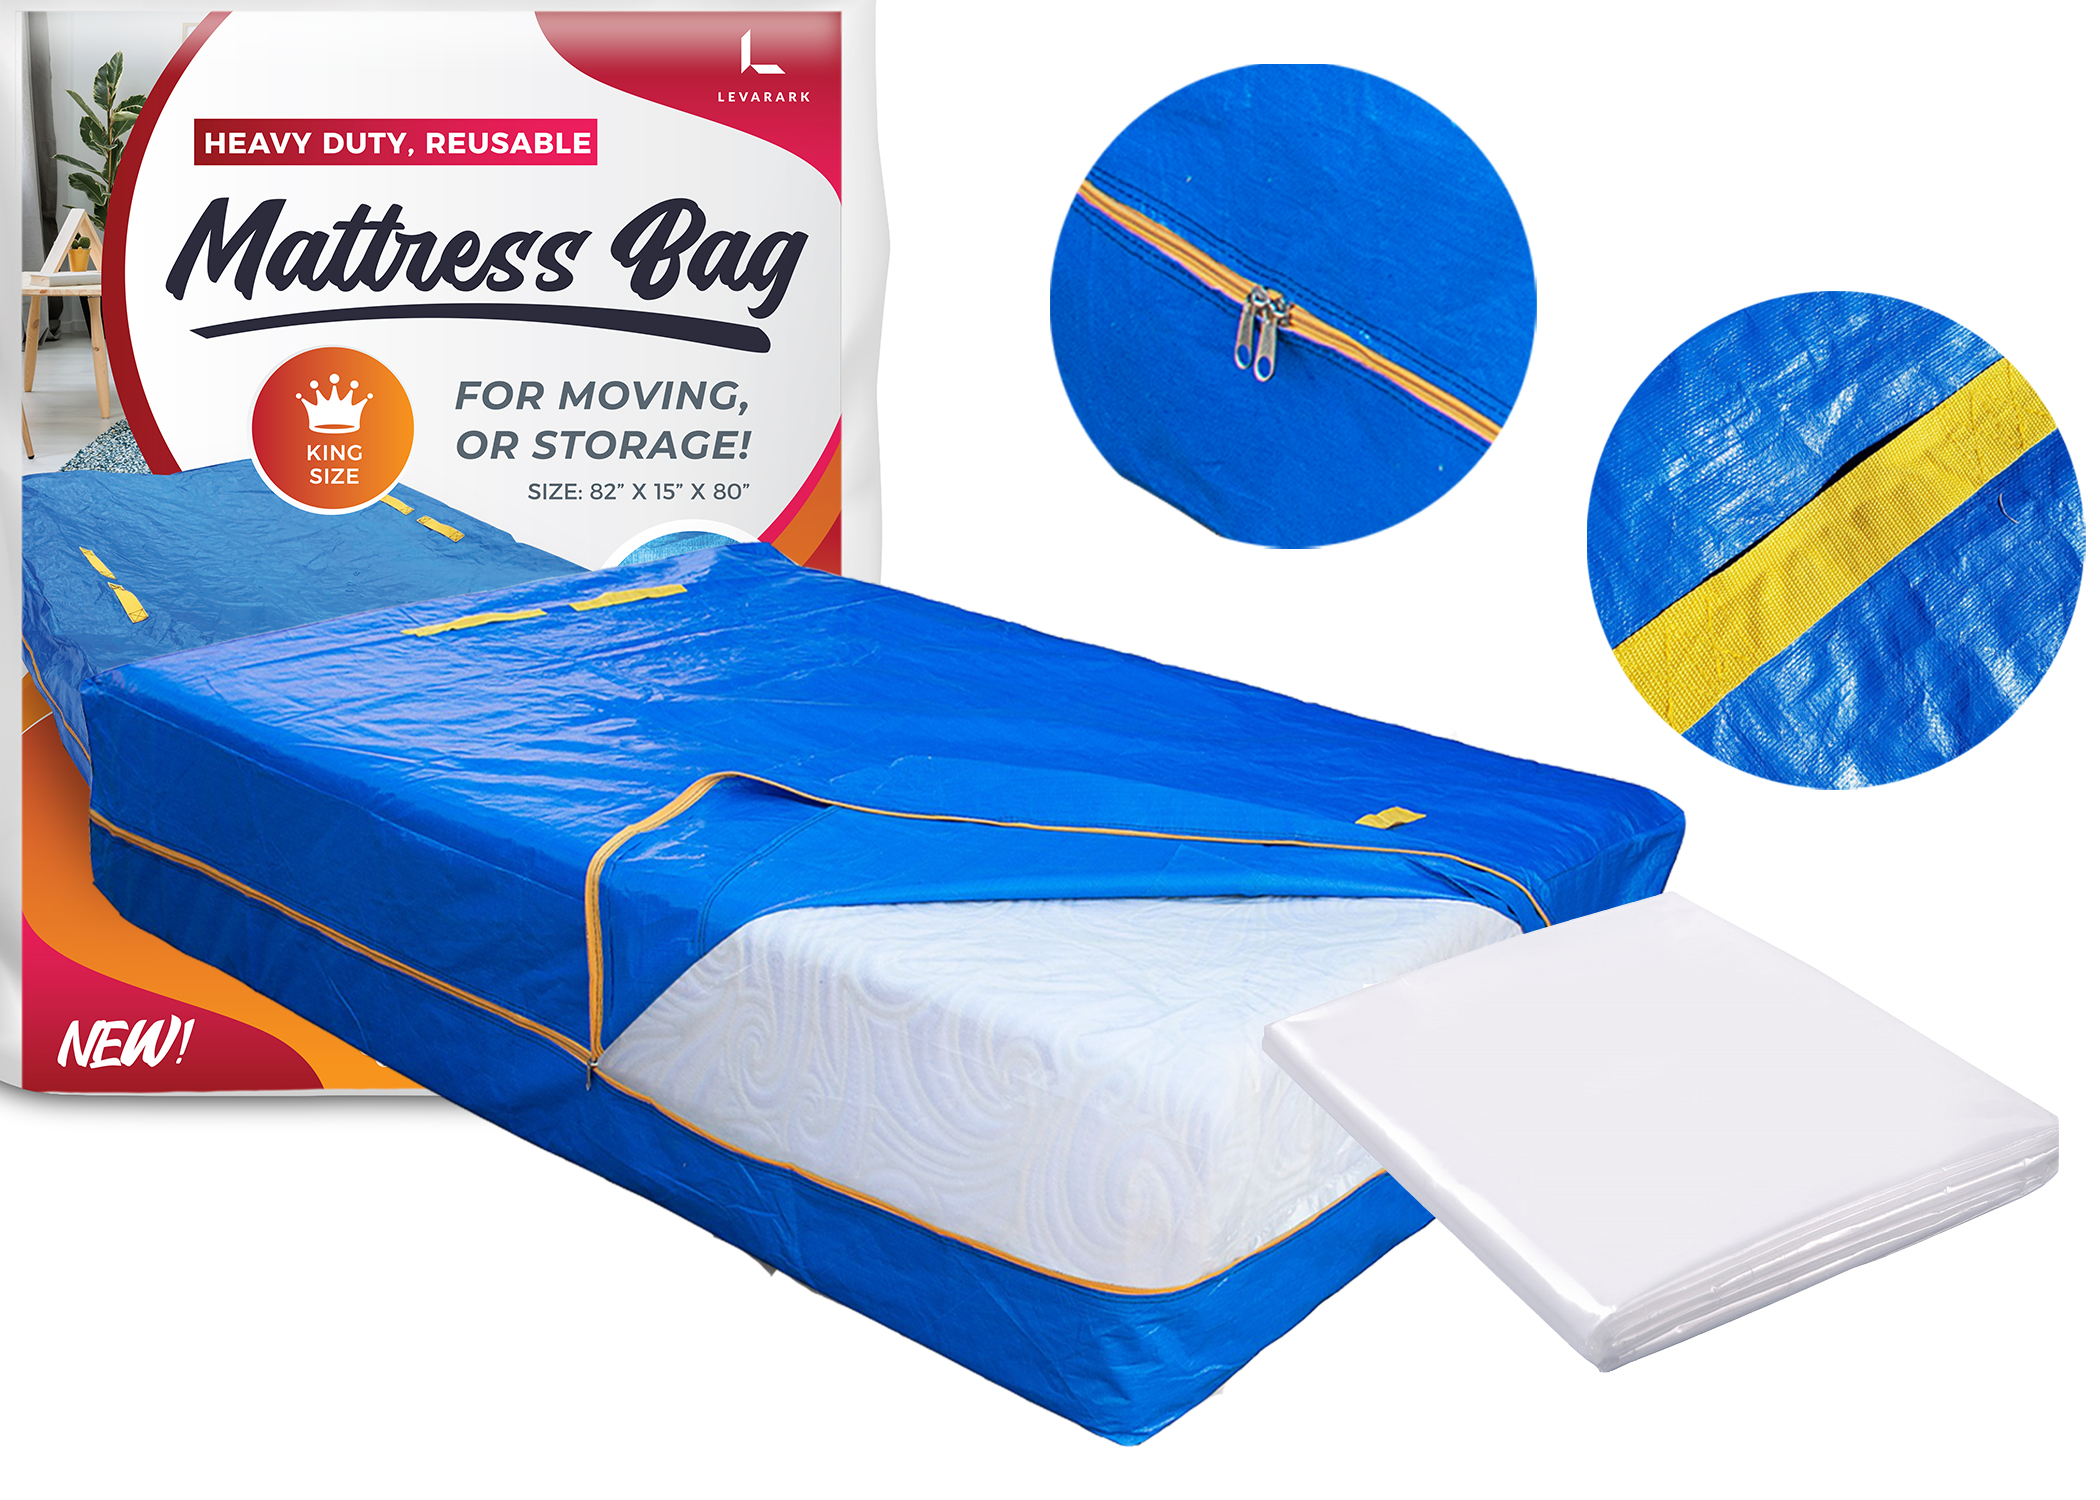
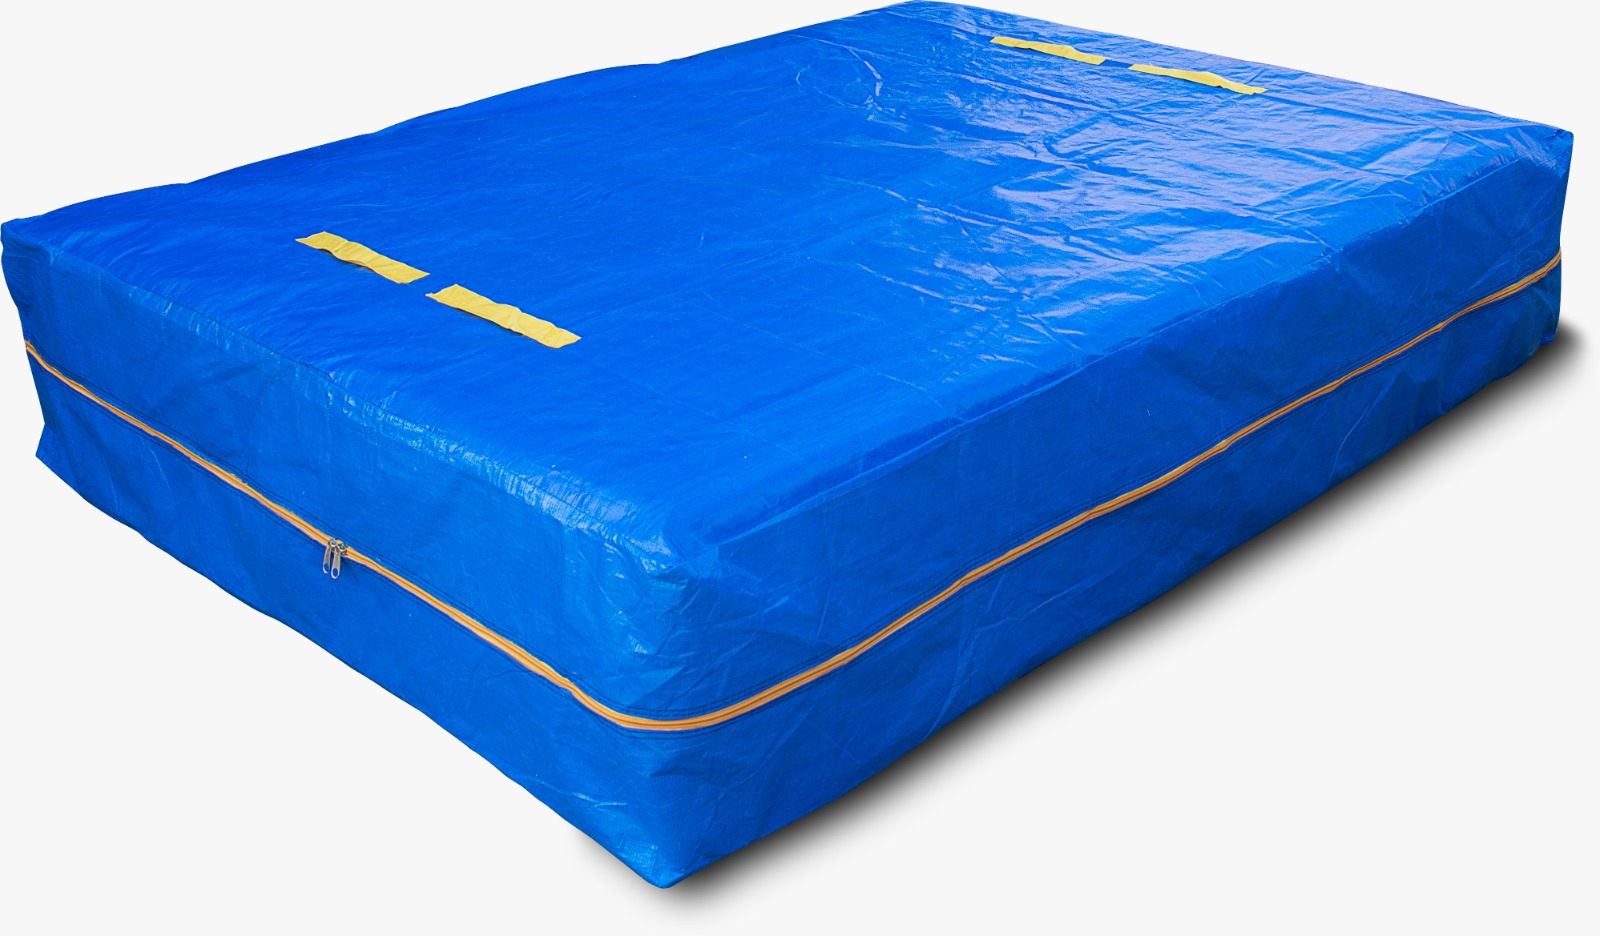
If you are on a budget and don't want to spend money on a ready-made mattress cover, you can make your own using a plastic bag. Start by measuring your mattress's length, width, and depth to determine the size of the bag you will need. You can then purchase a large plastic bag or use a heavy-duty contractor bag. Place the mattress in the bag, and secure it with duct tape or packing tape. Make sure to cover all sides and edges, leaving no openings for the mattress to slip out.DIY Mattress Bag for Moving
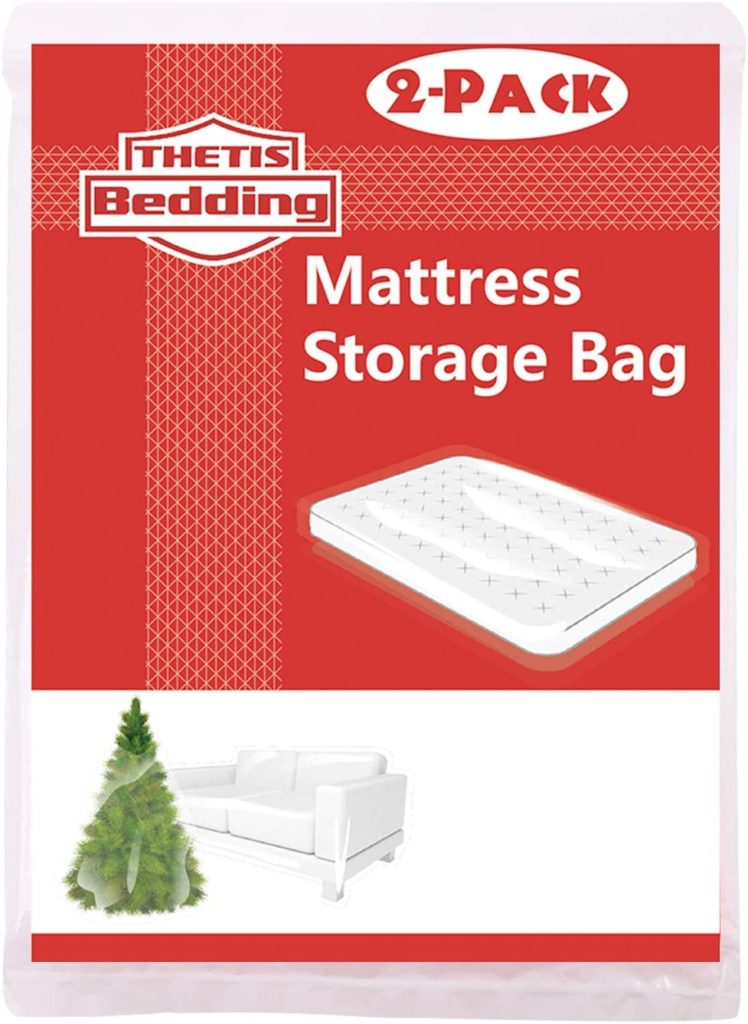


DIY Mattress Bag for Moving


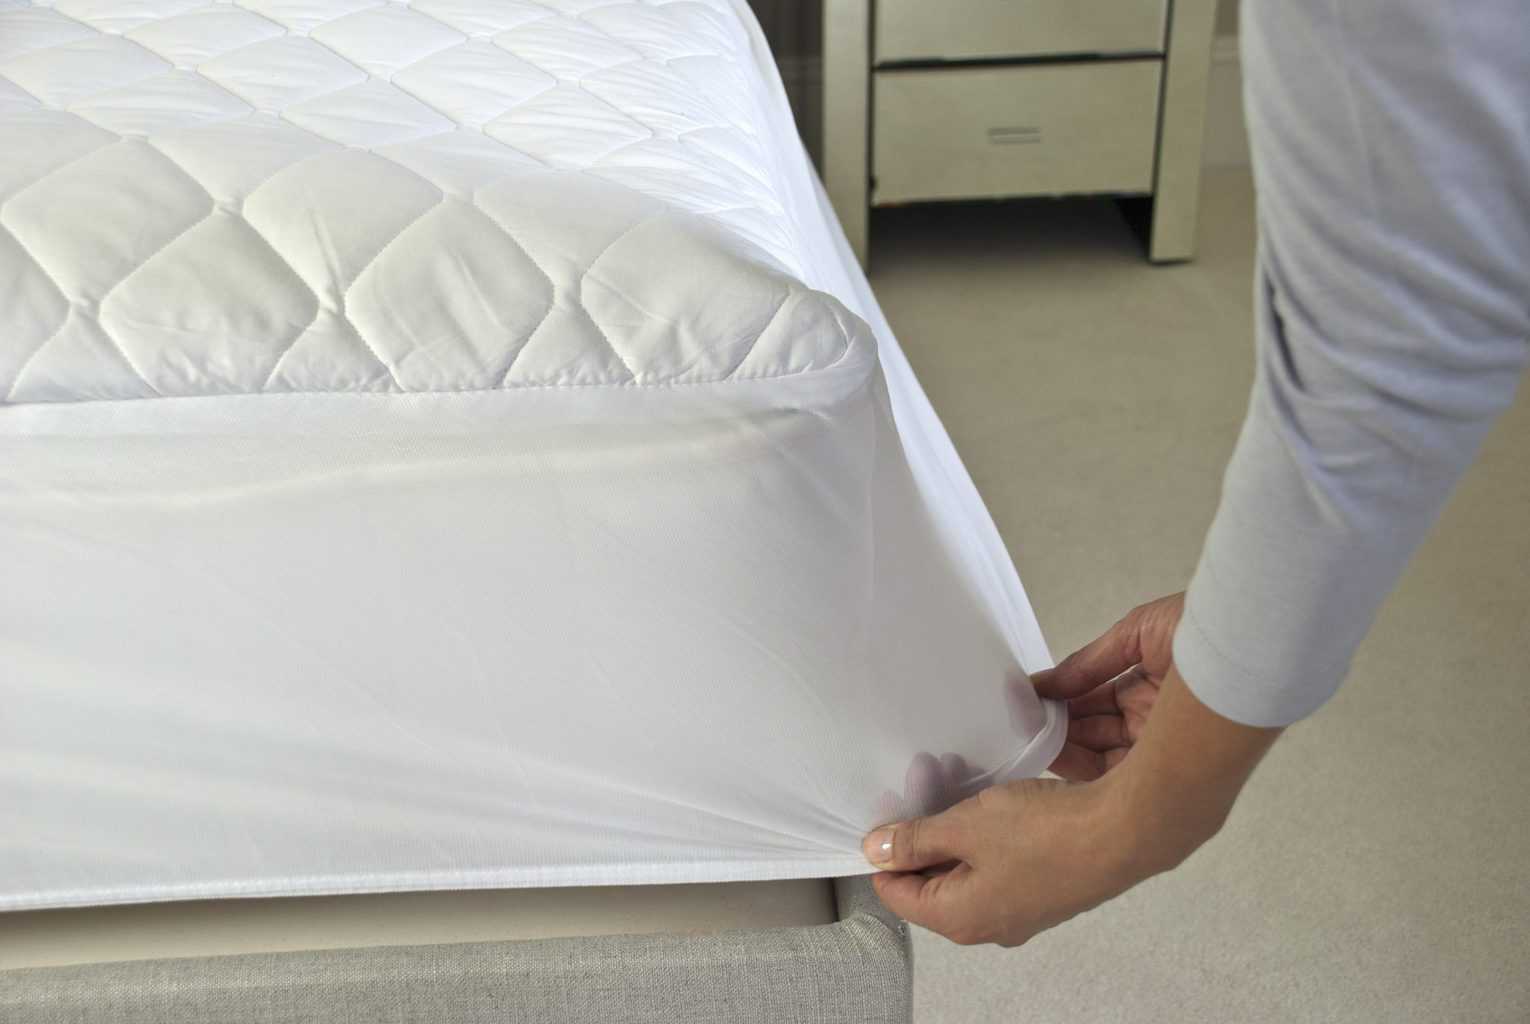
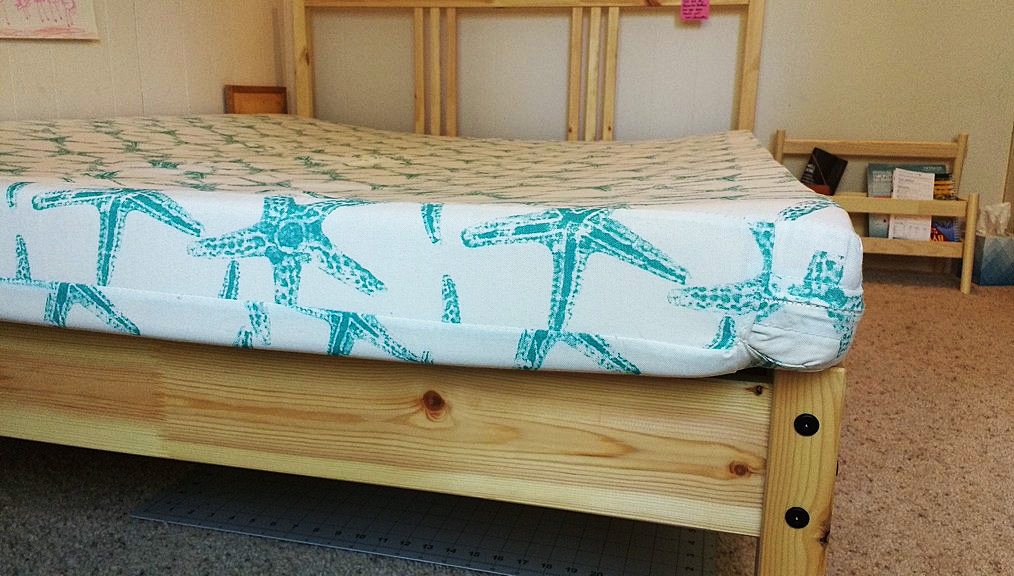
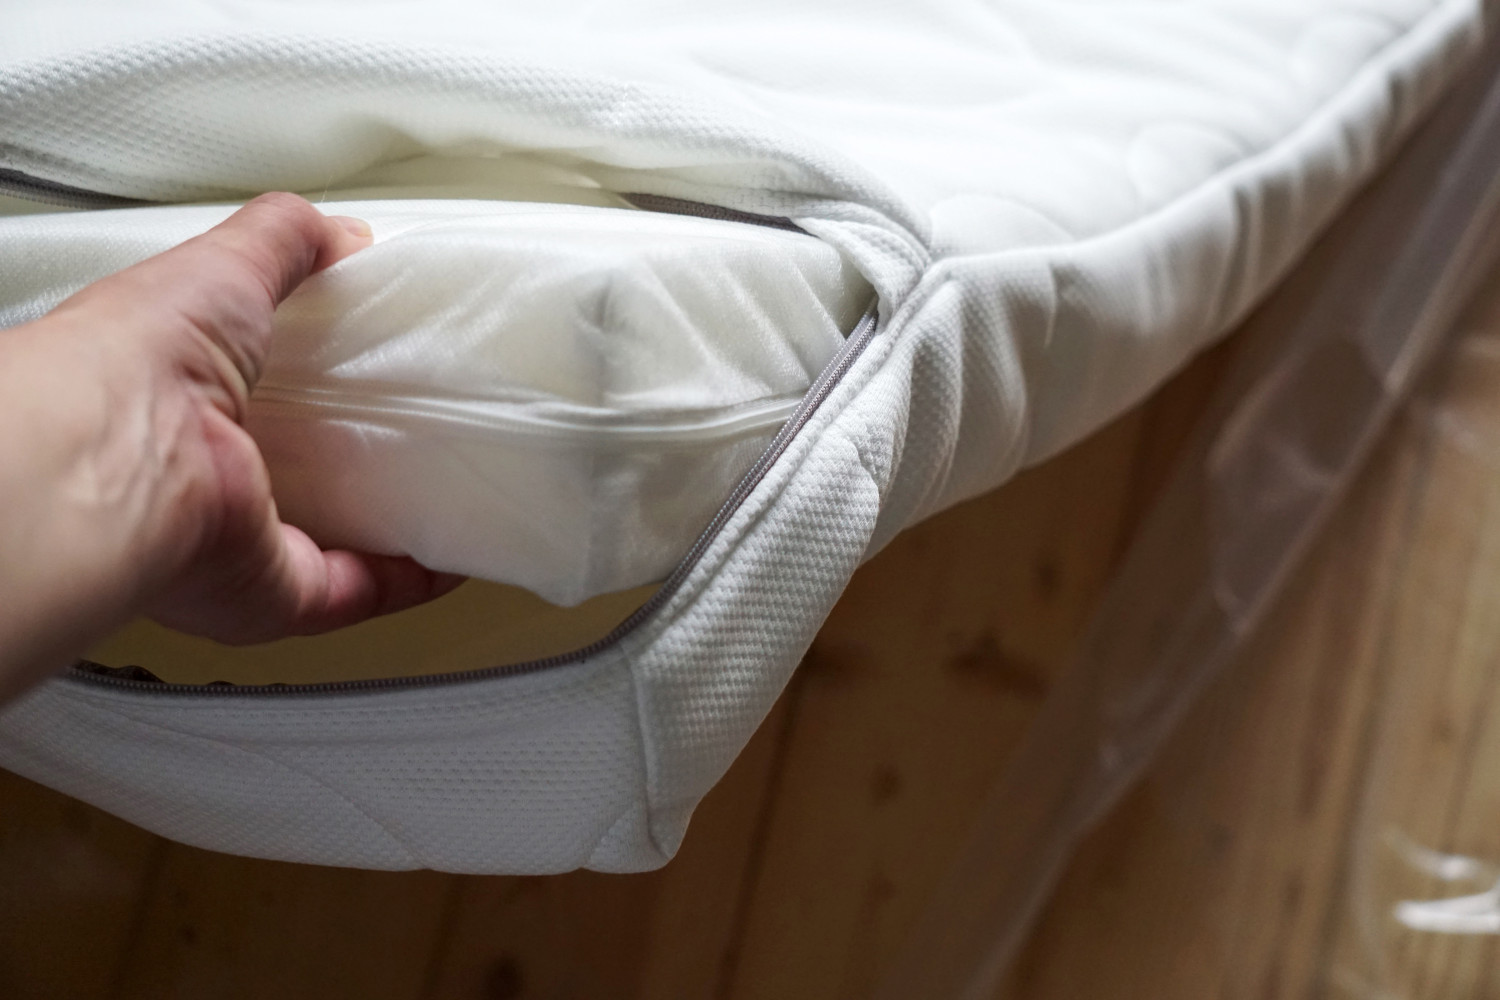
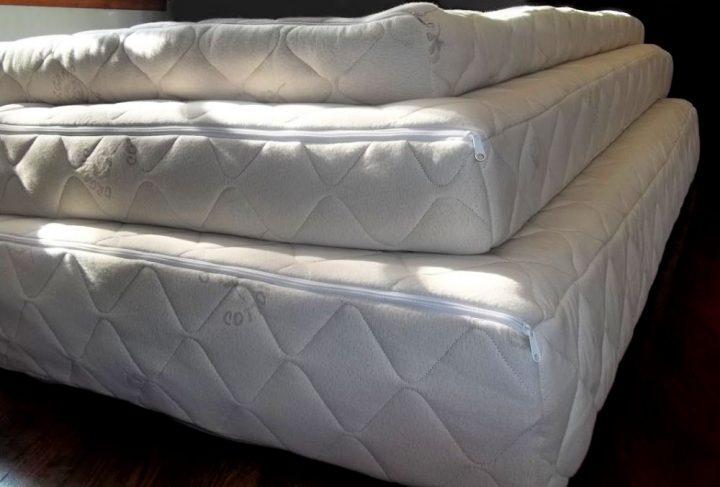
If you have a sewing machine, you can make a more durable and secure mattress cover using a few materials. First, measure your mattress and add a few inches to each side for seam allowance. Cut two pieces of fabric, one for the top and one for the bottom, according to your measurements. Place the fabric pieces right sides together and sew them together, leaving one end open. Turn the cover inside out, slide the mattress in, and sew the open end shut. You can also add a zipper or buttons for easy removal and washing.Easy DIY Mattress Cover for Moving

Easy DIY Mattress Cover for Moving

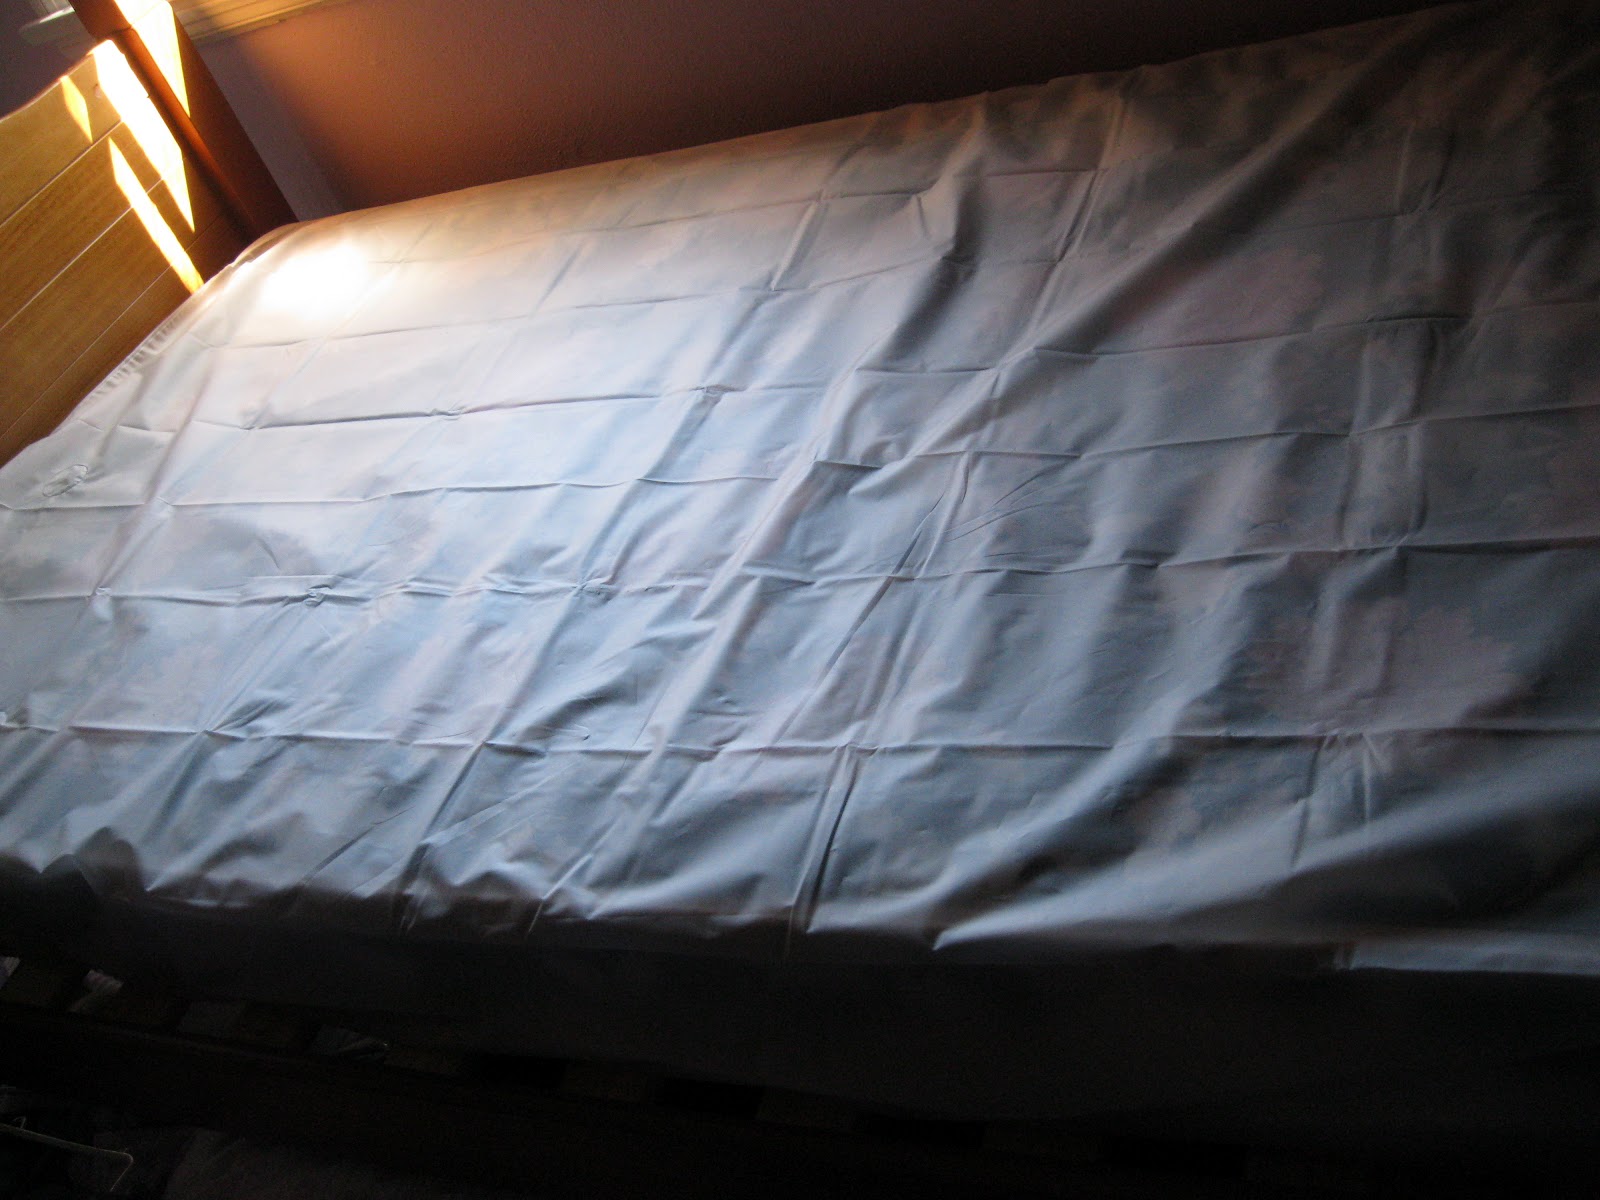

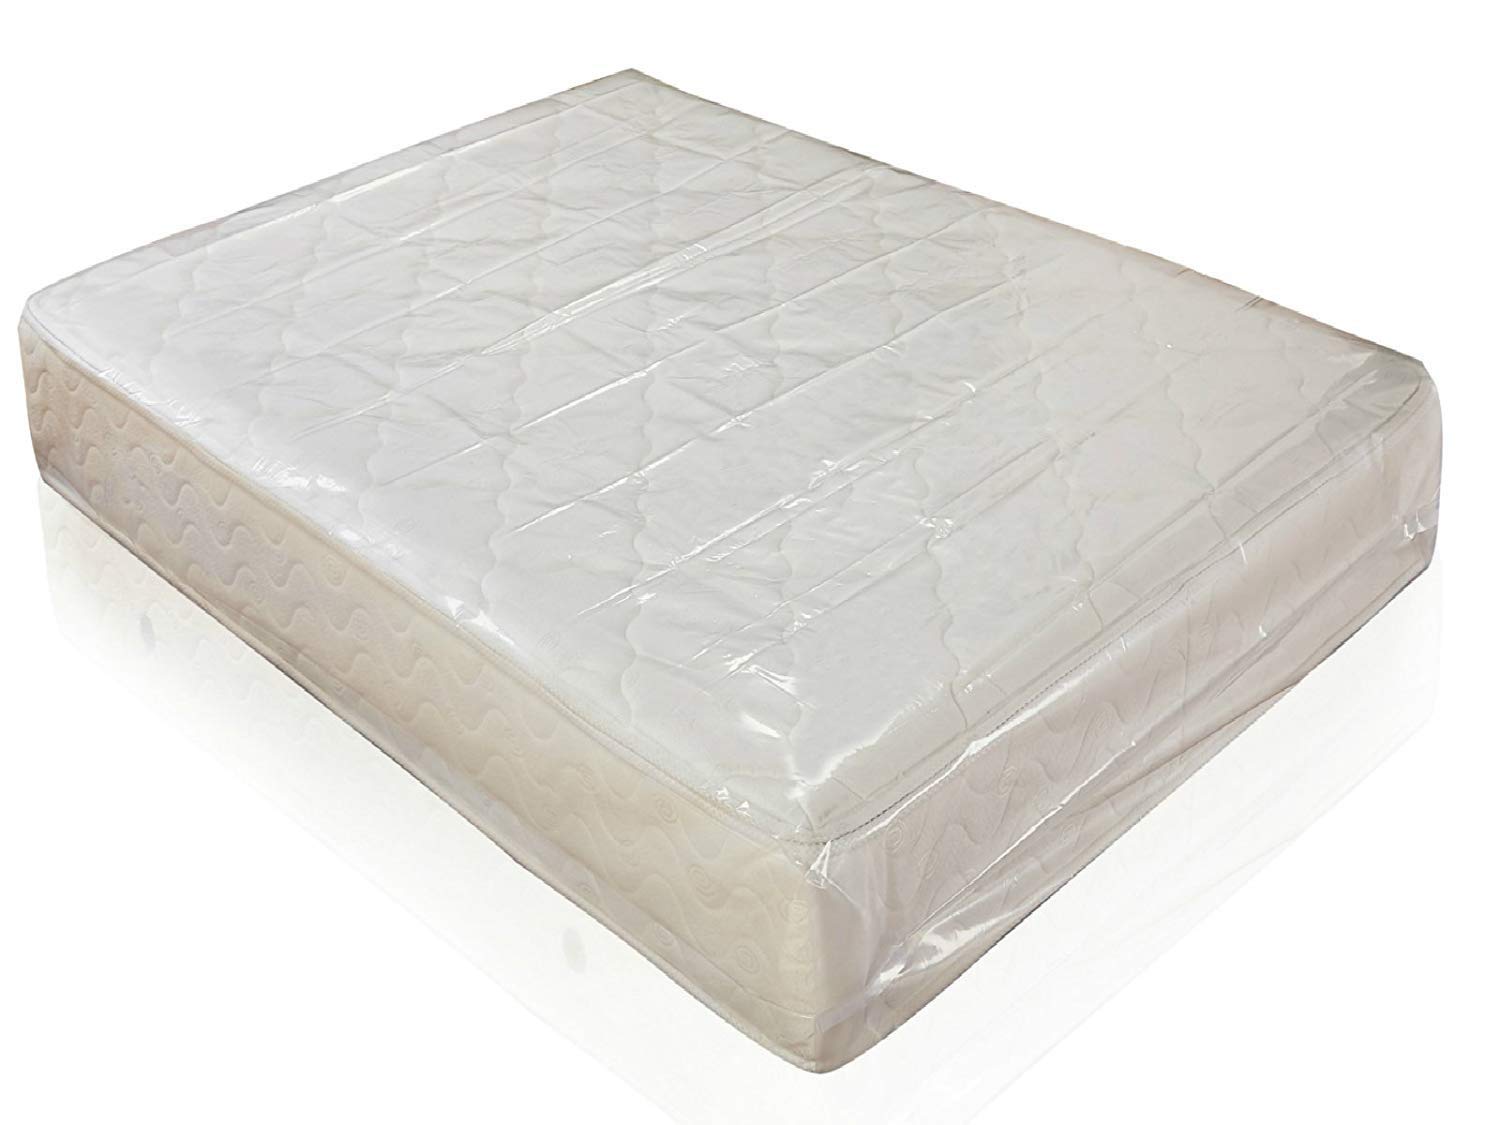
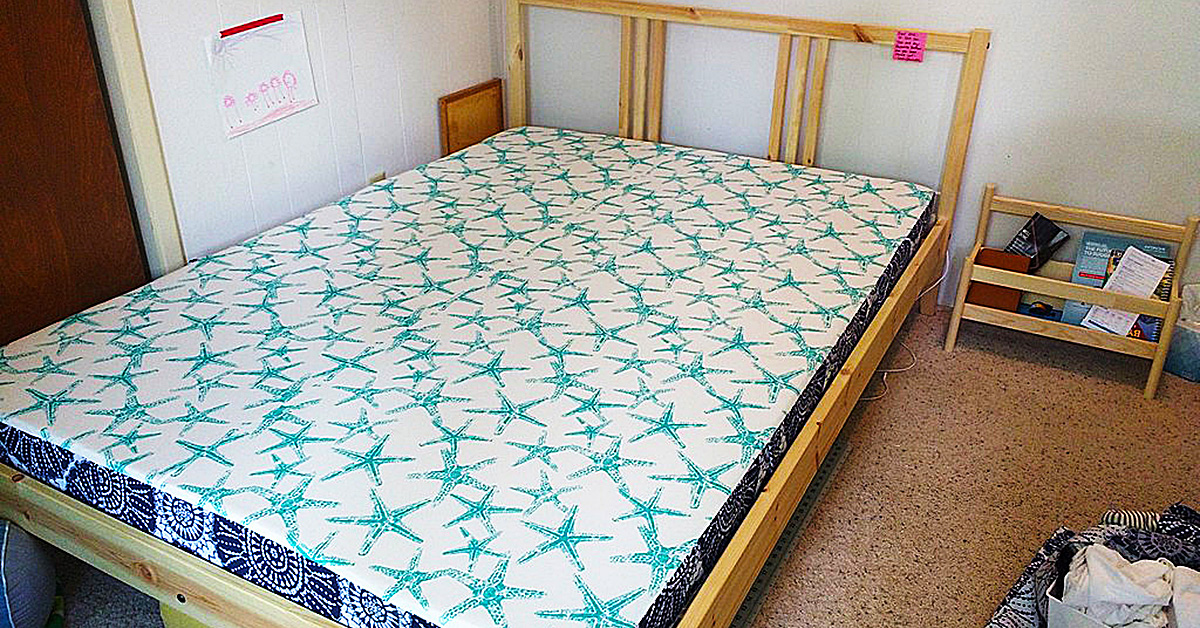
Another option for a DIY mattress cover is using plastic sheeting. You can purchase plastic sheeting from any hardware store, and it comes in various widths and lengths. Measure your mattress and add a few inches to each side for overlap. Cut the plastic sheeting to size and wrap it around the mattress. Secure the plastic with duct tape or packing tape, making sure to cover all sides and edges. This method is perfect for protecting your mattress from moisture and spills.DIY Plastic Mattress Cover for Moving


DIY Plastic Mattress Cover for Moving


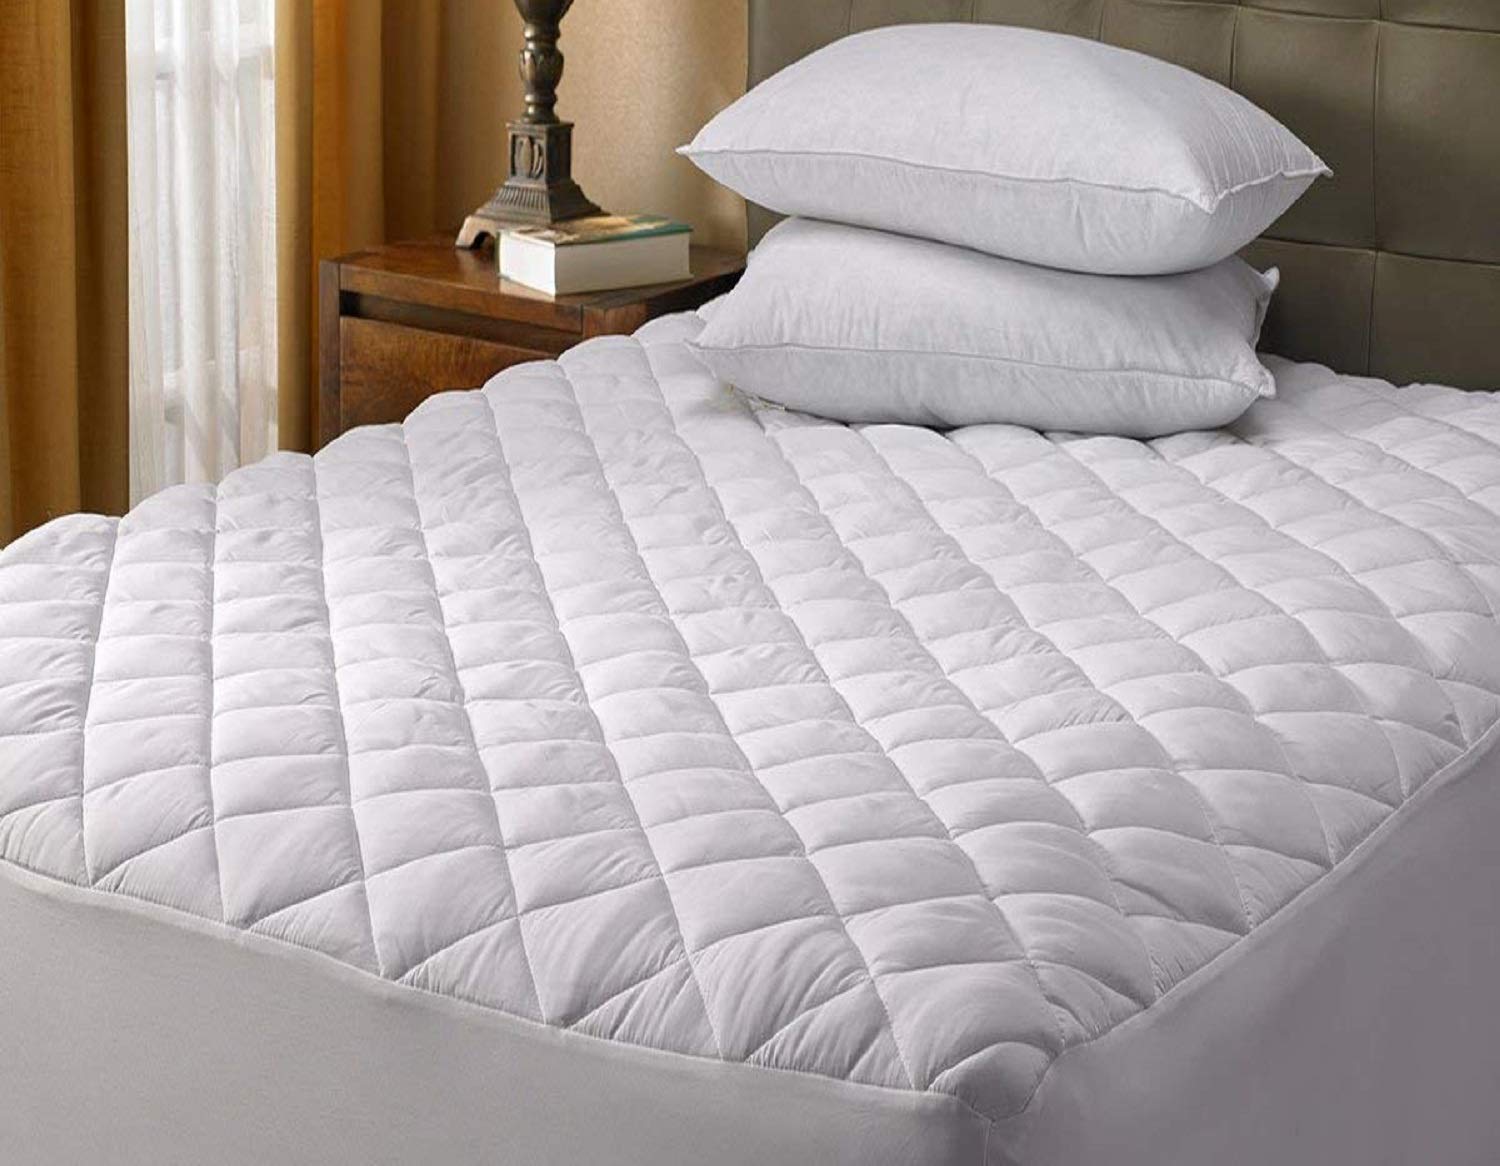
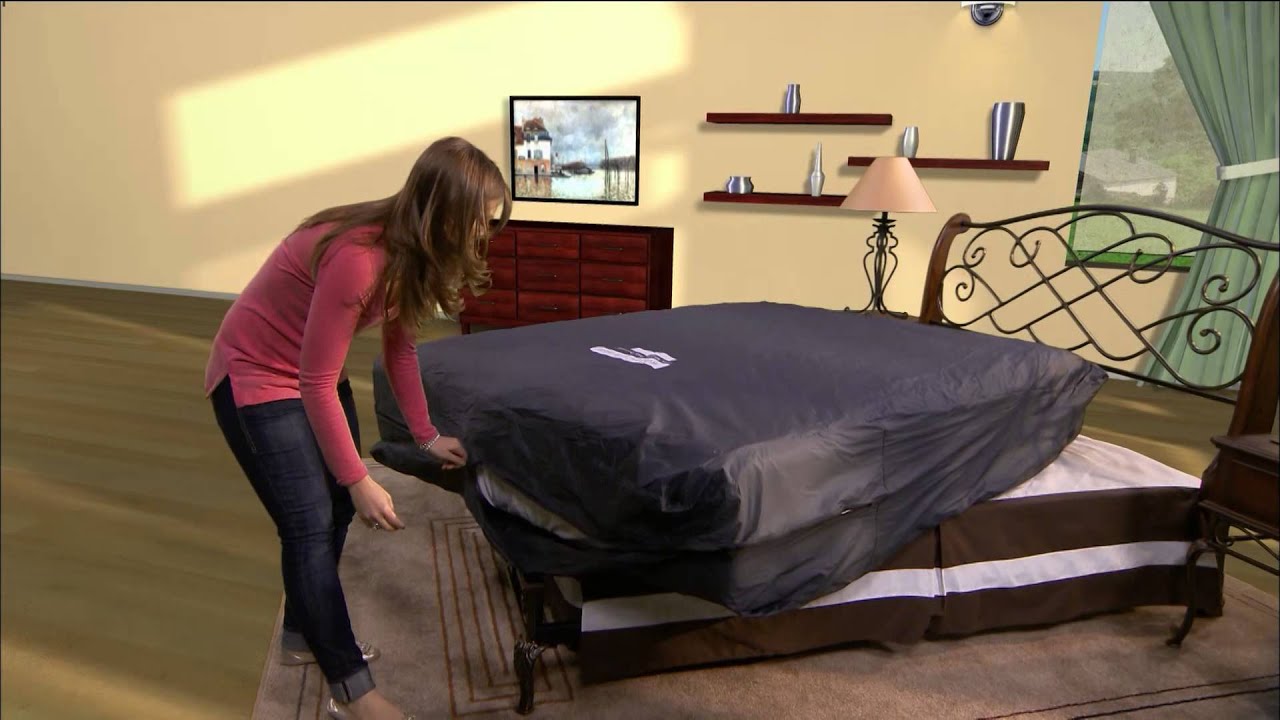
If you want to add an extra layer of protection to your mattress, you can make a DIY mattress protector using a fitted sheet and a plastic shower curtain. First, place the fitted sheet on the mattress, and then lay the plastic shower curtain on top. The plastic will protect the mattress from any spills or stains during the move. You can then add another fitted sheet on top of the plastic to keep everything in place.DIY Mattress Protector for Moving

DIY Mattress Protector for Moving


If you have some extra fabric lying around, you can make a homemade mattress cover using old bed sheets or curtains. Measure your mattress and add a few inches to each side for seam allowance. Cut two pieces of fabric, one for the top and one for the bottom, according to your measurements. Place the fabric pieces right sides together and sew them together, leaving one end open. Turn the cover inside out, slide the mattress in, and sew the open end shut. This method is perfect for protecting your mattress from dust and dirt during the move.Homemade Mattress Cover for Moving


Homemade Mattress Cover for Moving


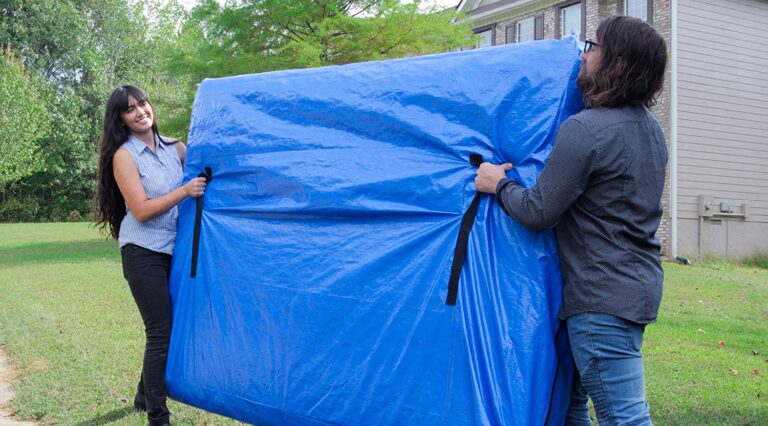
If you want to make your DIY mattress bag more convenient for carrying, you can add handles to it. Start by following the steps for making a DIY mattress bag using a plastic bag or plastic sheeting. Once the bag is secure, cut two holes on each side of the bag, near the top. Thread a sturdy rope or strap through the holes, tying a knot on each side to create handles. This way, you can easily lift and carry the mattress without struggling with a bulky bag.DIY Mattress Bag with Handles


DIY Mattress Bag with Handles


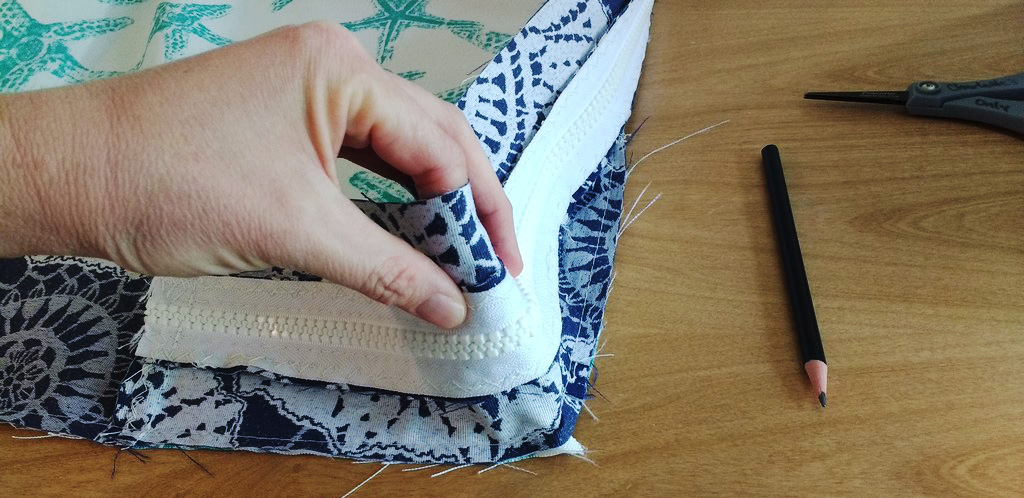
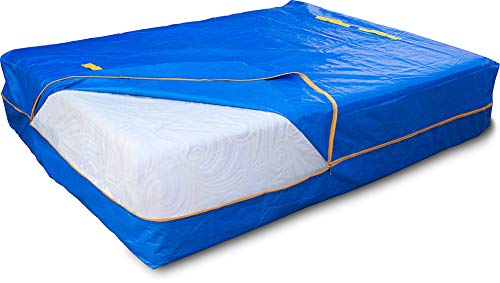
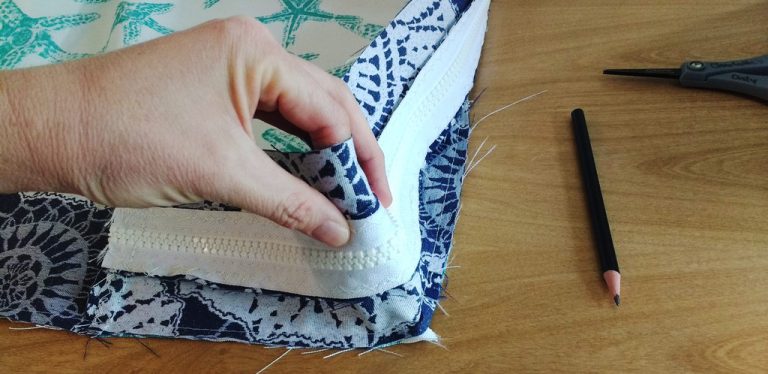
Another way to make a DIY mattress bag more convenient is by adding a zipper for easy removal and washing. You can use this method for any of the DIY mattress cover options mentioned above. Simply sew a zipper on one end of the cover, making sure it is long enough to open and close easily. You can also add Velcro strips or buttons as an alternative to a zipper.DIY Mattress Bag with Zipper


DIY Mattress Bag with Zipper
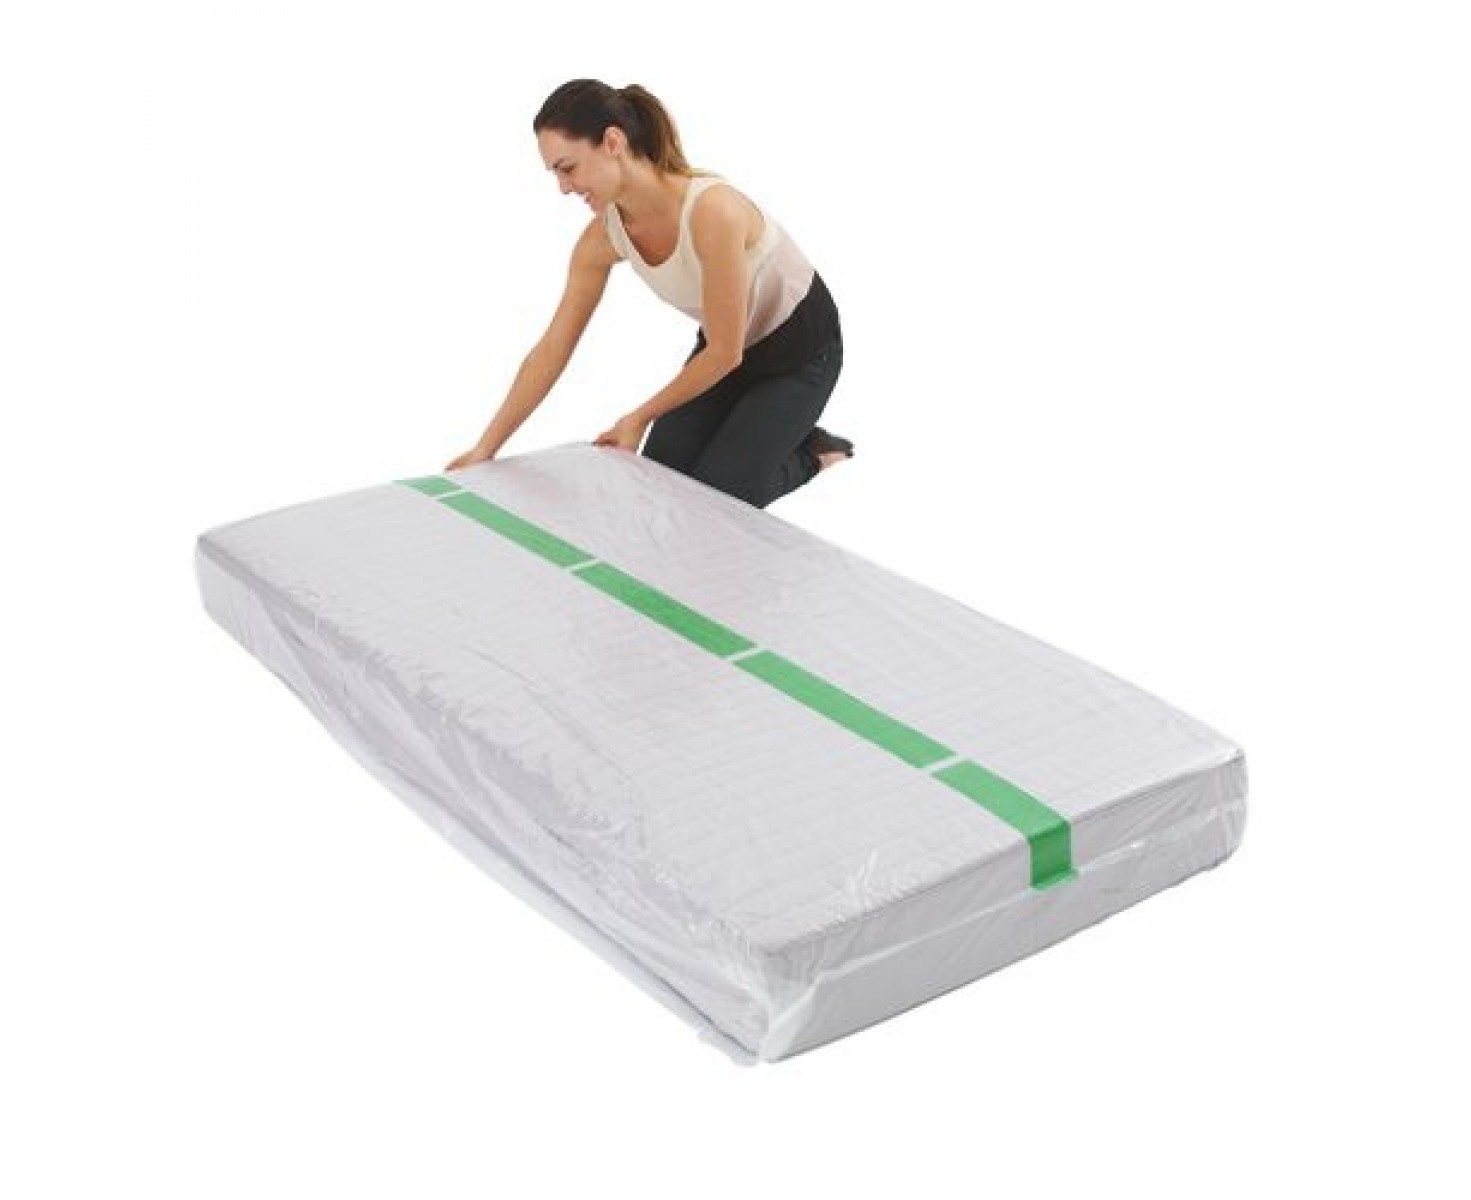
If you don't have access to plastic bags or sheeting, you can use plastic wrap to make a DIY mattress bag. While this method may not be as durable as the others, it can still protect your mattress during the move. Start by wrapping the mattress in plastic wrap, making sure to cover all sides and edges. You can then secure the wrap with packing tape, making sure there are no openings for the mattress to slip out.DIY Mattress Bag with Plastic Wrap


DIY Mattress Bag with Plastic Wrap

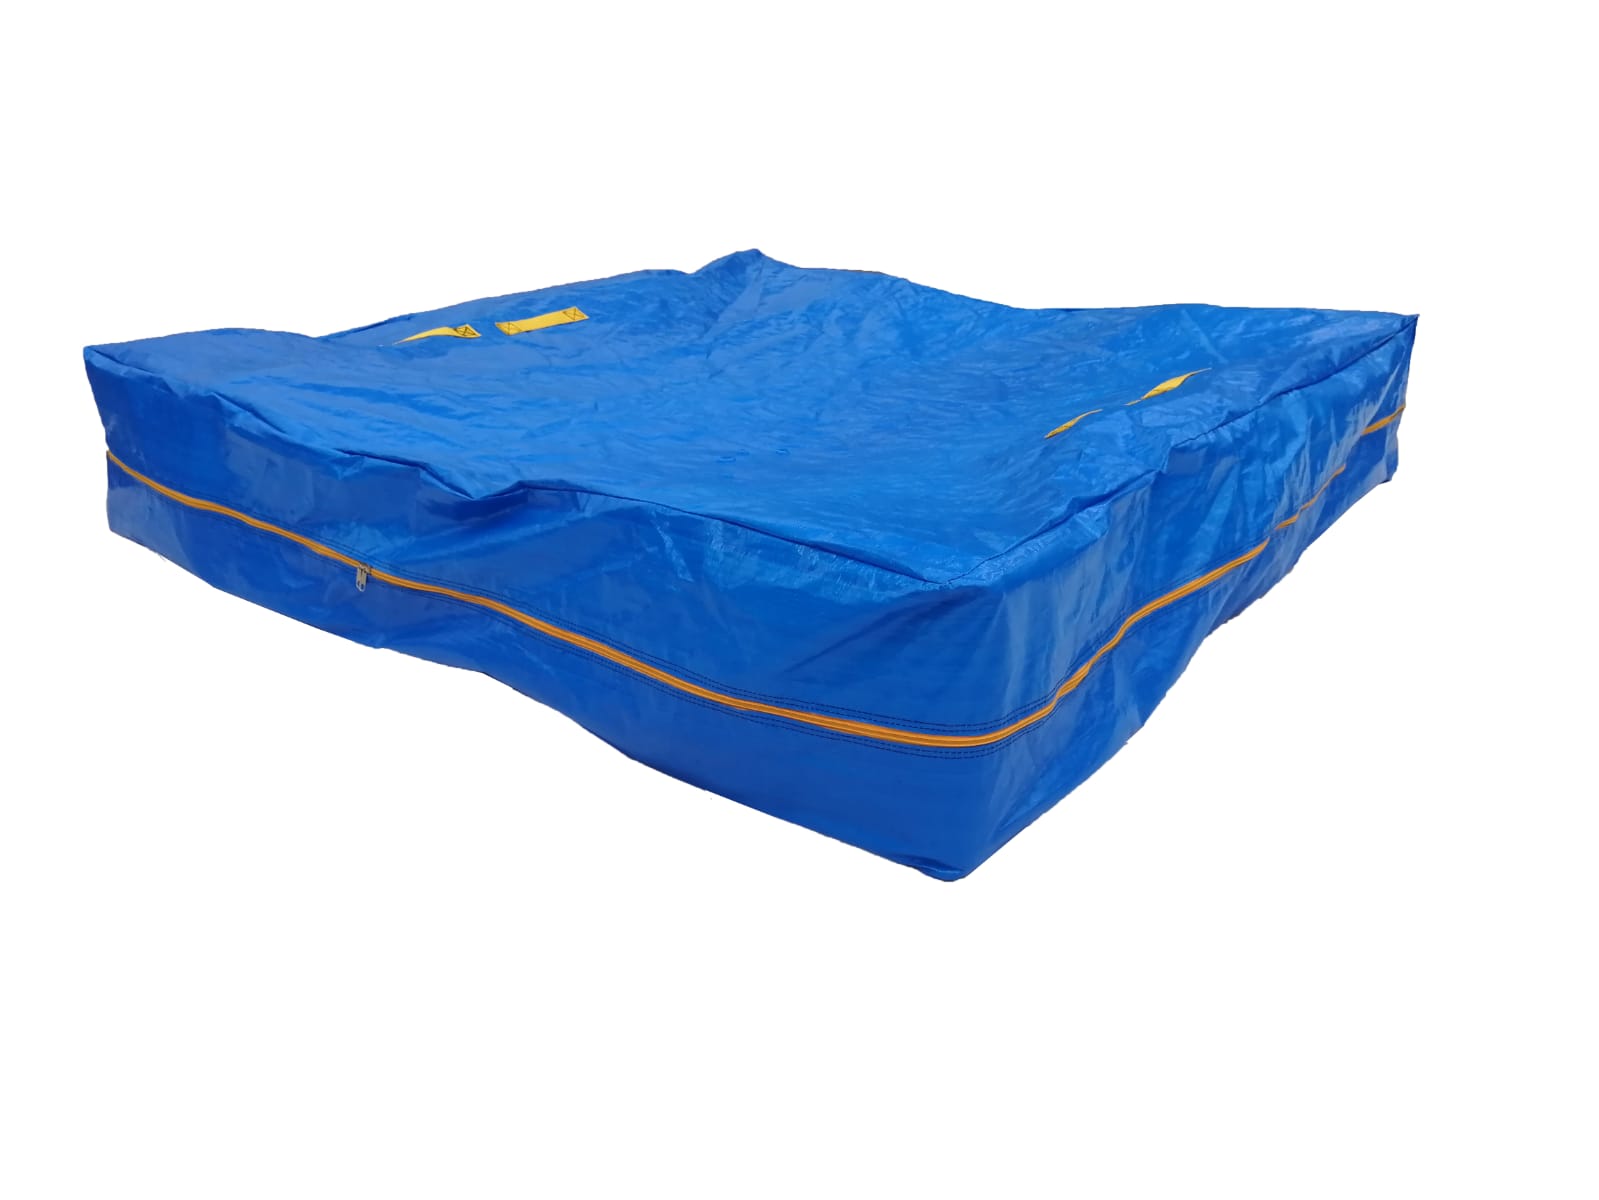
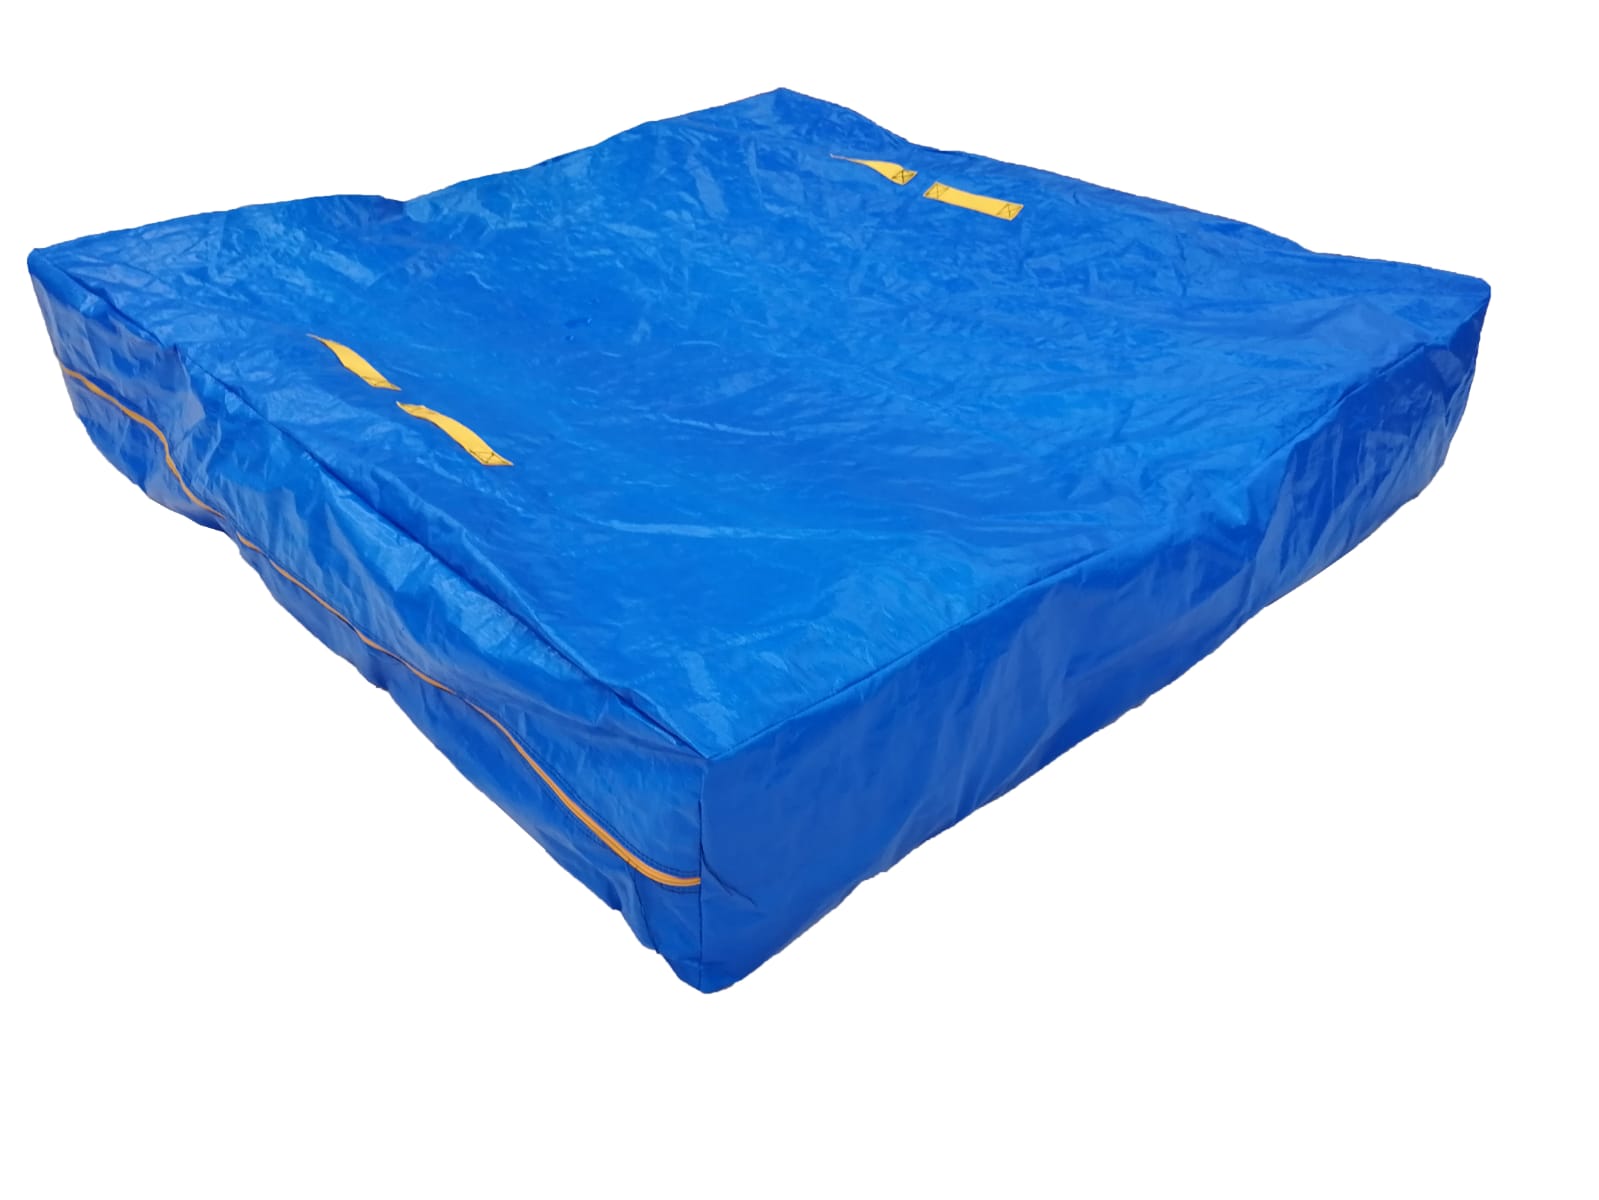
If you have a drop cloth or tarp, you can use it to make a DIY mattress bag. Measure your mattress and cut the drop cloth to size, leaving a few inches on each side for overlap. Fold the cloth in half and sew along the edges, leaving one end open. Turn the bag inside out, slide the mattress in, and sew the open end shut. You can also add handles or a zipper for more convenience. In conclusion, making your DIY mattress cover for moving is a cost-effective and straightforward solution to protect your mattress. Whether you use plastic bags, sheets, or drop cloths, make sure to cover your mattress thoroughly and secure the cover with tape or sewing. This way, you can have a stress-free move and a clean, undamaged mattress in your new home.DIY Mattress Bag with Drop Cloth


DIY Mattress Bag with Drop Cloth


Why You Need a DIY Mattress Cover for Moving
Moving can be a stressful and overwhelming experience, especially when it comes to packing up and transporting your belongings. And one of the biggest challenges is figuring out how to protect your mattress during the move. After all, mattresses are not only expensive, but they also hold a significant amount of sentimental value. That's where a DIY mattress cover for moving comes in handy.
The Importance of Protecting Your Mattress

Before we dive into how to make a DIY mattress cover for moving, let's first discuss why it's essential to protect your mattress during the moving process. First and foremost, mattresses are prone to damage during a move. They can easily get punctured, ripped, or stained if not properly protected. This can result in costly repairs or the need for a new mattress altogether.
Moreover, mattresses can also harbor dust, dirt, and other allergens that can be easily stirred up and inhaled during the move. This can cause health issues for you and your family, especially those with respiratory conditions. Protecting your mattress can prevent these particles from being released and causing potential health problems.
The Benefits of Using a DIY Mattress Cover for Moving

While there are several options for protecting your mattress during a move, making your own DIY mattress cover has many benefits. First and foremost, it is a cost-effective solution. Moving expenses can add up quickly, and purchasing a pre-made mattress cover can be an added expense. Making your own cover using materials you likely already have at home can save you money.
Additionally, a DIY mattress cover allows you to customize the size and shape to fit your specific mattress. This ensures a snug and secure fit, providing maximum protection during the move. Plus, you can add additional layers or padding for extra cushioning and protection.
How to Make a DIY Mattress Cover for Moving

Now that you understand the importance and benefits of using a DIY mattress cover for moving, let's dive into how to make one. First, you'll need a few materials, including a plastic tarp, duct tape, scissors, and a measuring tape.
Start by measuring the length, width, and height of your mattress. Using those measurements, cut a piece of plastic tarp that is 1-2 inches larger on all sides. Lay the tarp on a flat surface and place the mattress in the center. Wrap the tarp around the mattress, making sure to cover all sides and corners. Use duct tape to secure the tarp in place, taping around all edges.
If you want extra cushioning, you can also add layers of bubble wrap or blankets between the mattress and tarp before securing it with duct tape. Once the mattress is completely covered and secure, you can move it with peace of mind knowing it is protected from any potential damage or dirt.
Conclusion
A DIY mattress cover for moving is an essential and cost-effective solution for protecting your mattress during the moving process. Not only does it provide physical protection, but it also helps maintain the cleanliness and hygiene of your mattress. So, before you start packing for your next move, be sure to make a DIY mattress cover to ensure your mattress arrives at your new home in perfect condition.