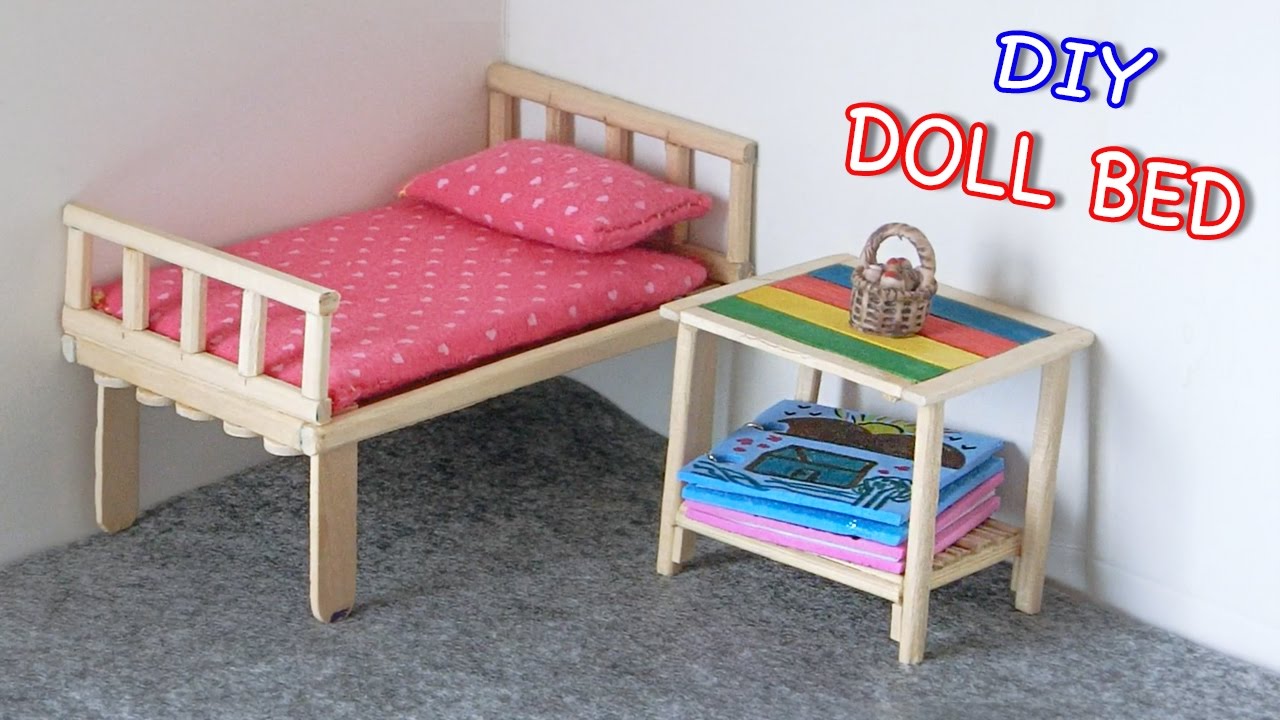
If you're looking for a fun and easy project to make for your child's dolls, a DIY doll bed mattress is the perfect choice! Not only is it simple to make, but it can also save you money compared to buying a pre-made one. Follow our step-by-step guide to create a cozy place for your child's dolls to sleep.1. How to Make a DIY Doll Bed Mattress

How to Make a DIY Doll Bed Mattress


To get started, you'll need some basic materials that you probably already have at home. These include fabric, stuffing, scissors, needle and thread, and a sewing machine (if available). You can also use a hot glue gun if you prefer not to sew.2. DIY Doll Bed Mattress Tutorial


DIY Doll Bed Mattress Tutorial


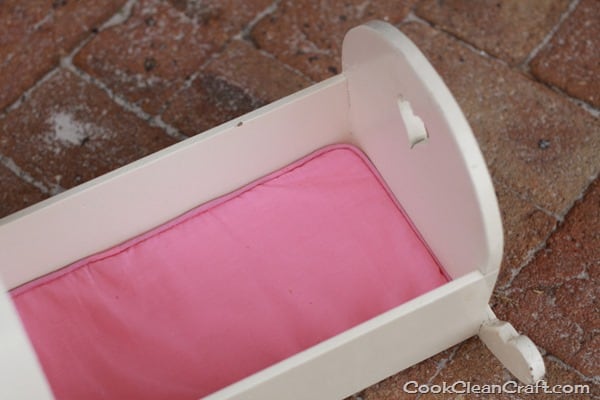
First, measure the size of your doll bed. This will determine the dimensions of your mattress. Add an extra inch to the length and width for seam allowance. For example, if your doll bed is 12 inches by 18 inches, your mattress should be 13 inches by 19 inches.3. Easy DIY Doll Bed Mattress


Easy DIY Doll Bed Mattress
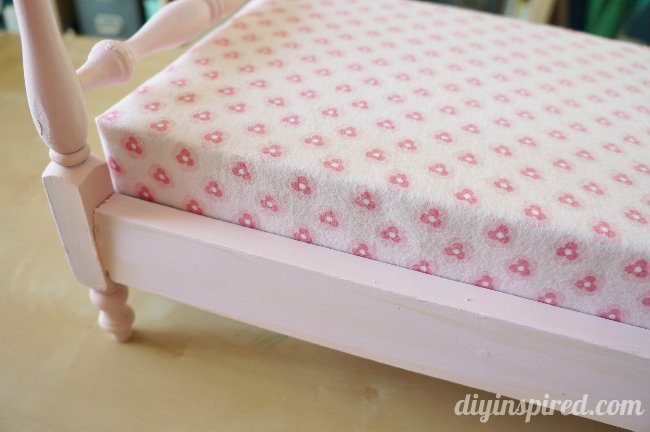
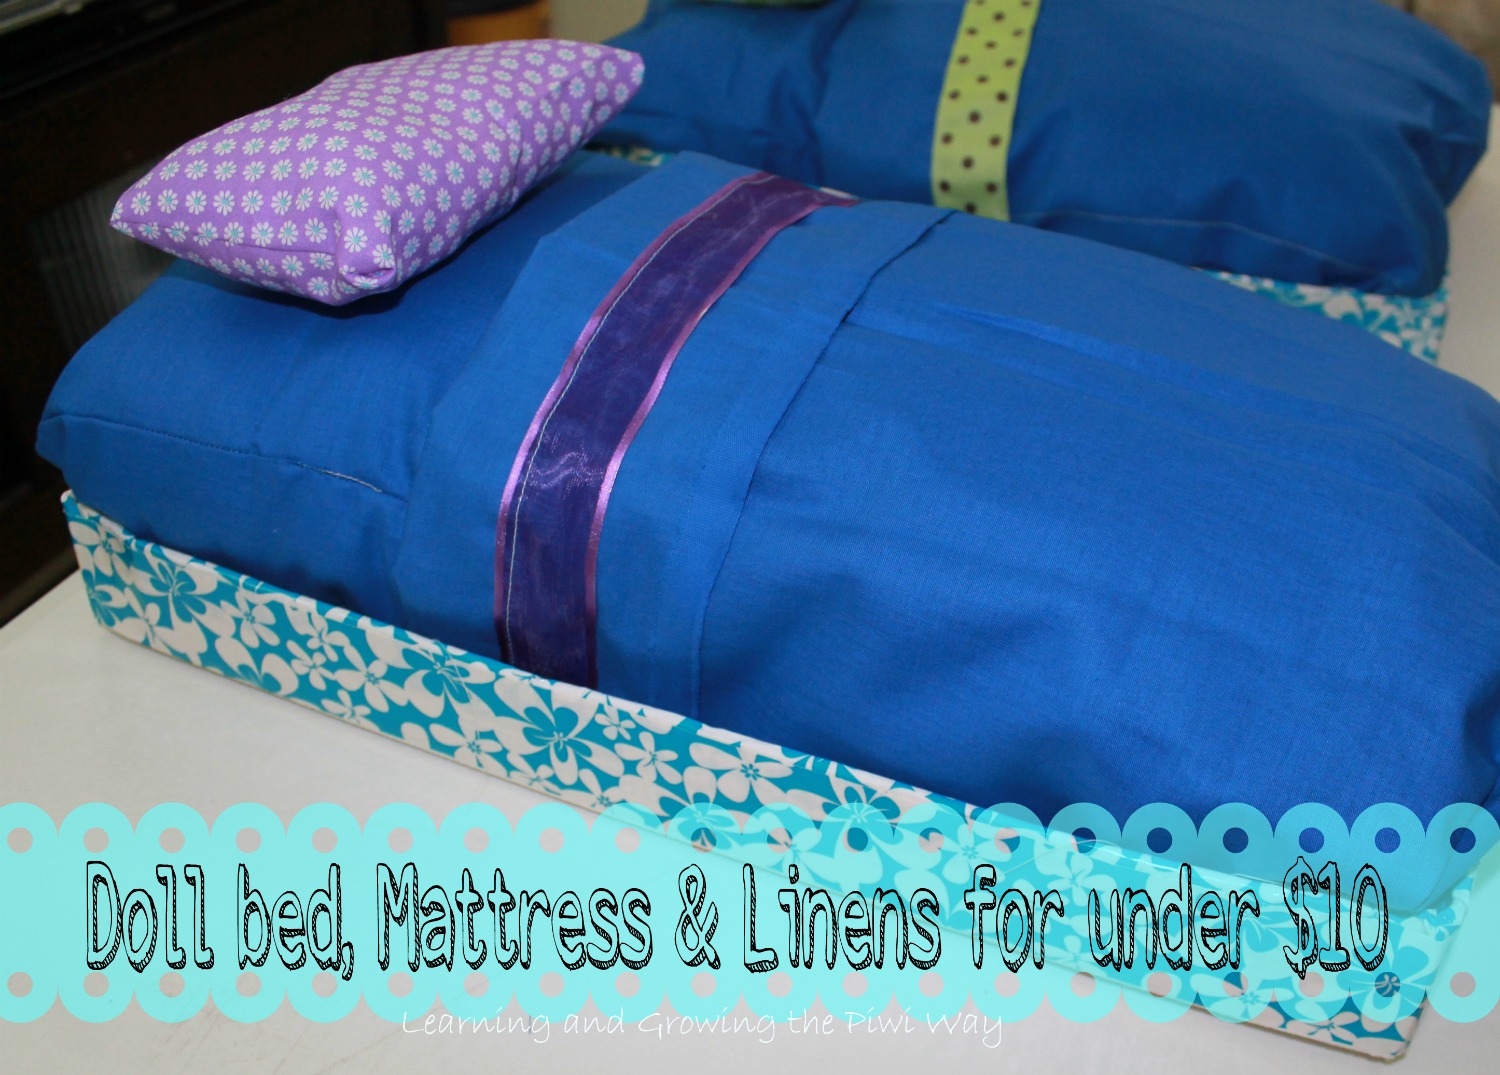
Next, choose the fabric for your mattress. You can use an old pillowcase, bedsheet, or even a piece of fabric from your scrap pile. This is a great way to repurpose old items and reduce waste. Make sure the fabric is clean and in good condition.4. DIY Doll Bed Mattress with Household Items


DIY Doll Bed Mattress with Household Items

If you don't have a sewing machine or prefer not to sew, you can use a hot glue gun instead. Simply fold the edges of the fabric and glue them together to create a hem. You can also use fabric glue or iron-on hem tape for a more permanent solution.5. No-Sew DIY Doll Bed Mattress


No-Sew DIY Doll Bed Mattress

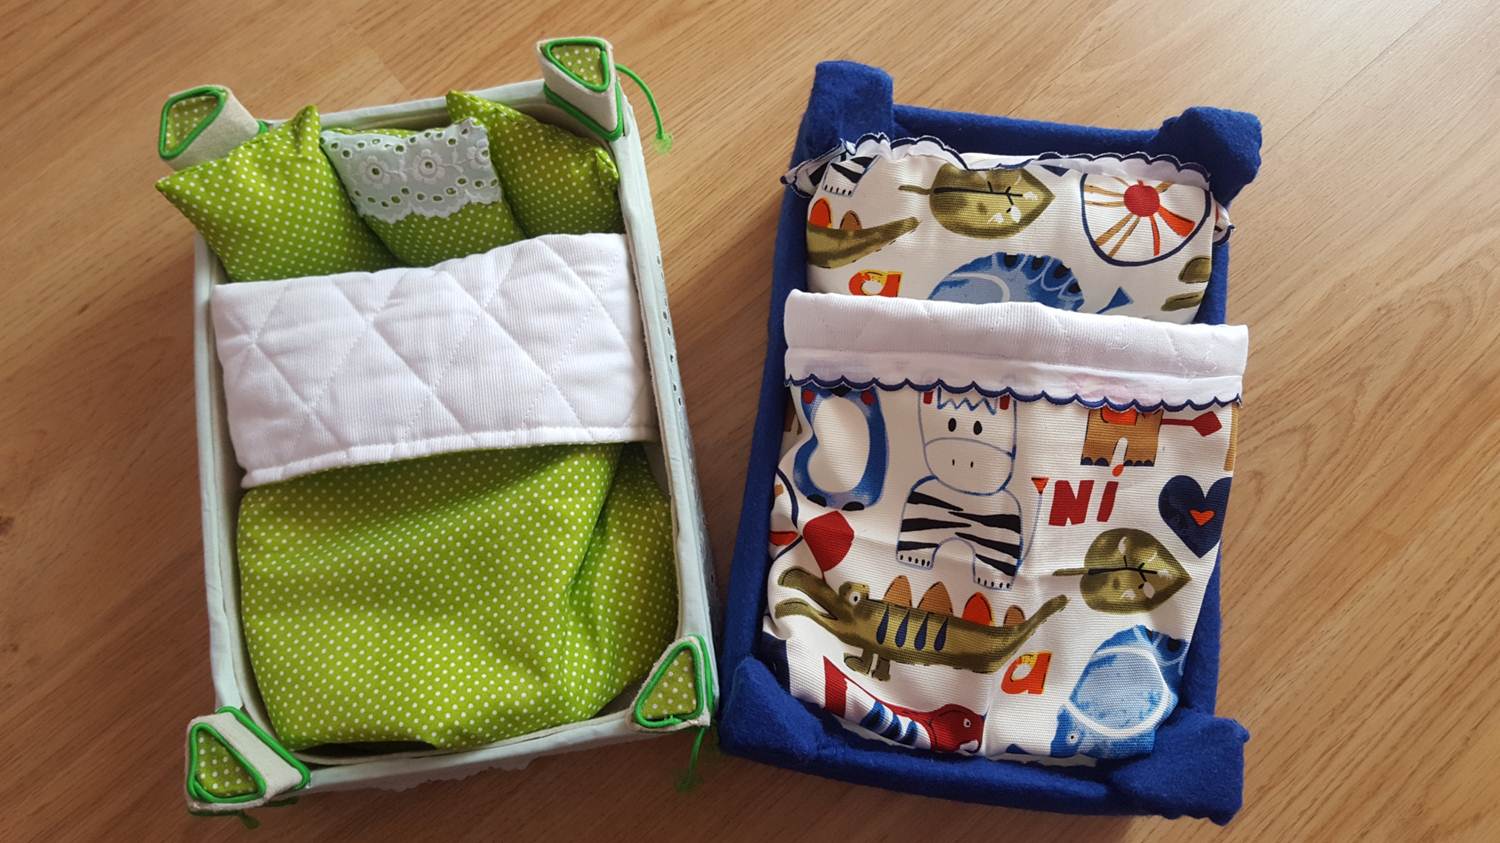
If you have any leftover fabric scraps, you can use them to make a patchwork design for your doll bed mattress. This adds a unique and personalized touch to your project. Cut the fabric into small squares and sew or glue them together to create a larger piece for your mattress.6. DIY Doll Bed Mattress from Scrap Fabric

DIY Doll Bed Mattress from Scrap Fabric


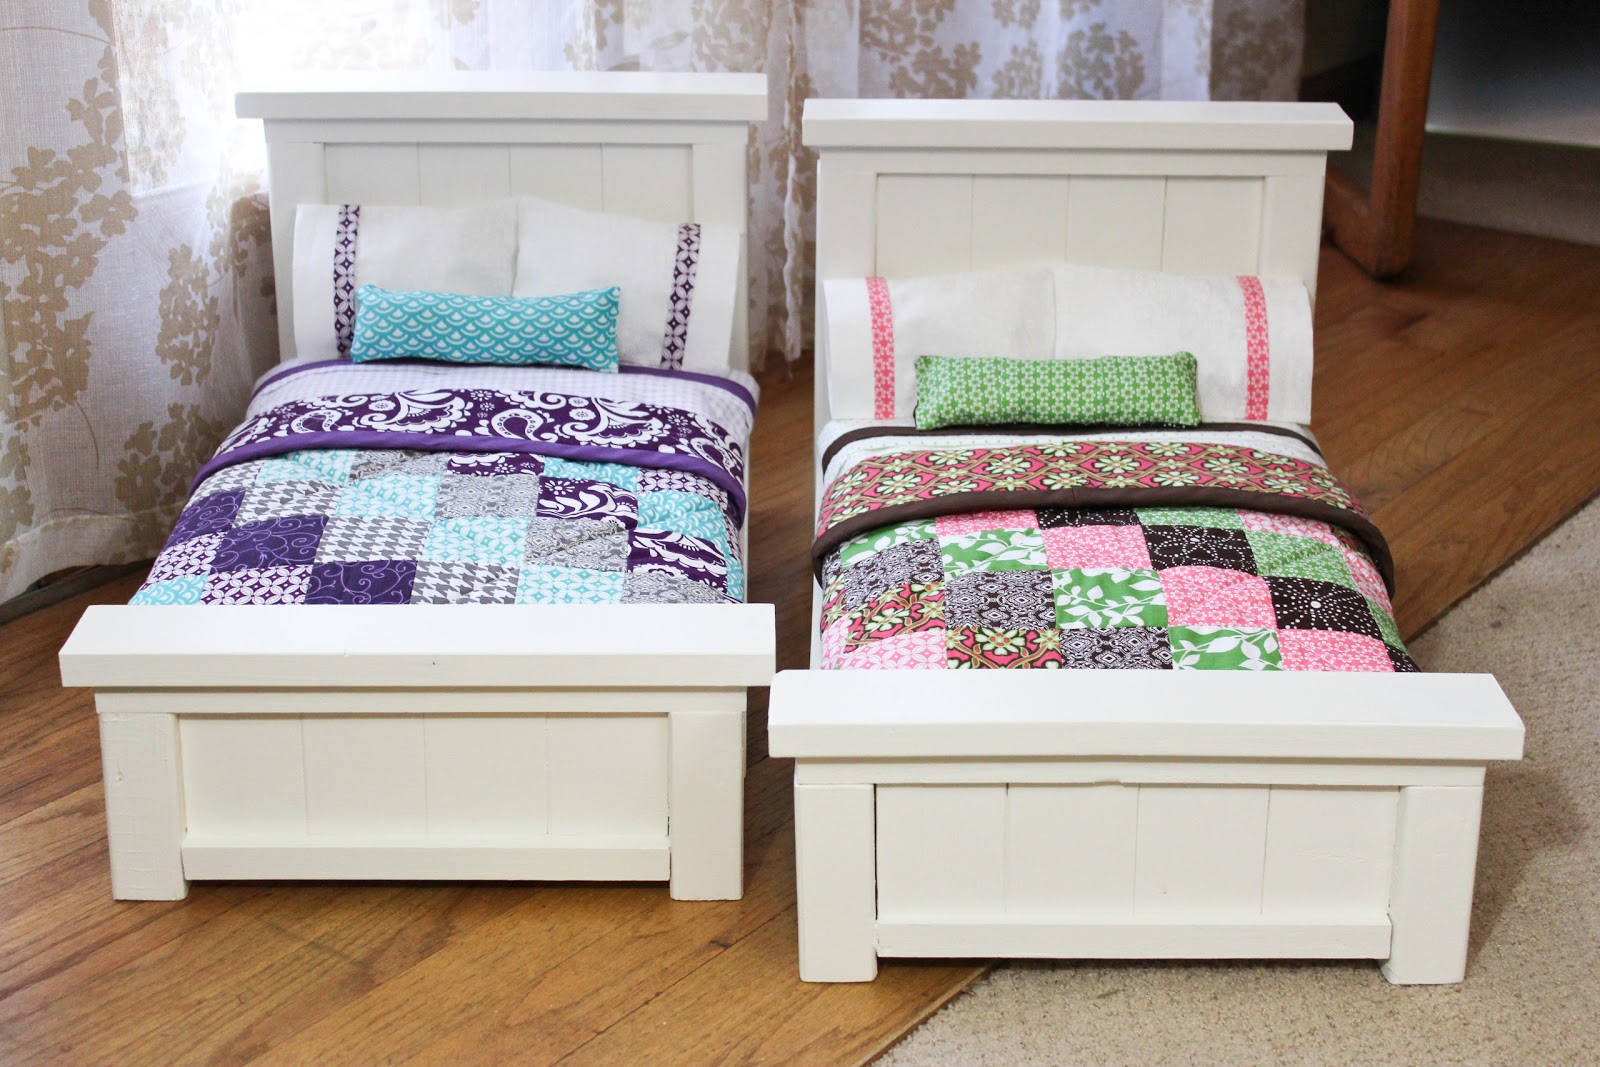
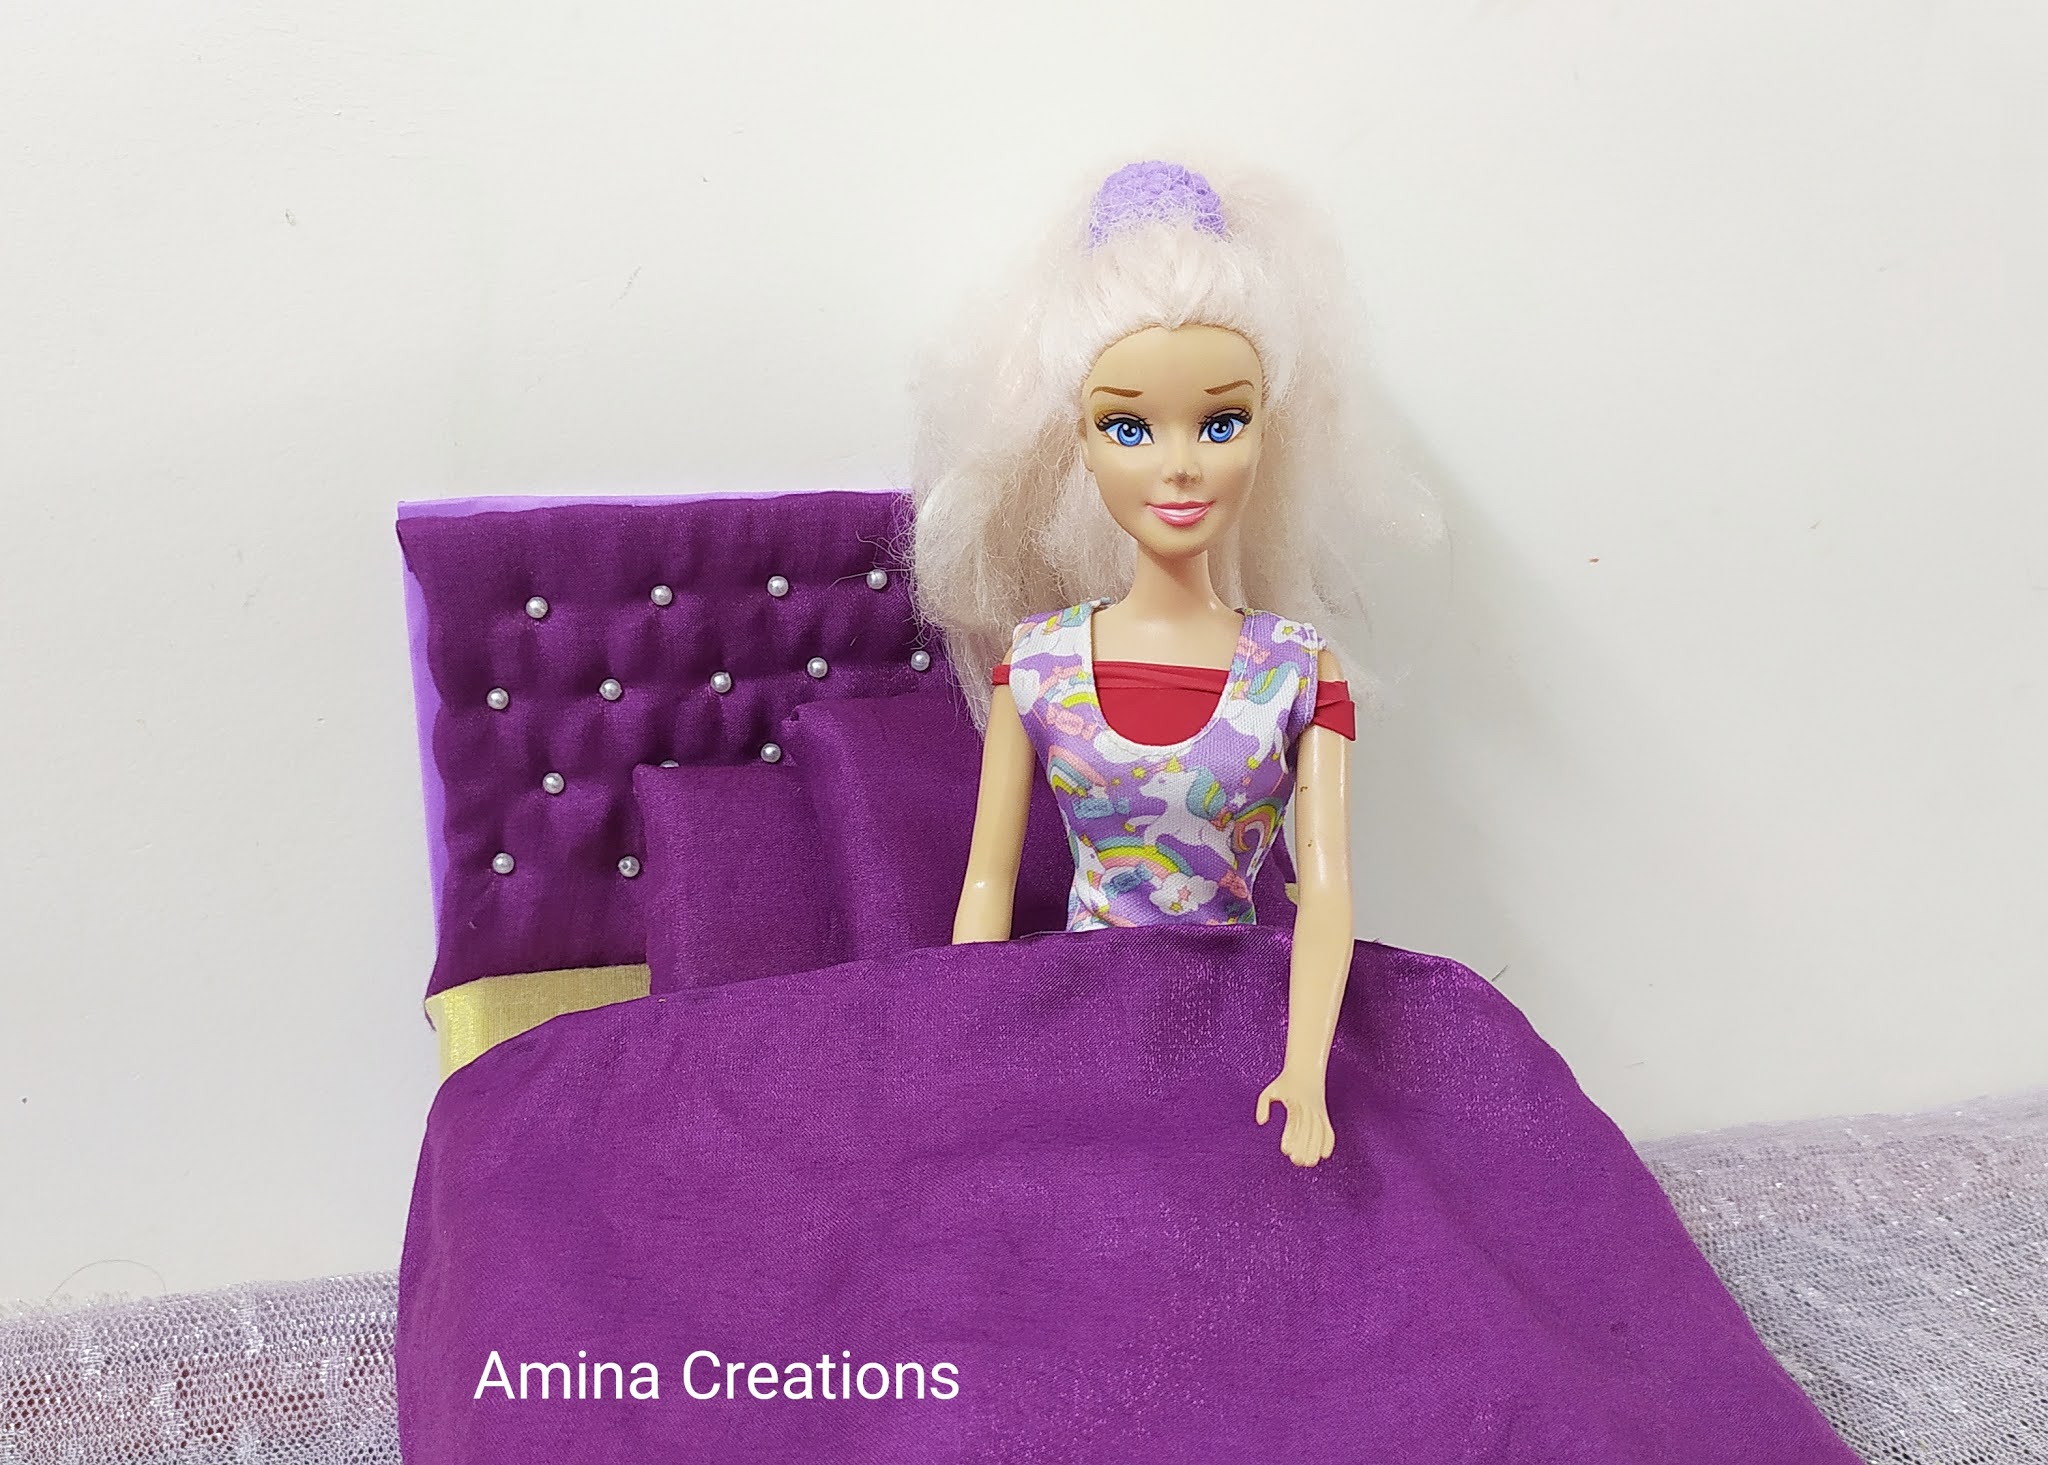
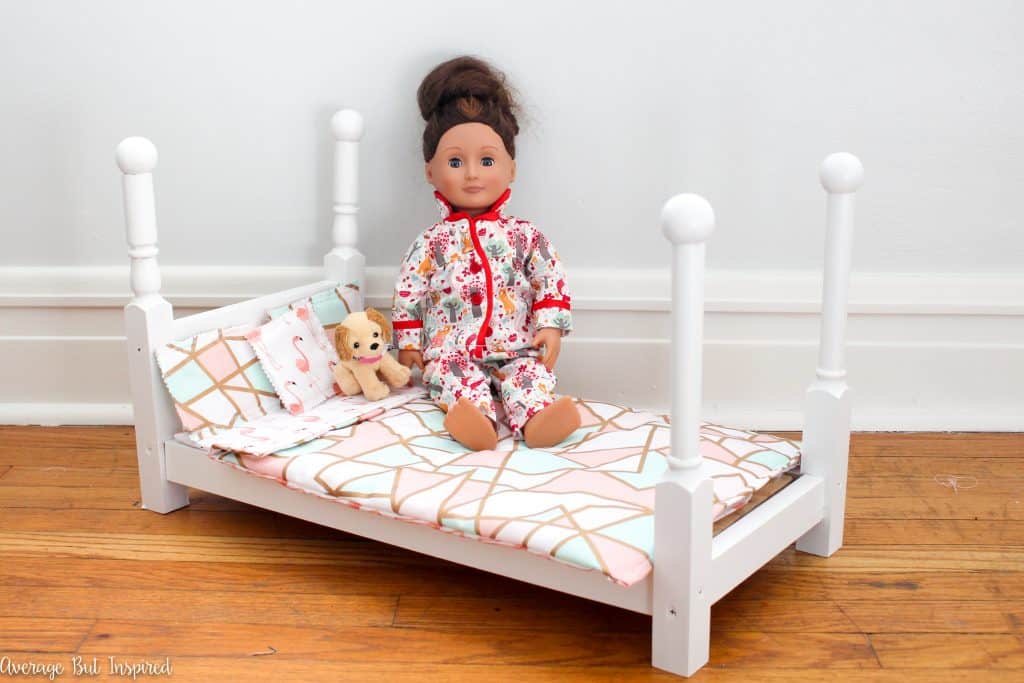
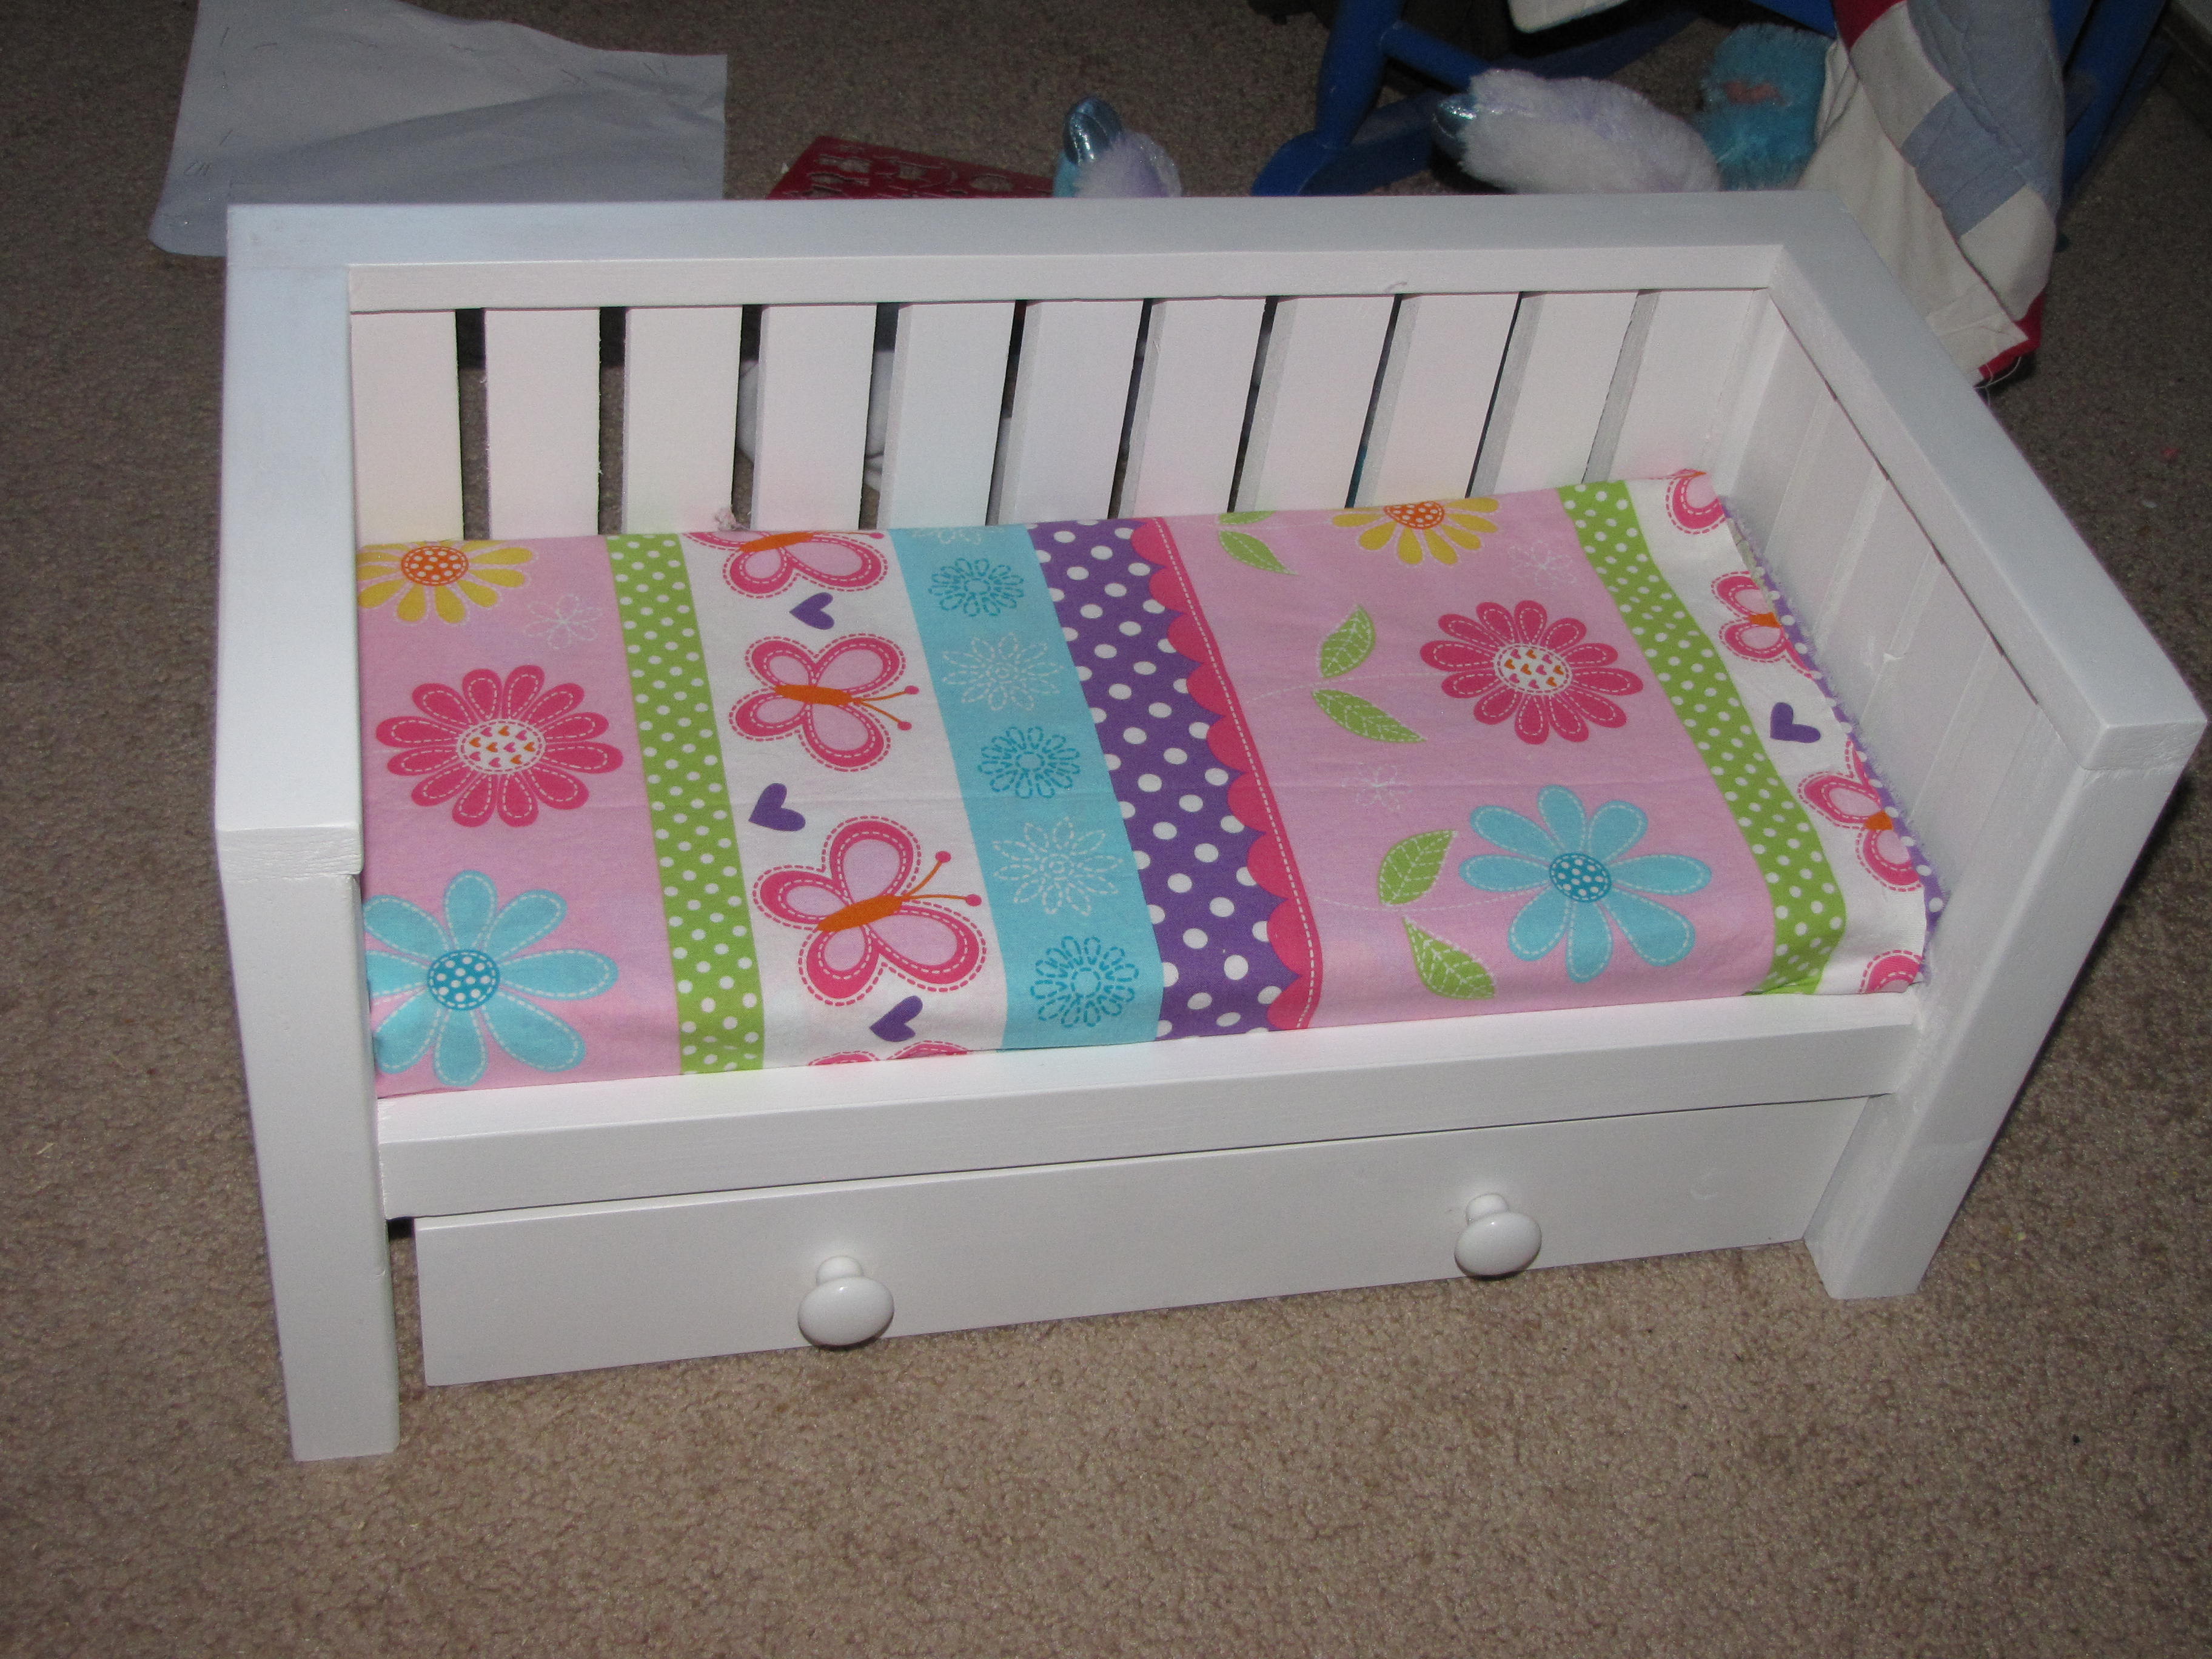
If your child has an American Girl doll, you can make a larger mattress to fit their bed. Simply measure the dimensions of the bed and add an inch for seam allowance. You can also customize the fabric and design to match their bedroom decor.7. DIY Doll Bed Mattress for American Girl Dolls
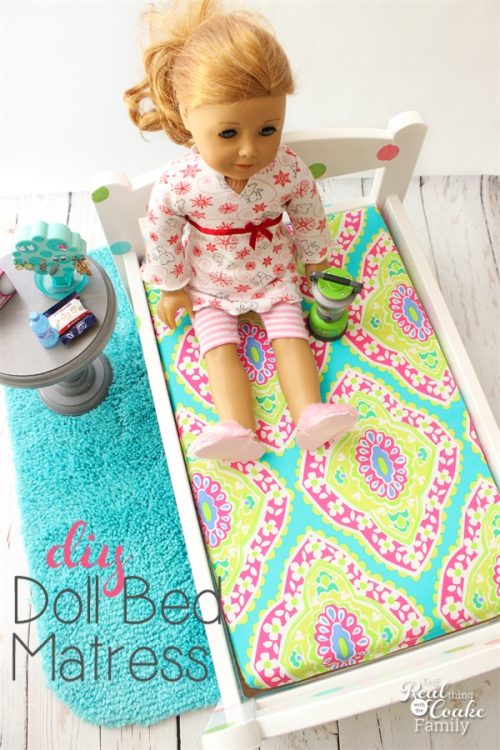

DIY Doll Bed Mattress for American Girl Dolls


For a more comfortable and realistic mattress, you can use foam instead of stuffing. You can purchase foam from a craft or fabric store and cut it to the size of your mattress. This will provide better support for the dolls and make their bed more cozy.8. DIY Doll Bed Mattress with Foam

DIY Doll Bed Mattress with Foam

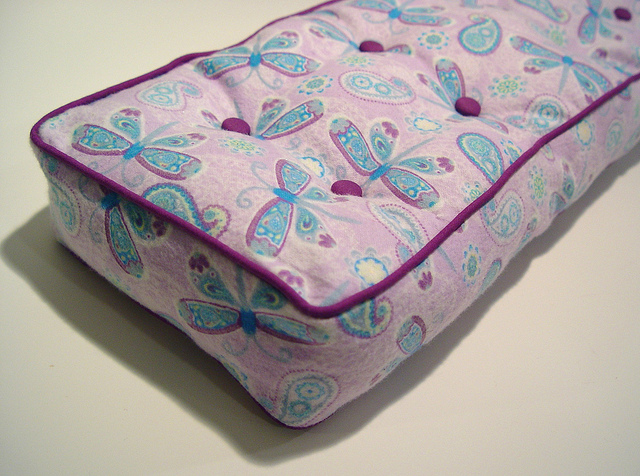
Felt is another great material to use for a DIY doll bed mattress. It's soft, durable, and comes in a variety of colors. You can also use felt to create fun designs and patterns on your mattress. Cut out shapes, letters, or numbers and glue or sew them onto the fabric.9. DIY Doll Bed Mattress with Felt

DIY Doll Bed Mattress with Felt
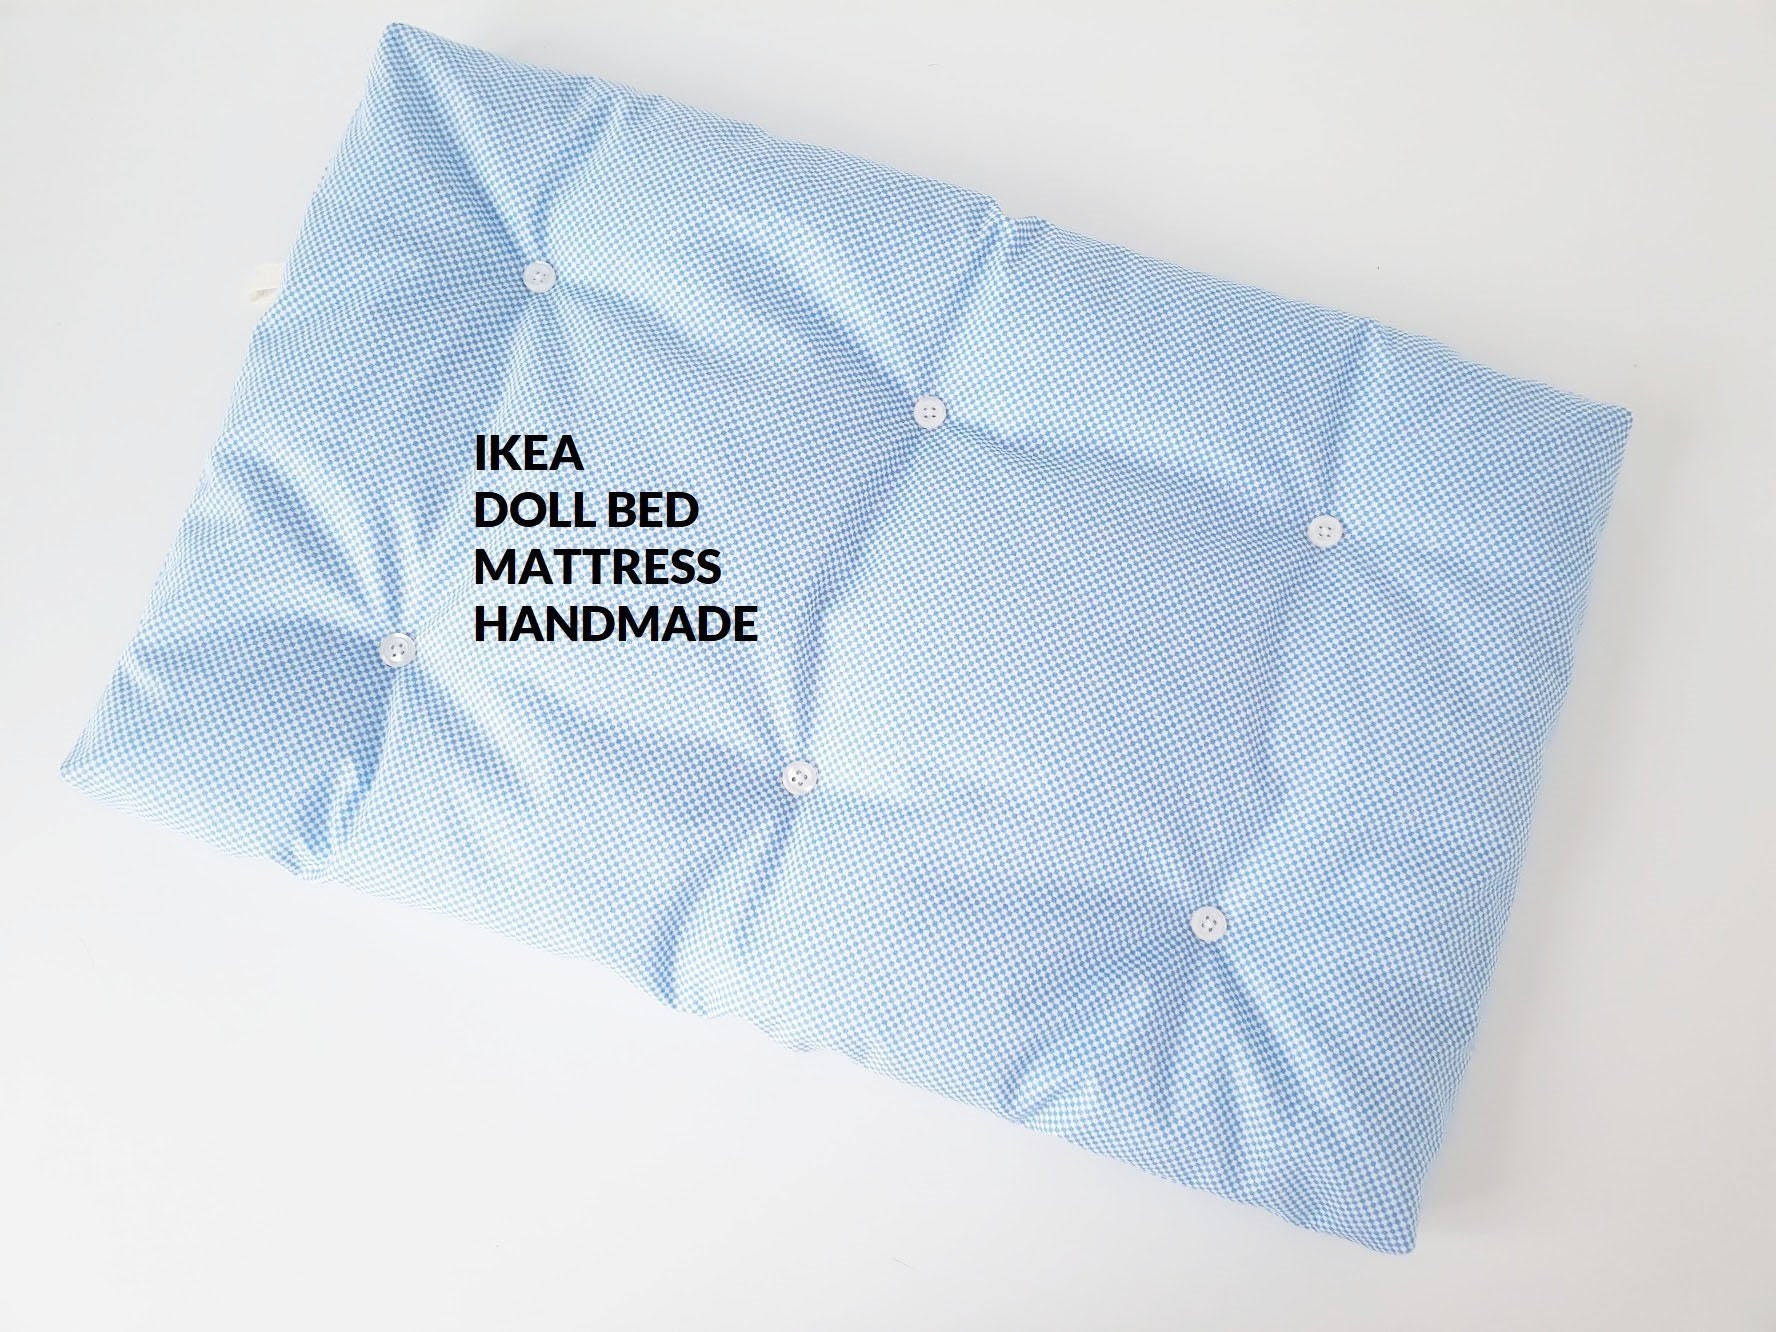
Cotton batting is a natural and eco-friendly option for stuffing your doll bed mattress. It's soft, lightweight, and easy to work with. You can use it alone or mix it with other materials like foam or felt to create a comfortable and supportive mattress for your child's dolls. In conclusion, making a DIY doll bed mattress is a fun and creative project that your child will love. It's also a great way to teach them about recycling and repurposing materials. So gather your materials and get started on creating the perfect sleeping spot for your child's beloved dolls!10. DIY Doll Bed Mattress with Cotton Batting

DIY Doll Bed Mattress with Cotton Batting


Creating a Comfortable and Affordable Mattress for Your DIY Doll Bed

Introduction
 Designing and decorating a dollhouse is a beloved pastime for many, and creating a cozy and inviting bedroom for your dolls is an essential aspect of this hobby. However, purchasing pre-made accessories for your dollhouse can quickly become expensive. That's why many dollhouse enthusiasts turn to
DIY projects
to add a personal touch to their miniature world. One of the most important elements of a bedroom is the bed, and in this article, we will show you how to make a
DIY doll bed mattress
that is both comfortable and budget-friendly.
Designing and decorating a dollhouse is a beloved pastime for many, and creating a cozy and inviting bedroom for your dolls is an essential aspect of this hobby. However, purchasing pre-made accessories for your dollhouse can quickly become expensive. That's why many dollhouse enthusiasts turn to
DIY projects
to add a personal touch to their miniature world. One of the most important elements of a bedroom is the bed, and in this article, we will show you how to make a
DIY doll bed mattress
that is both comfortable and budget-friendly.
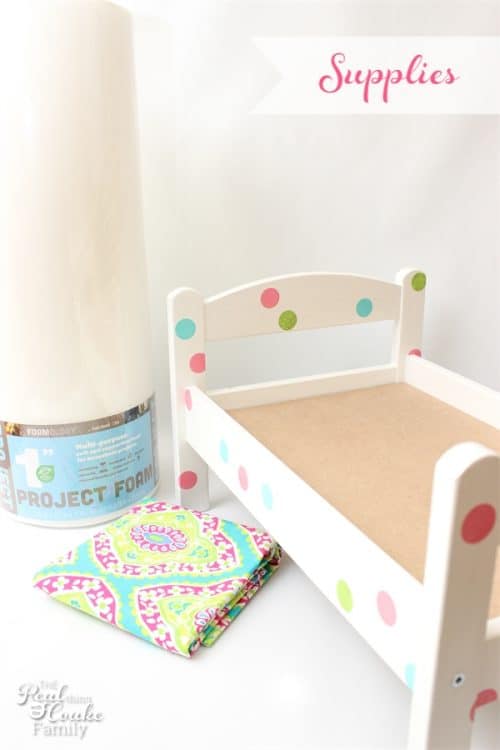
Materials Needed
 To create your
DIY doll bed mattress
, you will need a few simple materials that can be easily found at any craft or home goods store. These include:
To create your
DIY doll bed mattress
, you will need a few simple materials that can be easily found at any craft or home goods store. These include:
- Foam padding or quilt batting
- Fabric of your choice
- Scissors
- Thread and sewing needle
- Measuring tape
- Straight pins
- Iron
Step-by-Step Guide
 Now that you have gathered all the necessary materials, let's dive into the process of creating your
DIY doll bed mattress
.
Now that you have gathered all the necessary materials, let's dive into the process of creating your
DIY doll bed mattress
.
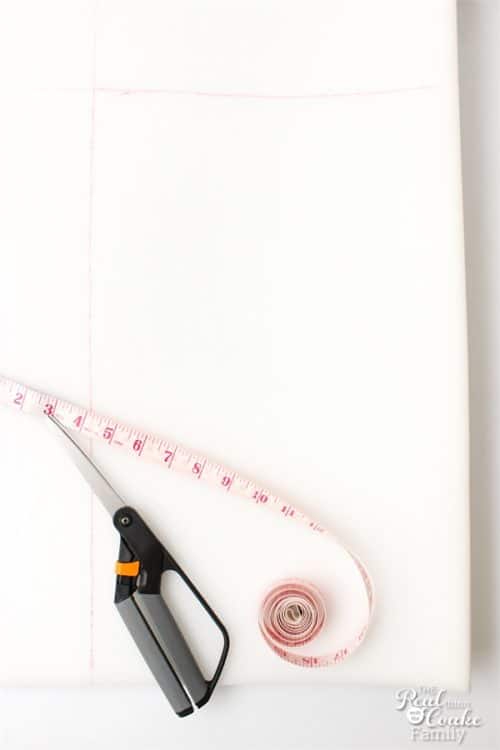
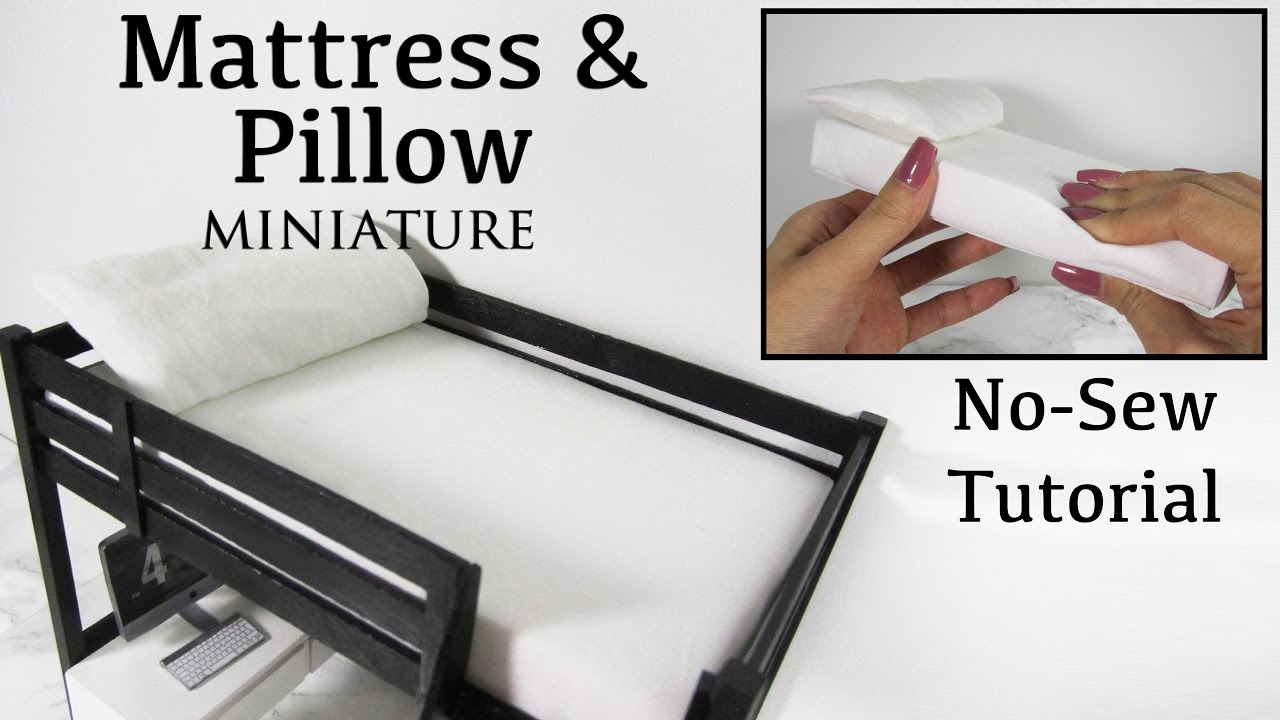
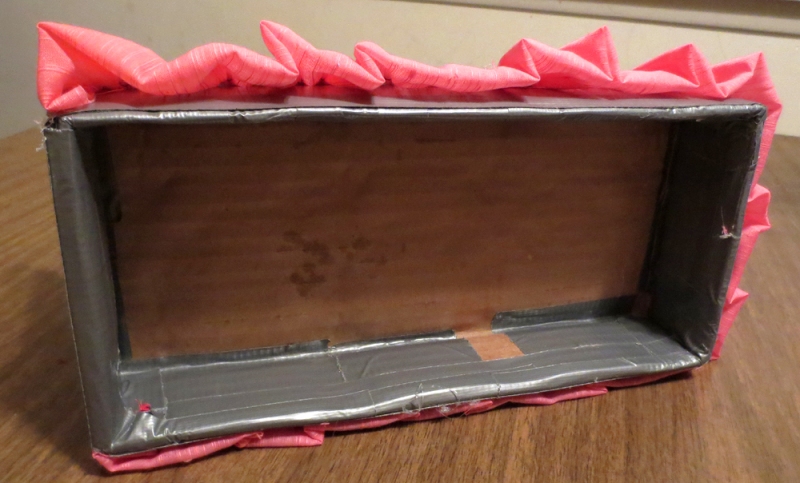
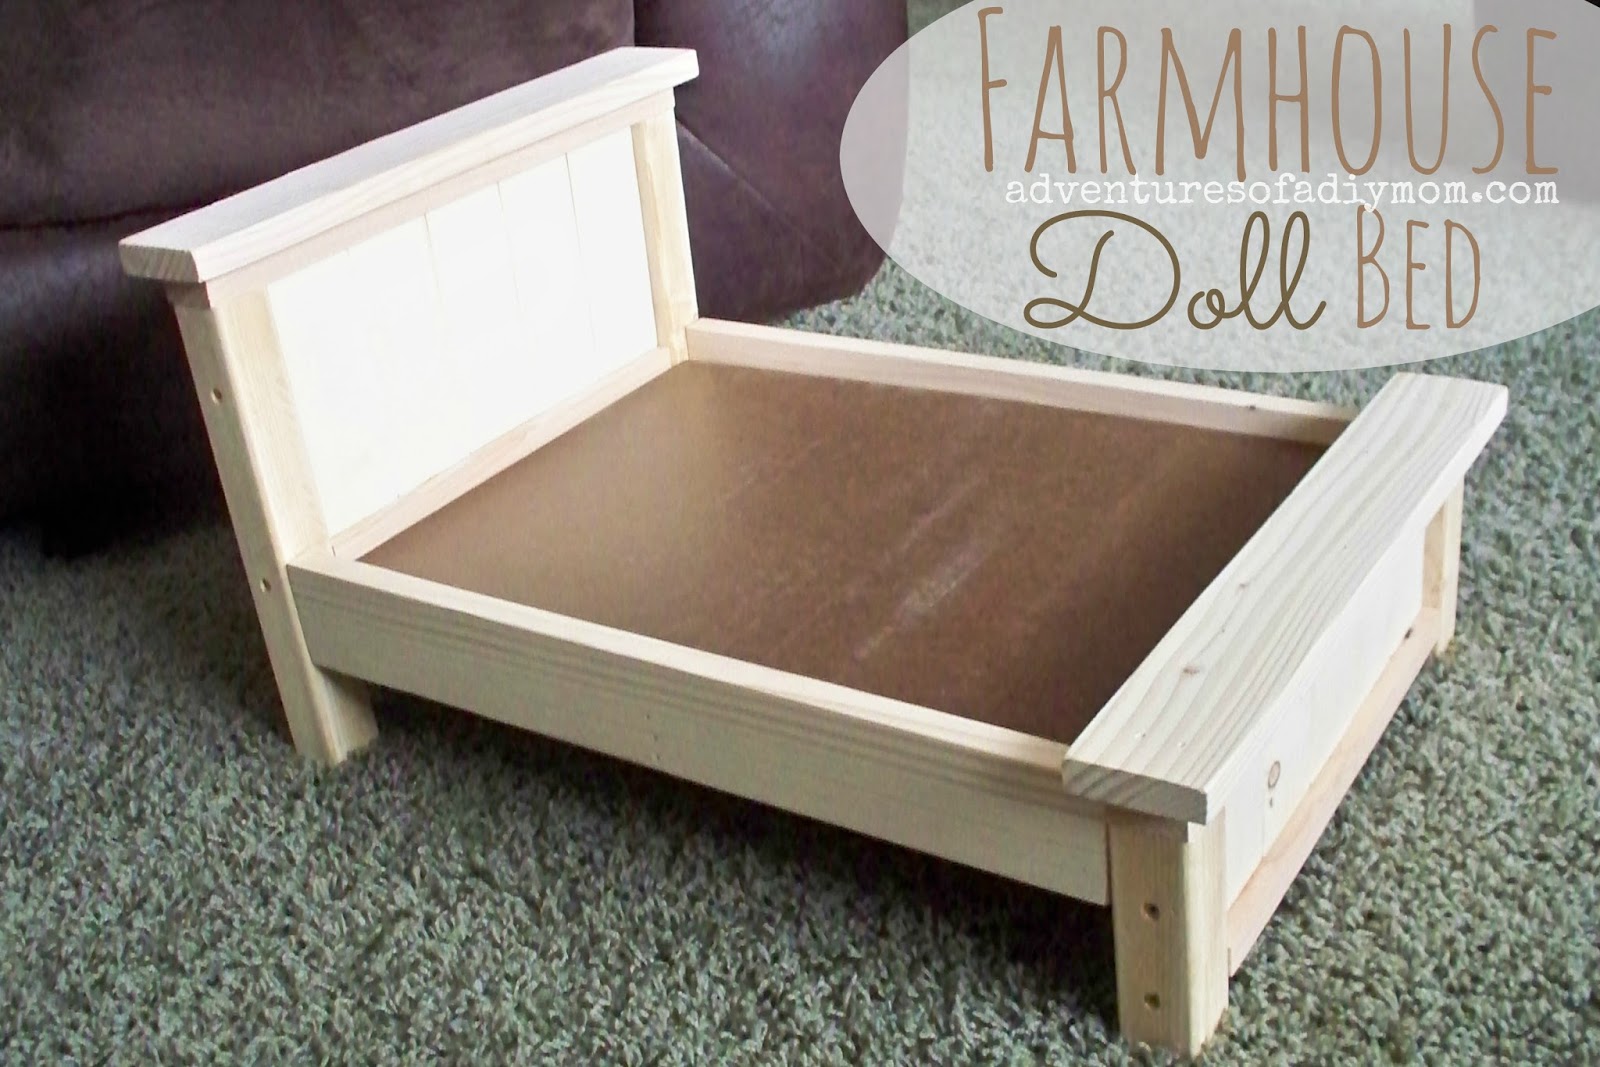
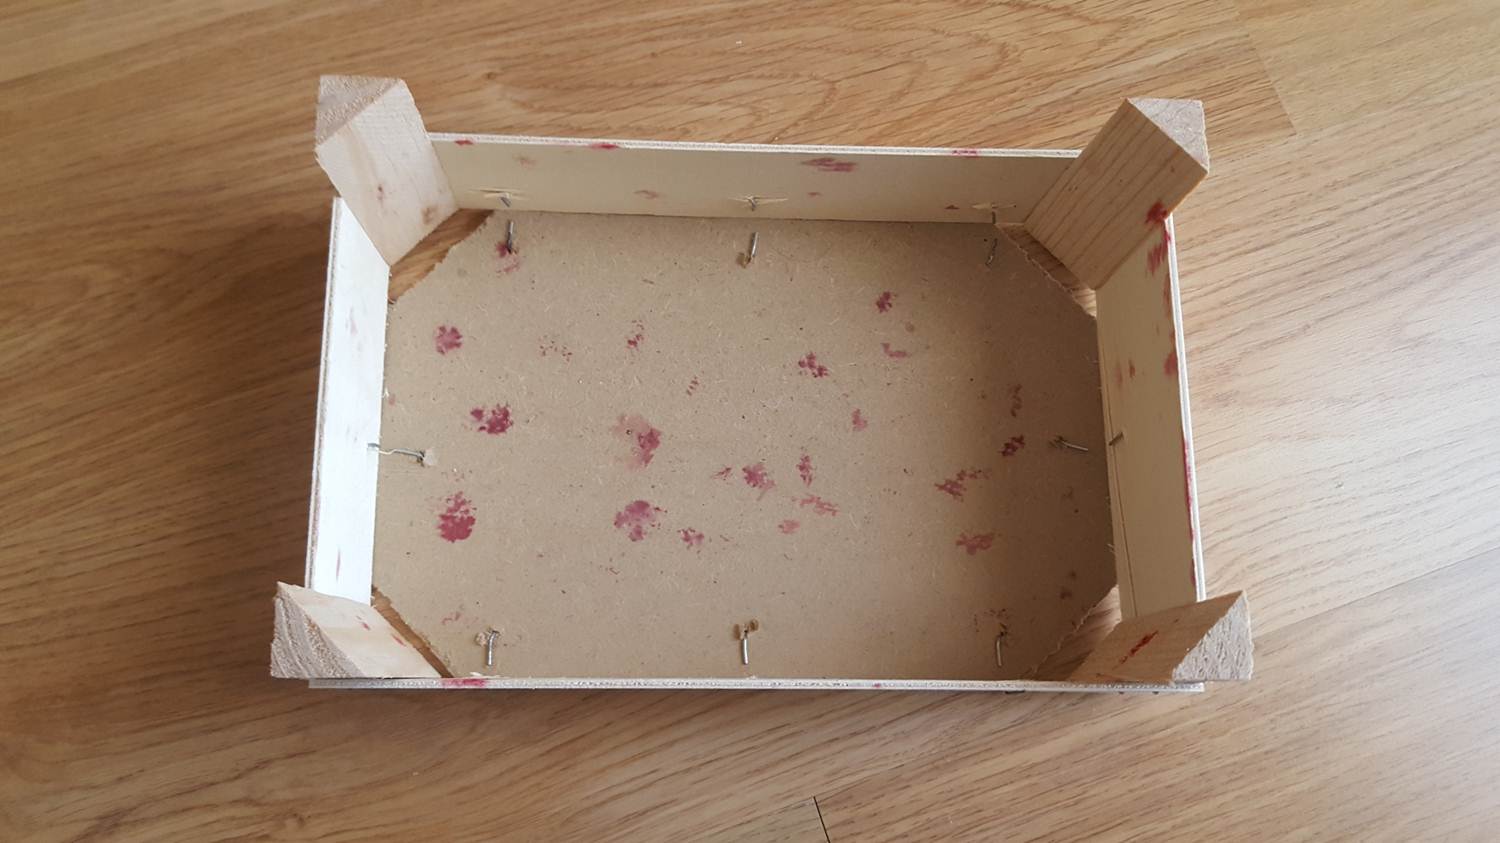
- Measure the bed: Before you begin, it is important to measure the dimensions of your doll bed to ensure that your mattress will fit perfectly. Use a measuring tape to determine the length, width, and height of the bed.
- Cut the foam padding or quilt batting: Using the measurements you have taken, cut the foam padding or quilt batting to the same size as your bed. This will serve as the filling for your mattress.
- Cut the fabric: Next, cut your chosen fabric to the same size as the foam padding or quilt batting, leaving an extra inch on all sides to allow for seams.
- Sew the fabric: With the fabric facing inside out, sew along three sides, leaving one side open. This will create a pouch-like shape for the mattress cover.
- Insert the padding: Turn the fabric right side out and insert the foam padding or quilt batting into the pouch.
- Sew the final side: Using a hidden stitch, sew the final side of the fabric to close the mattress cover.
- Fluff and trim: Gently fluff the mattress to ensure the filling is evenly distributed. You can also trim any excess fabric or batting if needed.
Final Thoughts
 There you have it, a simple and cost-effective method for creating a
DIY doll bed mattress
that is sure to add comfort and style to your dollhouse bedroom. Get creative with your fabric choices and experiment with different types of padding to create a unique and personalized look for your dolls. With a little bit of time and effort, you can create a beautiful and cozy bed for your miniature friends to rest on.
There you have it, a simple and cost-effective method for creating a
DIY doll bed mattress
that is sure to add comfort and style to your dollhouse bedroom. Get creative with your fabric choices and experiment with different types of padding to create a unique and personalized look for your dolls. With a little bit of time and effort, you can create a beautiful and cozy bed for your miniature friends to rest on.