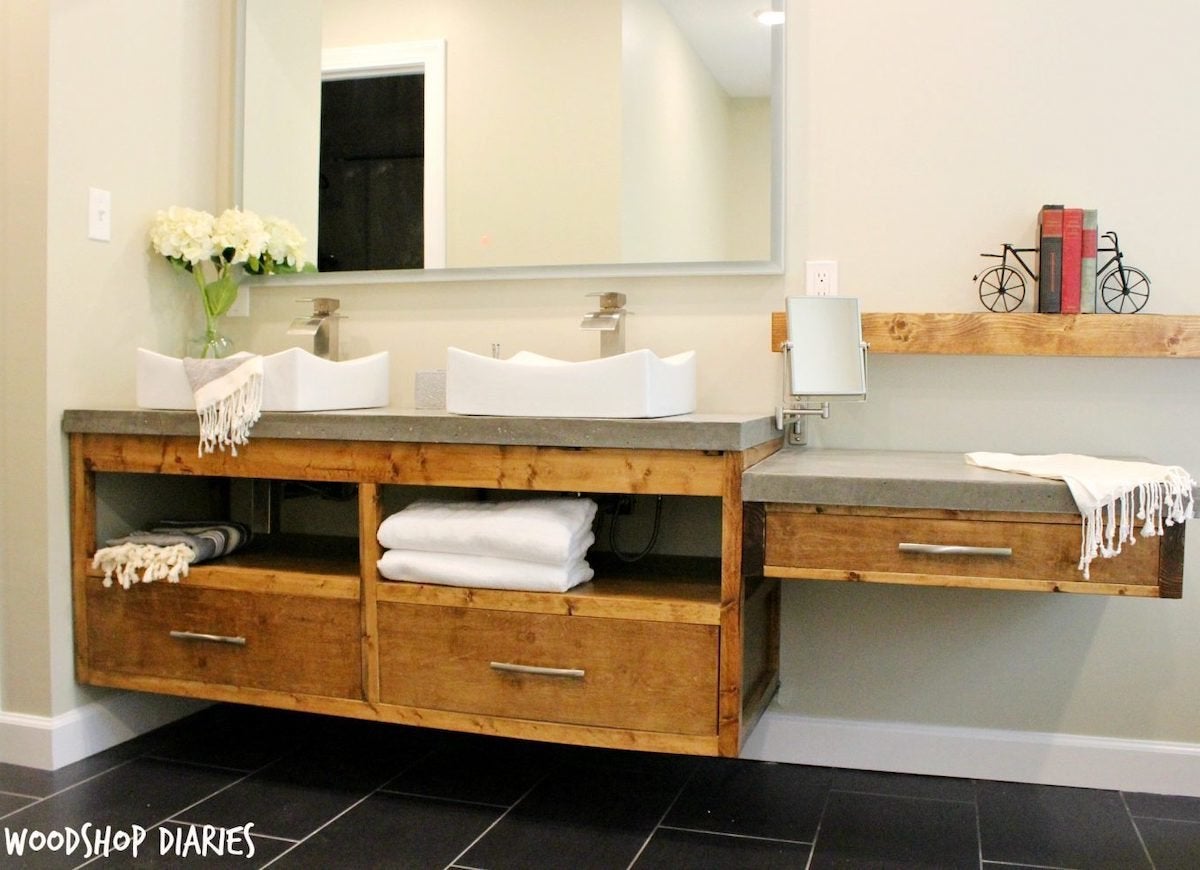
If you're looking to update your bathroom on a budget, a DIY bathroom vanity may be the perfect solution. Not only does it save you money, but it also allows you to customize the design to fit your style and space. In this article, we'll be focusing on 36 inch bathroom vanity plans that you can easily build yourself. So grab your tools and let's get started!DIY Bathroom Vanity Plans: Create Your Own 36 Inch Bathroom Vanity


DIY Bathroom Vanity Plans
/build-something-diy-vanity-594402125f9b58d58ae21158.jpg)
/interior-of-bathroom-939543160-5bc3ef3f4cedfd005124ec13.jpg)


/minimalist-bathroom-with-two-sinks-649718376-cff31dec88e040819e2b88640c54b5e3.jpg)
DIY projects have become increasingly popular, and for good reason. They offer a sense of accomplishment and creativity, as well as the ability to save money. When it comes to bathroom vanities, opting for a DIY approach allows you to create a unique piece that perfectly fits your needs and space. Plus, with the right tools and materials, it can be a fun and fulfilling project.Why Choose a DIY Bathroom Vanity?


36 Inch Bathroom Vanity Plans


Before diving into the actual building process, it's important to have all the necessary materials and tools. For a 36 inch bathroom vanity, you'll need:36 Inch Bathroom Vanity Plans: What You'll Need


DIY Bathroom Vanity Ideas


:max_bytes(150000):strip_icc()/build-something-diy-vanity-594402125f9b58d58ae21158.jpg)

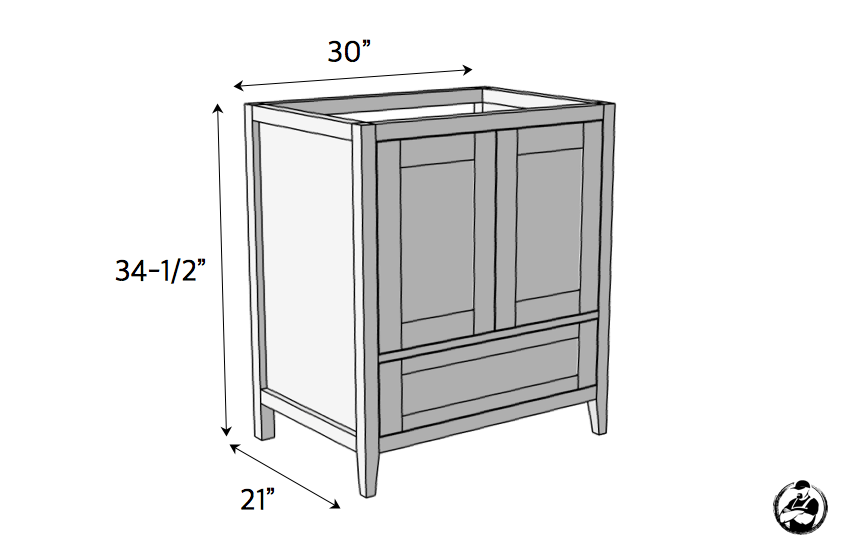
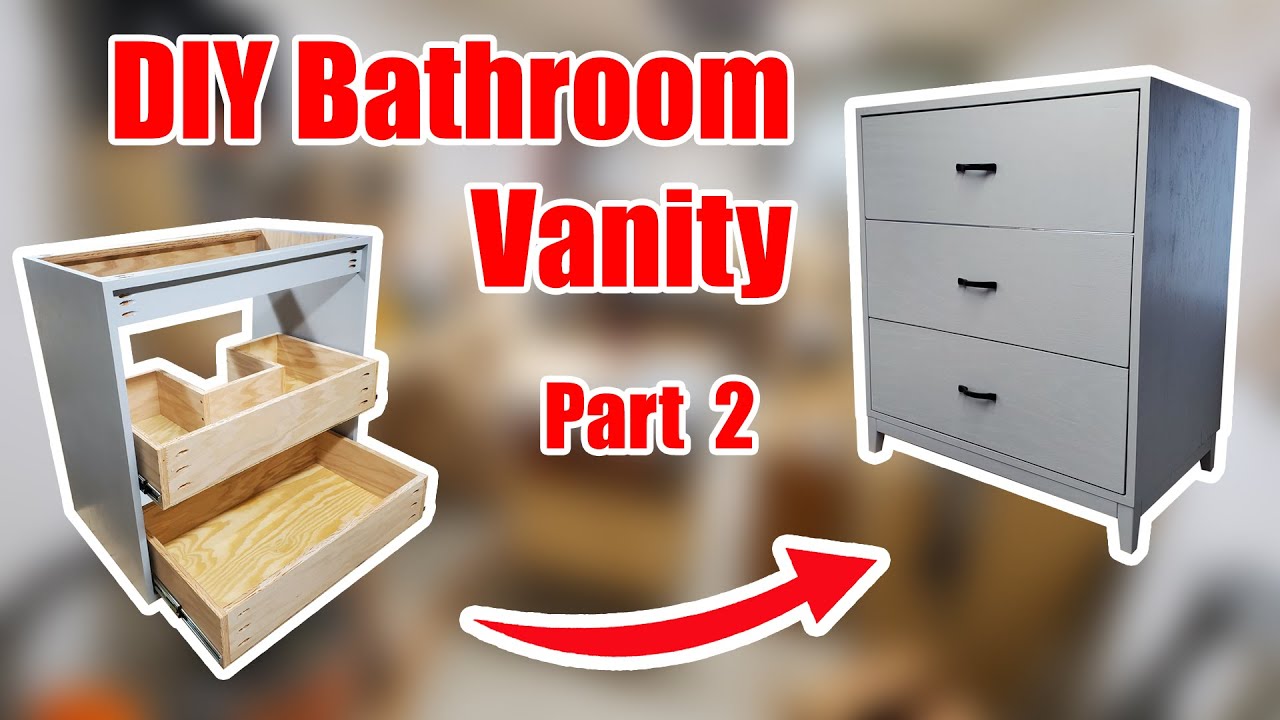
The first step in building your DIY 36 inch bathroom vanity is to measure and cut the wood according to your desired dimensions. You'll need four pieces for the frame, two pieces for the sides, and two pieces for the front and back. Use a saw to cut the wood to the appropriate size, making sure to double check your measurements before cutting.Step 1: Measure and Cut the Wood


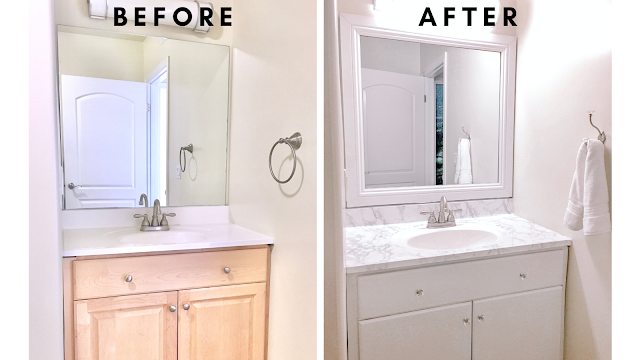
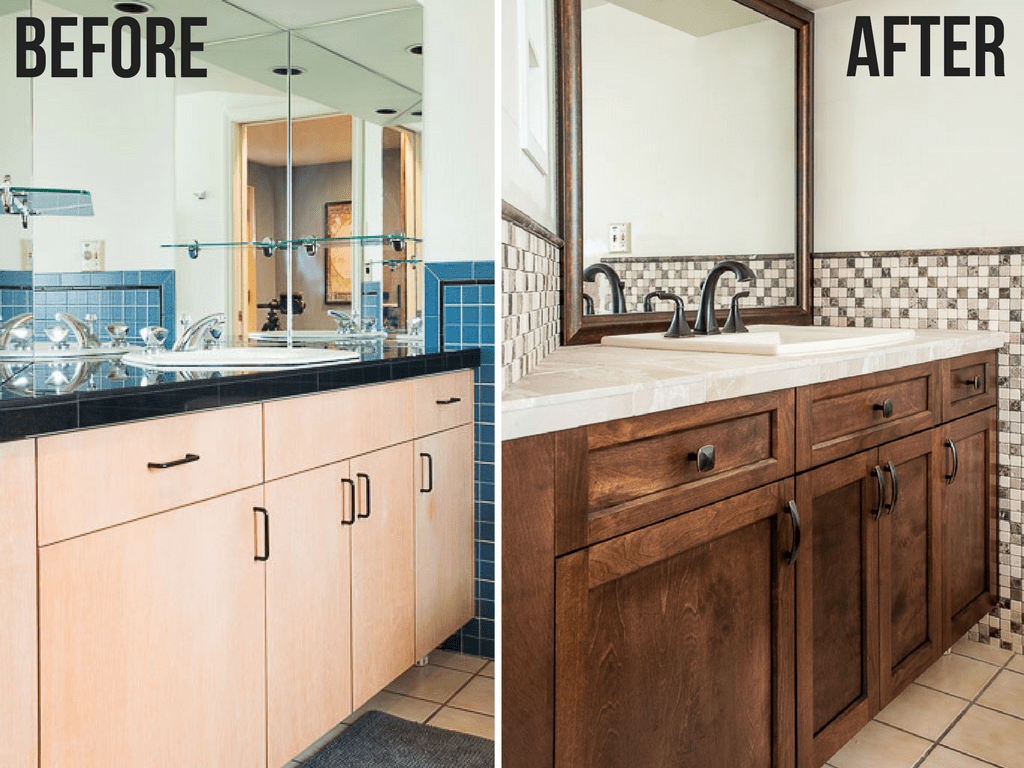
DIY Bathroom Vanity Makeover


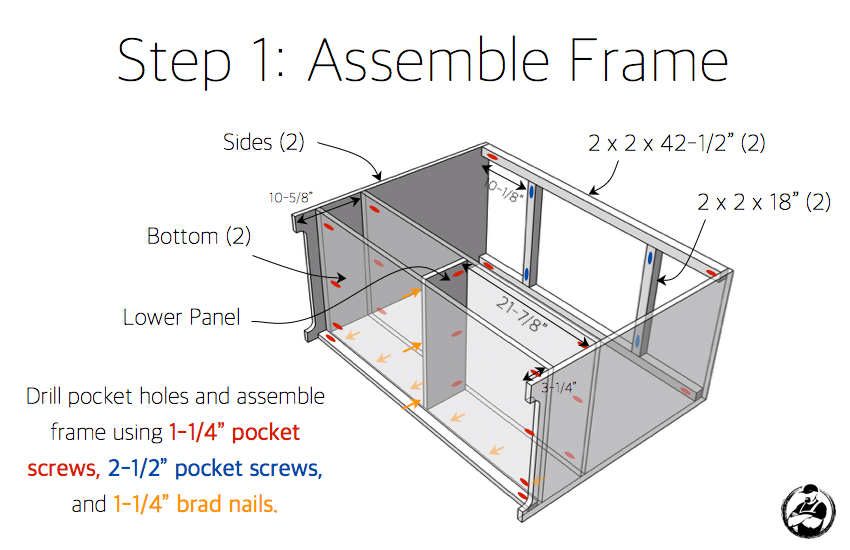
Using wood glue and screws, assemble the frame by attaching the sides to the front and back pieces. Make sure to reinforce the joints with wood glue for added stability. You can also use brackets for extra support.Step 2: Assemble the Frame


DIY Bathroom Vanity Cabinet
:max_bytes(150000):strip_icc()/build-something-diy-vanity-594402125f9b58d58ae21158.jpg)
/cherry-diy-bathroom-vanity-594414da5f9b58d58a099a36.jpg)

Using plywood, cut two pieces to fit inside the frame and secure them with screws. These shelves will provide storage space for your bathroom essentials.Step 3: Add the Shelves
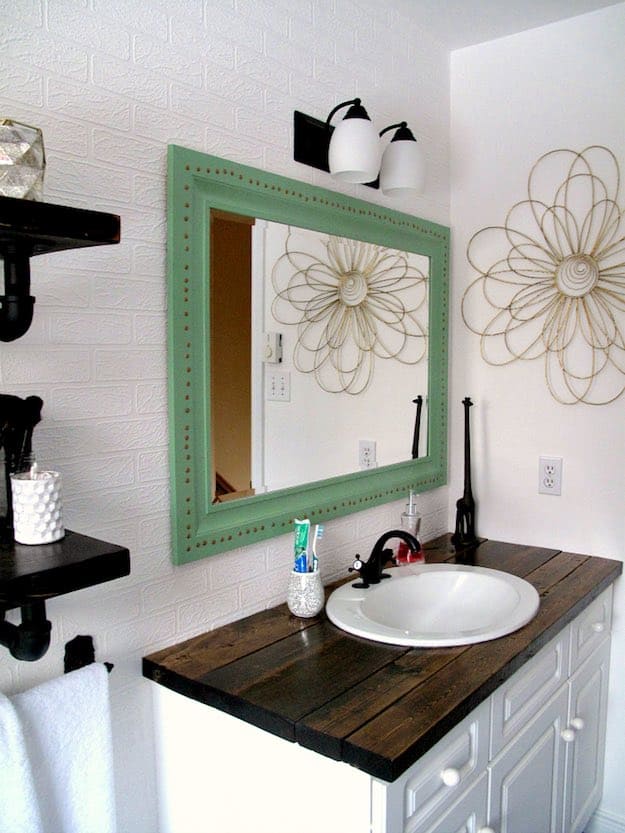

DIY Bathroom Vanity Top


If you're including drawers in your DIY bathroom vanity, now is the time to install the slides. Follow the manufacturer's instructions for proper installation. Once the slides are in place, attach the drawers to the slides.Step 4: Install the Drawer Slides
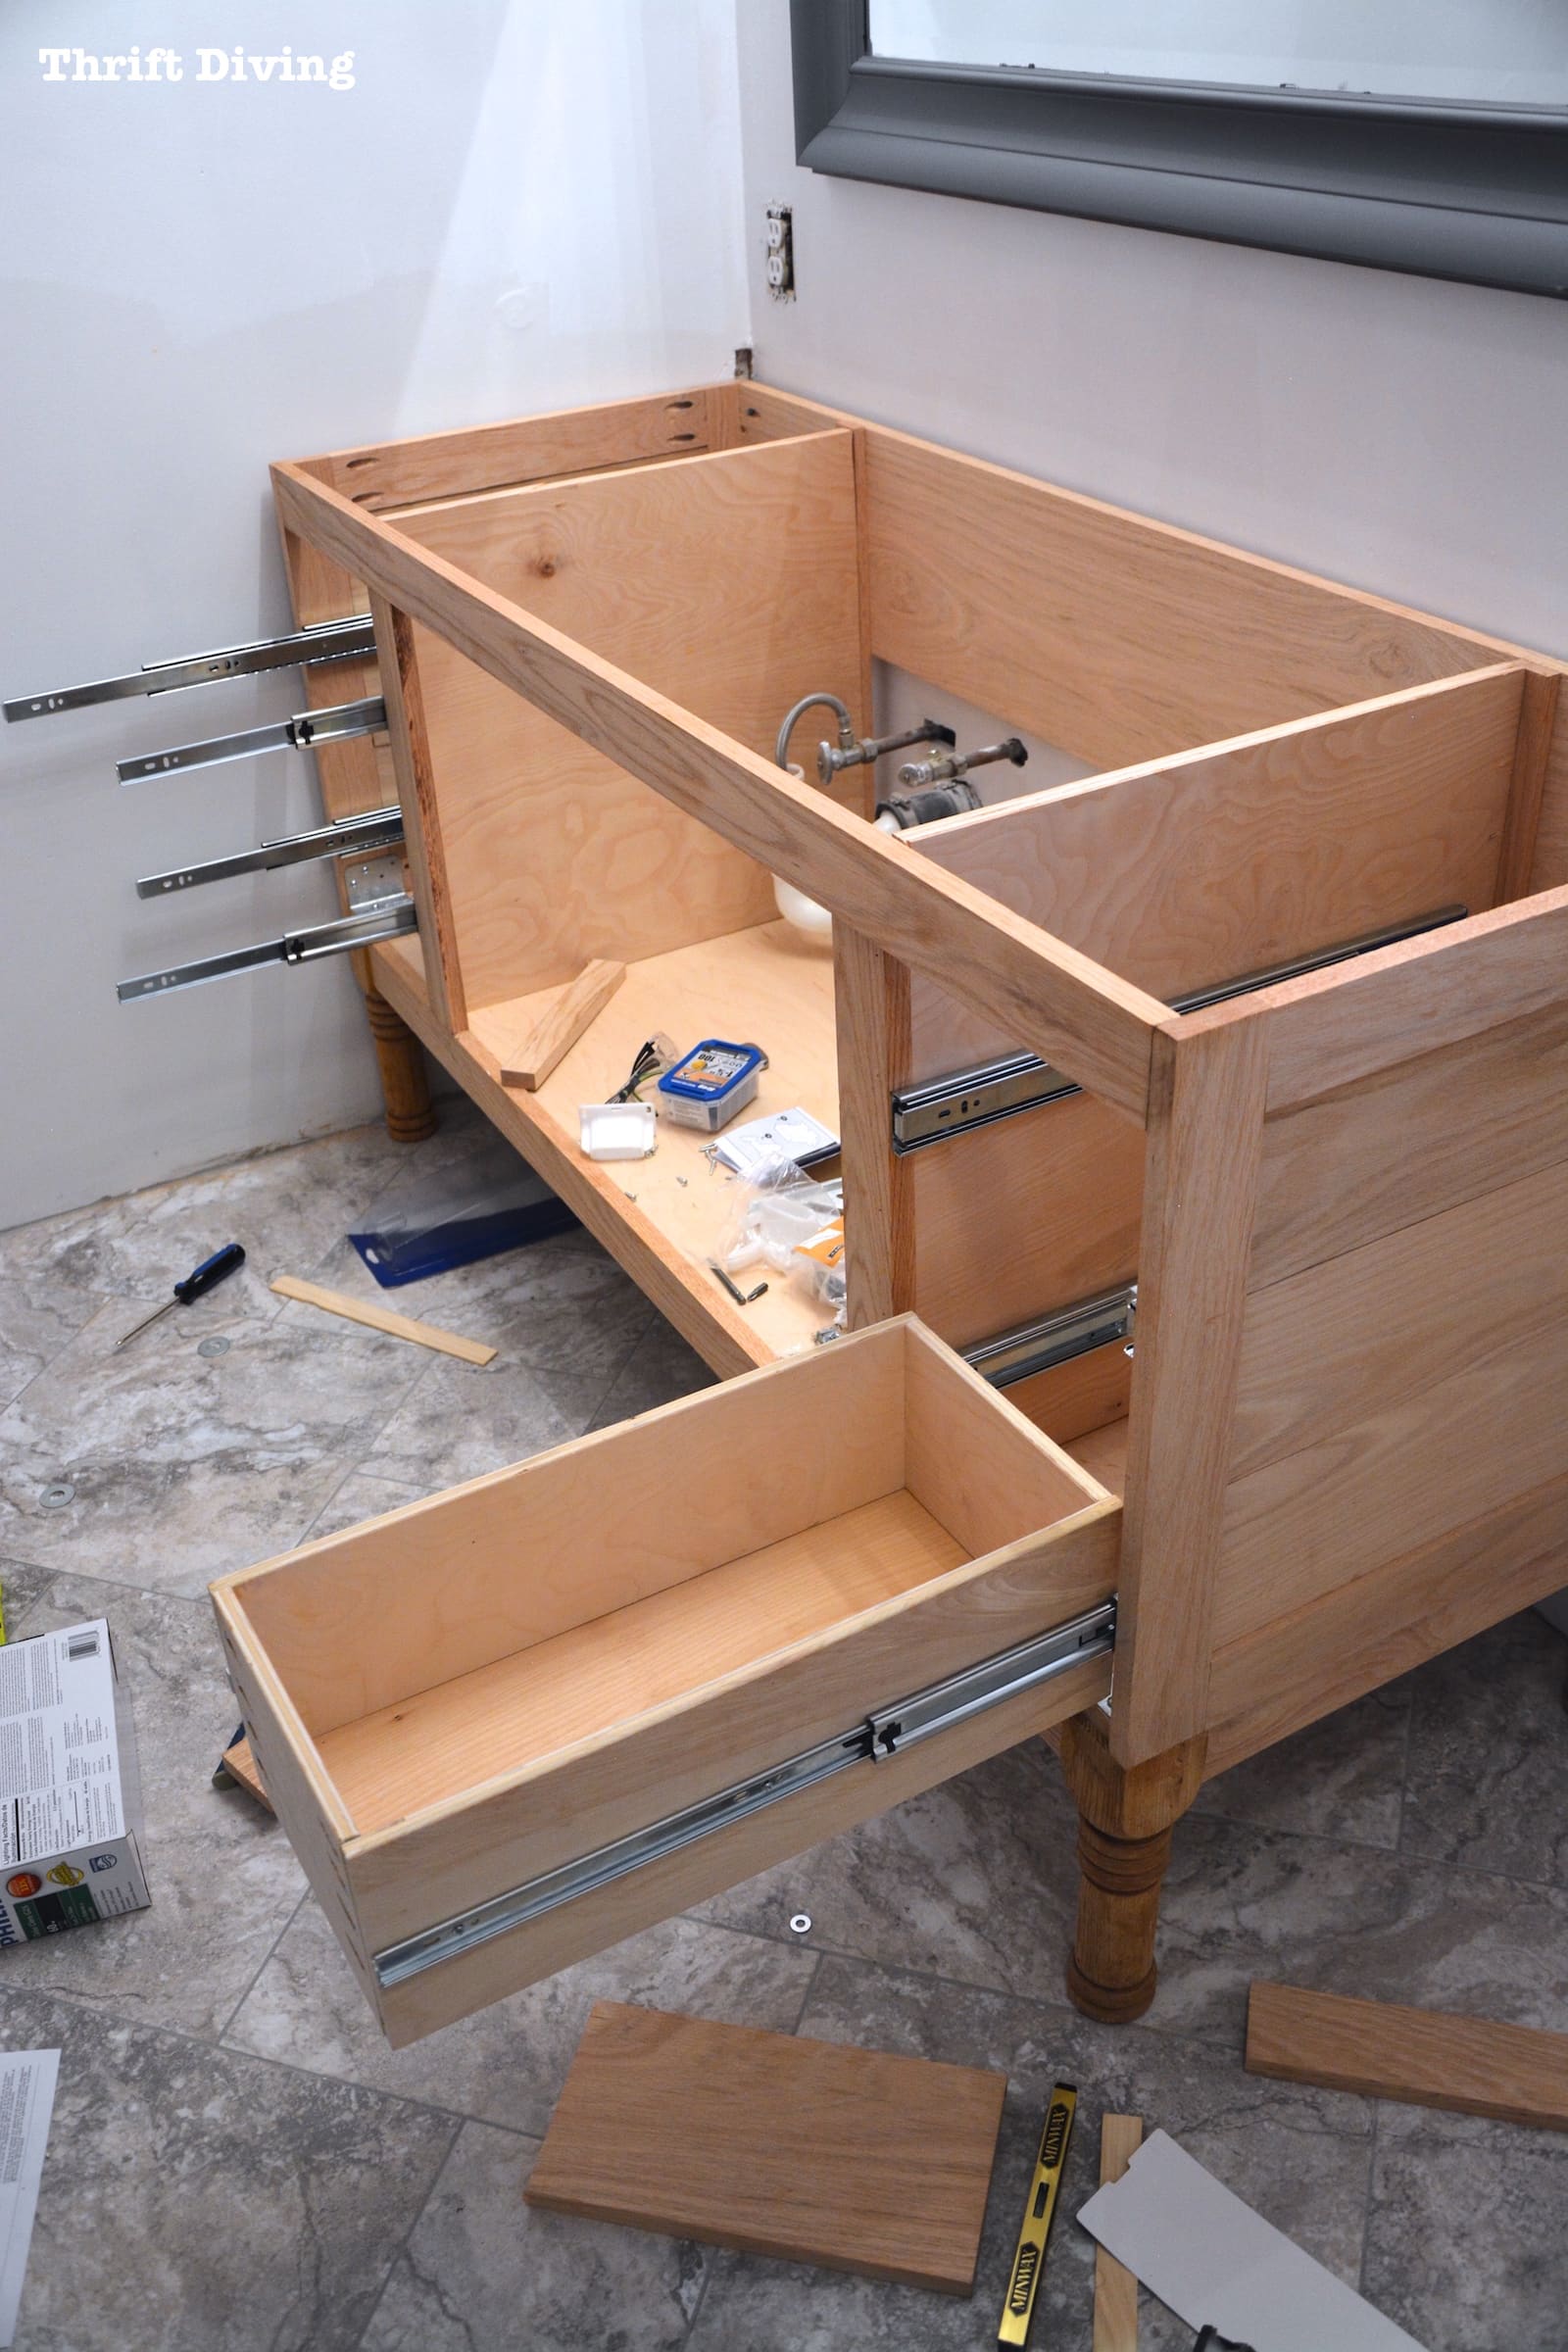
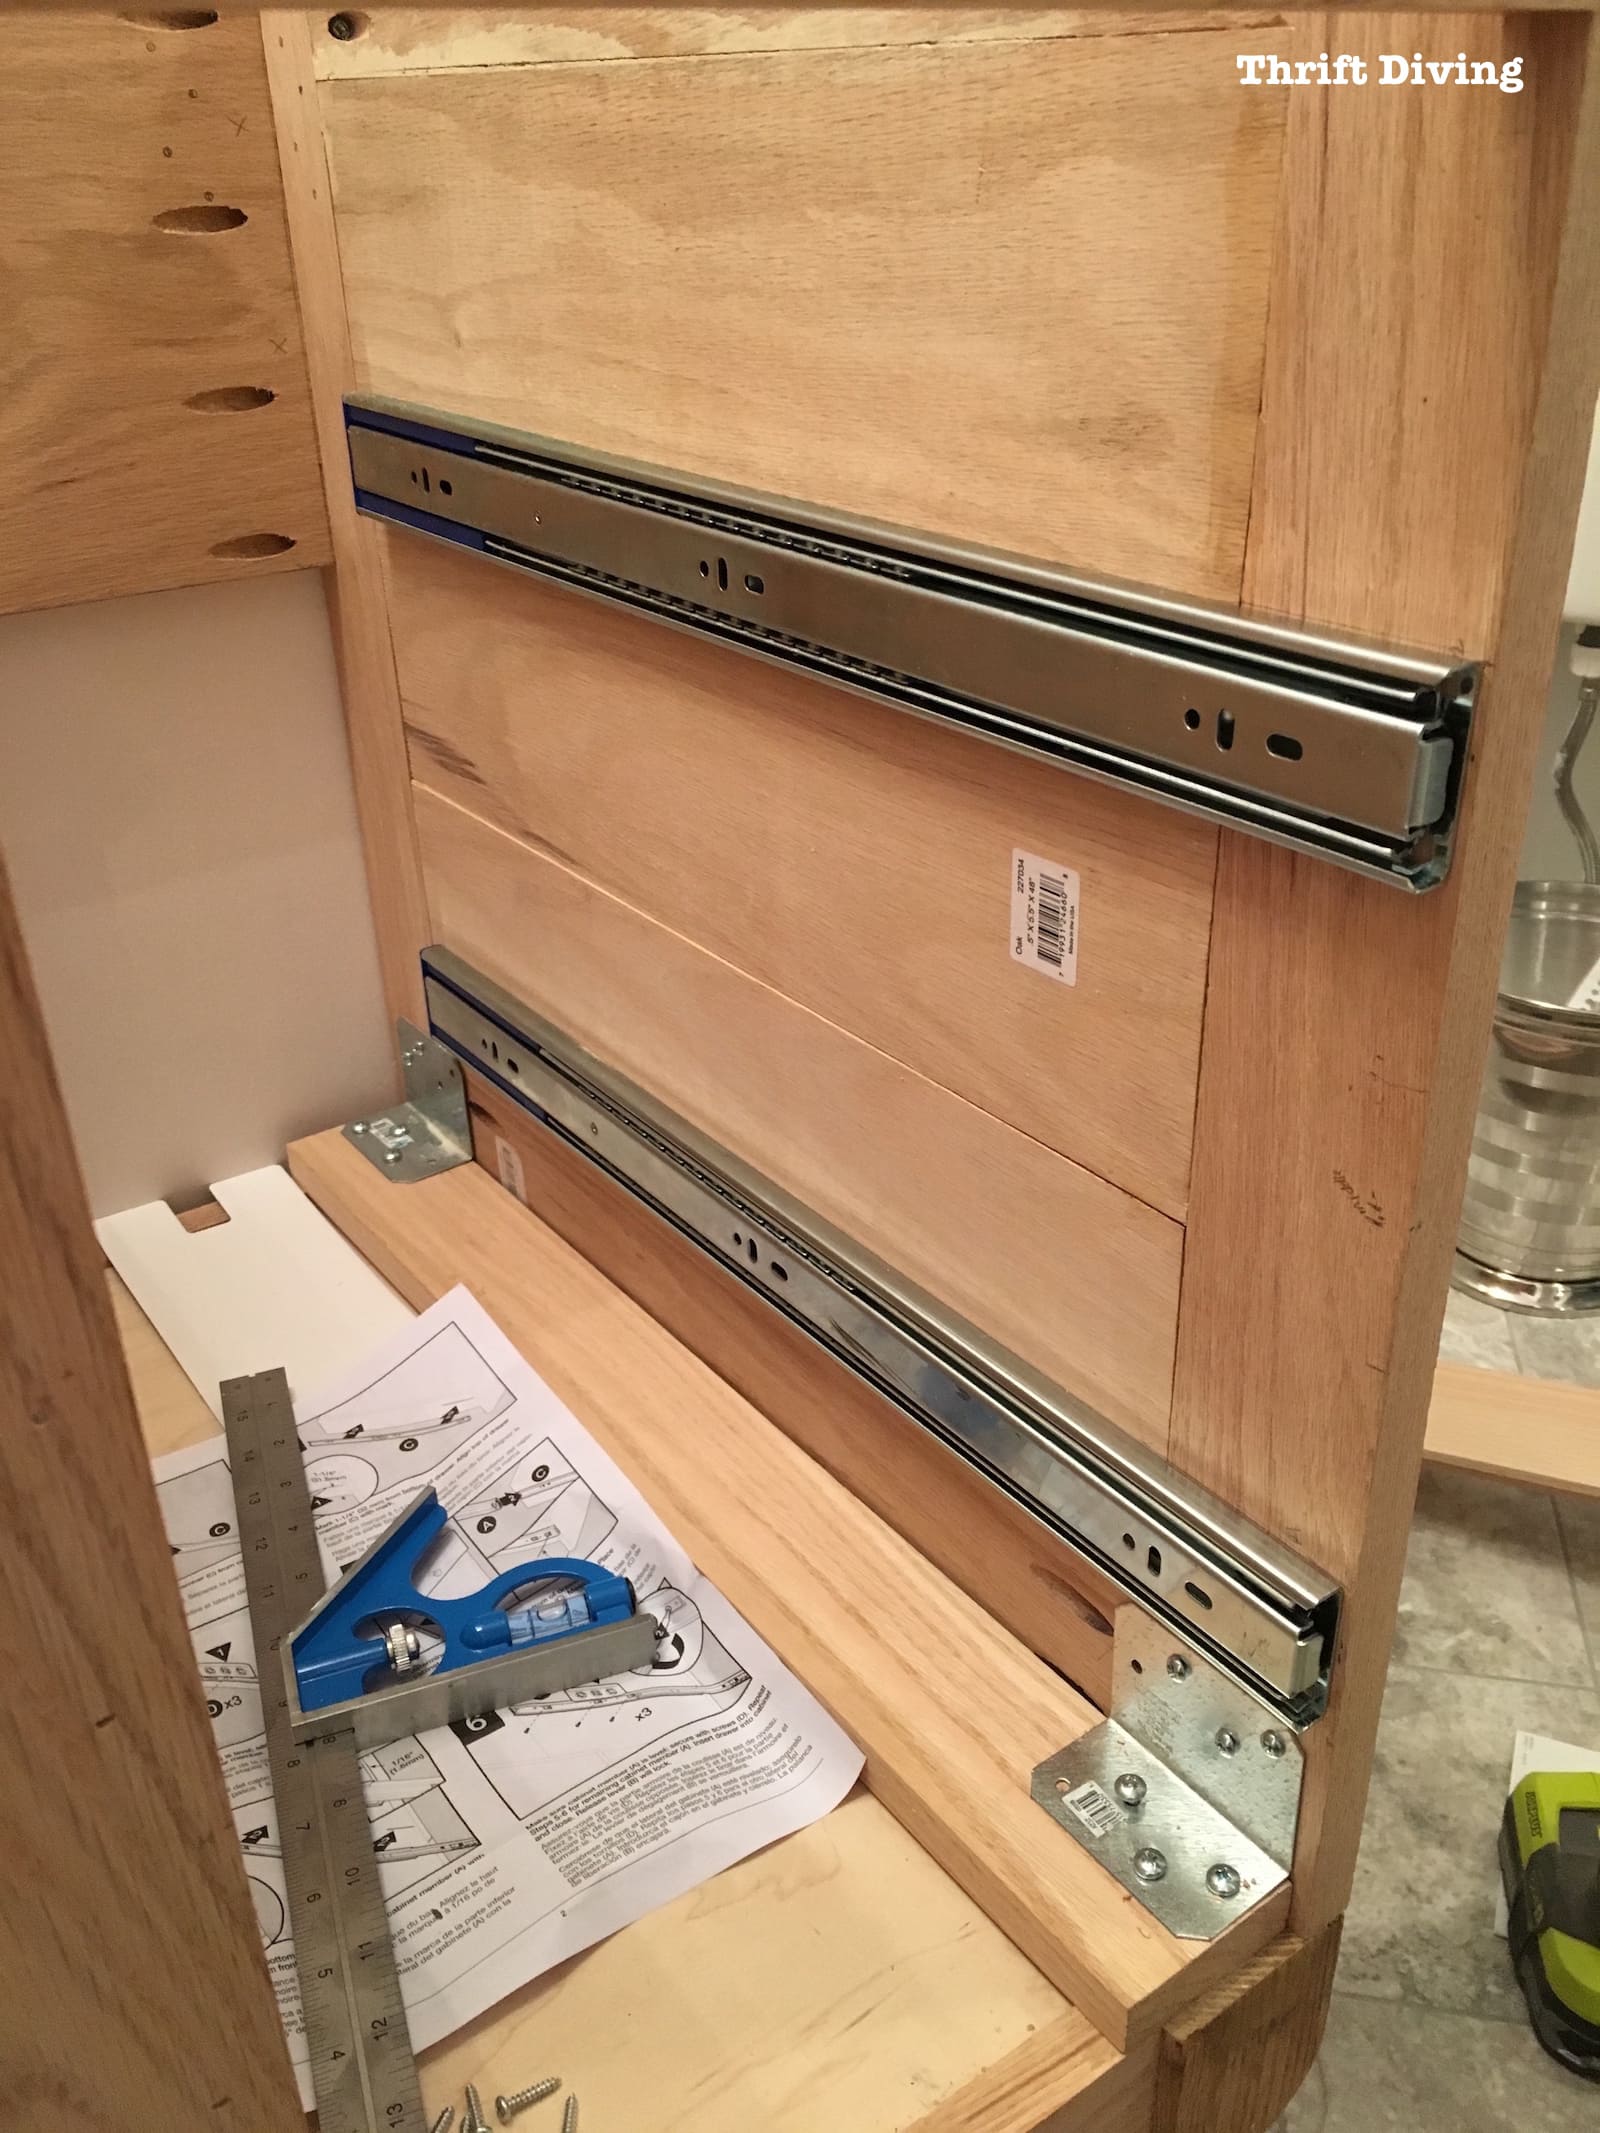
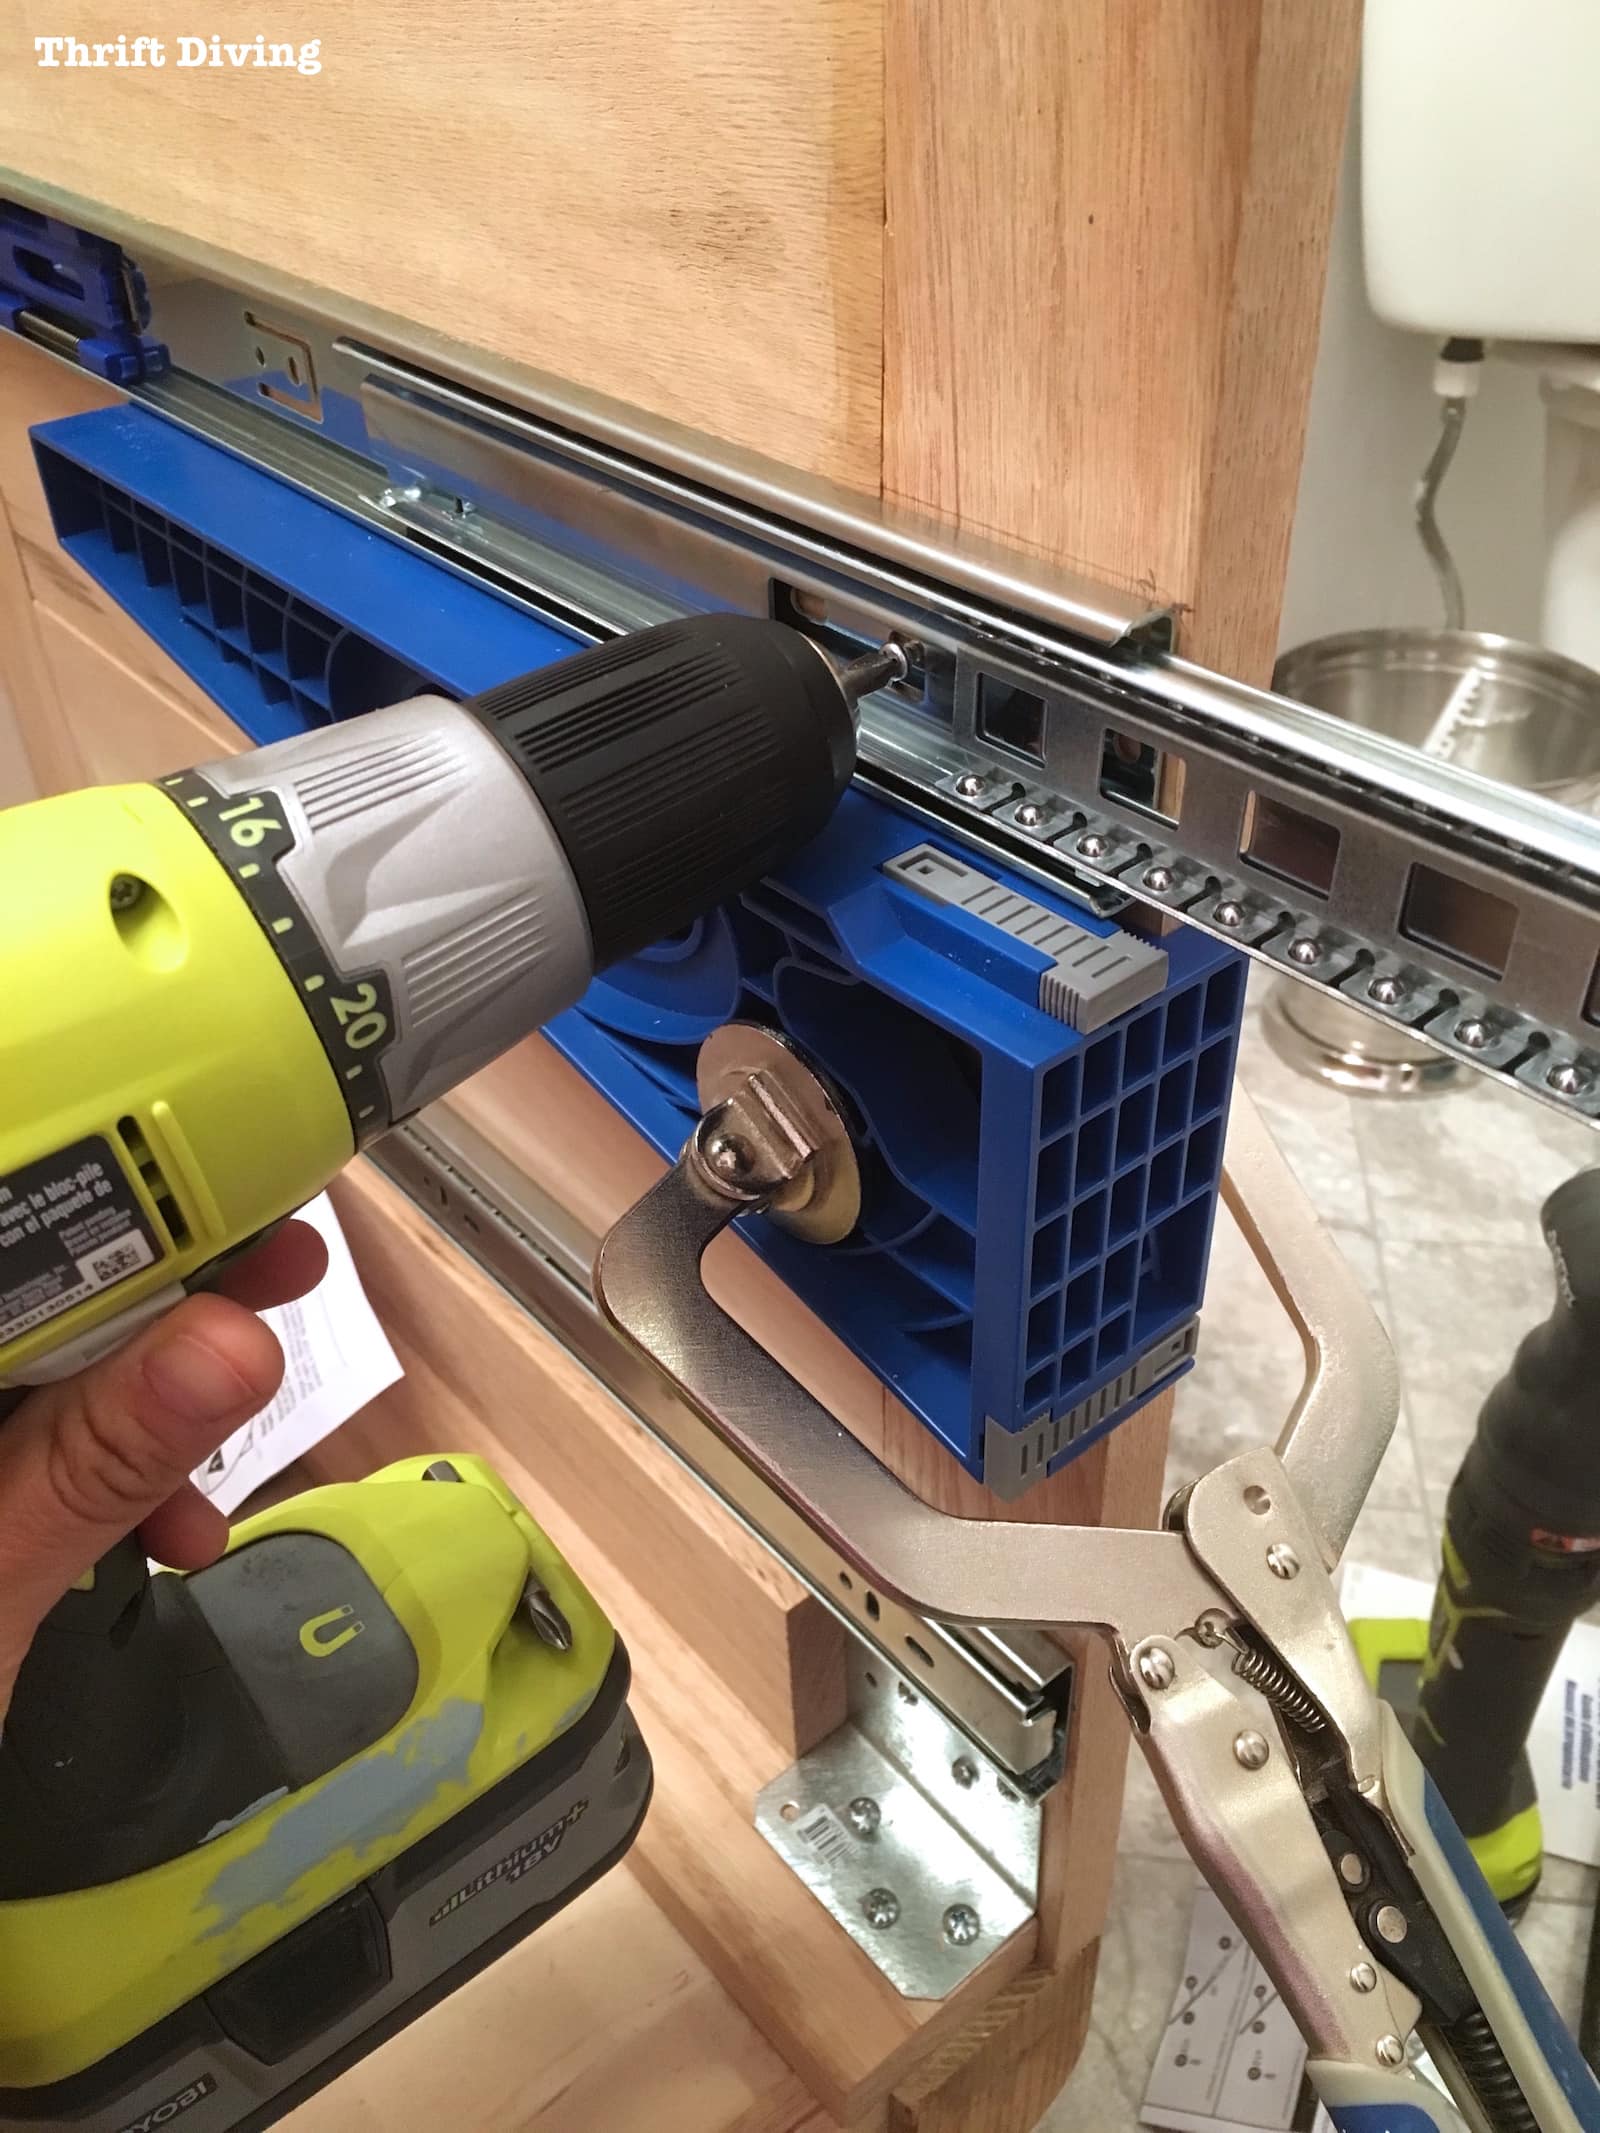
DIY Bathroom Vanity with Drawers


:max_bytes(150000):strip_icc()/cherry-diy-bathroom-vanity-594414da5f9b58d58a099a36.jpg)
Cut a piece of plywood to fit the top of your vanity and attach it with screws. You can also add a decorative trim to the edges for a more finished look.Step 5: Attach the Top
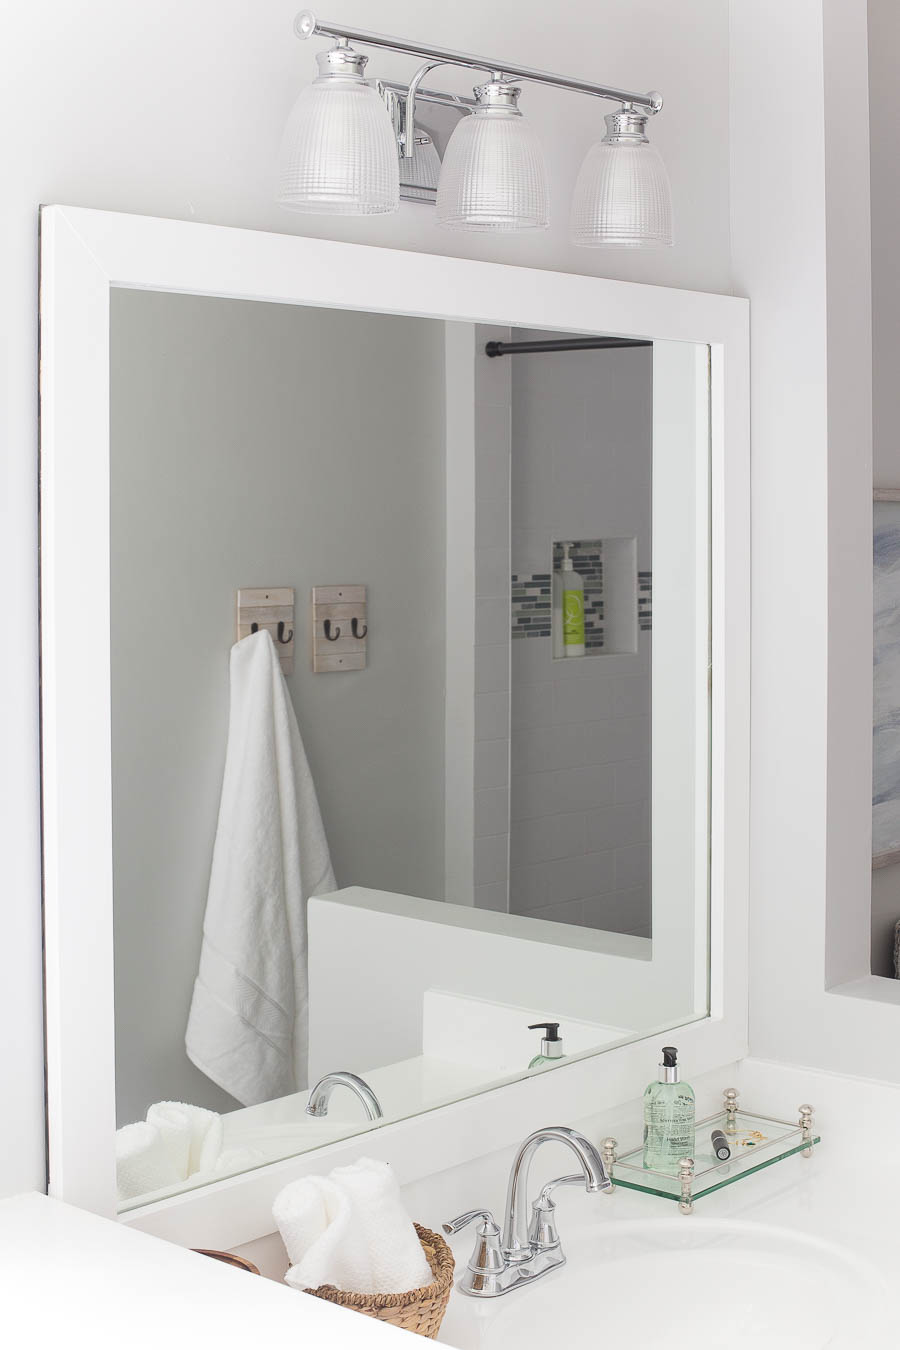
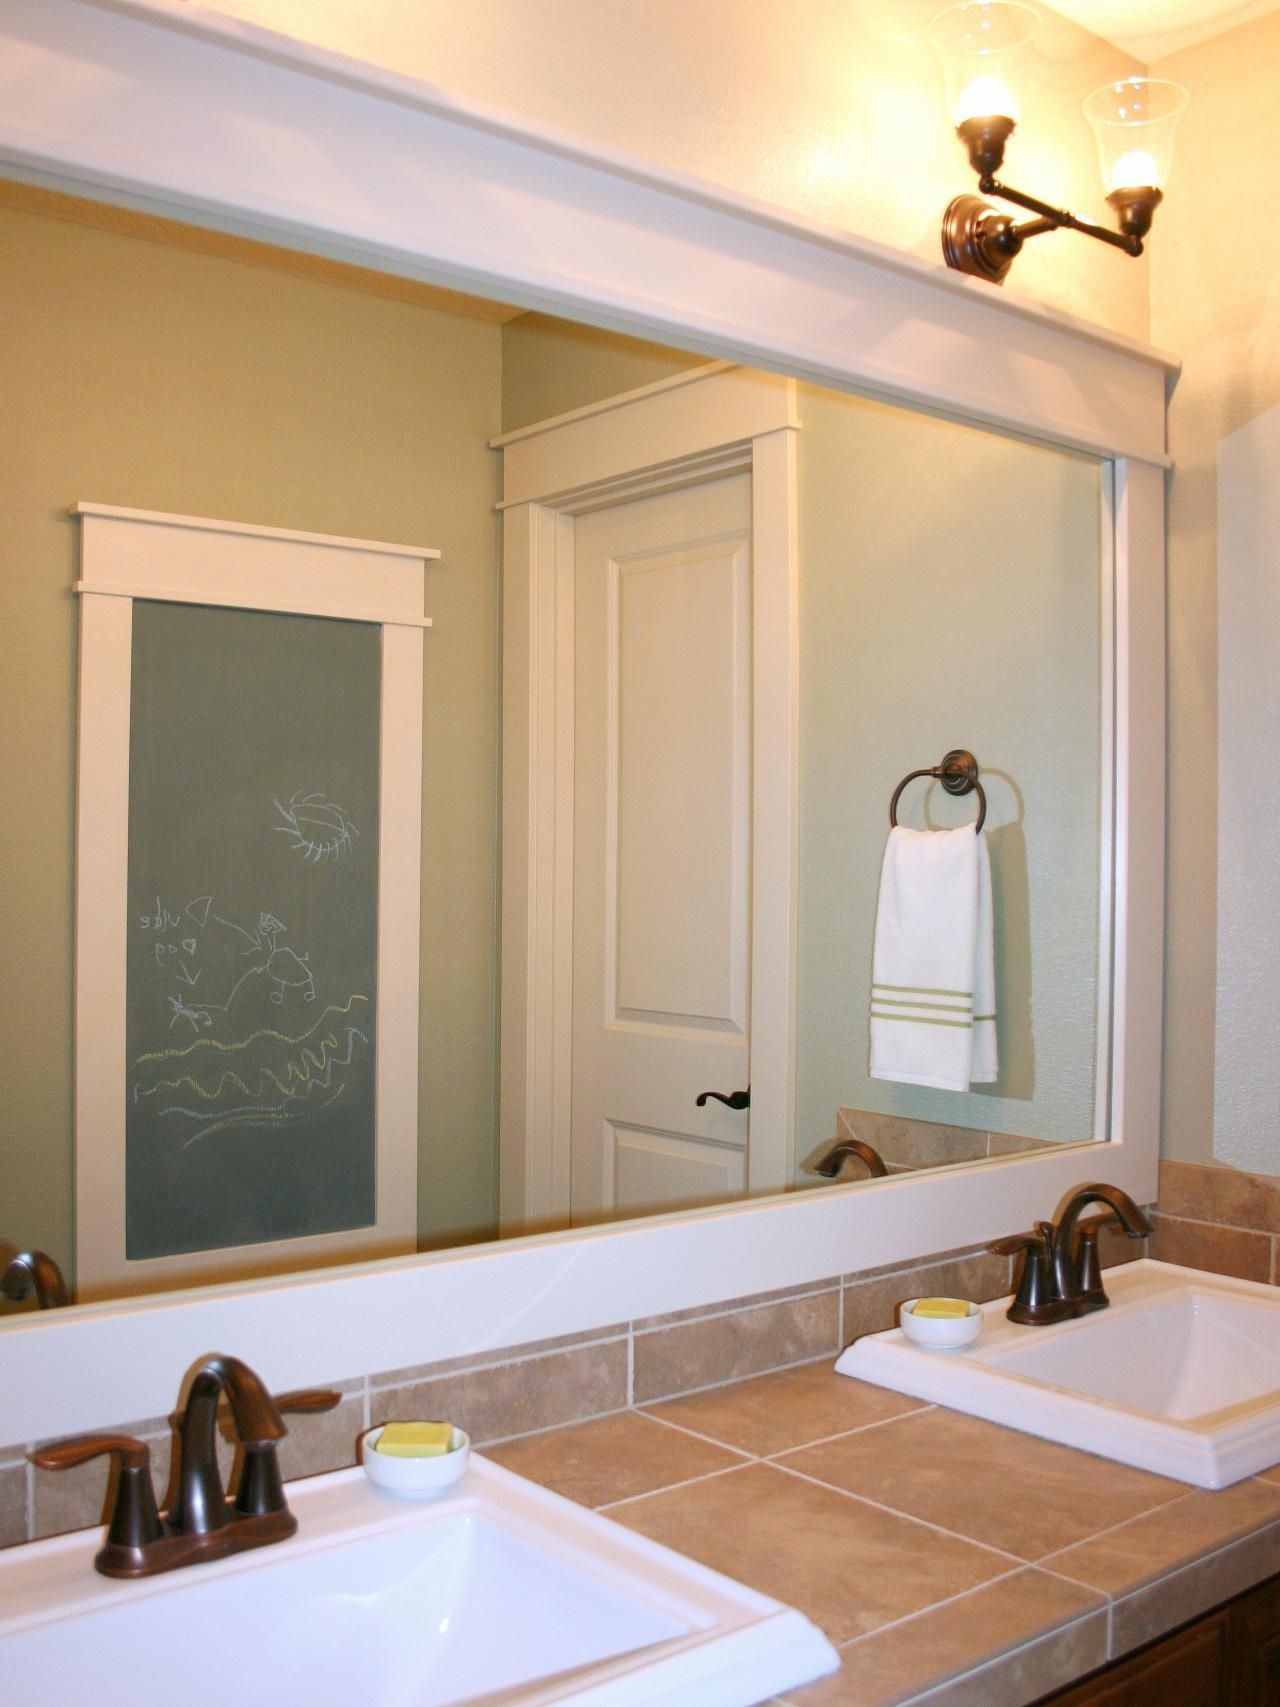

DIY Bathroom Vanity Mirror


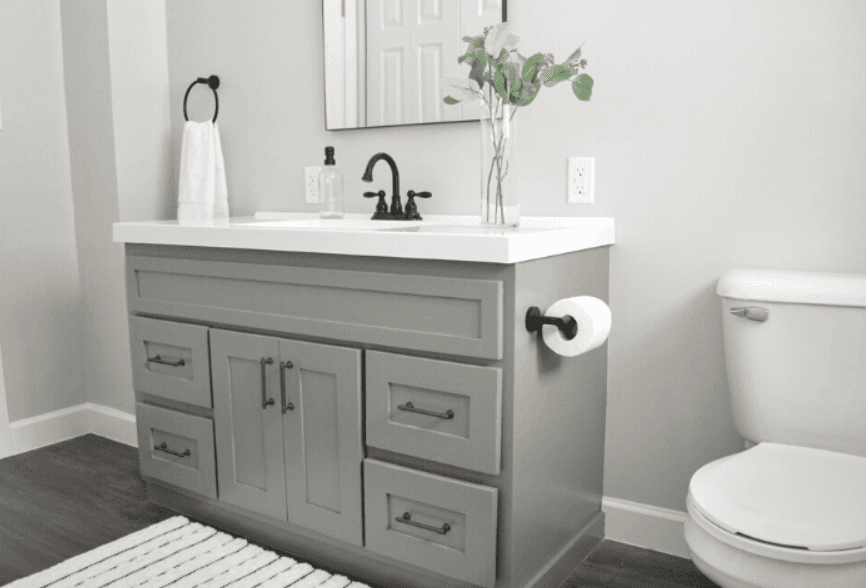
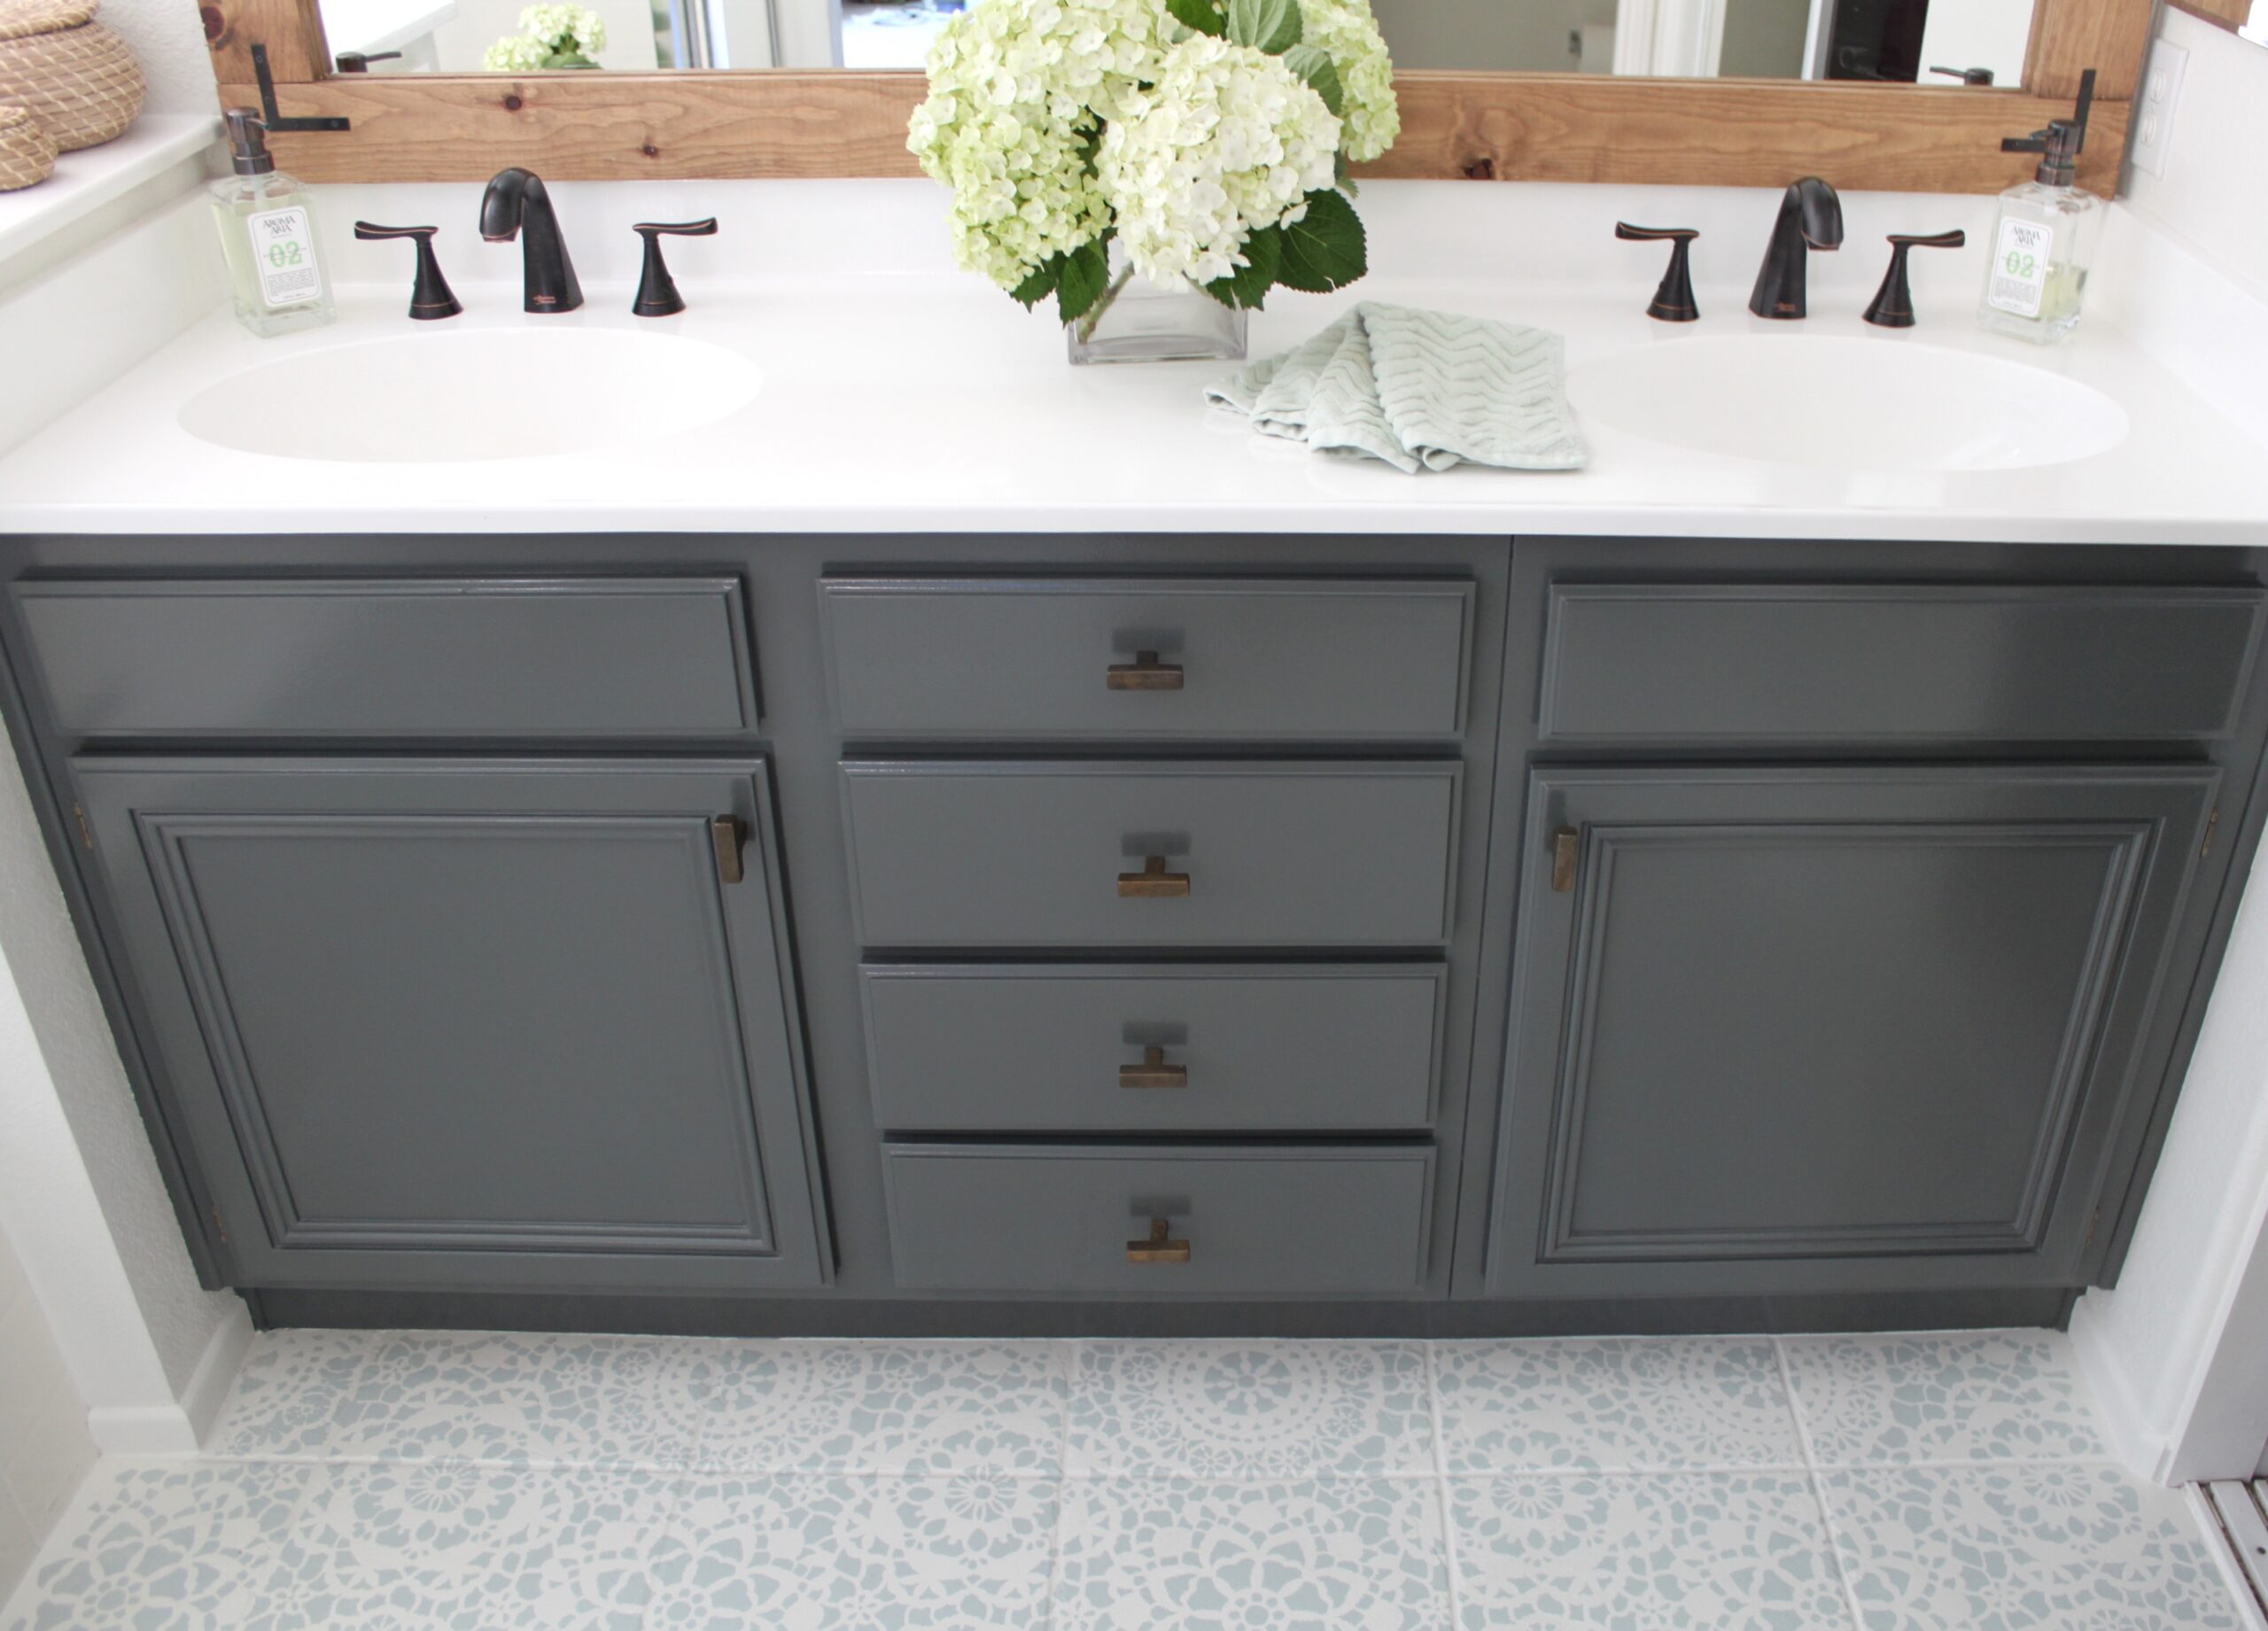
Now comes the fun part - customizing your vanity! You can paint or stain the wood to match your bathroom decor, or add hardware such as knobs and pulls to give it a personalized touch. You can also add a backsplash or decorative tiles to the top for a unique look.Step 6: Customize Your Vanity


DIY Bathroom Vanity Lights


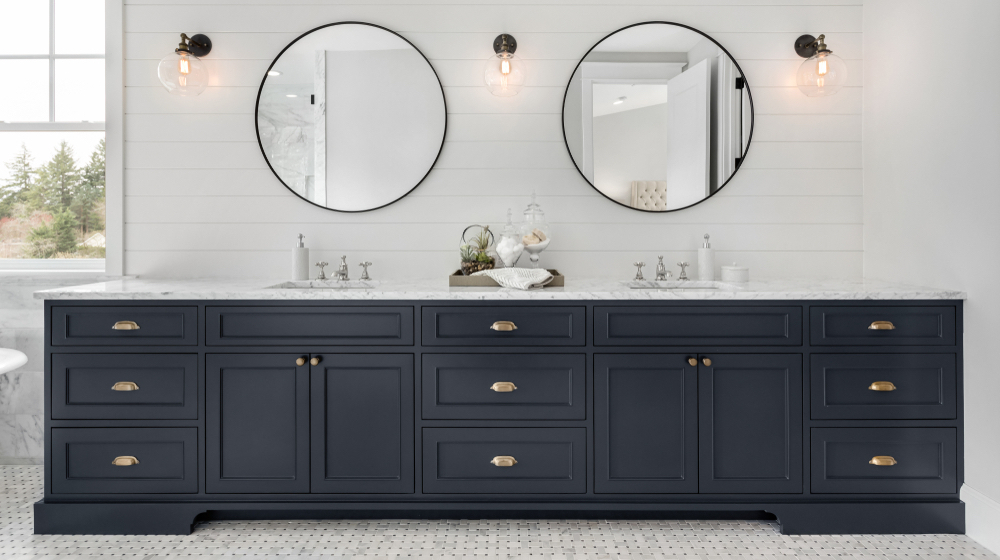
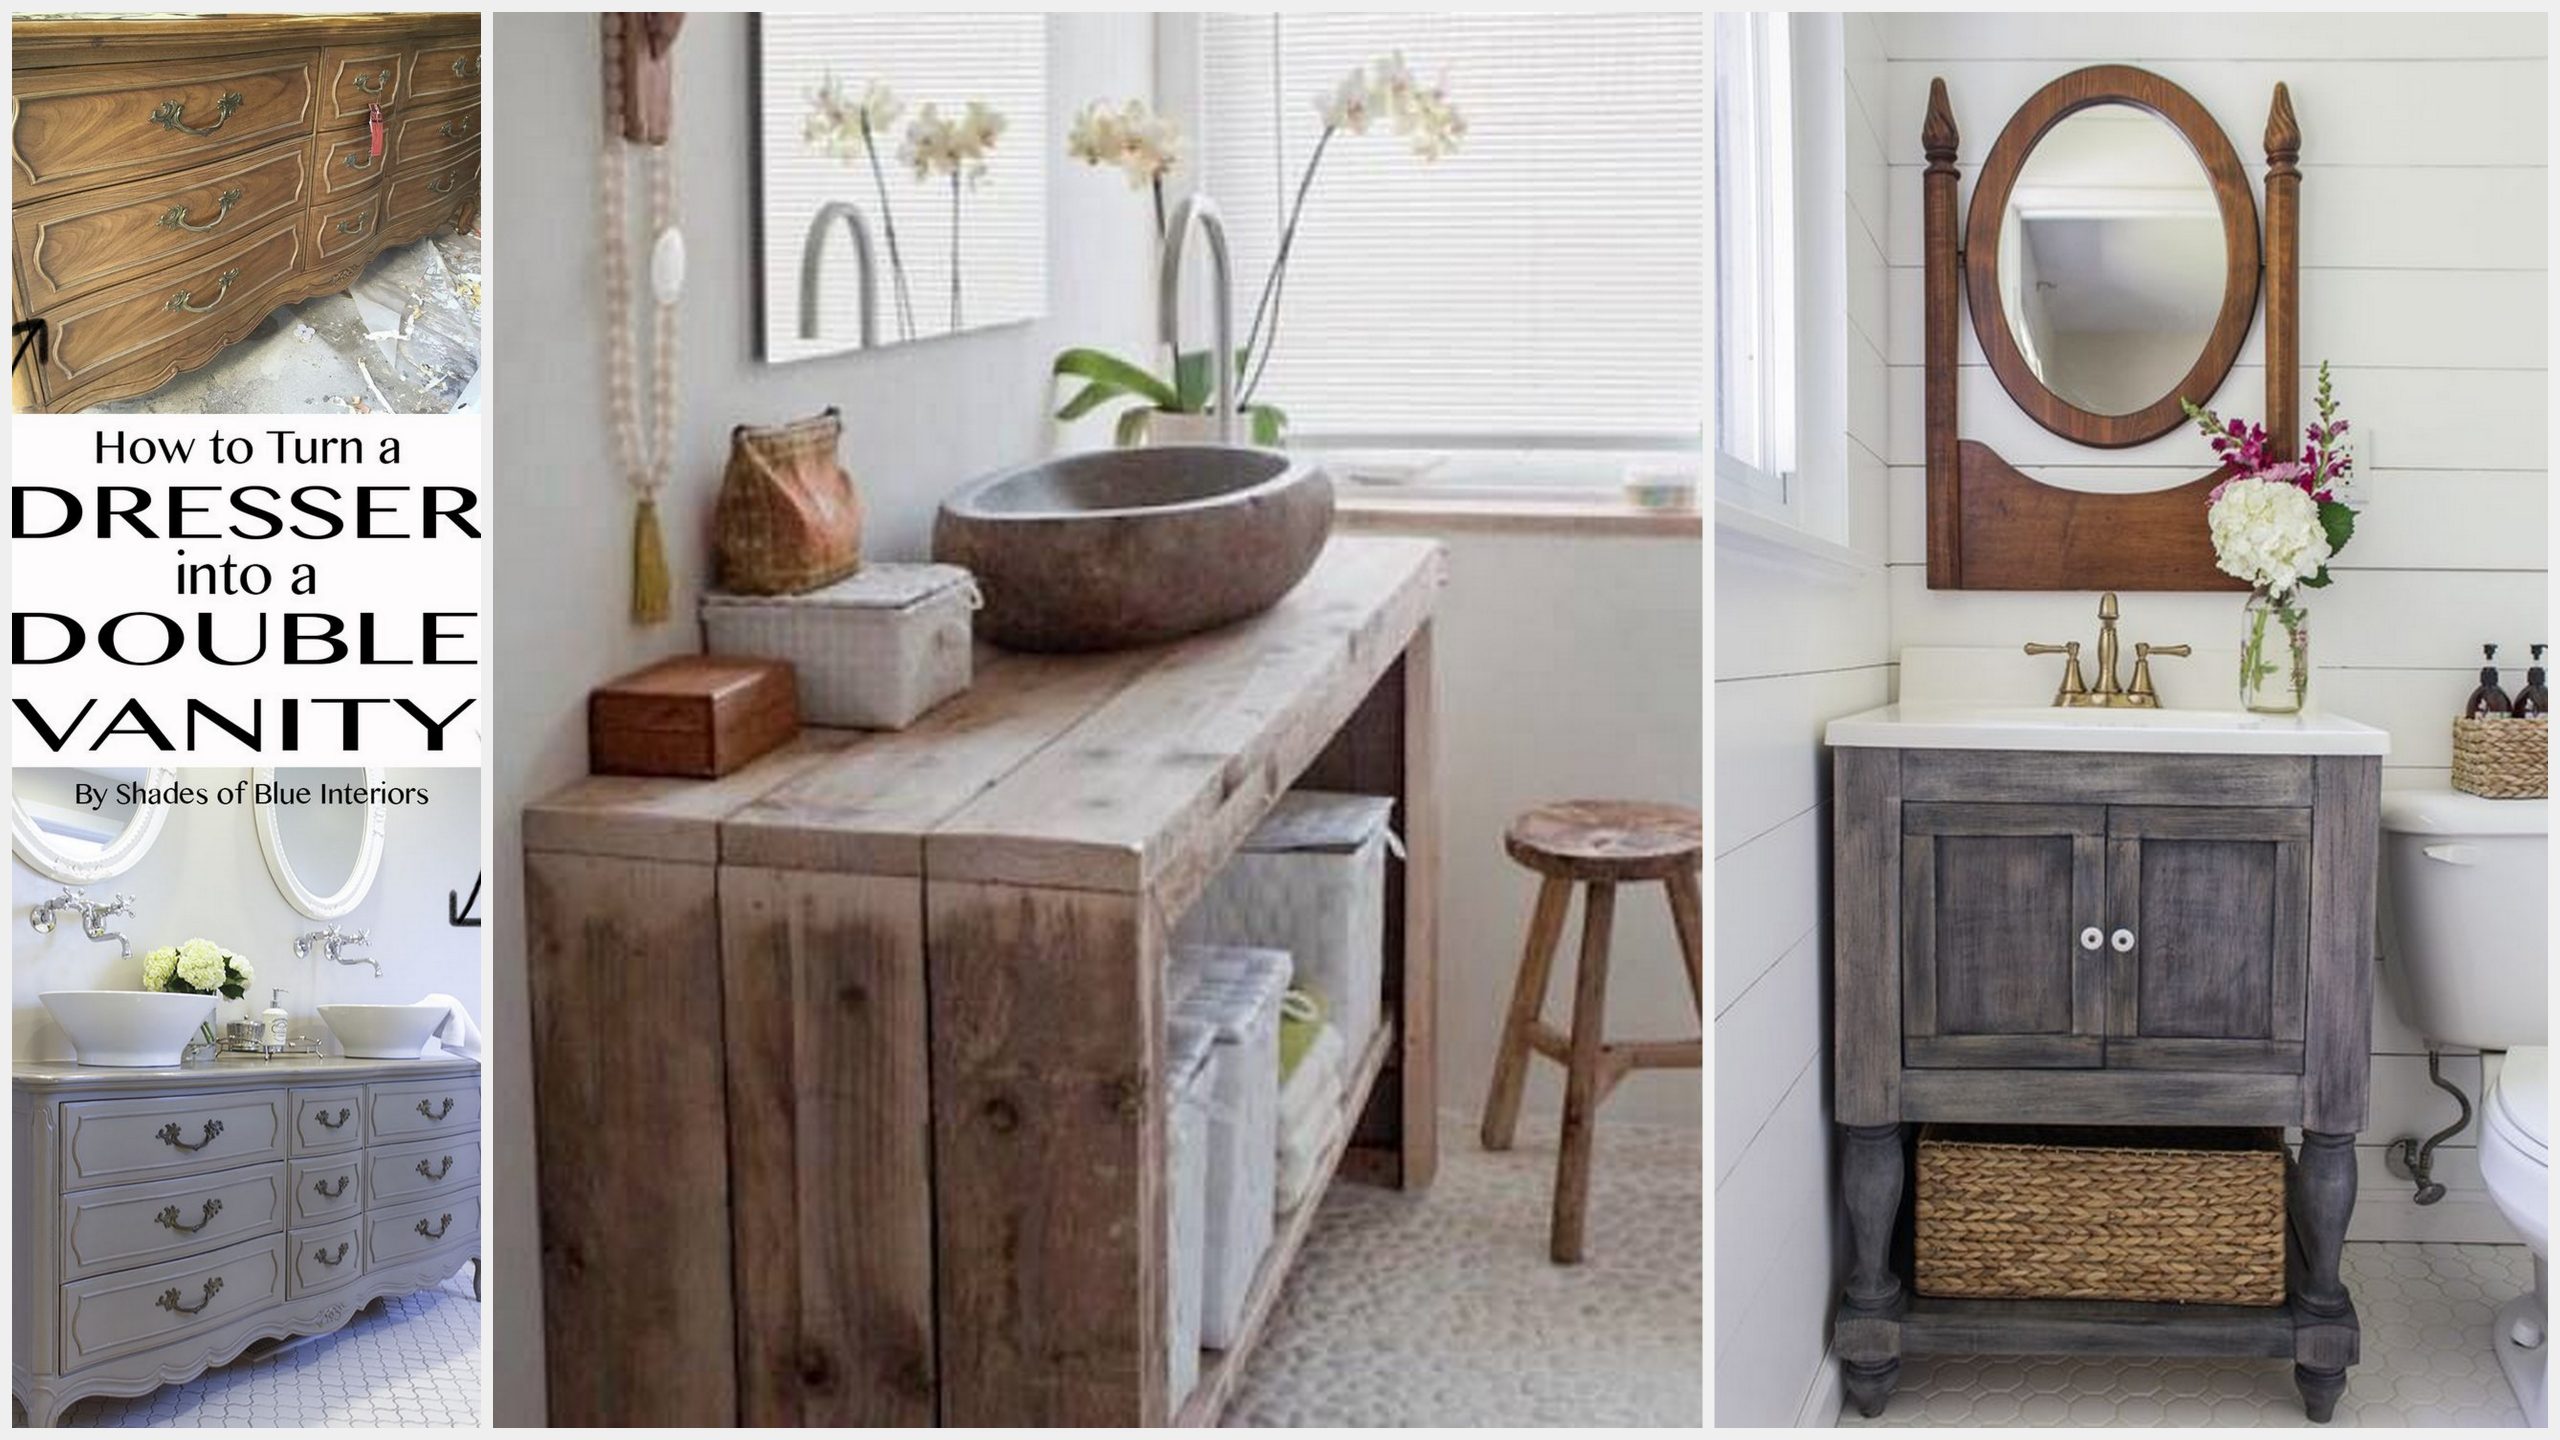
If you're feeling extra creative, here are some other DIY bathroom vanity ideas to consider:Other DIY Bathroom Vanity Ideas


DIY Bathroom Vanity Shelves


How to Build Your Own 36 Inch Bathroom Vanity: A Step-by-Step Guide
:max_bytes(150000):strip_icc()/cherry-diy-bathroom-vanity-594414da5f9b58d58a099a36.jpg)
Introduction to House Design
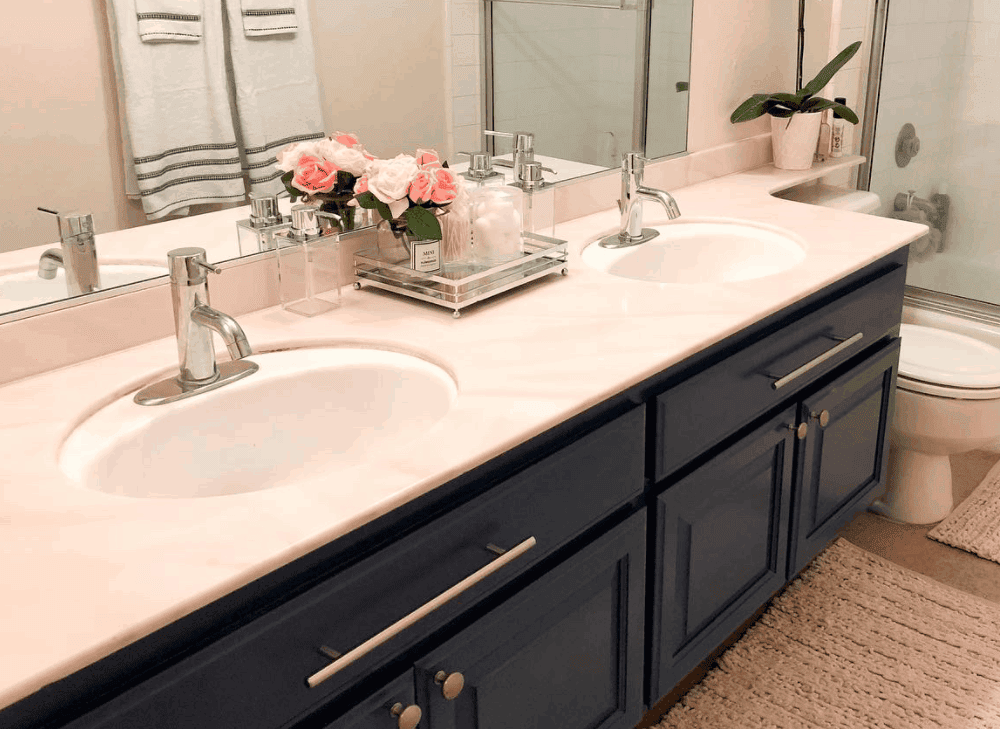
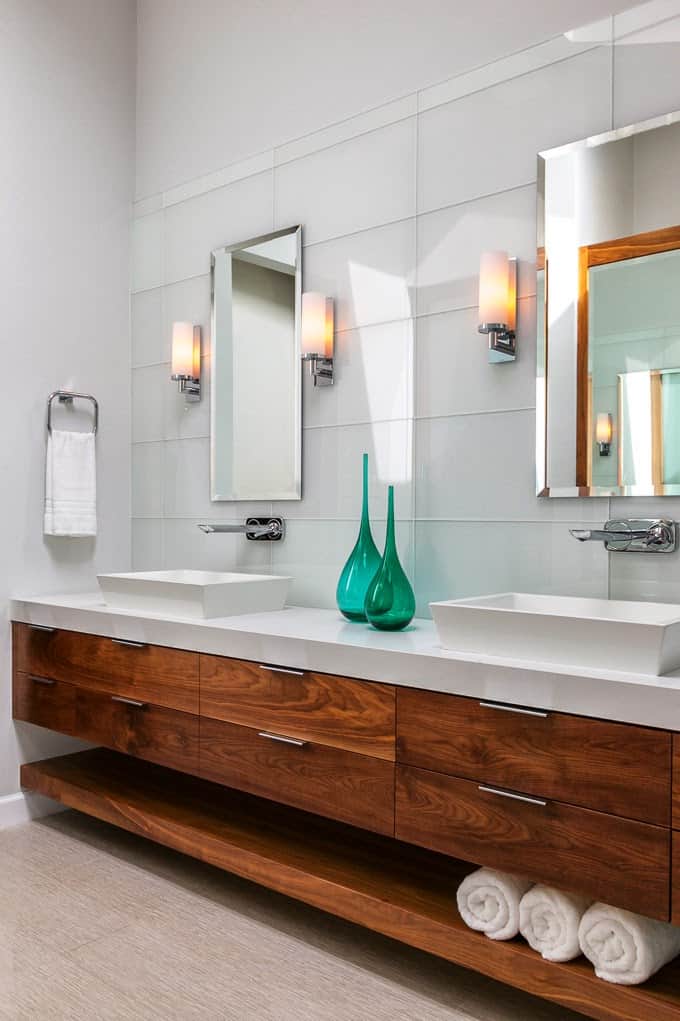
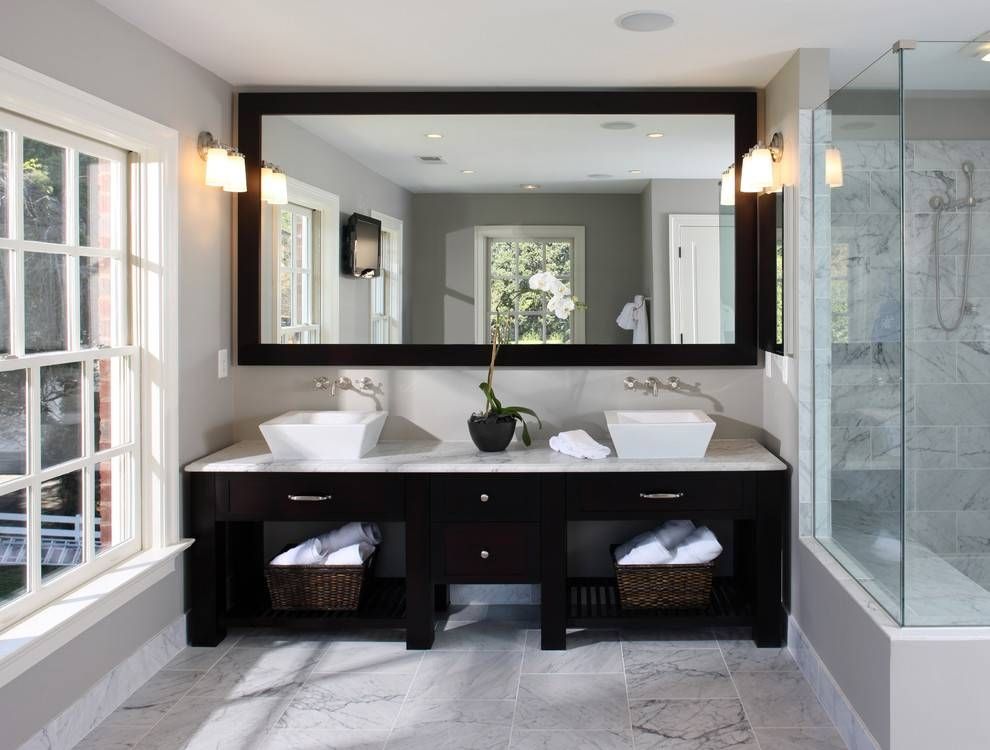
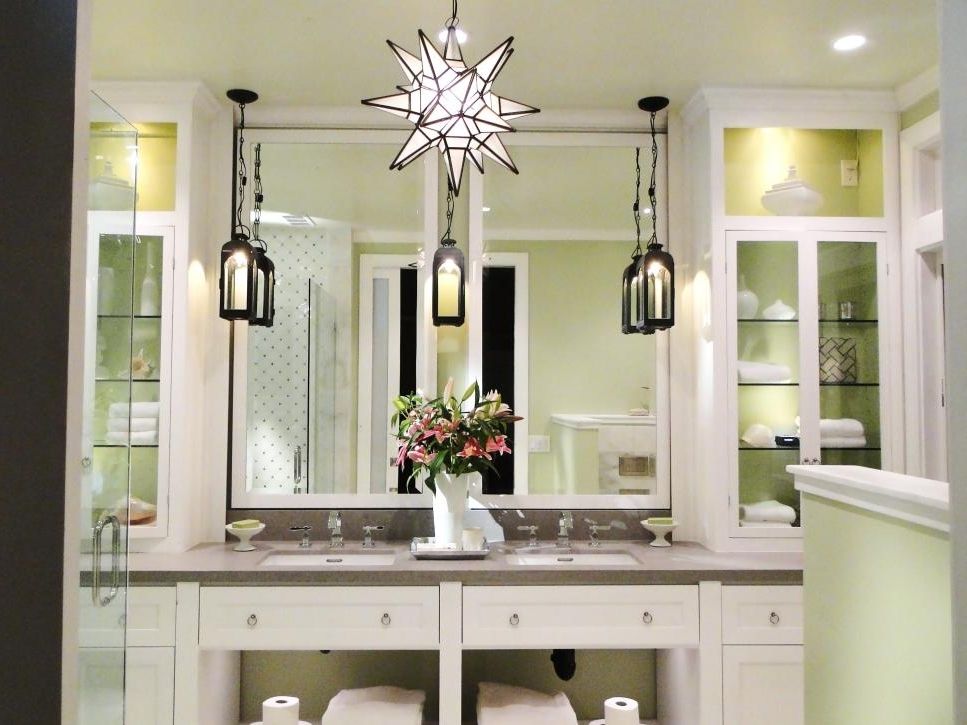
 House design is an exciting process that allows you to create a space that reflects your personal style and meets your specific needs. When it comes to designing a bathroom, one of the most important elements is the vanity. It not only serves as a functional space for storing toiletries and getting ready, but it also sets the tone for the overall aesthetic of the room. While there are many pre-made vanities on the market, building your own 36 inch bathroom vanity allows you to customize every aspect and save money in the process. In this article, we will guide you through the process of building your own DIY 36 inch bathroom vanity.
Gather Your Materials
:max_bytes(150000):strip_icc()/build-something-diy-vanity-594402125f9b58d58ae21158.jpg) Before you begin building your vanity, it's important to gather all the necessary materials. This will ensure a smooth and efficient building process. The materials you will need include:
Before you begin building your vanity, it's important to gather all the necessary materials. This will ensure a smooth and efficient building process. The materials you will need include:
- 36 inch vanity base : This will serve as the foundation of your vanity. You can purchase a pre-made one or build your own using plywood.
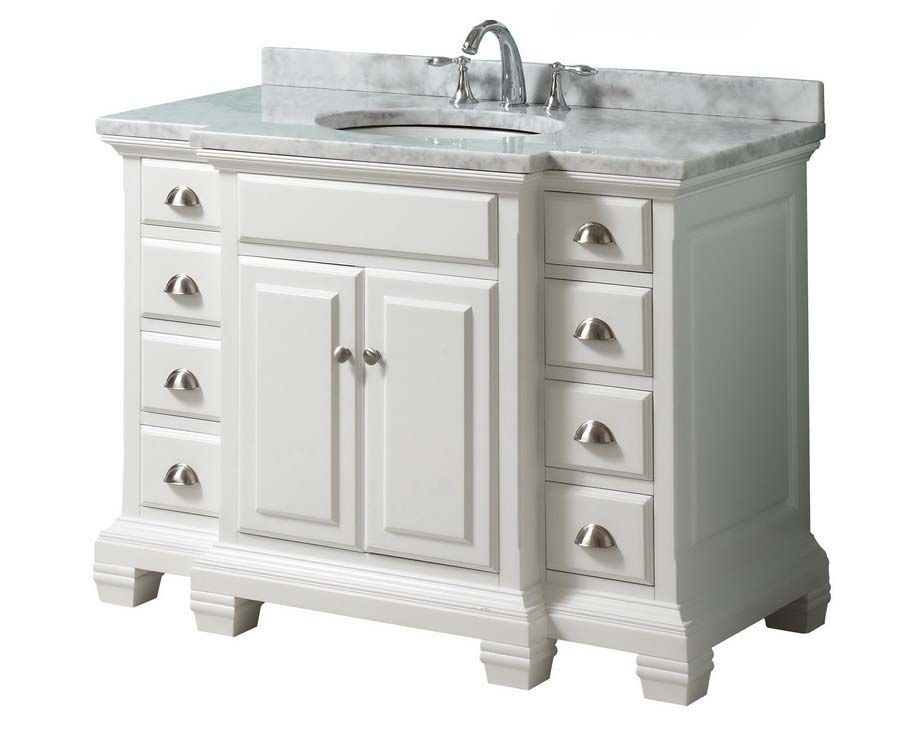
- Countertop : Choose a durable and water-resistant material such as granite or quartz for your countertop.
- Sink : Decide on the type of sink you want, whether it's an undermount, vessel, or drop-in sink.
- Faucet : Choose a faucet that complements your sink and fits the pre-drilled holes on your countertop.
- Hardware : This includes drawer pulls, knobs, and any other decorative hardware you want to add to your vanity.
- Tools : Make sure you have all the necessary tools such as a saw, drill, and screwdriver to complete the project.
Measure and Cut Your Vanity
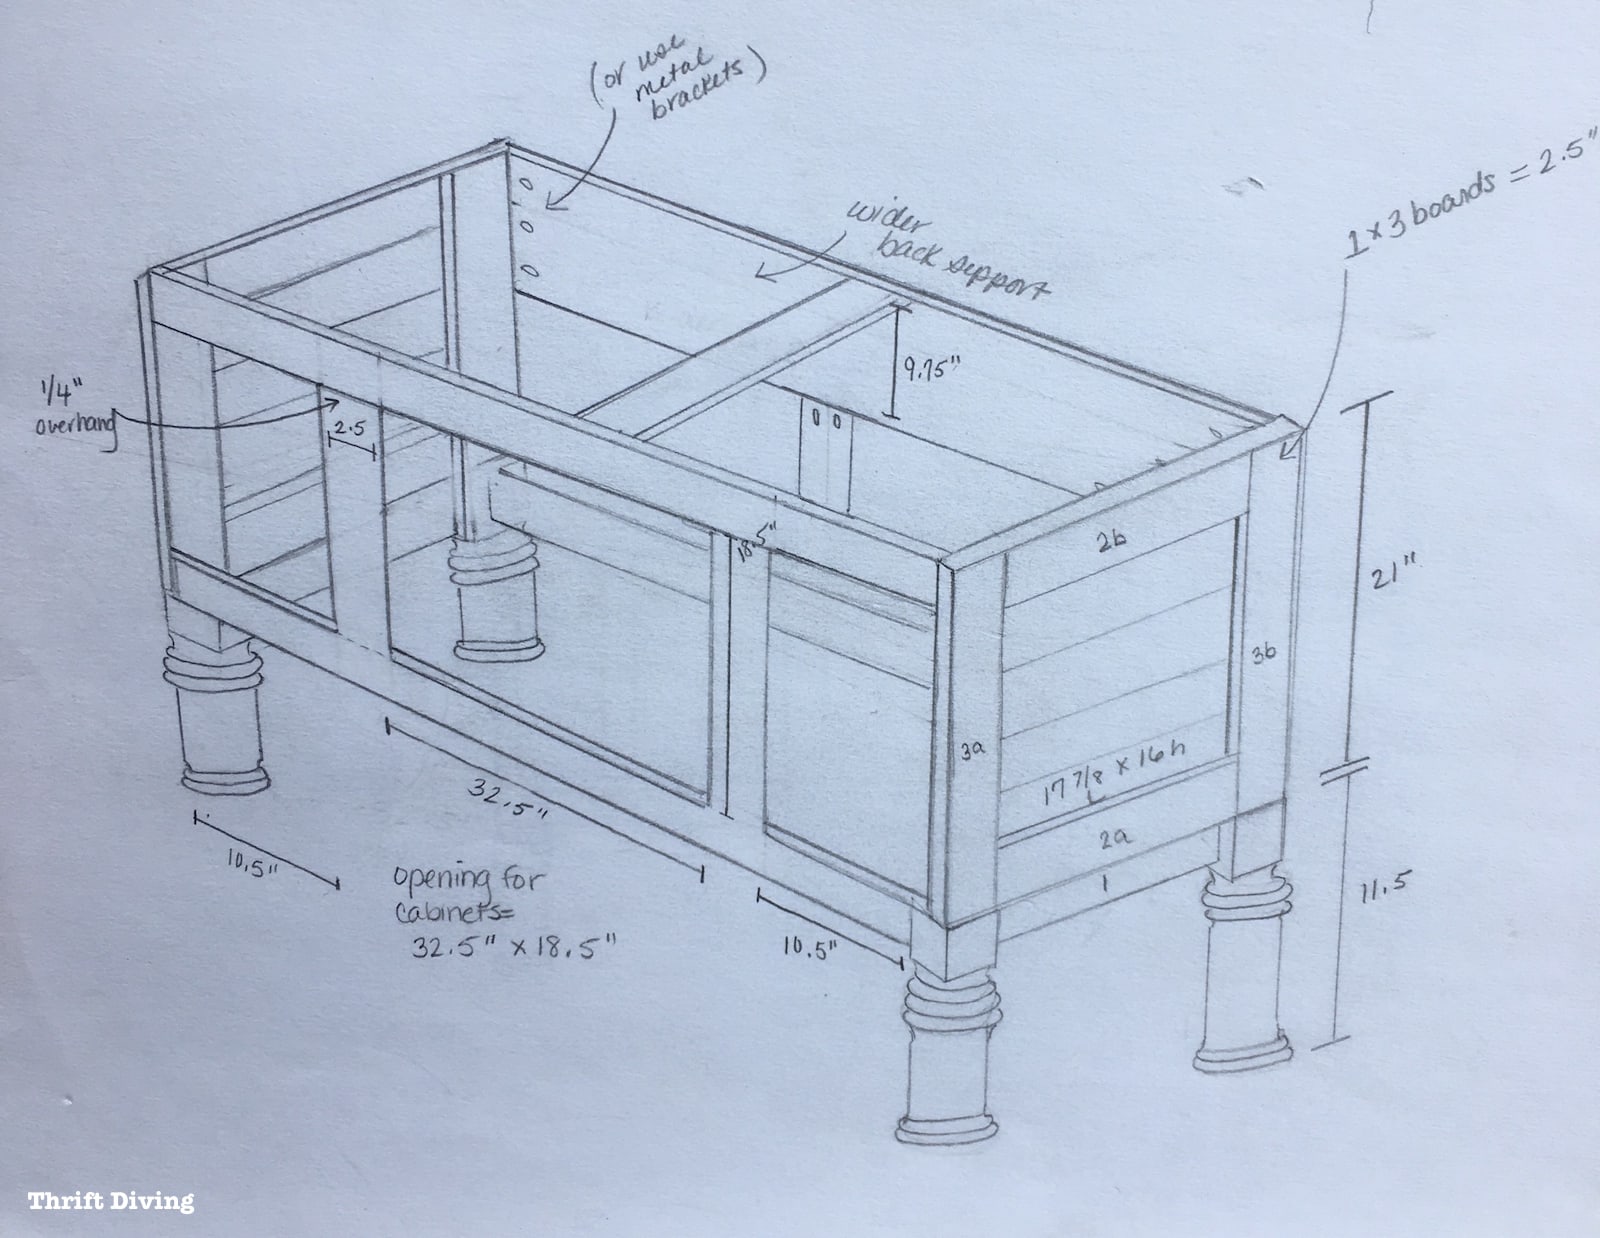
 Once you have all your materials, it's time to start building. Begin by measuring and cutting your vanity base to fit the dimensions of your bathroom. Use a saw to cut the wood according to your measurements, making sure to account for the sink and any other features you want to add.
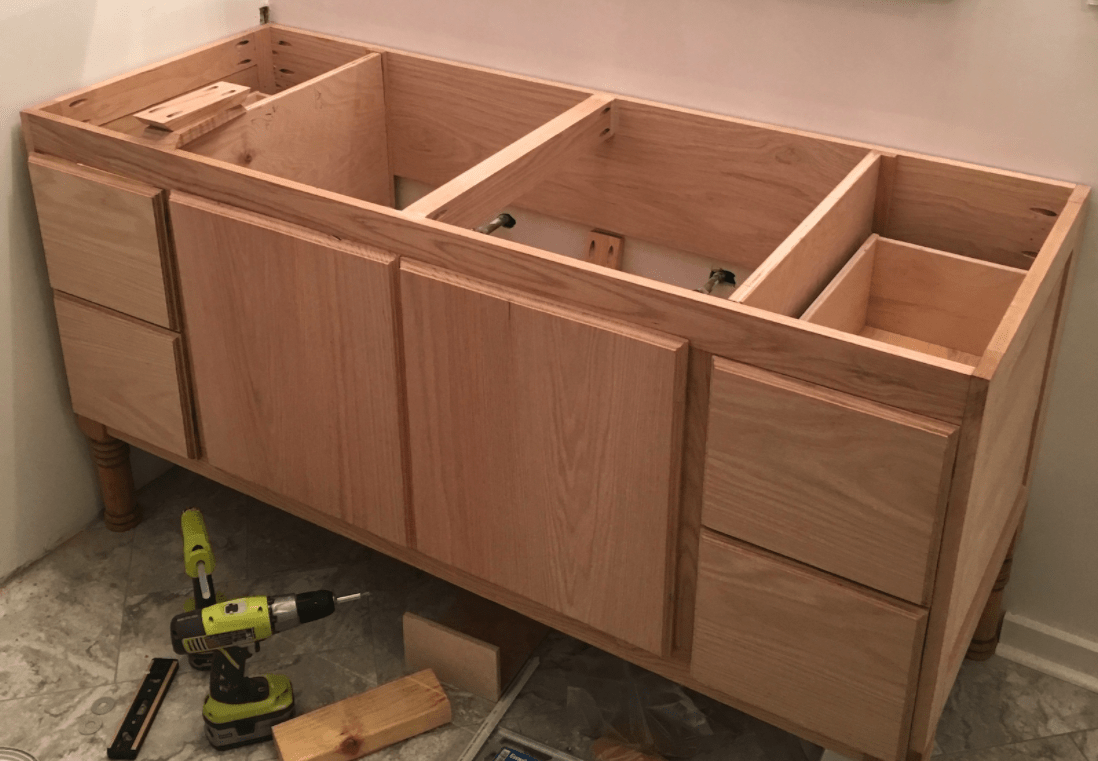
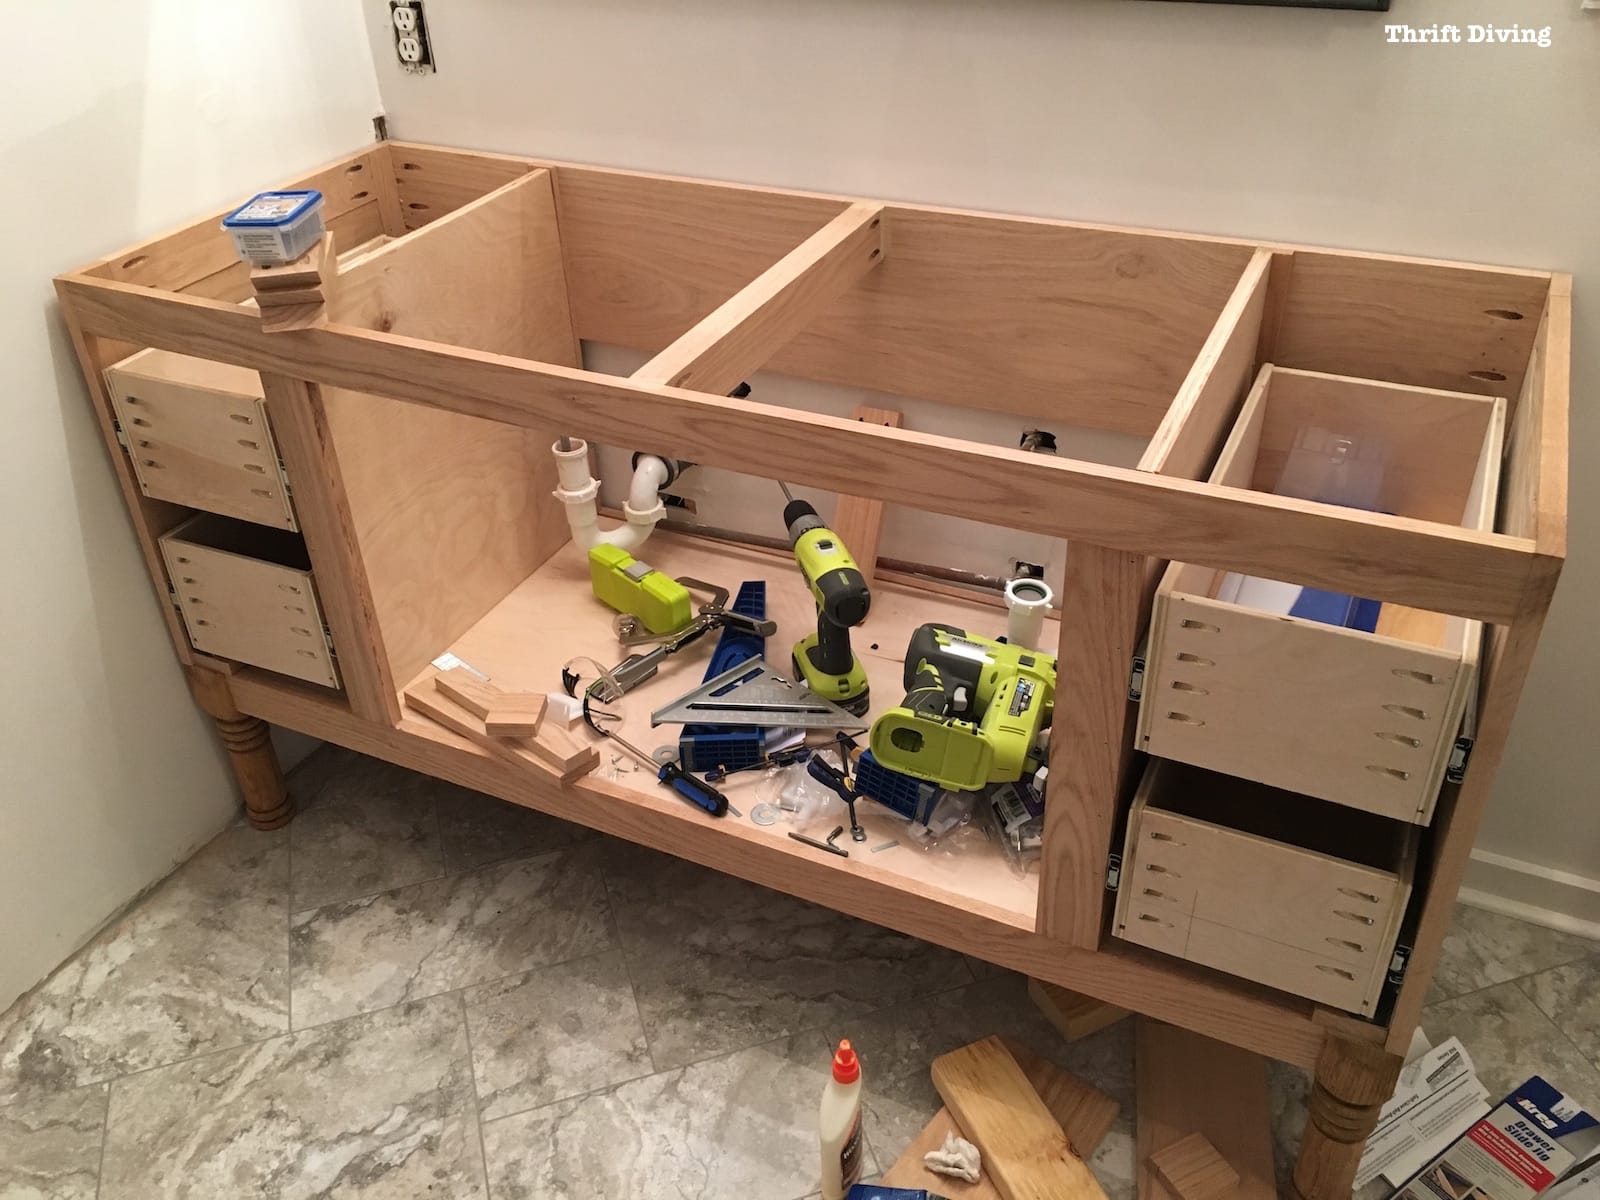
Assemble the Vanity Base
 Next, assemble the vanity base. Use wood glue and screws to secure the pieces together. Make sure everything is level and secure before moving on to the next step.
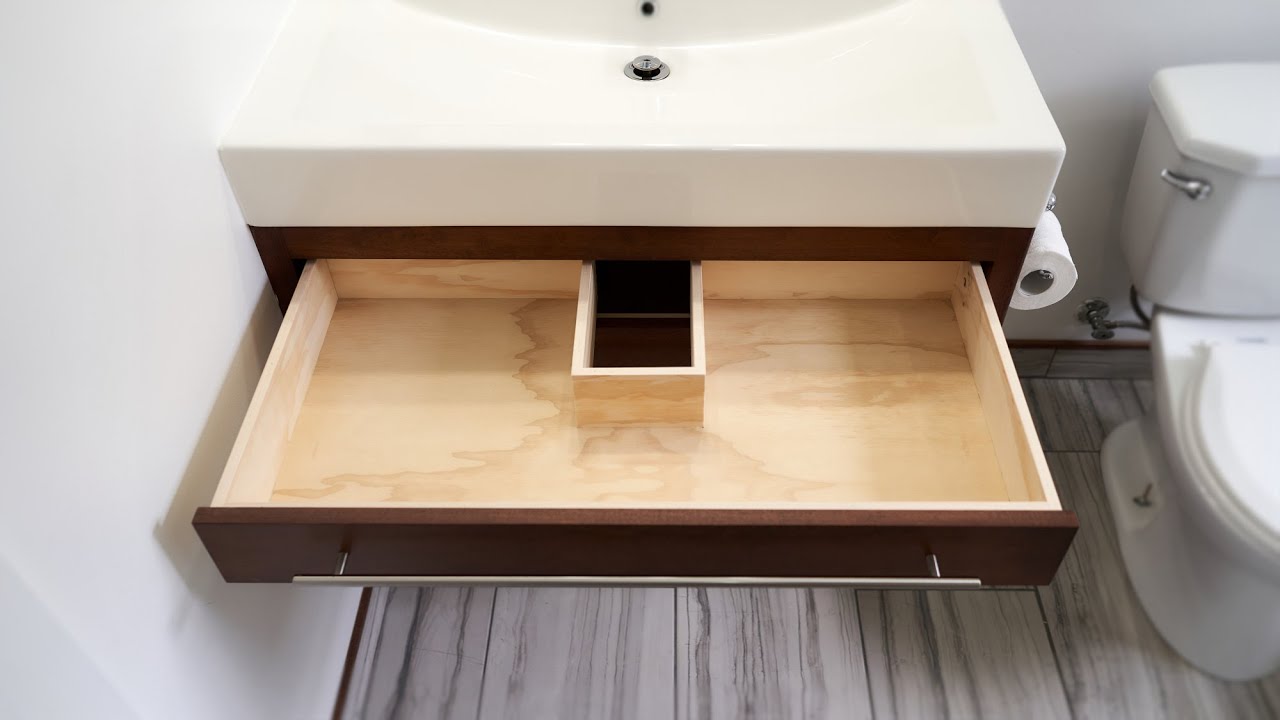
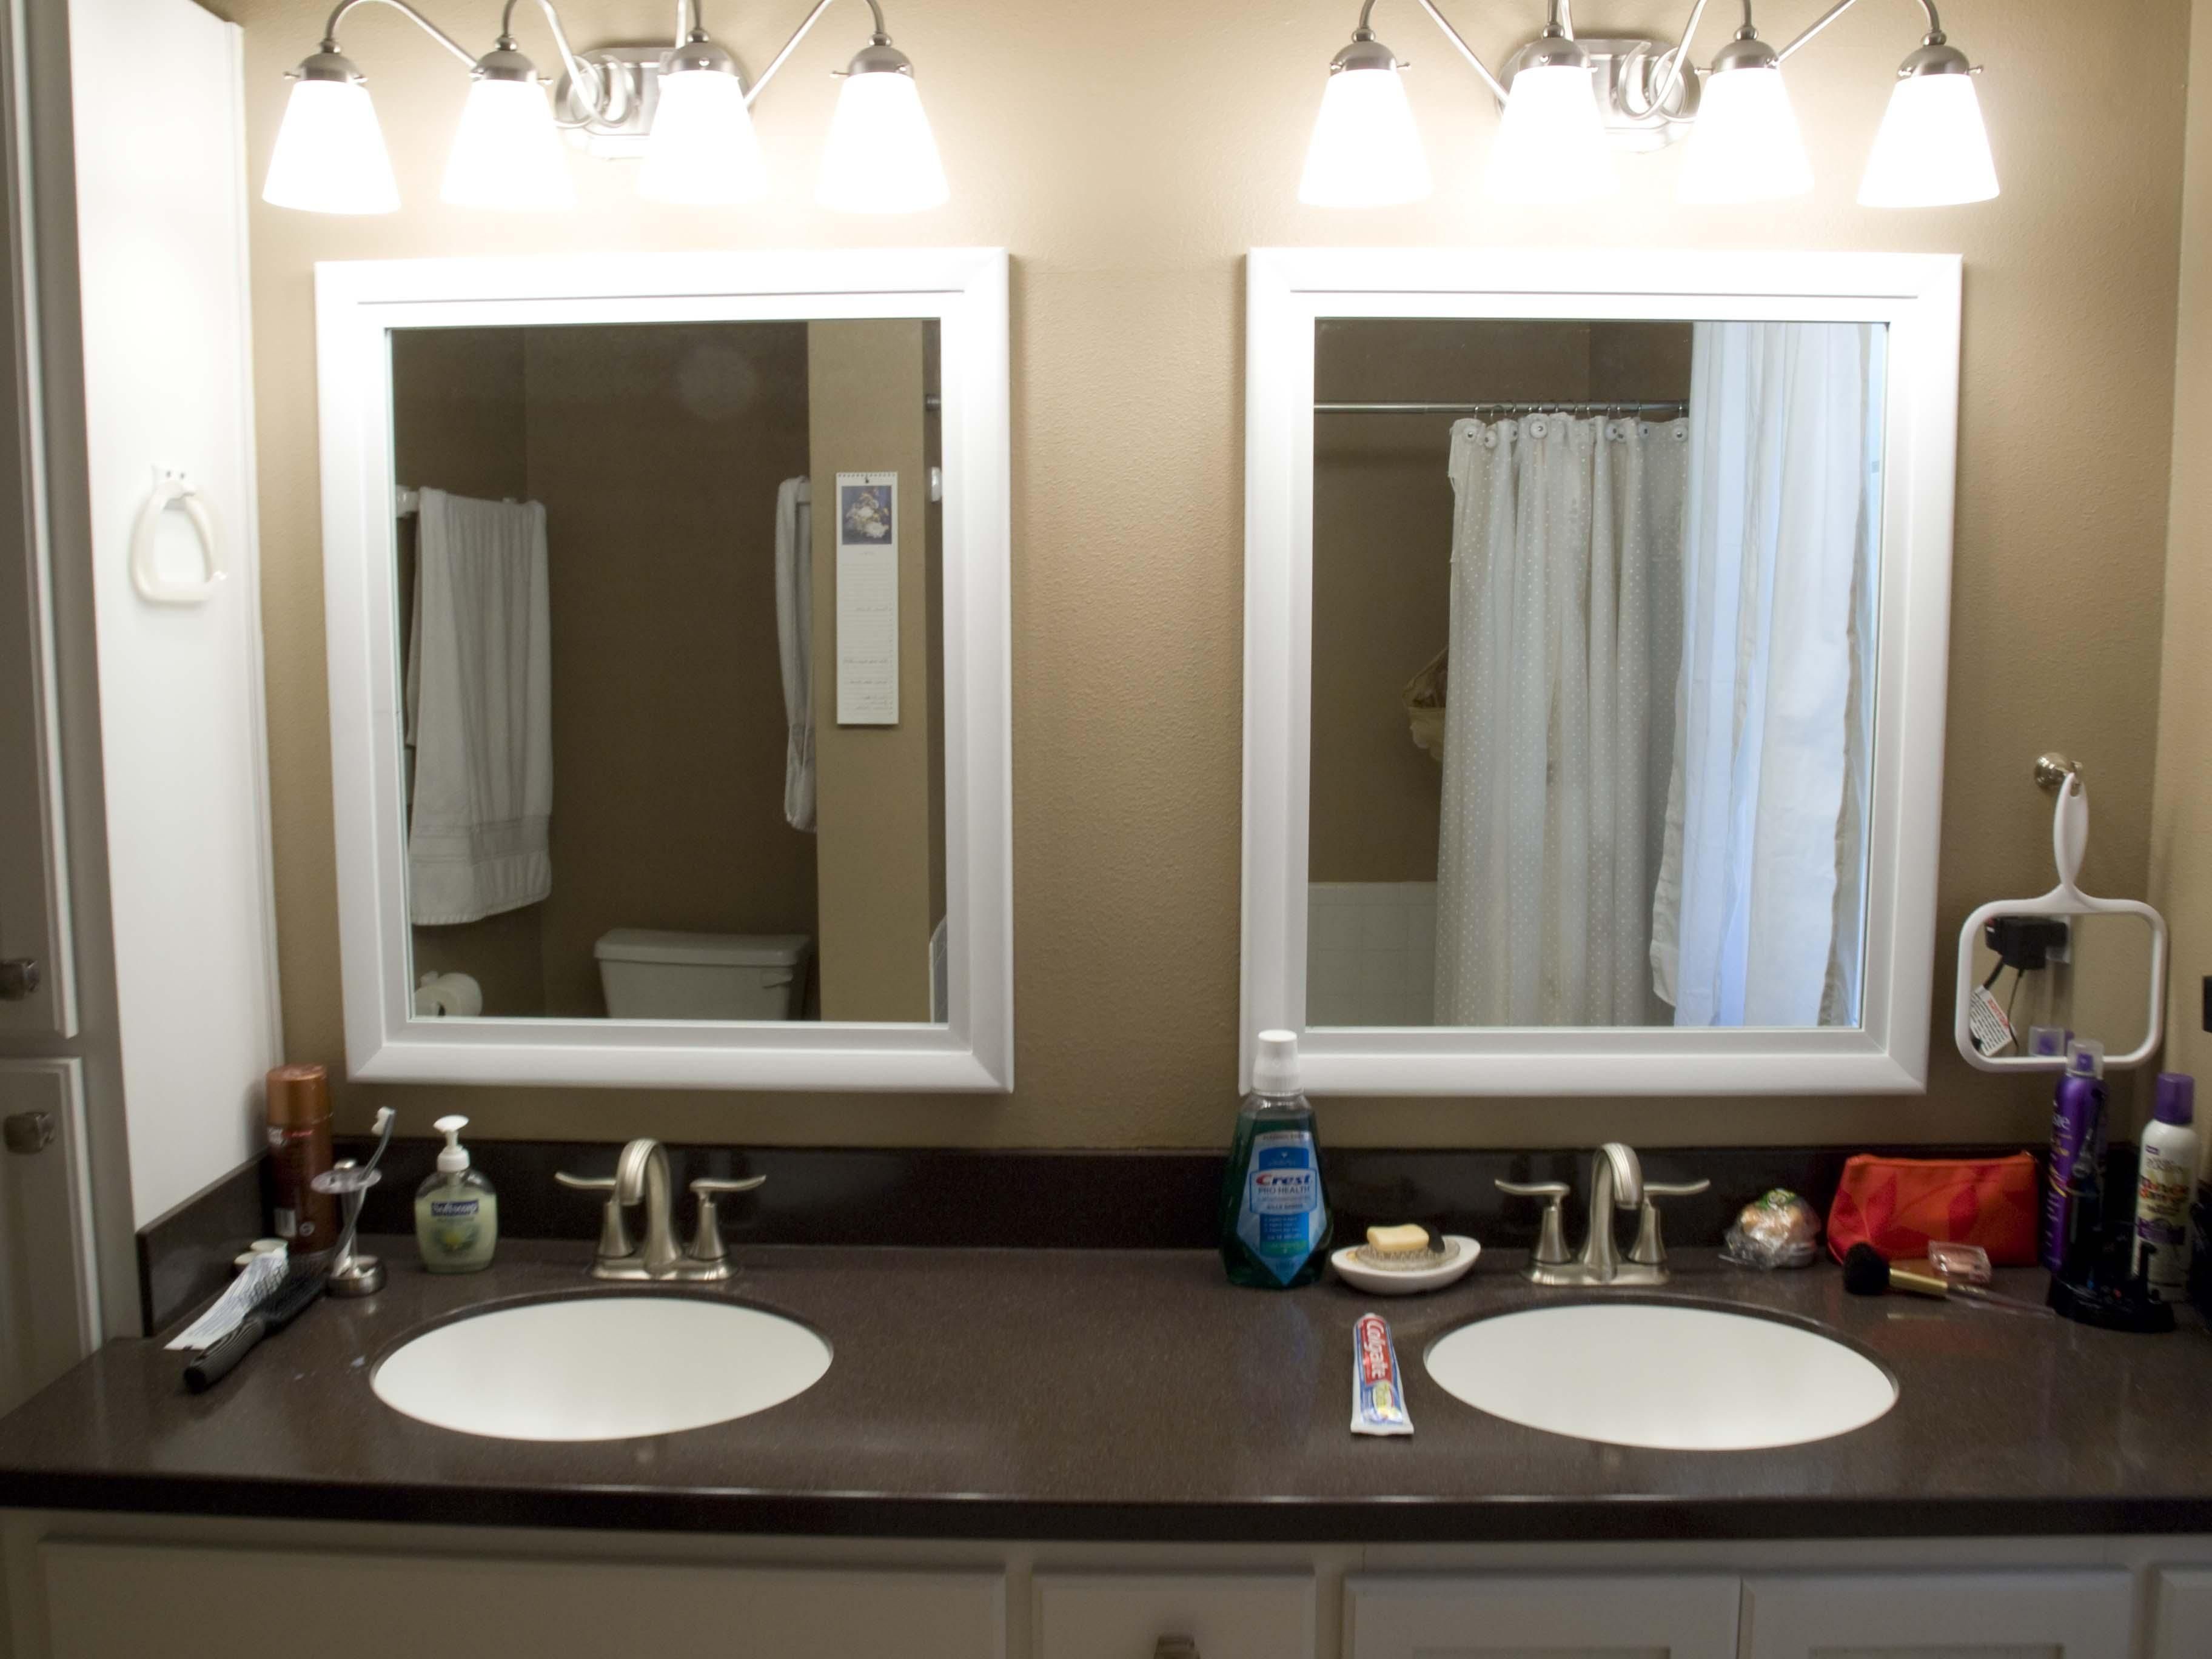
Add the Countertop and Sink
 Once your vanity base is assembled, it's time to add the countertop and sink. Apply a bead of silicone adhesive along the top of the vanity base and carefully place the countertop on top. Use a level to ensure it's even and then secure it in place with screws. Install the sink according to the manufacturer's instructions.
Install the Faucet and Hardware
 With the countertop and sink in place, it's time to install the faucet and any hardware you have chosen. Follow the manufacturer's instructions for installing the faucet and use a drill to add the hardware to your vanity.
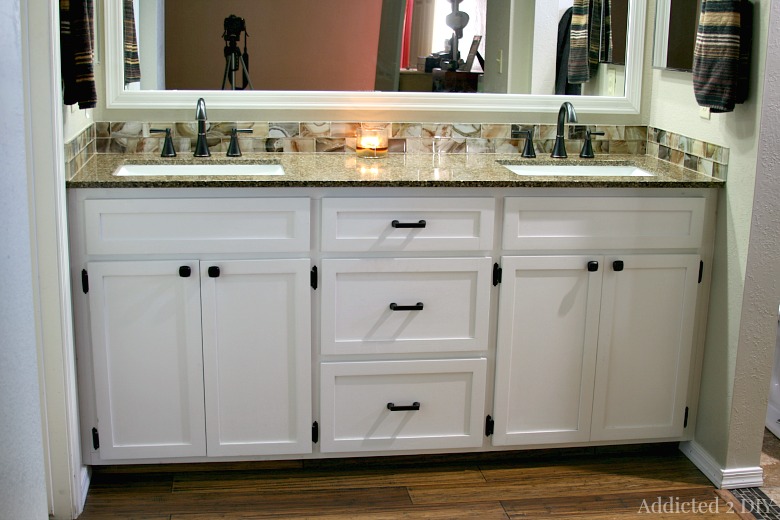
Finishing Touches
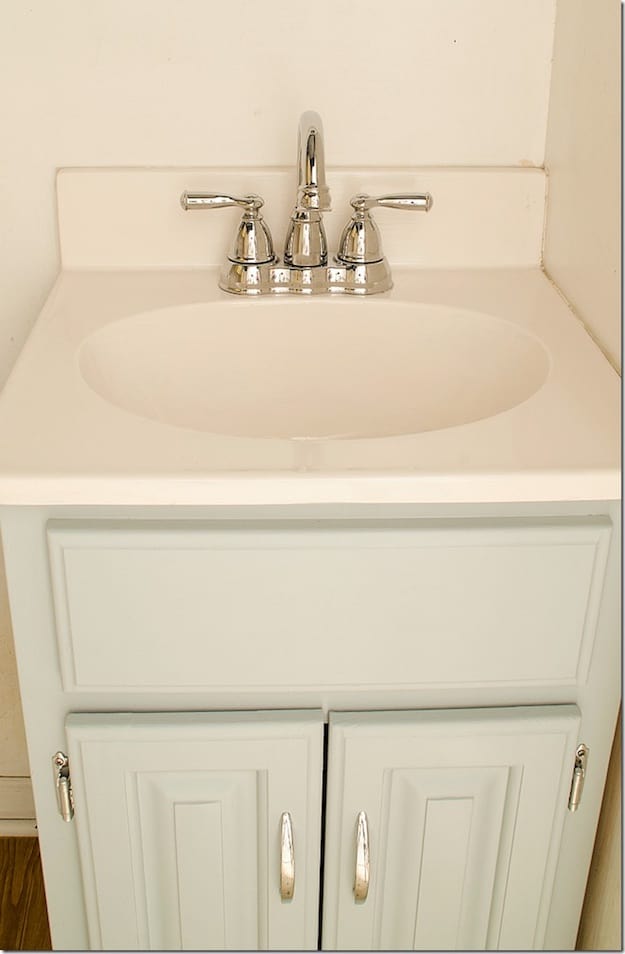
:max_bytes(150000):strip_icc()/diy-bathroom-vanity2-594416535f9b58d58a0ce30b.jpg) To complete your DIY 36 inch bathroom vanity, add any finishing touches such as caulk around the edges and paint or stain the vanity to your desired color. This is also a great opportunity to add your own personal touches such as decorative trim or a backsplash.
To complete your DIY 36 inch bathroom vanity, add any finishing touches such as caulk around the edges and paint or stain the vanity to your desired color. This is also a great opportunity to add your own personal touches such as decorative trim or a backsplash.
In Conclusion
 Building your own 36 inch bathroom vanity may seem like a daunting task, but with the right materials and a little bit of patience, it can be a rewarding and cost-effective project. By following these steps, you can create a customized vanity that perfectly fits your space and style. So go ahead and give it a try, and enjoy your new DIY bathroom vanity!