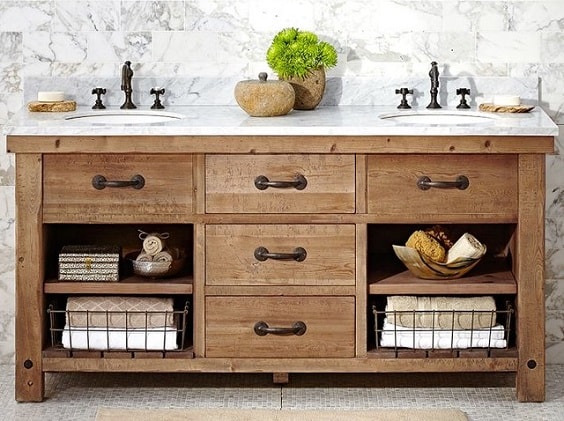
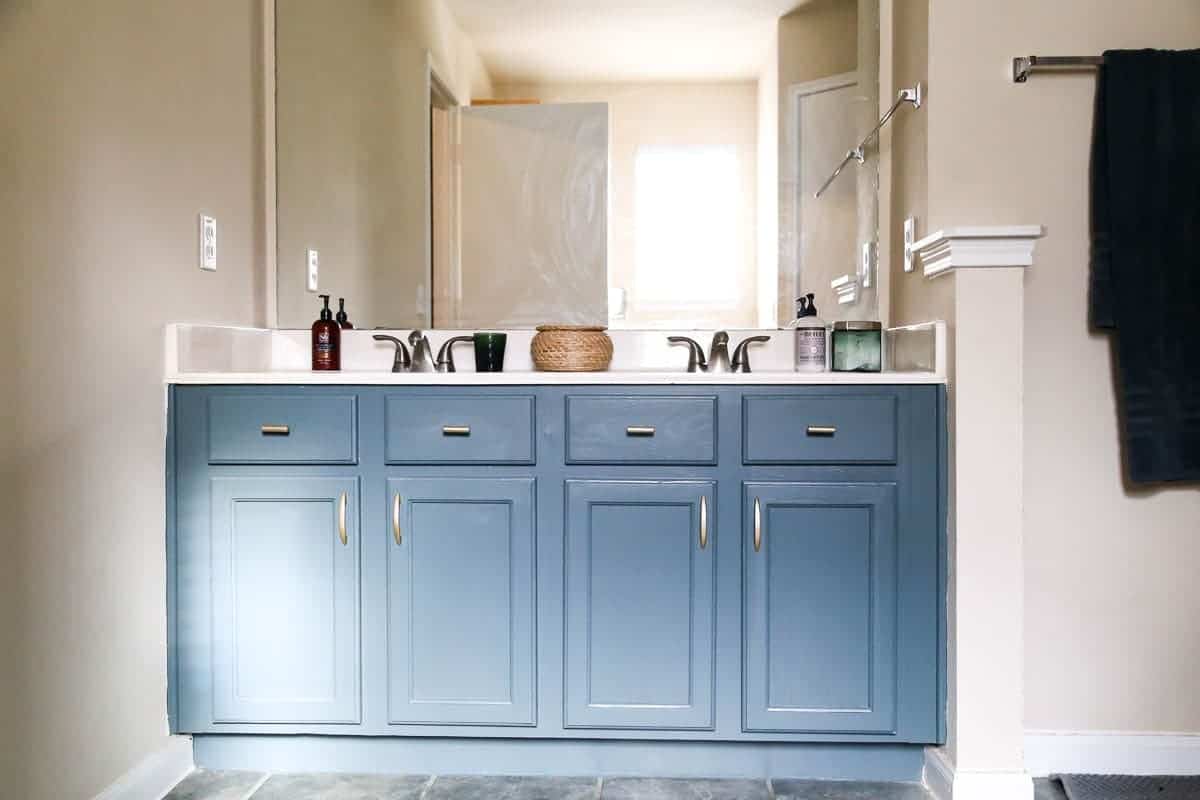
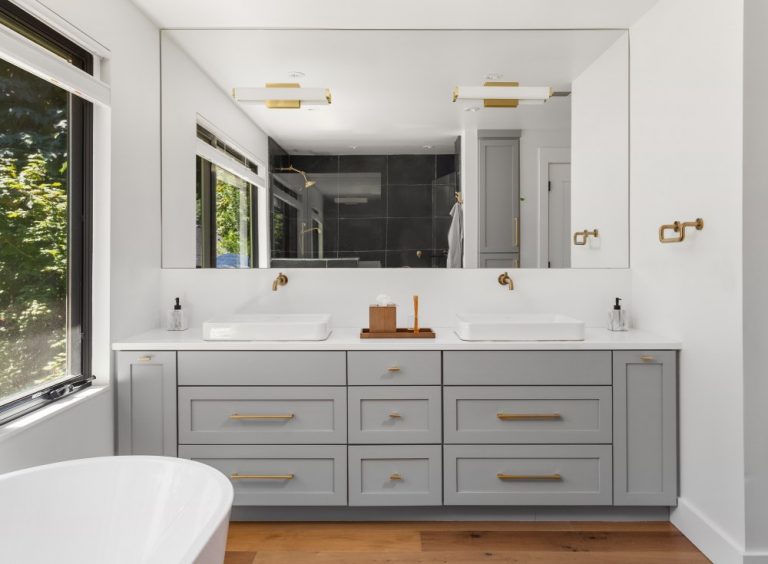
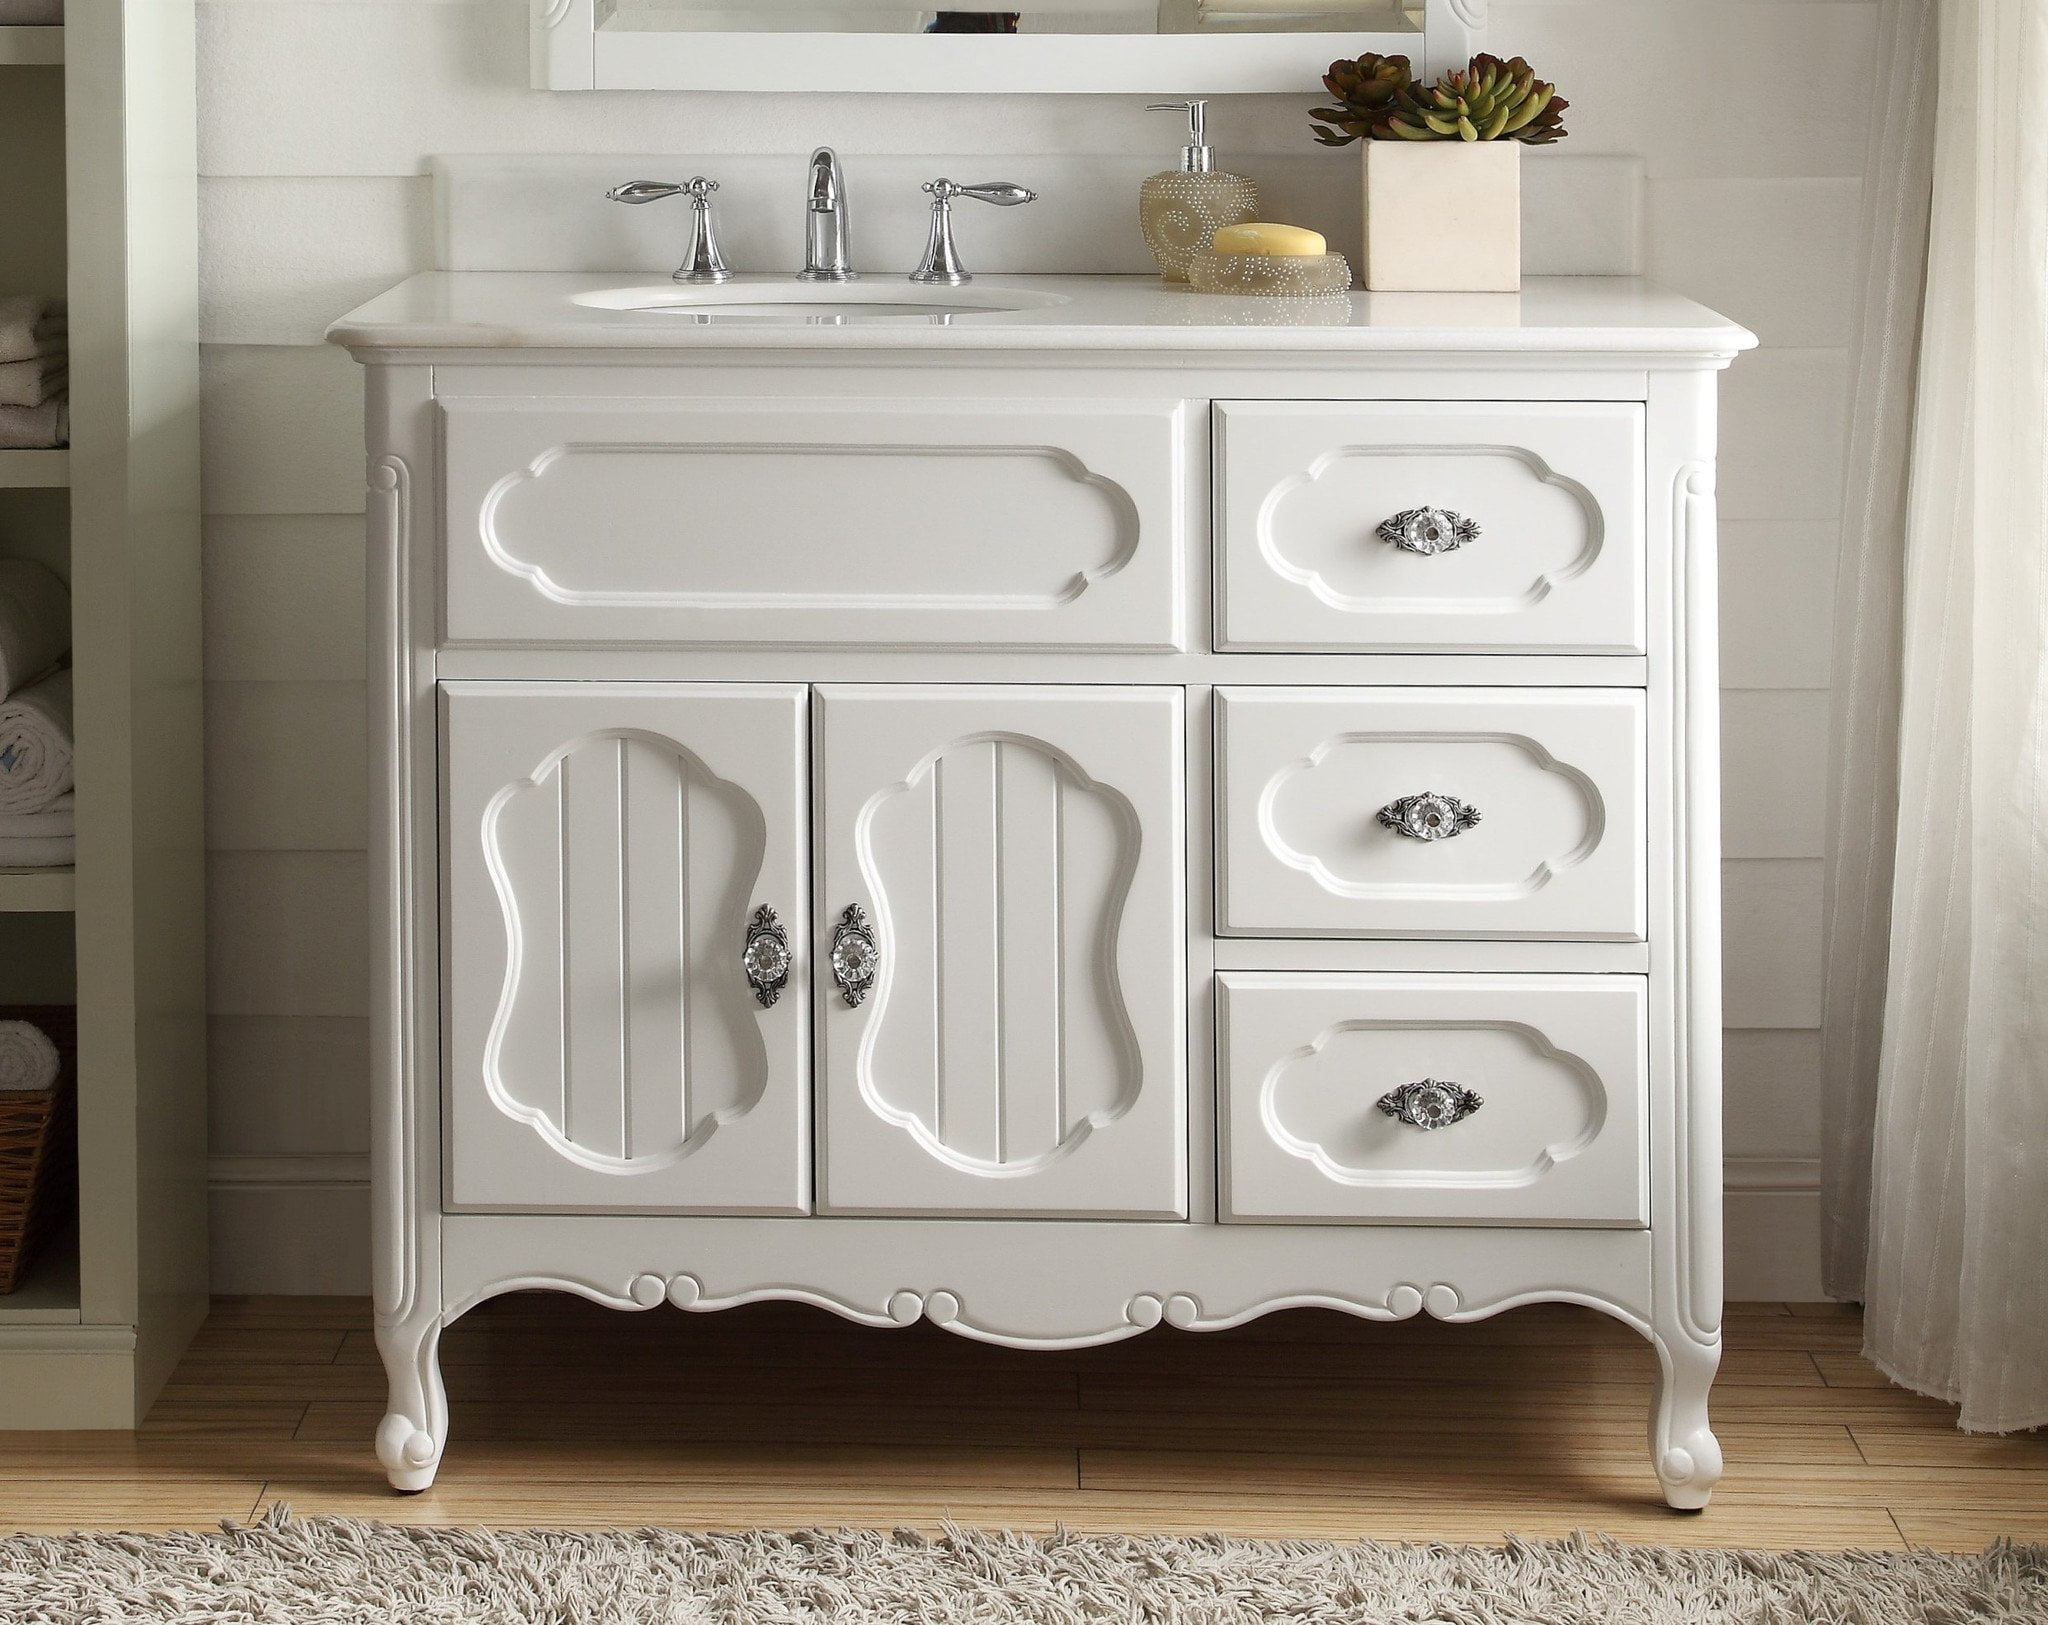
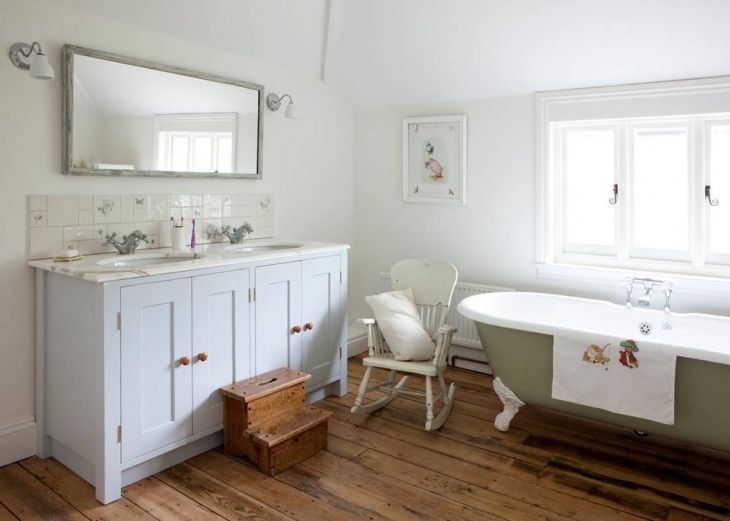
Are you tired of looking at the same old bathroom vanity every day? Do you want to add some character and charm to your bathroom without breaking the bank? Then distressing your bathroom vanity may be the perfect solution for you. Not only is it a budget-friendly option, but it also allows you to get creative and make your vanity one-of-a-kind. Here are 10 creative ideas to help you distress your bathroom vanity and give your bathroom a unique touch.Distressing a Bathroom Vanity: 10 Creative Ideas
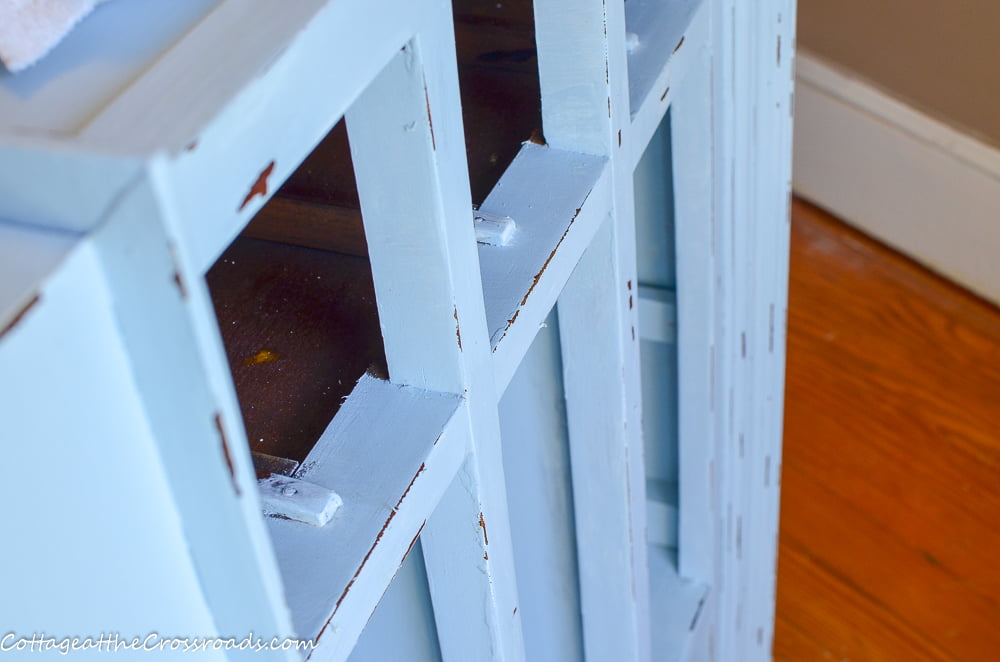
Distressing a bathroom vanity may seem like a daunting task, but it can actually be done in just five easy steps. First, remove all hardware and clean the vanity thoroughly. Next, sand down the surface to remove any gloss or finish. Then, apply a base coat of paint and let it dry. After that, use sandpaper to distress the areas where natural wear and tear would occur. Finally, seal the vanity with a clear coat to protect the distressed areas. With these simple steps, you can achieve a beautiful distressed look for your bathroom vanity.How to Distress a Bathroom Vanity in 5 Easy Steps
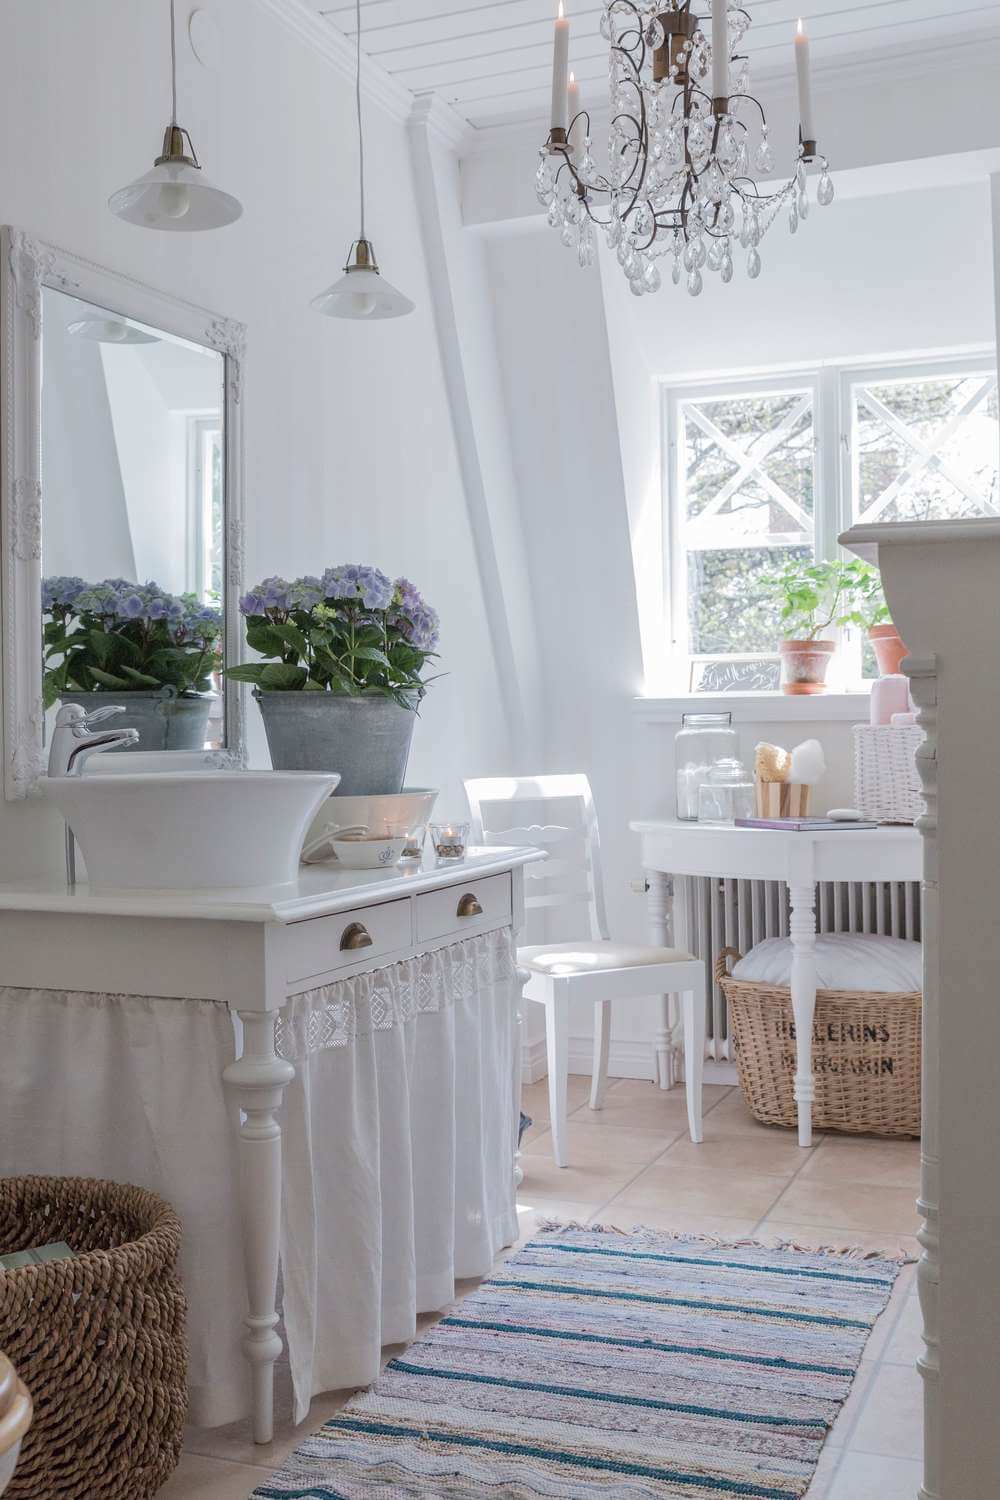
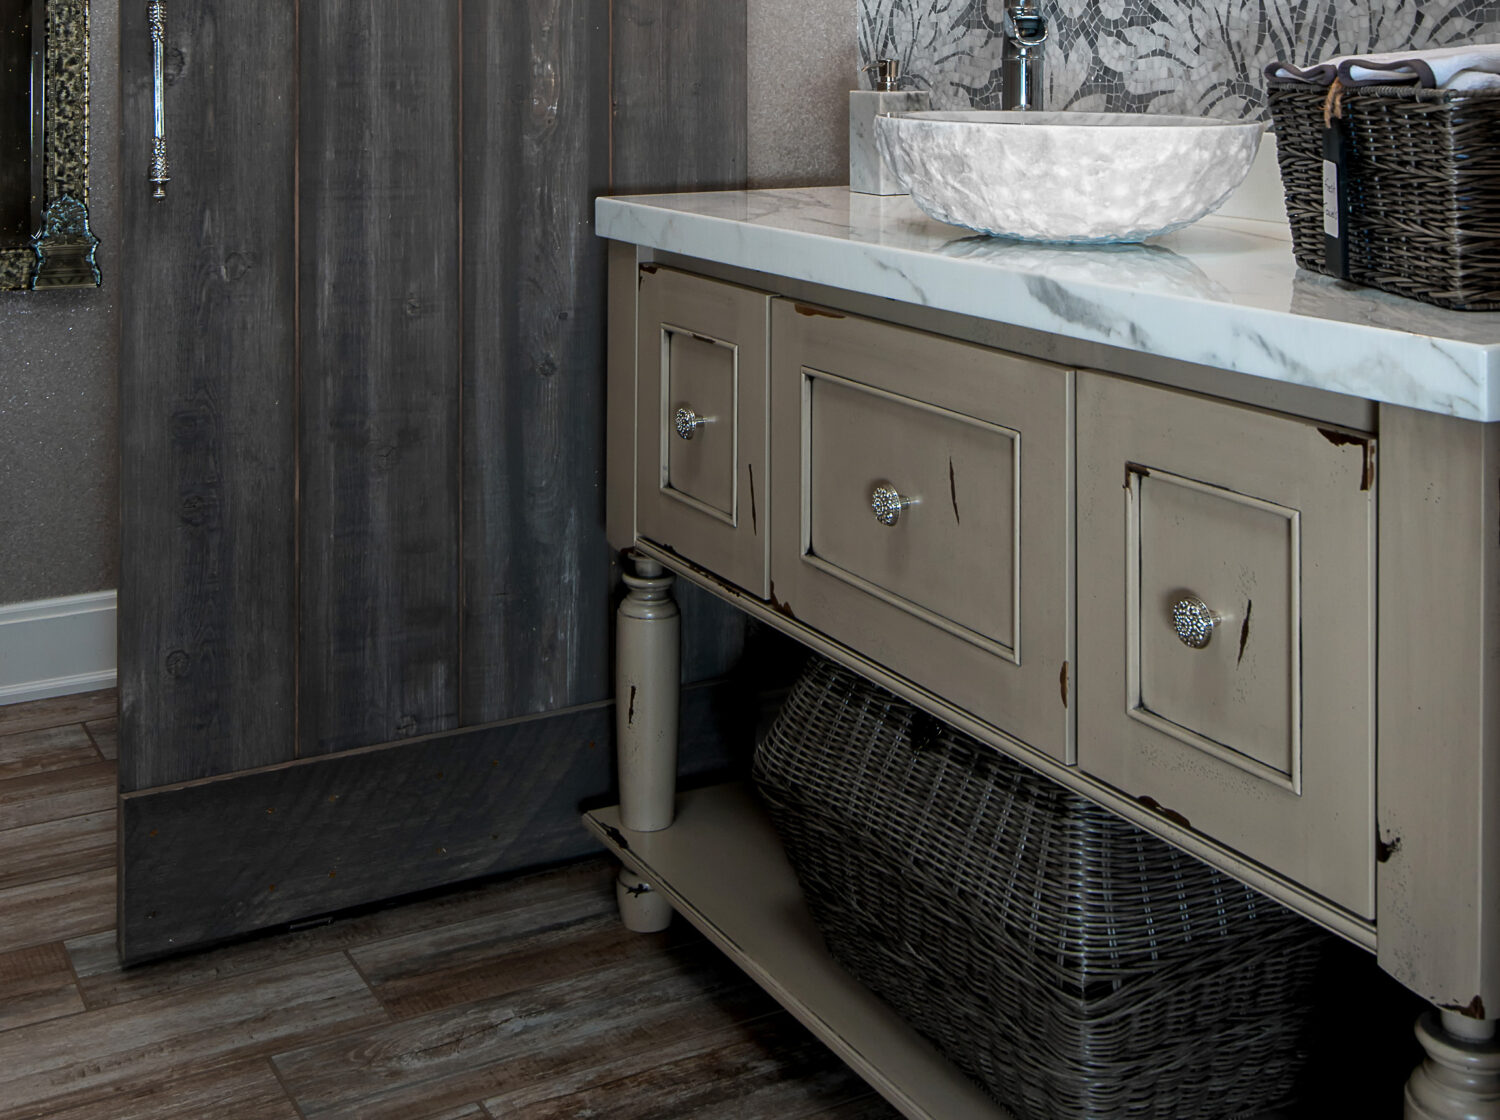
For those who love the shabby chic style, distressing your bathroom vanity is a must. There are several techniques you can use to achieve this look. One method is using a dry brush technique, where you lightly brush paint over the surface to create a worn and weathered look. Another technique is using a crackle medium, which creates a cracked effect on the paint. You can also try using a candle wax or vaseline to create a resist effect, where the paint will peel off in certain areas, giving your vanity a charmingly distressed appearance.Distressing Techniques for a Shabby Chic Bathroom Vanity
Distressing a bathroom vanity doesn't have to cost a fortune. In fact, it can be a fun and budget-friendly DIY project. Instead of buying a new vanity, consider giving your current one a makeover. With some sandpaper, paint, and creativity, you can transform your boring vanity into a unique and stylish piece. Plus, DIY projects always give a sense of accomplishment and satisfaction, making your bathroom vanity even more special.DIY Distressed Bathroom Vanity: A Budget-Friendly Project
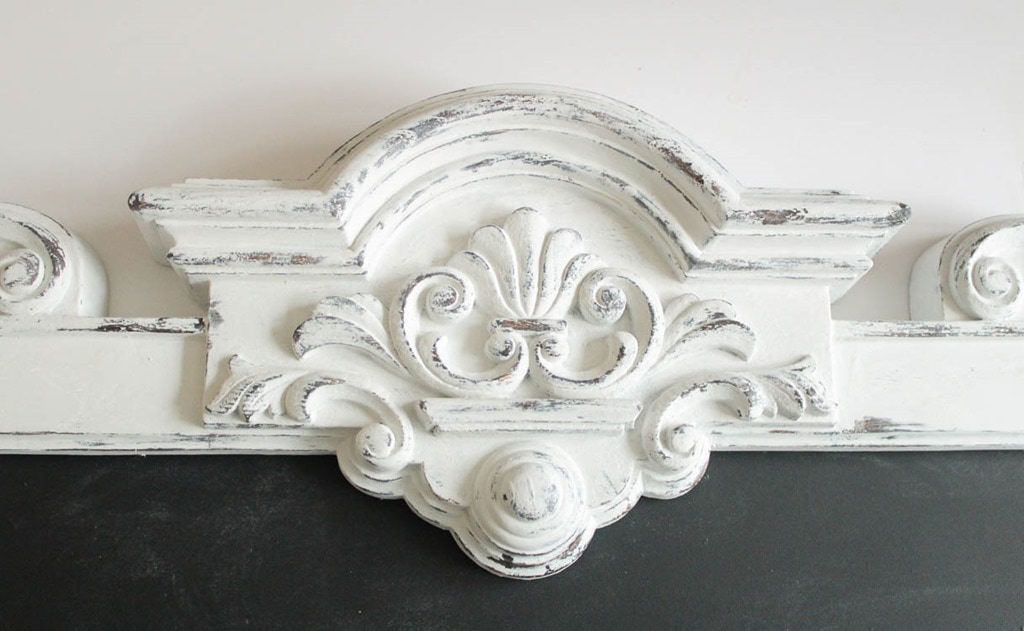
You may have heard of both distressing and antiquing furniture, but what exactly is the difference? While both techniques involve giving furniture a worn and aged look, the main difference lies in the level of distressing. Antiquing typically involves a more subtle distressing, giving furniture a vintage or antique feel. On the other hand, distressing involves creating a more heavily worn and weathered appearance. Depending on your personal style and preference, you can choose the technique that best suits your bathroom vanity.Distressing vs. Antiquing: What's the Difference?
Chalk paint has become a popular choice for distressing furniture, and for good reason. It's easy to use, dries quickly, and gives a beautiful matte finish. To distress a bathroom vanity with chalk paint, start by lightly sanding the surface to remove any gloss or finish. Then, apply a base coat of chalk paint and let it dry. Once dry, use sandpaper to distress the areas where natural wear and tear would occur. For a more distressed look, use steel wool to create deeper scratches and dents. Finally, seal the vanity with a clear wax to protect the paint and give it a smooth finish.Distressing a Bathroom Vanity with Chalk Paint: Tips and Tricks
If you're not a fan of sanding, don't worry, there are other ways to distress your bathroom vanity. One method is using a chemical stripper, which will remove the finish and make it easier to distress the surface. However, be sure to follow the instructions carefully and wear proper protective gear when using chemical strippers. Another option is using a vinegar and water solution to create a distressed look. Simply mix equal parts vinegar and water and use a rag to apply it to the vanity. The vinegar will react with the wood and create a natural distressed appearance.How to Distress a Bathroom Vanity without Sanding
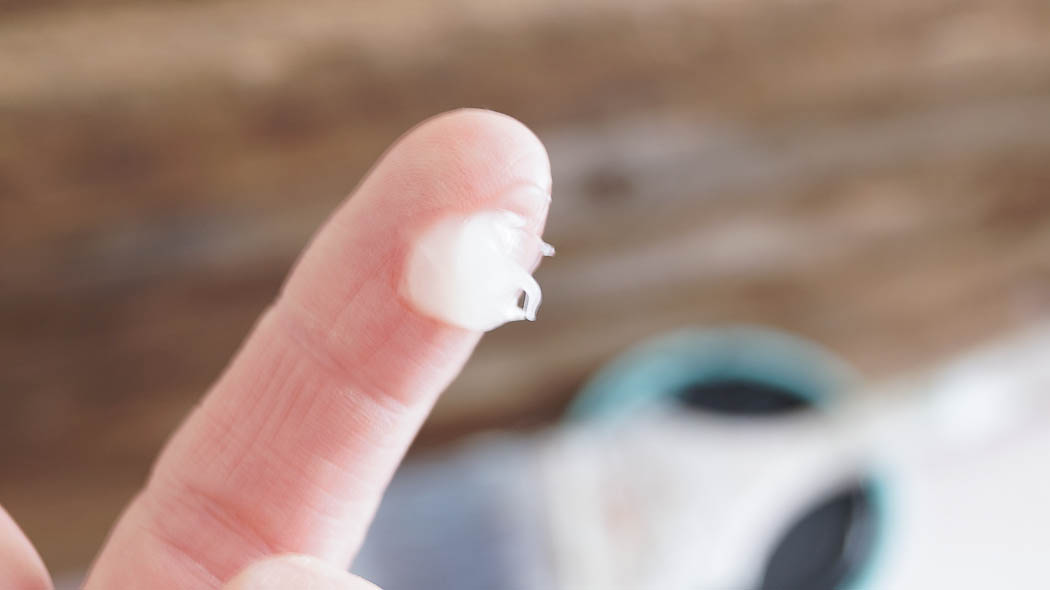
As mentioned earlier, using vaseline can create a resist effect when distressing furniture. This method involves applying vaseline to certain areas of the vanity before painting it. Once the paint has dried, use sandpaper to distress the surface. The paint will peel off where the vaseline was applied, giving your bathroom vanity a unique and rustic look. This technique works well with chalk paint or any type of paint that is water-based.Distressing a Bathroom Vanity with Vaseline: A Unique Method
If you prefer a more natural and rustic look, consider distressing your bathroom vanity with stain instead of paint. This method involves applying a base coat of stain and then using sandpaper to distress the surface. The stain will seep into the scratches and dents, giving your vanity a beautifully aged appearance. You can also use multiple layers of stain to achieve a more distressed look. Just be sure to seal the vanity with a clear coat after distressing to protect the wood.Distressing a Bathroom Vanity with Stain: A Rustic Look
Milk paint is another popular choice for distressing furniture, especially for those who love the farmhouse style. To distress a bathroom vanity with milk paint, start by cleaning and sanding the surface. Then, mix the milk paint according to the instructions and apply it to the vanity. Once dry, use sandpaper to distress the areas where natural wear and tear would occur. The milk paint will give your vanity a beautiful matte finish, perfect for achieving that charming farmhouse look. Distressing a bathroom vanity can be a fun and creative way to give your bathroom a unique touch. With these 10 ideas, you can choose the technique and style that best fits your preferences and create a one-of-a-kind piece for your bathroom. So, roll up your sleeves and get ready to add some character and charm to your bathroom with a distressed vanity.Distressing a Bathroom Vanity with Milk Paint: A Farmhouse Style
Choosing the Right Materials for Your Bathroom Vanity

The importance of using durable and water-resistant materials
 When it comes to distressing your bathroom vanity, it's important to first consider the materials you will be using. Not all materials are suitable for high-moisture areas like bathrooms.
Choosing the right materials will not only ensure the longevity of your vanity, but also the overall aesthetic of your bathroom.
One of the most popular materials for bathroom vanities is solid wood. Not only does it add a touch of warmth and elegance to the space, but it is also durable and long-lasting. However, when selecting solid wood for your vanity,
make sure to opt for water-resistant types such as teak, cedar, or redwood.
These types of wood are known for their natural resistance to moisture, making them the ideal choice for a bathroom vanity.
If you're looking for a more budget-friendly option,
engineered wood
is a great alternative. It is made up of wood fibers and resins, giving it the look and feel of real wood but with added durability and water resistance.
Make sure to choose engineered wood that has been treated with a waterproof sealant to protect it from moisture damage.
Another popular material for bathroom vanities is
laminate
. It is not only cost-effective, but it also comes in a wide variety of colors and designs, making it easy to match with your bathroom decor. However, not all laminates are created equal.
Be sure to choose a high-pressure laminate that is specifically designed for high-moisture areas.
This type of laminate has a thicker and more water-resistant layer, making it less susceptible to warping or peeling.
Last but not least,
stone
is a luxurious and durable option for bathroom vanities.
Granite, marble, and quartz are all excellent choices for high-moisture areas.
These materials are not only water-resistant, but also heat-resistant, making them perfect for bathrooms with hot styling tools.
Keep in mind that natural stone can be more expensive and may require more maintenance compared to other materials.
In conclusion, when distressing your bathroom vanity, it's crucial to choose the right materials that can withstand the harsh environment of a bathroom.
Opt for durable and water-resistant materials such as solid wood, engineered wood, high-pressure laminate, or stone.
Not only will this ensure the longevity of your vanity, but it will also add to the overall aesthetic and functionality of your bathroom.
/sarahshermansamuelphotoanddesign-c65ca4291b3c467dac85246c35c92343.jpg)













:max_bytes(150000):strip_icc()/build-something-diy-vanity-594402125f9b58d58ae21158.jpg)


