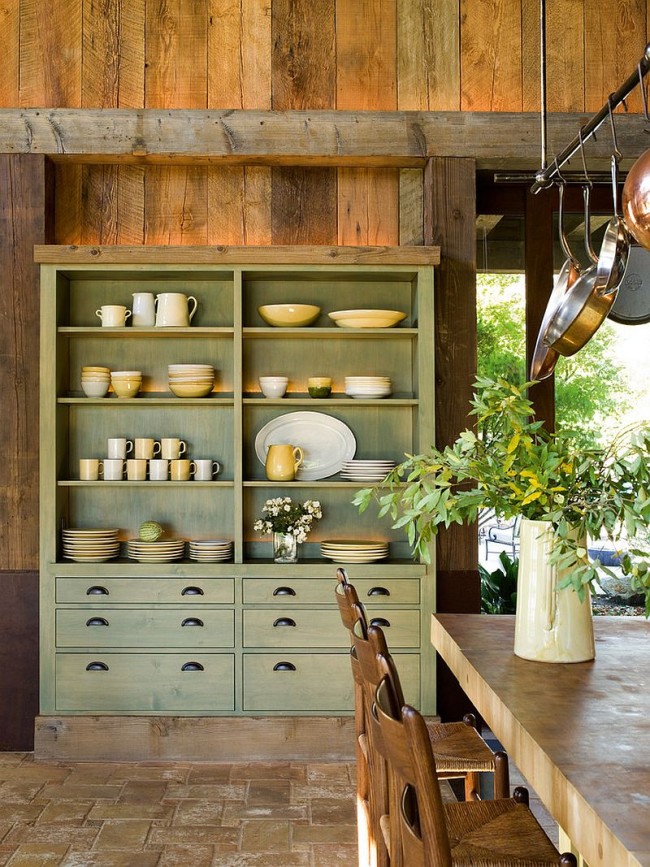
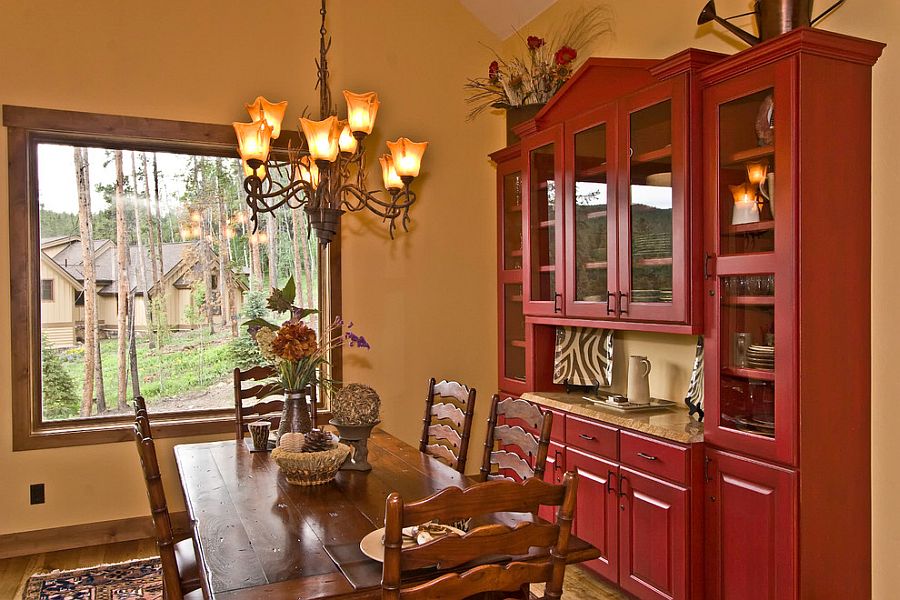
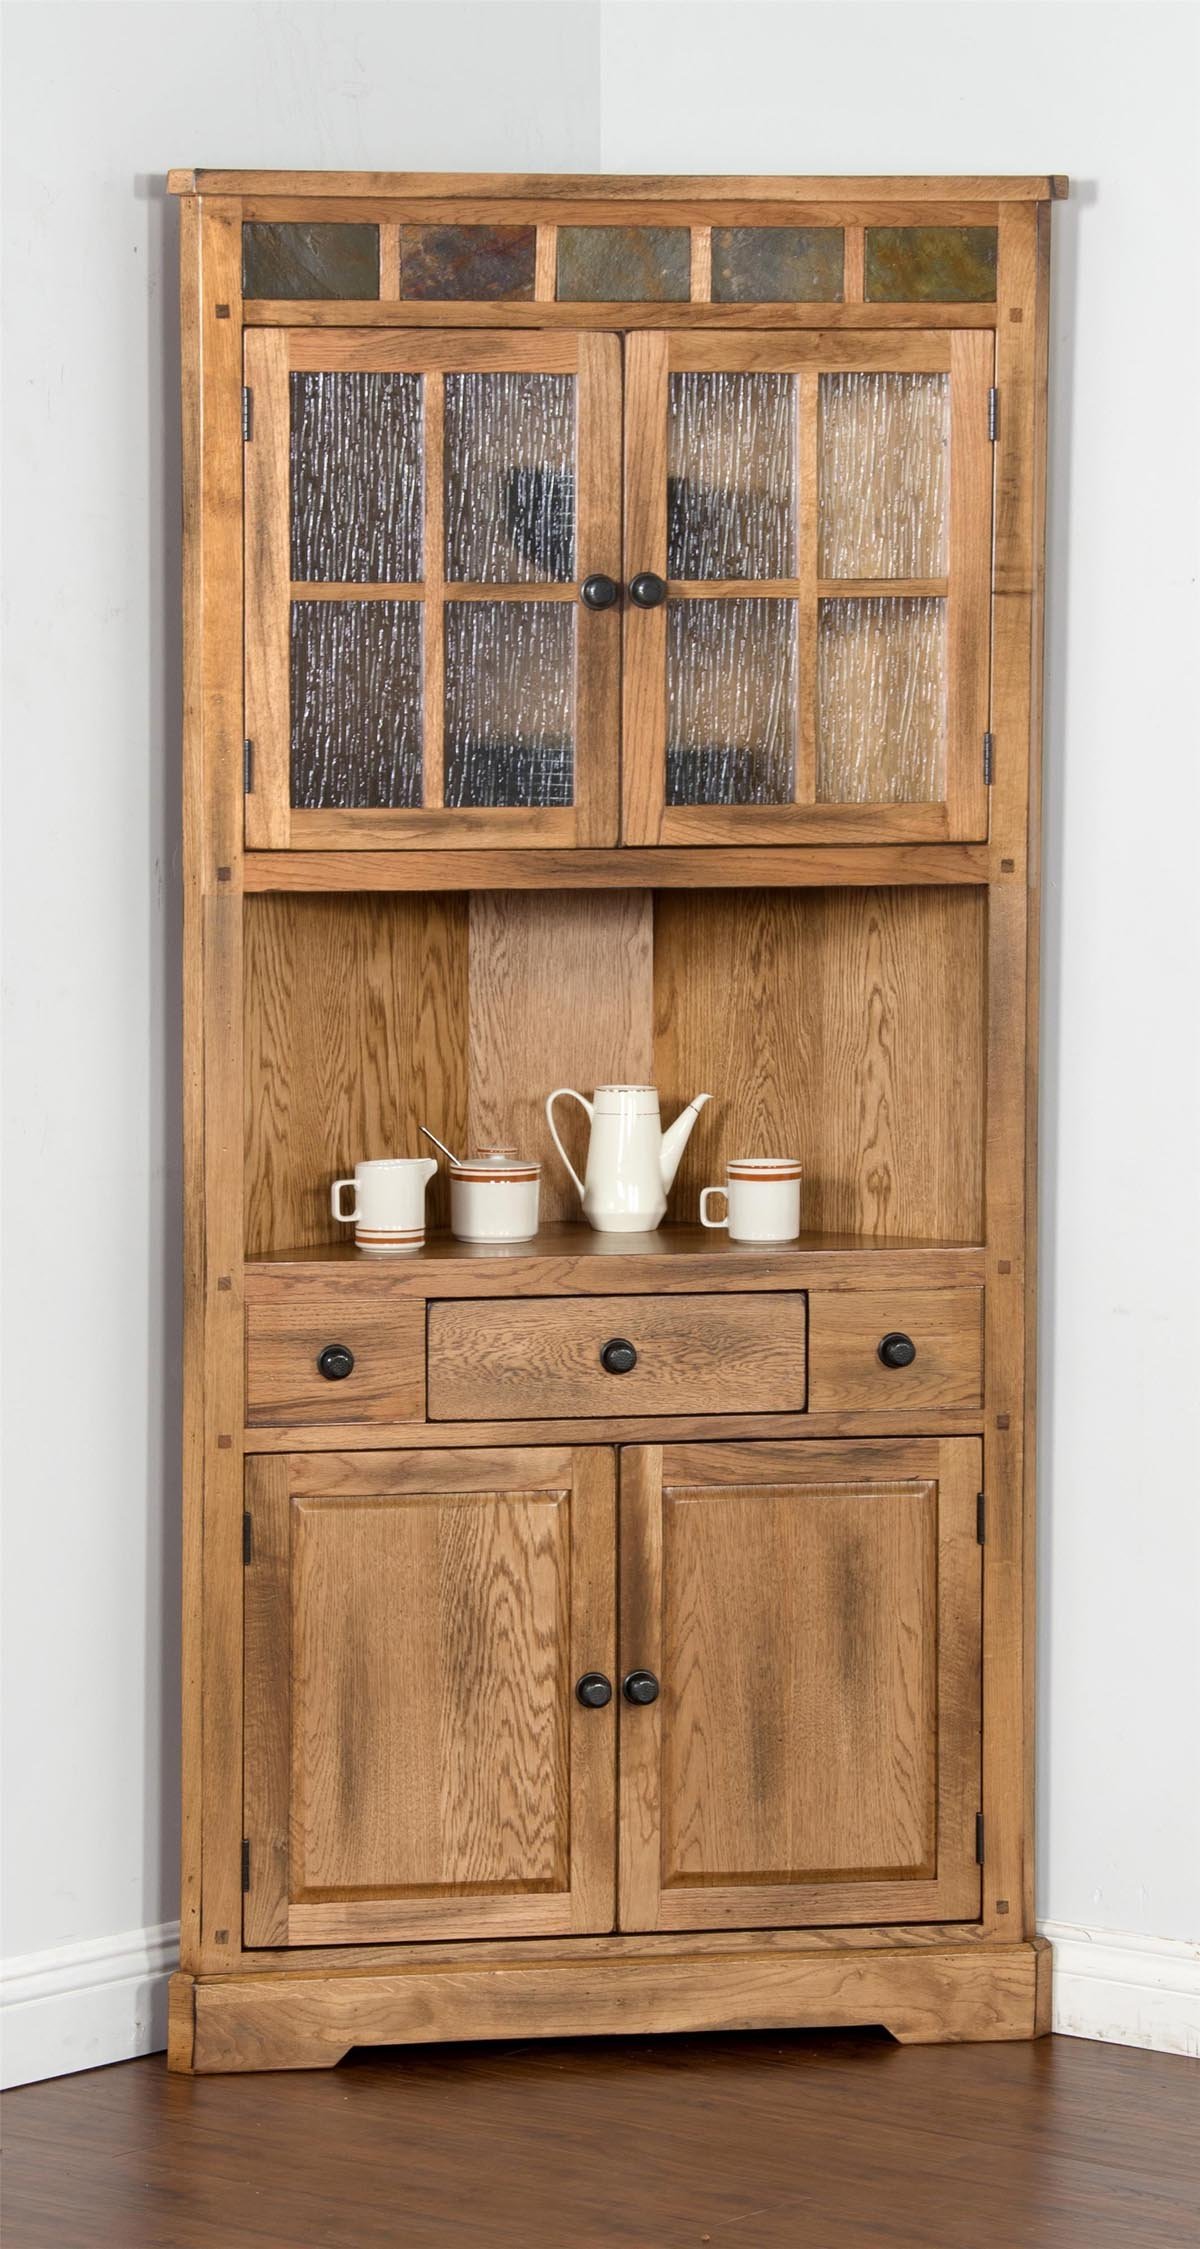
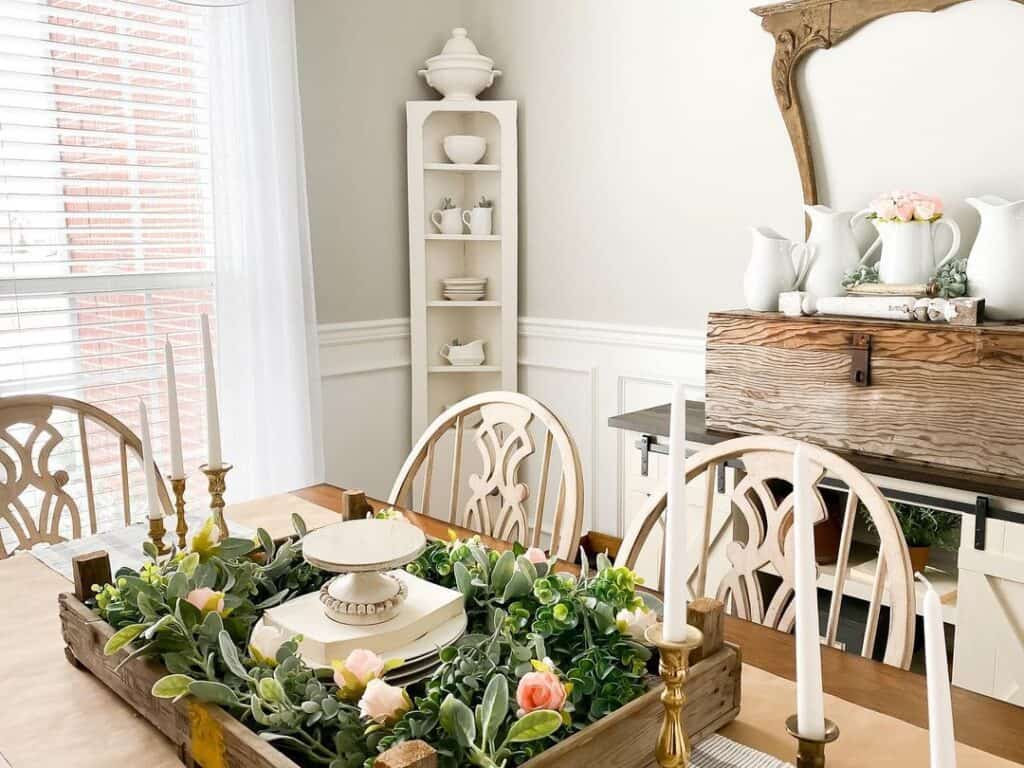
The dining room hutch is often seen as a functional piece of furniture used for storing and displaying dishes, glasses, and other dining essentials. But during the holiday season, it can also be transformed into a magical display of a winter wonderland with a Snow Village display. Here are some tips on how to create a stunning and festive Snow Village display on your dining room hutch.1. Transform Your Dining Room Hutch into a Winter Wonderland with a Snow Village Display
The first step in creating a Snow Village display on your dining room hutch is to choose the perfect location for it. Make sure that the hutch is in a prominent spot in the room, preferably against a plain wall or backdrop that will make the Snow Village stand out. It should also be easily accessible for viewing and adding decorations.2. Choose the Perfect Location
A Snow Village display is more than just a collection of miniature houses and figurines. It can tell a story and create a theme that ties everything together. You can go for a traditional Christmas theme with Santa's workshop, a cozy winter village with a skating rink, or a snowy mountain village with a ski slope. Let your creativity run wild and have fun with it.3. Create a Theme
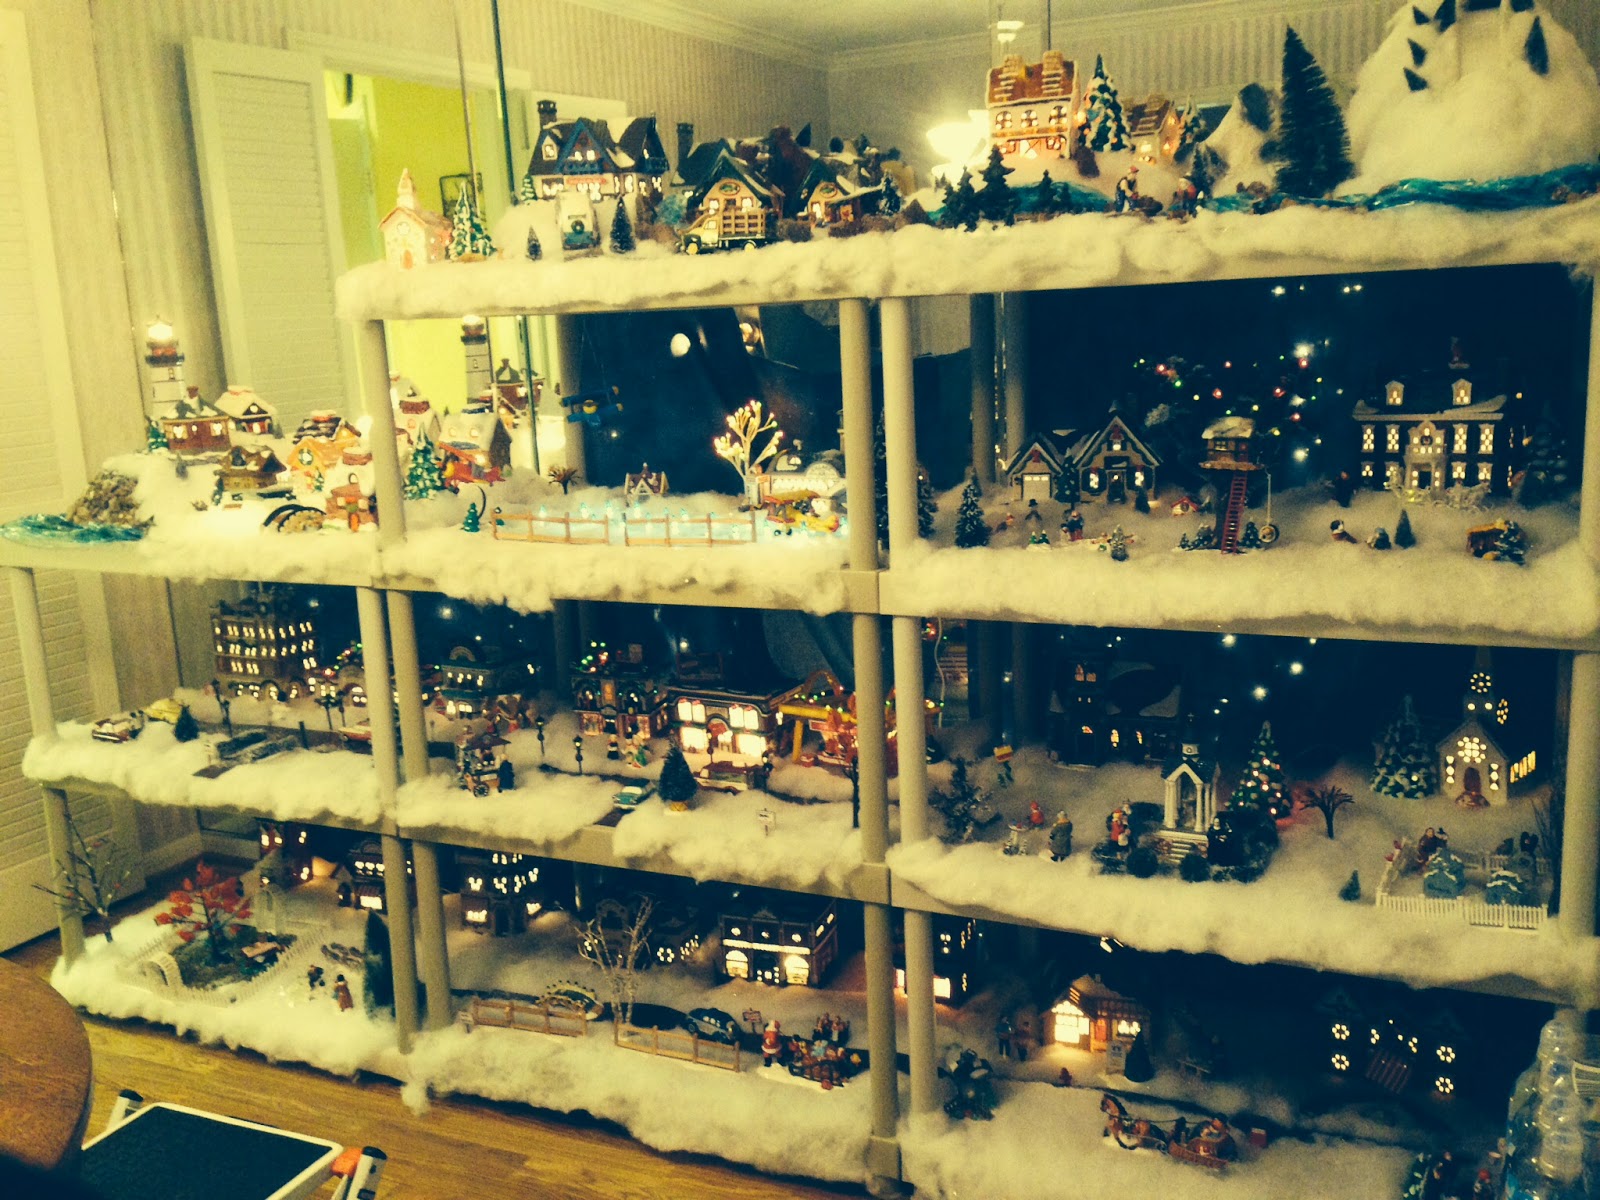
Before you start setting up your Snow Village display, make sure you have all the necessary supplies. You will need a variety of miniature houses, figurines, trees, and other decorations to create a realistic and charming village scene. You can also add some fake snow or cotton balls to create a snowy effect.4. Gather Your Supplies
The base of your Snow Village display will serve as the foundation for the entire scene. You can use a large piece of plywood or foam board covered with fake snow, a white tablecloth, or a mirror to create a snowy surface. This will also help elevate the display and make it more eye-catching.5. Start with the Base
When arranging the buildings, start with the largest ones at the back and gradually add the smaller ones in front. This will create depth and make the display more visually appealing. You can also use books or boxes to create different levels and add interest to the scene.6. Arrange the Buildings
Now it's time to add the details that will bring your Snow Village display to life. Use miniature figurines such as people, animals, and vehicles to add movement and create a sense of activity. You can also add trees, street lamps, fences, and other decorations to make the scene more realistic and charming.7. Add the Details
Lighting is an essential element in any Snow Village display. It can add warmth, create a cozy ambiance, and highlight the details of your village scene. You can use string lights, battery-operated LED lights, or even candles to add a warm glow to your display.8. Incorporate Lighting
Make your Snow Village display even more special by personalizing it. You can add elements that represent your family, such as a miniature version of your house, a photo of your family, or a figurine that resembles each family member. This will make the display more meaningful and unique to your family.9. Personalize It
Once you have completed your Snow Village display, take a step back and admire your work. It's a labor of love that will bring joy and cheer to your dining room during the holiday season. So sit back, relax, and enjoy your very own winter wonderland on your dining room hutch. In conclusion, a Snow Village display on your dining room hutch is a beautiful and creative way to bring the magic of the holiday season into your home. With these tips, you can create a stunning and festive display that will be the talk of your holiday gatherings. So gather your supplies, let your imagination run wild, and have fun creating your very own Snow Village. Happy decorating!10. Enjoy Your Winter Wonderland
Creating a Winter Wonderland: How to Display Your Snow Village on a Dining Room Hutch

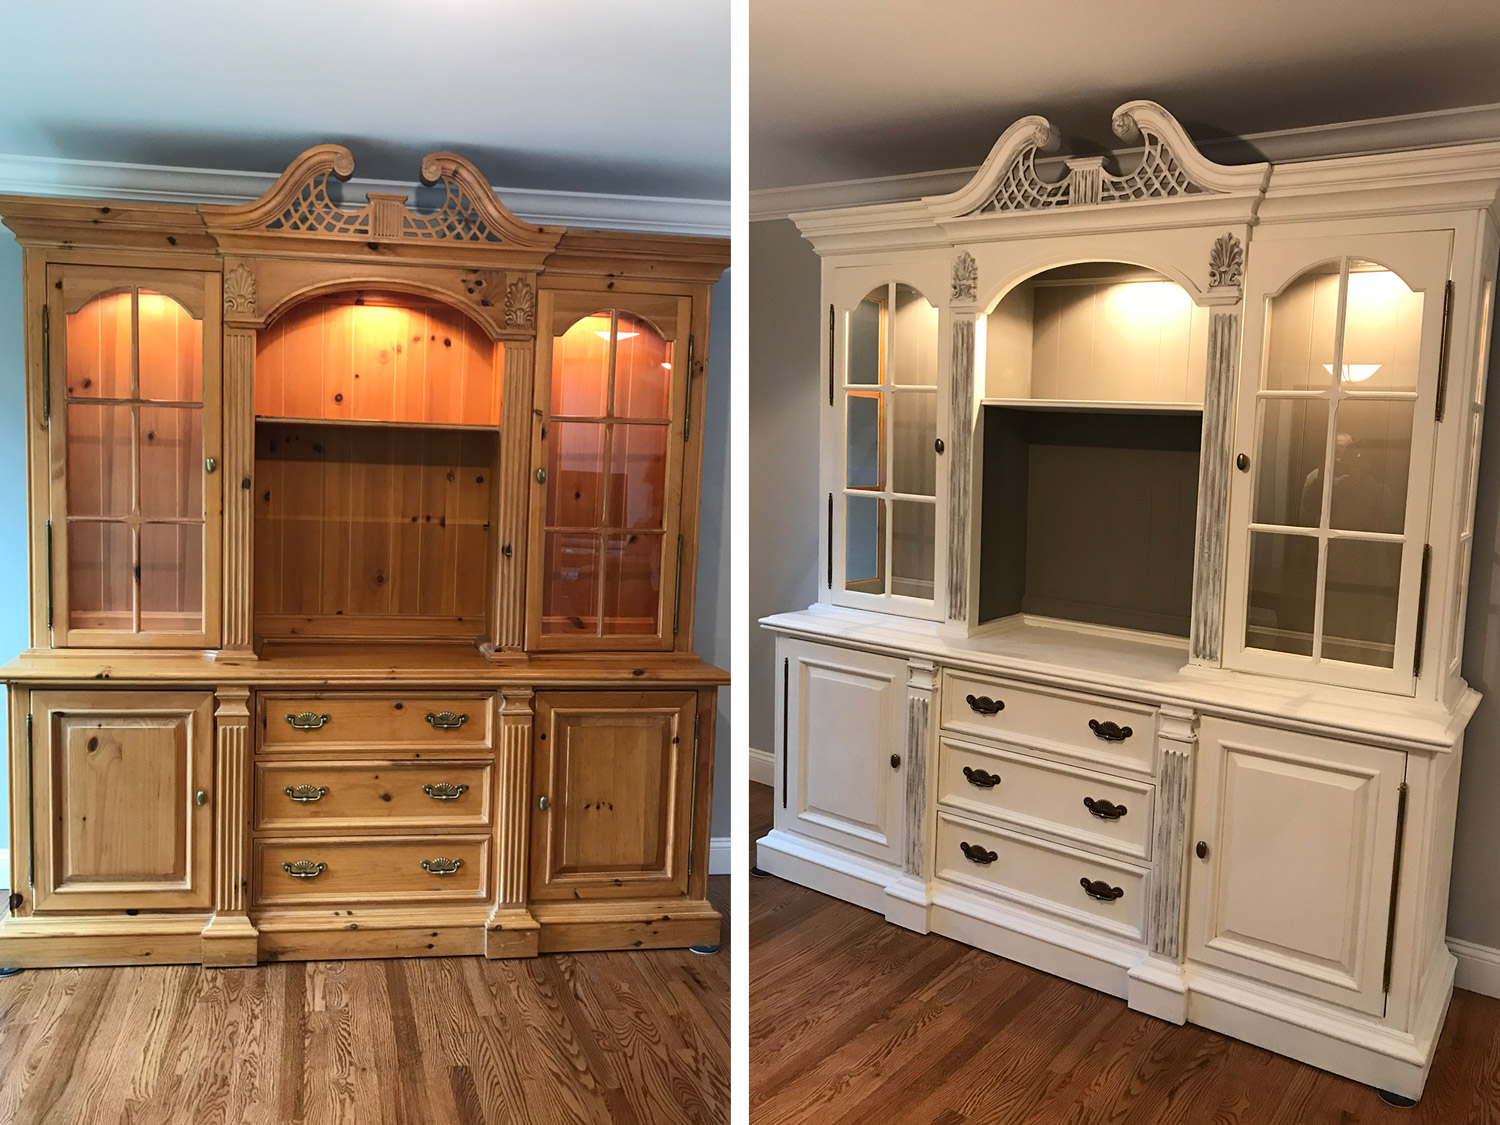
Transforming Your Dining Room Hutch
 If you're looking to add a touch of magic to your dining room, displaying a snow village on your hutch is the perfect solution. A snow village is a miniature display of a winter village, complete with tiny houses, people, and even fake snow. It's a charming and whimsical addition to any home decor, especially during the holiday season. And what better place to showcase your snow village than on your dining room hutch?
Snow Village: A Unique and Festive Decor
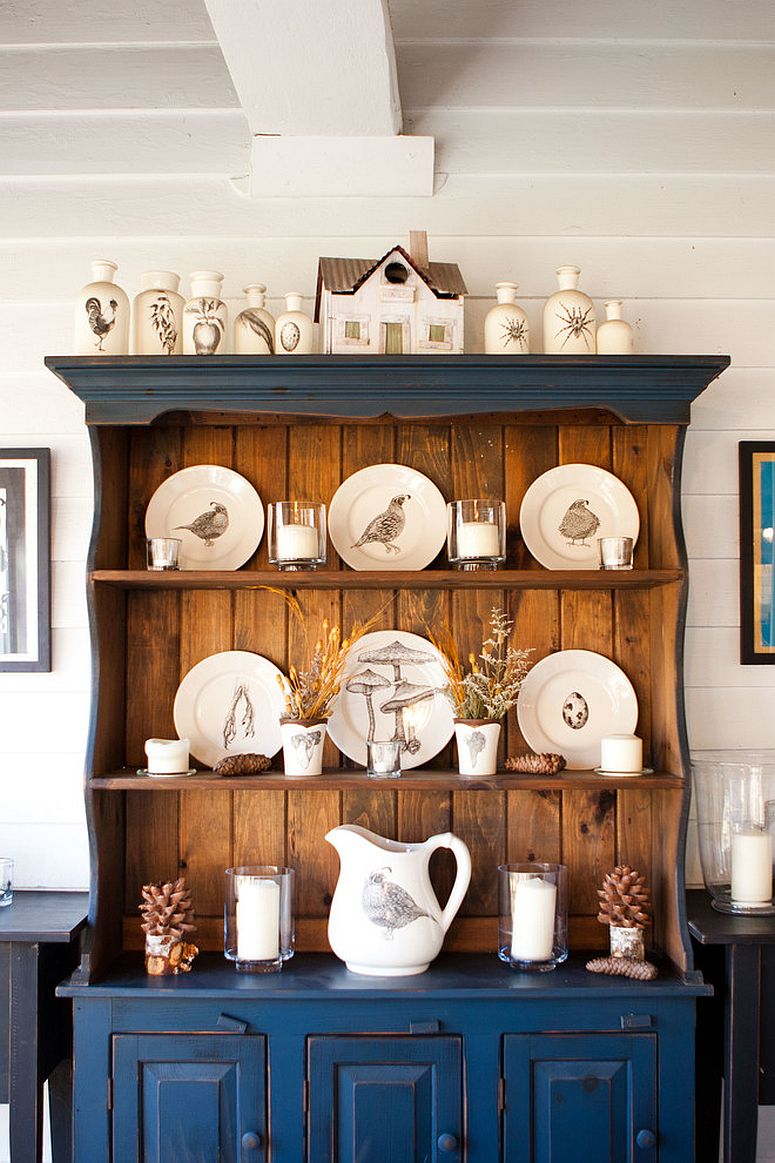
Many people opt to display their snow villages on coffee tables or mantels, but placing it on a dining room hutch can add a whole new level of charm and elegance. A hutch is typically located in a central area of the dining room, making it the perfect focal point for your snow village. Plus, the elevated height of the hutch allows for better visibility and creates a beautiful backdrop for your display.
Preparing Your Hutch for Display
Before setting up your snow village, it's important to prepare your hutch to create a cohesive and visually appealing display. Start by clearing off any unnecessary items and dusting the surface. Consider adding a festive table runner or cloth to add a pop of color and texture to your hutch. You can also incorporate some greenery or twinkling lights for an extra touch of holiday spirit.
Arranging Your Snow Village
 Now it's time to set up your snow village on the hutch. Start by laying out the larger pieces, such as the houses and buildings, to create a foundation for your village. Then, add in smaller pieces such as figurines, trees, and other decorations to fill in the gaps and add depth to the display. Be creative and have fun with it – you can even incorporate some personal touches, like a miniature version of your own home or a favorite landmark.
Adding Finishing Touches
To make your snow village display truly stand out, consider adding in some additional elements. You can sprinkle fake snow or glitter around the village to create a winter wonderland effect. You can also incorporate lights, either battery-operated or string lights, to make your village twinkle and shine. Don't be afraid to experiment and find what works best for your specific hutch and snow village.
Incorporating Your Snow Village into Your Dining Room Decor
 Now that your snow village is beautifully displayed on your hutch, you can use it as inspiration for the rest of your dining room decor. Consider adding in some winter-themed accents, like snowflake napkins or pinecone centerpieces, to tie everything together. Your snow village will serve as a charming and unique centerpiece for your dining room, making it the perfect place to gather with loved ones and create lasting memories.
In conclusion, displaying a snow village on your dining room hutch is a creative and festive way to bring the magic of winter into your home. By following these tips and incorporating your own personal touches, you can create a stunning and memorable display that will be the talk of your holiday gatherings. So go ahead, transform your dining room into a winter wonderland and enjoy the beauty and charm of your snow village display.


