Are you tired of dealing with a clogged bathroom sink? One of the first steps to unclogging a sink is disconnecting the sink stopper. This may seem like a daunting task, but with the right tools and techniques, it can be done easily. Here are the top 10 methods for disconnecting your bathroom sink stopper. Disconnecting a Bathroom Sink Stopper


Disconnecting a Bathroom Sink Stopper


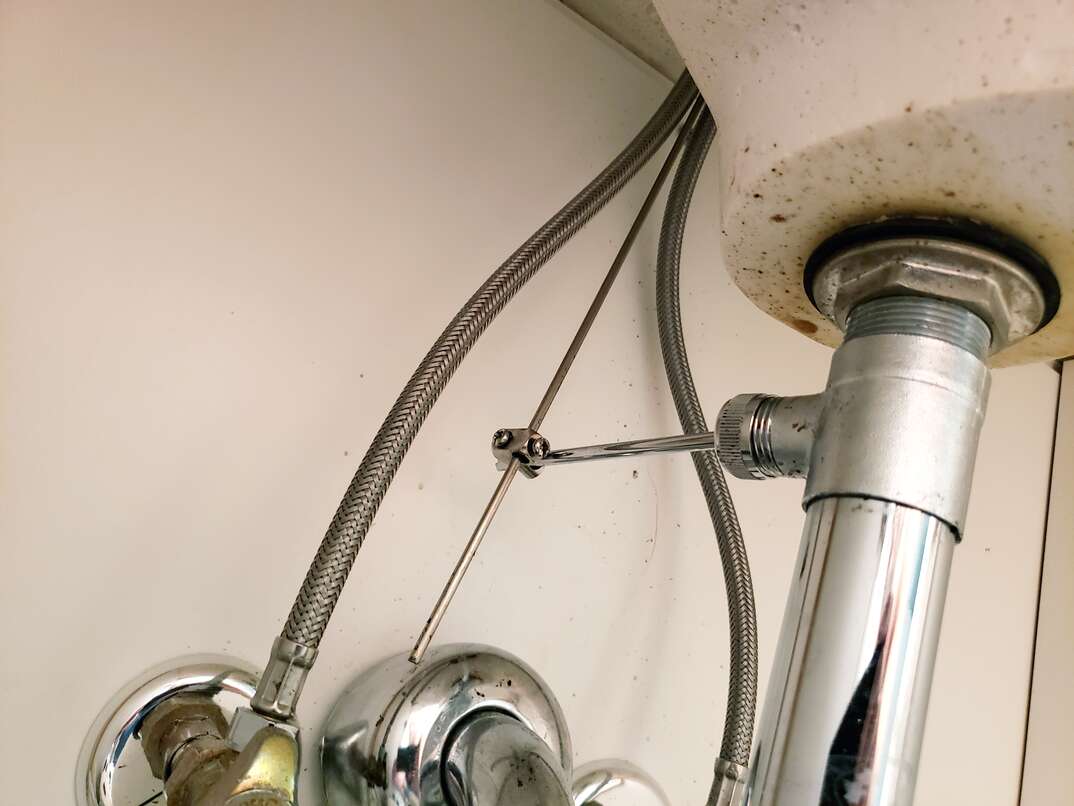
Removing a bathroom sink stopper is a simple process that can be done in just a few steps. First, locate the horizontal rod that connects the sink stopper to the drain pipe. Then, use pliers or channel locks to loosen the nut and remove the rod from the pipe. Once the rod is removed, you can easily take out the stopper. If you encounter any difficulty, try using WD-40 to loosen any stuck parts. How to Remove a Bathroom Sink Stopper


How to Remove a Bathroom Sink Stopper


If you are having trouble removing your bathroom sink stopper, there are a few troubleshooting techniques you can try. First, make sure the horizontal rod is properly aligned with the stopper and drain pipe. If it is not straight, it may be causing the stopper to get stuck. You can also try using hot water or a plunger to loosen any debris that may be blocking the stopper. Removing a Bathroom Sink Stopper


Removing a Bathroom Sink Stopper


Removing a bathroom sink stopper is not a difficult task, but it does require some patience and the right tools. To remove the stopper, you will need a pair of pliers or channel locks, and possibly some WD-40 for stubborn parts. Make sure to also have a bucket or towel handy to catch any water that may come out of the drain. With these tools, you can easily remove the stopper and clear any clogs in your sink. Bathroom Sink Stopper Removal


Bathroom Sink Stopper Removal

Whether you are disconnecting your sink stopper for cleaning or to fix a clog, the process is the same. First, locate the horizontal rod and loosen the nut using pliers or channel locks. Then, remove the rod from the drain pipe and take out the stopper. If you are disconnecting the stopper for cleaning, make sure to remove any hair or debris before putting it back in place. How to Disconnect a Sink Stopper


How to Disconnect a Sink Stopper


The bathroom sink stopper is an essential component of your sink, but it can also be a source of frustration when it gets clogged or stuck. To remove the stopper, you will need to locate the horizontal rod and loosen the nut holding it in place. Then, remove the rod and take out the stopper. If you encounter any difficulty, try using hot water or a plunger to loosen any debris. Removing a Sink Stopper in the Bathroom


Removing a Sink Stopper in the Bathroom


Taking off a bathroom sink stopper is a simple process that can be done in just a few steps. First, locate the horizontal rod and loosen the nut holding it in place. Then, remove the rod and take out the stopper. If you are having trouble removing the stopper, try using WD-40 to loosen any stuck parts. Once the stopper is removed, you can easily clean out any clogs in your sink. How to Take Off a Bathroom Sink Stopper


How to Take Off a Bathroom Sink Stopper

Regularly cleaning your bathroom sink stopper is an important maintenance task that can prevent clogs and keep your sink running smoothly. To remove the stopper for cleaning, simply follow the steps outlined above. Make sure to remove any hair or debris before putting the stopper back in place. You can also use hot water or a plunger to help loosen any stubborn clogs. Removing a Bathroom Sink Stopper for Cleaning

Removing a Bathroom Sink Stopper for Cleaning
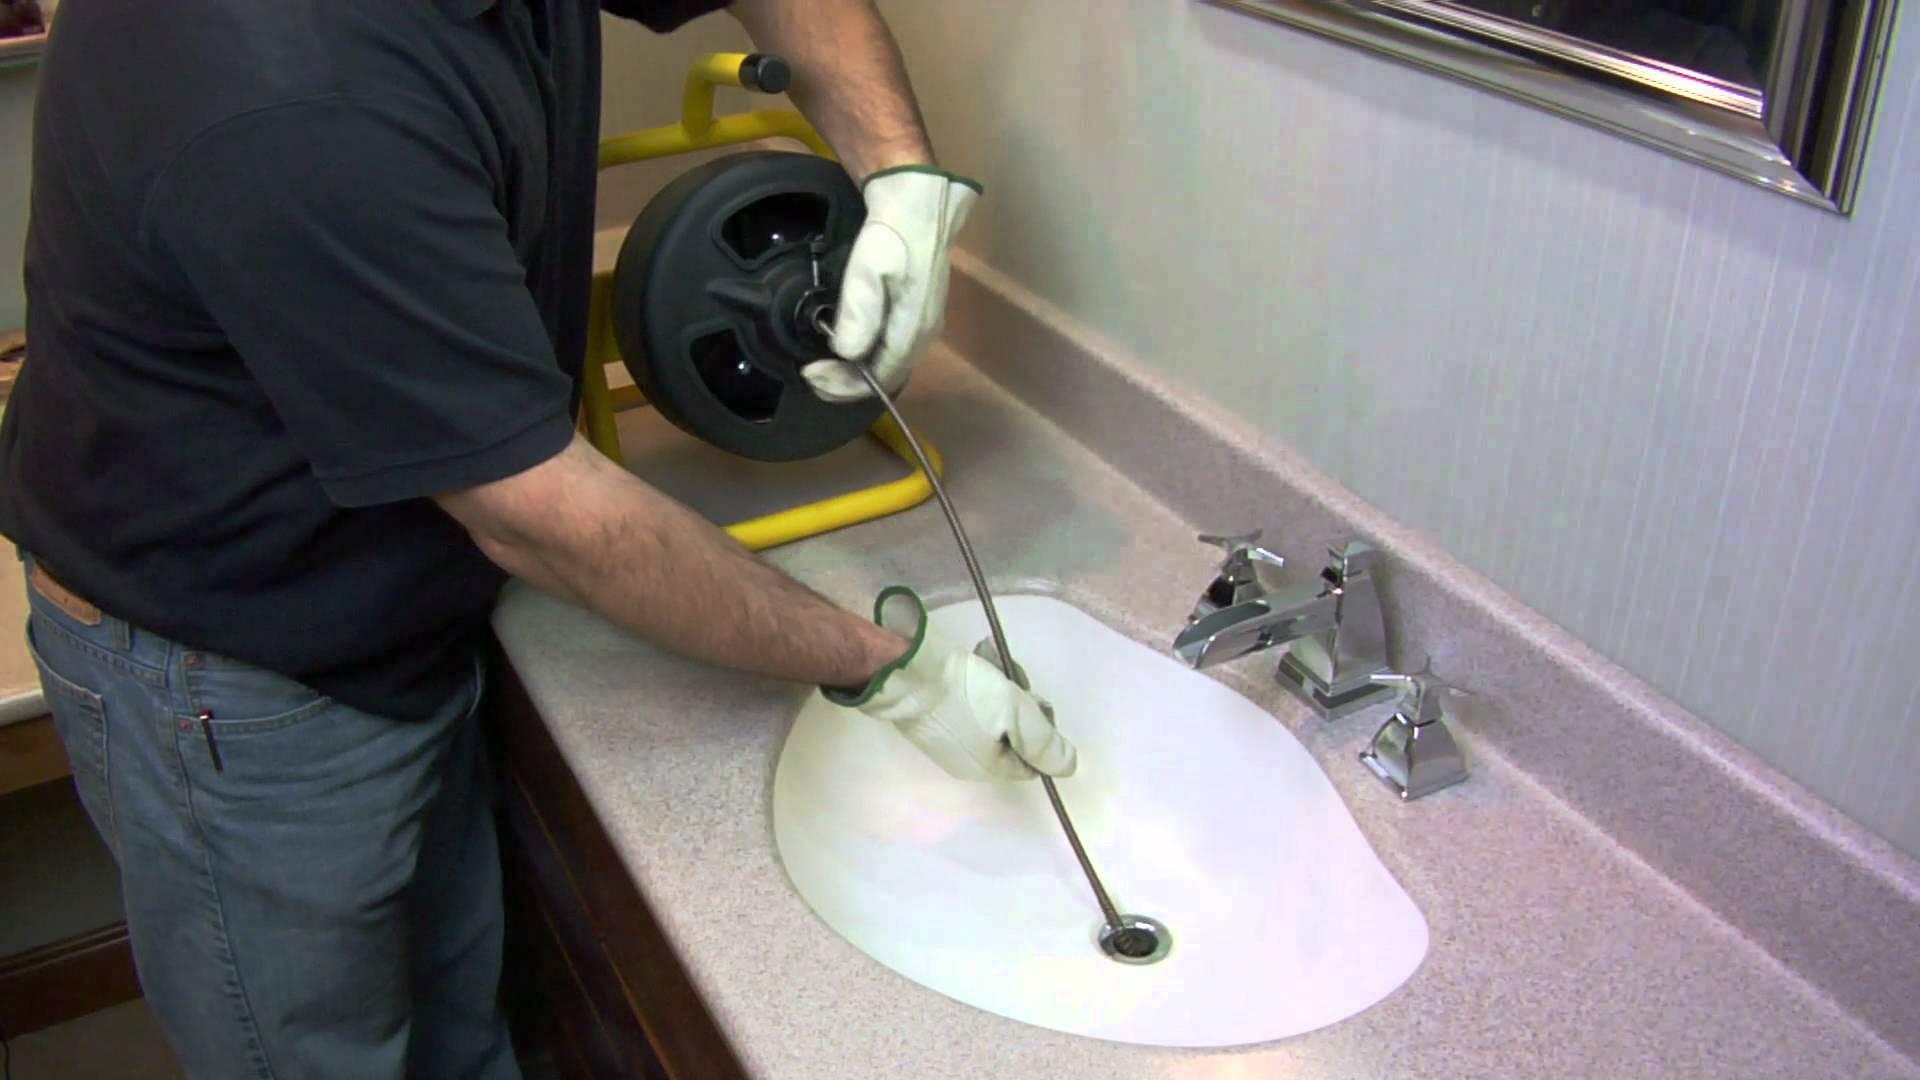
If you are experiencing a clogged drain in your bathroom sink, disconnecting the sink stopper is often the first step to clearing the clog. To do this, locate the horizontal rod and loosen the nut holding it in place. Then, remove the rod and take out the stopper. Use a drain snake or plunger to remove any debris that may be causing the clog. Once the drain is clear, you can easily put the stopper back in place. Disconnecting a Bathroom Sink Stopper for Drain Cleaning
Disconnecting a Bathroom Sink Stopper for Drain Cleaning

Regular maintenance of your bathroom sink stopper can prevent clogs and keep your sink running smoothly. To remove the stopper for maintenance, follow the steps outlined above. Make sure to also clean the horizontal rod and drain pipe before putting the stopper back in place. With these simple maintenance steps, you can keep your bathroom sink stopper functioning properly for years to come. How to Remove a Bathroom Sink Stopper for Maintenance

How to Remove a Bathroom Sink Stopper for Maintenance

How to Disconnect Your Bathroom Sink Stopper for a Cleaner and More Functional Space

Clearing Clogs and Improving Drainage
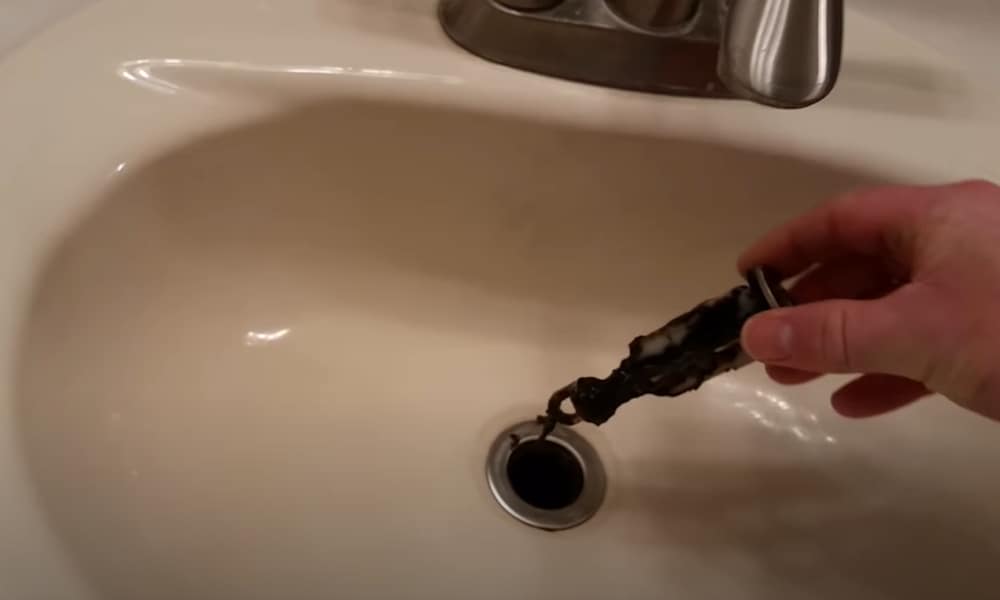 When it comes to maintaining a clean and functional bathroom, one often overlooked task is disconnecting the sink stopper. Over time, hair, soap scum, and other debris can build up in the stopper mechanism, causing clogs and slowing down drainage. By regularly disconnecting and cleaning your bathroom sink stopper, you can improve the overall functionality of your sink and prevent costly plumbing issues down the line. In this article, we will guide you through the simple process of disconnecting your bathroom sink stopper.
Gathering Your Tools
 Before you begin, make sure you have all the necessary tools on hand. You will need a pair of pliers, a screwdriver, and a small bucket or container to catch any water that may be trapped in the sink. It is also helpful to have a pair of gloves to protect your hands from any debris.
Removing the Stopper
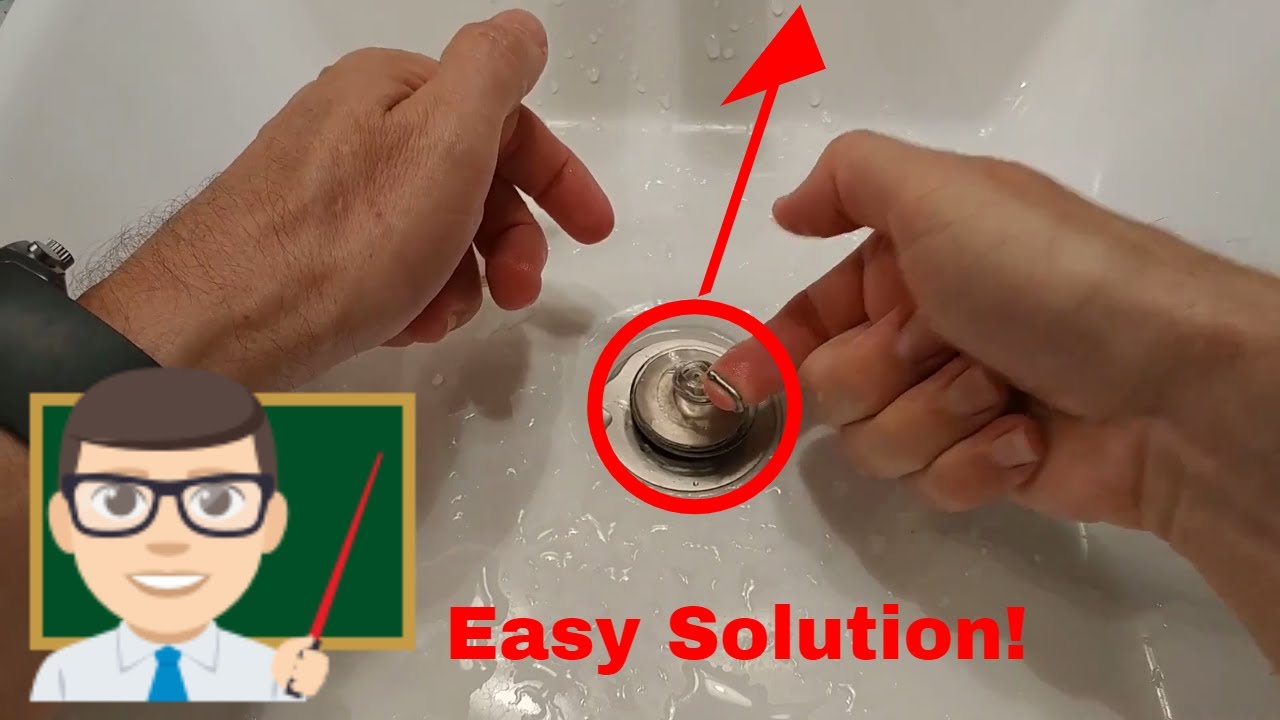
 Start by locating the lever or knob that controls the sink stopper. This is usually located at the back of the sink, near the faucet. Use your pliers to loosen the nut that holds the lever or knob in place. Once the nut is loosened, you can easily remove the lever or knob from the sink.
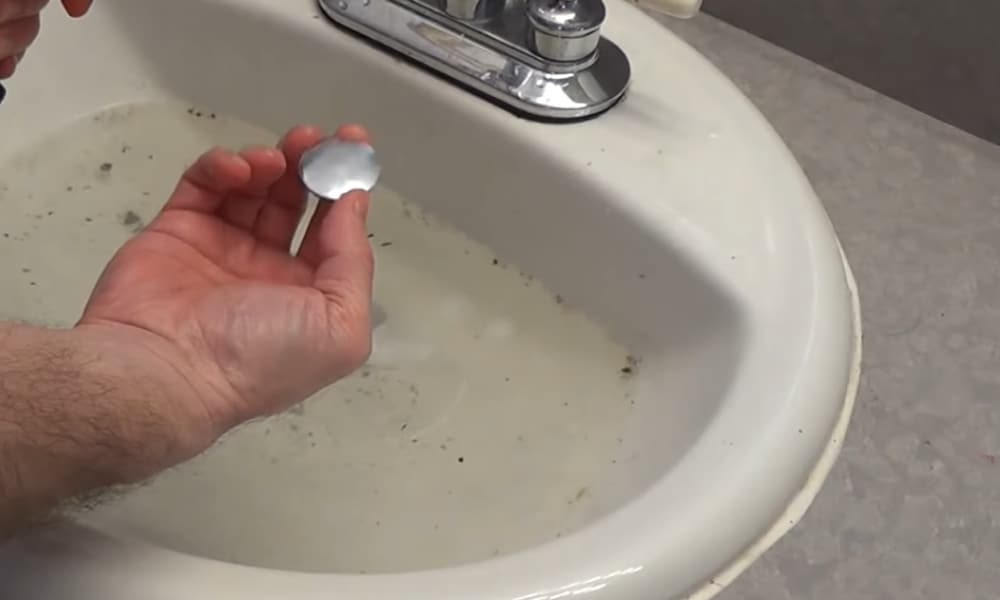
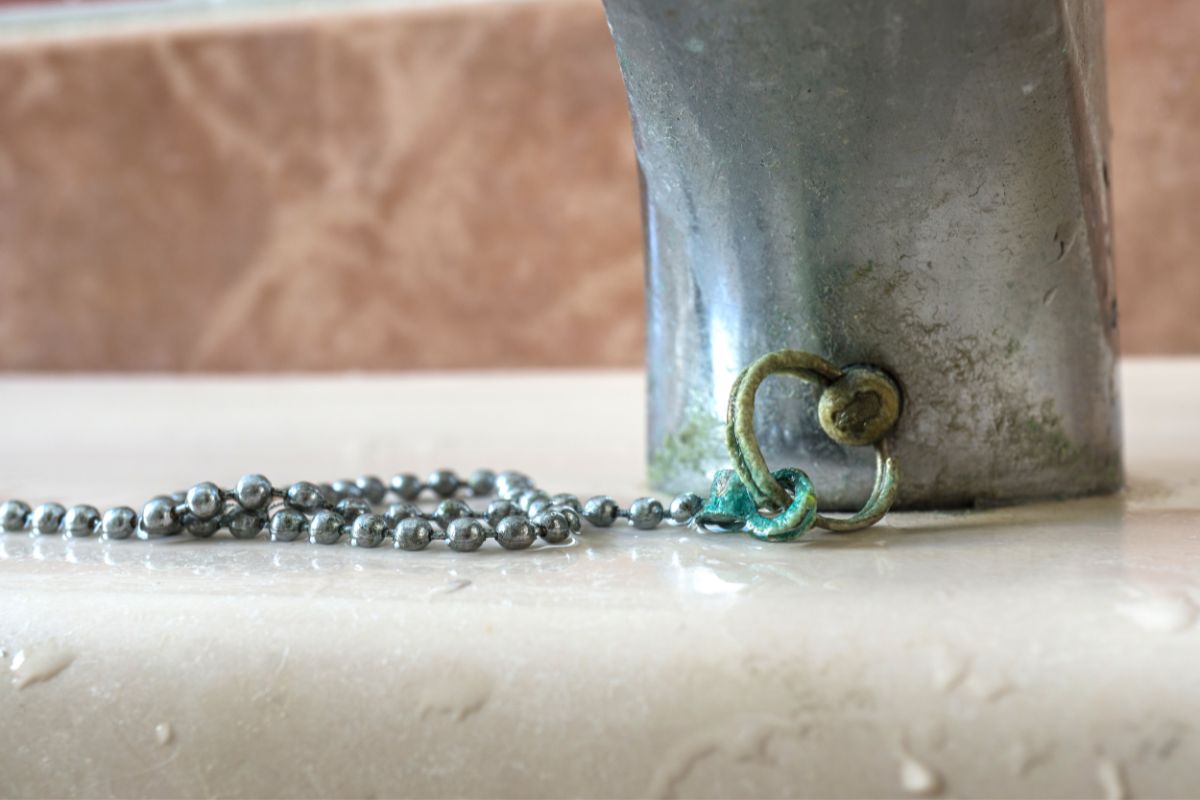
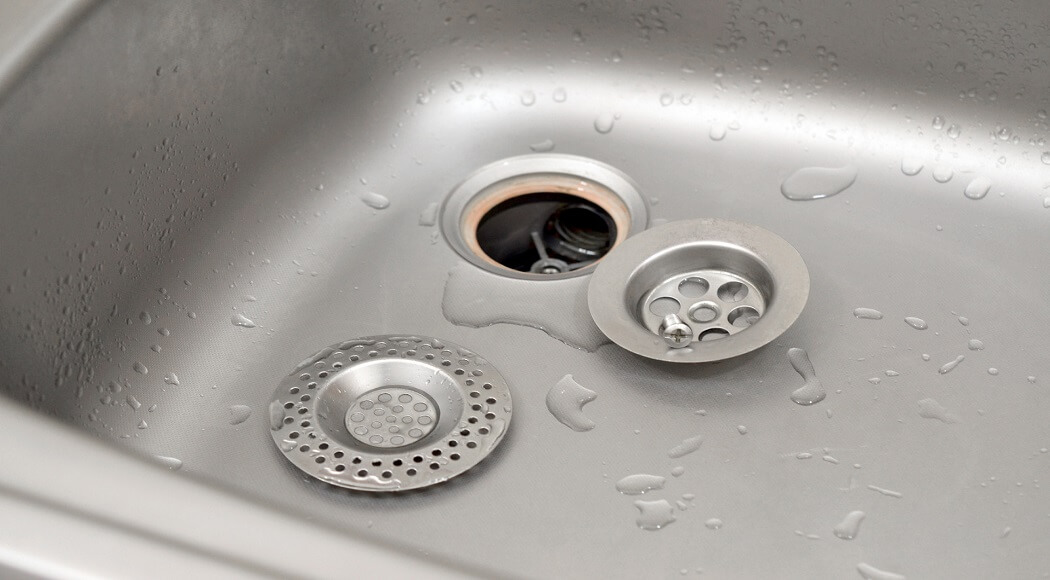
Next, remove the sink stopper by pulling it straight up and out of the drain. If your stopper is connected to a chain, use your screwdriver to detach it from the bottom of the sink. Be sure to place the stopper in your bucket or container to catch any water or debris that may be trapped in it.
Start by locating the lever or knob that controls the sink stopper. This is usually located at the back of the sink, near the faucet. Use your pliers to loosen the nut that holds the lever or knob in place. Once the nut is loosened, you can easily remove the lever or knob from the sink.
Next, remove the sink stopper by pulling it straight up and out of the drain. If your stopper is connected to a chain, use your screwdriver to detach it from the bottom of the sink. Be sure to place the stopper in your bucket or container to catch any water or debris that may be trapped in it.
Cleaning and Reattaching the Stopper
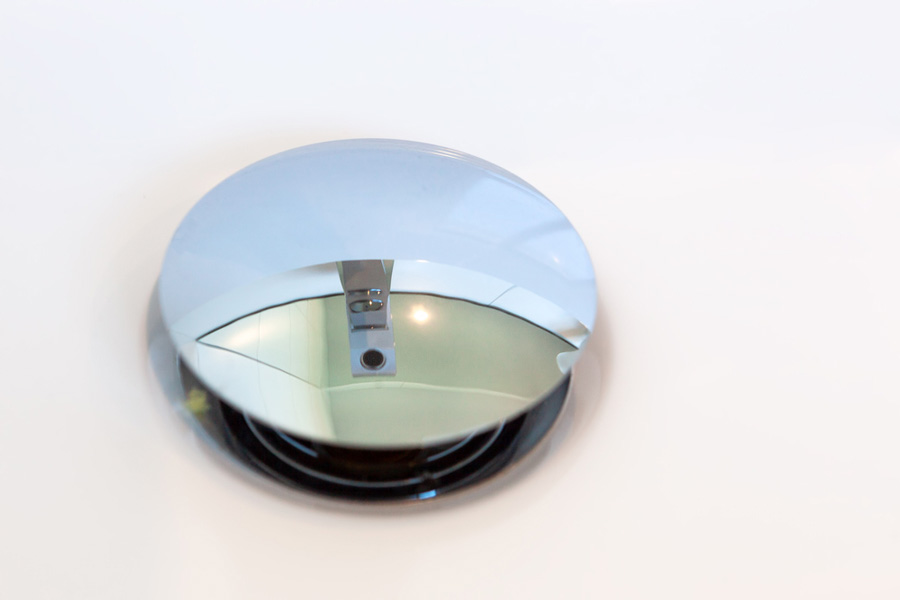
:max_bytes(150000):strip_icc()/bathroom-sink-drain-installation-2718843-07-2b728cbd5c994dc39179346f51bb6421.jpg) With the stopper removed, you can now clean it thoroughly. Use a mixture of hot water and mild soap to wash away any buildup or grime. You can also use a toothbrush or small scrub brush to get into the small crevices of the stopper.
Once the stopper is clean, reattach it to the chain (if applicable) and place it back into the drain. Make sure it is sitting correctly and that the lever or knob is in the "open" position. Use your pliers to tighten the nut and secure the lever or knob back in place.
With the stopper removed, you can now clean it thoroughly. Use a mixture of hot water and mild soap to wash away any buildup or grime. You can also use a toothbrush or small scrub brush to get into the small crevices of the stopper.
Once the stopper is clean, reattach it to the chain (if applicable) and place it back into the drain. Make sure it is sitting correctly and that the lever or knob is in the "open" position. Use your pliers to tighten the nut and secure the lever or knob back in place.
Final Steps
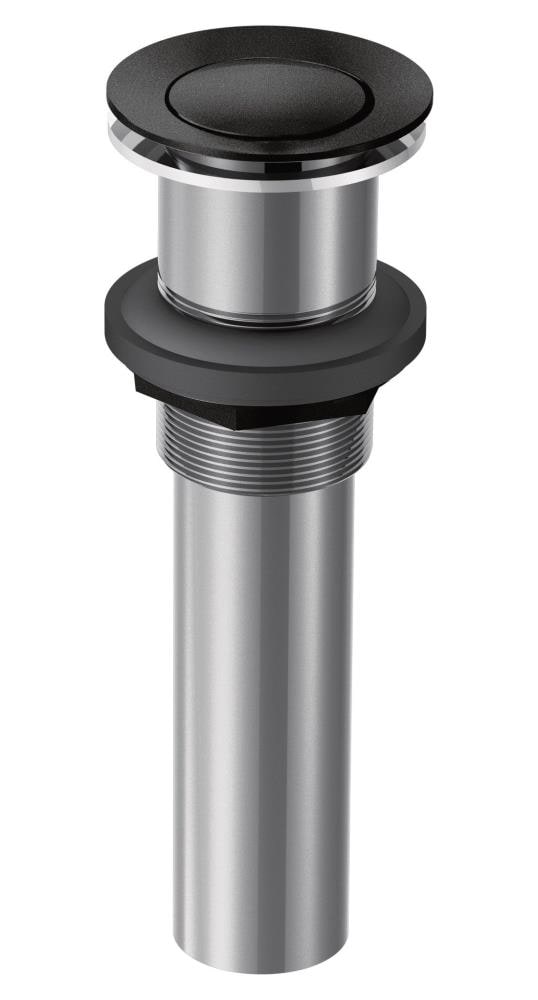
 To ensure that your sink functions properly, run some hot water down the drain for a few minutes. This will help to flush out any remaining debris and ensure that the stopper is working correctly. If you notice any issues with drainage or the stopper becoming clogged again, it may be time to replace it with a new one.
By regularly disconnecting and cleaning your bathroom sink stopper, you can prevent clogs and improve the overall functionality of your sink. This simple task can save you time and money in the long run, and keep your bathroom looking and functioning at its best. So don't forget to add this quick and easy task to your regular cleaning routine.
To ensure that your sink functions properly, run some hot water down the drain for a few minutes. This will help to flush out any remaining debris and ensure that the stopper is working correctly. If you notice any issues with drainage or the stopper becoming clogged again, it may be time to replace it with a new one.
By regularly disconnecting and cleaning your bathroom sink stopper, you can prevent clogs and improve the overall functionality of your sink. This simple task can save you time and money in the long run, and keep your bathroom looking and functioning at its best. So don't forget to add this quick and easy task to your regular cleaning routine.