A dining room light is an essential element of any dining space, providing both functional lighting and adding to the overall aesthetic. However, if you're not familiar with electrical work, the idea of connecting a dining room light fixture may seem daunting. But fear not, with the right guide and a little bit of know-how, you can easily install a dining room light fixture in no time.How to Connect a Dining Room Light Fixture


How to Connect a Dining Room Light Fixture

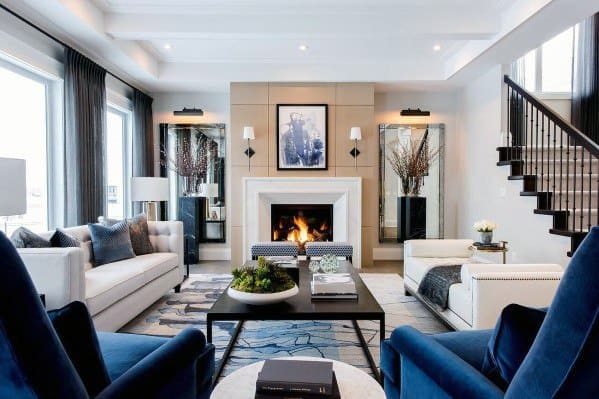
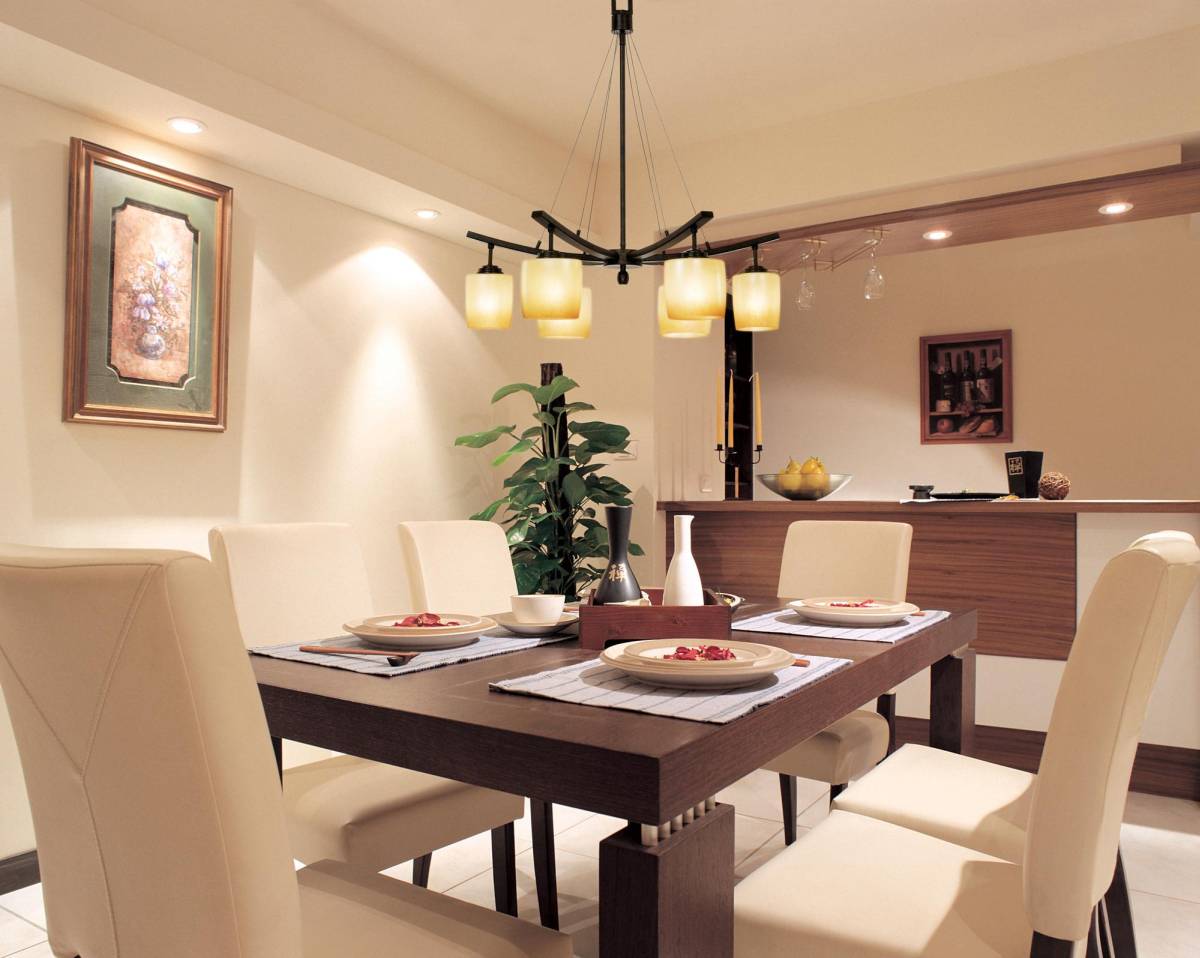
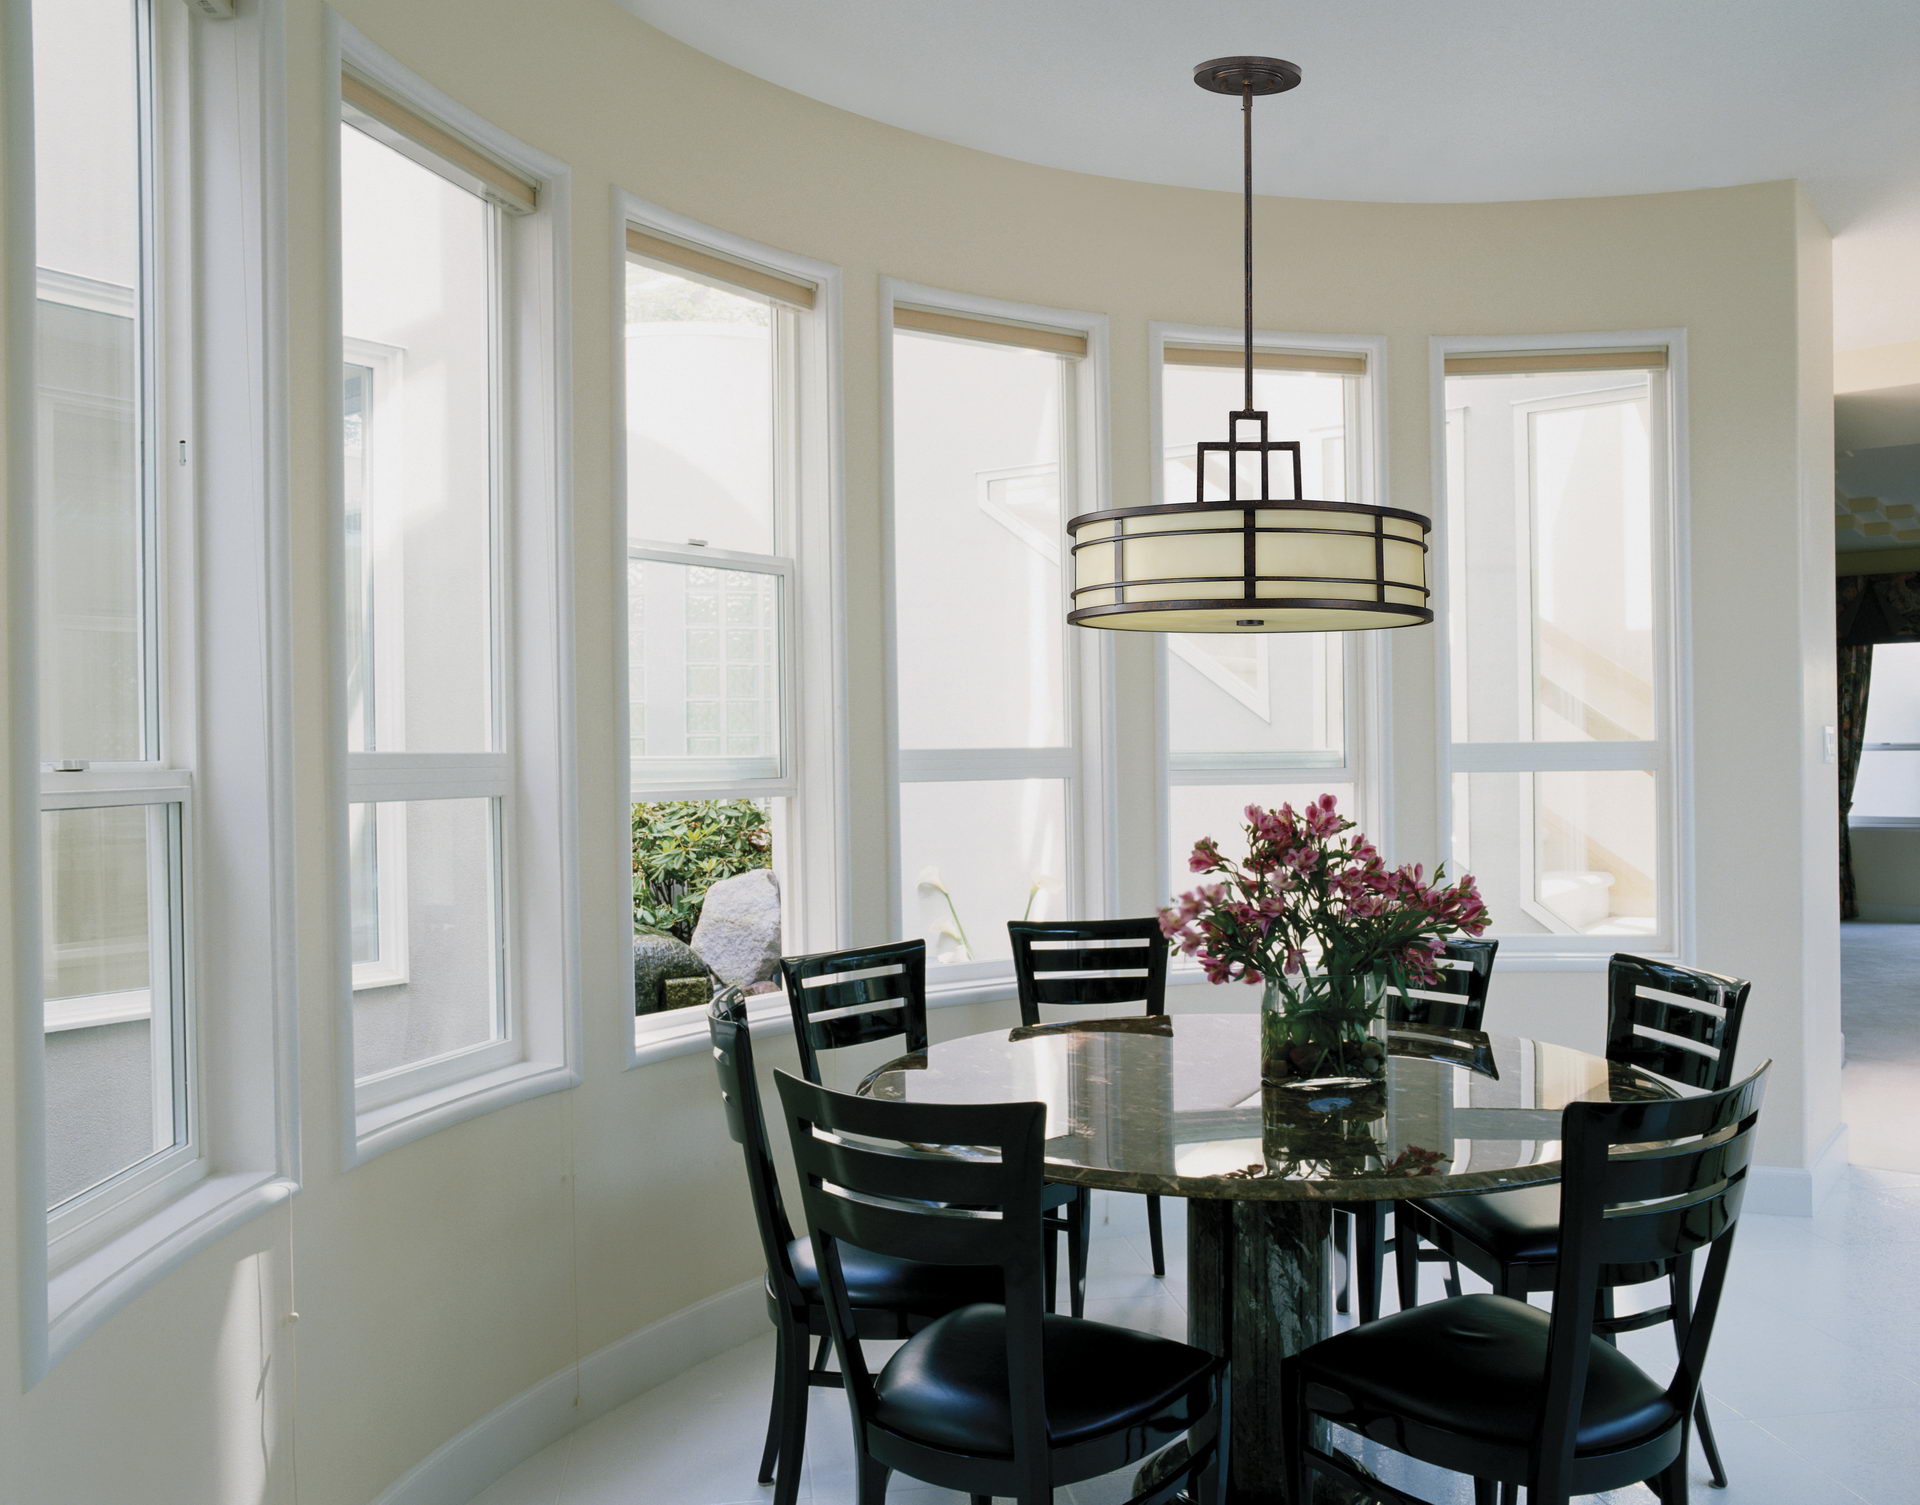
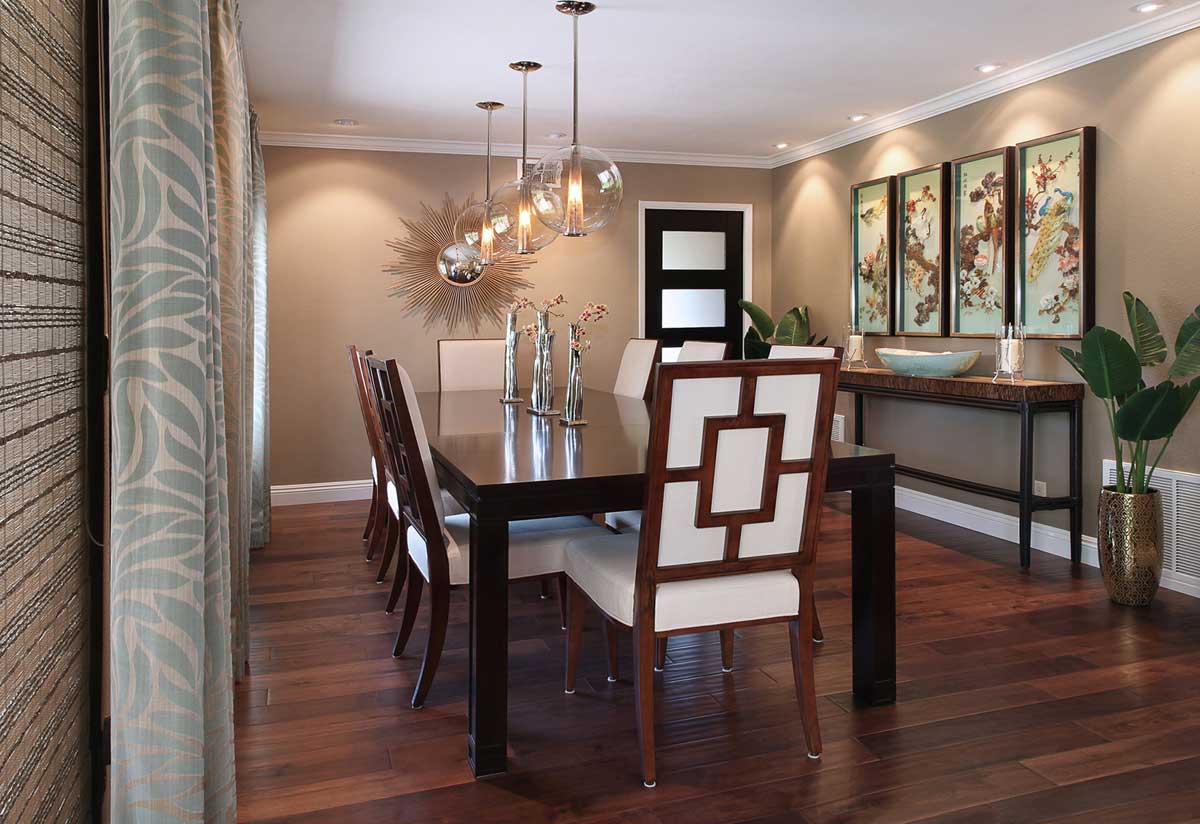
:max_bytes(150000):strip_icc()/dining-room-light-fixture-ideas-4-sarah-fultz-2-cc98d4ff43b14484b5b7caec932a2e6d.jpeg)


Before you begin, it's important to familiarize yourself with the wiring in your dining room. If you have an existing light fixture, this will make the process much easier. If not, you may need to hire a professional electrician to install the necessary wiring for your new dining room light. Start by turning off the power to the dining room at the circuit breaker. This ensures your safety while working on the wiring. Next, remove the old light fixture, taking care to note how it was connected and which wires were used.Dining Room Light Wiring Guide


Dining Room Light Wiring Guide

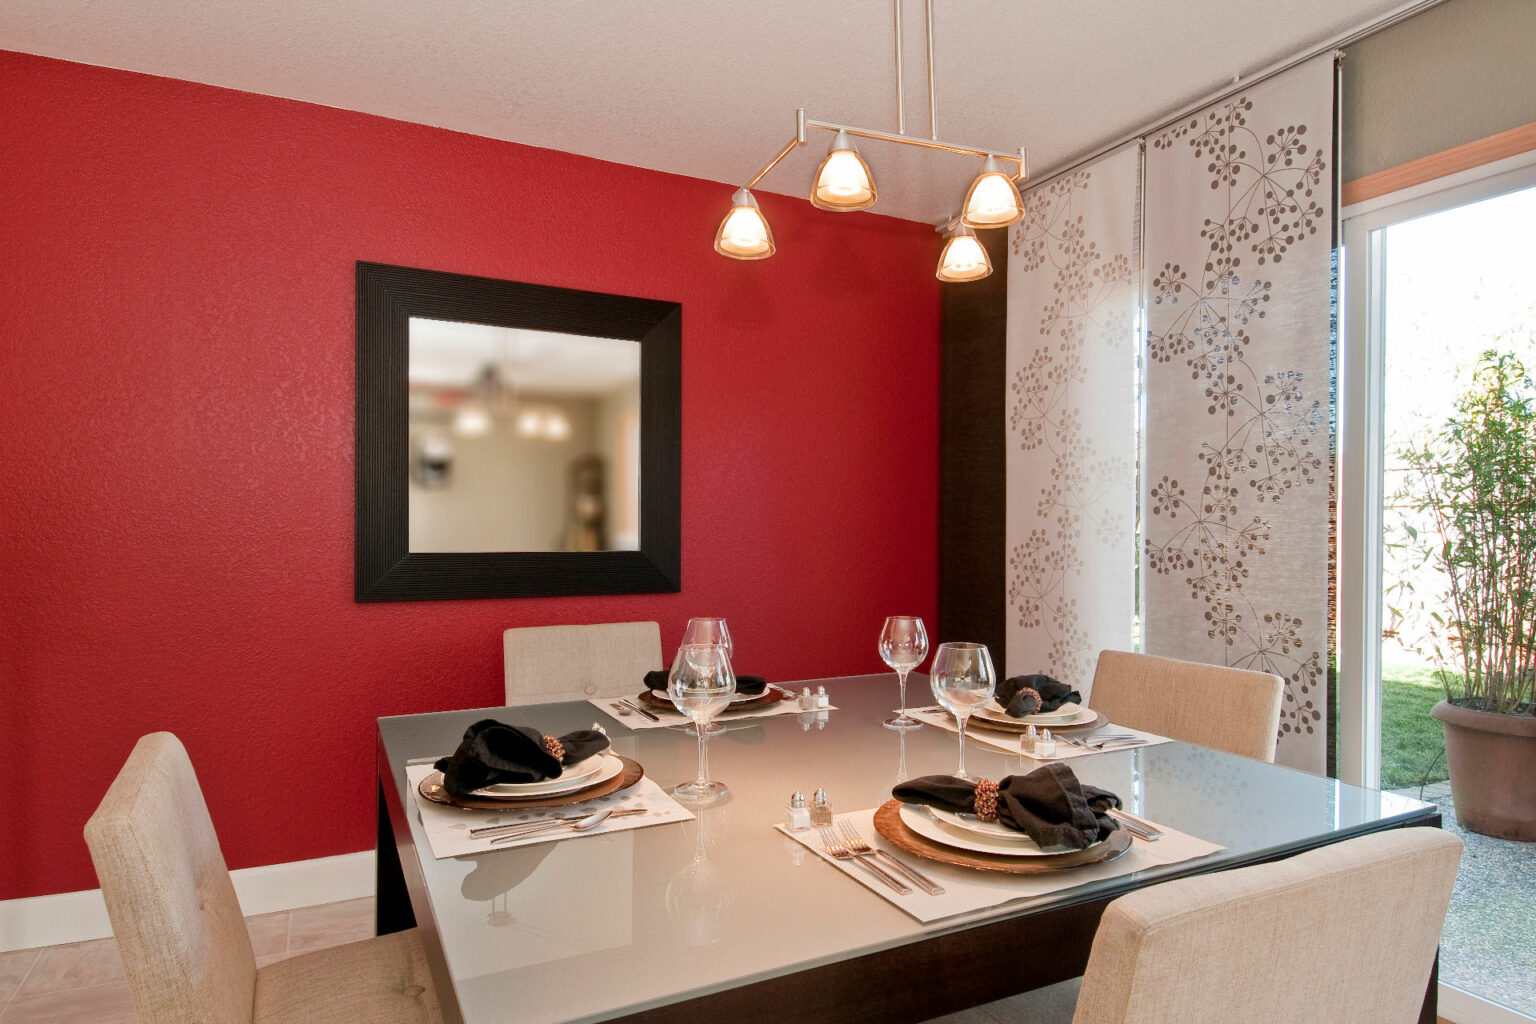
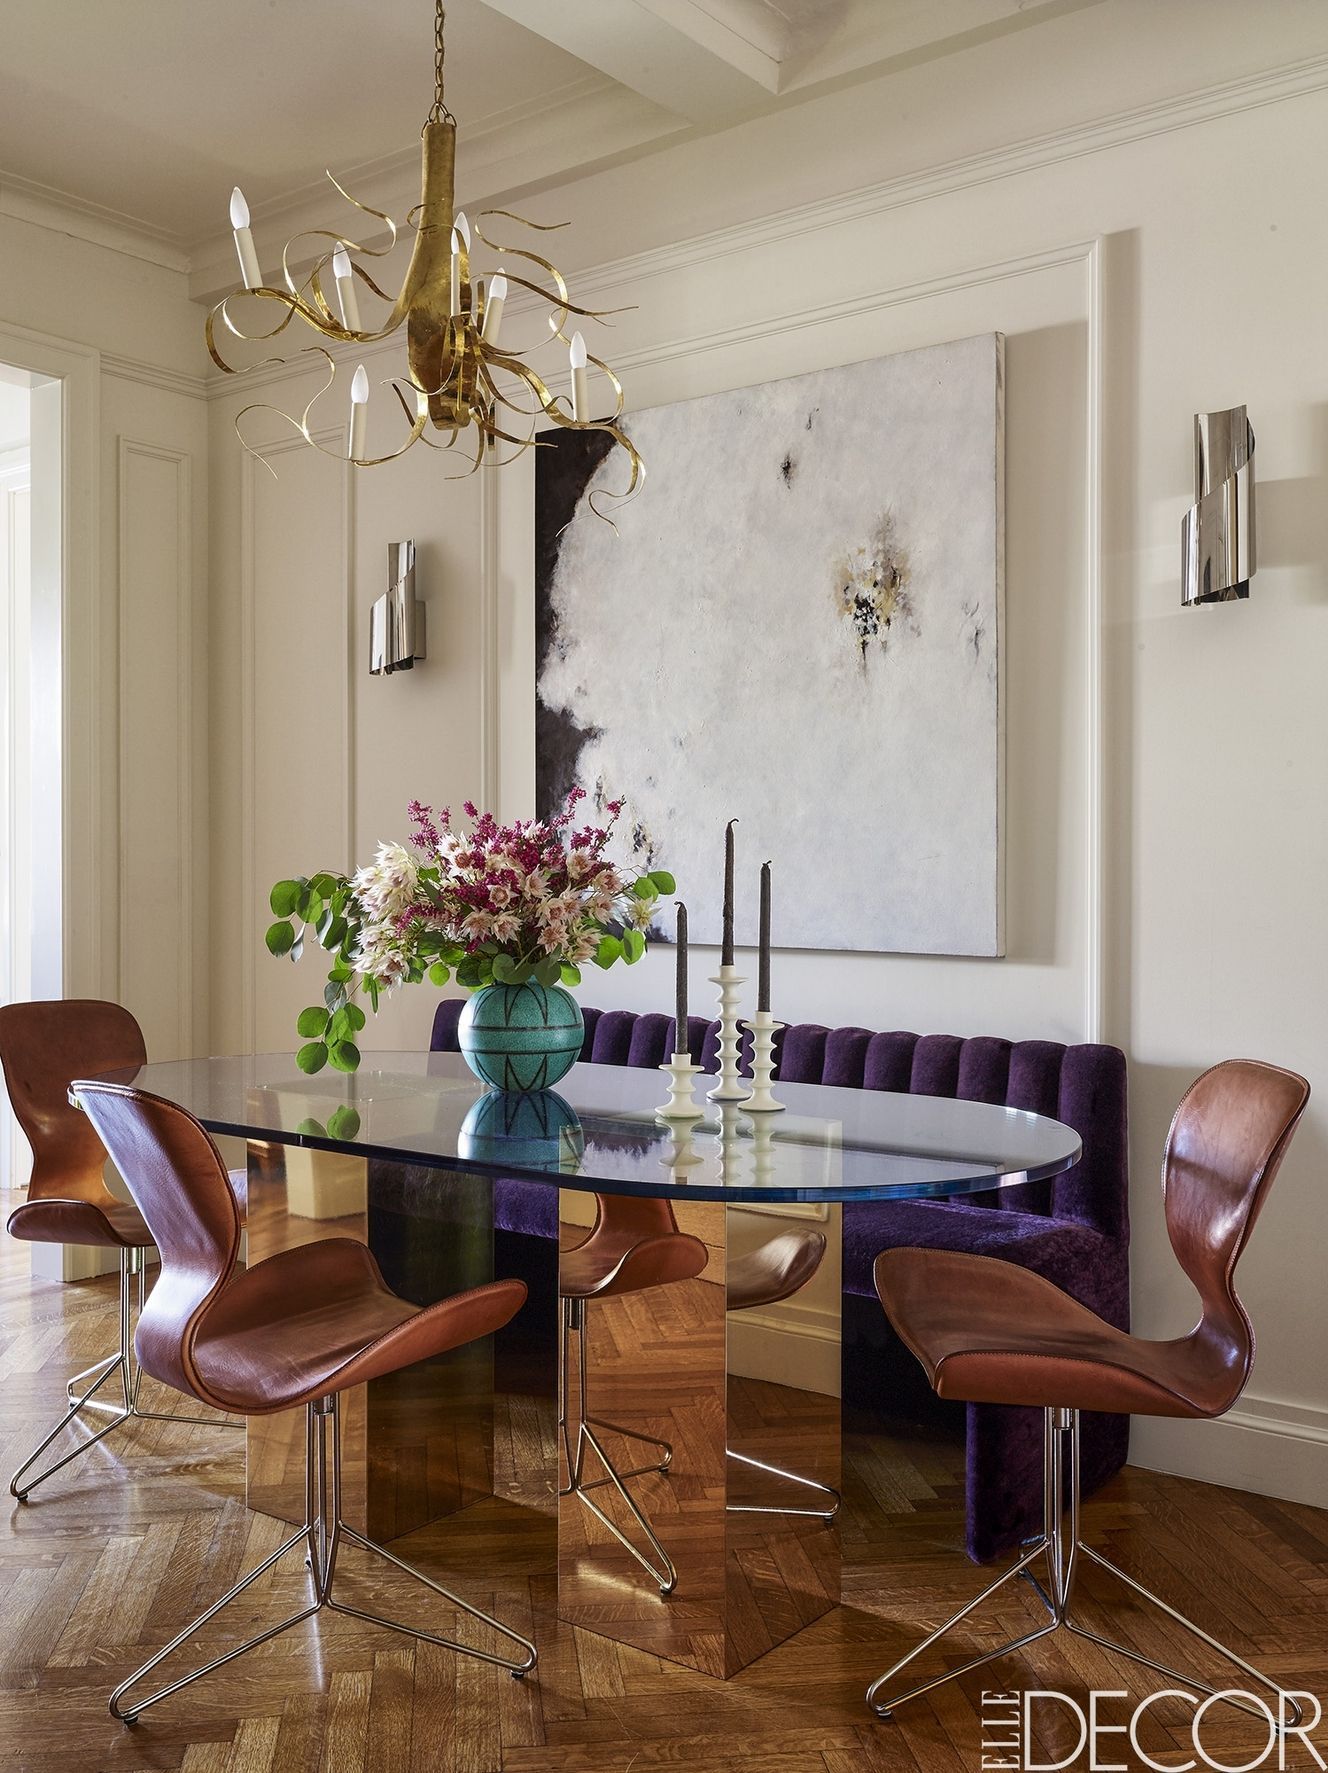
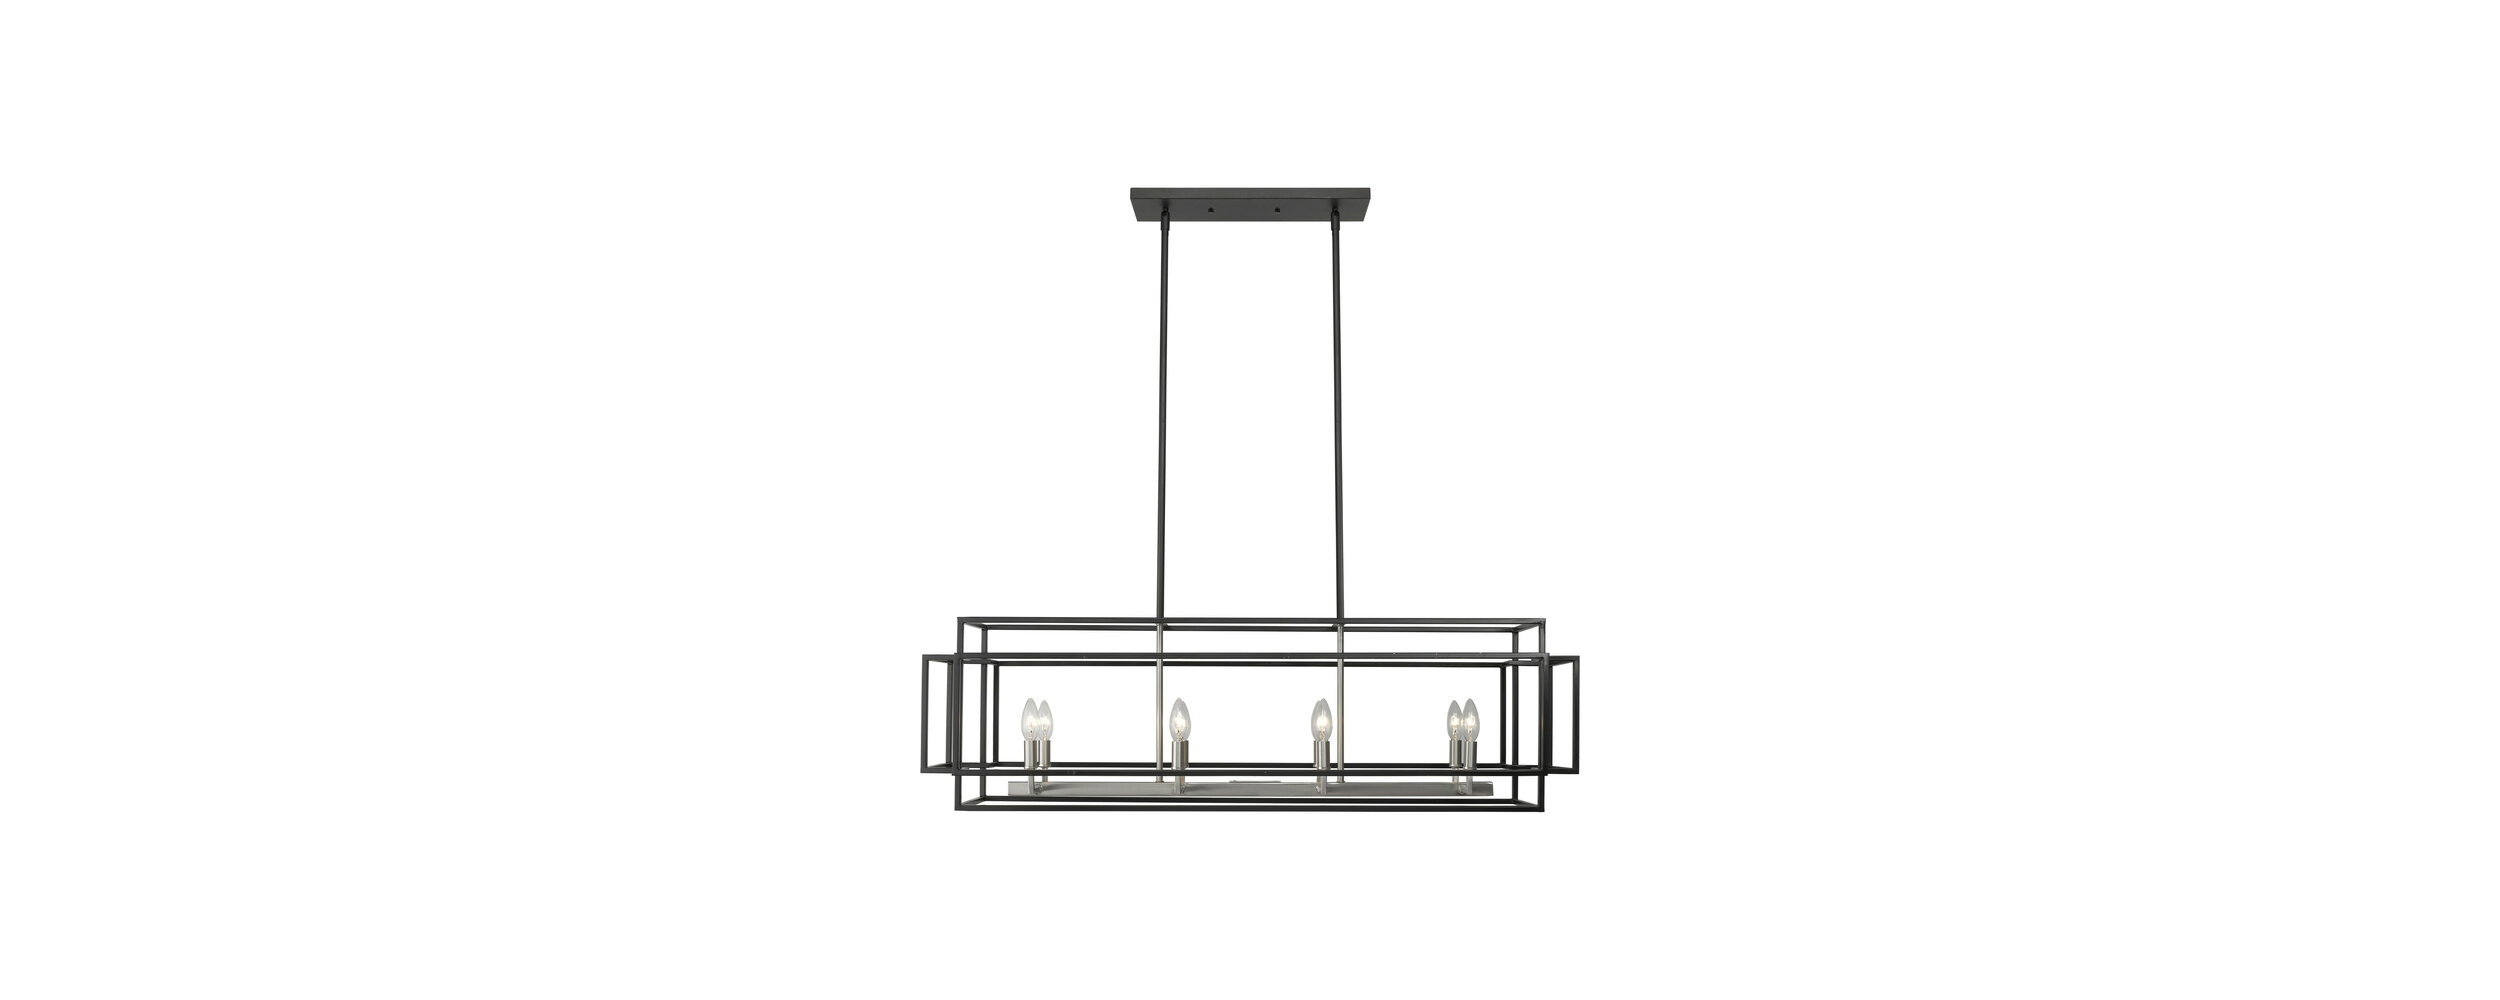
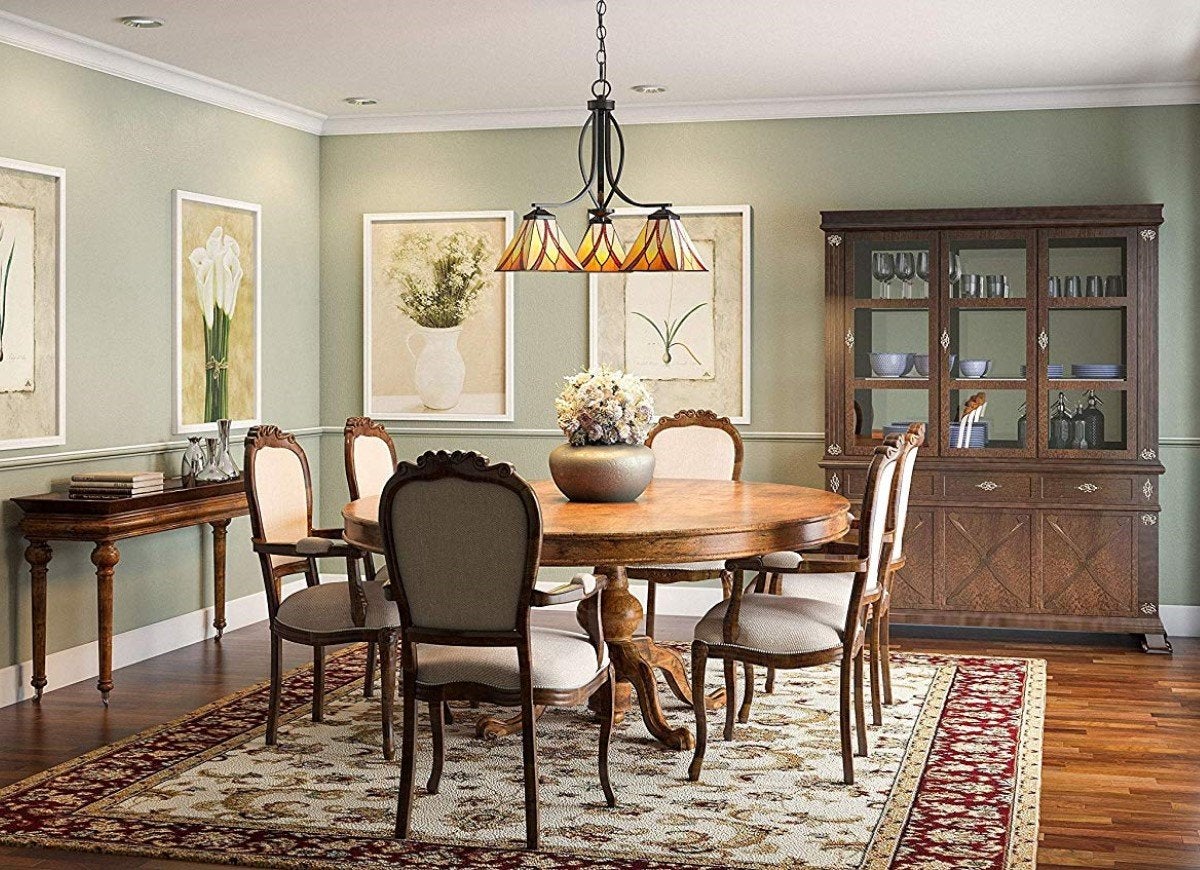
/fin-27-sputnick-light-fixture-5a51622a5b6e2400374955c3.jpg)
Now that you have a basic understanding of the wiring in your dining room, it's time to install your new light fixture. Follow these steps for a successful installation: Step 1: Assemble the light fixture according to the manufacturer's instructions. Make sure all the necessary parts and hardware are included. Step 2: Attach the mounting bracket to the ceiling electrical box using the included screws. This will provide a sturdy base for your light fixture. Step 3: Connect the wires from the fixture to the corresponding wires in your ceiling electrical box. This typically involves connecting the black or red wire to the black or red wire, the white wire to the white wire, and the green or bare copper wire to the green or bare copper wire. Use wire nuts to secure the connections. Step 4: Gently tuck the wires into the electrical box and secure the light fixture to the mounting bracket using the included screws. Step 5: Turn the power back on and test the light to ensure it is working properly.Step-by-Step: Installing a Dining Room Light


Step-by-Step: Installing a Dining Room Light


The most crucial aspect of connecting a dining room light fixture is ensuring the electrical connections are done correctly. Improper connections can lead to faulty lighting or even electrical hazards. If you're unsure about how to make the connections, don't hesitate to hire a professional electrician for assistance. Remember to always turn off the power at the circuit breaker before working on any electrical connections.Dining Room Light Electrical Connections


Dining Room Light Electrical Connections


Here are some additional tips and tricks to keep in mind when wiring a dining room light: Tip 1: Use a voltage tester to ensure the power is off before touching any wires. Tip 2: Don't be afraid to use wire nuts to secure connections. They are a safe and effective way to join wires together. Tip 3: Label the wires as you disconnect them from the old light fixture to make reconnecting them easier. Tip 4: If you're installing a chandelier or other heavy light fixture, use a support brace to ensure it is securely mounted to the ceiling.Wiring a Dining Room Light: Tips and Tricks


Wiring a Dining Room Light: Tips and Tricks


If you're new to DIY projects, installing a dining room light fixture can be a great way to gain some experience. Just be sure to follow the manufacturer's instructions and consult a professional if you have any doubts. Remember, safety should always be your top priority when working with electricity. If you're not comfortable with the process, it's best to leave it to the professionals.Dining Room Light Fixture Installation: A Beginner's Guide


Dining Room Light Fixture Installation: A Beginner's Guide

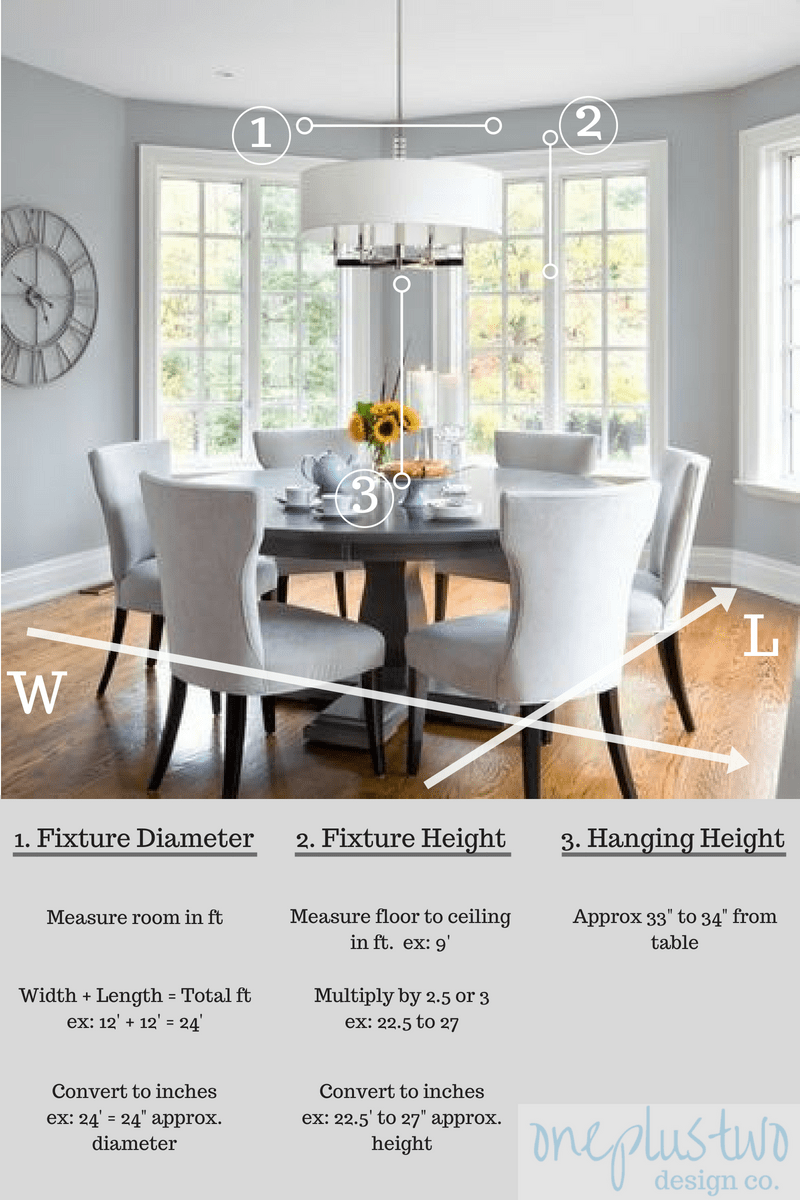
If you're a visual learner, it can be helpful to have a wiring diagram to reference during the installation process. Many light fixtures come with a wiring diagram, or you can easily find one online for your specific light fixture. Remember to always follow the diagram and instructions carefully to ensure a successful installation.Dining Room Light Wiring Diagram


Dining Room Light Wiring Diagram


Even with proper instructions and precautions, mistakes can still happen during the installation process. Here are some common mistakes to avoid when connecting a dining room light fixture: Mistake 1: Not turning off the power before working on the wiring. Mistake 2: Mixing up the wires and making incorrect connections. Mistake 3: Not providing proper support for heavy light fixtures. Mistake 4: Cutting wires too short, making it difficult to make connections.Common Mistakes When Installing a Dining Room Light


Common Mistakes When Installing a Dining Room Light


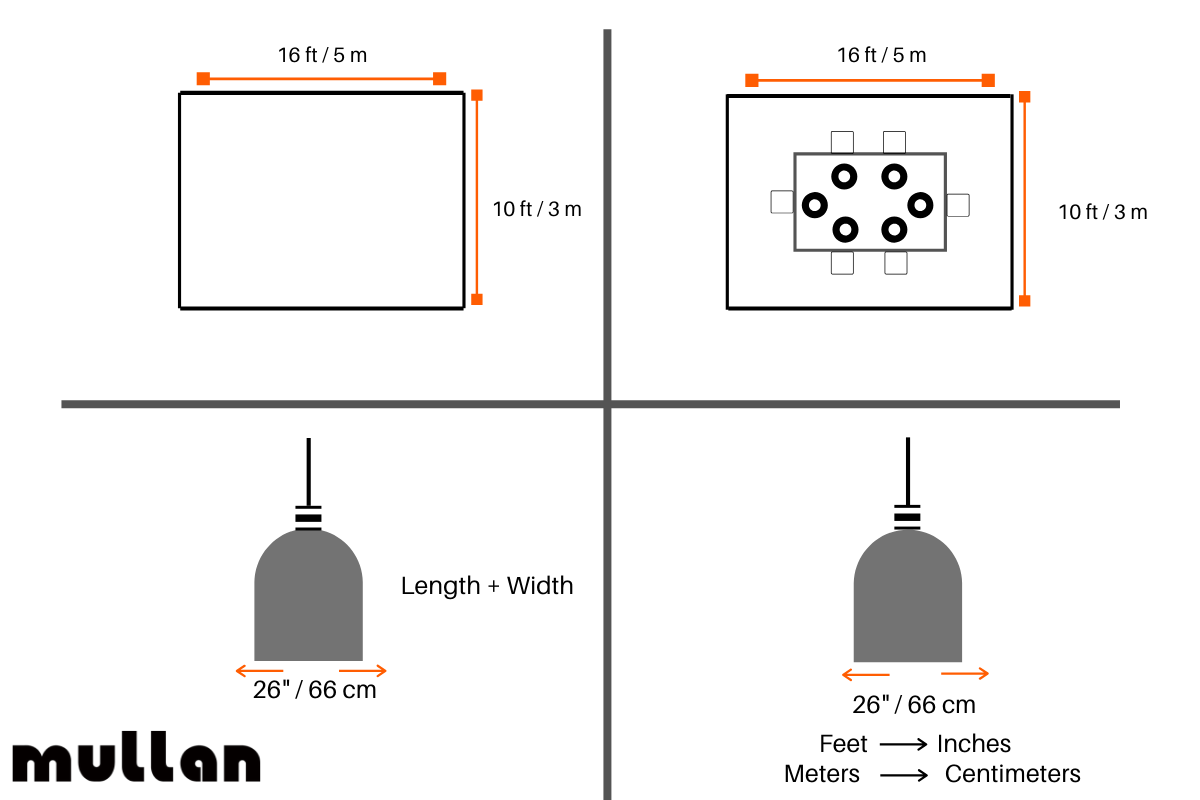
When it comes to choosing a dining room light fixture, there are many options to consider. You want to choose a light that not only provides adequate lighting but also complements your dining room décor. Consider the size and style of your dining room, as well as the height of your ceiling, when selecting a light fixture. You may also want to invest in dimmable lights to create a more intimate dining atmosphere.How to Choose the Right Dining Room Light for Your Space


How to Choose the Right Dining Room Light for Your Space


If you encounter any issues with your dining room light connection, it's important to troubleshoot the problem right away. Here are some common troubleshooting steps: Step 1: Double-check all connections to ensure they are secure and properly connected. Step 2: Use a voltage tester to check for power and make sure the circuit breaker is on. Step 3: If the light still isn't working, consult a professional electrician for further assistance. With the right knowledge and precautions, connecting a dining room light fixture can be a simple and rewarding DIY project. Just remember to take your time and prioritize safety throughout the process. Now that you're armed with all the necessary information, it's time to get started on your dining room light connection. Enjoy your newly installed light and bask in the warm glow it adds to your dining space.Dining Room Light Connection Troubleshooting

Dining Room Light Connection Troubleshooting
Dining Room Light Connection: The Perfect Addition to Your Home Design
The Importance of Proper Lighting in House Design
 When it comes to designing a house, lighting is often overlooked but it plays a crucial role in creating the perfect ambiance and atmosphere. Proper lighting can enhance the overall look and feel of a space, making it more inviting and comfortable. And when it comes to the dining room, lighting is even more important as it sets the mood for meals and gatherings with friends and family.
The Benefits of Installing Dining Room Lights
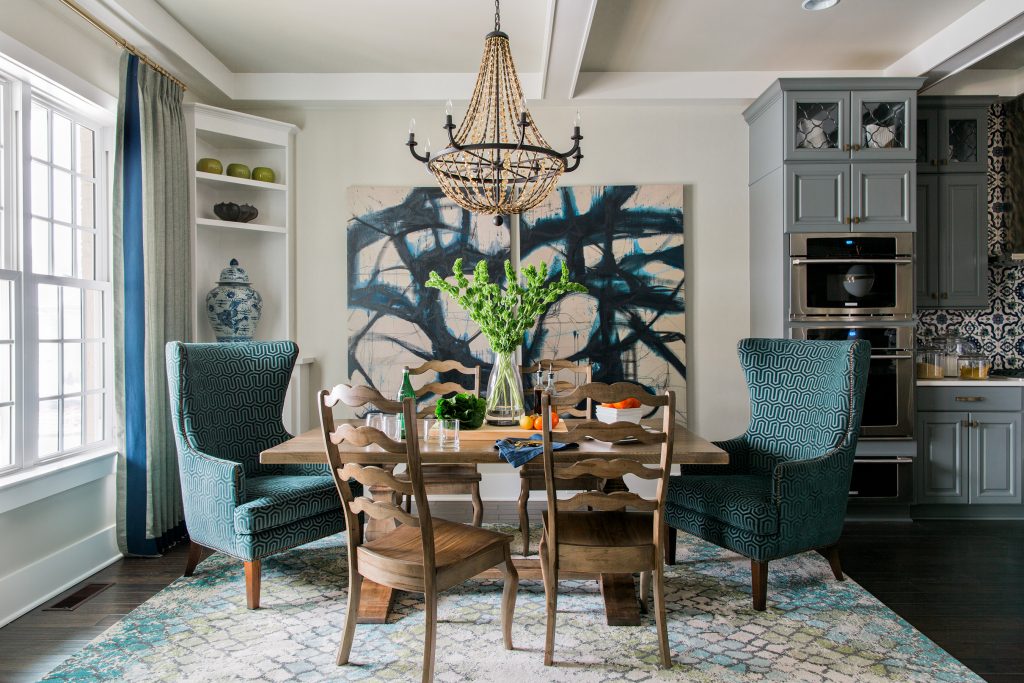
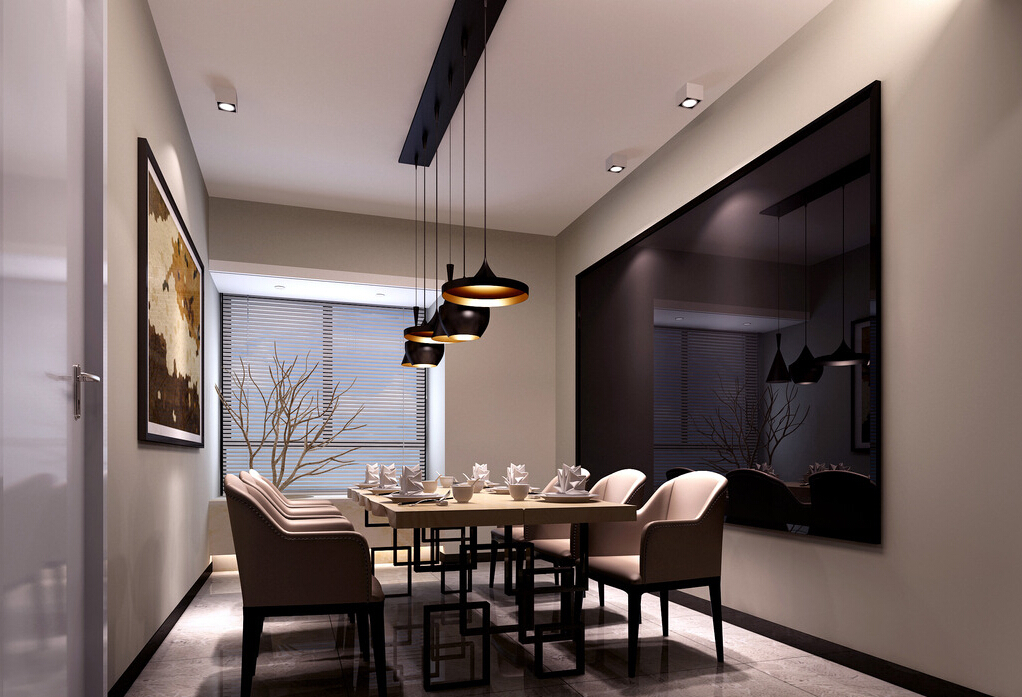
 One of the main benefits of having proper dining room lights is that it creates a focal point in the room. A beautiful chandelier or pendant light can instantly draw the eye and add a touch of elegance and sophistication to the space. It also provides functional lighting for meals, making sure that everyone can see what they are eating and enjoy their food.
In addition, dining room lights can also enhance the overall design of your home. With a wide variety of styles and designs available, you can easily find a light fixture that complements your home's aesthetic. Whether you prefer a modern and sleek look or a more traditional and ornate design, there is a dining room light that will suit your taste and elevate your home's design.
One of the main benefits of having proper dining room lights is that it creates a focal point in the room. A beautiful chandelier or pendant light can instantly draw the eye and add a touch of elegance and sophistication to the space. It also provides functional lighting for meals, making sure that everyone can see what they are eating and enjoy their food.
In addition, dining room lights can also enhance the overall design of your home. With a wide variety of styles and designs available, you can easily find a light fixture that complements your home's aesthetic. Whether you prefer a modern and sleek look or a more traditional and ornate design, there is a dining room light that will suit your taste and elevate your home's design.
How to Connect Your Dining Room Light
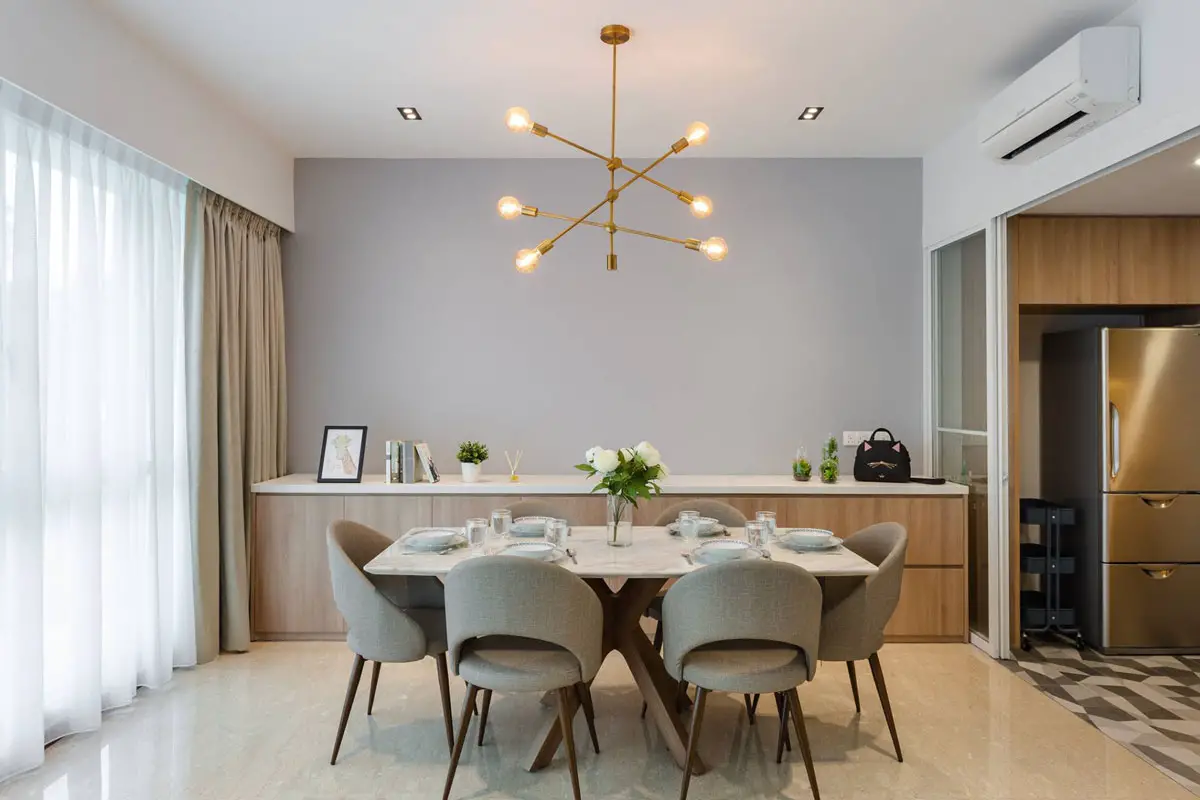
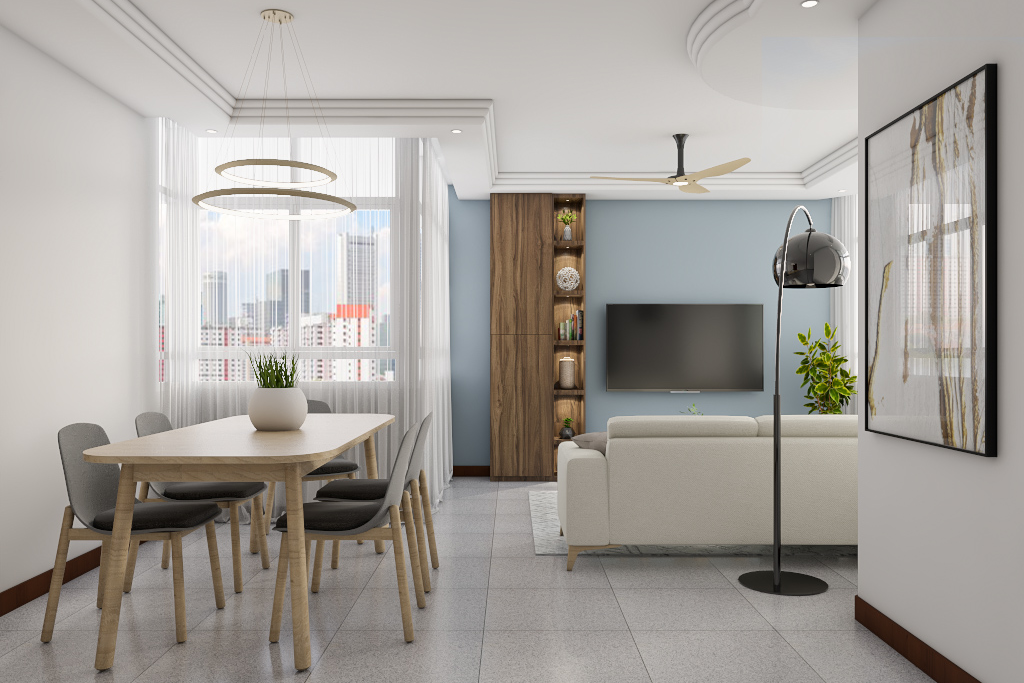
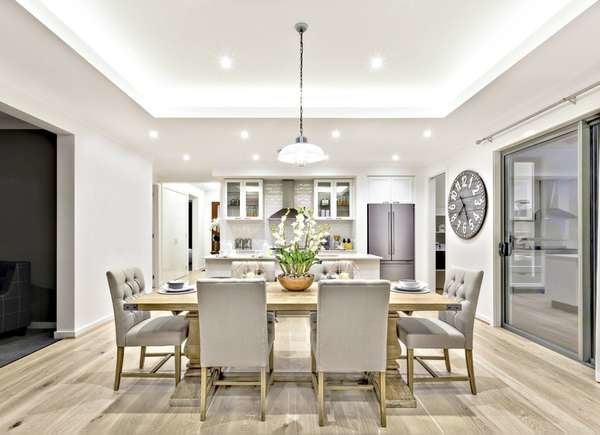
/dining-room-lighting-4157465-hero-28e9226fa7fb4f7e9f86a062ff22111c.jpg) Connecting a dining room light may seem like a daunting task, but it can easily be done with the right tools and knowledge. The first step is to make sure that you have the correct wiring in place. If you are unsure, it is best to hire a professional electrician to avoid any potential hazards.
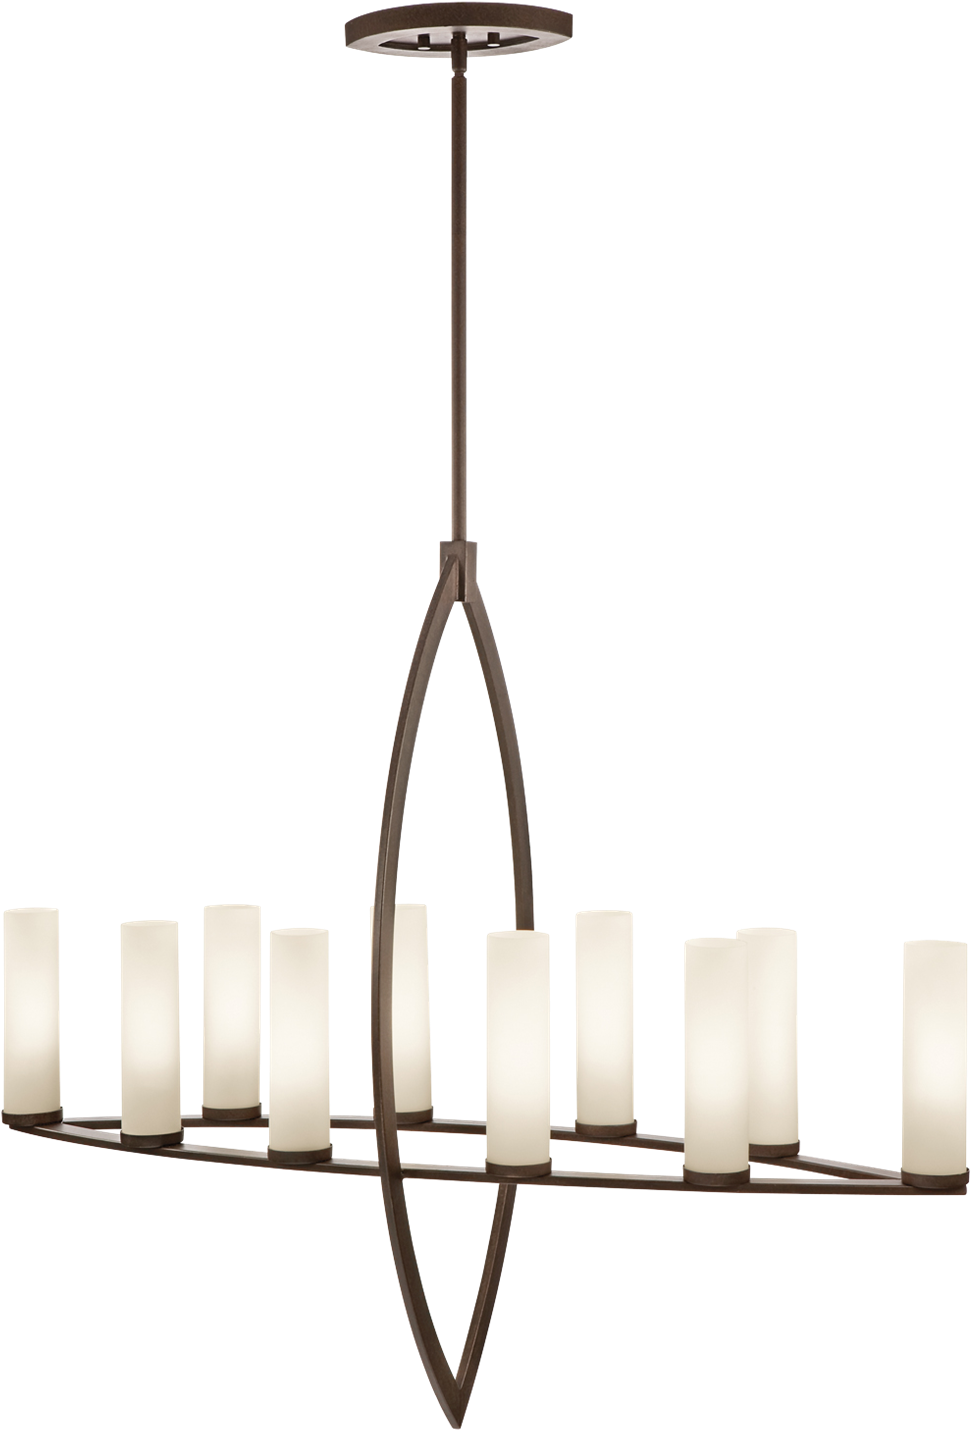
Once you have the wiring in place, you can then choose the type of dining room light you want to install. Some popular options include chandeliers, pendant lights, and recessed lighting. Make sure to follow the manufacturer's instructions carefully to ensure a safe and proper installation.
After connecting the light fixture, it is important to test it to make sure it is working correctly. If you encounter any issues, it is best to consult a professional electrician for assistance.
Connecting a dining room light may seem like a daunting task, but it can easily be done with the right tools and knowledge. The first step is to make sure that you have the correct wiring in place. If you are unsure, it is best to hire a professional electrician to avoid any potential hazards.
Once you have the wiring in place, you can then choose the type of dining room light you want to install. Some popular options include chandeliers, pendant lights, and recessed lighting. Make sure to follow the manufacturer's instructions carefully to ensure a safe and proper installation.
After connecting the light fixture, it is important to test it to make sure it is working correctly. If you encounter any issues, it is best to consult a professional electrician for assistance.
Final Thoughts
 In conclusion, proper lighting is crucial in house design and the dining room is no exception. Installing a dining room light not only adds functionality but also enhances the overall design of your home. With the right tools and knowledge, connecting a dining room light can be an easy and rewarding project. So why wait? Add the perfect finishing touch to your home design and enjoy the benefits of a beautifully lit dining room.