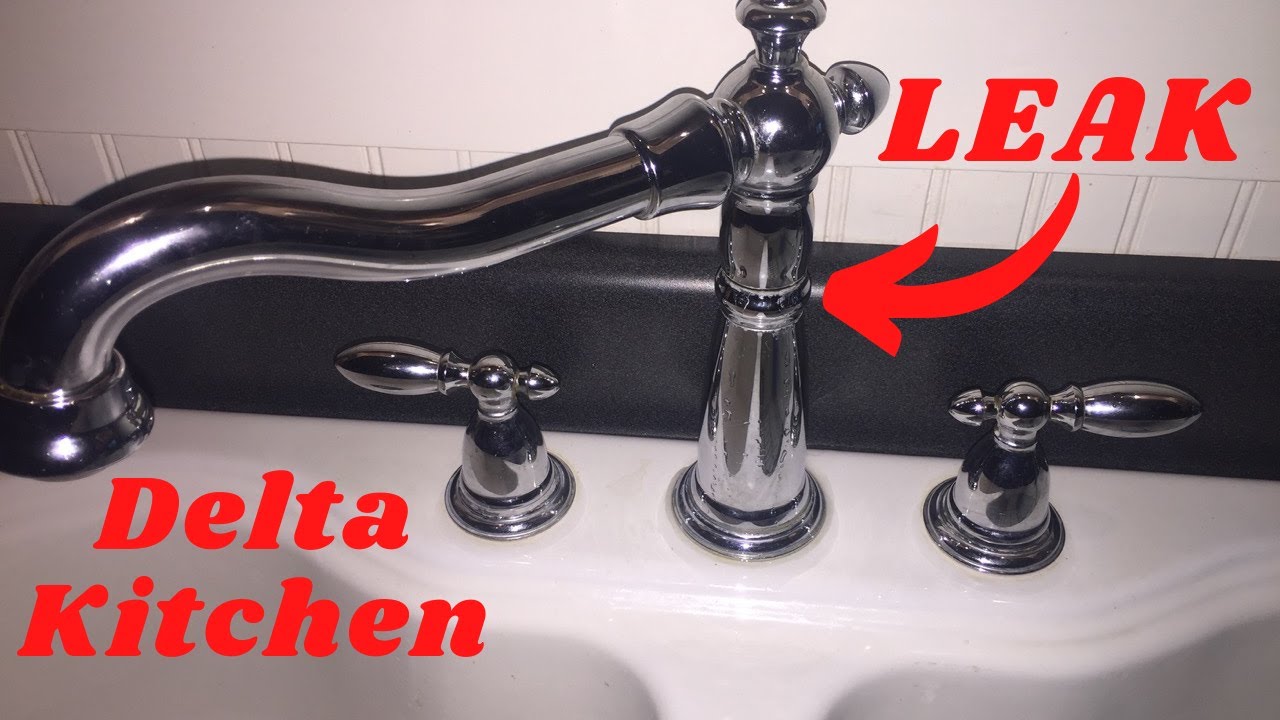
If your Delta kitchen faucet is leaking, it's important to address the issue as soon as possible. Not only can a leaky faucet be annoying, but it can also lead to higher water bills and potential water damage. In this section, we'll walk you through how to fix a leaky Delta faucet and get it back to working like new.Delta Faucet Repair: How to Repair a Leaky Delta Faucet

Delta Faucet Repair: How to Repair a Leaky Delta Faucet

/faucet-with-water-dripping-creating-waste-516717656-d76c41a8d3284901880606e6c1c62e25.jpg)
/delta-faucet-repair-2718845-07-0e04a2d217a94ba98c654124a80f952d.jpg)


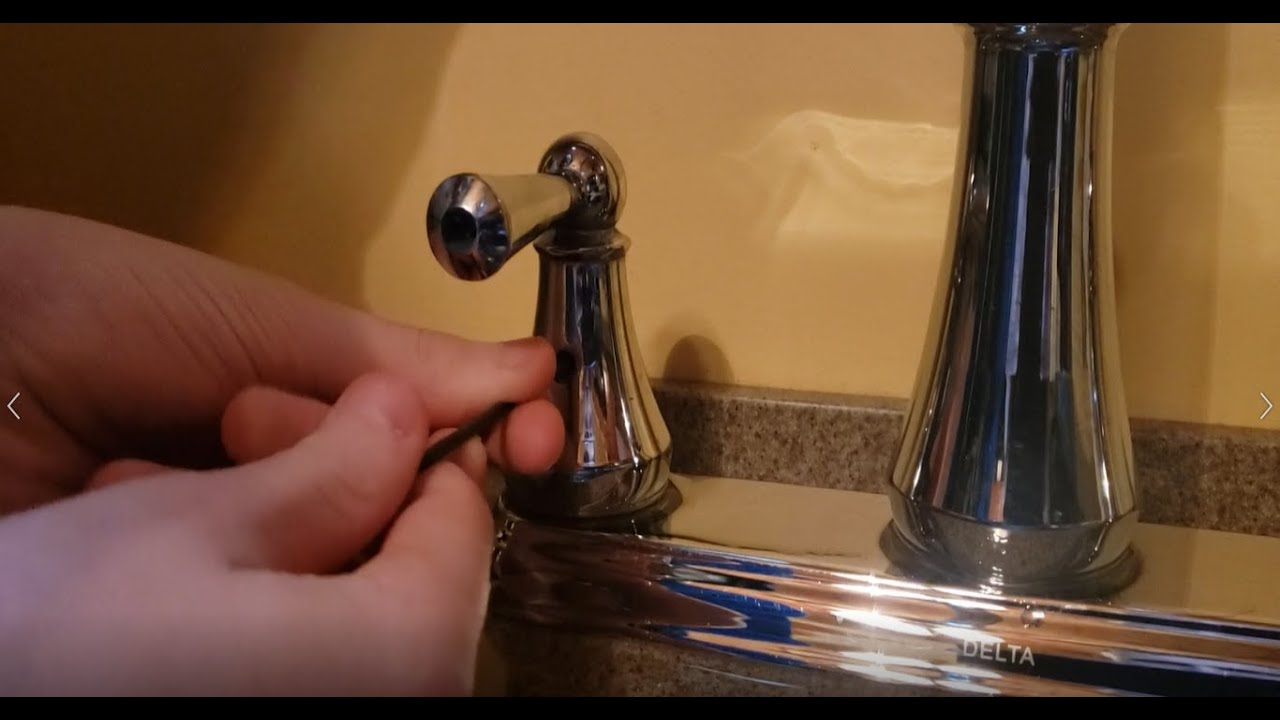
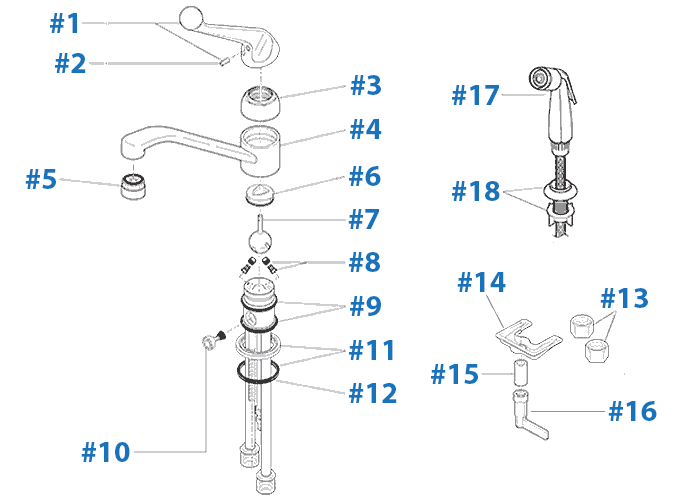
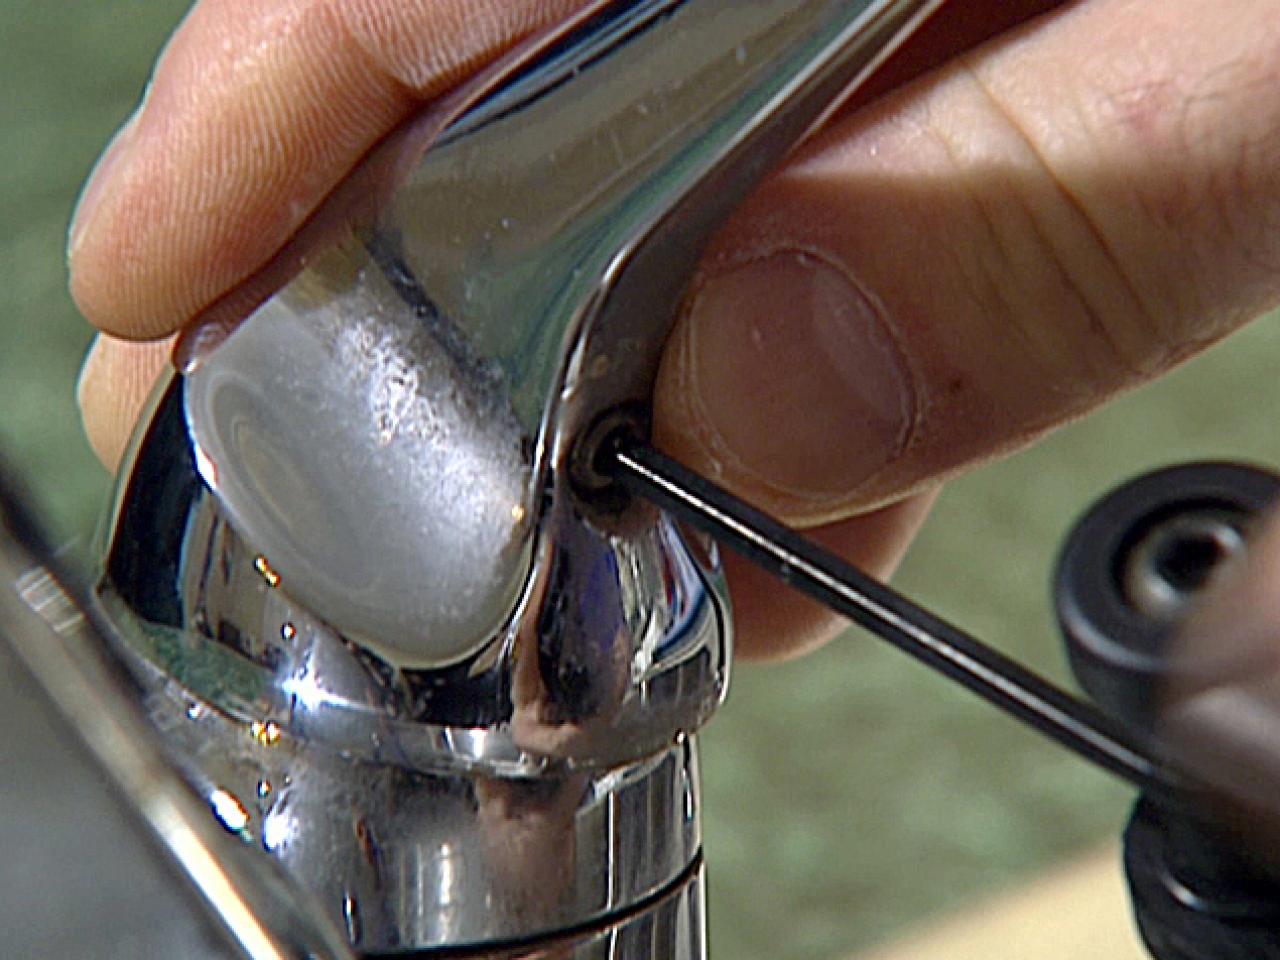
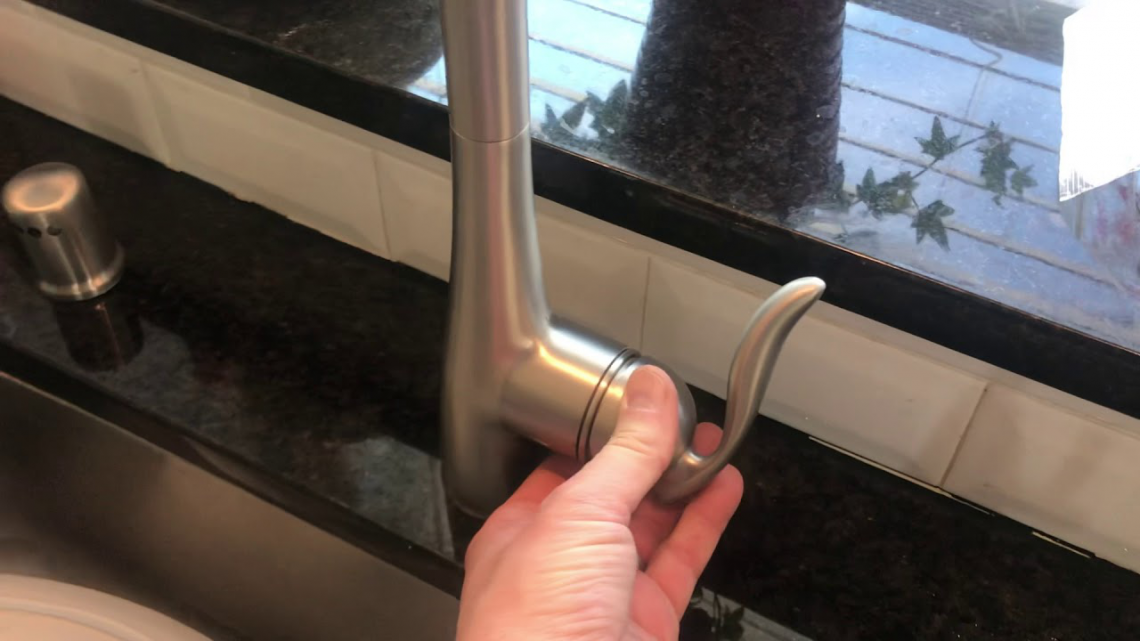
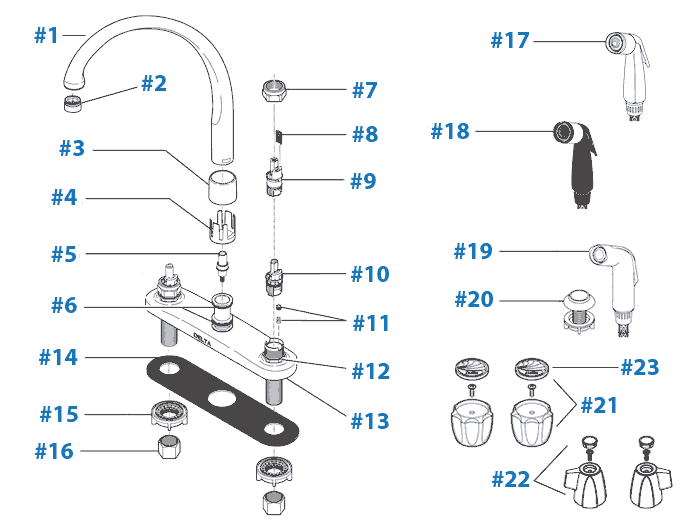
Before you begin any repairs, it's important to gather all necessary tools and materials. You'll need an adjustable wrench, pliers, screwdriver, and replacement parts, such as a new cartridge or O-rings. Make sure to shut off the water supply to your faucet before starting any repairs. Next, remove the handle of your Delta kitchen faucet. This can usually be done by unscrewing a small set screw on the handle with an Allen wrench. Once the handle is removed, you'll be able to access the inner components of the faucet. Inspect the cartridge, O-rings, and other parts for any damage or wear and tear. If you notice any issues, it's best to replace these parts with new ones. Delta offers replacement parts for their faucets, or you can purchase generic parts from a hardware store.Delta Kitchen Faucet Repair: How to Fix a Leaky Faucet


Delta Kitchen Faucet Repair: How to Fix a Leaky Faucet


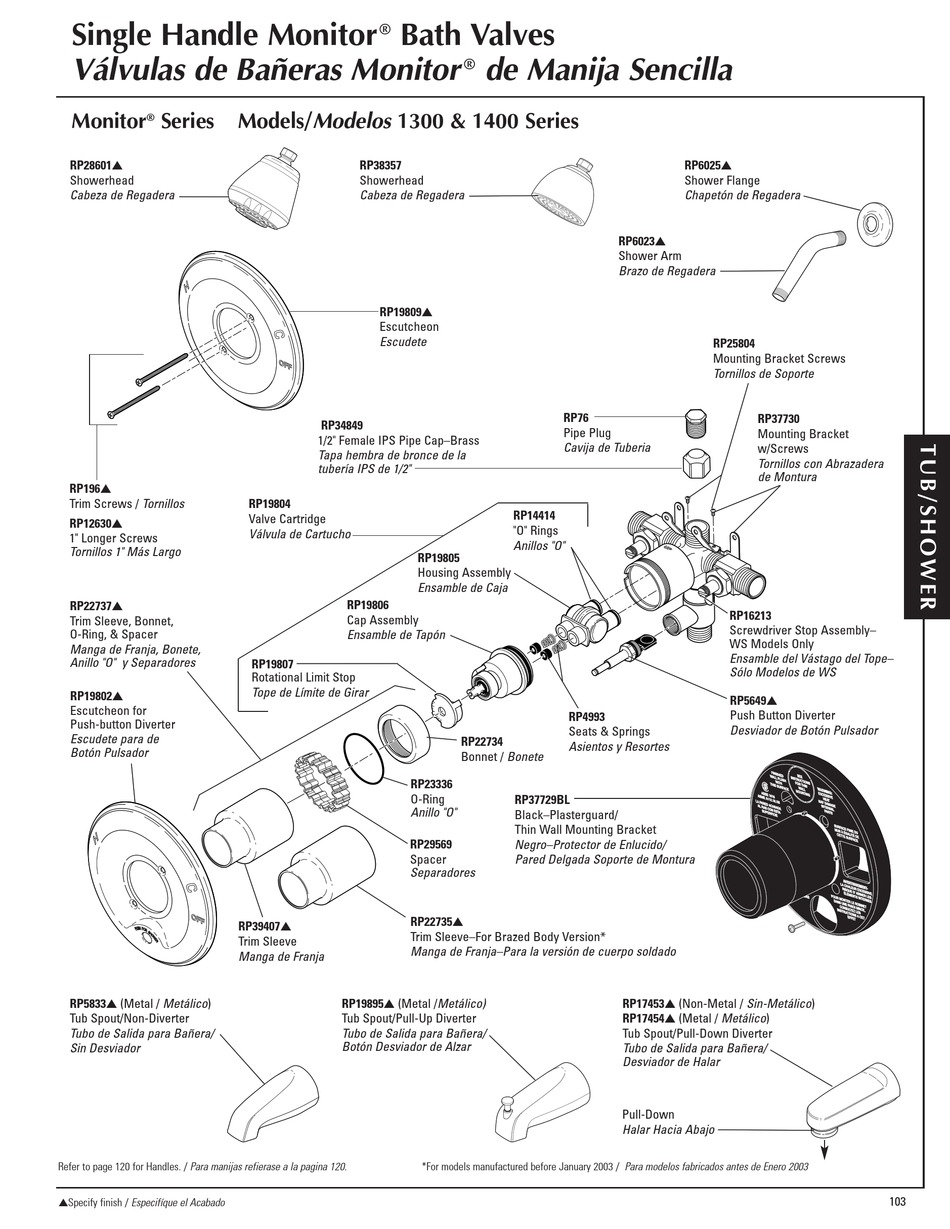
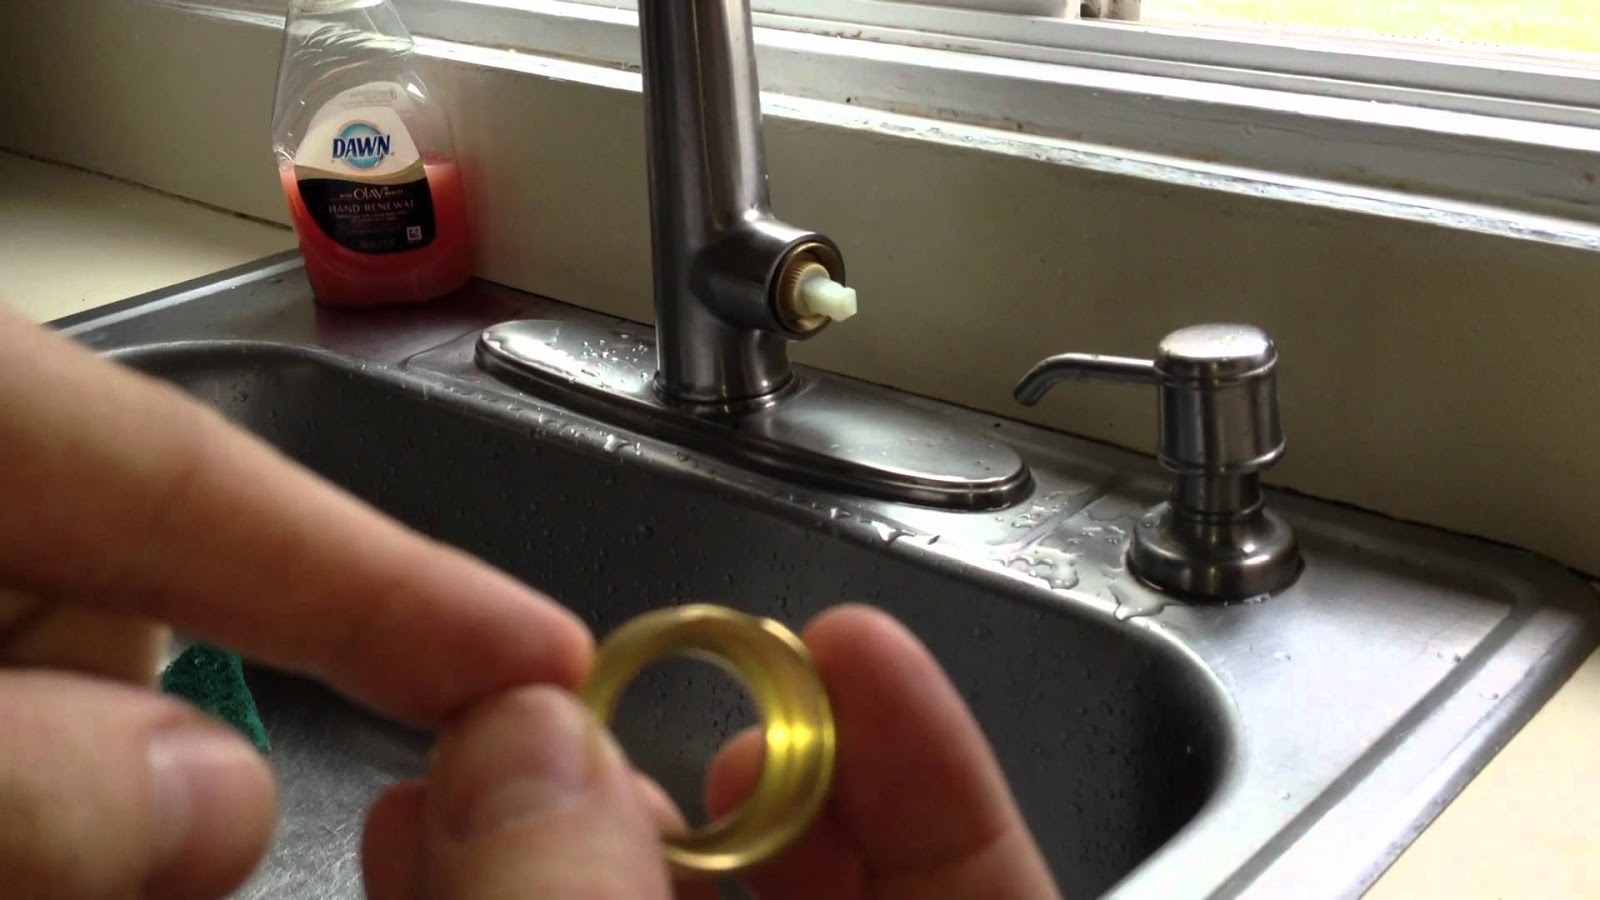
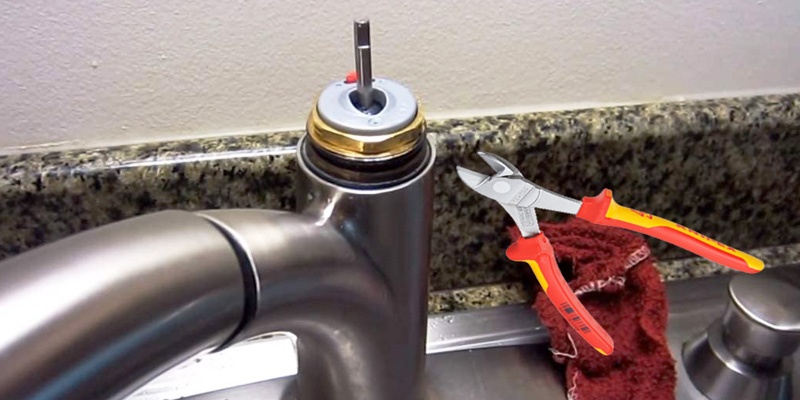
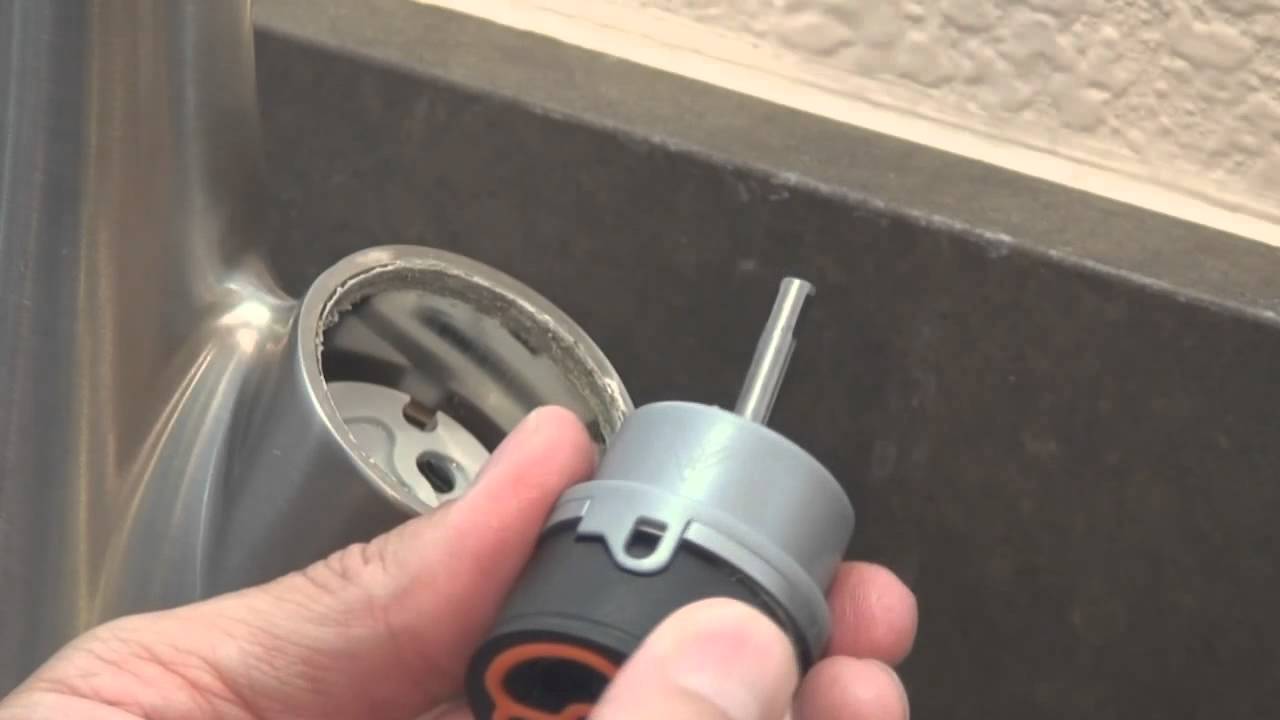
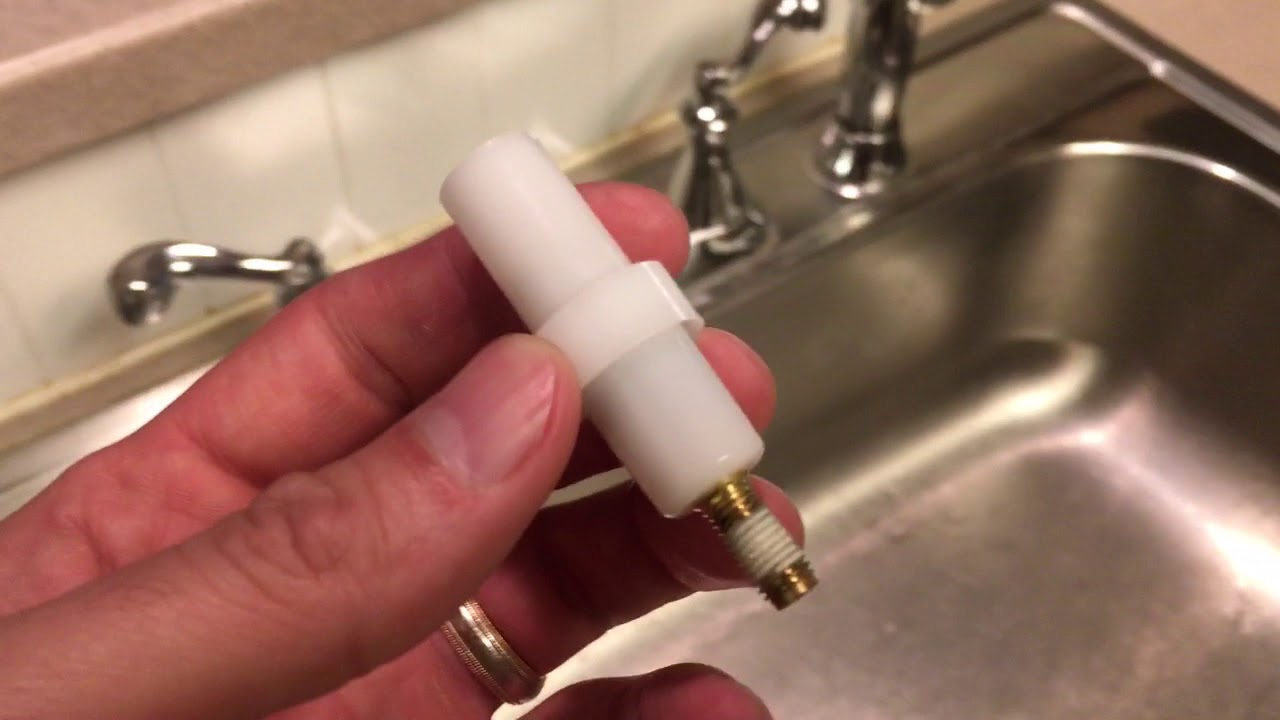
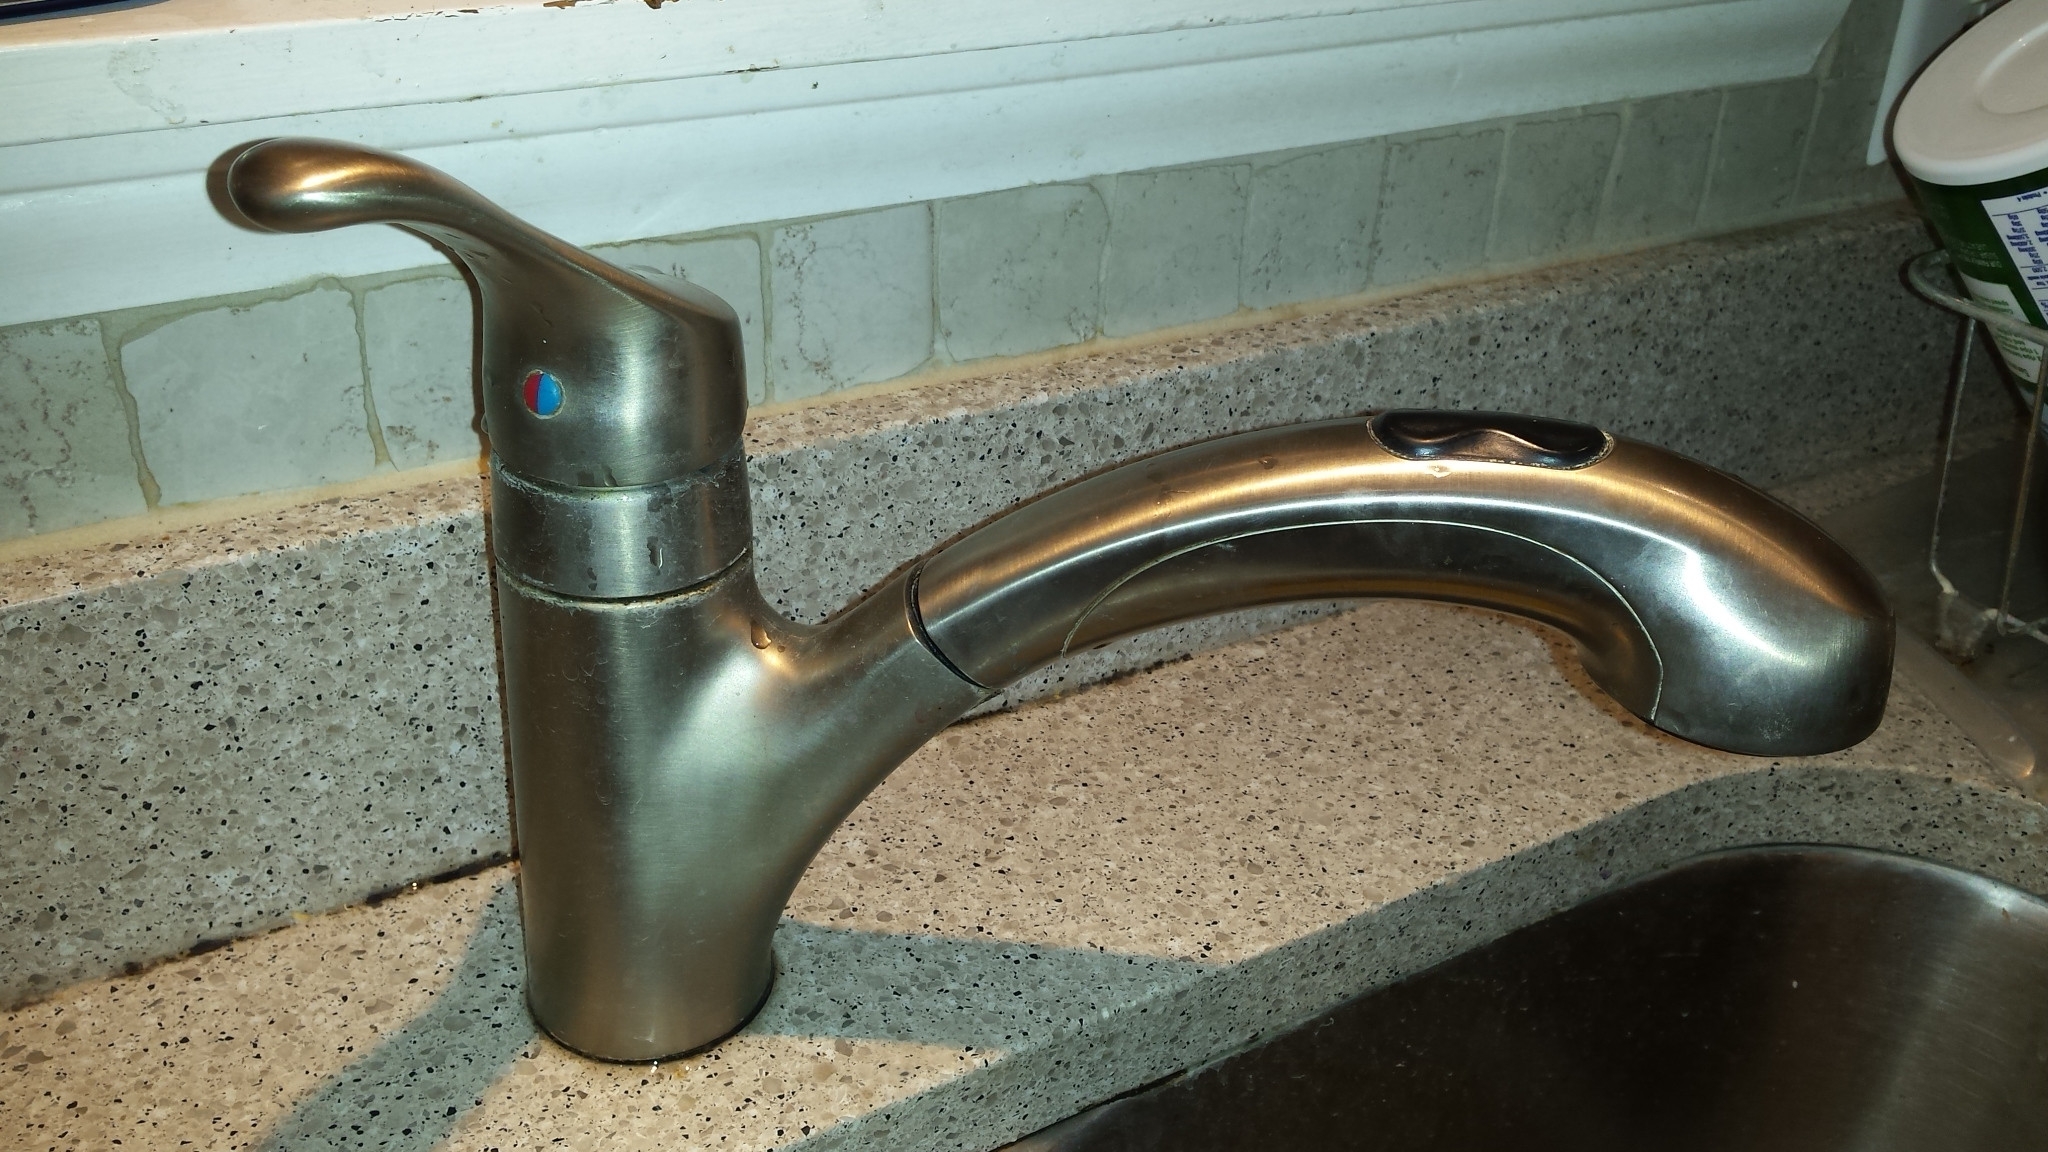
If your Delta kitchen faucet is leaking from the spout, the most likely culprit is a worn-out cartridge. To replace the cartridge, start by removing the handle and any other parts that may be in the way. Then, use pliers to remove the old cartridge and replace it with a new one. Make sure to follow the instructions on the new cartridge carefully, as some may require specific positioning or additional parts. Once the new cartridge is in place, reassemble the faucet and turn the water supply back on to test for leaks.Delta Single Handle Kitchen Faucet Repair: How to Replace a Cartridge


Delta Single Handle Kitchen Faucet Repair: How to Fix a Leaky Faucet

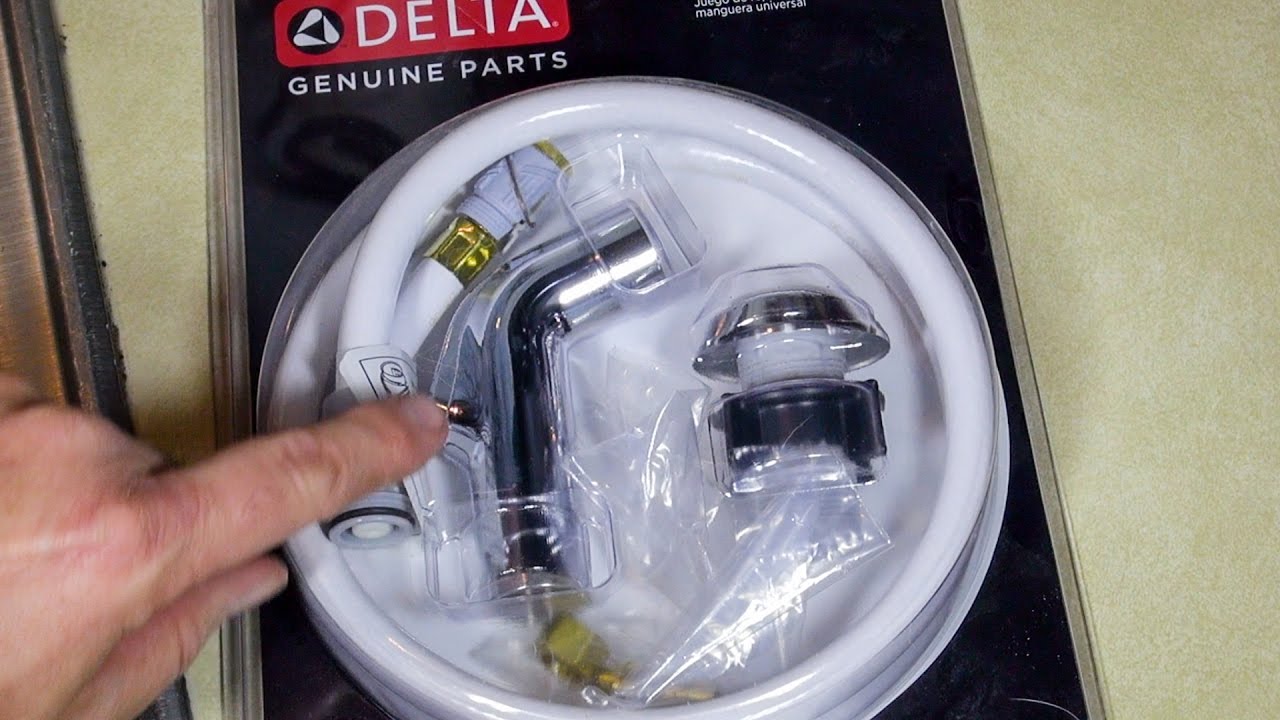
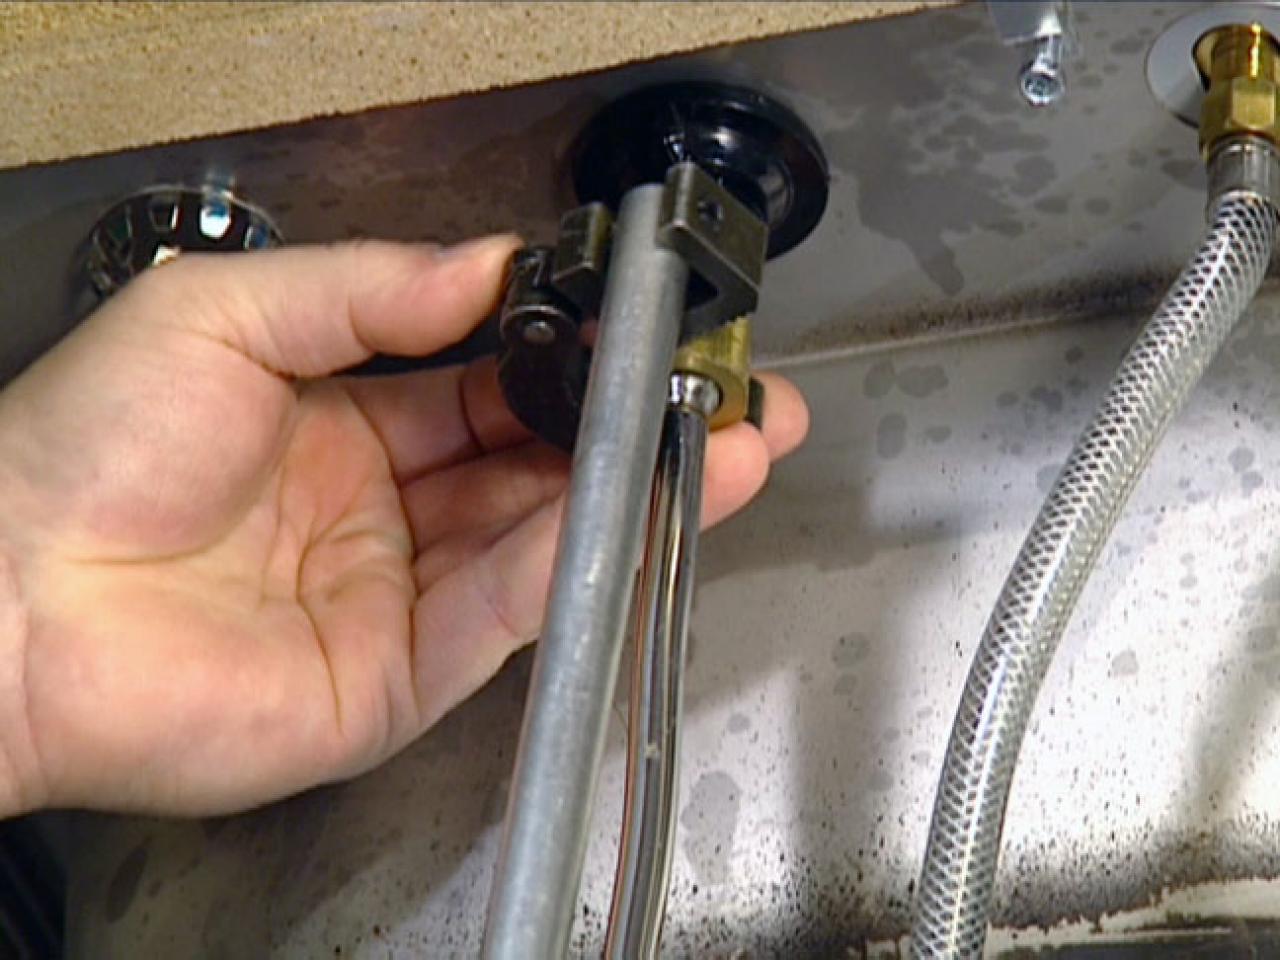
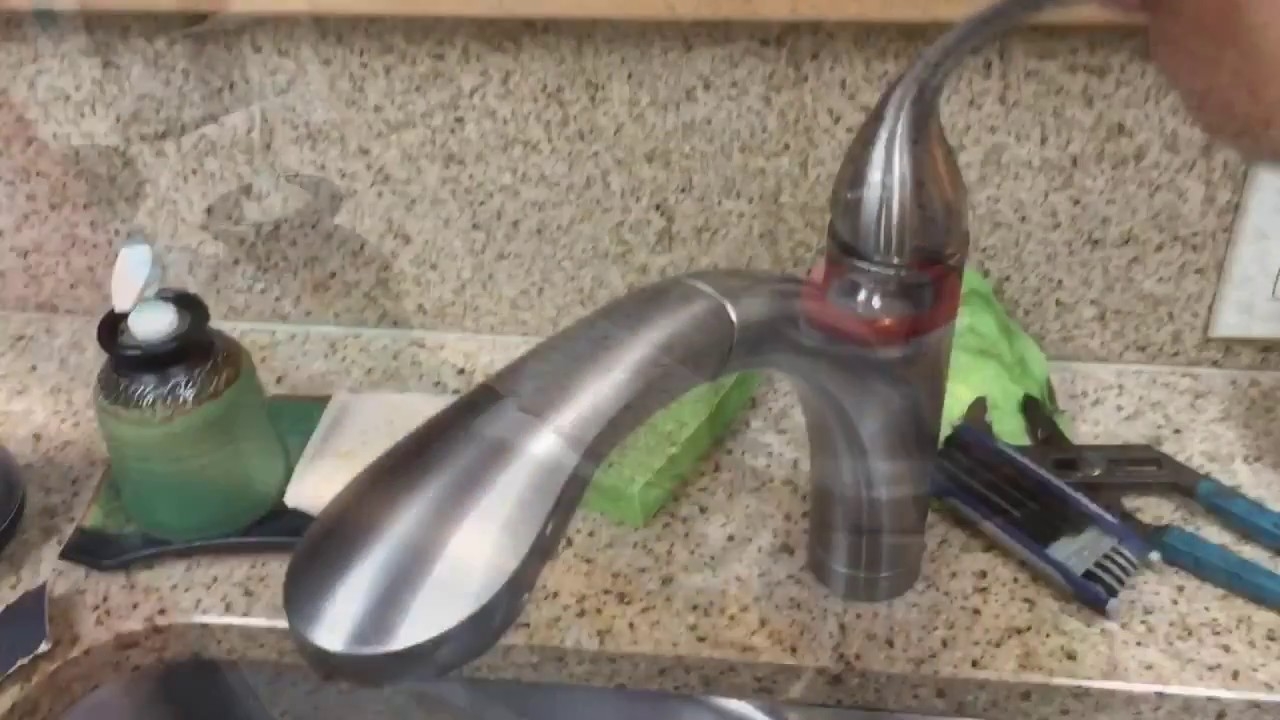
If your Delta kitchen faucet has a separate sprayer hose and it's leaking, you may need to replace the hose. Start by turning off the water supply and unscrewing the hose from the faucet and sprayer. Then, insert the new hose and secure it in place with the appropriate fittings.Delta Single Handle Kitchen Faucet Repair: How to Replace a Sprayer Hose


Delta Single Handle Kitchen Faucet Repair: How to Replace a Cartridge


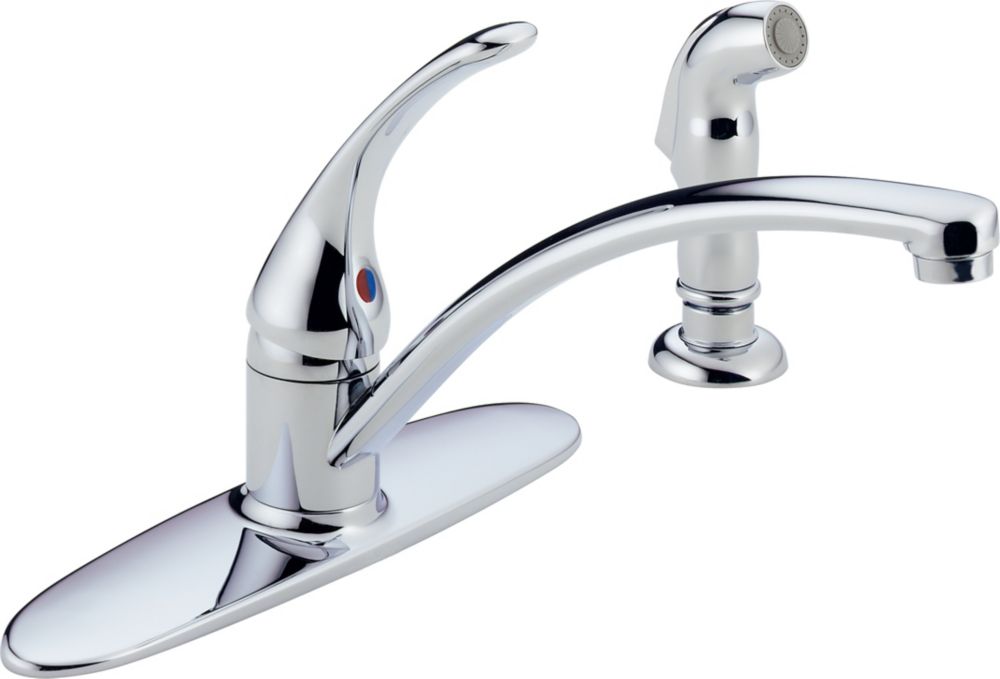
The diverter is responsible for controlling the flow of water between the faucet and the sprayer. If your sprayer is not working properly, the diverter may need to be replaced. To do this, remove the handle and unscrew the diverter from the faucet. Replace it with a new one and reassemble the faucet.Delta Single Handle Kitchen Faucet Repair: How to Replace a Diverter


Delta Single Handle Kitchen Faucet Repair: How to Replace a Sprayer Hose


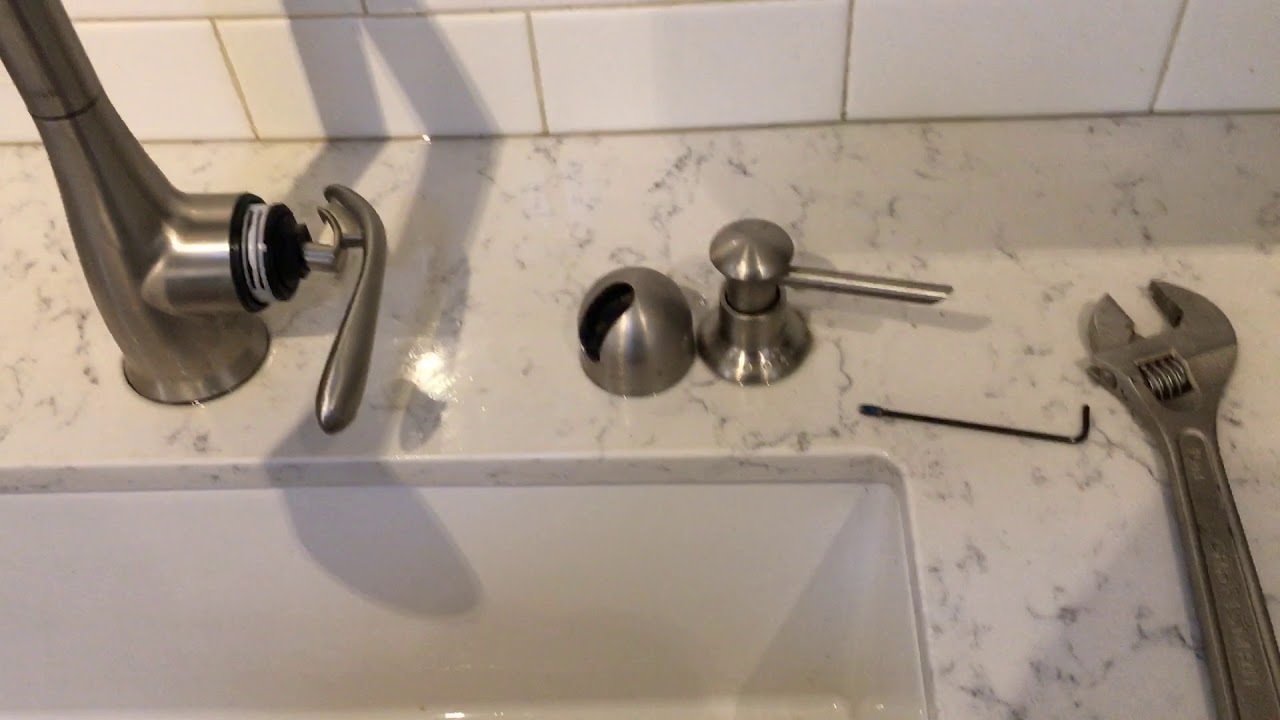
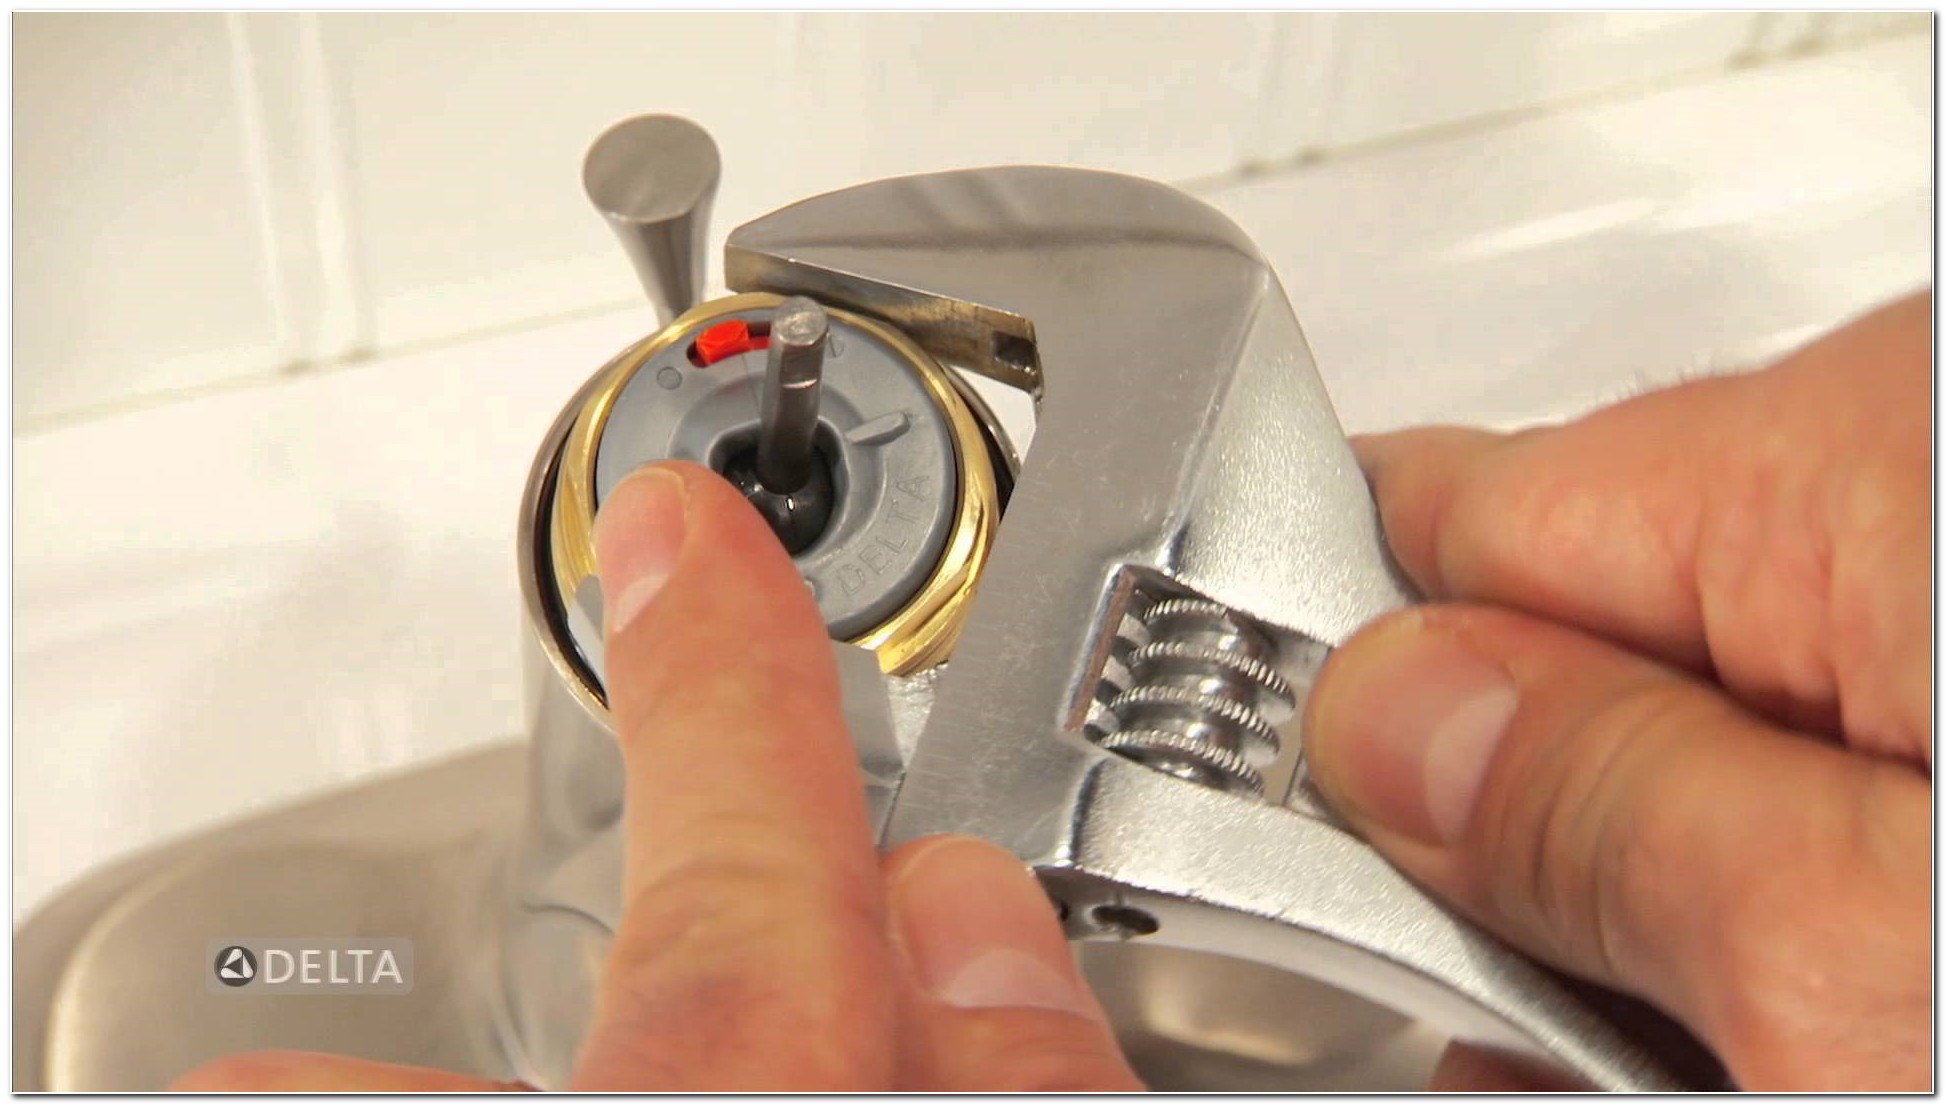
If your Delta kitchen faucet handle feels loose or wobbly, it's important to address the issue before it becomes worse. To tighten a loose handle, first, remove any parts that may be covering the screw that holds the handle in place. Then, use an adjustable wrench to tighten the screw. Be careful not to over-tighten, as this can cause damage to the handle or faucet.Delta Single Handle Kitchen Faucet Repair: How to Tighten a Loose Handle

Delta Single Handle Kitchen Faucet Repair: How to Replace a Diverter

If your Delta kitchen faucet is experiencing low water pressure, there could be a few different causes. First, check the aerator for any buildup or debris that may be blocking the flow of water. If that doesn't solve the issue, you may need to replace the aerator or clean out the faucet's supply lines.Delta Single Handle Kitchen Faucet Repair: How to Fix Low Water Pressure

Delta Single Handle Kitchen Faucet Repair: How to Tighten a Loose Handle

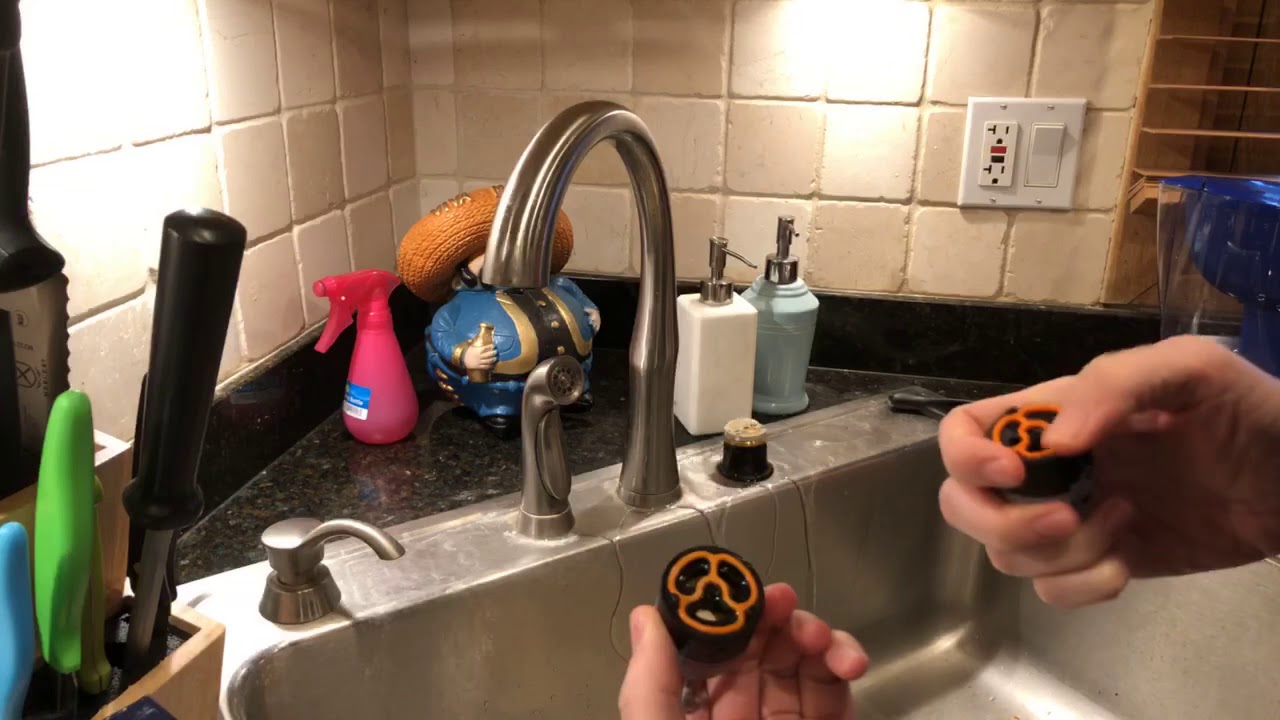
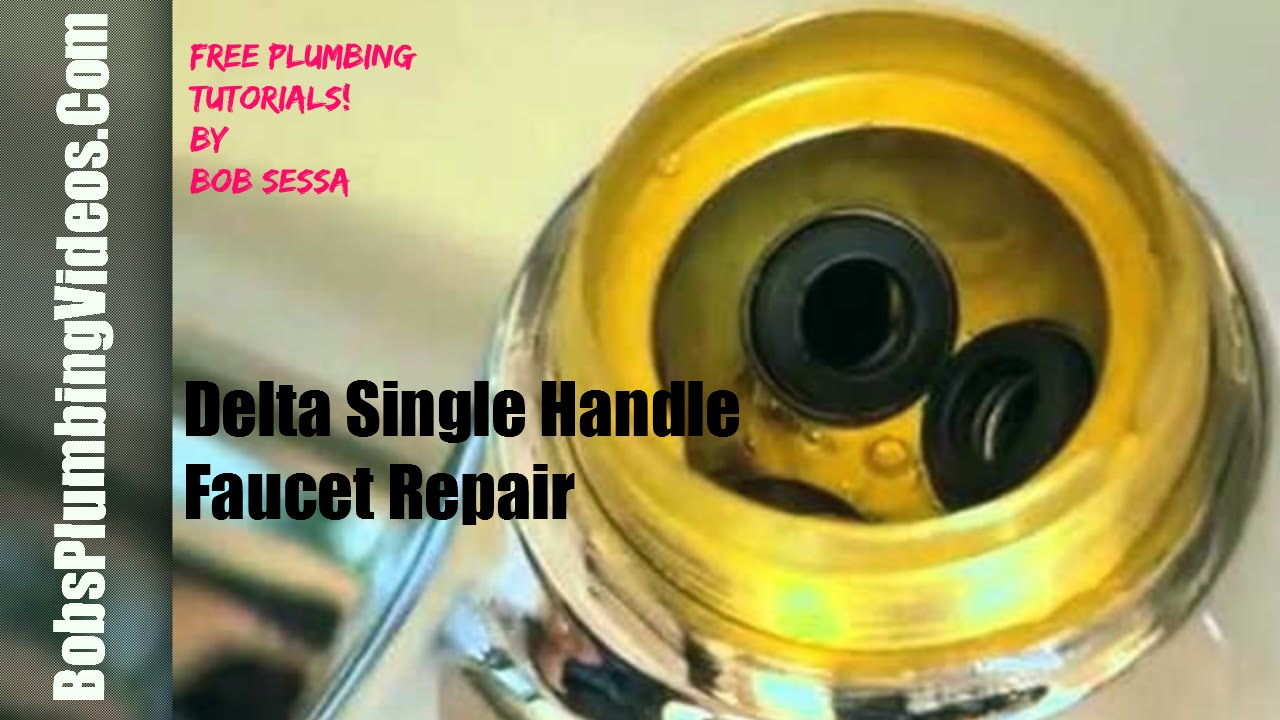
The ball valve is responsible for controlling the water flow and temperature in your Delta kitchen faucet. If it's not functioning properly, it may need to be replaced. To do this, remove the handle and any other parts that may be in the way. Then, use pliers to remove the old ball valve and replace it with a new one.Delta Single Handle Kitchen Faucet Repair: How to Replace a Ball Valve
Delta Single Handle Kitchen Faucet Repair: How to Fix Low Water Pressure


If your Delta kitchen faucet is dripping, it's important to address the issue as soon as possible. Not only is it wasteful, but it can also lead to higher water bills. In most cases, a dripping faucet can be fixed by replacing the O-rings or cartridge. If the issue persists, it may be time to replace the entire faucet. In conclusion, Delta single handle kitchen faucets are durable and reliable, but like any appliance, they may need repairs from time to time. By following these simple steps and properly maintaining your faucet, you can keep it in top working condition and avoid any major issues. If you're ever unsure about how to repair your Delta kitchen faucet, don't hesitate to contact a professional for assistance.Delta Single Handle Kitchen Faucet Repair: How to Fix a Dripping Faucet

Delta Single Handle Kitchen Faucet Repair: How to Replace a Ball Valve

Additional Tips for Repairing Your Delta Single Handle Kitchen Sink Faucet

Check for Common Issues
 Before attempting to repair your Delta single handle kitchen sink faucet, it’s important to identify the problem. A common issue with these types of faucets is a leaky handle, which can be caused by worn out O-rings or a faulty valve cartridge. Another common issue is low water pressure, often caused by a clogged aerator. By identifying the issue, you can ensure that you have the right tools and parts needed for the repair.
Prepare Your Tools and Parts
 To successfully repair your Delta single handle kitchen sink faucet, you will need a few tools and parts. These include an adjustable wrench, pliers, screwdrivers, replacement O-rings and a valve cartridge, and a new aerator if needed. It’s important to have these tools on hand before starting the repair to avoid any delays or interruptions.
Follow Step-by-Step Instructions
 When it comes to repairing your Delta single handle kitchen sink faucet, it’s important to follow the steps carefully. Start by turning off the water supply to the faucet, either at the shut-off valves under the sink or at the main water supply. Next, remove the handle and the spout to access the valve cartridge. Replace any worn out O-rings or the entire valve cartridge if needed. If you have low water pressure, clean or replace the aerator. Be sure to refer to your faucet’s manual for specific instructions and diagrams.
Consider Professional Help
 If you’re not confident in your plumbing skills, it’s always best to seek professional help for your Delta single handle kitchen sink faucet repair. A licensed plumber will have the experience and knowledge to quickly and effectively fix any issues with your faucet. This can save you time, money, and potential frustration in the long run.
In conclusion, repairing your Delta single handle kitchen sink faucet is a relatively simple task if you have the right tools and follow the necessary steps. By identifying the issue, preparing your tools and parts, and following step-by-step instructions, you can successfully repair your faucet and have it functioning like new in no time. However, if you’re unsure or uncomfortable with the repair process, don’t hesitate to seek professional help for a quick and efficient fix.
If you’re not confident in your plumbing skills, it’s always best to seek professional help for your Delta single handle kitchen sink faucet repair. A licensed plumber will have the experience and knowledge to quickly and effectively fix any issues with your faucet. This can save you time, money, and potential frustration in the long run.
In conclusion, repairing your Delta single handle kitchen sink faucet is a relatively simple task if you have the right tools and follow the necessary steps. By identifying the issue, preparing your tools and parts, and following step-by-step instructions, you can successfully repair your faucet and have it functioning like new in no time. However, if you’re unsure or uncomfortable with the repair process, don’t hesitate to seek professional help for a quick and efficient fix.