Are you tired of your old mattress? Want to give it a little makeover without breaking the bank? One simple and cost-effective solution is to cut off the top foam of your mattress. This not only gives your mattress a new look but also provides more support and comfort for a good night's sleep. In this article, we will guide you through the process of cutting foam off a mattress, so grab your scissors and let's get started!1. Cutting Foam: The Essential Guide to Removing the Top Foam Off Your Mattress
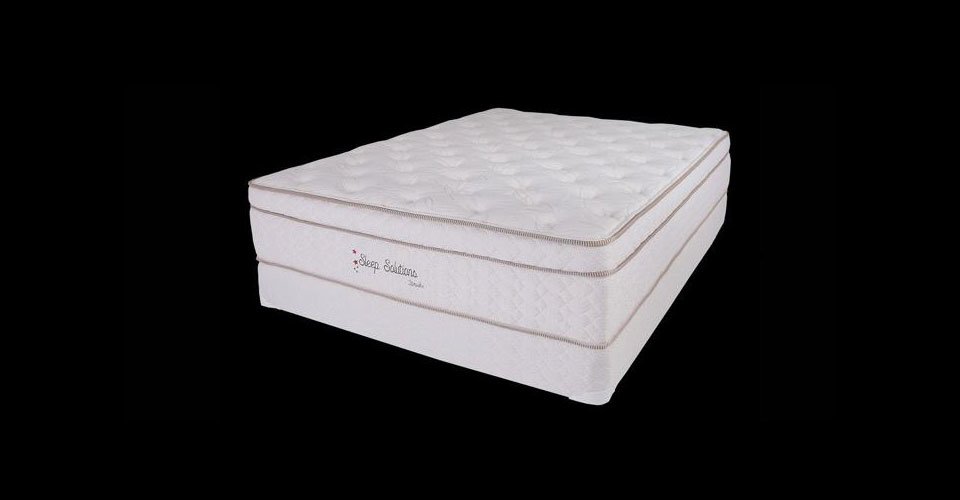
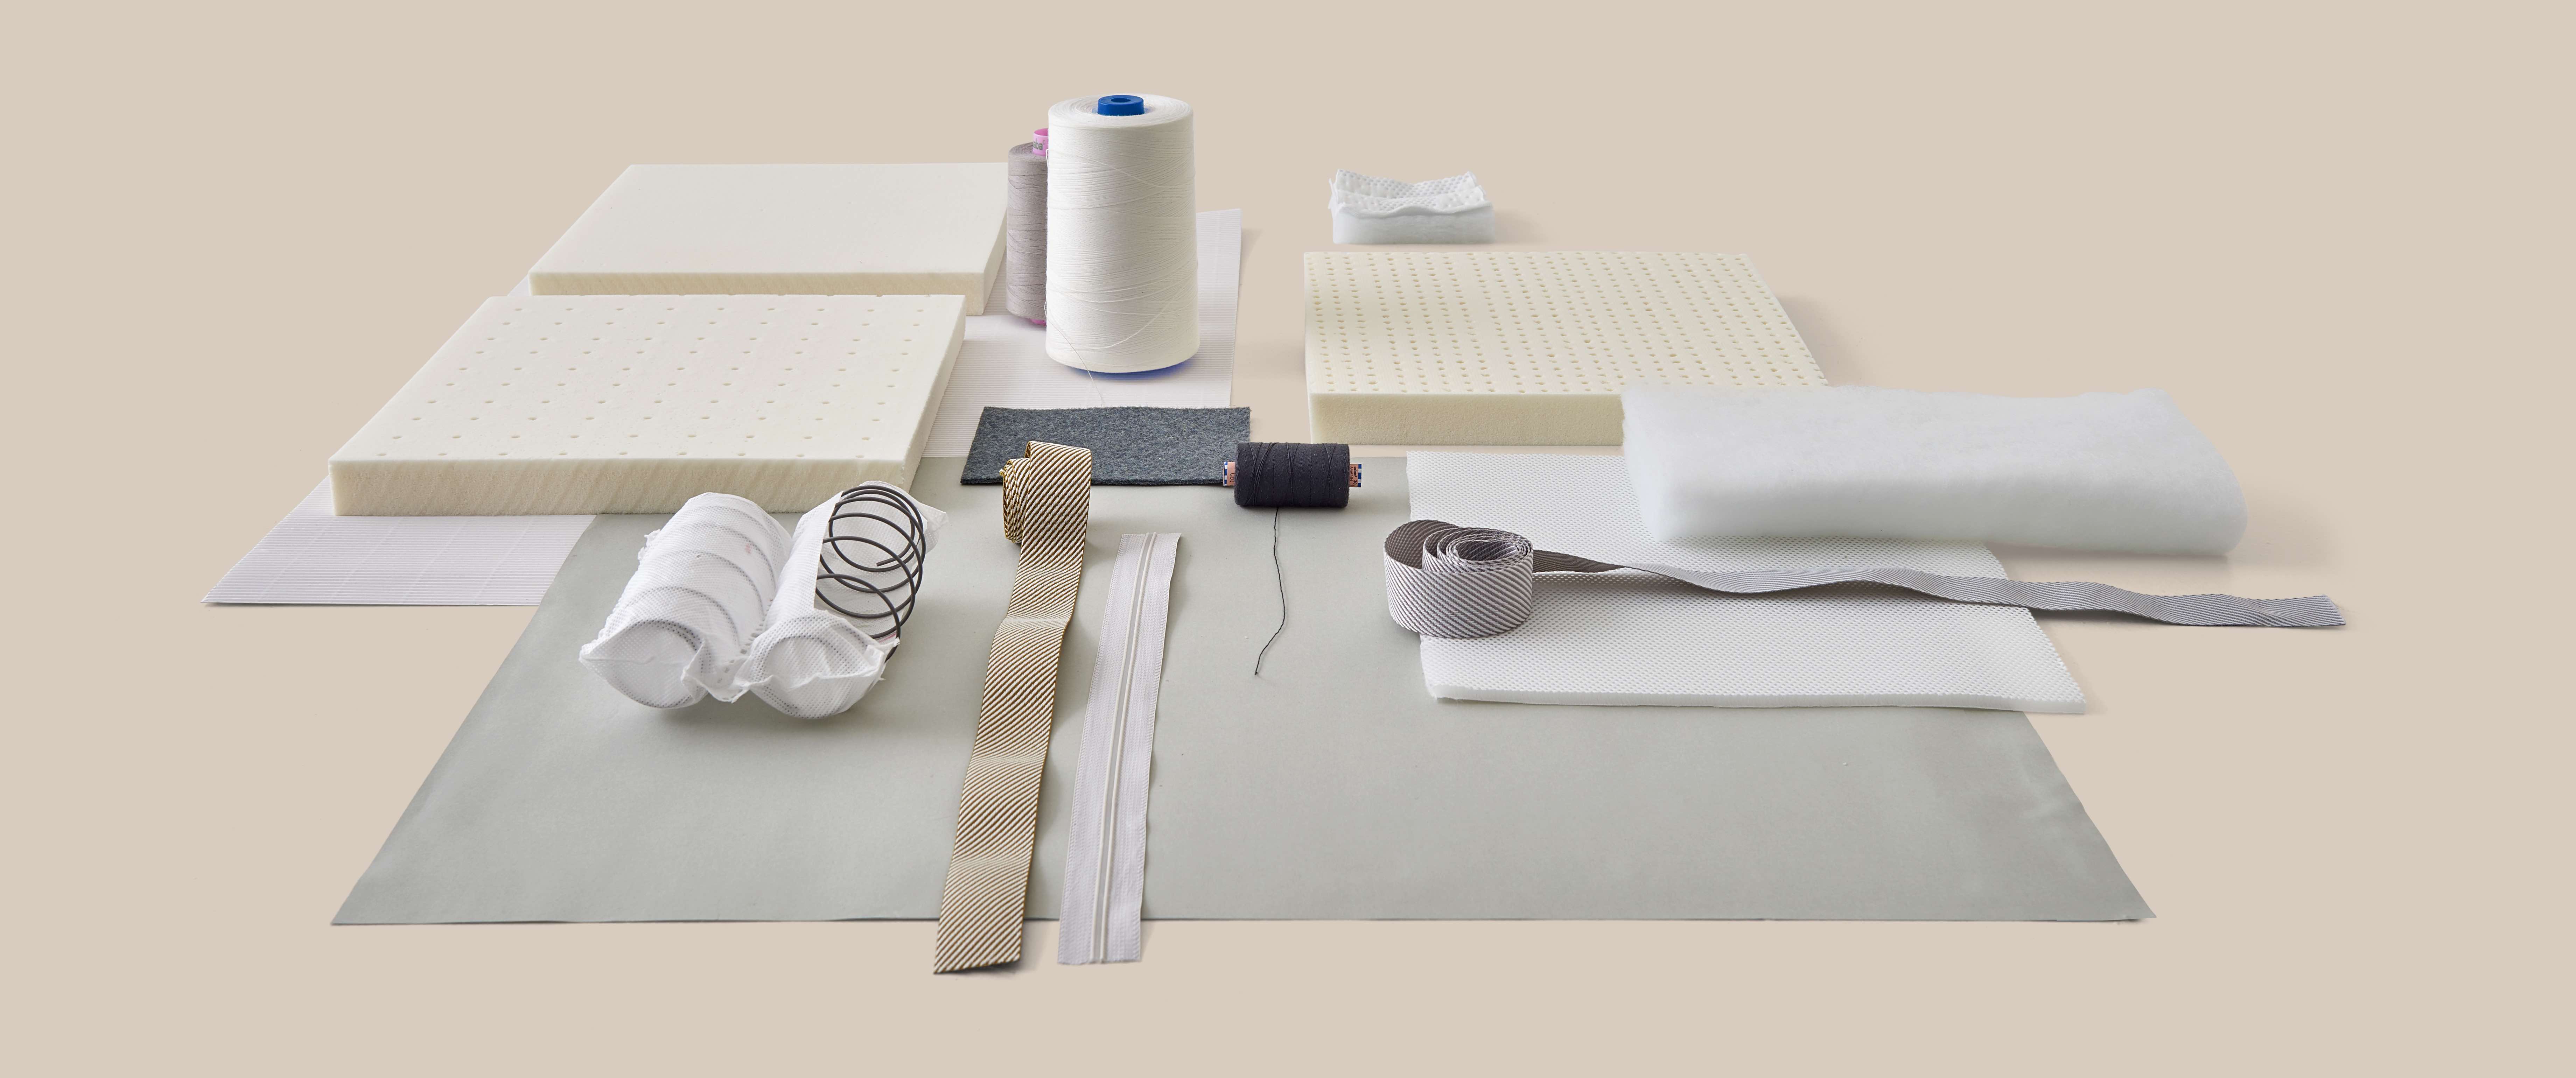
Before we dive into the cutting process, it's important to understand the top foam on your mattress. This layer of foam is usually a few inches thick and provides the initial cushioning and comfort when you lie down. However, over time, this foam can become worn out and lose its shape, causing discomfort and disrupting your sleep. By removing this layer, you can revitalize your mattress and give it a new lease on life.2. Understanding the Top Foam on Your Mattress
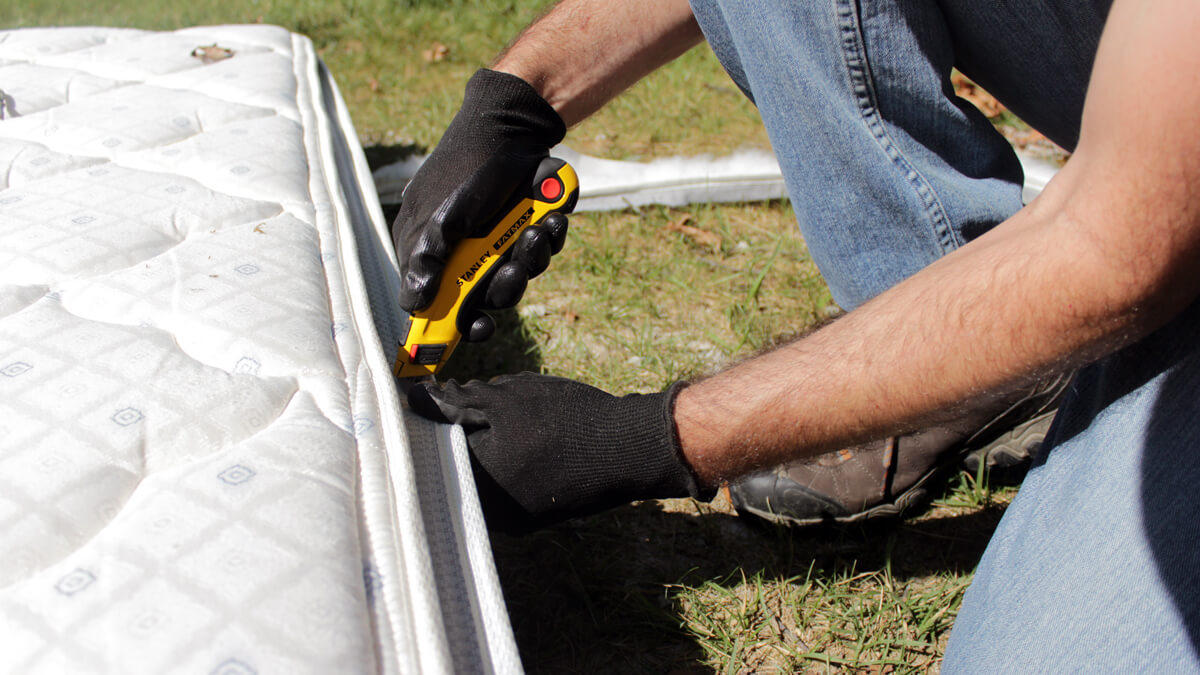
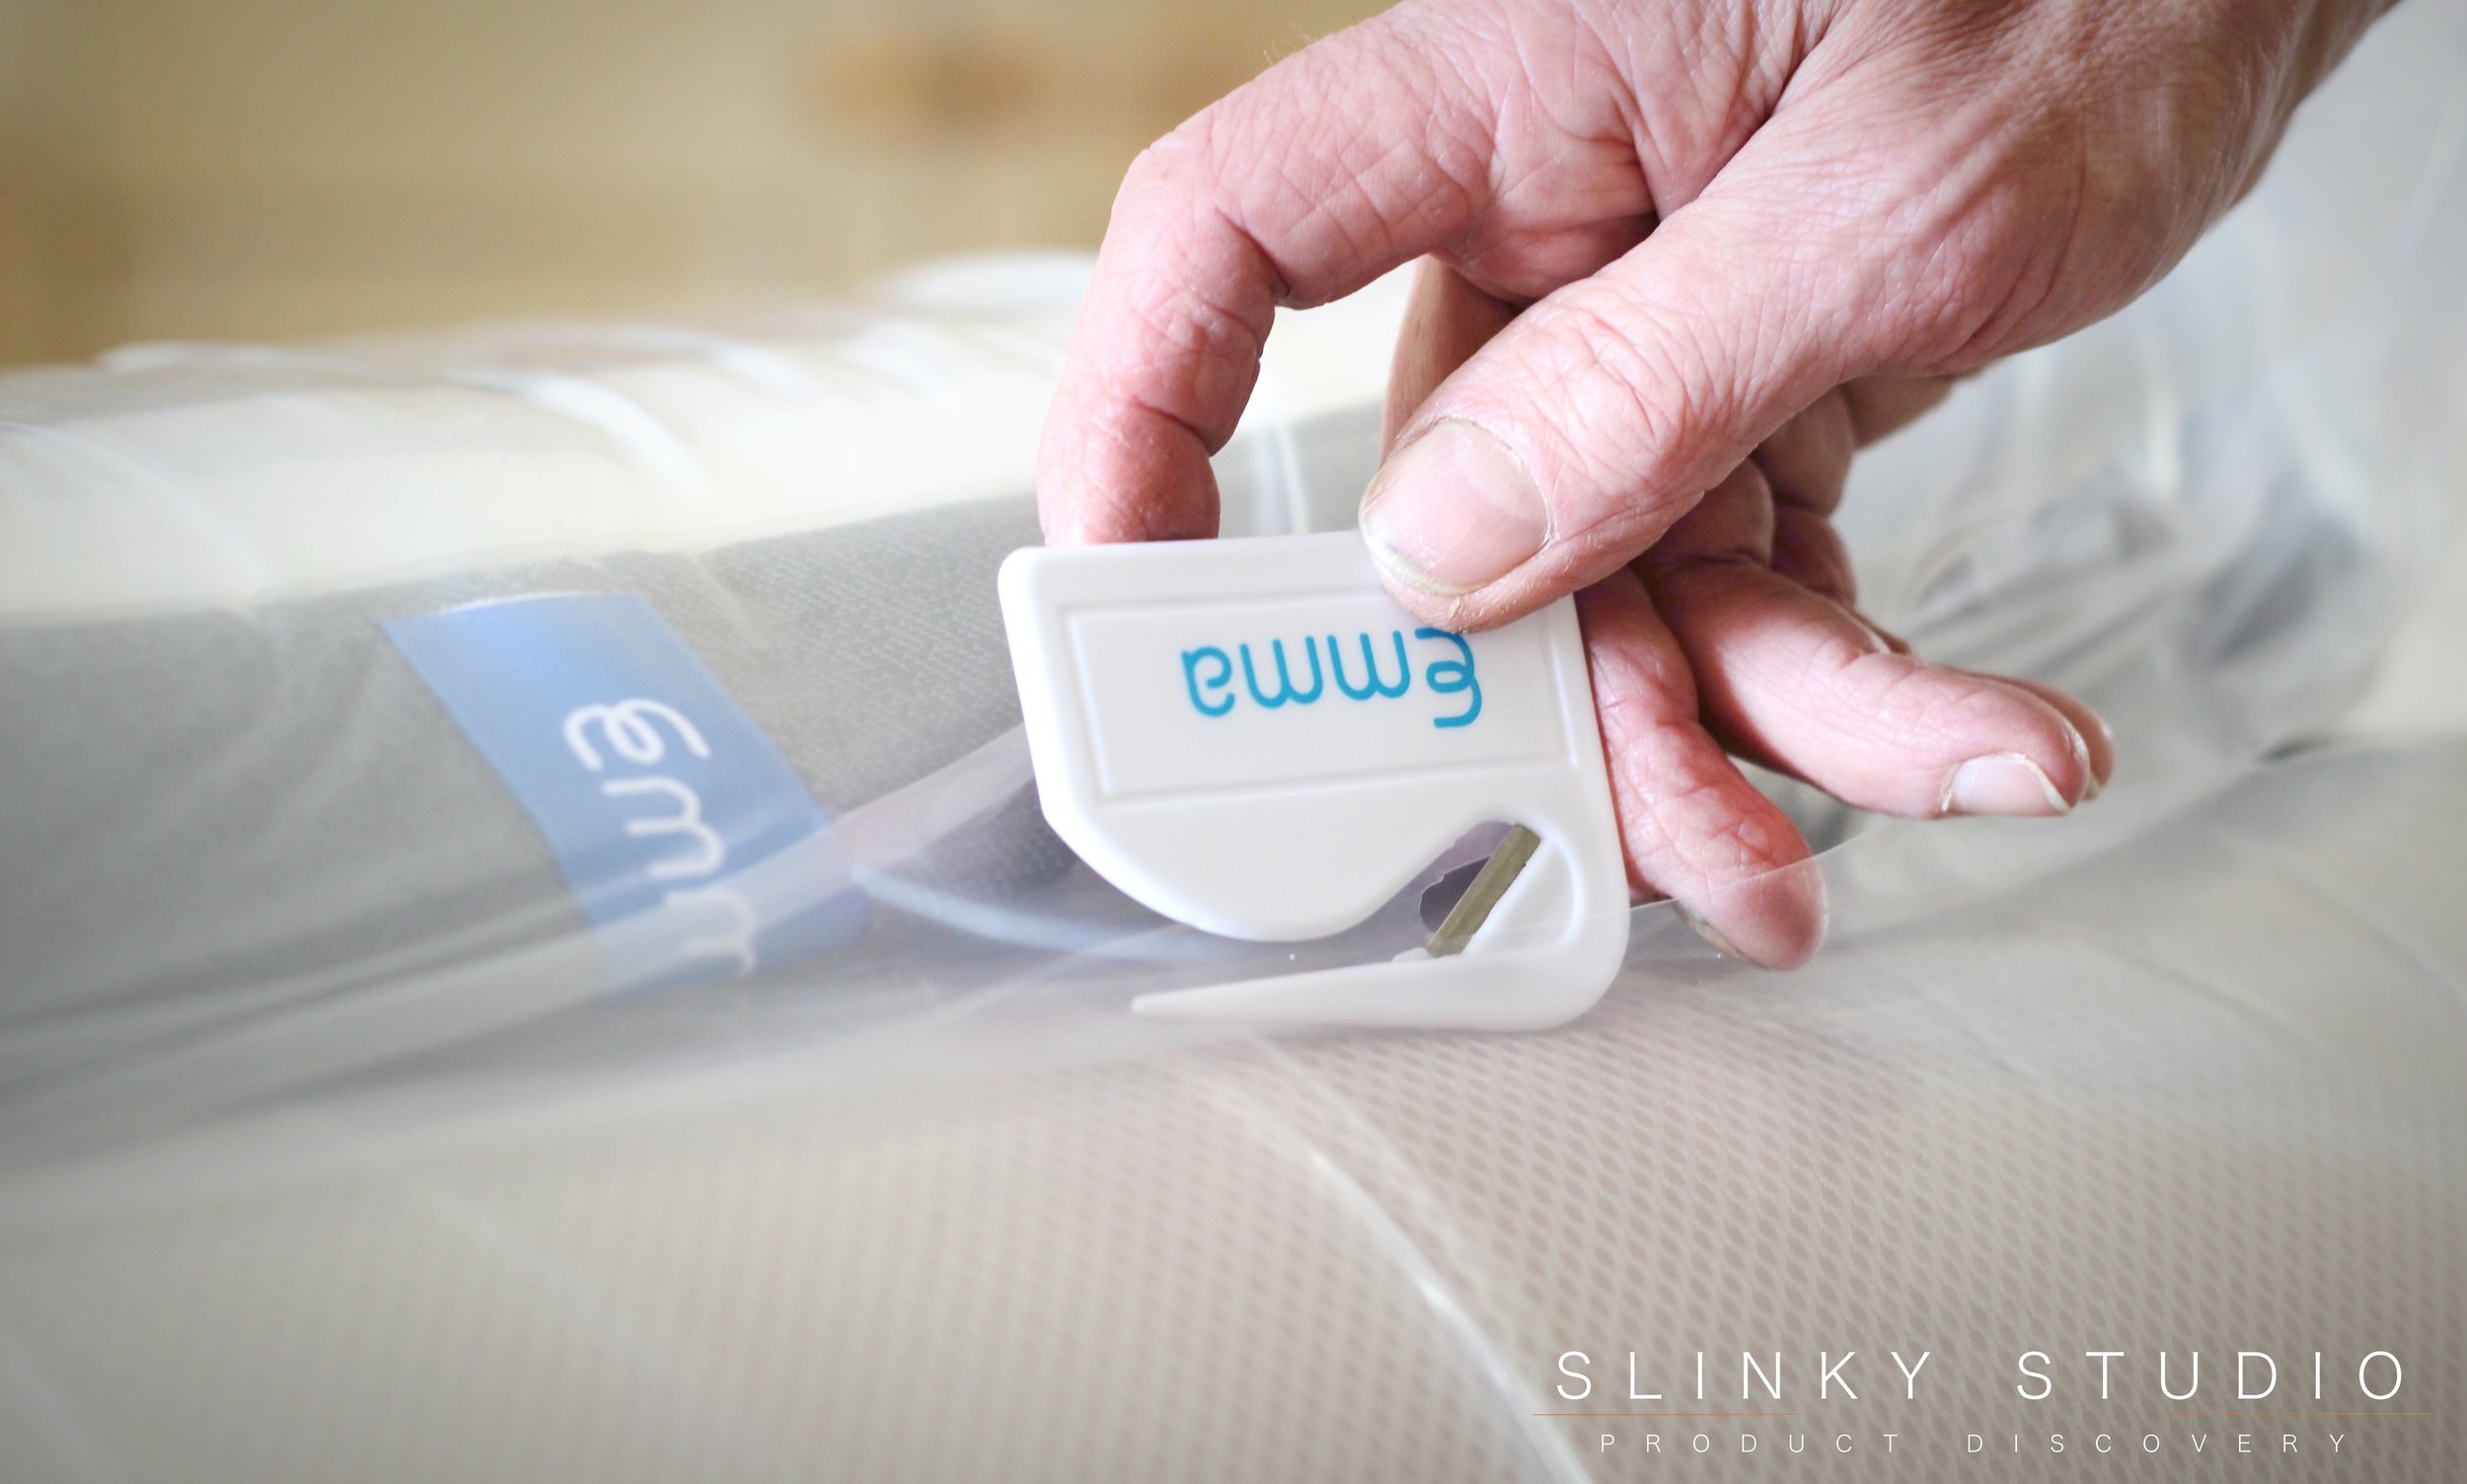
The first step in cutting foam off your mattress is to prepare it for the process. Start by removing all bedding and accessories from the mattress and place it on a flat surface. This will make it easier to maneuver and ensure a more precise cut. If your mattress has a cover, remove it as well. Now, using a seam ripper, carefully detach the top and bottom fabric layers of the mattress, exposing the foam underneath.3. Preparing Your Mattress for Cutting
Next comes the most crucial part of the process – choosing the right tools for the job. While a pair of scissors may seem like the obvious choice, it may not provide the accuracy and clean cuts you desire. Instead, opt for an electric carving knife or a serrated bread knife. These tools are specifically designed for cutting foam and will give you a smoother and more precise cut.4. Choosing the Right Tools
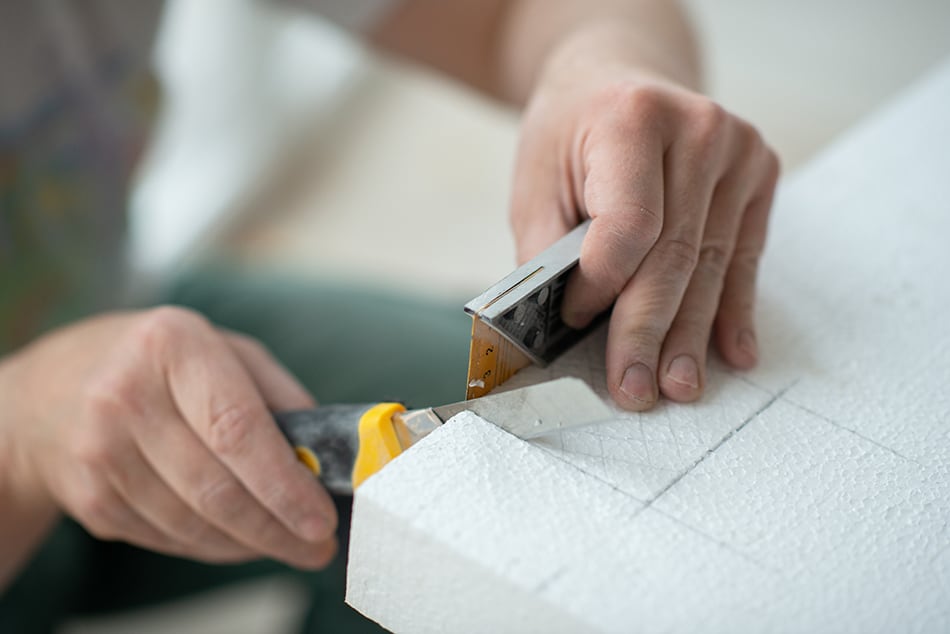
Once you have your tools ready, it's time to mark the cutting line. Using a tape measure and a marker, draw a straight line across the top foam layer, indicating where you want to make the cut. Make sure the line is straight and consistent to ensure an even cut. You can also use a piece of string to guide your cut if you don't have a straight edge.5. Marking the Cutting Line
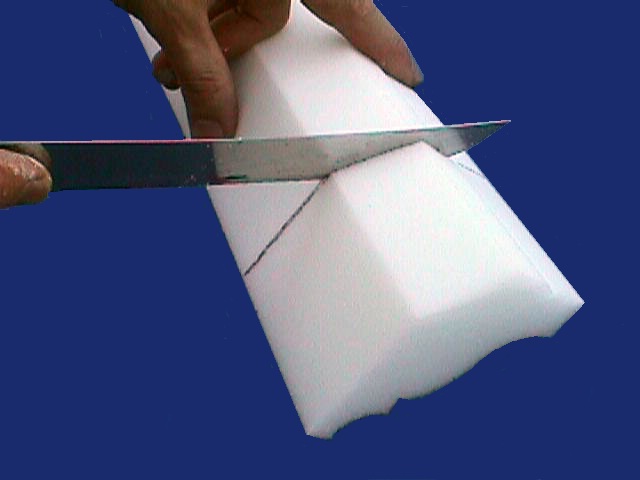
With the cutting line marked, it's time to start cutting the foam. If you're using an electric knife, make sure it's plugged in and switched on before making the cut. Slowly and steadily, follow the marked line and cut through the foam. If you're using a serrated knife, use a sawing motion to cut through the foam. Take your time and make sure to keep the knife at a 90-degree angle for a clean cut.6. Cutting the Foam
After you have cut through the entire foam layer, it's time to remove it from the mattress. Carefully lift off the top foam layer and place it aside. You can either discard it or repurpose it for other projects. If your mattress has multiple layers of foam, repeat the same process for each layer until you reach the desired level of firmness.7. Removing the Foam
Once you have removed the top foam layer, it's time to give your mattress a finishing touch. Using a vacuum cleaner, thoroughly clean the exposed foam and any leftover debris from the cutting process. Then, reattach the top and bottom fabric layers of the mattress using a staple gun or needle and thread. You can also add a new cover to give your mattress a fresh look.8. Finishing Touches
And there you have it – your mattress is now ready to use! By cutting off the top foam layer, you have not only given your mattress a new look but also improved its support and comfort. Now you can enjoy a good night's sleep without any discomfort or aches.9. Enjoy Your Revamped Mattress
Cutting foam off a mattress may seem like a daunting task, but with the right tools and techniques, it can be an easy and cost-effective way to revamp your old mattress. Remember to take your time and be precise, and you'll have a brand new mattress in no time. So why wait? Grab those scissors and give your mattress a makeover today!10. Final Thoughts
Benefits of Cutting Top Foam Off Mattress for Your House Design

Improve Airflow and Comfort
 One of the main reasons why people choose to cut the top foam off their mattress is to improve airflow and comfort. Traditional mattresses often have a thick layer of foam on top, which can trap heat and make sleeping uncomfortable. By removing this top layer, you allow for better air circulation, keeping you cool and comfortable throughout the night.
Customize Your Mattress Firmness
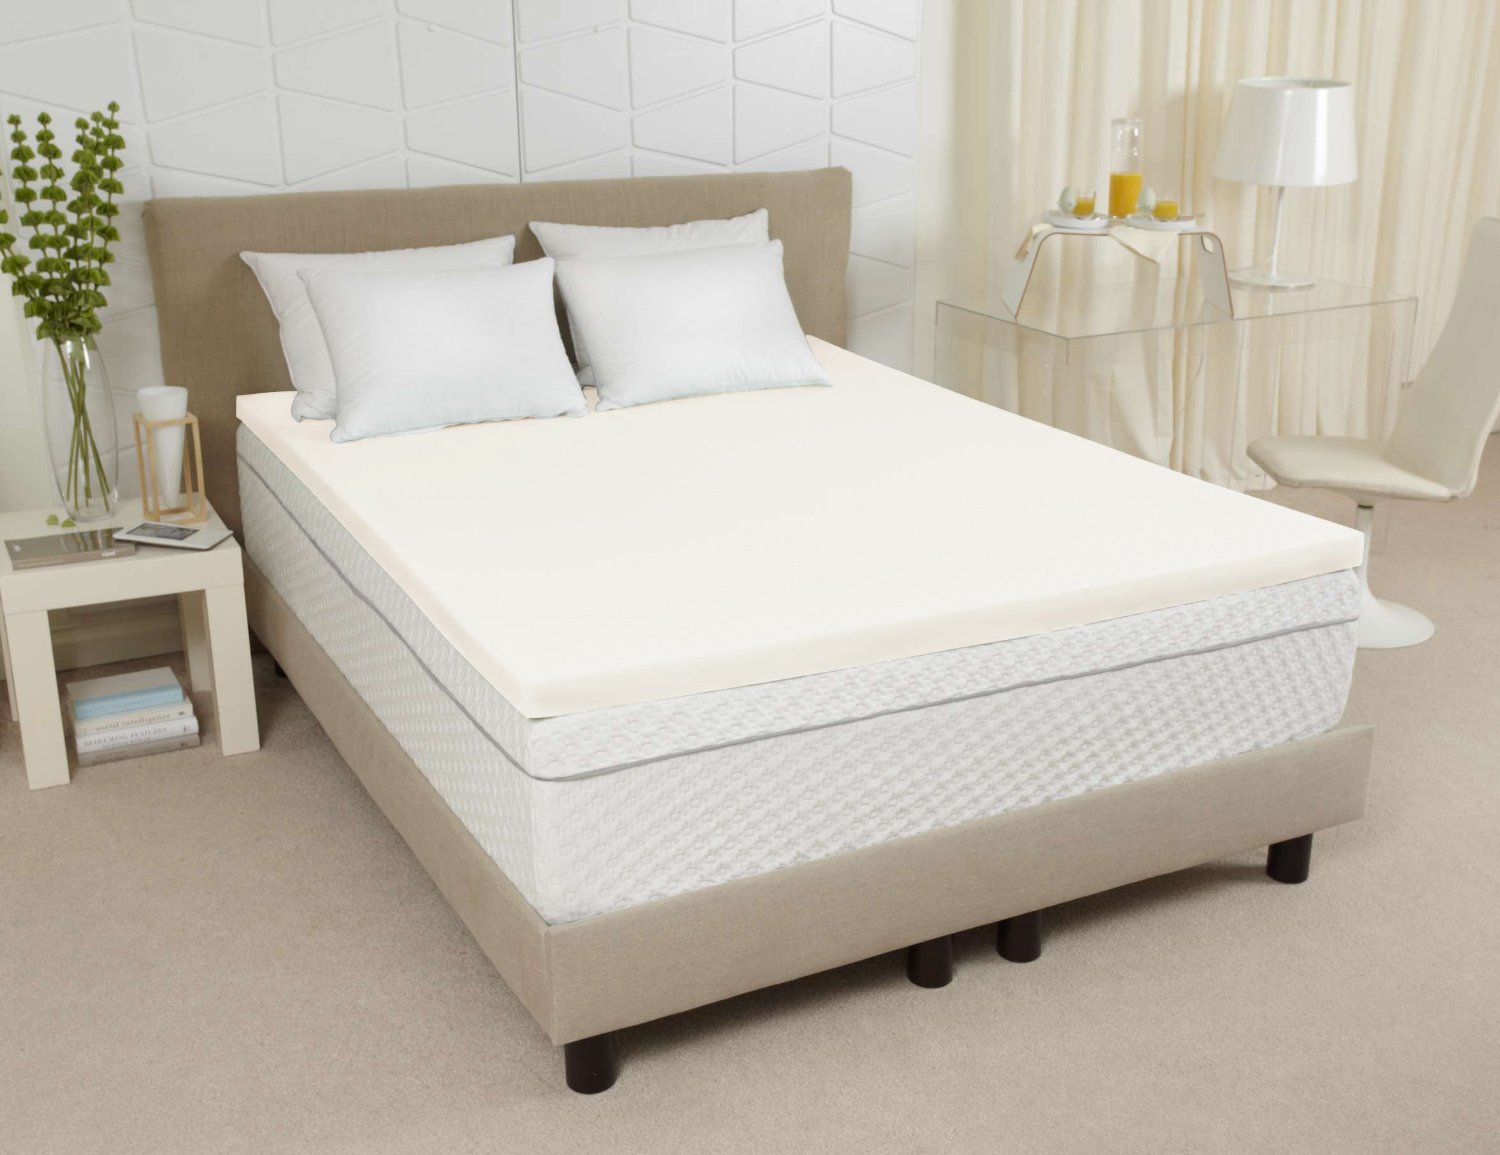
 Another advantage of cutting the top foam off your mattress is that it allows you to customize the firmness of your bed. Some people prefer a firmer mattress, while others prefer a softer one. By removing the top foam layer, you can adjust the overall firmness of your mattress to suit your specific preferences and needs.
Save Money and Reduce Waste
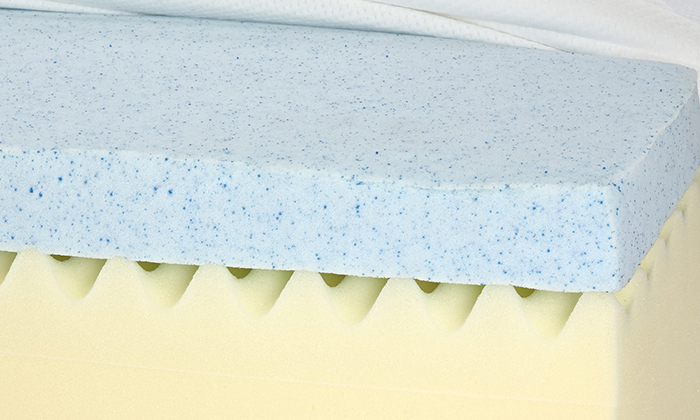 Replacing a mattress can be expensive, especially if the top foam layer is the only part that needs to be replaced. By cutting off the top foam, you can save money by extending the life of your mattress. Additionally, removing the top layer also reduces waste and is an environmentally friendly option.
Enhance the Aesthetic of Your Bedroom
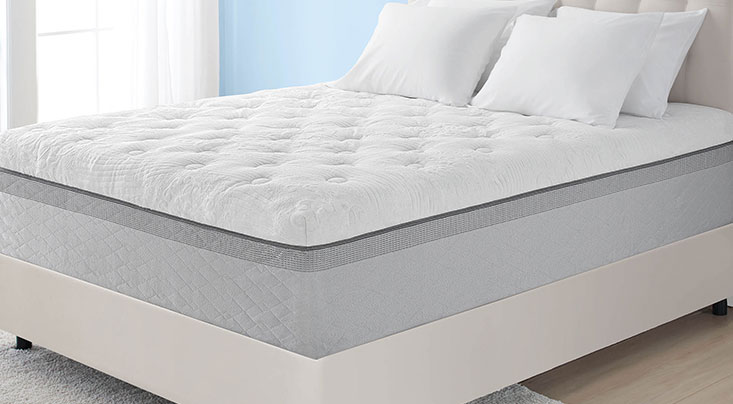
 The design of your bedroom plays a crucial role in creating a comfortable and inviting space. By cutting the top foam off your mattress, you can achieve a sleek and modern look, perfect for minimalist or contemporary house designs. This simple change can make a significant impact on the overall aesthetic of your bedroom.
Better Support for Your Body
 Removing the top foam layer from your mattress can also provide better support for your body. The top foam layer can often compress over time, leading to uneven support and potential back pain. By removing this layer, you can ensure that your mattress remains supportive and comfortable for a longer period.
In Conclusion
Cutting the top foam off your mattress can provide numerous benefits for your house design and overall sleeping experience. From improving airflow and comfort to customizing firmness and reducing waste, this simple change can have a significant impact. Consider giving your mattress a makeover and enjoy the benefits of a top foam-free bed.




































:max_bytes(150000):strip_icc()/71fe-exIuL._AC_SL1500_-72a97dee24104be99eda1c1f6e7c3939.jpg)
