How to Convert a Standard Kitchen Sink to a Deep Sink
Converting a standard kitchen sink to a deep sink is a great way to upgrade your kitchen and create more space for washing dishes and prepping food. While it may seem like a daunting task, it is actually a fairly simple DIY project that can be completed in just a few hours. In this guide, we will walk you through the steps to successfully convert your standard kitchen sink to a deep sink. So let's get started!
Step 1: Measure and Choose Your Sink
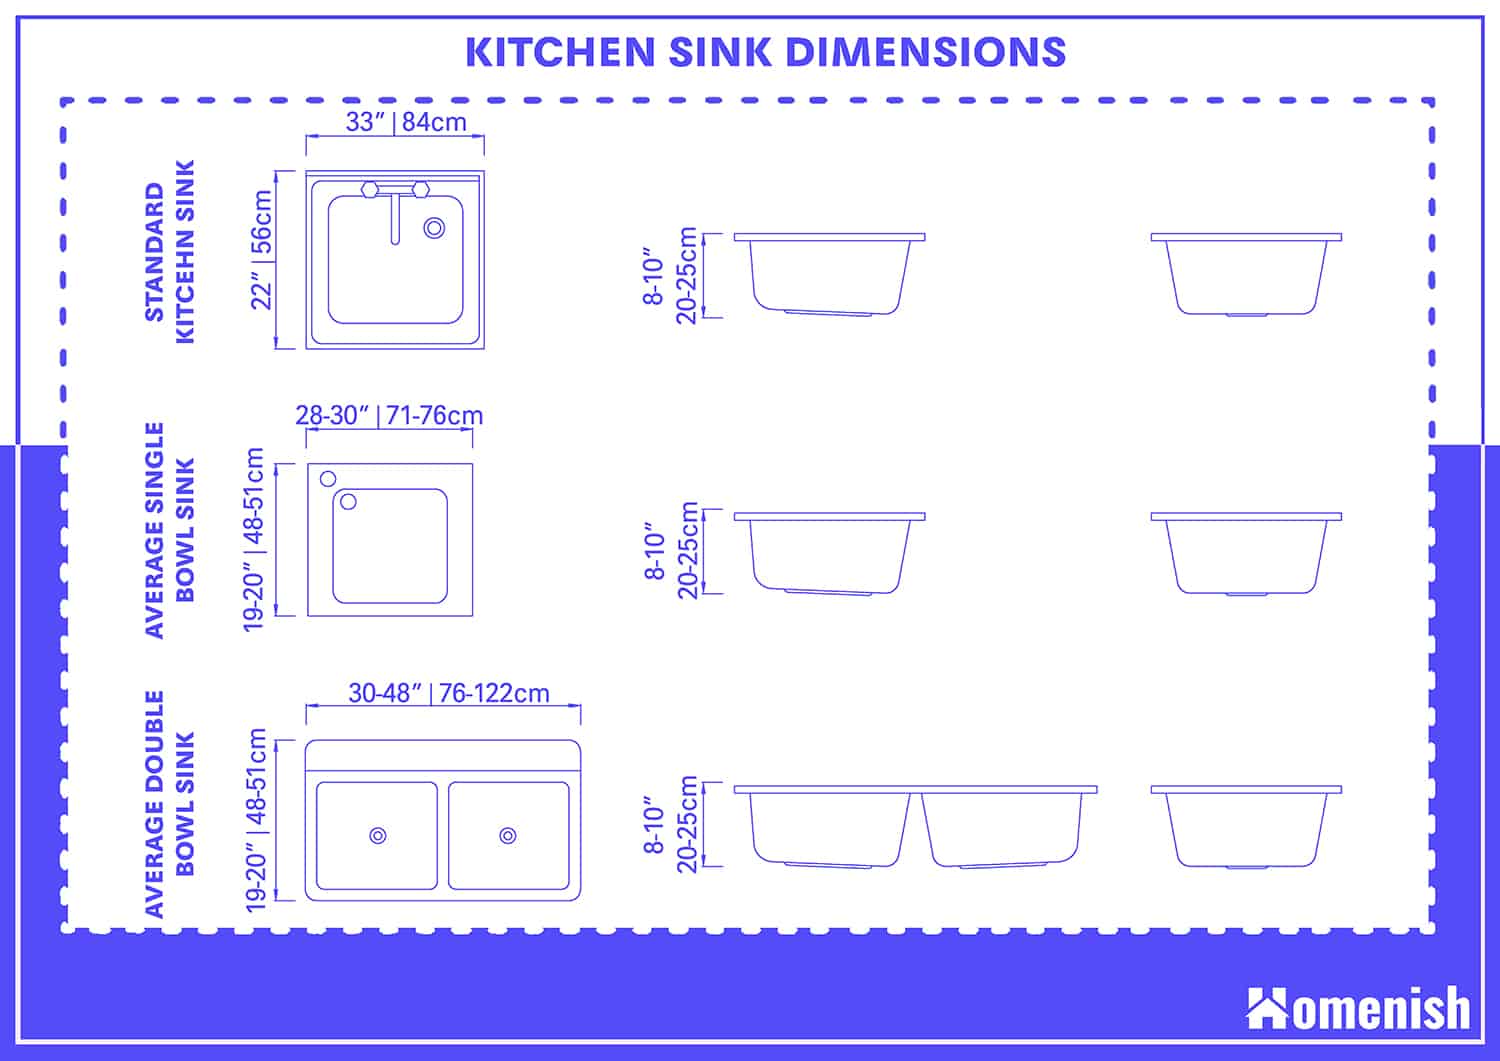
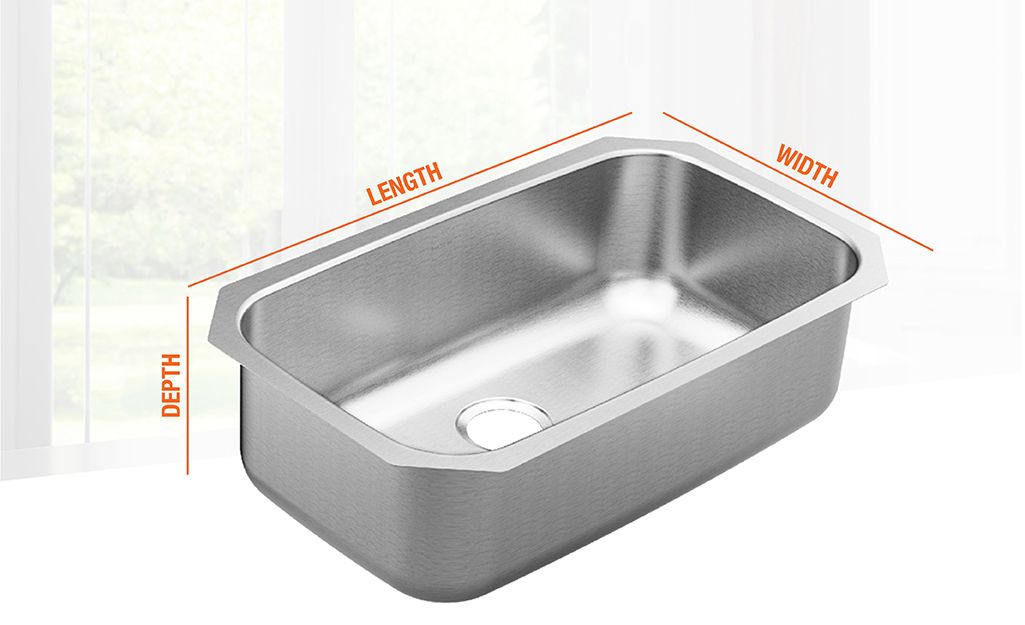
The first step to converting your standard sink to a deep sink is to measure your current sink and choose a new one that will fit in the same space. Most standard sinks are around 6 inches deep, while deep sinks can range from 8-10 inches in depth. It's important to measure the depth, width, and length of your current sink so you can find a deep sink that will fit perfectly in your kitchen.
Step 2: Remove the Old Sink
Before you can install your new deep sink, you will need to remove the old one. Start by turning off the water supply and disconnecting the plumbing underneath the sink. Then, use a utility knife to cut through the caulk and remove any mounting clips or brackets that are holding the sink in place. Carefully lift the sink out and set it aside.
Step 3: Make Necessary Modifications
If your new deep sink is larger than your old one, you may need to make some modifications to your countertop and cabinets. Measure the new sink and mark the outline on your countertop. Use a jigsaw to carefully cut along the marked line, making sure to follow the manufacturer's instructions for the size and shape of the hole. If needed, you may also need to cut out a larger hole in the cabinet to accommodate the new sink.
Step 4: Install the New Sink
Once your modifications are complete, it's time to install the new sink. Begin by applying a bead of silicone caulk around the edge of the sink hole in the countertop. Carefully lower the sink into place and make sure it is centered and level. Secure the sink with mounting clips or brackets, and then reconnect the plumbing.
Step 5: Make Final Adjustments
After the sink is installed, turn the water supply back on and check for any leaks. If everything looks good, use a caulk gun to seal around the edges of the sink to prevent any water from seeping in between the sink and countertop. You can also add a new faucet or replace the old one at this time, depending on your preference.
Step 6: Enjoy Your New Deep Sink
Congratulations, you have successfully converted your standard kitchen sink to a deep sink! Now you can enjoy the extra depth and space for all your kitchen needs. Not only is a deep sink more functional, but it also adds a modern and sleek look to your kitchen.
Maximizing Space: How to Convert a Standard Kitchen Sink to a Deep Sink
If you have a small kitchen, every inch of space counts. That's why converting your standard kitchen sink to a deep sink is a smart choice. By adding a few extra inches of depth, you can make your sink more versatile and efficient. Plus, it will give your kitchen a more luxurious and updated feel. In this section, we will discuss some tips and tricks for maximizing space when converting your standard kitchen sink to a deep sink.
Tip 1: Choose a Sink with a Single Bowl
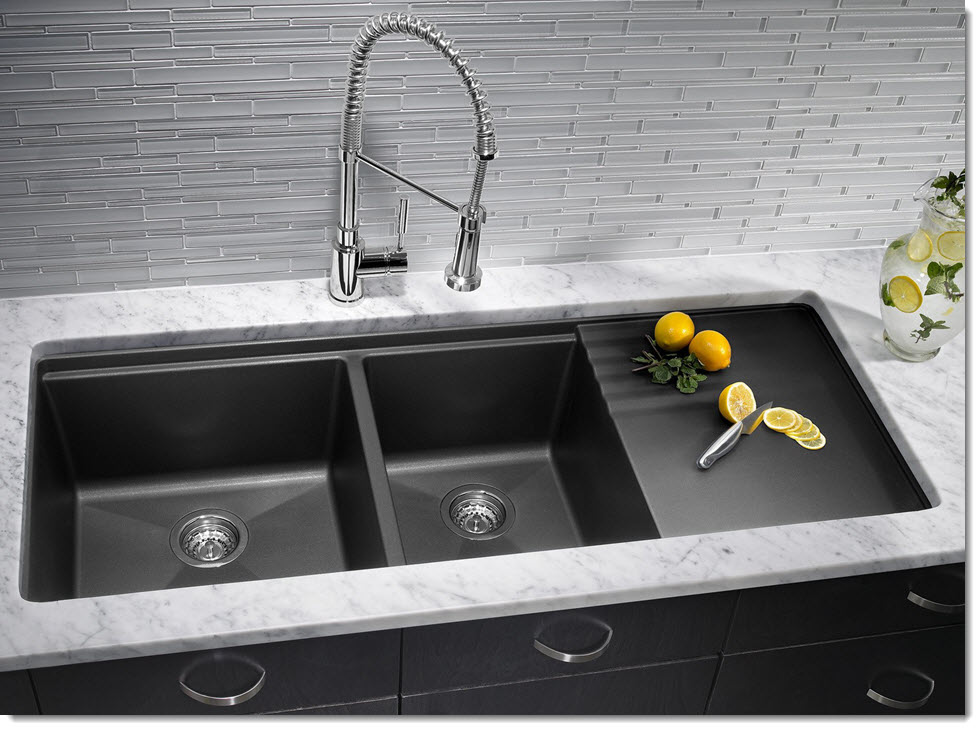
When looking for a deep sink, consider choosing one with a single bowl rather than a double bowl. While double bowl sinks may seem more convenient, they actually take up more space on your countertop and limit the size of your dishes that can fit in the sink. A single bowl sink will provide you with more space to work with and allow for larger pots and pans to be washed.
Tip 2: Add a Sink Caddy
To maximize space in your deep sink, consider adding a sink caddy. This can be a small basket or organizer that fits over the sink or hangs over the edge. It will keep your dish soap, sponges, and other cleaning supplies off the countertop and free up valuable space for more important tasks.
How to Convert a Standard Kitchen Sink to a Deep Sink: A Simple Guide

Transform Your Kitchen with a Deep Sink Upgrade
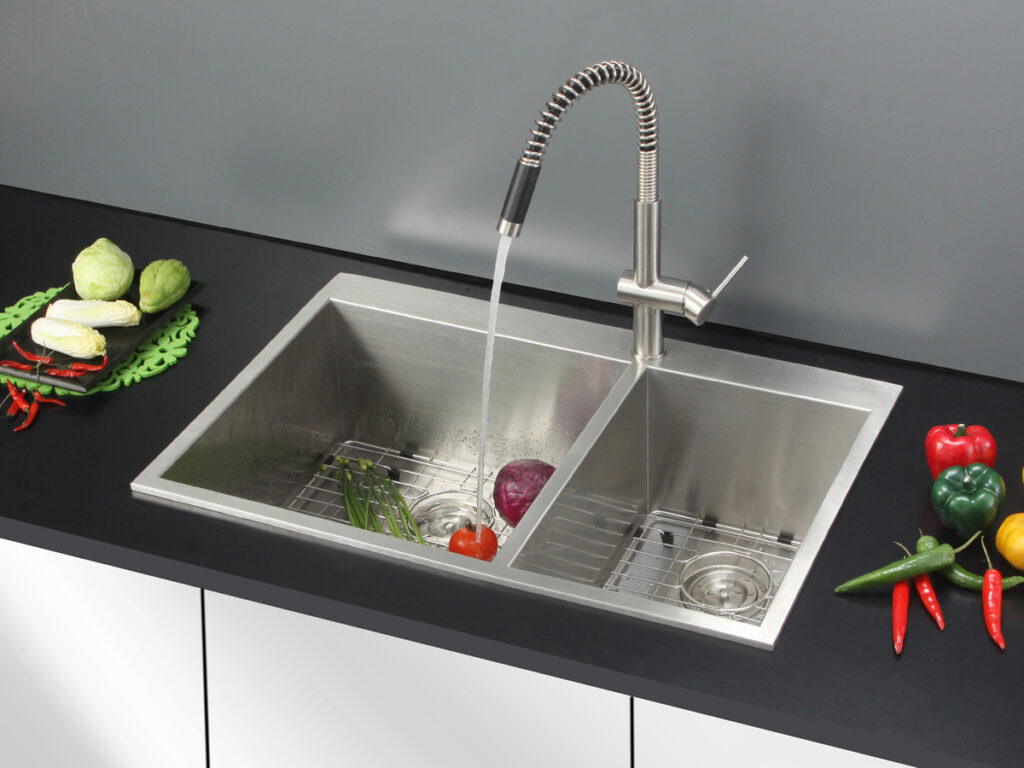 Are you tired of struggling to fit larger pots and dishes into your standard kitchen sink? Do you dream of having a deeper sink to make washing dishes easier and more efficient? Look no further, because converting your standard kitchen sink to a deep sink is a simple and cost-effective solution that can completely transform your kitchen's functionality and design. In this article, we will guide you through the process of converting your standard kitchen sink to a deep sink, giving your kitchen a professional and modern upgrade.
Why Choose a Deep Sink?
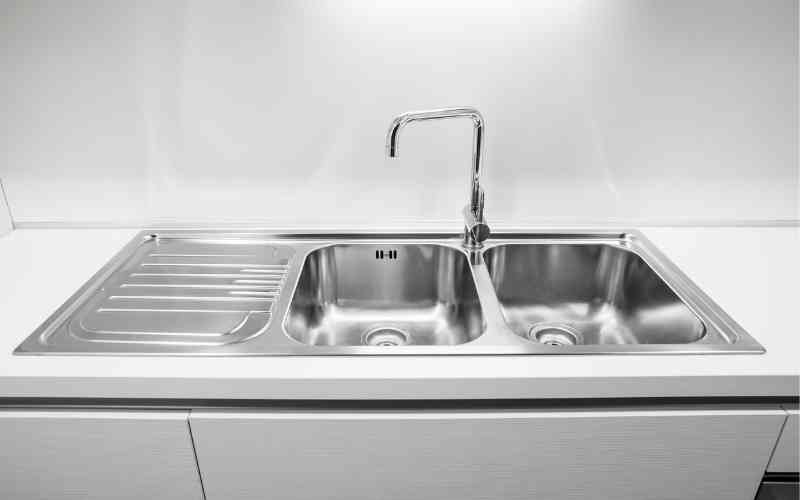
 A deep sink offers many benefits that a standard sink simply cannot match. The most obvious advantage is the increased depth, which allows for easier cleaning of larger dishes and pots. This is particularly useful for those who frequently cook and entertain, as it reduces the hassle of trying to fit bulky items into a shallow sink. Additionally, a deep sink can add a touch of elegance and sophistication to your kitchen, making it a desirable feature for potential home buyers if you ever decide to sell your house.
Featured keyword: Convert standard kitchen sink to deep sink
Step 1: Measure Your Sink and Cabinet
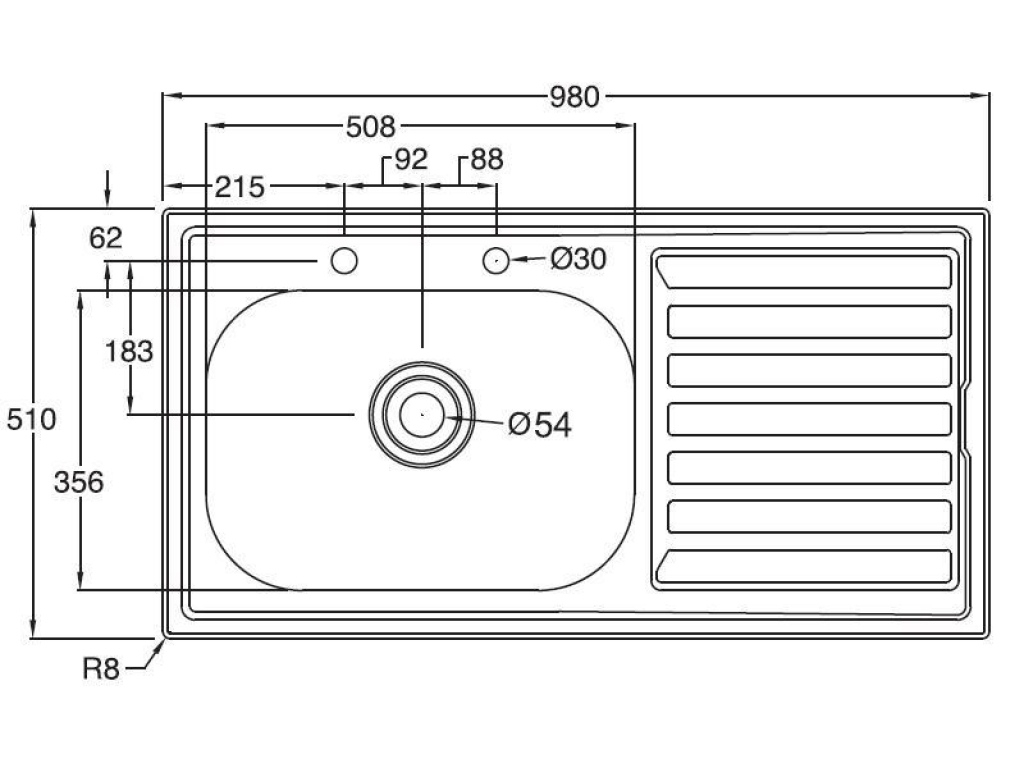
 Before you begin, it is important to measure your current sink and cabinet to ensure that a deep sink will fit. Most standard sinks are around 8 inches deep, while deep sinks can range from 10-12 inches deep. Measure the height, width, and depth of your sink, as well as the width and depth of your cabinet, to determine if a deep sink will fit comfortably.
Related main keyword: Deep sink upgrade
Step 2: Choose Your Deep Sink
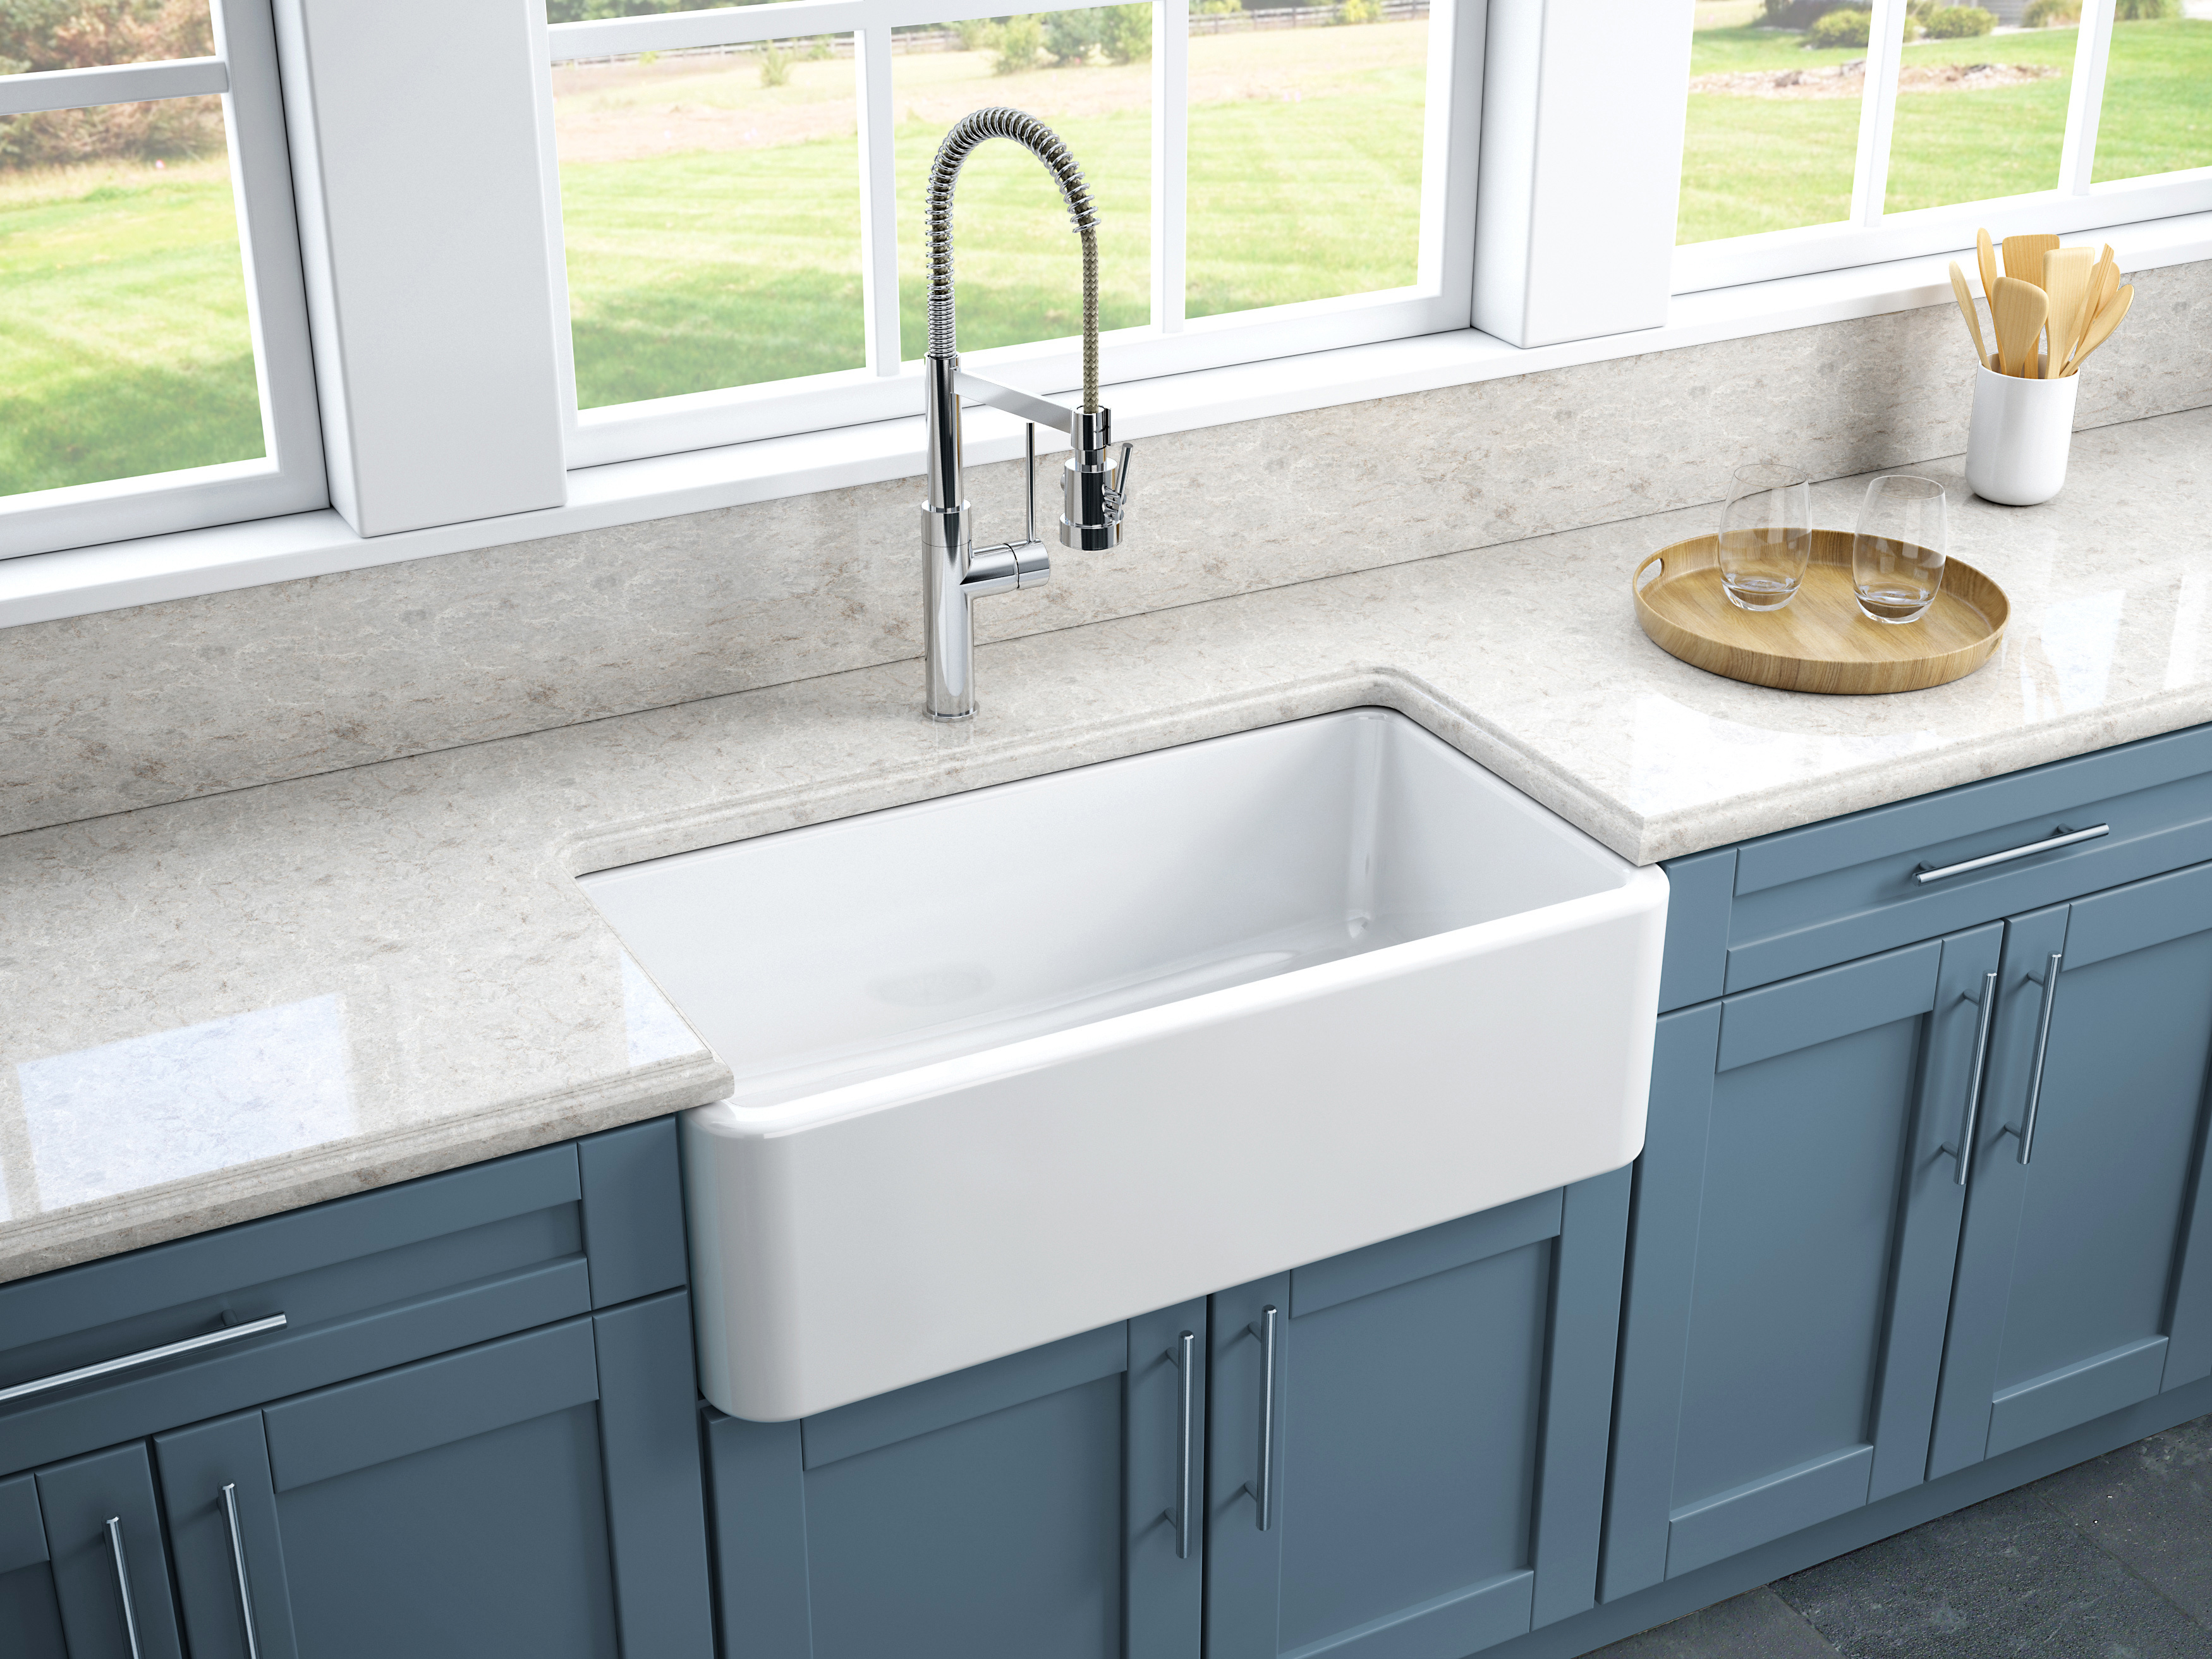
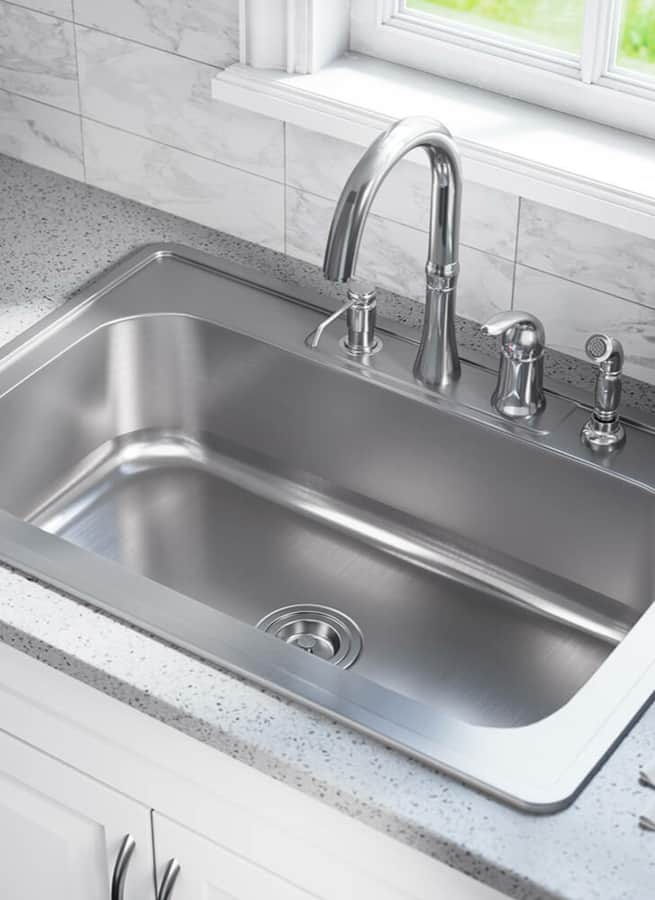
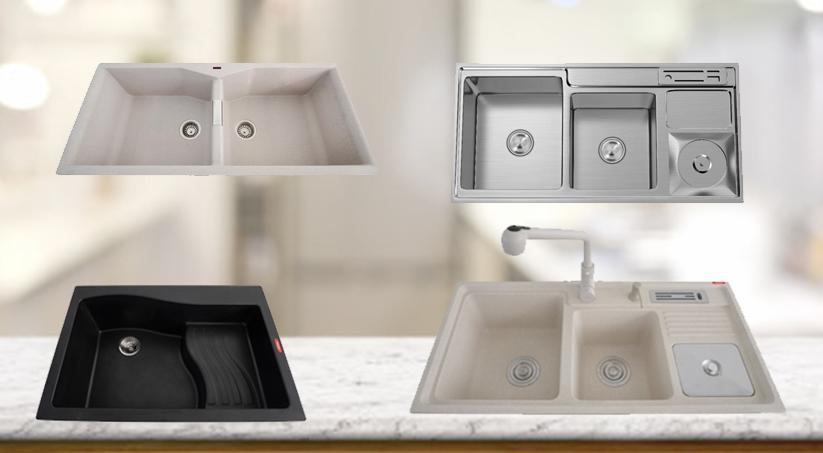
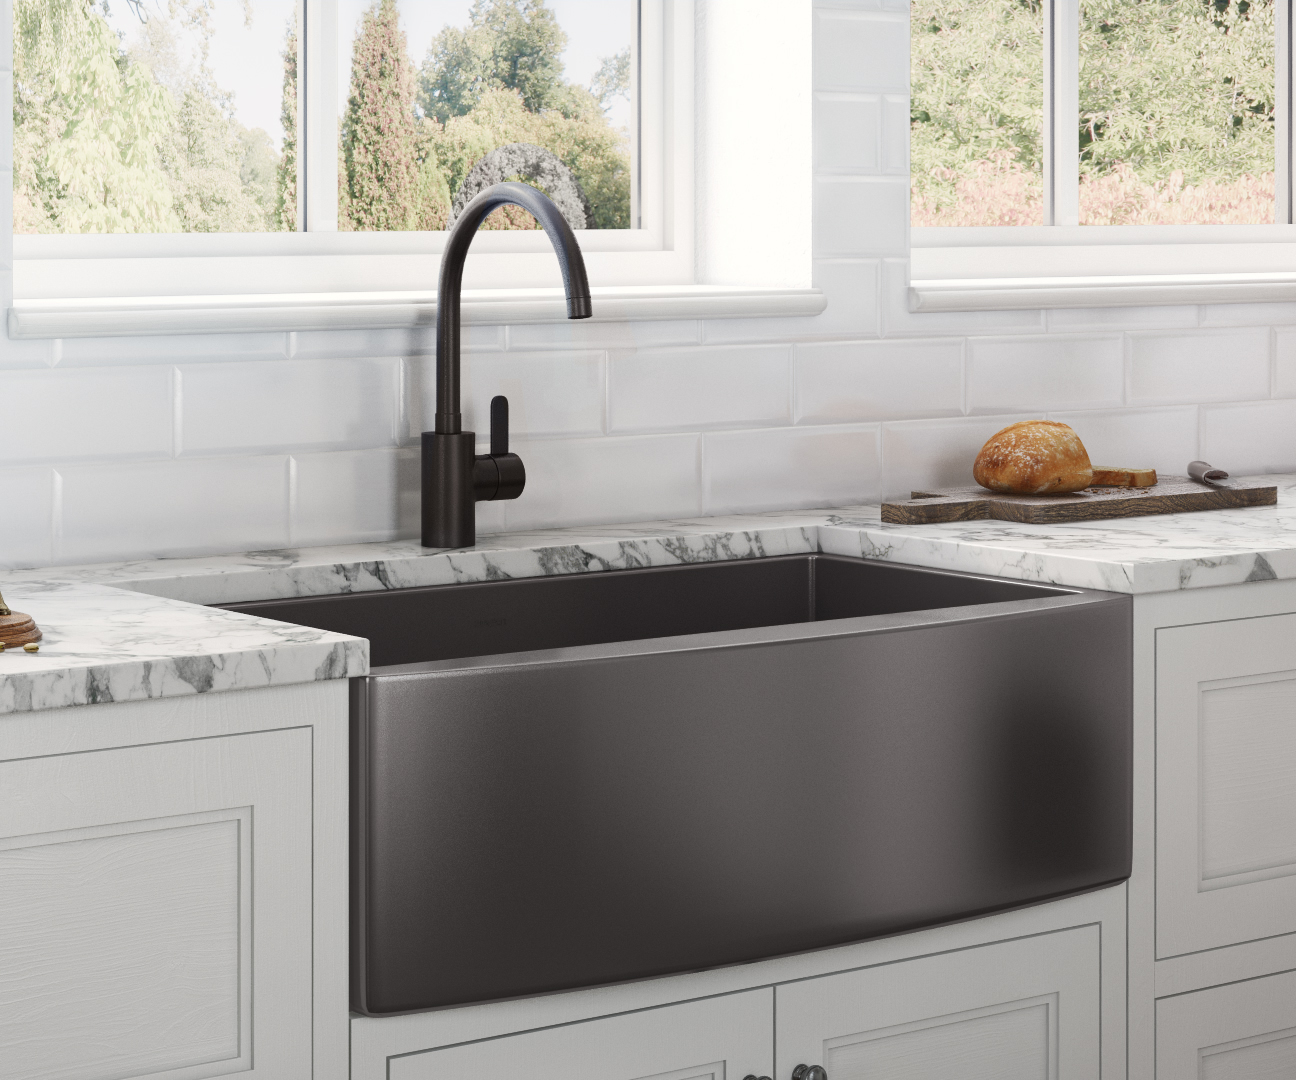 Once you have confirmed that a deep sink will fit in your kitchen, it's time to choose the perfect one for your space. There are many different styles and materials to choose from, including stainless steel, granite, and porcelain. Consider the overall design of your kitchen and choose a sink that will complement it. Be sure to also check the dimensions of the sink to ensure it will fit in your cabinet.
Related main keyword: Convert kitchen sink
Step 3: Remove the Old Sink
 Now that you have your new deep sink, it's time to remove the old one. Start by turning off the water supply and disconnecting the plumbing under the sink. Then, use a utility knife to cut through any caulk or adhesive holding the sink in place. Once the sink is free, carefully lift it out and set it aside.
Related main keyword: Kitchen sink upgrade
Step 4: Install the Deep Sink
 With the old sink removed, it's time to install the new deep sink. Place the sink into the hole in your countertop and secure it with clips or brackets. Then, reconnect the plumbing and turn the water supply back on. Be sure to check for any leaks and make adjustments if necessary.
Related main keyword: Deep sink installation
Step 5: Enjoy Your New Deep Sink!
In Conclusion
 Converting a standard kitchen sink to a deep sink is a simple and effective way to upgrade your kitchen. By following these easy steps, you can transform your kitchen into a more functional and stylish space. So why wait? Make the switch to a deep sink today and enjoy the benefits for years to come.
















/Pedestal-Sink-184112687-56a4a0eb3df78cf77283522e.jpg)


