1. How to Install a Kitchen Sink Drain
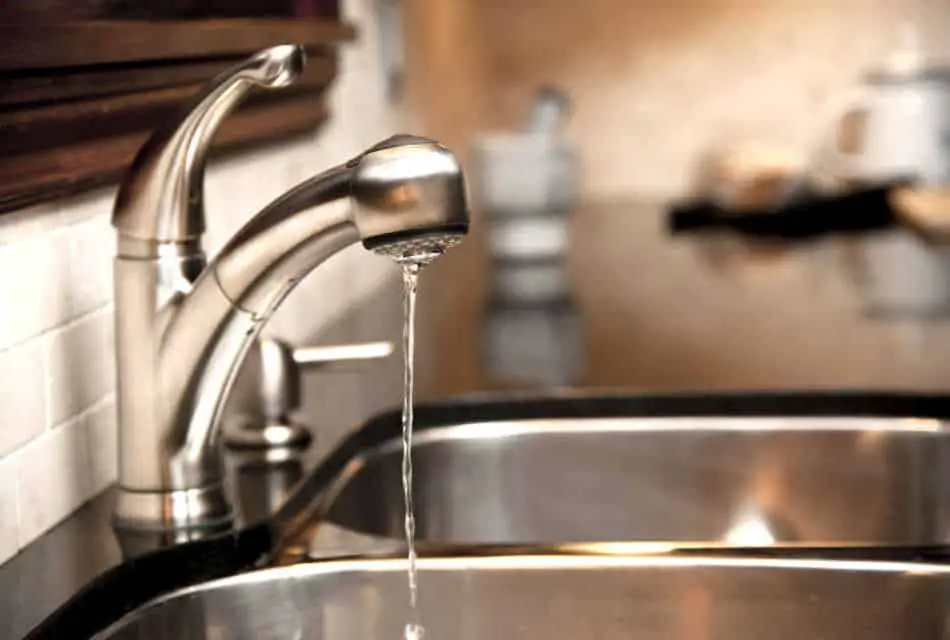
Installing a kitchen sink drain may seem like a daunting task, but with the right tools and steps, it can be a relatively simple process. The first step is to gather all the necessary materials, including a drain kit, plumber's putty, and a wrench. Next, turn off the water supply and place a bucket under the sink to catch any excess water.
Once you have everything ready, start by attaching the strainer to the bottom of the sink. Apply some plumber's putty around the edges of the strainer to create a watertight seal. Then, place the strainer into the drain hole and secure it with the provided hardware.
Next, connect the drain tailpiece to the strainer and ensure it is tightly secured. Then, attach the drain trap to the tailpiece, making sure it is positioned correctly to allow for proper drainage. Finally, connect the drain trap to the drainpipe using slip nuts and washers.
Once all the pieces are securely connected, turn on the water supply and check for any leaks. If everything looks good, you have successfully installed a kitchen sink drain!


1. How to Install a Kitchen Sink Drain


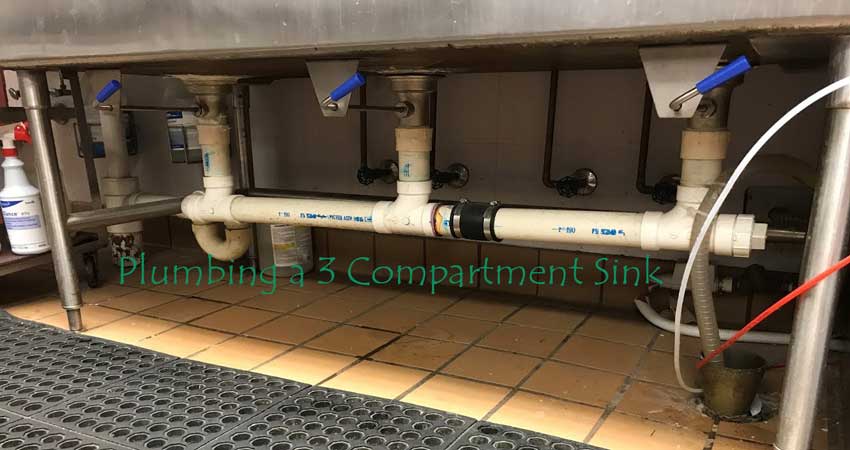
2. Connecting a Kitchen Sink Drain Pipe
The drain pipe is a crucial component of a kitchen sink drain, responsible for carrying wastewater out of the sink. Connecting it to the sink and other plumbing fixtures requires careful attention to ensure a proper and leak-free connection.
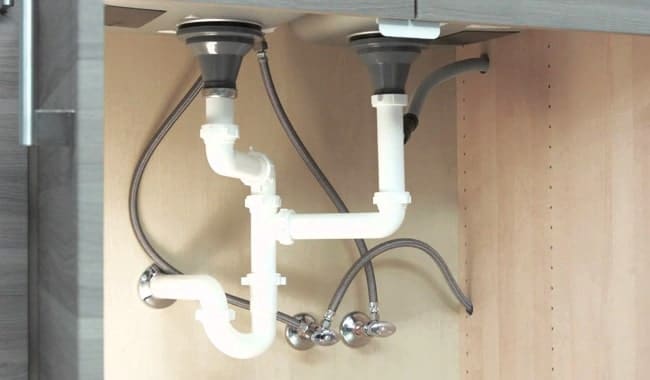
First, prepare the drainpipe by cutting it to the appropriate length and deburring the ends. Then, attach the tailpiece to the bottom of the sink's strainer using a slip nut and washer. Next, connect the other end of the tailpiece to the drainpipe using a slip nut and washer as well.
If your kitchen sink has a garbage disposal, you will need to connect the drain pipe to it as well. This can be done by removing the knockout plug on the disposal's side and attaching the drain pipe using a slip nut and washer. Finally, check for any leaks and make adjustments as needed.


2. Connecting a Kitchen Sink Drain Pipe
:max_bytes(150000):strip_icc()/how-to-install-a-sink-drain-2718789-hero-24e898006ed94c9593a2a268b57989a3.jpg)


3. Kitchen Sink Drain Installation Guide
Installing a kitchen sink drain can be a straightforward process with the right tools and instructions. Here is a step-by-step guide on how to install a kitchen sink drain:
Step 1: Gather all the necessary materials, including a drain kit, plumber's putty, and a wrench.
Step 2: Turn off the water supply and place a bucket under the sink to catch any excess water.
Step 3: Attach the strainer to the bottom of the sink, making sure to create a watertight seal with plumber's putty.
Step 4: Connect the drain tailpiece to the strainer and secure it tightly.
Step 5: Attach the drain trap to the tailpiece and connect it to the drainpipe using slip nuts and washers.
Step 6: Turn on the water supply and check for any leaks.


3. Kitchen Sink Drain Installation Guide


4. Steps for Connecting a Kitchen Sink Drain
Connecting a kitchen sink drain may seem like a daunting task, but by following these simple steps, you can successfully complete the task:
Step 1: Prepare the drainpipe by cutting it to the appropriate length and deburring the ends.
Step 2: Attach the tailpiece to the sink's strainer using a slip nut and washer.
Step 3: Connect the other end of the tailpiece to the drainpipe using a slip nut and washer.
Step 4: If your sink has a garbage disposal, remove the knockout plug and connect the drain pipe to it using a slip nut and washer.
Step 5: Check for any leaks and make necessary adjustments.


4. Steps for Connecting a Kitchen Sink Drain


5. DIY Kitchen Sink Drain Connection
Connecting a kitchen sink drain can be a DIY project for those who are handy and have the right tools. With the proper instructions and materials, you can successfully complete this task without the help of a professional.
Start by gathering all the necessary materials, including a drain kit, plumber's putty, and a wrench. Next, follow the steps outlined in this article to connect the drainpipe to the sink and other plumbing fixtures. Remember to check for any leaks and make adjustments as needed.

5. DIY Kitchen Sink Drain Connection
/how-to-install-a-sink-drain-2718789-hero-24e898006ed94c9593a2a268b57989a3.jpg)

6. Tips for Connecting a Kitchen Sink Drain
Connecting a kitchen sink drain can be challenging, but these tips can help make the process smoother and more efficient:
- Make sure to turn off the water supply before starting the installation process.
- Have all the necessary materials and tools ready before beginning.
- Use plumber's putty to create a watertight seal around the strainer.
- Double-check all connections for leaks before turning on the water supply.
- If you encounter any issues, don't hesitate to seek professional help.


6. Tips for Connecting a Kitchen Sink Drain


7. Common Mistakes When Connecting a Kitchen Sink Drain
Connecting a kitchen sink drain may seem straightforward, but there are some common mistakes that people make, leading to leaks and other plumbing issues. Some of these mistakes include:
- Forgetting to turn off the water supply before starting the installation process.
- Not using plumber's putty to create a watertight seal around the strainer.
- Not checking for leaks before turning on the water supply.
- Using the wrong size or type of materials for the installation.
To avoid these mistakes, carefully follow the instructions and take your time during the installation process.


7. Common Mistakes When Connecting a Kitchen Sink Drain


8. Tools Needed for Connecting a Kitchen Sink Drain
Having the right tools is crucial for successfully connecting a kitchen sink drain. Here are some essential tools you will need for this task:
- Wrench
- Plumber's putty
- Drain kit
- Bucket
- Slip nuts and washers
Having these tools on hand will make the installation process much smoother and more efficient.


8. Tools Needed for Connecting a Kitchen Sink Drain


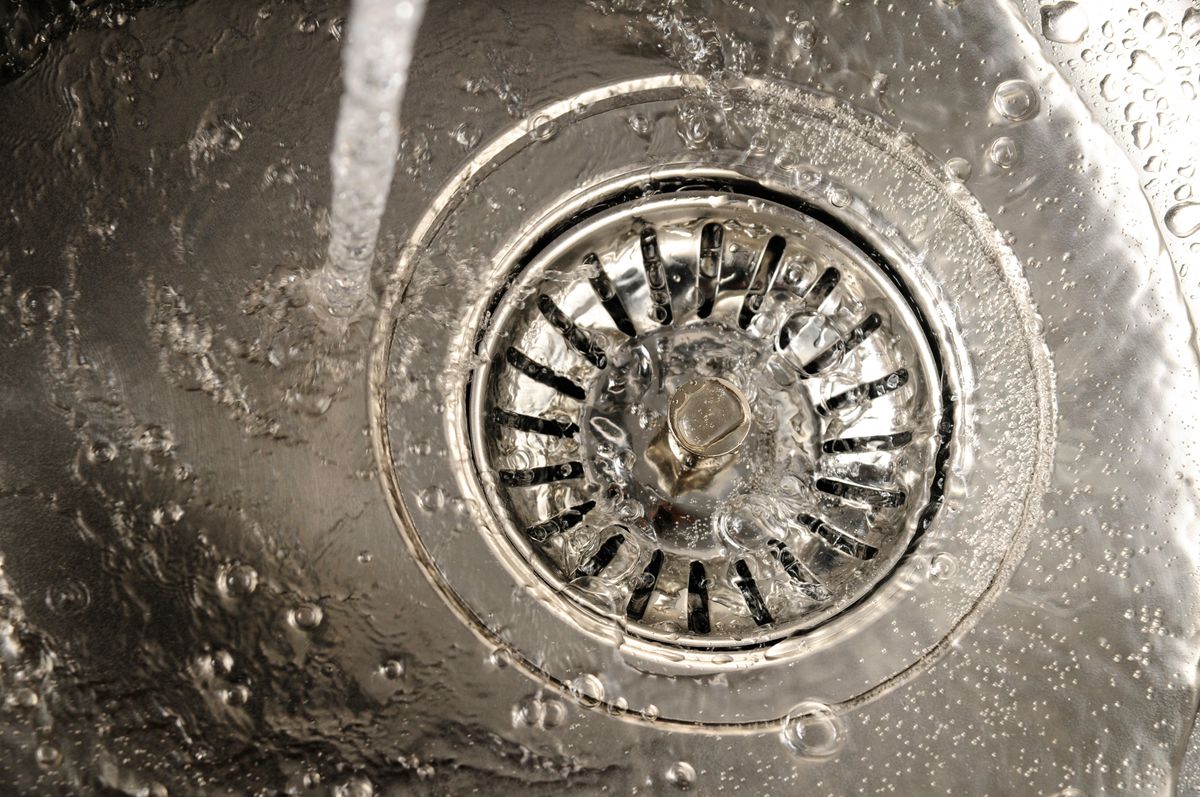
9. How to Connect a Kitchen Sink Drain to a Garbage Disposal
If your kitchen sink has a garbage disposal, you will need to connect the drainpipe to it as well. Here's how:
Step 1: Remove the knockout plug on the disposal's side using a screwdriver.
Step 2: Connect the drainpipe to the disposal using a slip nut and washer.
Step 3: Check for any leaks and make adjustments as needed.

9. How to Connect a Kitchen Sink Drain to a Garbage Disposal


:max_bytes(150000):strip_icc()/kitchen-sink-171366298-5841b8de3df78c0230af5814.jpg)

10. Troubleshooting Common Issues with Kitchen Sink Drain Connections
Despite following all the steps and tips, you may encounter some issues when connecting a kitchen sink drain. Here are some troubleshooting tips for common problems:
- If there are leaks, check for loose connections and tighten them as needed.
- If the drain is clogged, use a plunger or a drain snake to clear the blockage.
- If there is a foul odor coming from the drain, try pouring a mixture of baking soda and vinegar down the drain and rinsing it with hot water.
If none of these solutions work, it may be best to seek professional help to ensure the issue is resolved correctly.
10. Troubleshooting Common Issues with Kitchen Sink Drain Connections

Why a Properly Connected Drain is Essential for Your Kitchen Sink

Efficient Water Flow
 One of the main reasons why it is important to have a properly connected drain for your kitchen sink is to ensure efficient water flow. A clogged or poorly connected drain can lead to standing water in your sink, making it difficult and time-consuming to wash dishes or prepare food. This not only causes inconvenience but can also lead to bacteria and mold growth, creating an unsanitary environment in your kitchen. By having a well-connected drain that allows for smooth water flow, you can save time and maintain a clean and hygienic kitchen.
Prevention of Plumbing Issues
/how-to-install-a-sink-drain-2718789-hero-b5b99f72b5a24bb2ae8364e60539cece.jpg) A properly connected drain can also prevent potential plumbing issues in the future. Over time, food particles, grease, and other debris can build up in your drain, causing blockages and backups. This can lead to more serious problems such as burst pipes or water damage. By ensuring that your kitchen sink drain is properly connected, you can prevent these issues and save yourself from costly repairs down the line.
A properly connected drain can also prevent potential plumbing issues in the future. Over time, food particles, grease, and other debris can build up in your drain, causing blockages and backups. This can lead to more serious problems such as burst pipes or water damage. By ensuring that your kitchen sink drain is properly connected, you can prevent these issues and save yourself from costly repairs down the line.
Enhanced Aesthetic Appeal
 In addition to functionality and prevention of plumbing issues, a properly connected drain can also enhance the aesthetic appeal of your kitchen. A visible, poorly connected drain can be an eyesore and take away from the overall design of your kitchen. On the other hand, a properly connected drain can seamlessly blend in with your sink and countertop, creating a more visually appealing and cohesive look.
Professional Installation
 To ensure that your kitchen sink drain is properly connected, it is crucial to have it installed by a professional. They have the knowledge and expertise to properly connect the drain and ensure that it is functioning correctly. A professional installation can also help identify any potential issues and address them before they become bigger problems.
In conclusion, a properly connected drain is essential for a functional, hygienic, and aesthetically pleasing kitchen. By investing in a professional installation and maintenance of your kitchen sink drain, you can save yourself from potential headaches and costly repairs in the future. Don't overlook this crucial aspect of your kitchen design and enjoy a hassle-free cooking and cleaning experience.