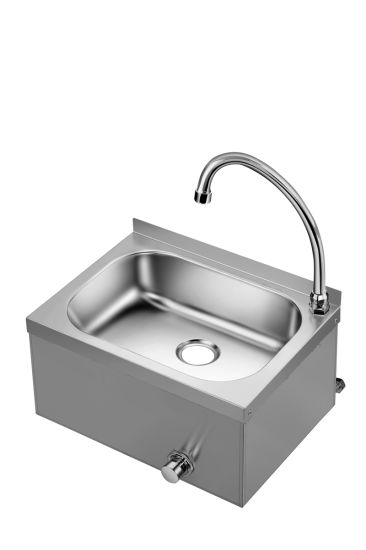
When it comes to setting up a commercial kitchen, one of the most important components is the sink unit. This is where dishes and utensils are washed, food is prepared, and hands are washed. A properly assembled commercial kitchen sink unit is essential for a smooth and efficient operation. In this article, we will discuss the top 10 steps for assembling a commercial kitchen sink unit, including the necessary parts, installation process, and maintenance tips.Introduction


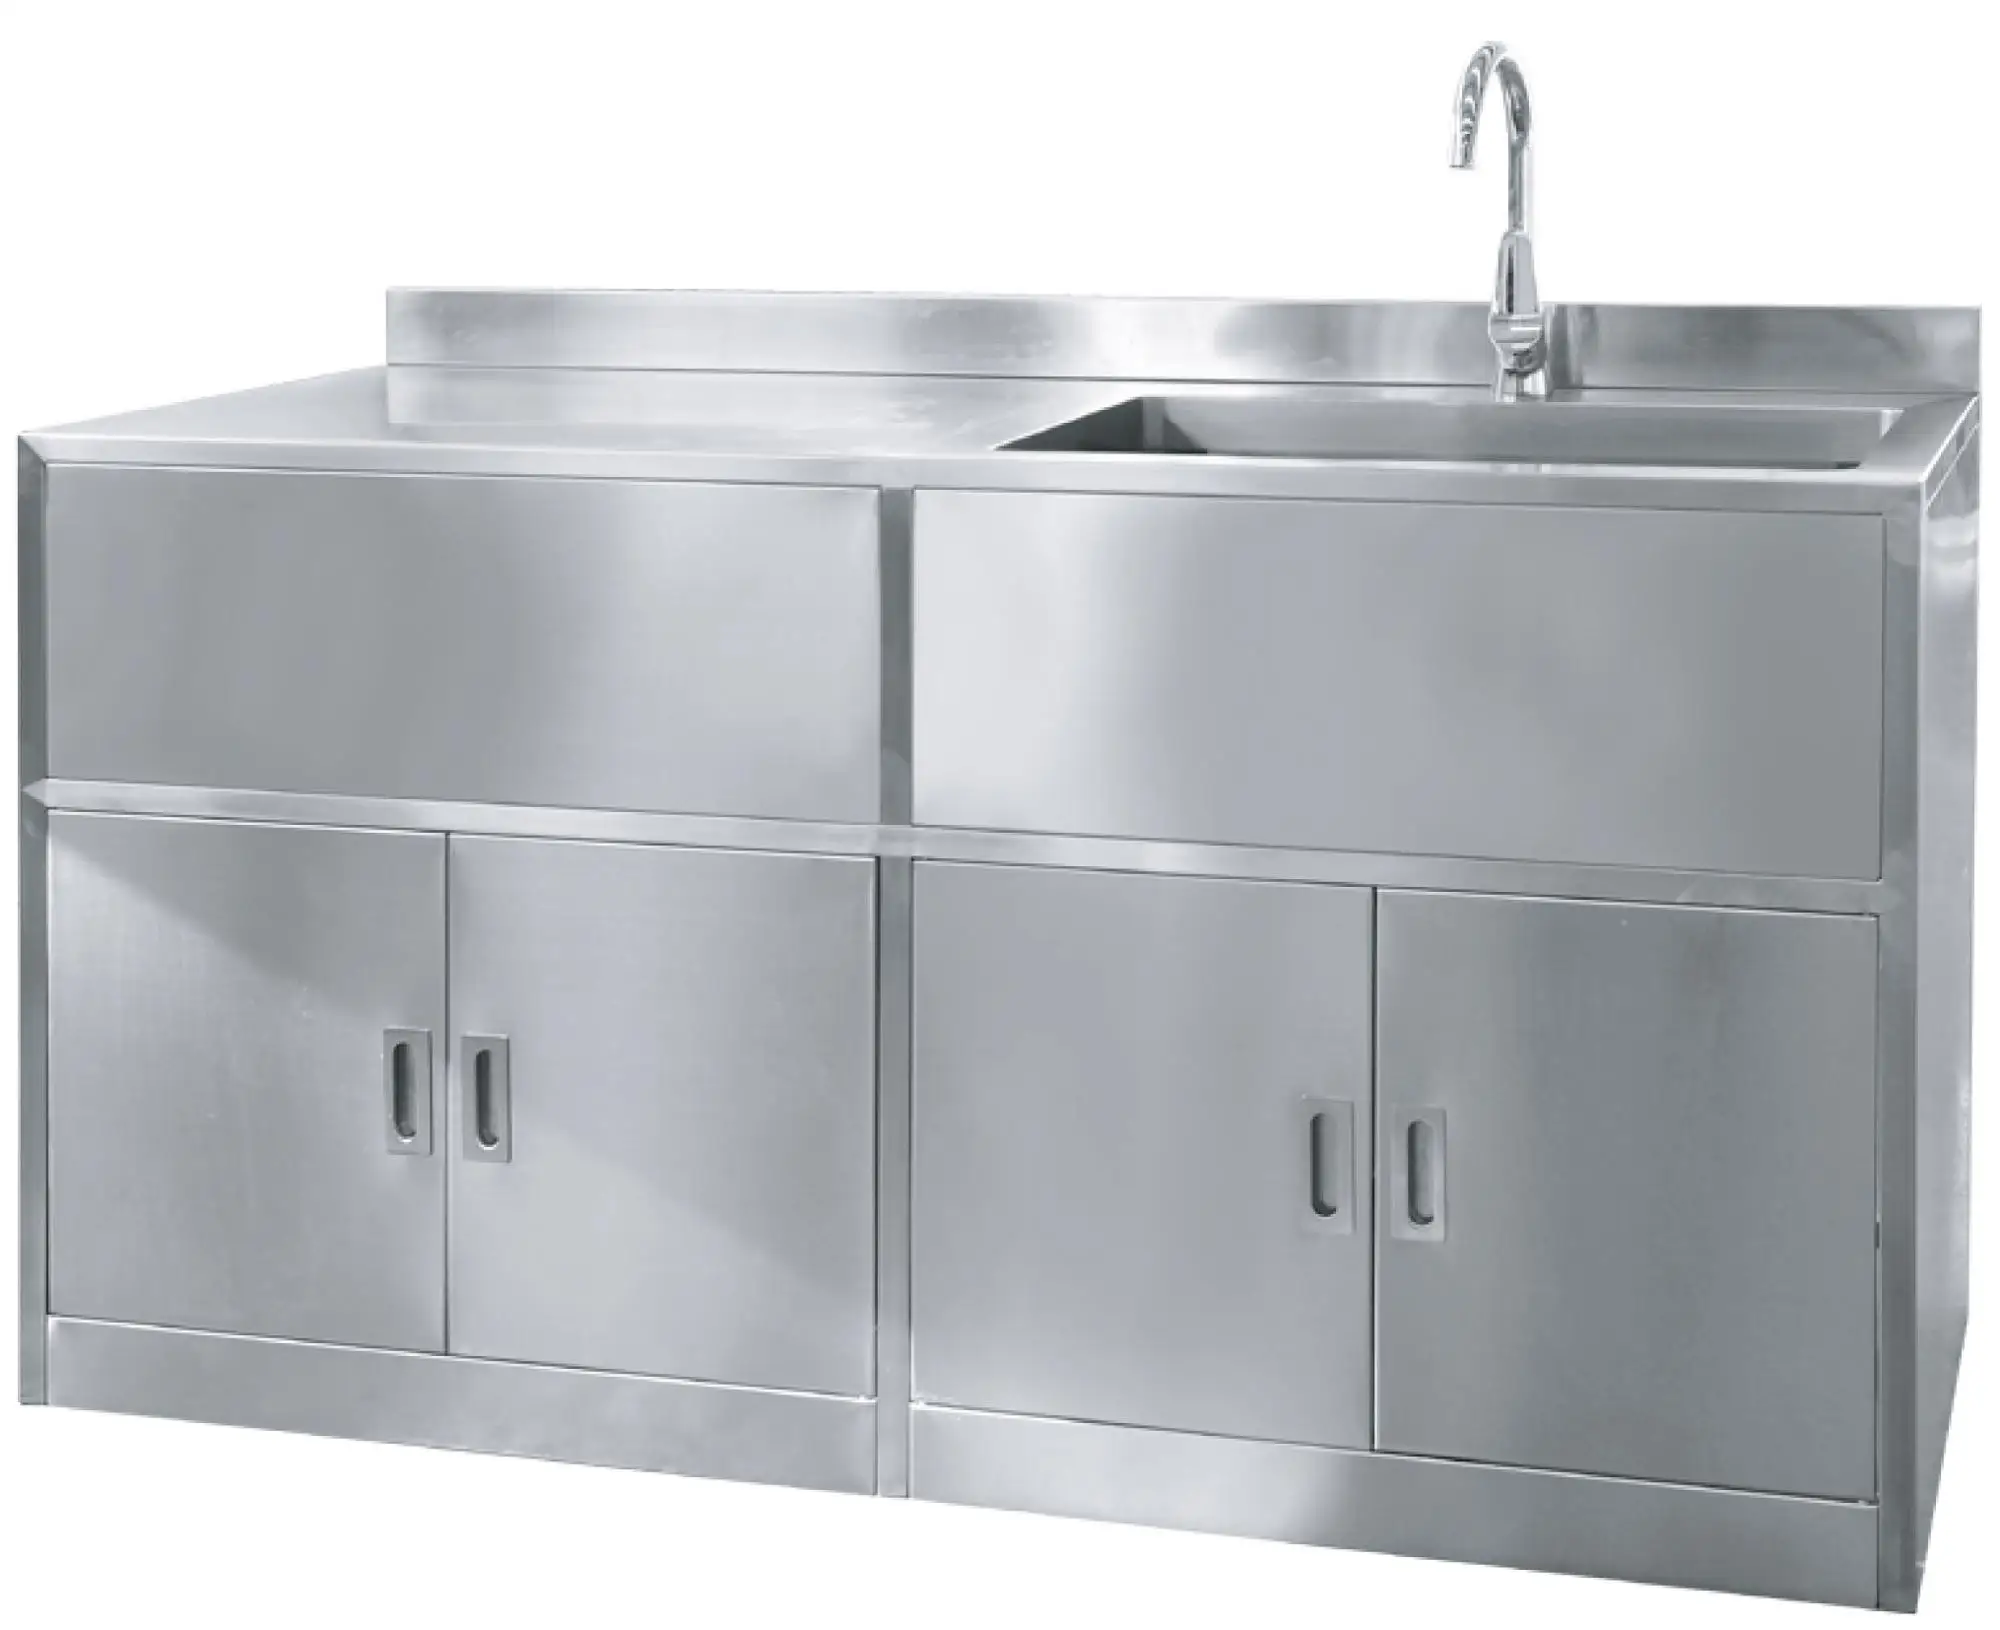
Commercial Kitchen Sink Unit Assembly


Before starting the assembly process, make sure you have all the necessary tools on hand. This may include a screwdriver, pliers, adjustable wrench, and a level. Having these tools readily available will make the assembly process much smoother and quicker.1. Gather the Necessary Tools

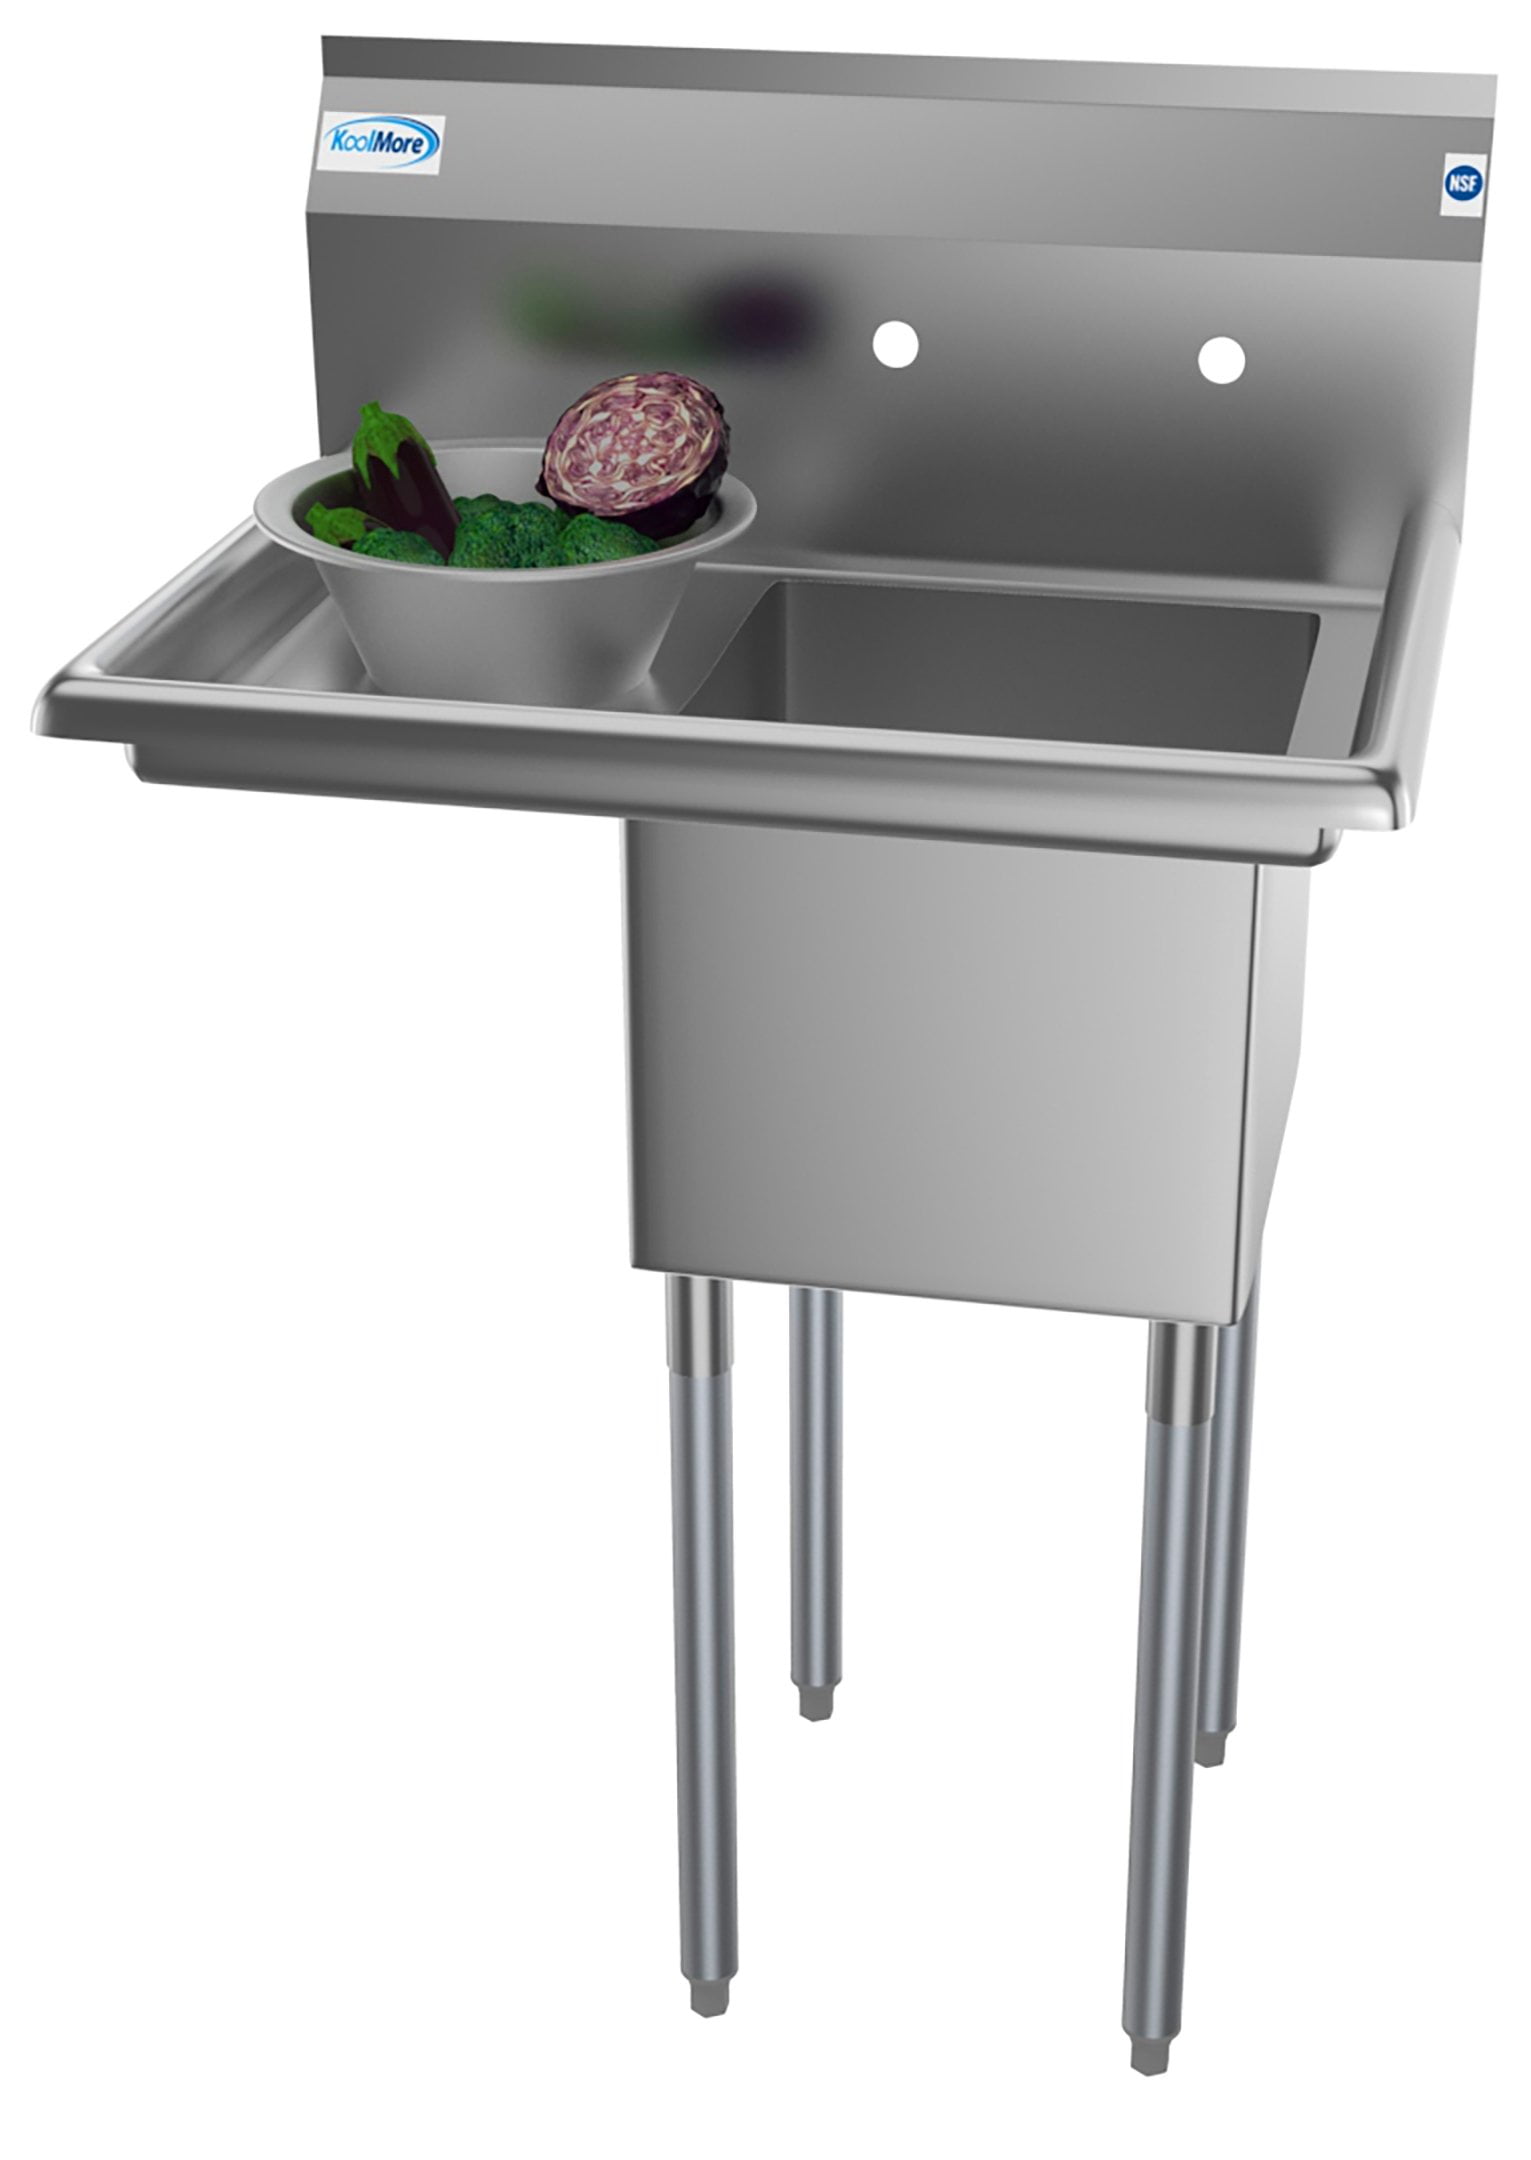
Commercial Kitchen Sink Unit
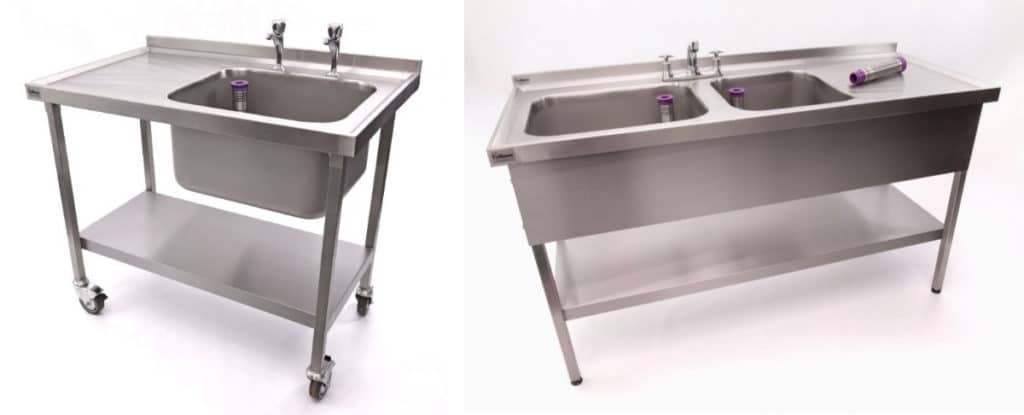


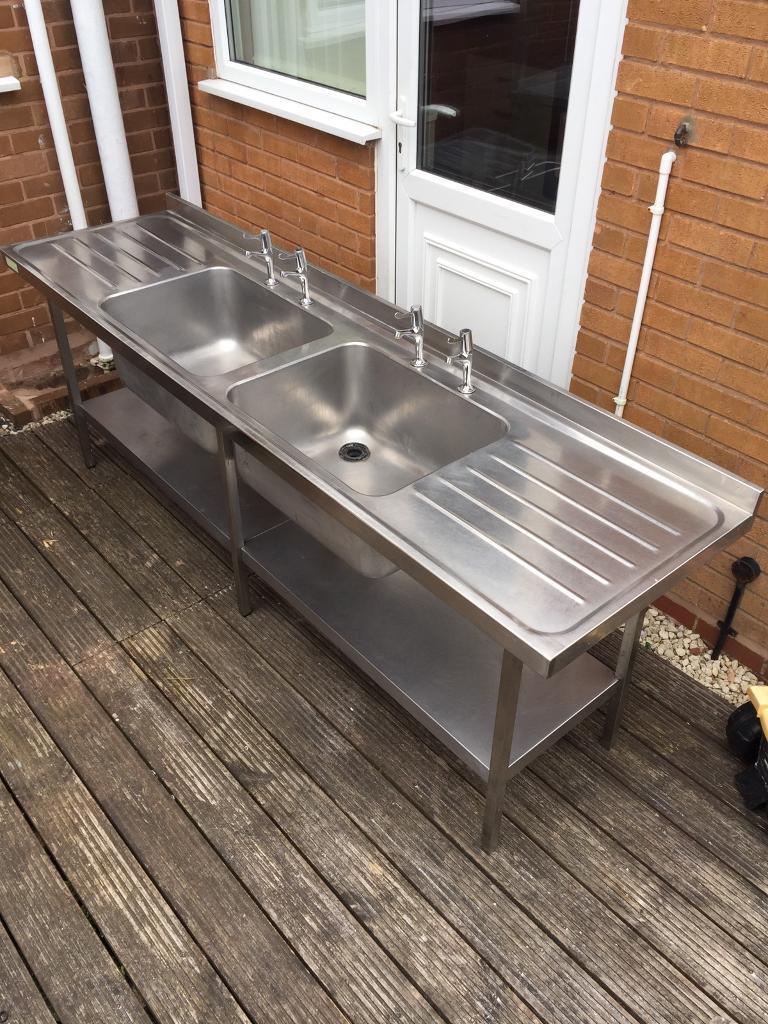
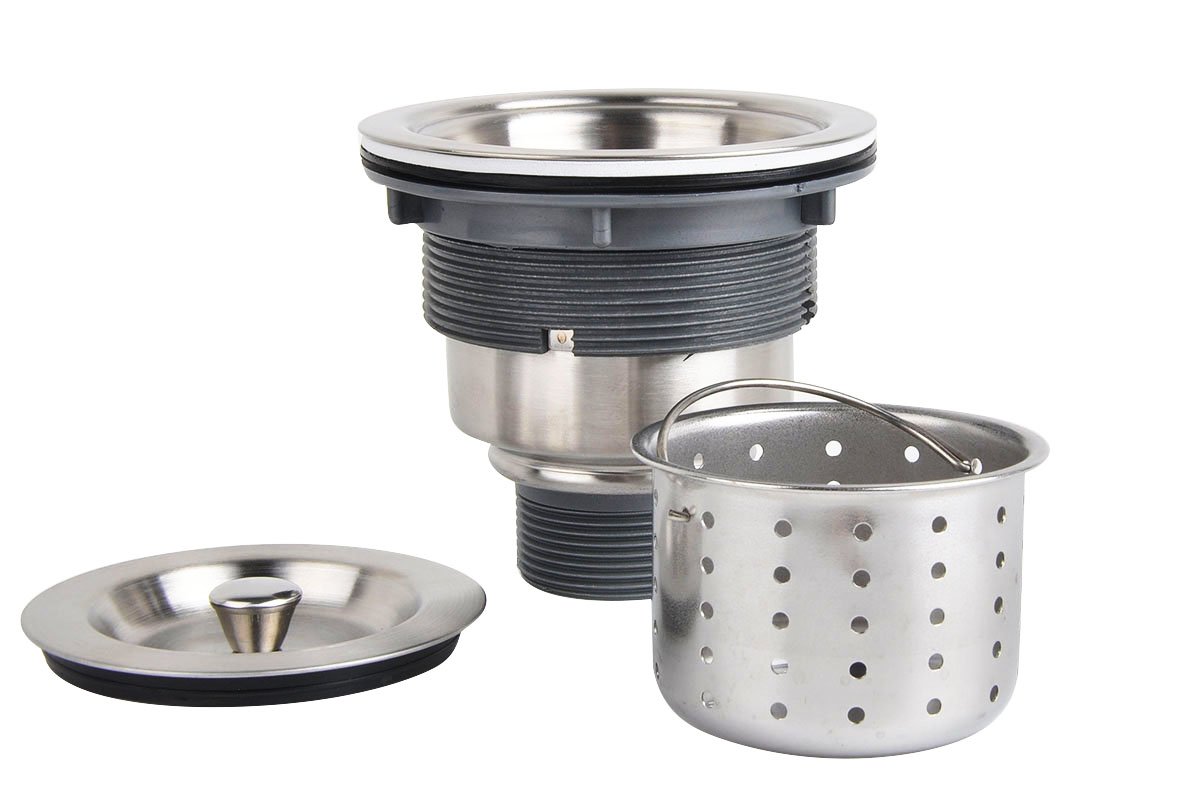
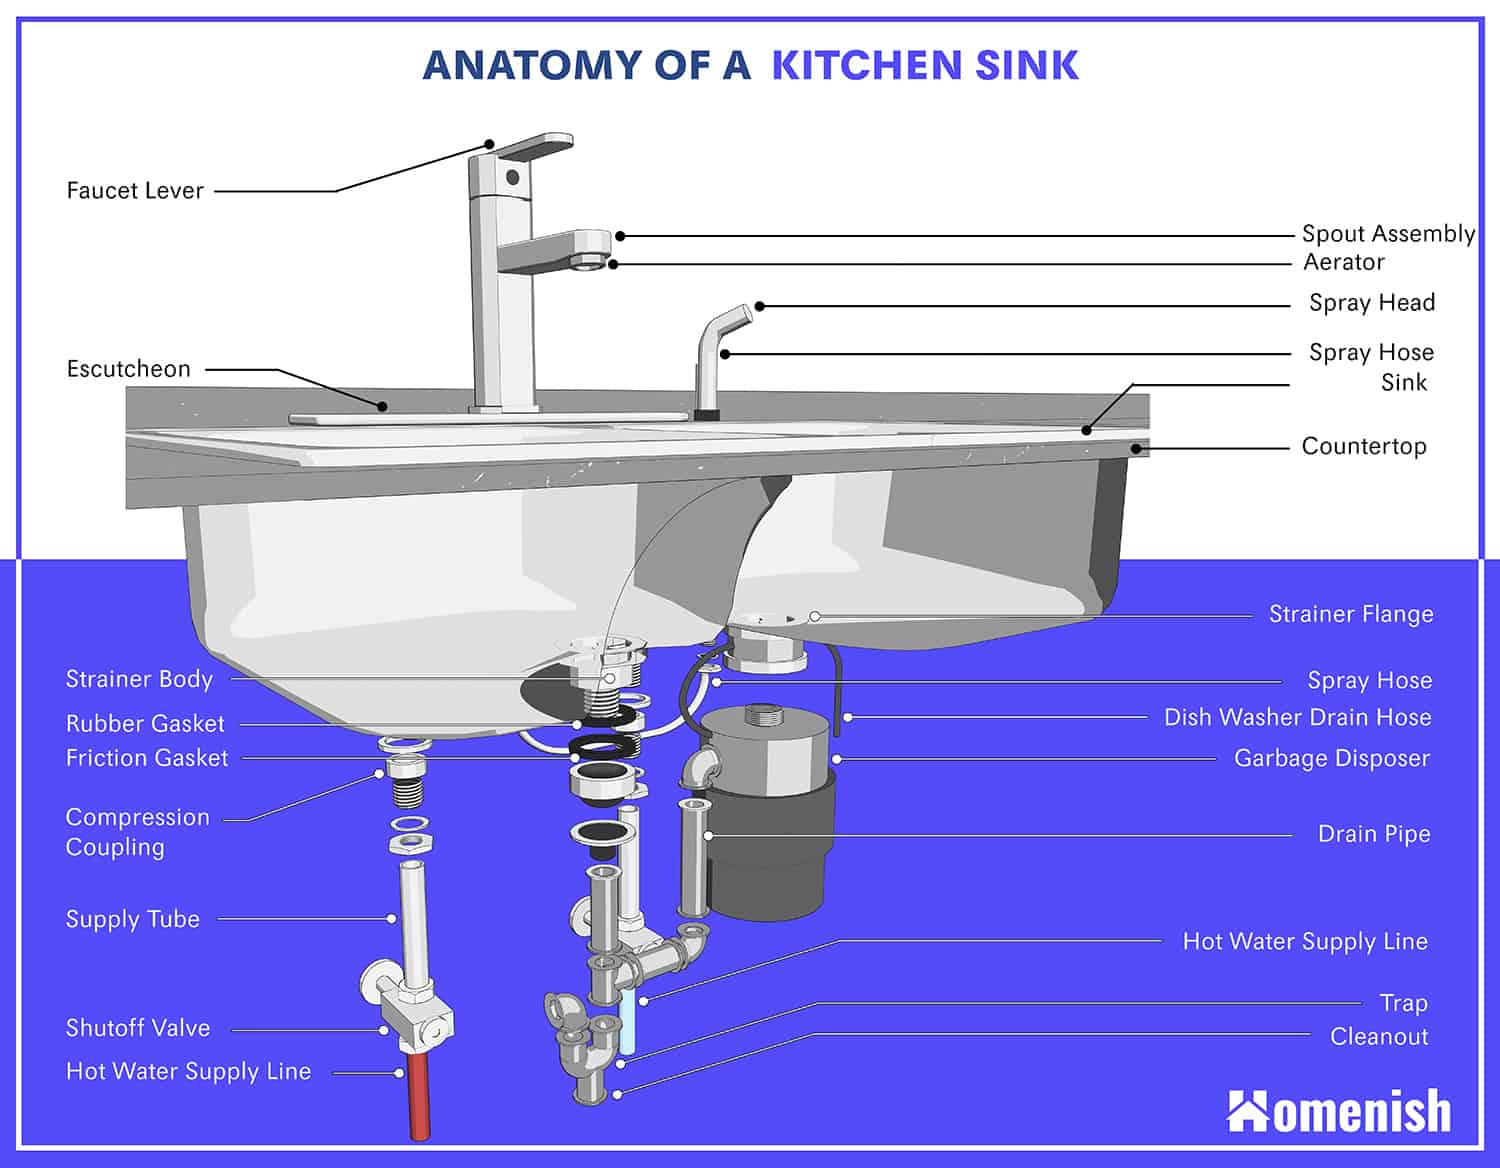
Before diving into the assembly, it is important to familiarize yourself with the different parts of a commercial kitchen sink unit. This may include the sink bowl, faucet, drain, and various pipes and fittings. Take a moment to understand how these parts work together and where they are meant to be placed.2. Familiarize Yourself with the Parts


Kitchen Sink Unit Assembly


The first step in assembling a commercial kitchen sink unit is to put together the sink bowl. This typically involves attaching it to the countertop or cabinet using screws or brackets. Make sure the sink bowl is securely attached and level before moving on to the next step.3. Assemble the Sink Bowl


Commercial Kitchen Sink Assembly

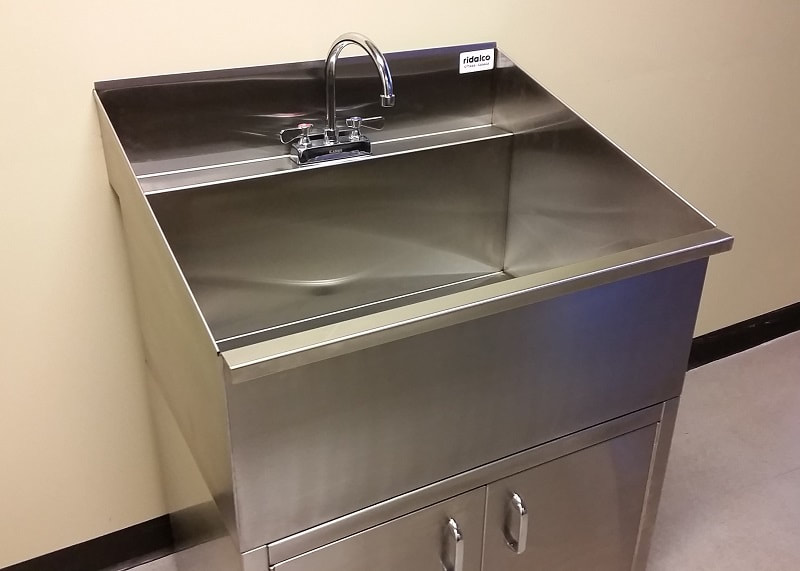


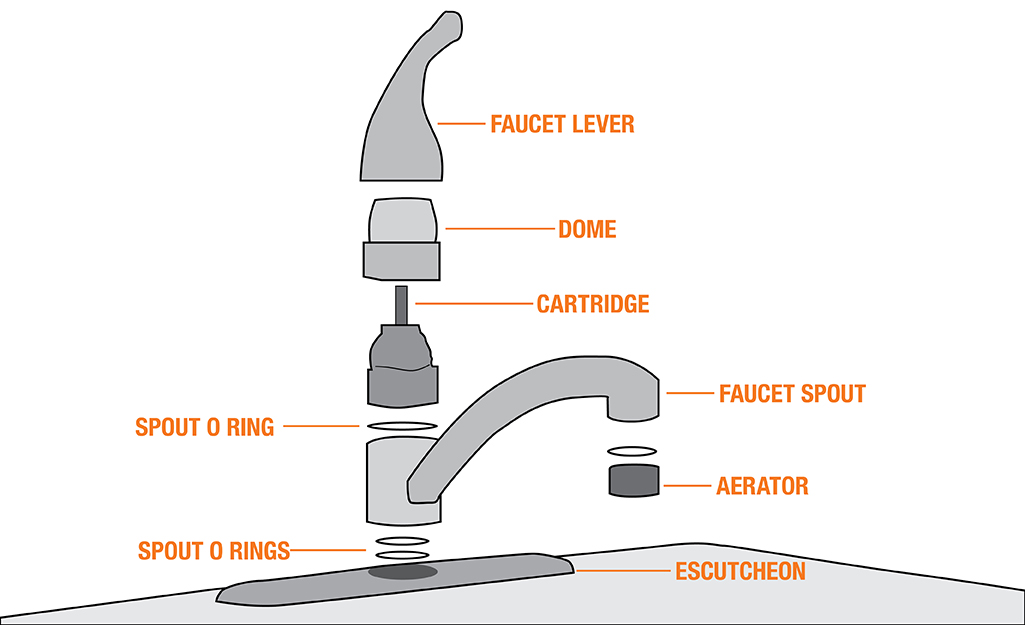
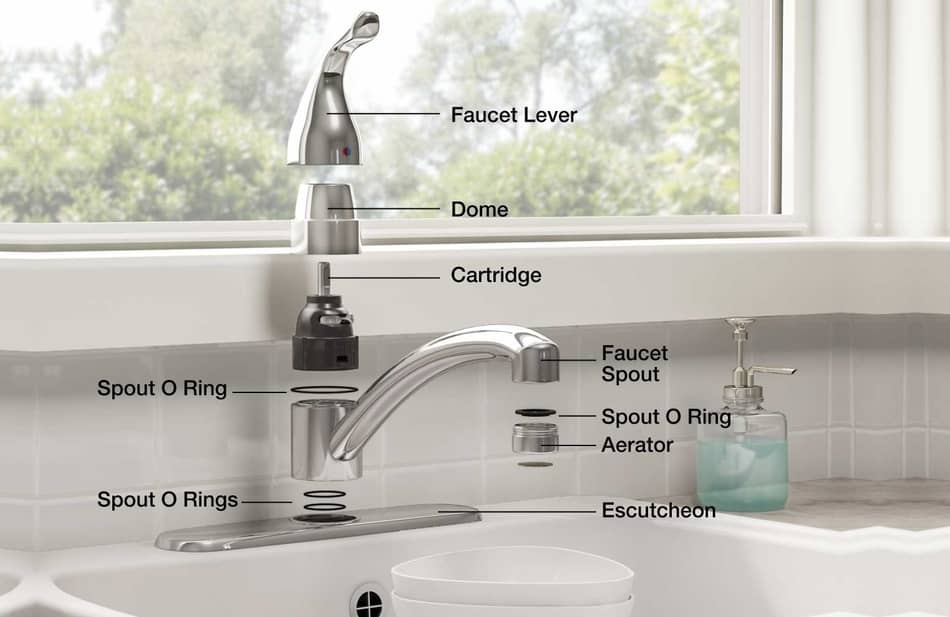
The next step is to install the faucet onto the sink bowl. This may involve attaching it to the sink or countertop, depending on the design. Make sure the faucet is securely attached and in the correct position for optimal use.4. Install the Faucet


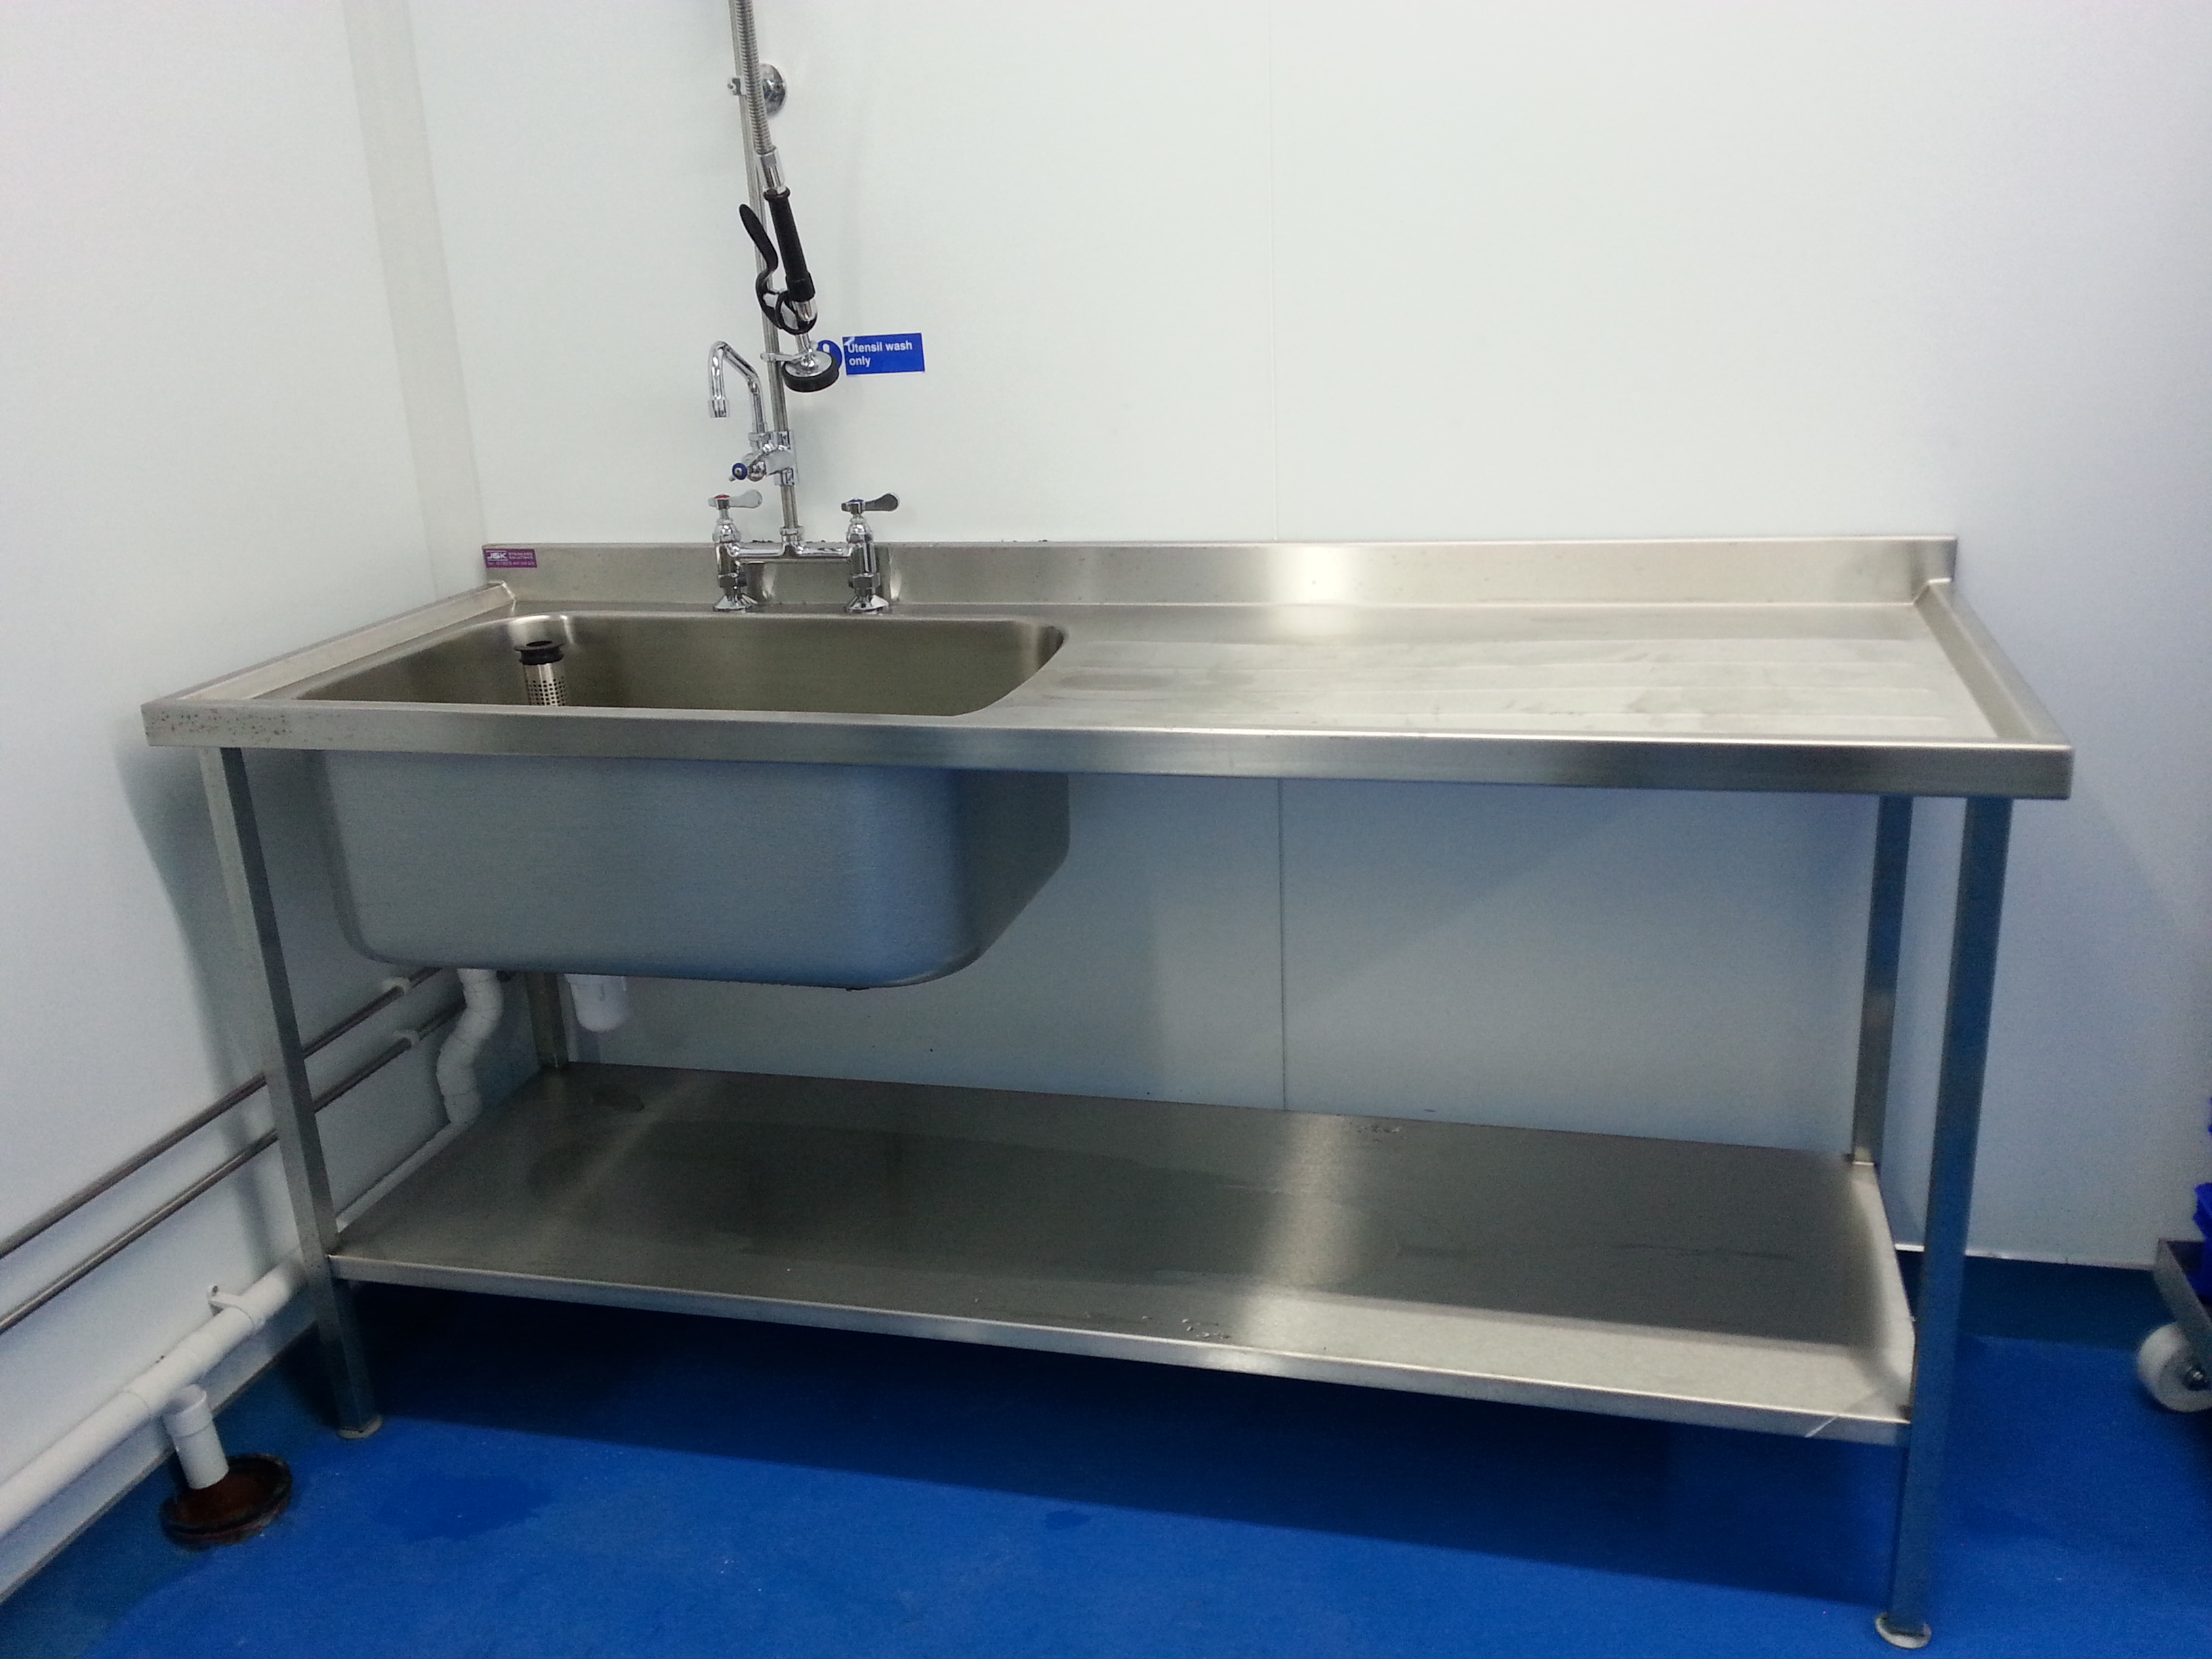
Commercial Kitchen Sink Unit Installation

Once the faucet is in place, it is time to connect the drain. This may involve attaching a tailpiece to the sink bowl and connecting it to the P-trap or other pipes. Make sure all connections are secure to prevent leaks.5. Connect the Drain


Kitchen Sink Unit Installation
:no_upscale()/cdn.vox-cdn.com/uploads/chorus_asset/file/19495086/drain_0.jpg)

Next, it is time to install the various pipes and fittings to connect the sink bowl and drain to the plumbing system. This may involve using a combination of pipes, elbows, and connectors. Make sure all connections are tight and secure to prevent leaks.6. Install the Pipes and Fittings


Commercial Kitchen Sink Unit Parts
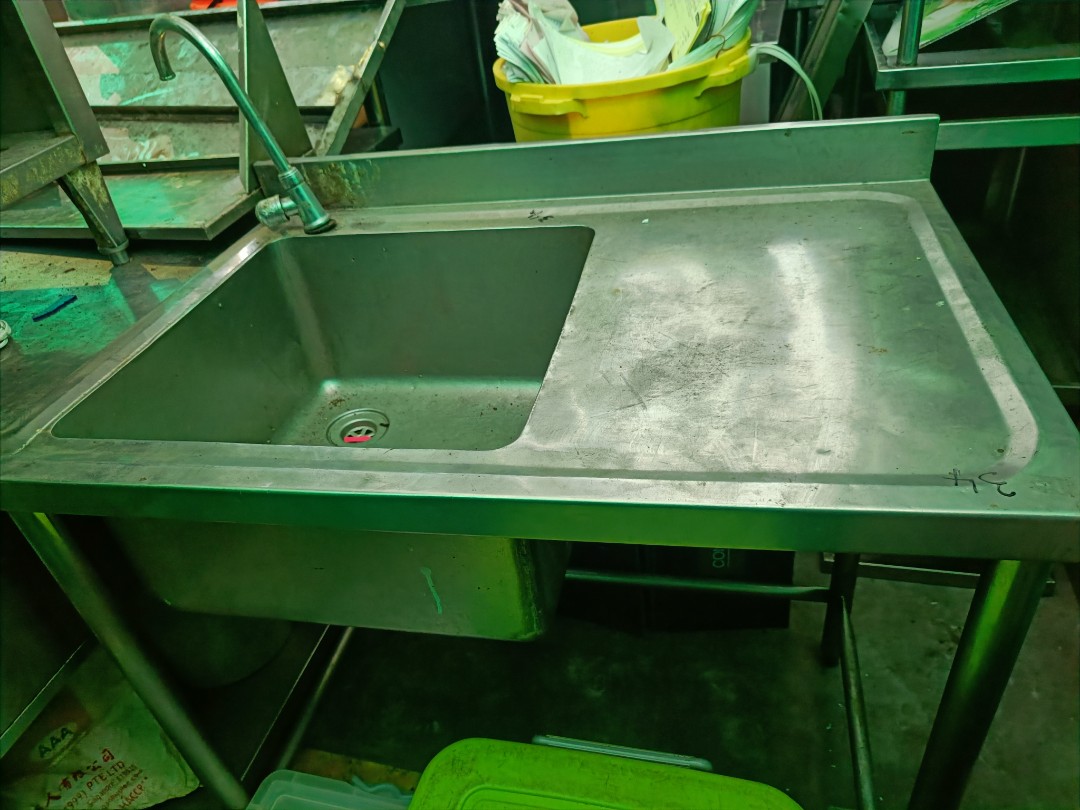


Once everything is connected, it is important to test for leaks. Turn on the water and check for any leaks in the pipes, fittings, or faucet. If you notice any leaks, make the necessary adjustments or replacements.7. Test for Leaks


Kitchen Sink Unit Parts


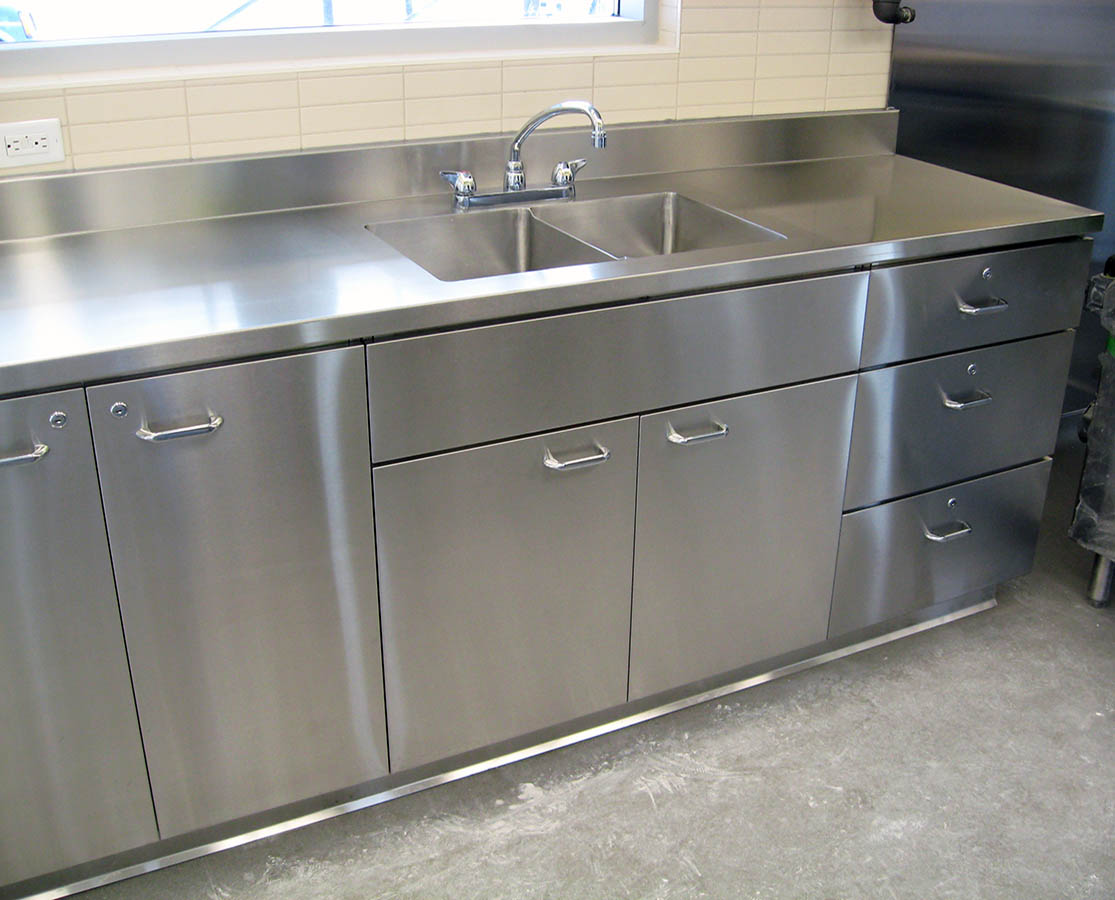
If your commercial kitchen sink unit comes with a soap dispenser or other accessories, now is the time to install them. Make sure they are securely attached and in a convenient location for use.8. Install the Soap Dispenser and Other Accessories

Commercial Kitchen Sink Unit Maintenance

To keep your commercial kitchen sink unit in top working condition, regular maintenance is key. This may include cleaning the sink and drain regularly, checking for leaks, and replacing worn out parts.9. Regular Maintenance


Kitchen Sink Unit Maintenance


Maximizing Space and Efficiency with Commercial Kitchen Sink Unit Assembly

The Importance of a Well-Designed Kitchen
 When it comes to house design, the kitchen is often considered the heart of the home. It's where meals are prepared, memories are made, and family and friends gather to share food and conversation. As such, it's essential to have a well-designed kitchen that not only looks great but is also functional and efficient. One crucial aspect of a well-designed kitchen is the sink unit, and for commercial kitchens, this is even more crucial. In this article, we will explore the benefits of a commercial kitchen sink unit assembly and how it can help maximize space and efficiency in your kitchen.
Space-Saving Solutions
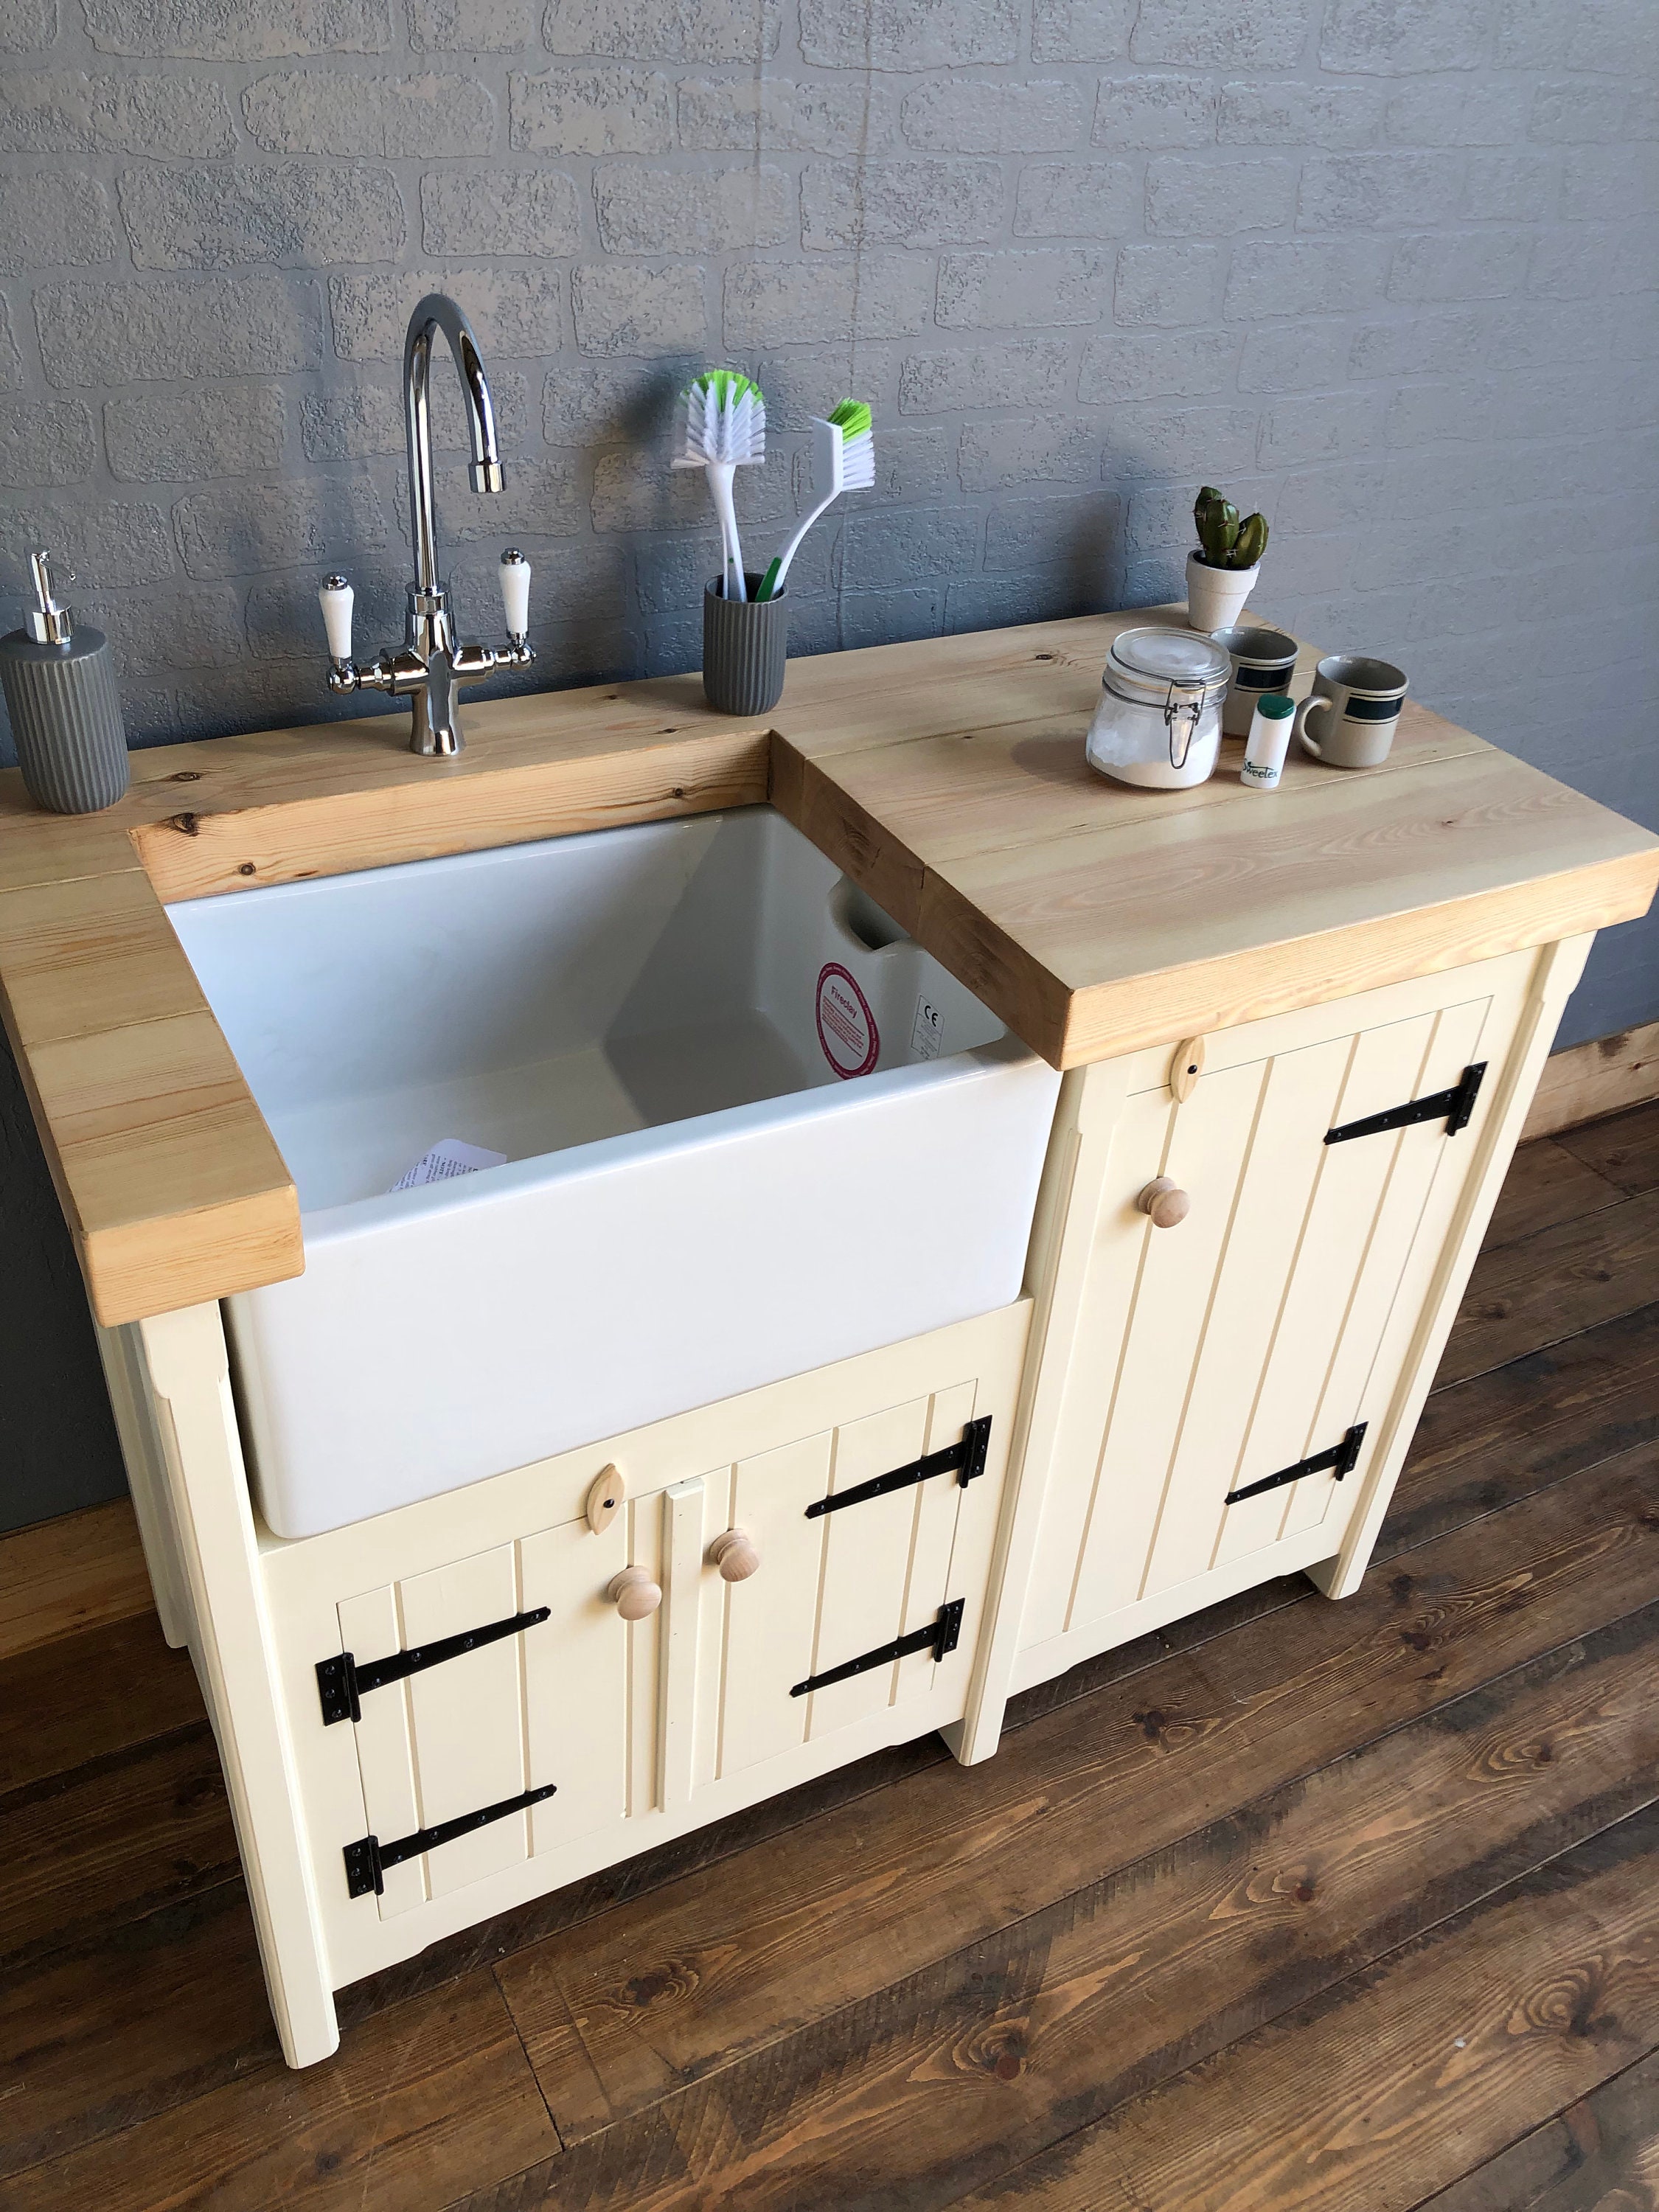
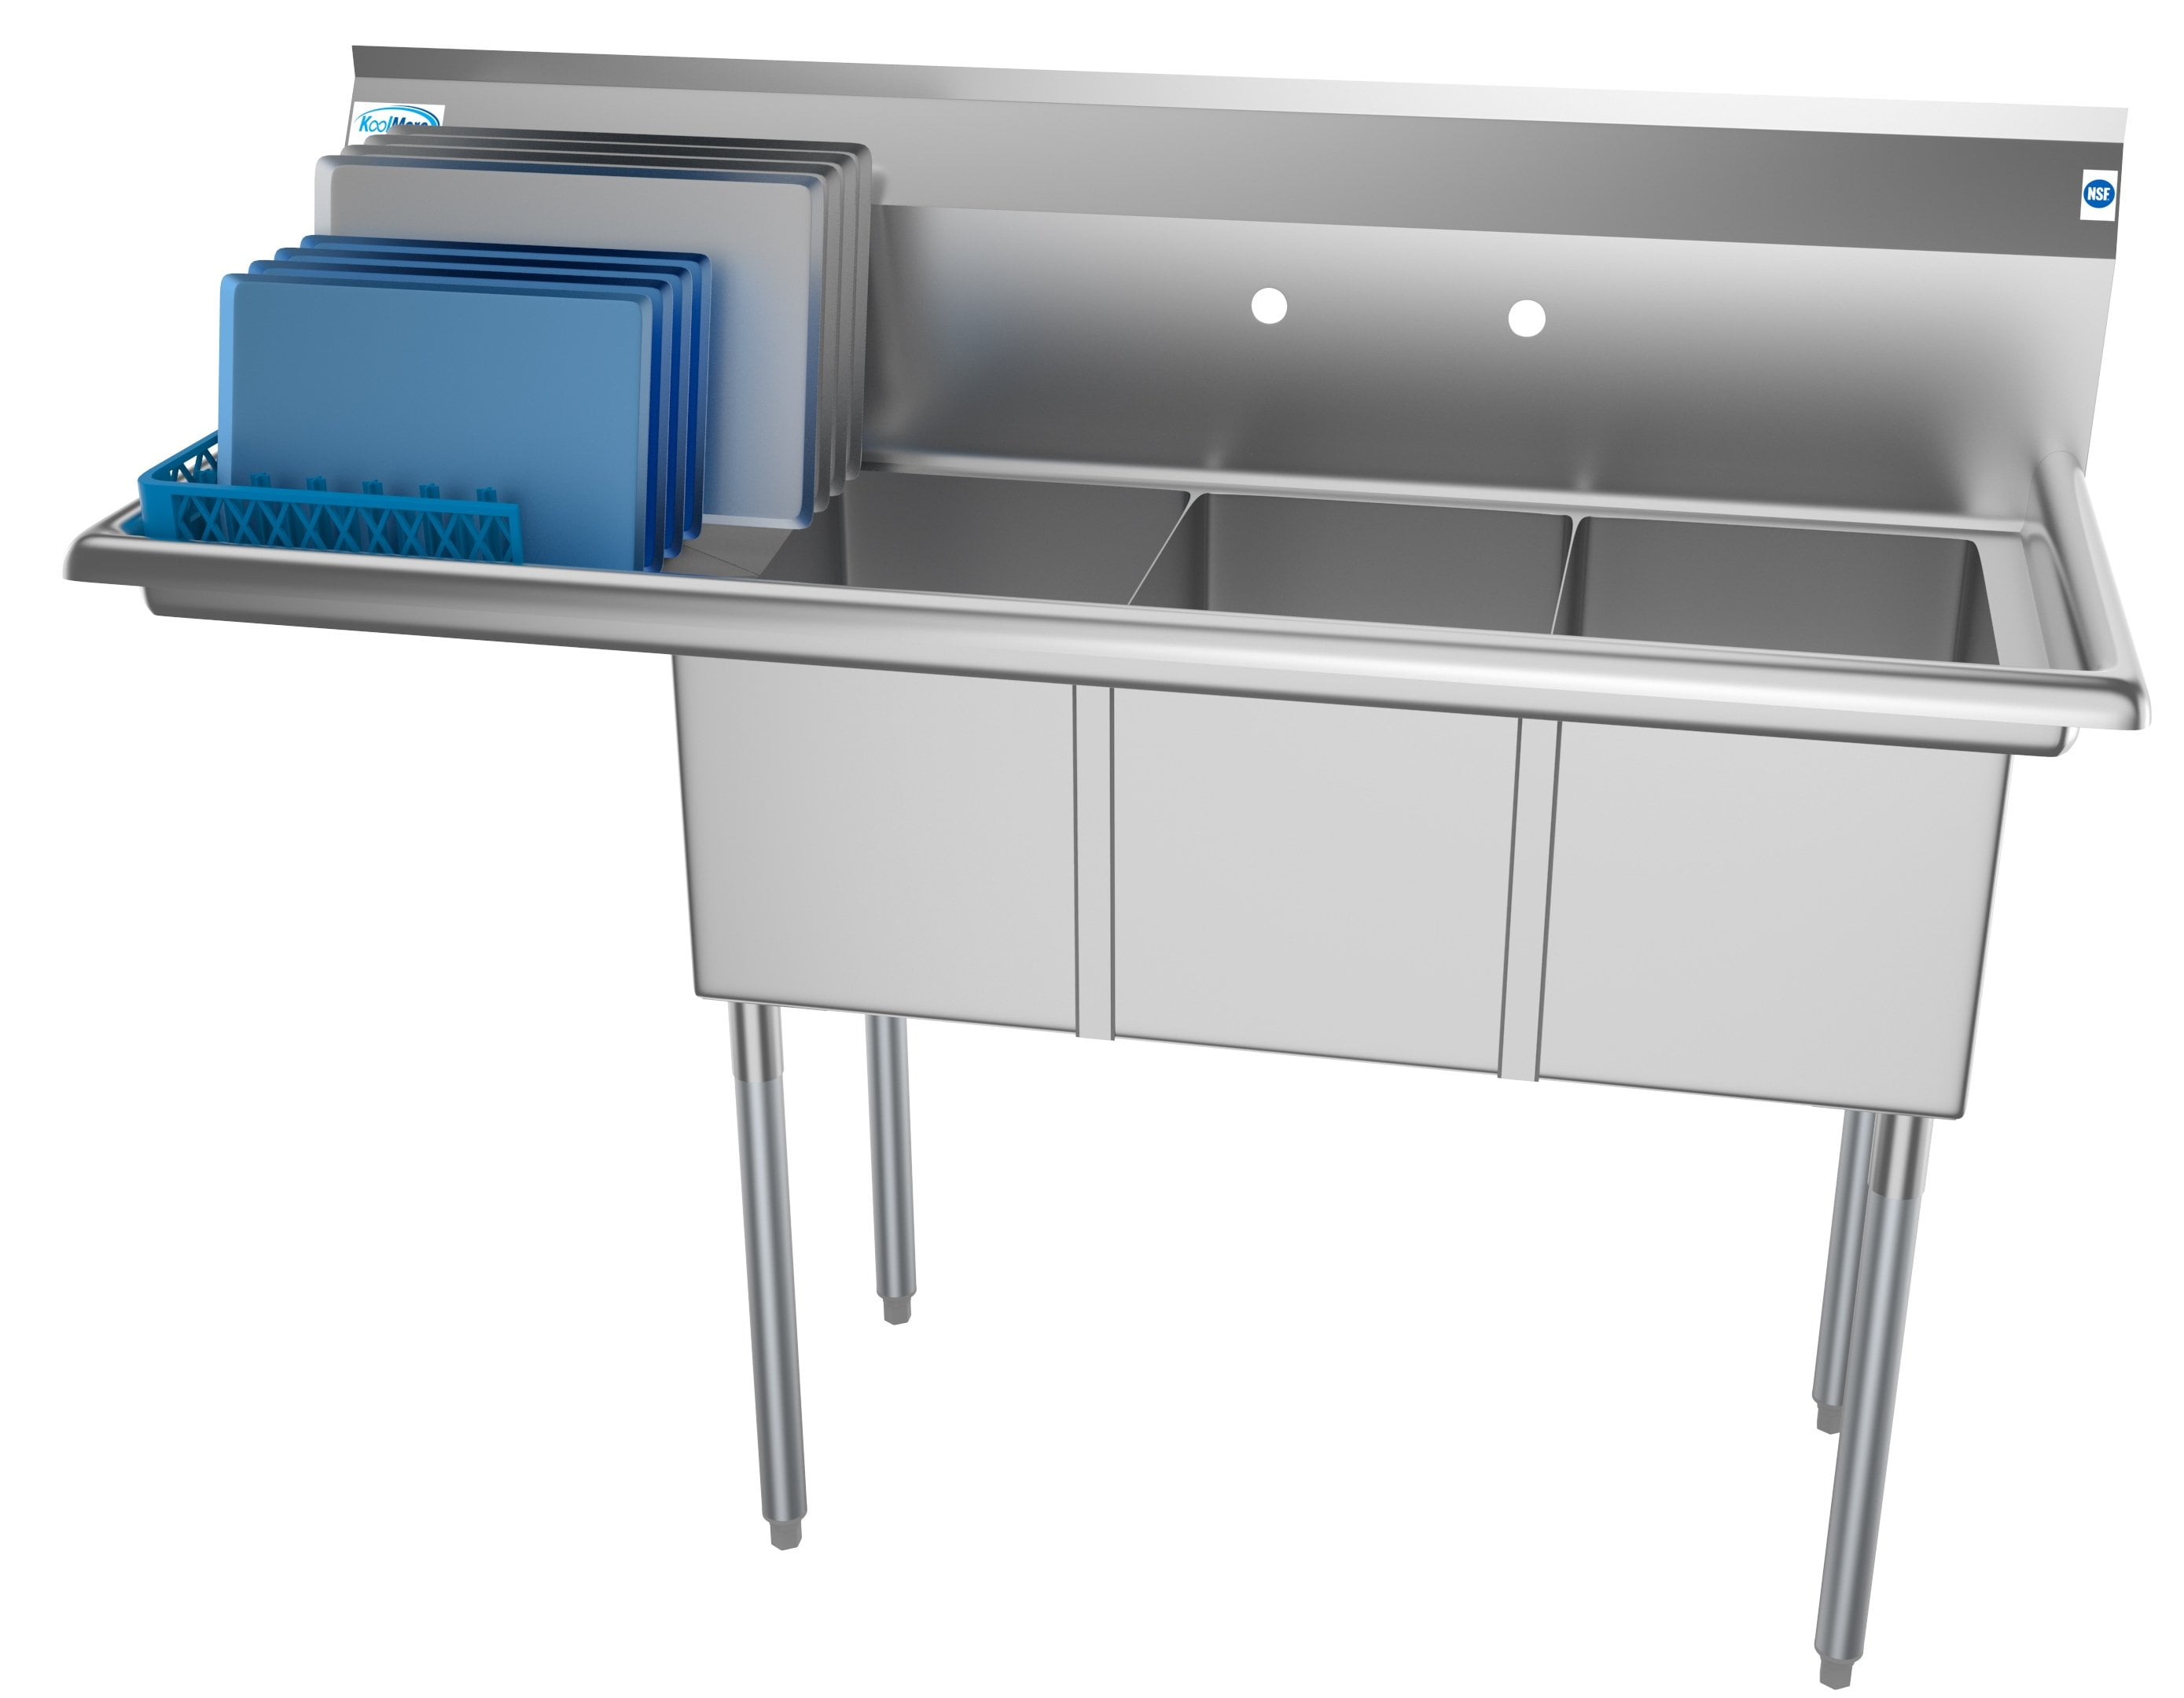
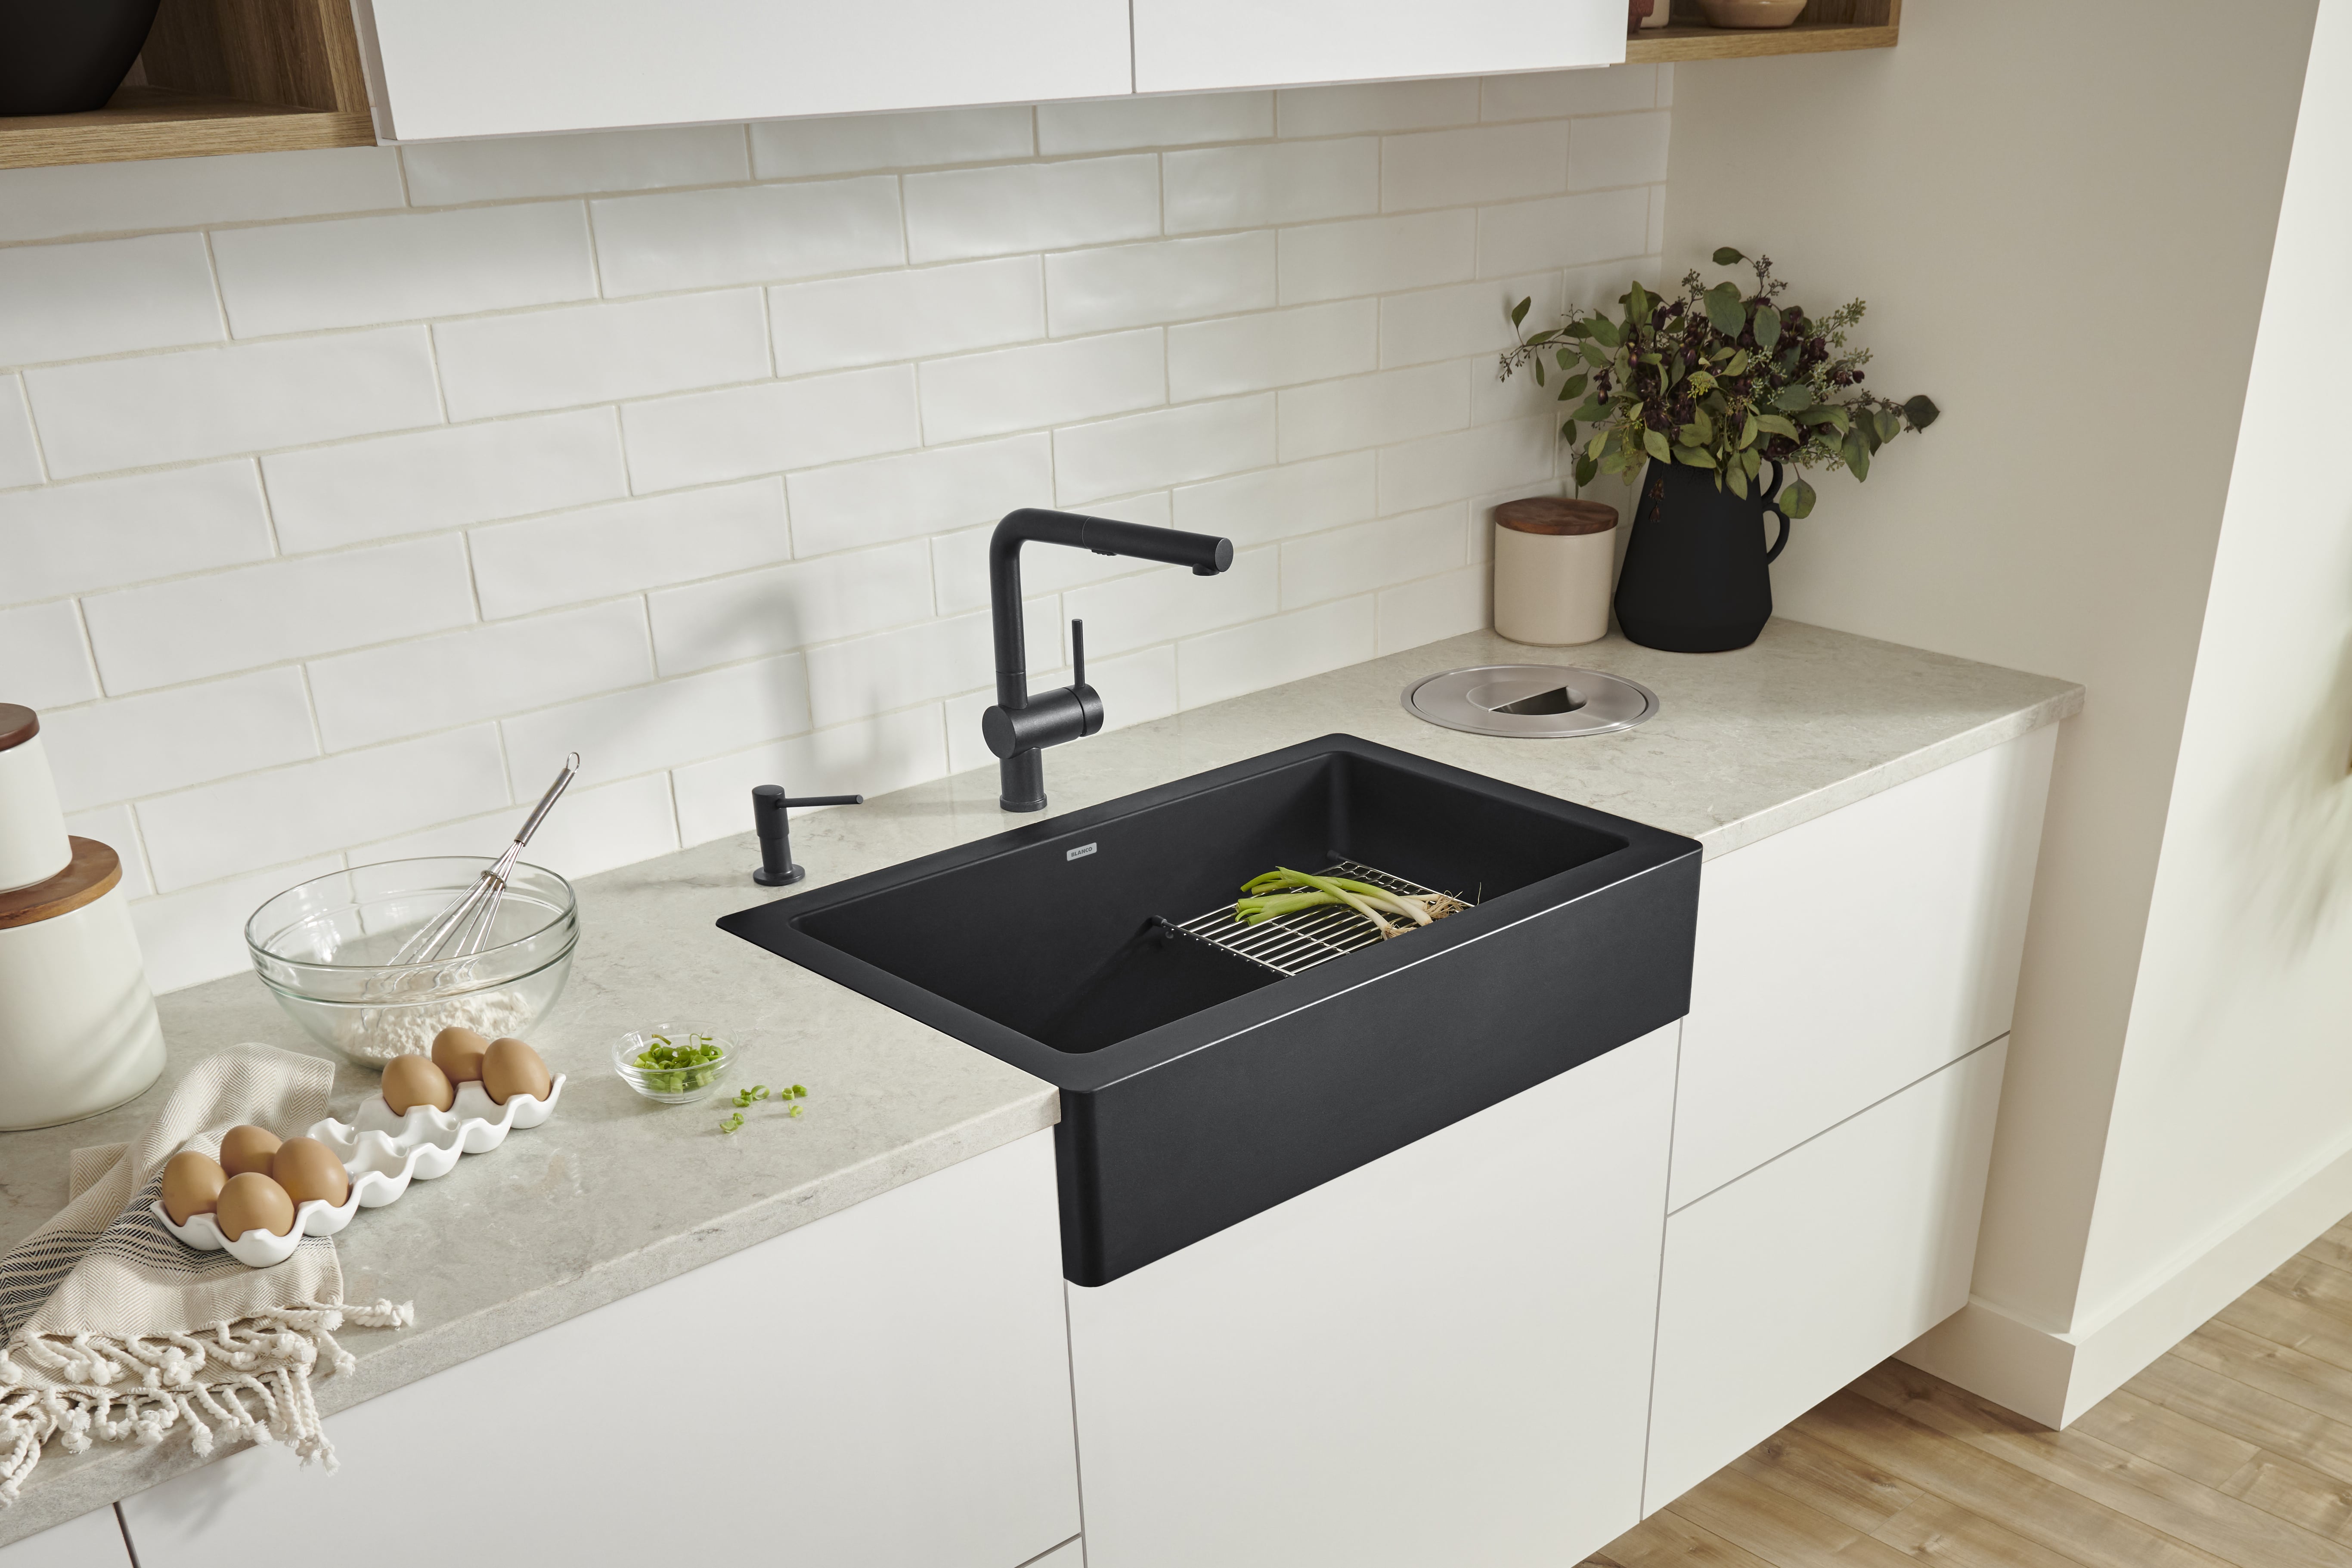
 Commercial kitchen sink units are specifically designed to save space without compromising on functionality. In a commercial kitchen, every inch of space matters, and having a large, bulky sink can take up valuable counter and storage space. With a commercial kitchen sink unit assembly, you can have a multi-functional sink that includes a prep area, washing area, and storage space all in one compact unit. This not only saves space but also allows for a more streamlined and organized kitchen.
Efficient Workflow
 In a busy commercial kitchen, time is of the essence. Every second counts, and having an efficient workflow is crucial to keep up with the demands of a fast-paced environment. A commercial kitchen sink unit assembly can help optimize your workflow by providing a designated area for prepping, washing, and storing dishes and utensils. This means that your staff can work more efficiently without having to move around the kitchen to different stations, saving time and increasing productivity.
Customizable Options
 Every kitchen is unique, and the same goes for commercial kitchens. This is why commercial kitchen sink units come in various customizable options to fit your specific needs and space. From single or double sinks to different material choices and storage options, you can create a sink unit that works best for your kitchen. This level of customization allows for a more tailored and efficient kitchen design.
In conclusion,
a commercial kitchen sink unit assembly is an essential component for any commercial kitchen looking to maximize space and efficiency. With its space-saving solutions, efficient workflow, and customizable options, it's a must-have for a well-designed and functional kitchen. Don't overlook the importance of a well-designed sink unit in your commercial kitchen, and consider incorporating one into your kitchen design today.
Every kitchen is unique, and the same goes for commercial kitchens. This is why commercial kitchen sink units come in various customizable options to fit your specific needs and space. From single or double sinks to different material choices and storage options, you can create a sink unit that works best for your kitchen. This level of customization allows for a more tailored and efficient kitchen design.
In conclusion,
a commercial kitchen sink unit assembly is an essential component for any commercial kitchen looking to maximize space and efficiency. With its space-saving solutions, efficient workflow, and customizable options, it's a must-have for a well-designed and functional kitchen. Don't overlook the importance of a well-designed sink unit in your commercial kitchen, and consider incorporating one into your kitchen design today.