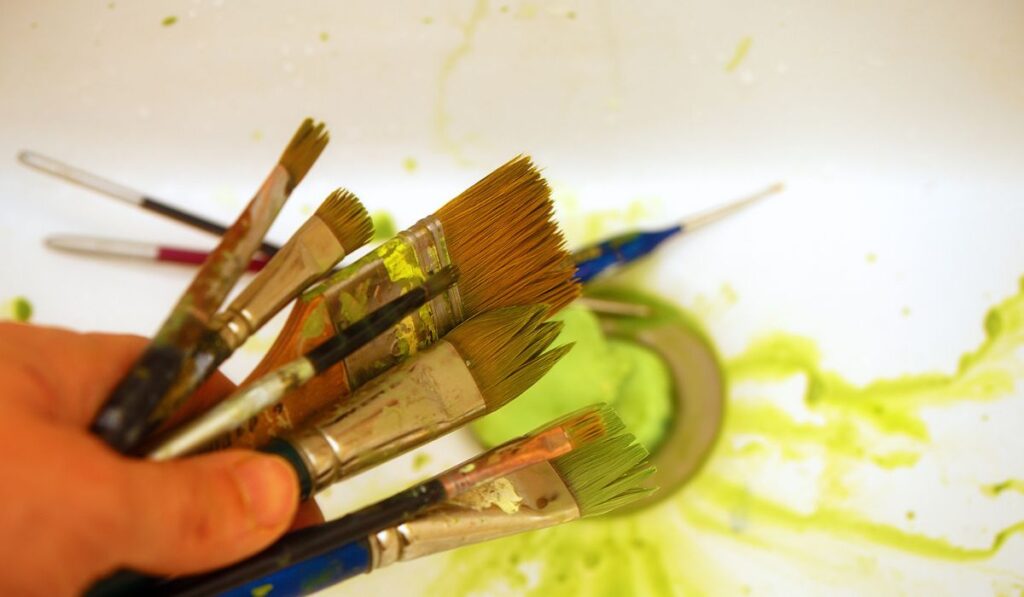
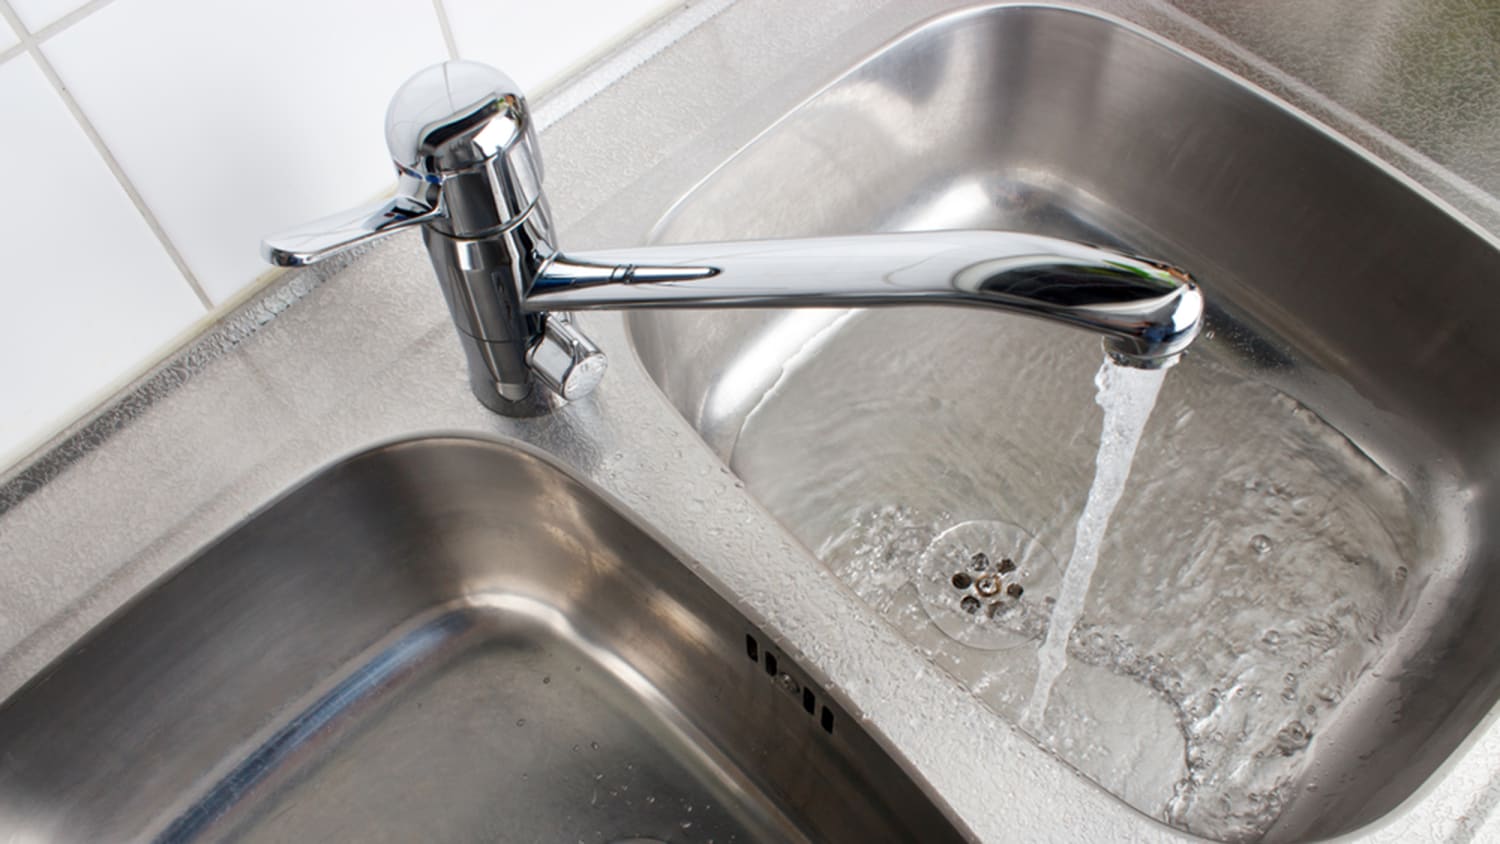
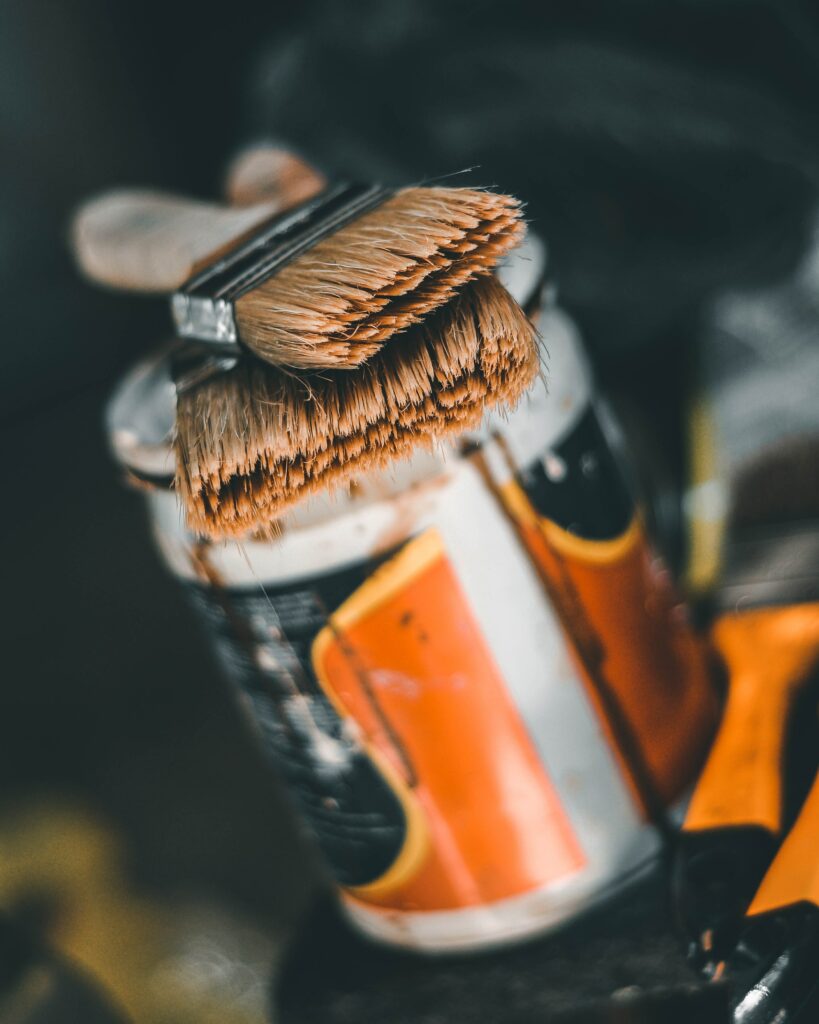
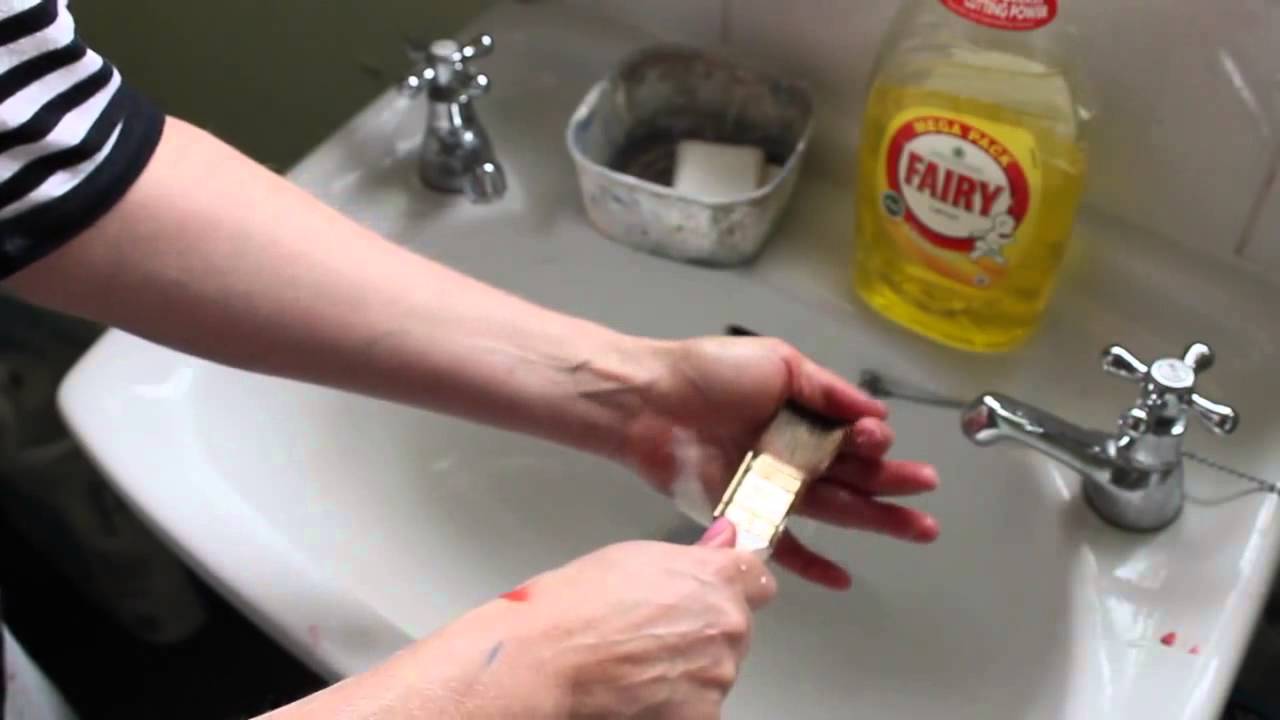
Cleaning paint brushes can be a daunting task, especially if you don't have the right tools or know-how. But fear not, because with the right method, you can easily clean your paint brushes in the kitchen sink. Here's how: Step 1: Remove Excess Paint Before cleaning your paint brushes, it's important to remove as much excess paint as possible. You can do this by gently scraping the brush against the edge of the paint can or a piece of scrap paper. This will prevent the paint from clogging your sink or causing a mess. Step 2: Rinse with Warm Water Once you've removed the excess paint, rinse the brush under warm water. This will help loosen any remaining paint and make the cleaning process easier. Step 3: Use Dish Soap Add a few drops of dish soap to the bristles of the brush and work it in with your fingers. This will help break down the paint and remove any remaining residue. Step 4: Scrub with a Brush Cleaner If the paint is stubborn and won't come off with just dish soap, you can use a brush cleaner specifically designed for removing paint. Gently scrub the bristles with the cleaner to remove any remaining paint. Step 5: Rinse and Repeat Once you've scrubbed the brush, rinse it under warm water again. If there is still paint remaining, repeat the process until the water runs clear and the brush is clean.1. How to Clean Paint Brushes in the Kitchen Sink


1. How to Clean Paint Brushes in the Kitchen Sink


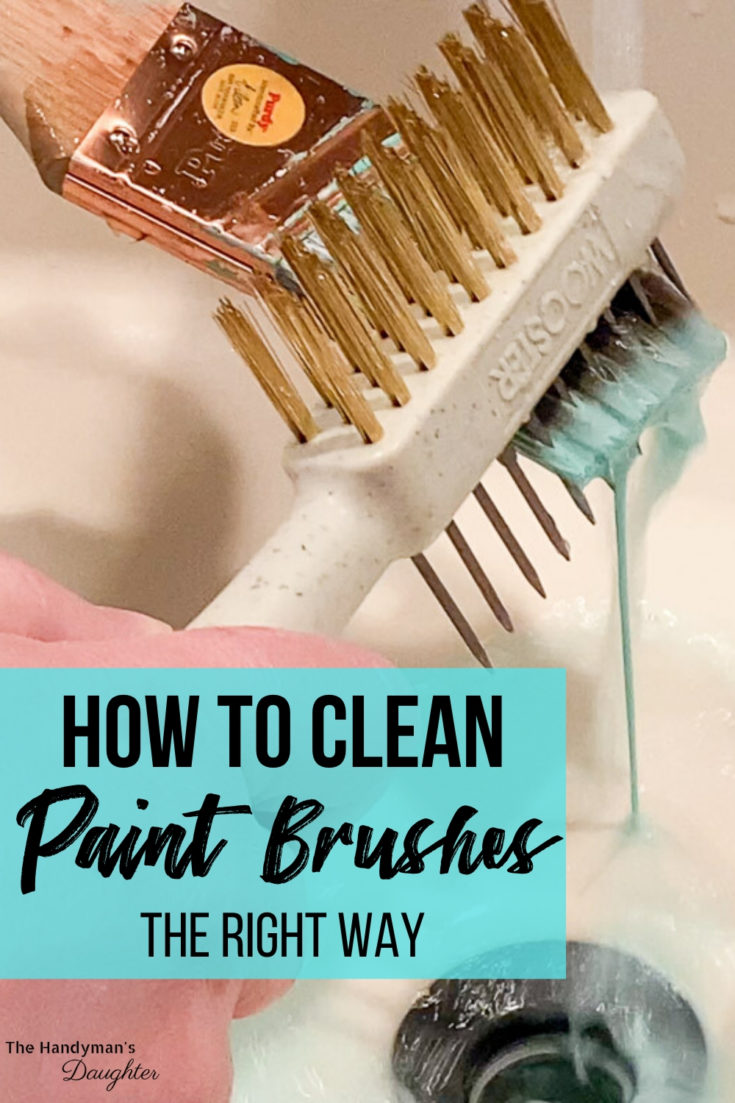
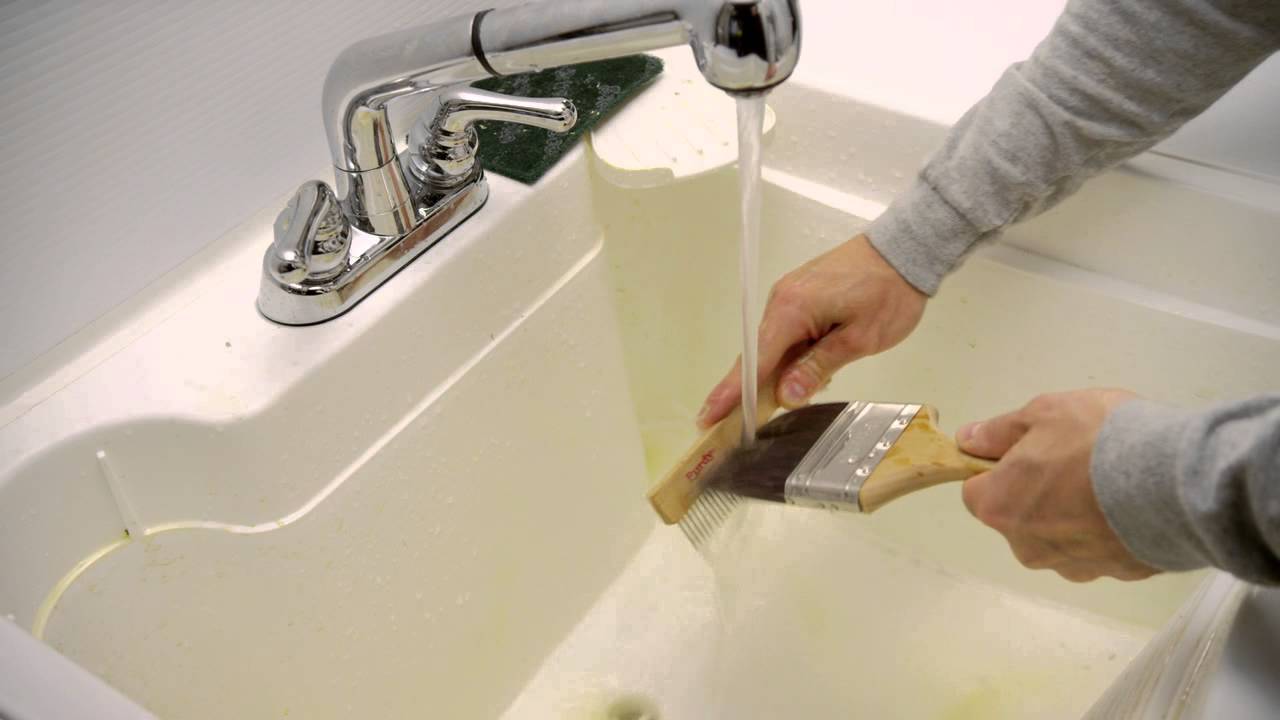
Cleaning paint brushes doesn't have to be a tedious task. With these easy steps, you can have your brushes looking like new in no time: Step 1: Prepare Your Sink Before starting the cleaning process, make sure your sink is clean and free of any debris. This will prevent any dirt or grime from getting onto your brushes. Step 2: Soak the Brushes If your brushes have dried paint on them, you can soak them in warm water for a few minutes to loosen the paint. This will make it easier to remove and clean. Step 3: Use a Brush Comb A brush comb is a handy tool that can help remove any stubborn paint from the bristles. Gently comb through the bristles to remove any remaining paint. Step 4: Clean with Vinegar If your brushes have been used with oil-based paint, you can clean them with vinegar. Mix equal parts vinegar and warm water in a container and soak the brushes for a few minutes before rinsing them off. Step 5: Dry and Store After cleaning your brushes, make sure to dry them thoroughly before storing them. You can hang them upside down or lay them flat to dry. This will help maintain the shape of the bristles and prevent them from getting damaged.2. Easy Steps for Cleaning Paint Brushes in the Kitchen Sink


2. Easy Steps for Cleaning Paint Brushes in the Kitchen Sink


There are various methods for cleaning paint brushes, but the best way to clean them in the kitchen sink is by following these steps: Step 1: Use Hot Water Hot water is more effective in removing paint than cold water. Fill your sink with hot water and let the brushes soak for a few minutes before starting the cleaning process. Step 2: Add Dish Soap and Fabric Softener A combination of dish soap and fabric softener can help break down the paint and make it easier to remove. Add a few drops of dish soap and a small amount of fabric softener to the water and mix well. Step 3: Gently Swirl the Brushes Swirl the brushes in the soapy water, making sure to cover all the bristles. This will help loosen any remaining paint and clean the brush thoroughly. Step 4: Rinse and Repeat Rinse the brushes under warm water and repeat the process if necessary until the water runs clear and the brushes are clean. Step 5: Dry and Store Once the brushes are clean, dry them thoroughly before storing them. You can use a clean cloth or paper towels to remove excess water and then hang them upside down or lay them flat to dry.3. Best Way to Clean Paint Brushes in the Kitchen Sink

3. Best Way to Clean Paint Brushes in the Kitchen Sink


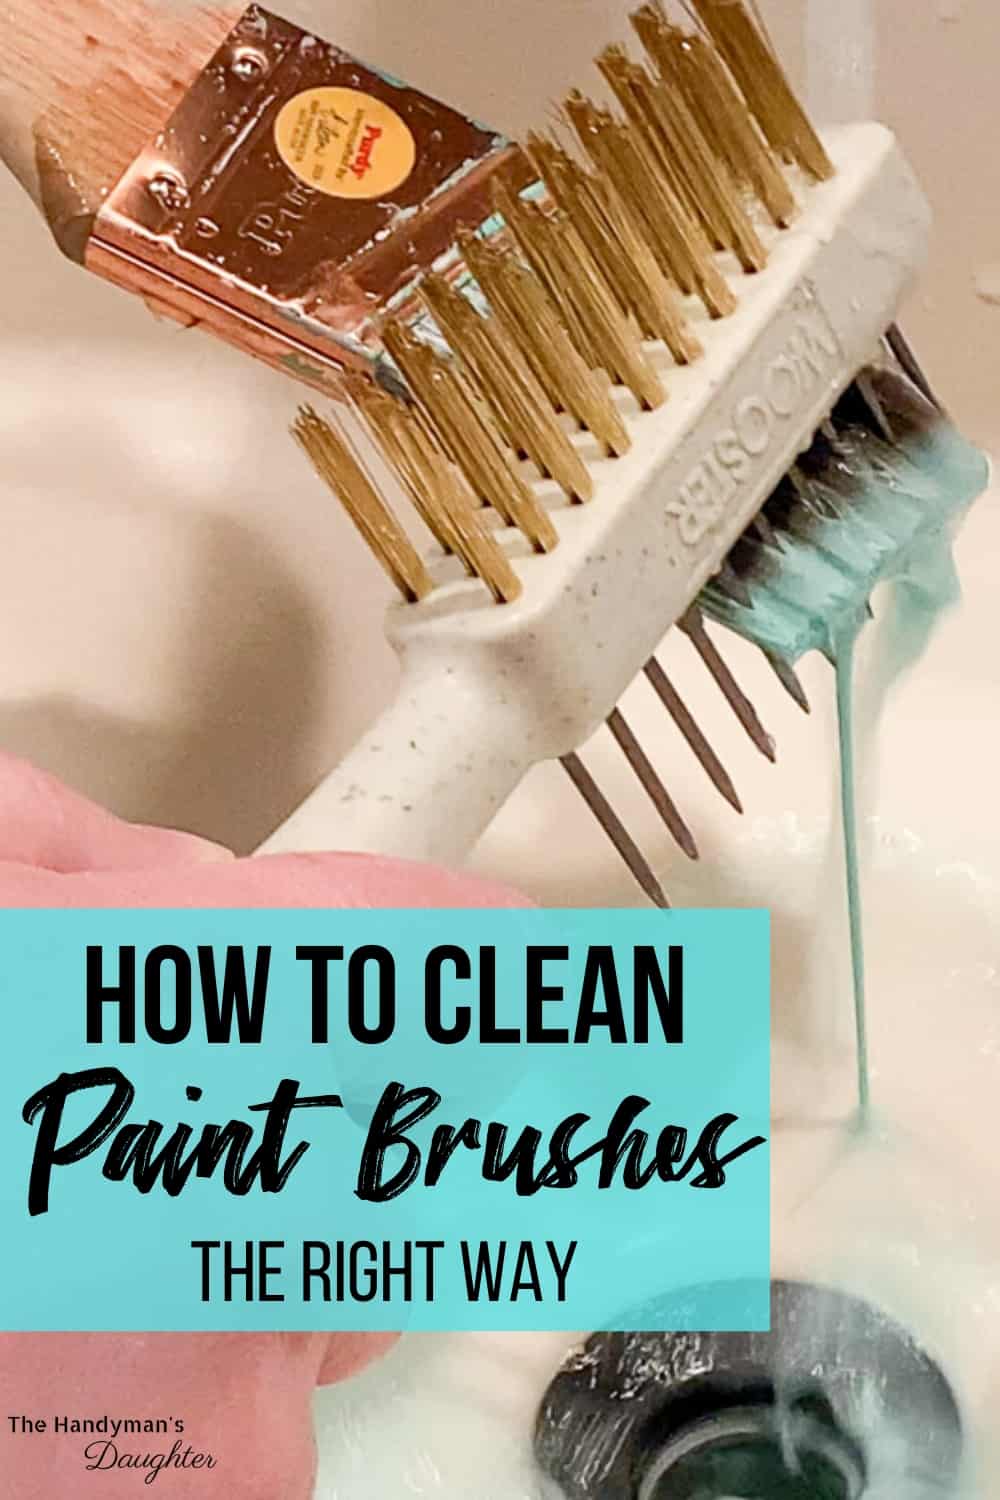
Cleaning paint brushes in the kitchen sink can be a messy and time-consuming task. Here are some tips to make the process easier: Tip 1: Don't Let the Paint Dry It's important to clean your brushes as soon as you're done using them. Letting the paint dry on the bristles will make it harder to remove and can damage the brush. Tip 2: Use the Right Tools Invest in a good brush cleaner, comb, or scraper to help remove paint from your brushes. These tools are specifically designed for cleaning paint brushes and can make the process much easier. Tip 3: Use Natural Solutions If you prefer to use natural products, you can clean your brushes with a mixture of vinegar and baking soda. This will help remove paint and leave your brushes clean and fresh. Tip 4: Wear Gloves Some paints can be harmful to your skin, so it's important to wear gloves while cleaning your brushes. This will protect your hands and prevent any skin irritation. Tip 5: Clean Your Sink Afterwards Once you're done cleaning your brushes, make sure to rinse and clean your sink thoroughly to remove any paint residue. This will prevent any clogging or staining of your sink.4. Tips for Cleaning Paint Brushes in the Kitchen Sink


4. Tips for Cleaning Paint Brushes in the Kitchen Sink

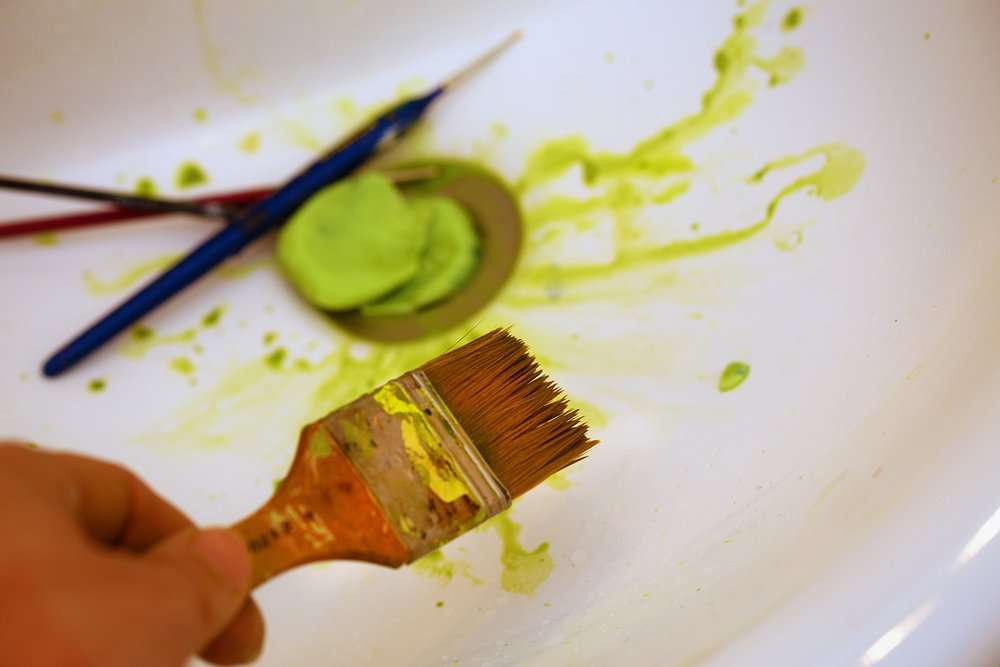


If you prefer to use natural and homemade solutions, you can clean your paint brushes in the kitchen sink with this DIY method: Step 1: Mix Vinegar and Baking Soda In a small container, mix equal parts vinegar and baking soda to create a paste. This will help remove the paint and leave your brushes clean and fresh. Step 2: Soak the Brushes Soak your brushes in the vinegar and baking soda mixture for a few minutes to loosen the paint. Step 3: Scrub the Brushes Using an old toothbrush or scrub brush, gently scrub the bristles to remove any remaining paint. You can also use your fingers to massage the bristles and remove any stubborn paint. Step 4: Rinse and Repeat Rinse the brushes under warm water and repeat the process if necessary until the brushes are clean. Step 5: Dry and Store Once the brushes are clean, dry them thoroughly before storing them. You can hang them upside down or lay them flat to dry.5. DIY Method for Cleaning Paint Brushes in the Kitchen Sink


5. DIY Method for Cleaning Paint Brushes in the Kitchen Sink


If you're looking for a more natural and eco-friendly way to clean your paint brushes, here are some other solutions you can try: 1. Olive Oil and Soap Mix equal parts olive oil and dish soap in a container and soak your brushes for a few minutes before rinsing them off. This will help break down the paint and leave your brushes clean and conditioned. 2. Lemon Juice and Salt In a small bowl, mix lemon juice and salt to create a paste. Dip your brush in the mixture and gently scrub the bristles to remove paint. Rinse with warm water and repeat if necessary. 3. Coconut Oil and Castile Soap Mix equal parts coconut oil and castile soap in a container and soak your brushes for a few minutes before rinsing them off. This will help remove paint and leave your brushes clean and conditioned. 4. Vinegar and Salt Mix equal parts vinegar and salt in a container and soak your brushes for a few minutes before rinsing them off. This solution can help remove stubborn paint and leave your brushes clean and fresh.6. Natural Solutions for Cleaning Paint Brushes in the Kitchen Sink


6. Natural Solutions for Cleaning Paint Brushes in the Kitchen Sink


When it comes to cleaning paint brushes in the kitchen sink, there are some common mistakes that people make. Here's what to avoid: Mistake 1: Using Hot Water on Oil-Based Paint If you're using oil-based paint, avoid using hot water as it can cause the paint to set in and make it harder to clean. Mistake 2: Not Using the Right Tools Using the wrong tools or not having the necessary tools can make the cleaning process more difficult. Make sure to invest in a good brush cleaner, comb, or scraper to make the process easier. Mistake 3: Letting the Paint Dry on the Brushes Leaving the paint to dry on the brushes can damage them and make them harder to clean. Make sure to clean your brushes as soon as you're done using them. Mistake 4: Not Rinsing the Brushes Properly Make sure to rinse your brushes thoroughly to remove any remaining paint or cleaning solution. This will prevent any residue from building up and damaging your brushes in the long run. Mistake 5: Not Drying the Brushes Properly After cleaning your brushes, make sure to dry them thoroughly before storing them. This will prevent the bristles from getting damaged and maintain the shape of the brush.7. Common Mistakes to Avoid When Cleaning Paint Brushes in the Kitchen Sink
7. Common Mistakes to Avoid When Cleaning Paint Brushes in the Kitchen Sink


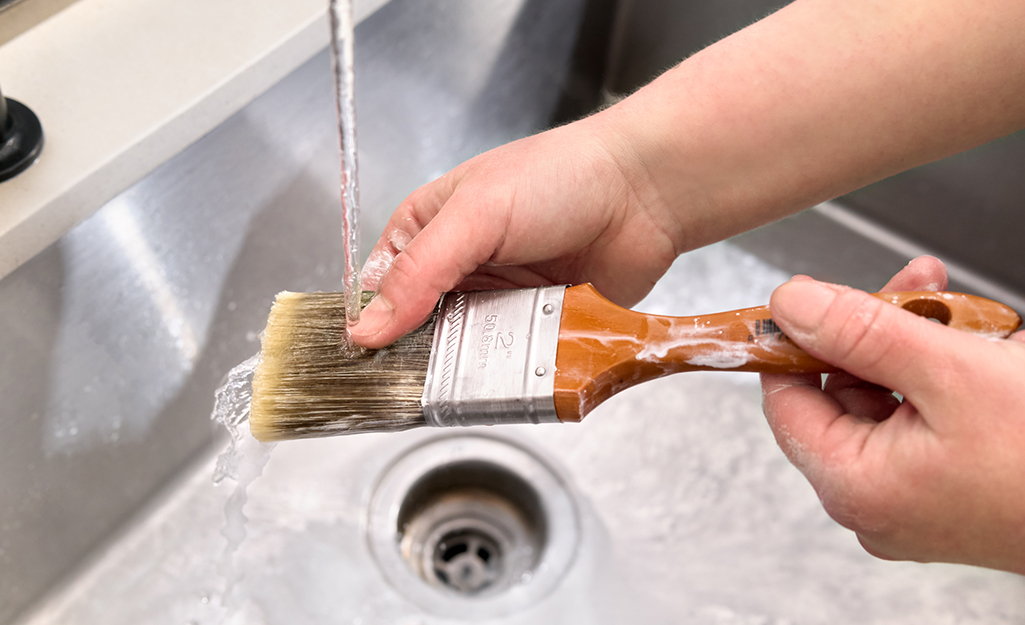
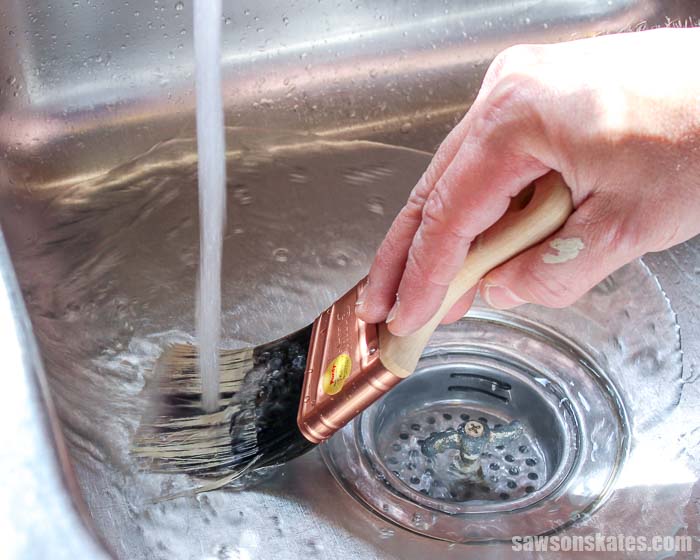
Rinsing your paint brushes properly is crucial in ensuring they are clean and ready for your next project. Here's how to do it: Step 1: Rinse Under Warm Water After cleaning your brushes with soap or a brush cleaner, rinse them under warm water to remove any remaining paint and cleaning solution. Step 2: Use Your Fingers Gently massage the bristles with your fingers to remove any stubborn paint or residue. This will help clean the brush thoroughly. Step 3: Repeat if Necessary If there is still paint remaining, repeat the process until the water runs clear and the brush is clean. Step 4: Dry and Store Once the brushes are clean, dry them thoroughly before storing them. You can hang them upside down or lay them flat to dry.8. How to Properly Rinse Paint Brushes in the Kitchen Sink


8. How to Properly Rinse Paint Brushes in the Kitchen Sink


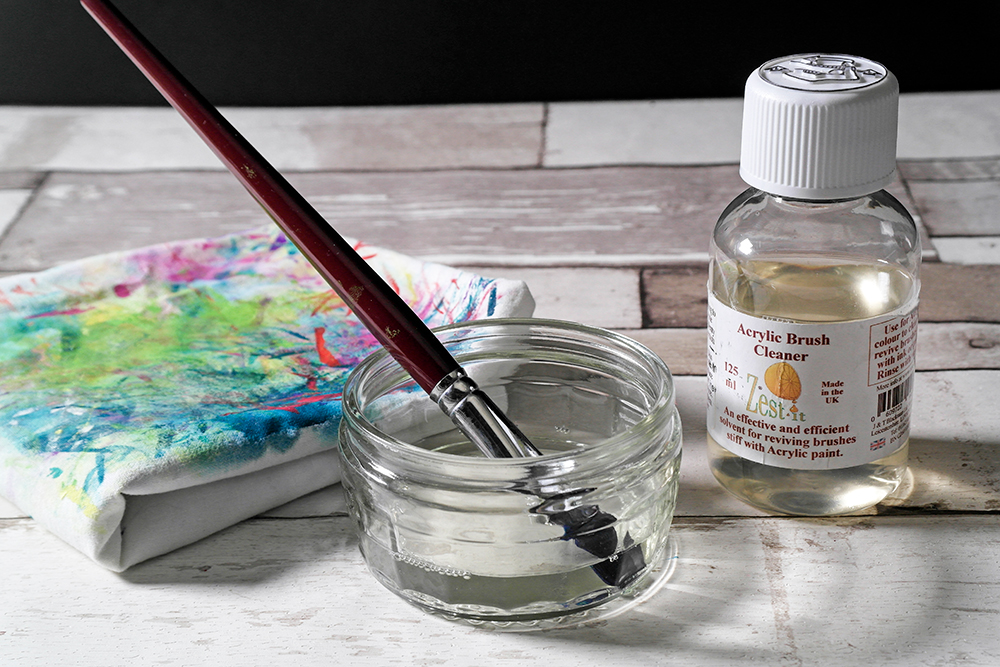
Having the right tools can make all the difference when it comes to cleaning paint brushes in the kitchen sink. Here are some tools you should have on hand: 1. Brush Cleaner A good brush cleaner is specifically designed for removing paint and can make the cleaning process much easier. 2. Scraper or Comb A scraper or comb can help remove stubborn paint from the bristles of your brushes. 3. Old Toothbrush or Scrub Brush These can be used to scrub the bristles of the brush and remove any remaining paint or residue. 4. Vinegar and Baking Soda A mixture of vinegar and baking soda can be used as a natural and effective cleaning solution for your paint brushes.9. Tools You Need to Clean Paint Brushes in the Kitchen Sink


9. Tools You Need to Clean Paint Brushes in the Kitchen Sink


Properly cleaning your paint brushes is important not only for maintaining their quality but also for the success of your future projects. Here's how often you should clean them: 1. After Each Use It's important to clean your brushes after each use to prevent the paint from drying and damaging the bristles. This will also make the cleaning process easier. 2. If Using Different Colors If you're working with different colors, it's important to clean your brushes in between to avoid any color mixing and to maintain the integrity of your colors. 3. Every Few Months Even if you're not using your brushes frequently, it's important to clean them every few months to prevent any buildup of paint or residue that can damage the bristles.10. How Often Should You Clean Paint Brushes in the Kitchen Sink?

10. How Often Should You Clean Paint Brushes in the Kitchen Sink?
Clean Paint Brushes in Kitchen Sink: A Necessary Step in House Design

Why is Cleaning Paint Brushes Important for House Design?
 When it comes to designing a home, every detail matters. From the color of the walls to the placement of furniture, every decision contributes to the overall aesthetic of the space. And one small but crucial aspect of house design is the cleanliness of paint brushes. Whether you are a professional designer or a DIY enthusiast, keeping your paint brushes clean is essential for achieving a flawless and polished look in your home.
The Consequences of Not Cleaning Paint Brushes
 It may seem like a tedious task, but neglecting to properly clean your paint brushes can have significant consequences on your house design. When paint brushes are not cleaned, leftover paint can harden and ruin the bristles, making them unusable for future projects. This not only wastes money but also affects the quality of your work. Dirty paint brushes can also leave streaks and uneven coverage on walls, furniture, or other surfaces, resulting in an unprofessional and unappealing look.
A Step-by-Step Guide to Cleaning Paint Brushes in the Kitchen Sink
 Now that we understand the importance of cleaning paint brushes, let's take a look at the proper way to do it in your kitchen sink.
Step 1: Gather Supplies
Before starting the cleaning process, gather all the necessary supplies, including mild dish soap, warm water, a brush comb or wire brush, and a clean cloth or paper towels.
Step 2: Remove Excess Paint
Using a cloth or paper towels, wipe off as much excess paint from the brush as possible. This will prevent the sink from getting clogged and make the cleaning process easier.
Step 3: Rinse with Warm Water
Rinse the paint brush under warm water to loosen any remaining paint. Be sure to use warm, not hot, water as it can damage the bristles of the brush.
Step 4: Create a Soap Solution
Fill your sink with warm water and add a few drops of mild dish soap. Swirl the water to create a soapy solution.
Step 5: Soak the Brush
Place the paintbrush in the soapy water and let it soak for a few minutes. This will help loosen any leftover paint and make it easier to remove.
Step 6: Scrub the Bristles
Using a brush comb or wire brush, gently scrub the bristles of the brush in a circular motion. This will help remove any remaining paint and ensure the bristles are clean.
Step 7: Rinse and Repeat
Rinse the brush under warm water to remove any soap residue. If there is still paint left, repeat the soaking and scrubbing process until the water runs clear.
Step 8: Dry the Brush
Once the brush is clean, gently squeeze out any excess water and reshape the bristles. Lay the brush flat on a clean cloth or paper towel to air dry completely before storing it.
Now that we understand the importance of cleaning paint brushes, let's take a look at the proper way to do it in your kitchen sink.
Step 1: Gather Supplies
Before starting the cleaning process, gather all the necessary supplies, including mild dish soap, warm water, a brush comb or wire brush, and a clean cloth or paper towels.
Step 2: Remove Excess Paint
Using a cloth or paper towels, wipe off as much excess paint from the brush as possible. This will prevent the sink from getting clogged and make the cleaning process easier.
Step 3: Rinse with Warm Water
Rinse the paint brush under warm water to loosen any remaining paint. Be sure to use warm, not hot, water as it can damage the bristles of the brush.
Step 4: Create a Soap Solution
Fill your sink with warm water and add a few drops of mild dish soap. Swirl the water to create a soapy solution.
Step 5: Soak the Brush
Place the paintbrush in the soapy water and let it soak for a few minutes. This will help loosen any leftover paint and make it easier to remove.
Step 6: Scrub the Bristles
Using a brush comb or wire brush, gently scrub the bristles of the brush in a circular motion. This will help remove any remaining paint and ensure the bristles are clean.
Step 7: Rinse and Repeat
Rinse the brush under warm water to remove any soap residue. If there is still paint left, repeat the soaking and scrubbing process until the water runs clear.
Step 8: Dry the Brush
Once the brush is clean, gently squeeze out any excess water and reshape the bristles. Lay the brush flat on a clean cloth or paper towel to air dry completely before storing it.
Conclusion
 In conclusion, cleaning paint brushes in the kitchen sink may seem like a mundane task, but it is a necessary step in achieving a flawless house design. By following these simple steps, you can ensure your paint brushes are always clean and ready for your next project. So next time you're working on a painting project, don't forget to give your paint brushes some TLC in the kitchen sink.