Is your kitchen sink experiencing constant leaks or low water pressure? It might be time to change the valves under your kitchen sink. Valves control the flow of water in your plumbing system and are essential for proper functioning. Over time, valves can wear out and need to be replaced. Here's a step-by-step guide on how to change the valves under your kitchen sink.Replacing Valves Under Kitchen Sink


Replacing Valves Under Kitchen Sink
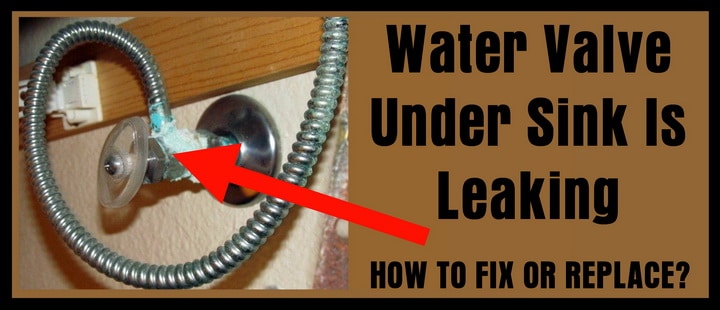


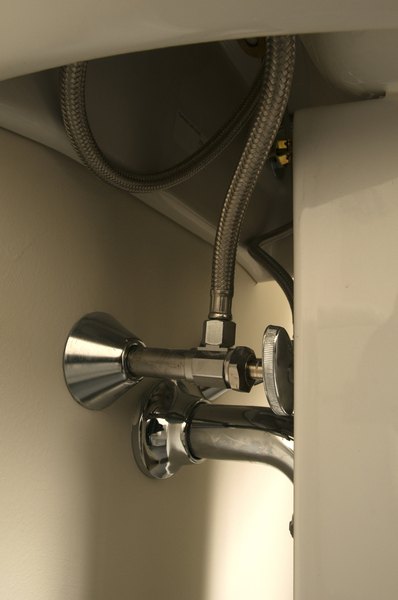
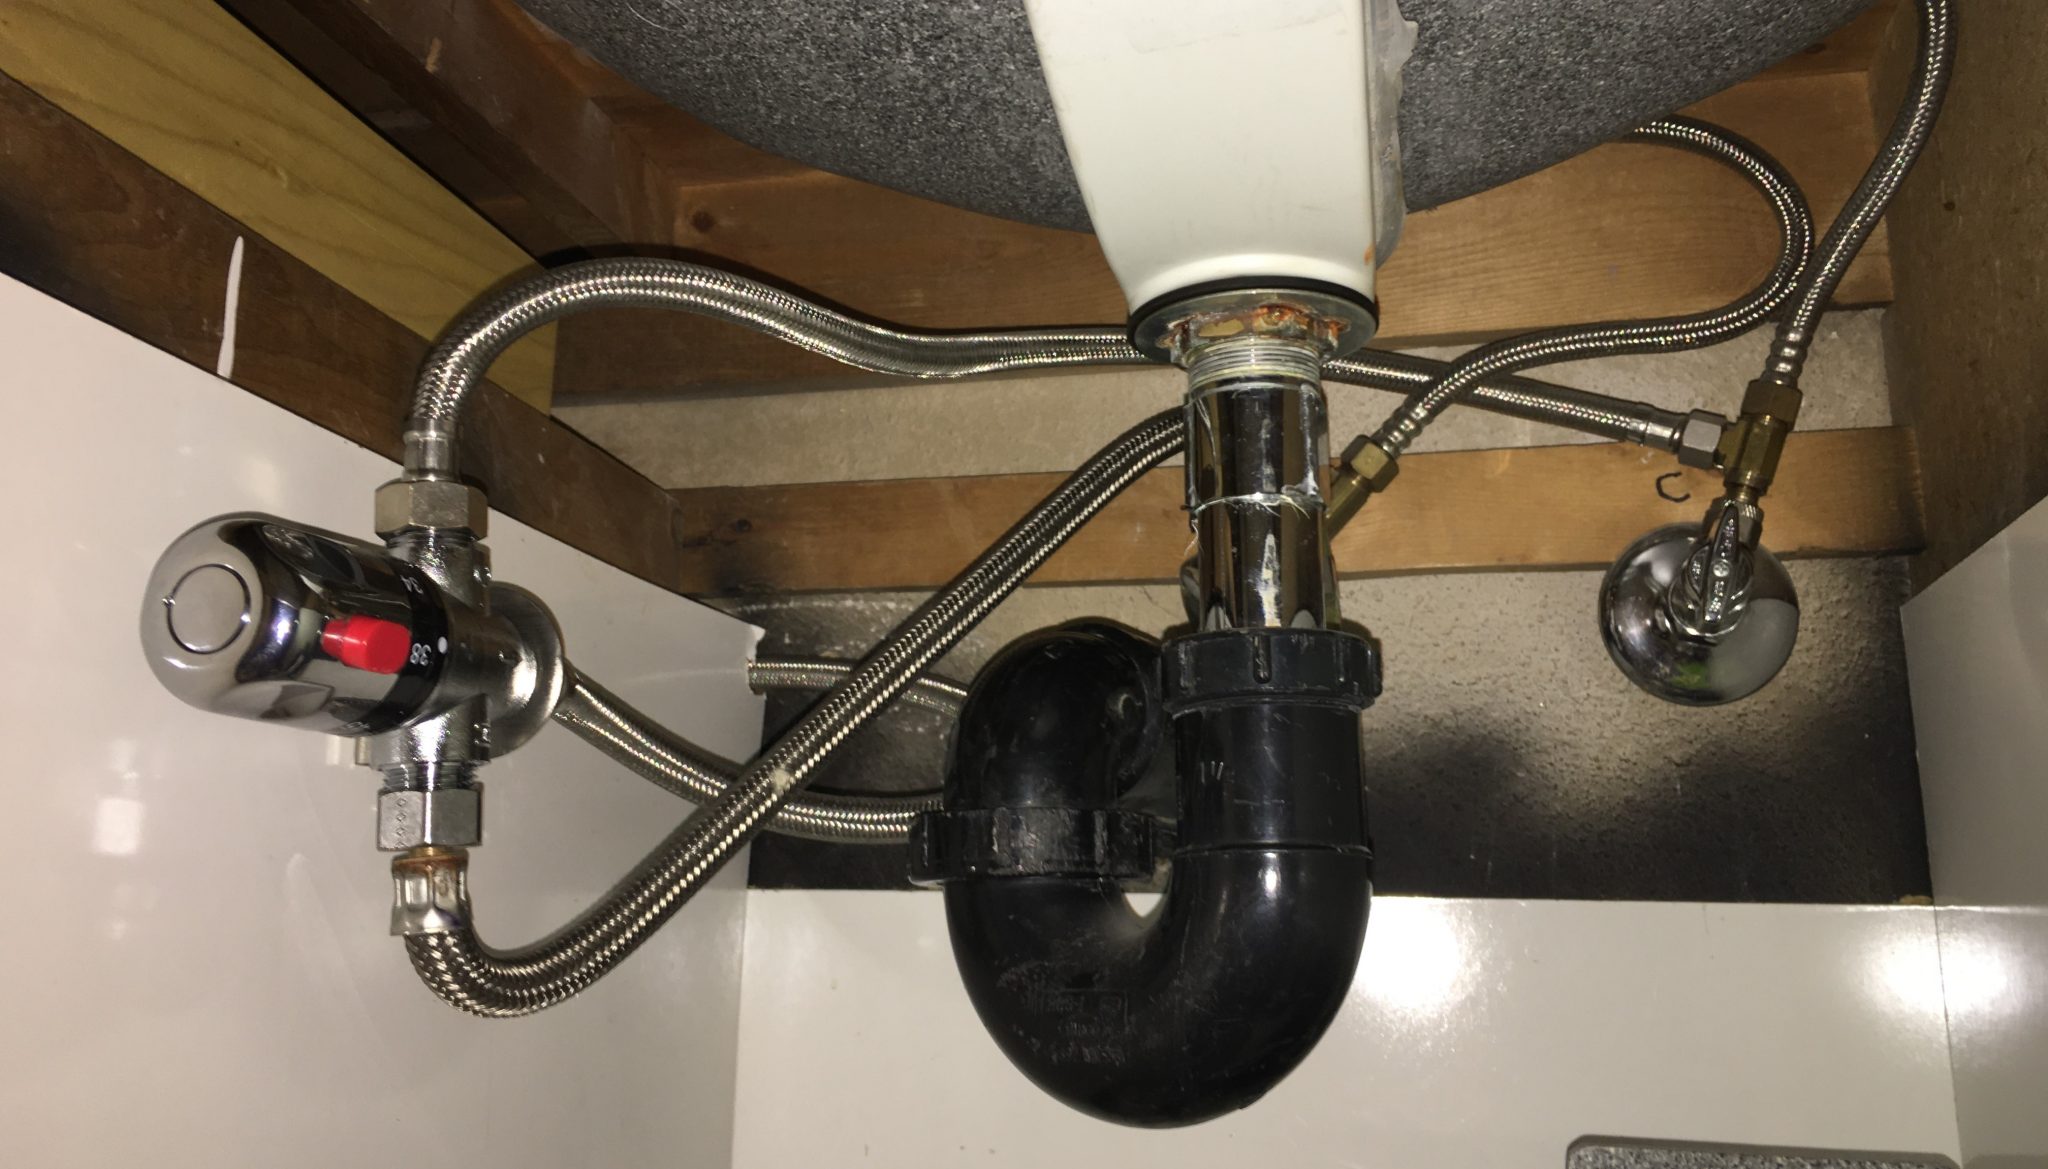
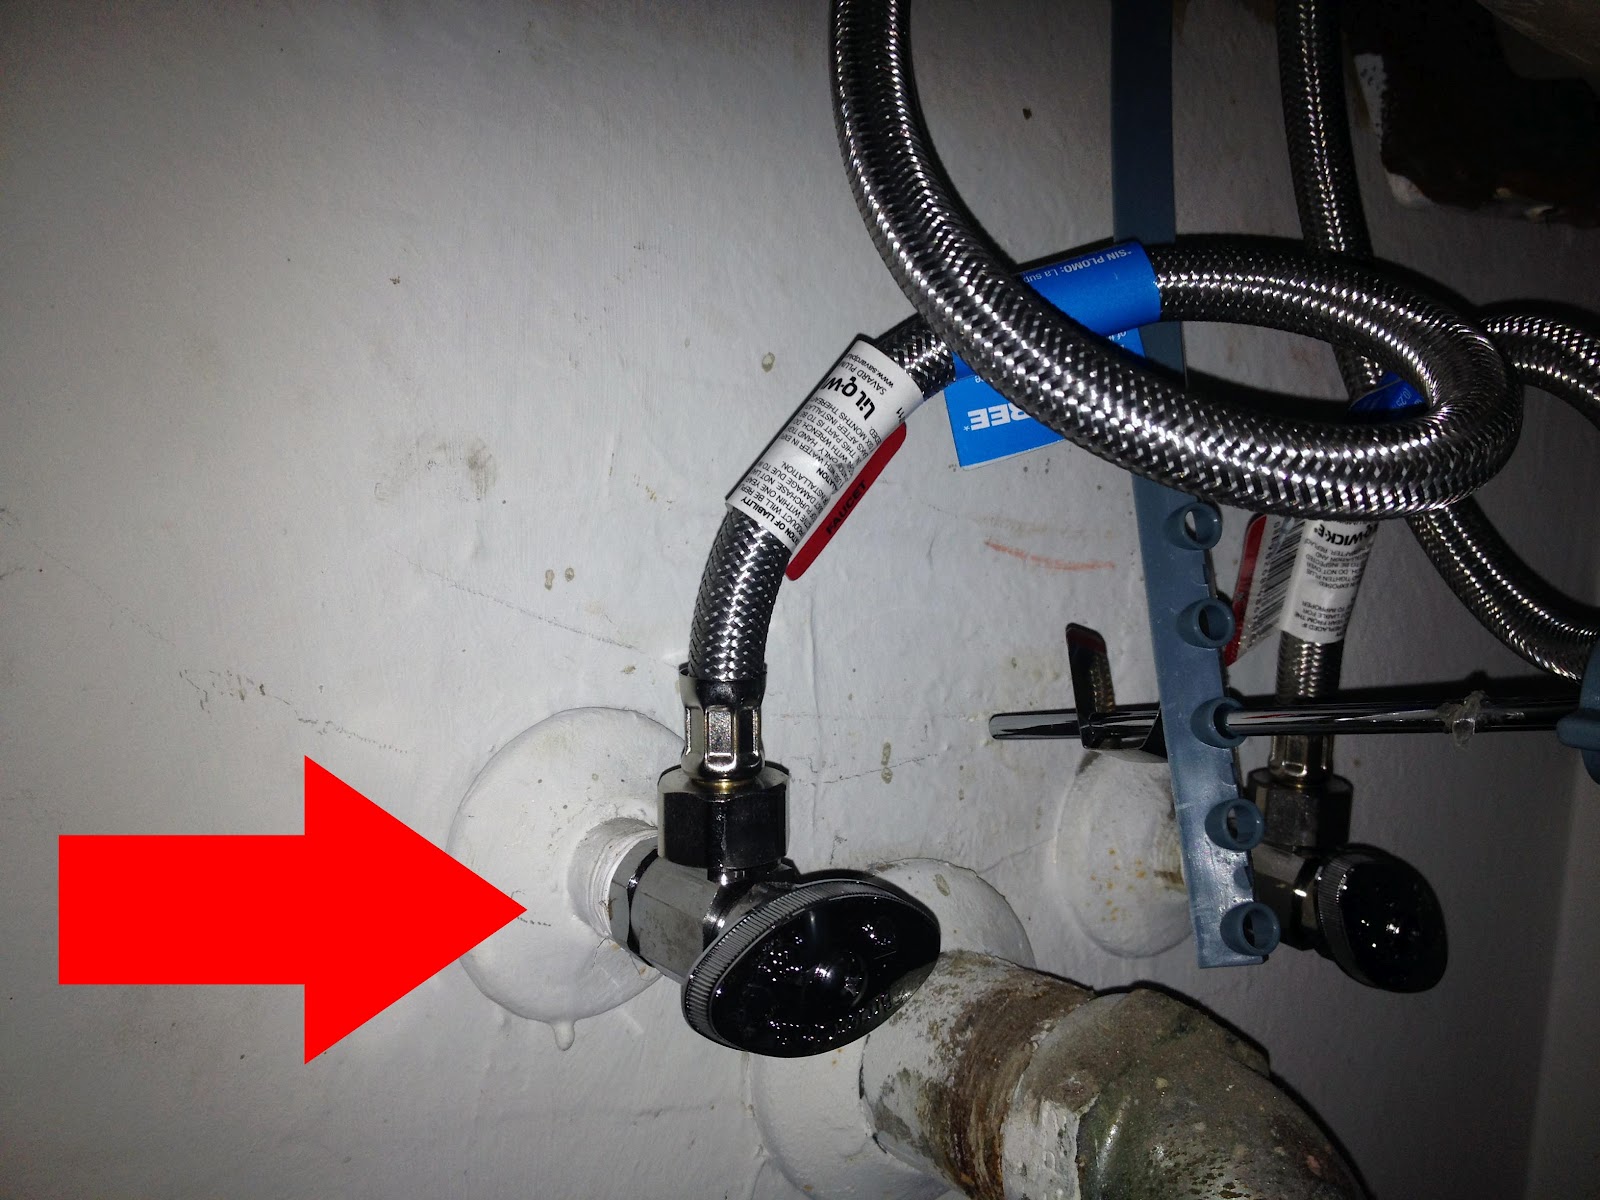
The first step in changing valves under your kitchen sink is to turn off the water supply. This can usually be done by turning off the main water supply valve or by shutting off the valves located under the sink. Next, you will need to remove the old valves. This can be done by unscrewing them from the pipes using a wrench. If the valves are stuck, you may need to use a lubricant or call a professional plumber.How to Change Valves Under Kitchen Sink


How to Change Valves Under Kitchen Sink


:max_bytes(150000):strip_icc()/sink-pipe-under-wash-basin-119001607-6f28aec4c66944efb7a9a38cb622ab8b.jpg)

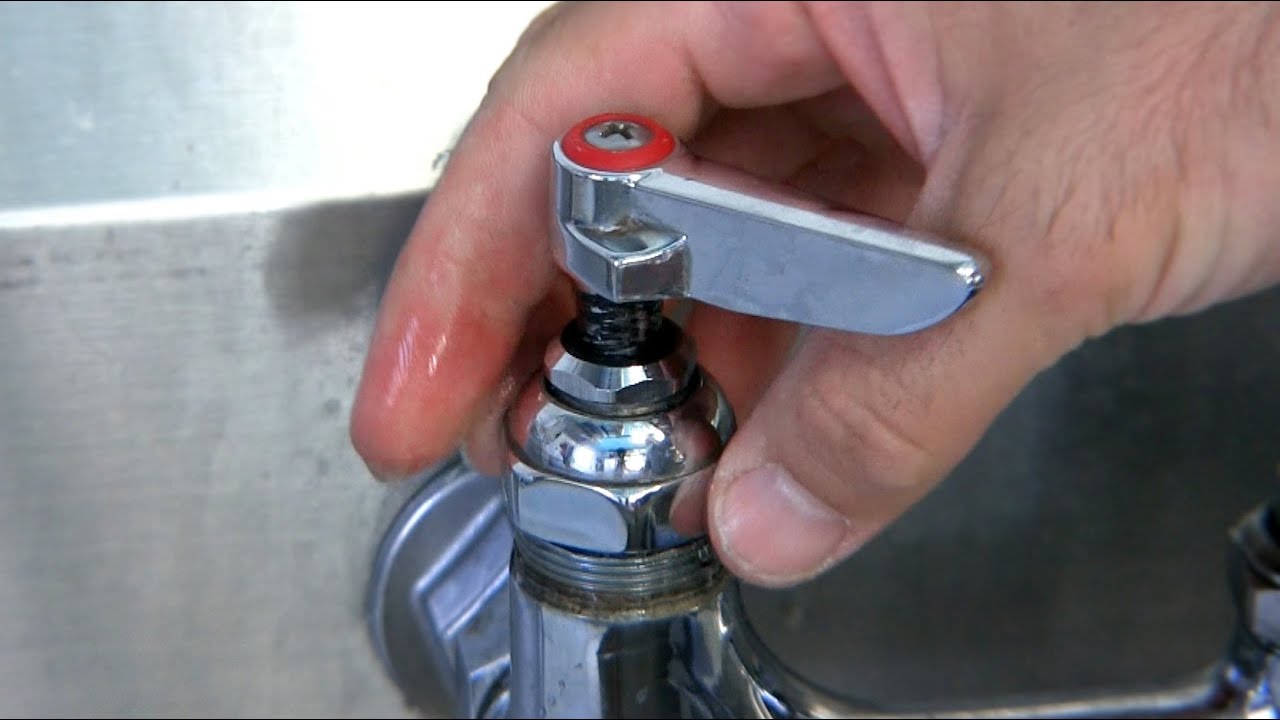
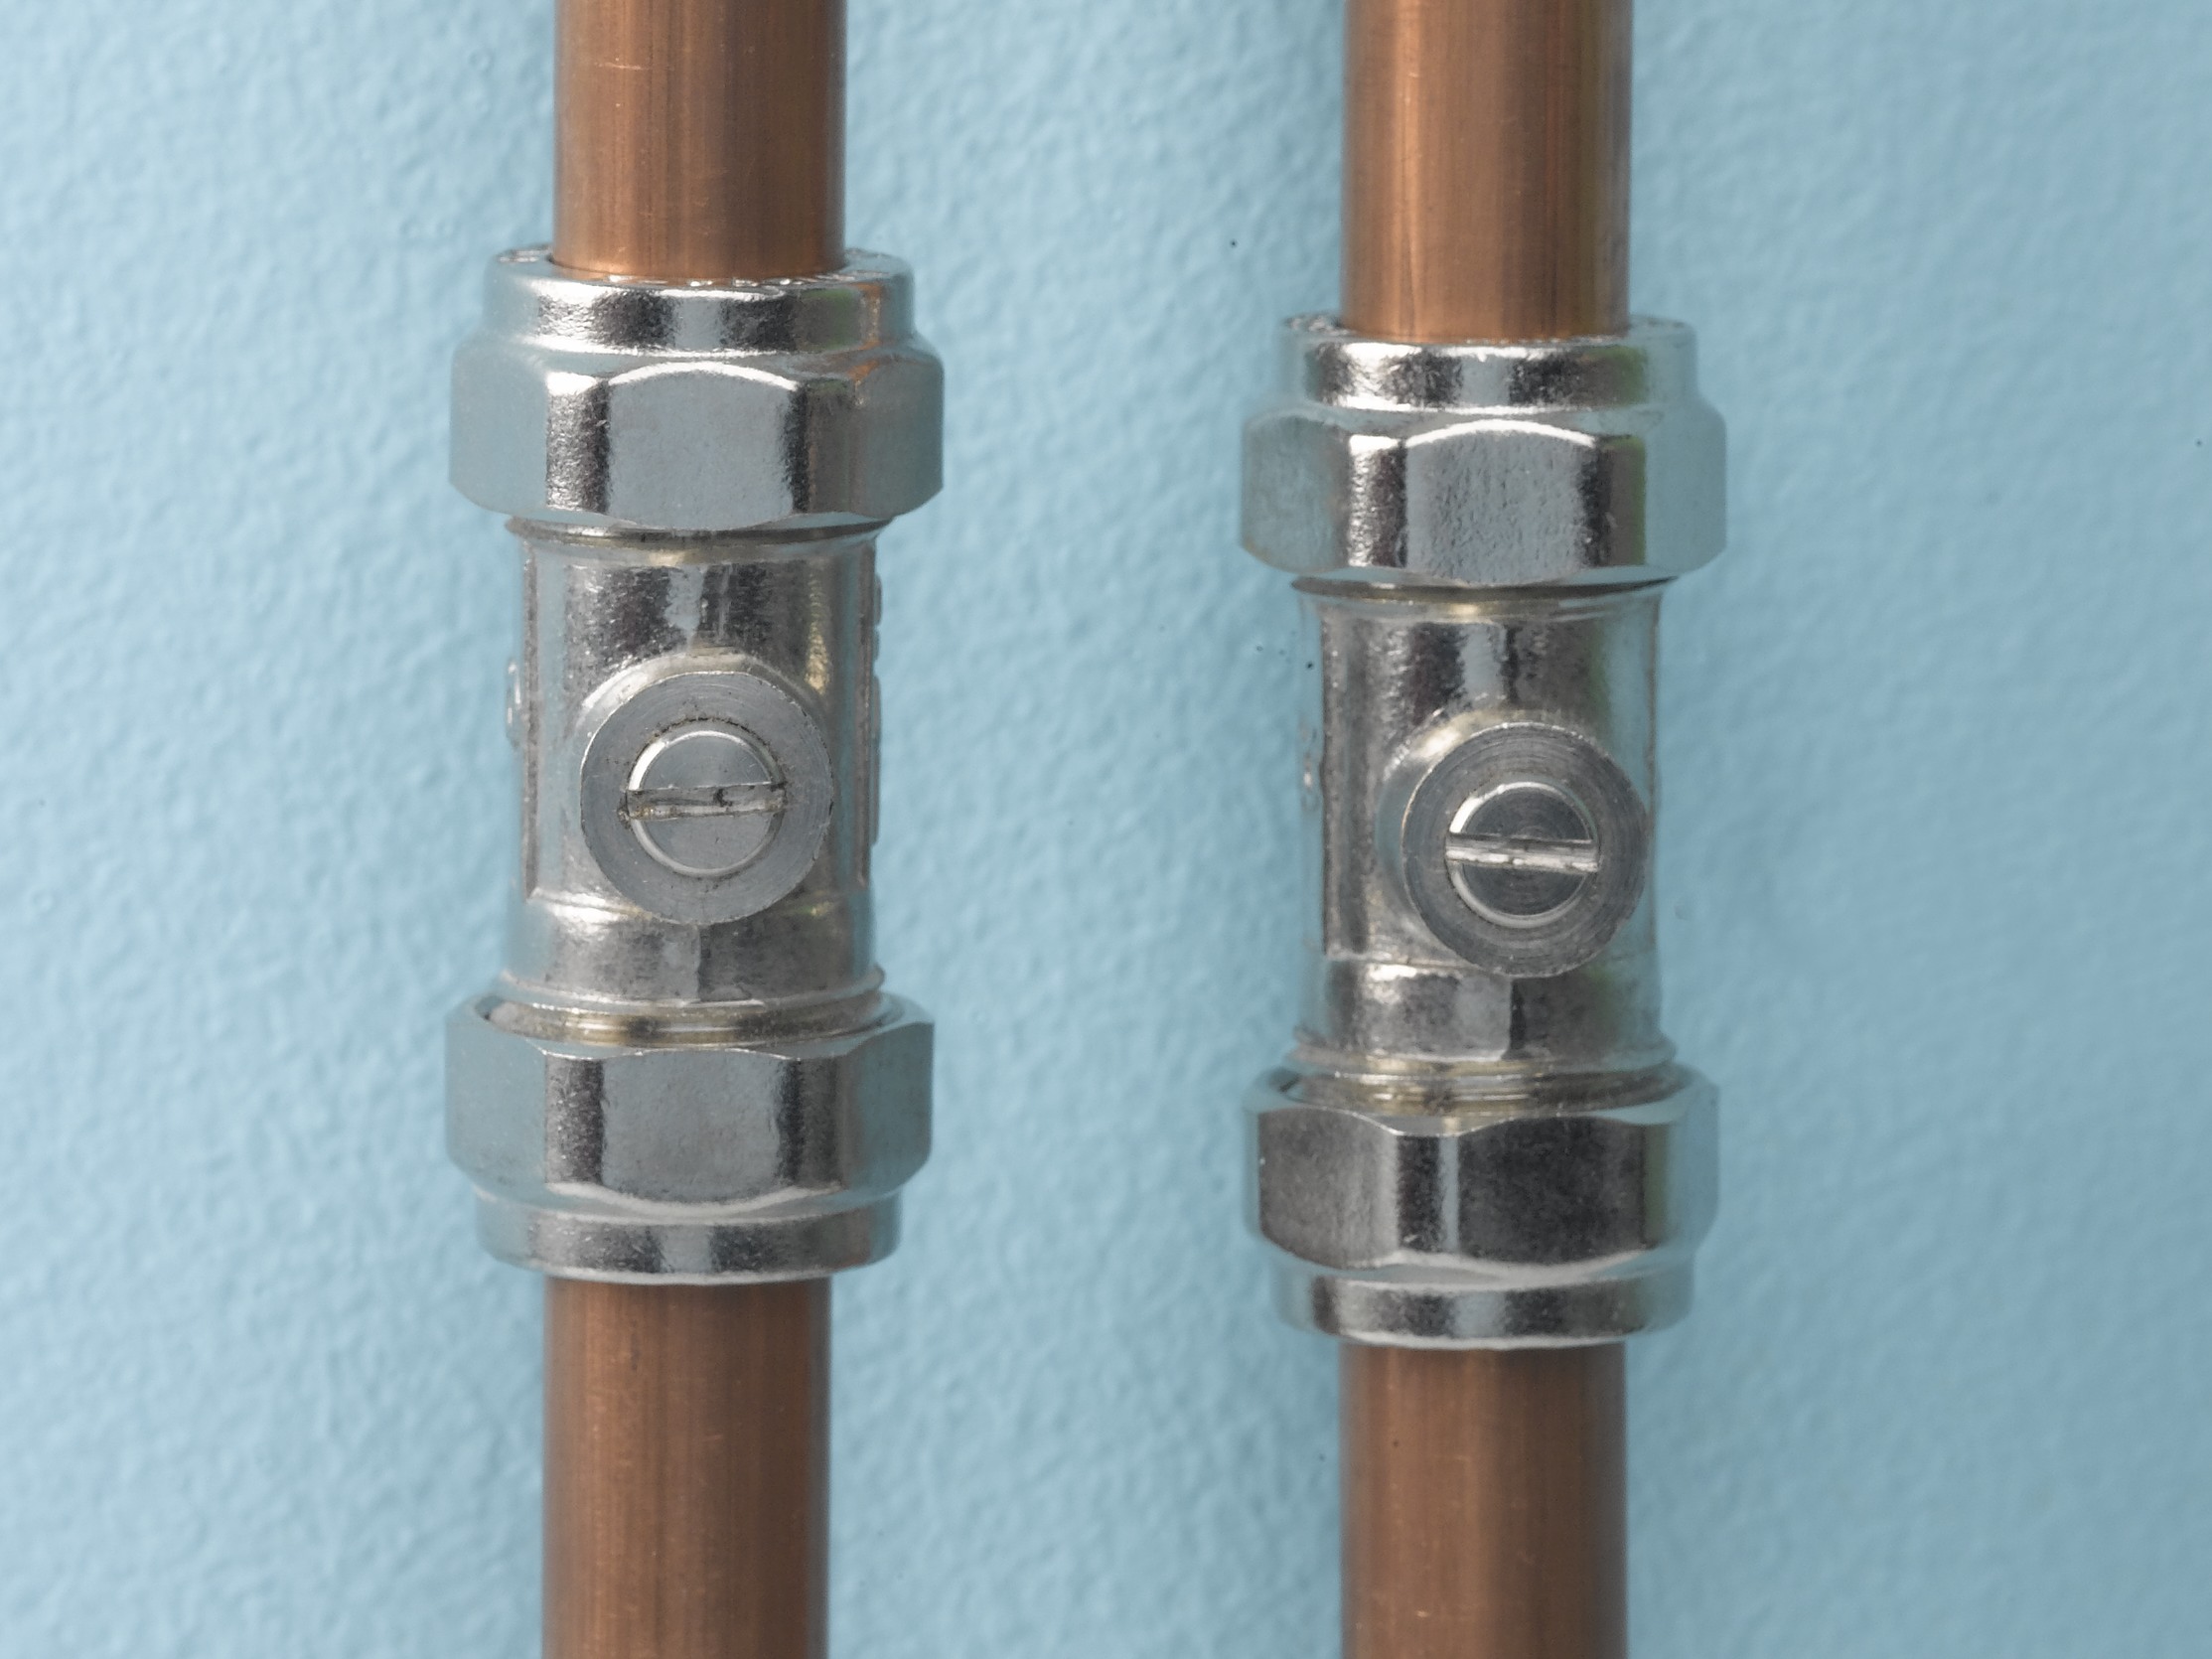
After removing the old valves, it's time to install the new ones. Start by applying some plumber's tape to the threads of the pipes to ensure a tight seal. Next, attach the new valves to the pipes and tighten them using a wrench. Make sure to not over-tighten them as it can cause damage. Once the new valves are securely in place, turn the water supply back on and check for any leaks.Step-by-Step Guide for Changing Valves Under Kitchen Sink


Step-by-Step Guide for Changing Valves Under Kitchen Sink

If you're not comfortable with DIY projects or are unsure about replacing valves yourself, it's best to call a professional plumber. They have the necessary tools and expertise to replace the valves under your kitchen sink accurately and efficiently. You can also opt for a valve replacement service offered by many plumbing companies, which includes the supply and installation of new valves.Valve Replacement for Kitchen Sink


Valve Replacement for Kitchen Sink

/sink-pipe-under-wash-basin-119001607-75542e154b364e7bb52032249f293908.jpg)
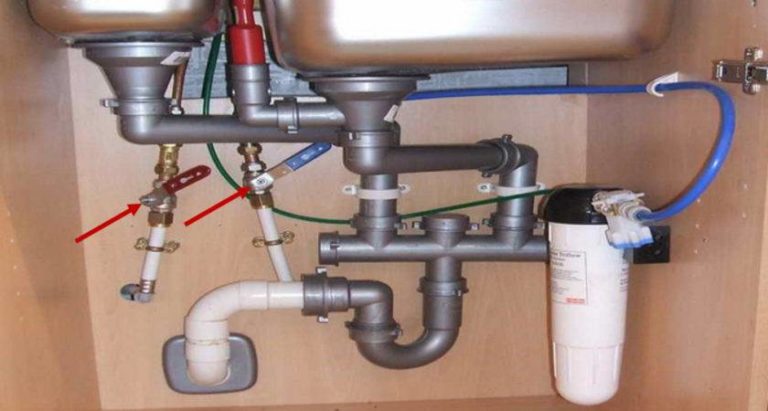
If you're up for the challenge, changing valves under your kitchen sink can be a DIY project. However, it's essential to have the right tools and knowledge to do it correctly. Some of the tools you may need include a wrench, screwdriver, and plumber's tape. It's also crucial to follow the manufacturer's instructions for the specific valves you're using.DIY Tutorial for Changing Valves Under Kitchen Sink


DIY Tutorial for Changing Valves Under Kitchen Sink

As mentioned earlier, here's a list of tools you may need for changing valves under your kitchen sink:Tools Needed for Changing Valves Under Kitchen Sink


Tools Needed for Changing Valves Under Kitchen Sink

Here are some tips to keep in mind when changing valves under your kitchen sink:Tips for Changing Valves Under Kitchen Sink


Tips for Changing Valves Under Kitchen Sink

While changing valves under your kitchen sink may seem like a straightforward task, there are some common problems that may arise. These include:Common Problems When Changing Valves Under Kitchen Sink


Common Problems When Changing Valves Under Kitchen Sink

The cost of changing valves under your kitchen sink can vary depending on the type of valves and the complexity of the job. On average, it can cost anywhere from $50 to $200 for DIY projects, while professional services can range from $150 to $350.Cost of Changing Valves Under Kitchen Sink

Cost of Changing Valves Under Kitchen Sink
If you're not confident in your DIY skills or don't have the time to replace the valves yourself, it's best to hire a professional plumber. They have the necessary expertise and tools to ensure the job is done correctly. Plus, they can also check for any other potential issues with your plumbing system and fix them before they turn into bigger problems. Now that you know the steps and tips for changing valves under your kitchen sink, you can confidently tackle this DIY project or call a professional for assistance. With proper maintenance and timely valve replacements, you can ensure your kitchen sink continues to function smoothly for years to come.Professional Services for Changing Valves Under Kitchen Sink


Professional Services for Changing Valves Under Kitchen Sink

Why Changing Valves Under Kitchen Sink is Important for House Design
Ensuring Functionality and Safety
 When it comes to house design, every little detail matters. This includes the valves under your kitchen sink. These small yet crucial components play a significant role in the functionality and safety of your kitchen. Valves are responsible for controlling the flow of water to your sink, and a malfunctioning one can lead to leaks, water damage, and even potential health hazards. Therefore, it is essential to regularly check and change these valves to maintain the overall design and integrity of your house.
Preventing Water Damage
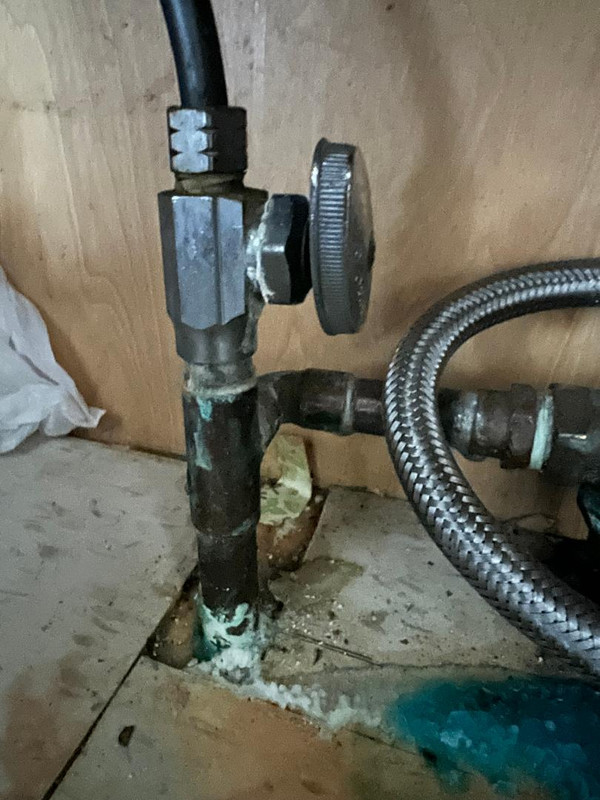
 One of the main reasons for changing valves under the kitchen sink is to prevent water damage. Leaky valves can cause water to seep out and into your cabinets, walls, and flooring. This can lead to mold growth, rotting wood, and other structural issues. Not only does this affect the aesthetics of your kitchen, but it can also be a health hazard. Stagnant water can attract pests and bacteria, which can compromise the cleanliness and safety of your home. By regularly changing valves, you can avoid potential water damage and keep your house design in top shape.
Improving Efficiency
 Changing valves under the kitchen sink can also improve the efficiency of your kitchen. Old and worn-out valves can restrict the flow of water, making it difficult to wash dishes, fill pots, and perform other daily tasks. By replacing them with new ones, you can ensure a steady and consistent flow of water, making your kitchen more functional and efficient. This small change can make a big difference in the overall design and usability of your kitchen.
Adding Value to Your Home
 For those looking to sell their house in the future, changing valves under the kitchen sink can add value to your home. Potential buyers will appreciate a well-maintained and functional kitchen, and having updated valves can be a selling point. It shows that you have taken care of your home and have paid attention to even the smallest details. This can make your house more appealing and increase its market value.
In conclusion, changing valves under the kitchen sink is an essential aspect of house design. It ensures functionality and safety, prevents water damage, improves efficiency, and adds value to your home. So, don't overlook this seemingly small task and make sure to regularly check and change your valves to maintain a beautiful and functional kitchen.
For those looking to sell their house in the future, changing valves under the kitchen sink can add value to your home. Potential buyers will appreciate a well-maintained and functional kitchen, and having updated valves can be a selling point. It shows that you have taken care of your home and have paid attention to even the smallest details. This can make your house more appealing and increase its market value.
In conclusion, changing valves under the kitchen sink is an essential aspect of house design. It ensures functionality and safety, prevents water damage, improves efficiency, and adds value to your home. So, don't overlook this seemingly small task and make sure to regularly check and change your valves to maintain a beautiful and functional kitchen.