Are you tired of your old, leaky taps on your bathroom sink? Perhaps you're looking to upgrade the style of your sink with new taps. Whatever the reason may be, changing the taps on your bathroom sink is a simple and cost-effective way to give your bathroom a fresh look. In this article, we will guide you through the process of changing taps on a bathroom sink, step-by-step. How to Change Taps on a Bathroom Sink
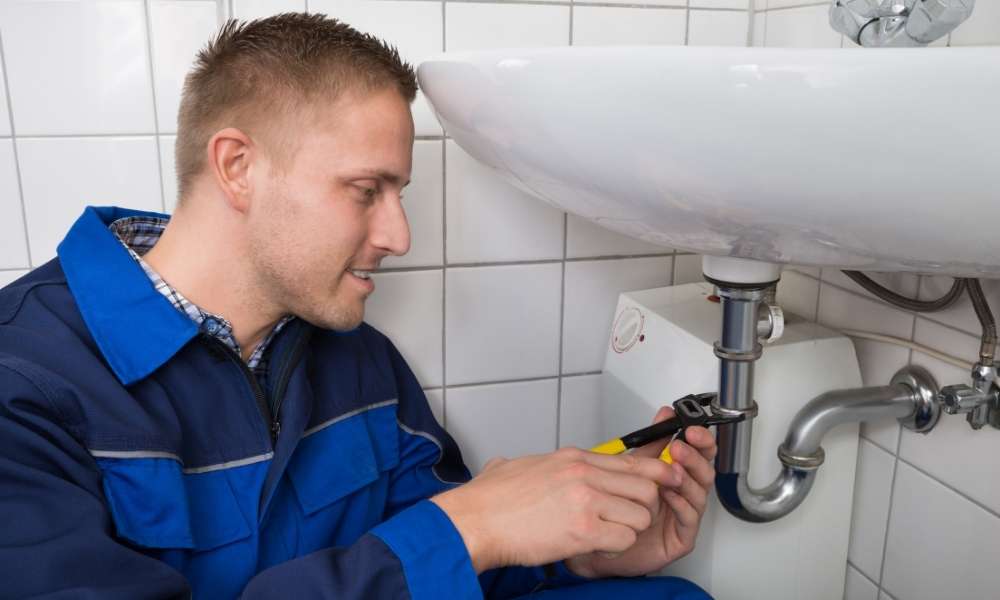
Replacing the taps on your bathroom sink may seem like a daunting task, but it is actually quite simple. With the right tools and a little bit of patience, you can have your new taps installed in no time. Here is a step-by-step guide to help you through the process: Step 1: Gather all necessary tools and supplies. This includes a wrench, pliers, new taps, plumber's tape, and a towel. Step 2: Turn off the water supply to your sink. This can usually be done by turning the knobs under the sink clockwise. Step 3: Using the wrench, unscrew the nuts that are holding the old taps in place. Then, use the pliers to loosen and remove the water supply lines from the taps. Step 4: Remove the old taps from the sink and clean the area with a towel. Step 5: Wrap plumber's tape around the threads of the new taps to ensure a tight seal. Step 6: Install the new taps by screwing them into place and attaching the water supply lines. Step 7: Turn the water supply back on and test the new taps for any leaks. If there are any, tighten the connections with the wrench. Step 8: Enjoy your newly installed taps on your bathroom sink! Step-by-Step Guide for Replacing Taps on a Bathroom Sink
Changing taps on a bathroom sink is a DIY project that can save you money and give you a sense of accomplishment. With the right tools and a little bit of know-how, you can easily change the taps on your bathroom sink yourself. However, if you do not feel comfortable doing it yourself, it is always best to hire a professional plumber. DIY: Changing Taps on a Bathroom Sink
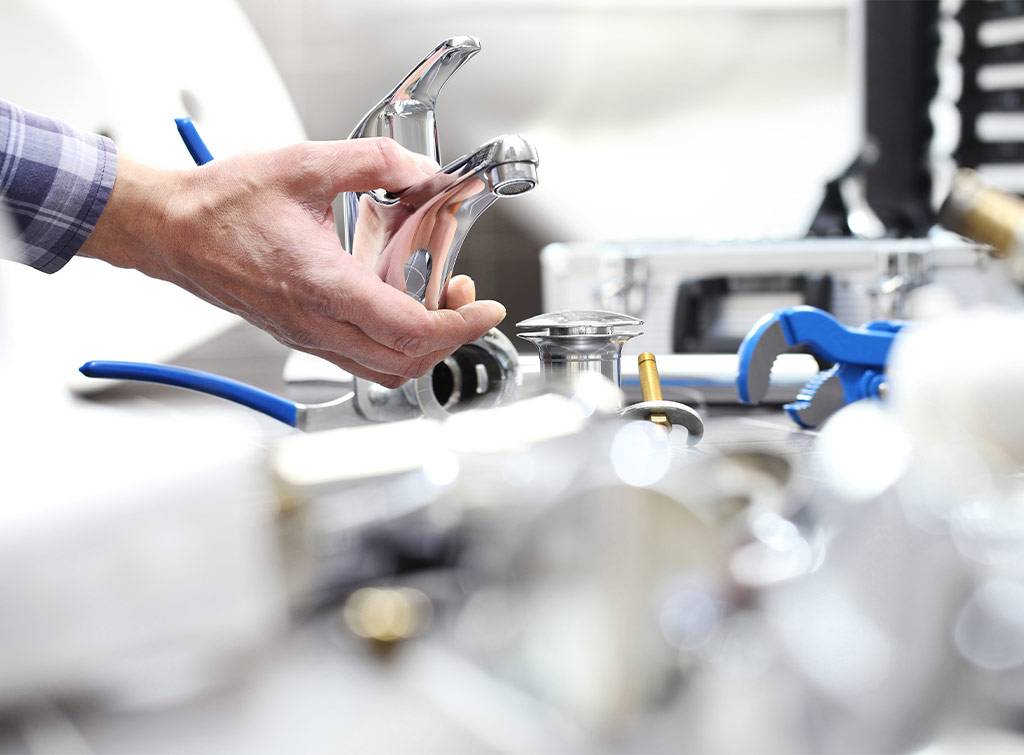
Before you begin the process of changing taps on your bathroom sink, it is important to have all the necessary tools and supplies on hand. Some essential tools include a wrench, pliers, and plumber's tape. These tools will make the process much easier and ensure that your new taps are installed correctly. Essential Tools for Changing Taps on a Bathroom Sink
While changing taps on a bathroom sink may seem like a simple task, there are some common mistakes that people make. These mistakes can lead to leaks or other issues with your new taps. Here are a few common mistakes to avoid: Using the wrong tools: Be sure to use the correct tools for the job to avoid damaging your new taps or the sink. Not turning off the water supply: It is important to turn off the water supply before beginning the process to avoid any accidents or leaks. Not using plumber's tape: Plumber's tape ensures a tight seal and prevents leaks, so be sure to use it when installing your new taps. Common Mistakes to Avoid When Changing Taps on a Bathroom Sink
When it comes to choosing the right taps for your bathroom sink, there are a few things to consider. First, decide on the style and finish that you want. Then, make sure the taps fit the existing holes in your sink. You should also consider the water pressure in your home and choose taps that are compatible with it. Tips for Choosing the Right Taps for Your Bathroom Sink
While changing taps on a bathroom sink is a relatively simple process, there are some common issues that may arise. These include leaks, loose connections, or difficulty removing old taps. If you encounter any of these issues, refer to the step-by-step guide above or consult a professional plumber. Troubleshooting: Common Issues When Changing Taps on a Bathroom Sink
If you are planning on changing the taps on your bathroom sink, you will need to remove the old taps first. To do this, follow these steps: Step 1: Turn off the water supply to your sink. Step 2: Using a wrench, unscrew the nuts that are holding the old taps in place. Step 3: Use pliers to loosen and remove the water supply lines from the taps. Step 4: Remove the old taps from the sink. Step 5: Clean the area with a towel before installing the new taps. How to Remove Old Taps from a Bathroom Sink
Changing the taps on your bathroom sink is an easy and cost-effective way to upgrade the look of your bathroom. With a variety of styles and finishes to choose from, you can give your sink a whole new look without breaking the bank. Whether you prefer a modern, sleek design or a more traditional look, there are taps to fit every style. Upgrading Your Bathroom Sink: Changing Taps for a Fresh Look
Deciding whether to hire a professional plumber or do it yourself when changing taps on a bathroom sink can be a difficult decision. Here are some pros and cons to consider: Professional: A professional plumber has the knowledge and experience to ensure that your new taps are installed correctly and without any issues. DIY: Doing it yourself can save you money and give you a sense of accomplishment. However, if you are not confident in your abilities or run into any issues, it may end up costing you more in the long run. Changing the taps on your bathroom sink is a simple and effective way to upgrade the look of your bathroom. With the right tools and a little bit of know-how, you can easily complete this project yourself. However, if you are unsure or encounter any issues, it is always best to consult a professional plumber. With these tips and guidelines, you can have your new taps installed in no time and enjoy a refreshed and stylish bathroom sink. Professional vs. DIY: Pros and Cons of Changing Taps on a Bathroom Sink
How to Change Taps on Your Bathroom Sink: A Step-by-Step Guide

Why Change Your Bathroom Sink Taps?
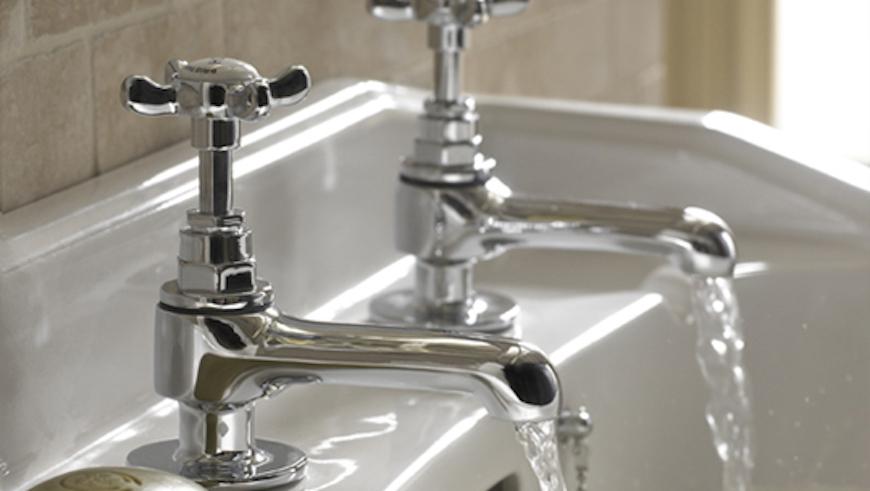 When it comes to designing a beautiful and functional bathroom, every detail matters. This includes the taps on your bathroom sink. Over time, these taps can become dull, leaky, or outdated, and replacing them can make a big difference in the overall look and feel of your space. Not to mention, new taps can also improve water efficiency and reduce maintenance costs in the long run.
Changing taps on your bathroom sink
may seem like a daunting task, but with the right tools and knowledge, it can be a simple and rewarding DIY project. In this article, we will guide you through the process of
changing bathroom sink taps
step-by-step.
Step 1: Gather Your Tools and Materials
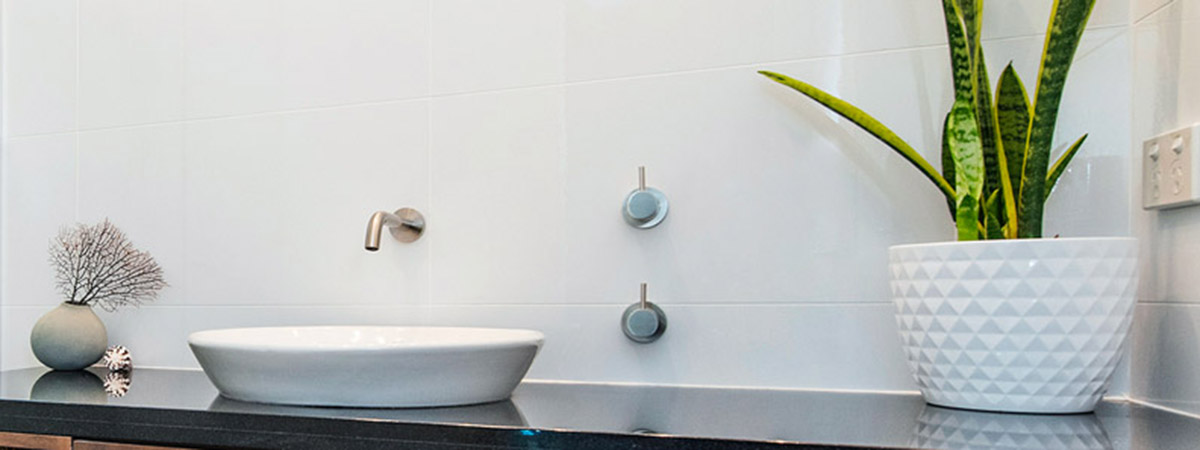 Before getting started, make sure you have all the necessary tools and materials. This includes a new set of taps, a basin wrench, plumber's tape, a cloth, and a bucket or container to catch any water that may drip during the process.
Step 2: Turn Off the Water Supply
 The first step in any plumbing project is to turn off the water supply. This can usually be done by shutting off the water valves located under the sink. If there are no individual shut-off valves, you may need to turn off the main water supply for your house.
Step 3: Remove the Old Taps
 Using the basin wrench, loosen and remove the nuts that hold the old taps in place. Once the nuts are removed, gently pull the taps out of the holes in the sink. You may need to use some force, but be careful not to damage the sink or pipes.
Step 4: Clean the Sink and Prepare the New Taps
 Before installing the new taps, clean the sink thoroughly to remove any residue or old plumber's tape. Then, follow the manufacturer's instructions to prepare the new taps for installation. This may include applying plumber's tape to the threads of the new taps.
Step 5: Install the New Taps
 Carefully insert the new taps into the holes in the sink and secure them in place with the nuts. Use the basin wrench to tighten the nuts, making sure not to over-tighten. Wipe away any excess plumber's tape and clean the area with a cloth.
Step 6: Turn the Water Supply Back On
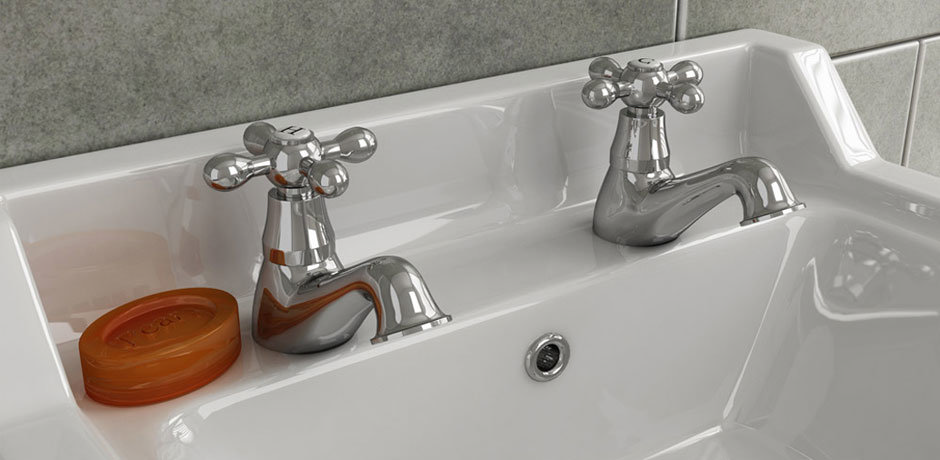 Once the new taps are securely in place, turn the water supply back on and test the taps for any leaks. If there are no leaks, congratulations – you have successfully replaced your bathroom sink taps!
Upgrade Your Bathroom Sink Taps for a Fresh New Look
 Changing the taps on your bathroom sink is a simple and affordable way to upgrade your bathroom design. By following these steps, you can change your
bathroom sink taps
in no time and enjoy a beautiful and functional space. Remember to choose taps that complement your overall bathroom design and suit your personal style. With a little effort and the right tools, you can achieve a stunning bathroom transformation.












.jpg)


