How to Change a Kitchen Sink Sprayer
Are you tired of that leaky kitchen sink sprayer? Is it not working properly or just not functioning at all? It may be time to change it out for a new one. Don't worry, you don't need to call a plumber or spend a fortune to get it fixed. With a few simple tools and a little know-how, you can easily replace the sprayer on your kitchen sink. Follow these steps and you'll have a new sprayer in no time.


How to Change a Kitchen Sink Sprayer


Replacing a Kitchen Sink Sprayer
Before you start, make sure to turn off the water supply to your sink. You don't want any unexpected sprays while you're working on it. Once the water is turned off, you can start removing the old sprayer. Begin by unscrewing the sprayer from the hose or removing the hose from the base of the sink. If there is a lock nut, use pliers to loosen it and remove the old sprayer.


Replacing a Kitchen Sink Sprayer


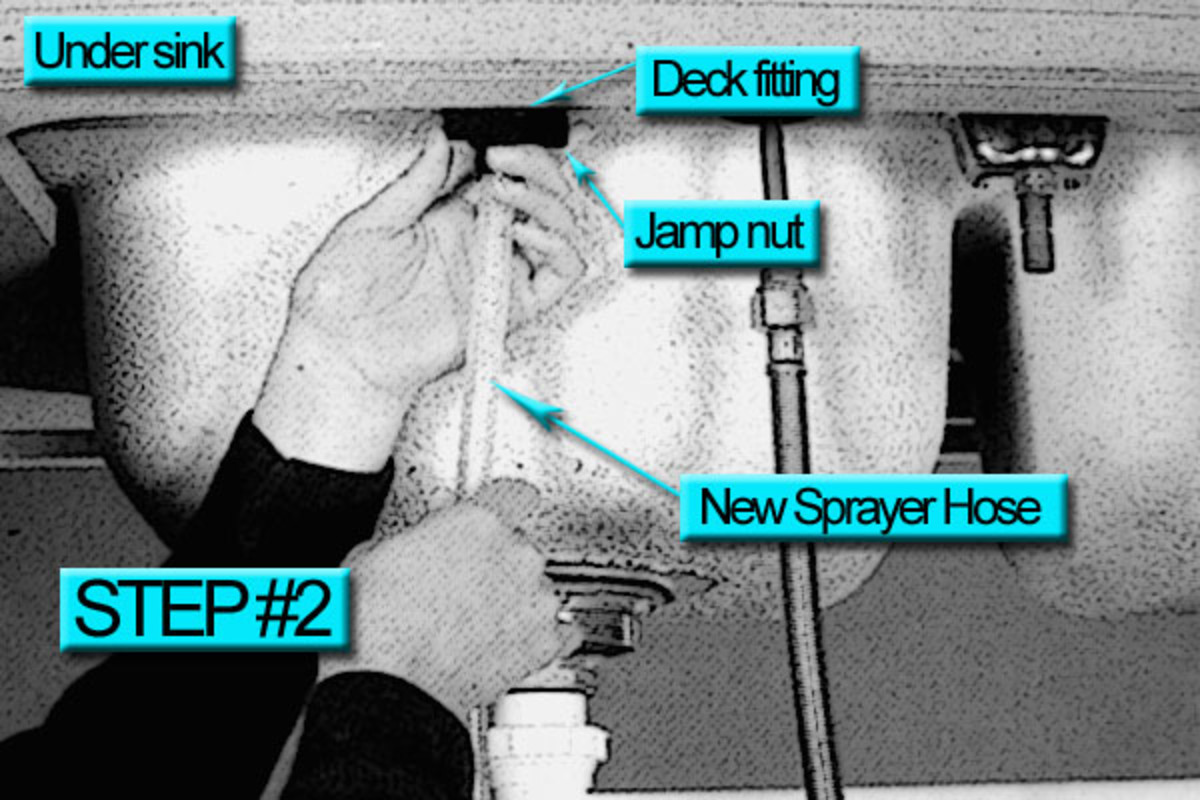
Step-by-Step Guide for Changing a Kitchen Sink Sprayer
Now that the old sprayer is removed, you can start installing the new one. First, you'll want to attach the new hose to the base of the sink. If there is a lock nut, use pliers to tighten it. Next, attach the new sprayer to the hose and make sure it is securely fastened. Once everything is in place, turn the water supply back on and test out your new sprayer.


Step-by-Step Guide for Changing a Kitchen Sink Sprayer


DIY: Changing a Kitchen Sink Sprayer
Changing a kitchen sink sprayer is a simple DIY project that can save you time and money. You don't need to be a professional plumber to do it, just follow these steps and you'll have a new sprayer in no time. Remember to turn off the water supply before starting and always test the new sprayer before finishing the job.


DIY: Changing a Kitchen Sink Sprayer


Easy Steps for Replacing a Kitchen Sink Sprayer
Replacing a kitchen sink sprayer can seem daunting, but it's actually a simple process. With the right tools and a little guidance, you can easily change out your old sprayer for a new one. Just make sure to follow these easy steps and you'll have a functioning sprayer in your kitchen sink once again.


Easy Steps for Replacing a Kitchen Sink Sprayer


Tips for Changing a Kitchen Sink Sprayer
If you're new to DIY projects, changing a kitchen sink sprayer may seem intimidating. But don't worry, we have some tips to help make the process easier. First, make sure to turn off the water supply before starting. Second, have all the necessary tools on hand before beginning. And lastly, don't be afraid to ask for help if you need it.


Tips for Changing a Kitchen Sink Sprayer
Replacing a Kitchen Sink Sprayer: What You Need to Know
If your kitchen sink sprayer is leaking or not functioning properly, it may be time to replace it. But before you start, there are a few things you should know. First, make sure to turn off the water supply to your sink. Second, have the necessary tools on hand. And lastly, follow the instructions carefully to ensure a successful replacement.


Replacing a Kitchen Sink Sprayer: What You Need to Know

Quick and Simple Guide to Changing a Kitchen Sink Sprayer
Don't have a lot of time but need to change your kitchen sink sprayer? Don't worry, it's a quick and simple process. First, turn off the water supply. Then, remove the old sprayer and hose. Next, attach the new hose and sprayer. Finally, turn the water supply back on and test out your new sprayer. It's that easy!


Quick and Simple Guide to Changing a Kitchen Sink Sprayer

How to Replace a Kitchen Sink Sprayer in 10 Minutes
Do you have limited time but need to replace your kitchen sink sprayer? No problem, it can be done in just 10 minutes. First, turn off the water supply. Then, remove the old sprayer and hose. Next, attach the new hose and sprayer. Finally, turn the water supply back on and test out your new sprayer. In just 10 minutes, you'll have a functioning sprayer in your kitchen sink.

How to Replace a Kitchen Sink Sprayer in 10 Minutes


Step-by-Step Instructions for Changing a Kitchen Sink Sprayer
If you're a visual learner, step-by-step instructions may be the best way for you to change your kitchen sink sprayer. First, turn off the water supply. Then, remove the old sprayer and hose. Next, attach the new hose and sprayer. Finally, turn the water supply back on and test out your new sprayer. Just follow these instructions and you'll have a new sprayer in no time.

Step-by-Step Instructions for Changing a Kitchen Sink Sprayer


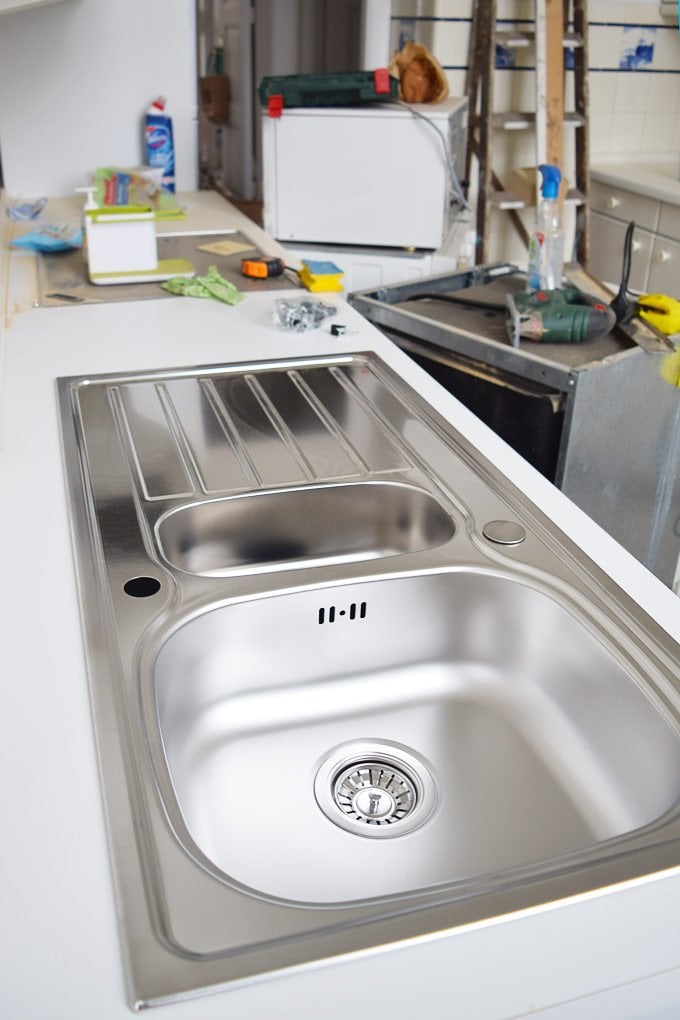
The Importance of Changing Your Kitchen Sink Sprayer
/25089301983_c5145fe85d_o-58418ef15f9b5851e5f392b5.jpg)
Why You Should Upgrade Your Kitchen Sink Sprayer
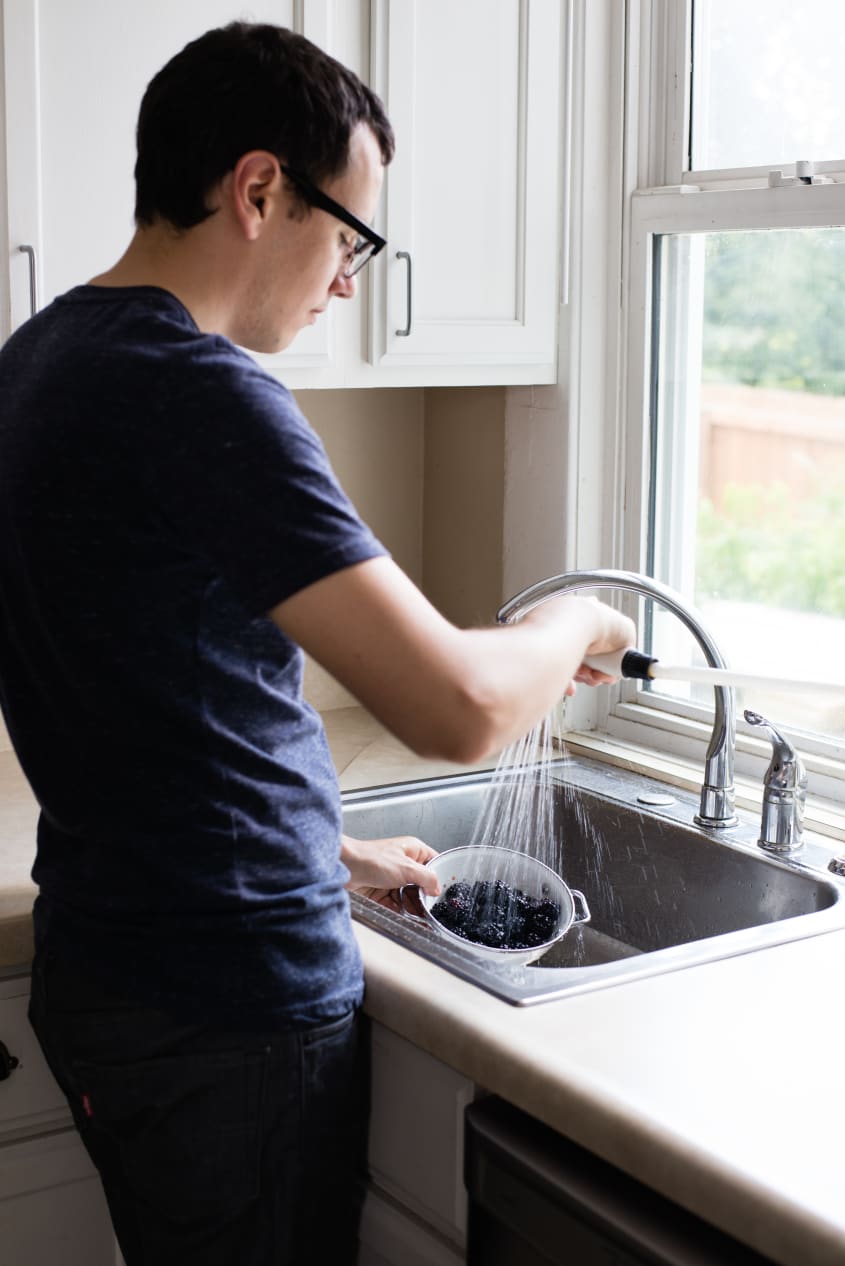
 If you're looking to update your kitchen, one of the most important things to consider is the functionality of your sink. The
kitchen sink
is the centerpiece of any kitchen, and the
sprayer
is an essential tool that helps with everyday tasks such as washing dishes, rinsing fruits and vegetables, and cleaning the sink. Over time, your
kitchen sink sprayer
may start to show signs of wear and tear, making it less effective and less aesthetically pleasing. In this case, it's important to consider
changing
your
sprayer
for better functionality and design.
If you're looking to update your kitchen, one of the most important things to consider is the functionality of your sink. The
kitchen sink
is the centerpiece of any kitchen, and the
sprayer
is an essential tool that helps with everyday tasks such as washing dishes, rinsing fruits and vegetables, and cleaning the sink. Over time, your
kitchen sink sprayer
may start to show signs of wear and tear, making it less effective and less aesthetically pleasing. In this case, it's important to consider
changing
your
sprayer
for better functionality and design.
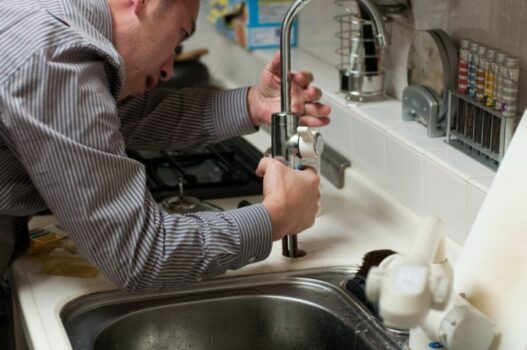
Improving Functionality with a New Kitchen Sink Sprayer
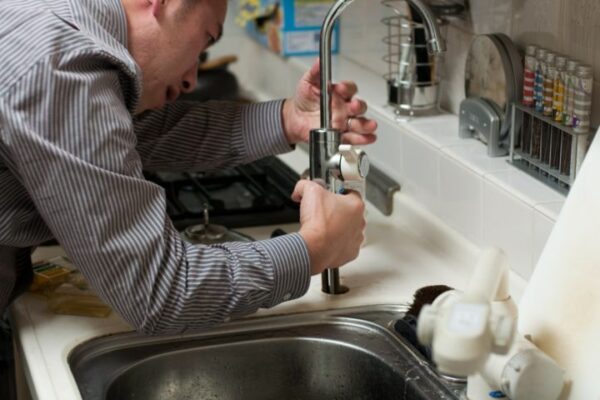
:max_bytes(150000):strip_icc()/installing-a-kitchen-sink-sprayer-2718817-hero-2b7047468d594da6be2494ba0eebb480.jpg) One of the main reasons to upgrade your
kitchen sink sprayer
is to improve its functionality. If your current
sprayer
is not working properly, it can make everyday tasks in the kitchen more difficult and time-consuming. For example, a clogged or weak
sprayer
can make it challenging to clean stubborn food particles off dishes, which can lead to longer cleaning times and possible damage to your dishes. Upgrading your
sprayer
can also help with water conservation, as newer models often come with adjustable water pressure options.
One of the main reasons to upgrade your
kitchen sink sprayer
is to improve its functionality. If your current
sprayer
is not working properly, it can make everyday tasks in the kitchen more difficult and time-consuming. For example, a clogged or weak
sprayer
can make it challenging to clean stubborn food particles off dishes, which can lead to longer cleaning times and possible damage to your dishes. Upgrading your
sprayer
can also help with water conservation, as newer models often come with adjustable water pressure options.
Enhancing the Aesthetics of Your Kitchen
/sink-with-running-water-1033950126-25ffe2e2b2d0412083668d9cd791085e.jpg) Aside from functionality,
changing
your
kitchen sink sprayer
can also enhance the overall look of your kitchen. With various designs and finishes available, you can easily find a
sprayer
that complements your kitchen's style and adds a touch of elegance. You can choose from traditional or modern designs, and even opt for a pull-down
sprayer
for added convenience. A new
sprayer
can also give your kitchen a fresh and updated look without having to undergo a major renovation.
Aside from functionality,
changing
your
kitchen sink sprayer
can also enhance the overall look of your kitchen. With various designs and finishes available, you can easily find a
sprayer
that complements your kitchen's style and adds a touch of elegance. You can choose from traditional or modern designs, and even opt for a pull-down
sprayer
for added convenience. A new
sprayer
can also give your kitchen a fresh and updated look without having to undergo a major renovation.
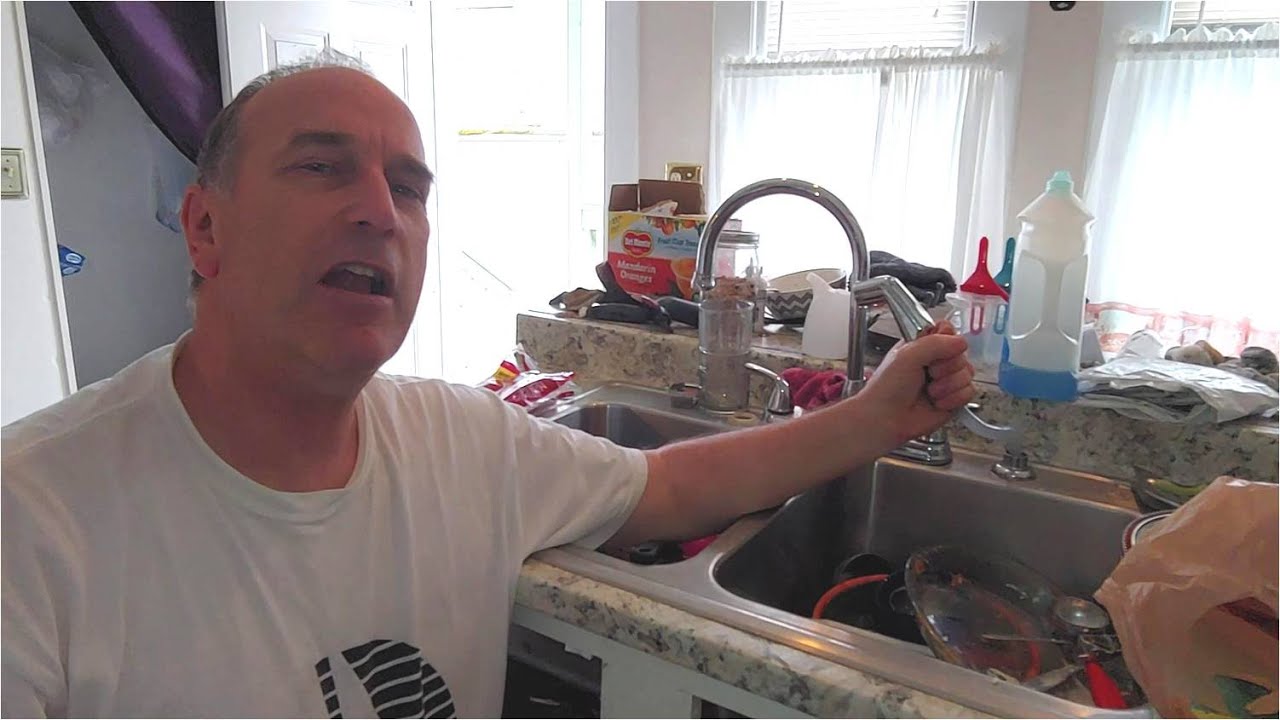
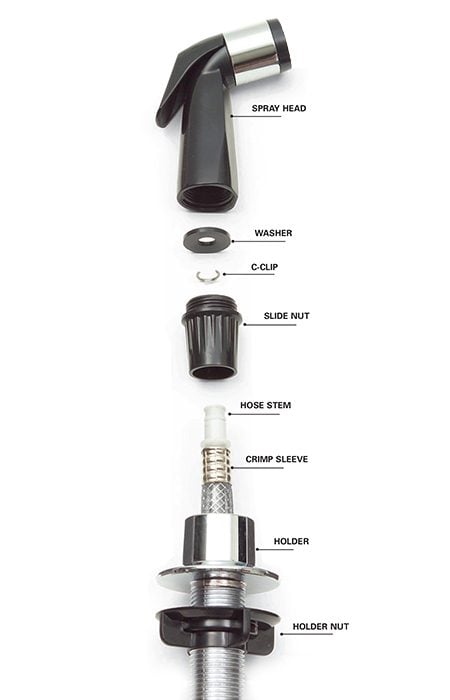
How to Change Your Kitchen Sink Sprayer
 Now that you know the importance of
changing
your
kitchen sink sprayer
, you may be wondering how to do it. The good news is that it's a simple and straightforward process. Firstly, turn off the water supply to your sink and remove the old
sprayer
. Then, install the new
sprayer
by following the manufacturer's instructions. Make sure to check for leaks and test the water pressure before using it regularly. If you're unsure about how to change your
kitchen sink sprayer
, it's best to seek the help of a professional plumber.
Now that you know the importance of
changing
your
kitchen sink sprayer
, you may be wondering how to do it. The good news is that it's a simple and straightforward process. Firstly, turn off the water supply to your sink and remove the old
sprayer
. Then, install the new
sprayer
by following the manufacturer's instructions. Make sure to check for leaks and test the water pressure before using it regularly. If you're unsure about how to change your
kitchen sink sprayer
, it's best to seek the help of a professional plumber.
Conclusion
 In conclusion, upgrading your
kitchen sink sprayer
is a simple and effective way to improve the functionality and aesthetics of your kitchen. It can make everyday tasks easier and more efficient, while also adding a touch of style to your space. So if your current
sprayer
is showing signs of wear and tear, don't hesitate to
change
it for a better and more enjoyable kitchen experience.
In conclusion, upgrading your
kitchen sink sprayer
is a simple and effective way to improve the functionality and aesthetics of your kitchen. It can make everyday tasks easier and more efficient, while also adding a touch of style to your space. So if your current
sprayer
is showing signs of wear and tear, don't hesitate to
change
it for a better and more enjoyable kitchen experience.


.JPG)