How to Change a Recessed Light in the Kitchen
Are you tired of the outdated recessed lights in your kitchen? It's time for an upgrade! Changing a recessed light in the kitchen may seem like a daunting task, but with the right tools and steps, it can be a simple and rewarding DIY project. In this guide, we will walk you through the process of replacing a recessed light in your kitchen, from start to finish.
Step-by-Step Guide to Replacing a Recessed Light in the Kitchen
Before you begin, make sure to turn off the power to the light fixture at the circuit breaker to avoid any accidents. Once you have done that, follow these simple steps to change your recessed light:
Step 1: Remove the old light fixture by unscrewing the trim and pulling it down. If there is a light bulb, remove it as well.
Step 2: Disconnect the wires by twisting off the wire connectors. Make sure to take note of which wires are connected to each other.
Step 3: Remove the mounting screws and take out the old light fixture.
Step 4: Install the new light fixture by following the manufacturer's instructions. This may involve attaching the mounting bracket to the ceiling and connecting the wires.
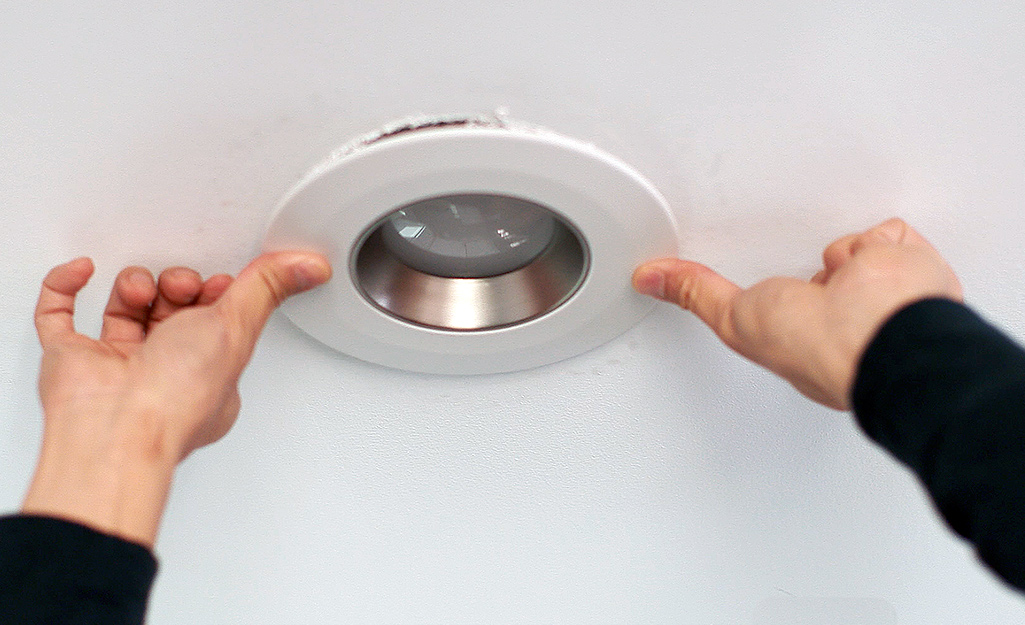
Step 5: Attach the trim of the new light fixture by pushing it up to the ceiling and securing it with screws.
Step 6: Insert the light bulb and turn on the power at the circuit breaker. Your new recessed light is now ready to use!
DIY: Replacing a Recessed Light in the Kitchen
Replacing a recessed light in the kitchen is a DIY project that can save you time and money. But before you get started, here are some tips to make the process even easier:
Tip 1: Make sure to purchase a new light fixture that is compatible with your existing wiring and ceiling type. This will save you the hassle of having to return the fixture and find a replacement.
Tip 2: Use a voltage tester to double check that the power is off before starting the installation process. Safety should always be your top priority.
Tip 3: Have a helper hold the new light fixture in place while you connect the wires. This will make the installation process much smoother.
Replacing a Recessed Light in the Kitchen: Tips and Tricks
Here are some additional tips and tricks to keep in mind when changing a recessed light in the kitchen:
Tip 1: Clean the area before installing the new light fixture. This will ensure a clean and polished look once the installation is complete.
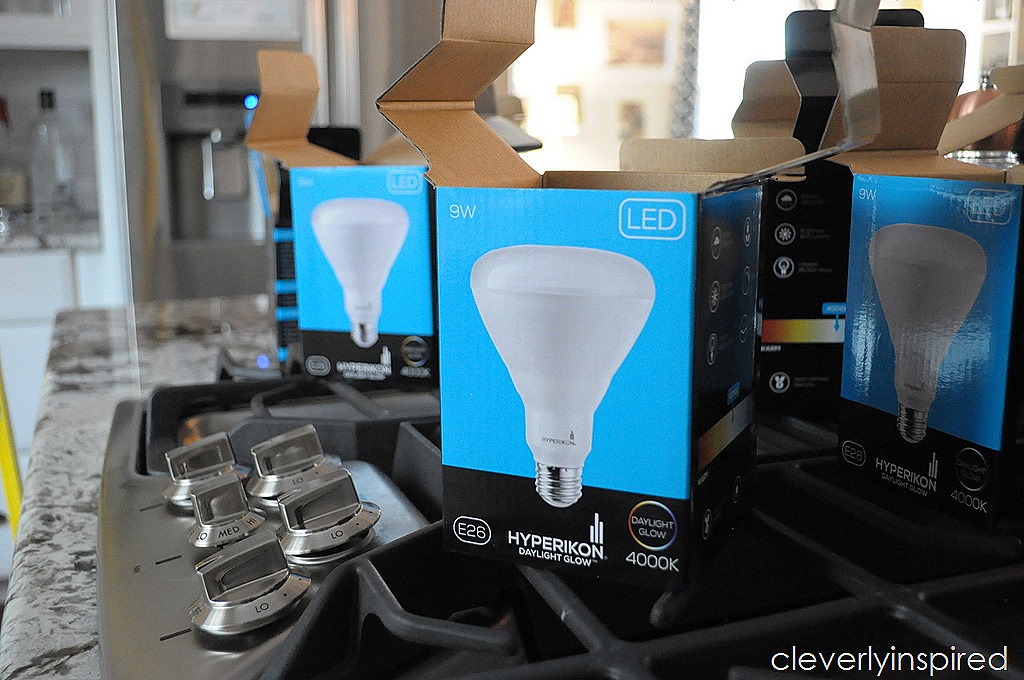
Tip 2: Consider upgrading to LED lights for energy efficiency and cost savings in the long run.
Tip 3: If you are unsure about the wiring, it's best to consult a professional electrician to avoid any potential hazards.
What You Need to Know Before Changing a Recessed Light in the Kitchen
Before you start changing a recessed light in the kitchen, here are some important things to keep in mind:
Important Note: Depending on the age of your home, the wiring and connections may vary. It's important to follow the instructions provided by the manufacturer of the new light fixture.
Important Consideration: If you are changing a recessed light to a different style or size, you may need to make adjustments to the ceiling hole. This can be done with a drywall saw or a hole cutter attachment for a power drill.
Important Safety Precaution: Always wear protective gear, such as gloves and safety glasses, when working with electrical wiring.
The Best Way to Change a Recessed Light in the Kitchen
Now that you know the steps and tips for changing a recessed light in the kitchen, here are some additional suggestions to ensure the best results:
Suggestion 1: Choose a light fixture that complements your kitchen's decor and lighting needs. There are various options available, from traditional to modern styles.
Suggestion 2: Install a dimmer switch to control the brightness of your new recessed light. This will provide more flexibility for different activities in the kitchen.
Suggestion 3: Once the light is installed, make sure to test it out and adjust the trim as needed for a sleek and seamless look.
Expert Tips for Changing a Recessed Light in the Kitchen
If you want to take your recessed light replacement to the next level, here are some expert tips to consider:
Expert Tip 1: Use a stud finder to locate the ceiling joists before drilling any holes. This will ensure a secure installation.
Expert Tip 2: Consider using a retrofit kit to convert an old recessed light to a new style. This can be a cost-effective option if you don't want to change the wiring.
Expert Tip 3: Add a decorative trim to your new recessed light for a unique and personalized touch.
Common Mistakes to Avoid When Changing a Recessed Light in the Kitchen
Even with the right steps and tips, there are some common mistakes that can occur when changing a recessed light in the kitchen. Here are a few to avoid:
Mistake 1: Not turning off the power at the circuit breaker before starting the installation process.
Mistake 2: Using the wrong tools for the job, which can result in damage to the light fixture or injury.
Mistake 3: Forgetting to connect the wires properly, which can lead to a malfunctioning light or even a potential fire hazard.
How to Choose the Right Replacement Light for Your Kitchen
When it comes to choosing a replacement light for your kitchen, here are some factors to consider:
Factor 1: The size and style of your kitchen. A larger kitchen may require multiple recessed lights, while a smaller kitchen may only need one or two.
Factor 2: The type of lighting you prefer. Some people prefer warm, dimmable lights for a cozy atmosphere, while others prefer bright, cool-toned lights for better visibility while cooking.
Factor 3: Your budget. There are various options available at different price points, so make sure to choose one that fits your budget without compromising on quality.
Safety Precautions to Take When Changing a Recessed Light in the Kitchen
Last but not least, here are some important safety precautions to keep in mind when changing a recessed light in the kitchen:
Safety Precaution 1: Always turn off the power at the circuit breaker before starting any electrical work.
Safety Precaution 2: Make sure to use the correct tools and equipment for the job.
Safety Precaution 3: If you are unsure about any step in the process, consult a professional electrician for assistance.
Now that you have all the information you need, it's time to roll up your sleeves and change that old recessed light in your kitchen. With the right tools and steps, you can easily upgrade your kitchen's lighting and give it a fresh new look. Remember to always prioritize safety and follow the instructions provided by the manufacturer for the best results. Happy DIY-ing!
Why Recessed Lighting is Essential for Your Kitchen Design

The Importance of Adequate Lighting in Kitchen Design
 When it comes to designing your kitchen, lighting is a crucial element that often gets overlooked. Many homeowners focus on the aesthetics and functionality of their kitchen, but fail to consider the impact of lighting on the overall design.
Recessed lighting
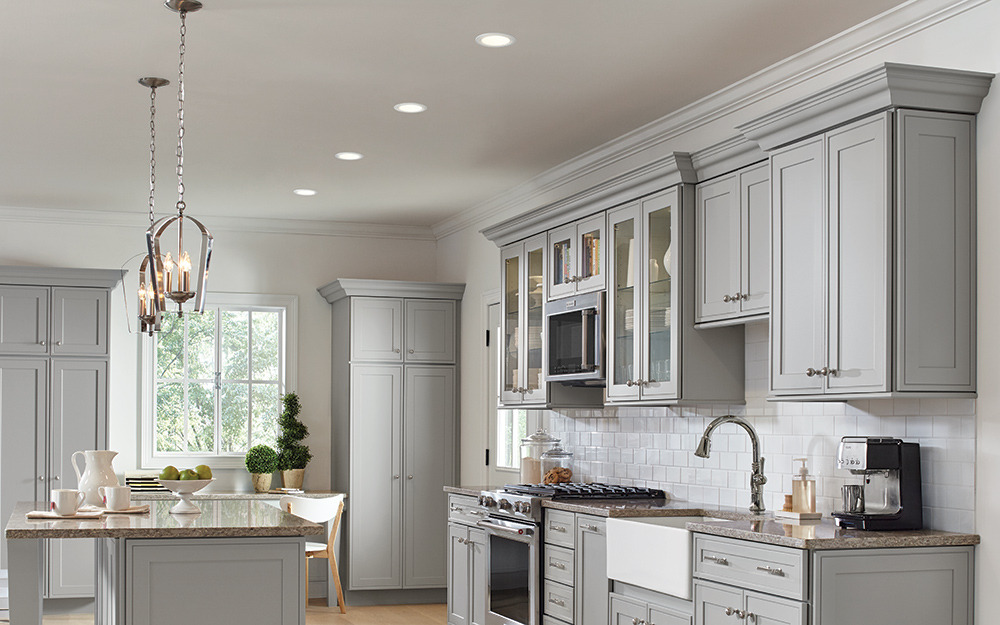
is a popular choice for kitchens as it provides a clean and modern look while providing ample illumination for cooking and other activities. In this article, we will discuss the benefits of
changing recessed lights in your kitchen
and how it can enhance your kitchen design.
Enhances the Aesthetics of Your Kitchen
 One of the main reasons to consider
recessed lighting
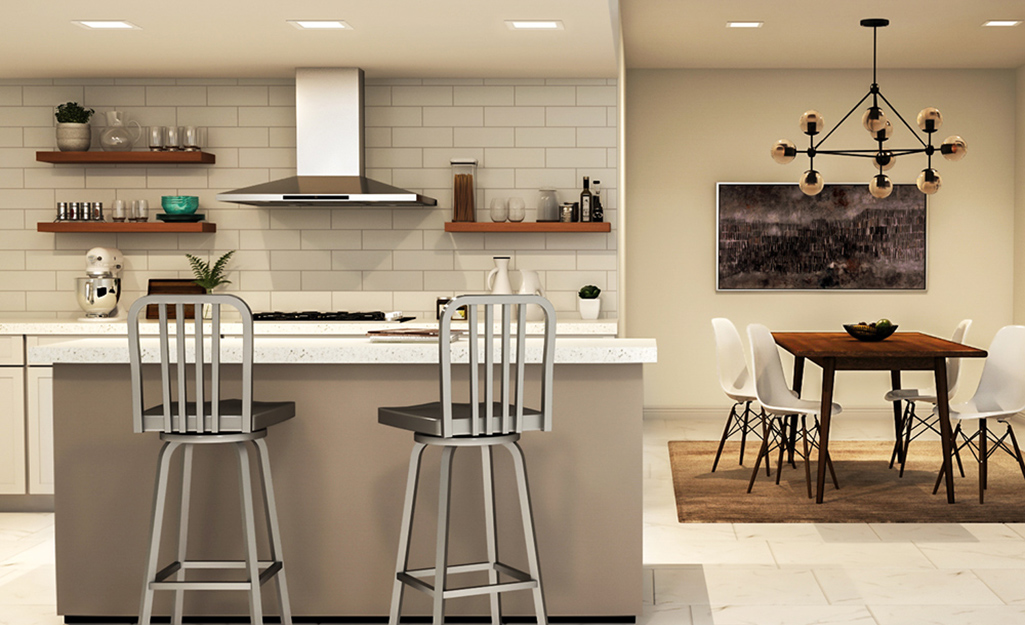
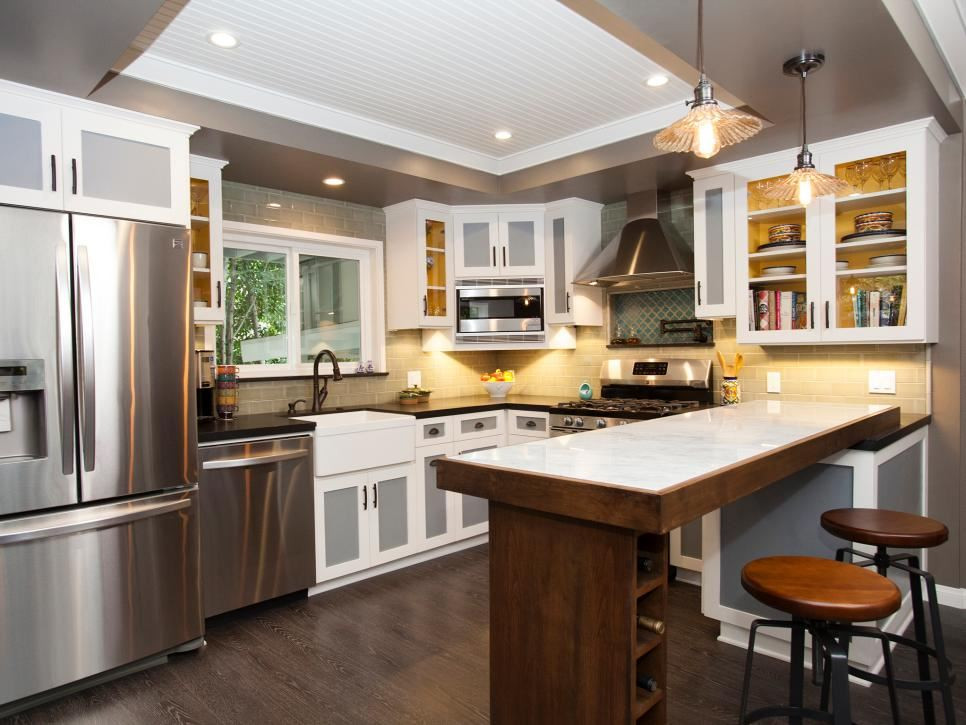
for your kitchen is its ability to enhance the overall aesthetics. Unlike traditional light fixtures that can be bulky and take up visual space, recessed lights are installed flush with the ceiling, creating a clean and streamlined look. Additionally, they come in a variety of styles and finishes, allowing you to choose the perfect
recessed lights
that complement your kitchen design.
Provides Functional Lighting for Your Kitchen Tasks
 Aside from the visual appeal,
recessed lighting
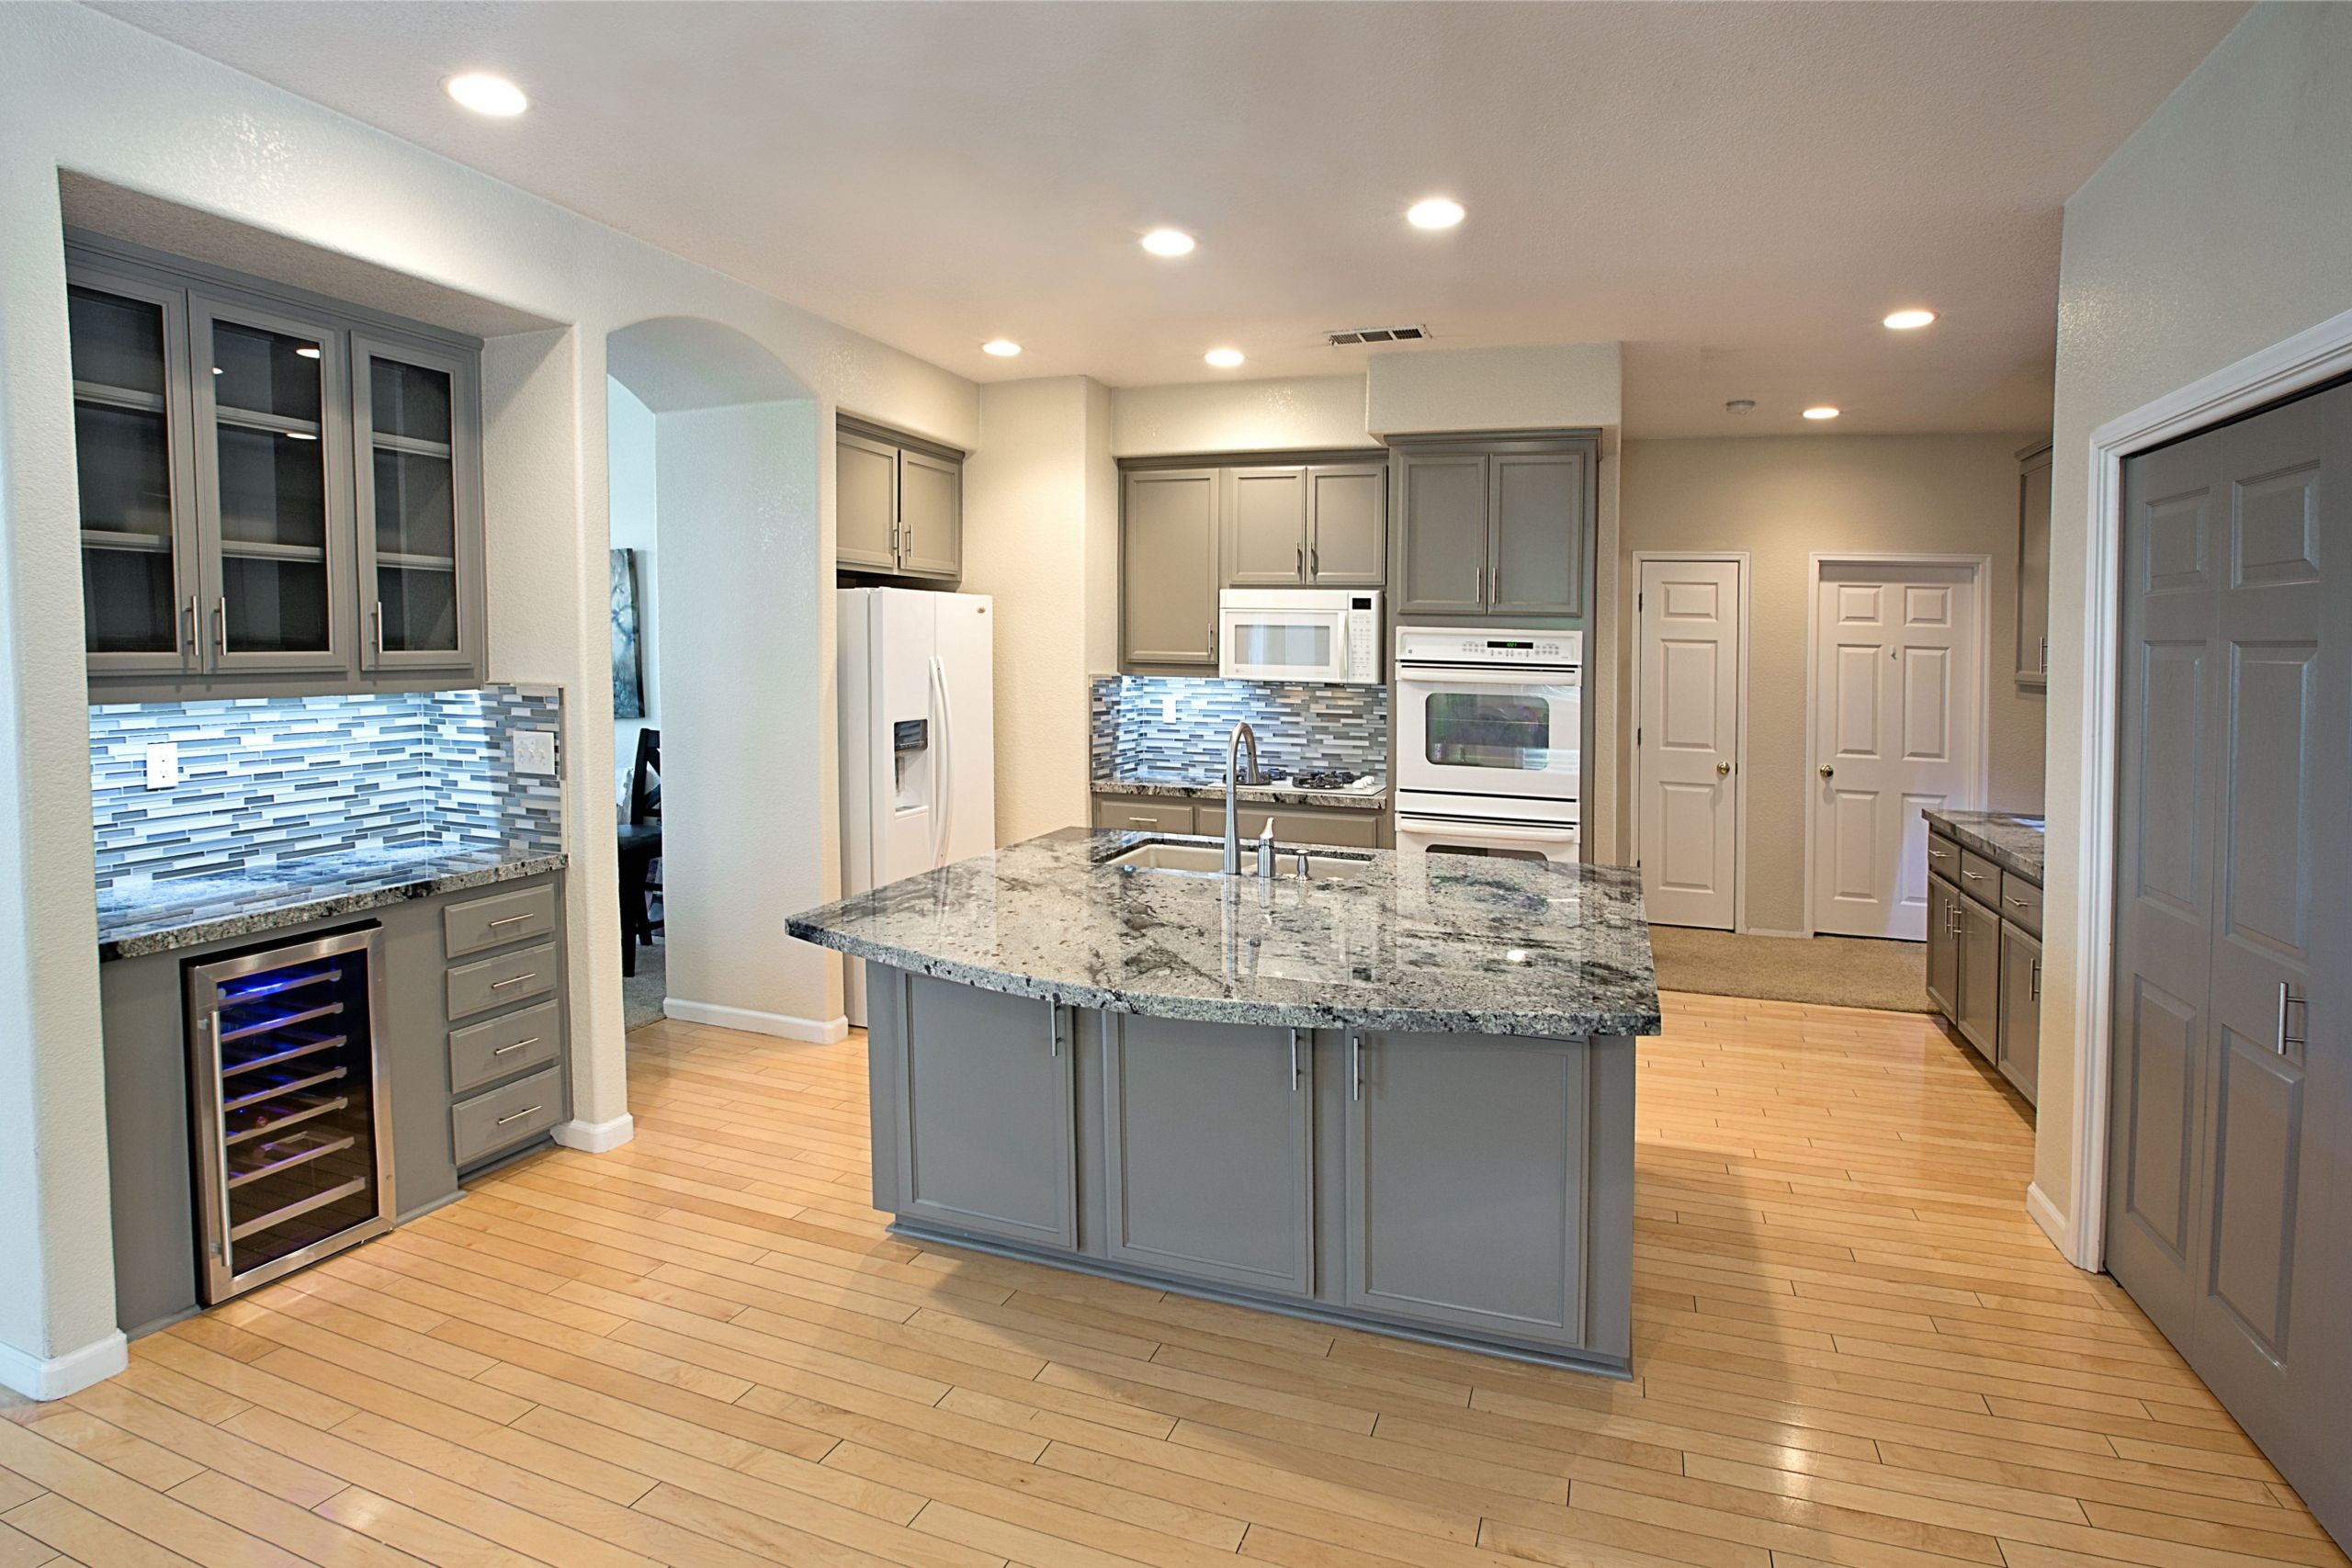
also serves a practical purpose in the kitchen. It provides uniform lighting that is evenly distributed throughout the space, eliminating any dark spots or shadows. This is especially beneficial for cooking and food preparation, as well as other tasks that require clear visibility. Additionally,
recessed lights
can be strategically placed above work areas, such as the sink and stove, to ensure proper lighting for specific tasks.
Offers Energy Efficiency and Cost Savings
 With the rising cost of electricity, homeowners are constantly looking for ways to save money on their energy bills.
Recessed lighting
is an energy-efficient option as it uses LED or CFL bulbs that consume less energy, resulting in lower electricity bills. Additionally, these bulbs have a longer lifespan compared to traditional bulbs, which means less frequent replacements and cost savings in the long run.
Conclusion
 In conclusion,
changing recessed lights in your kitchen
is a simple and cost-effective way to enhance your kitchen design. It not only adds a stylish touch but also provides functional lighting for your daily tasks. With its energy efficiency and cost savings,
recessed lighting
is a smart choice for any modern kitchen design. So, if you're looking to upgrade your kitchen, consider
recessed lighting
as a key element in your design.


:max_bytes(150000):strip_icc()/convert-ceiling-light-to-recessed-light-p2-1821561-09-d6f90af585b2482c91a3e18464d76070.jpg)
