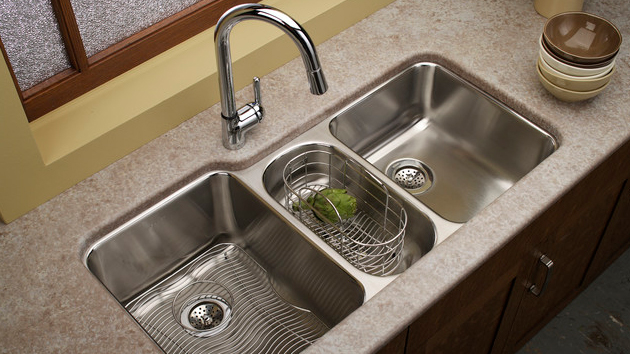
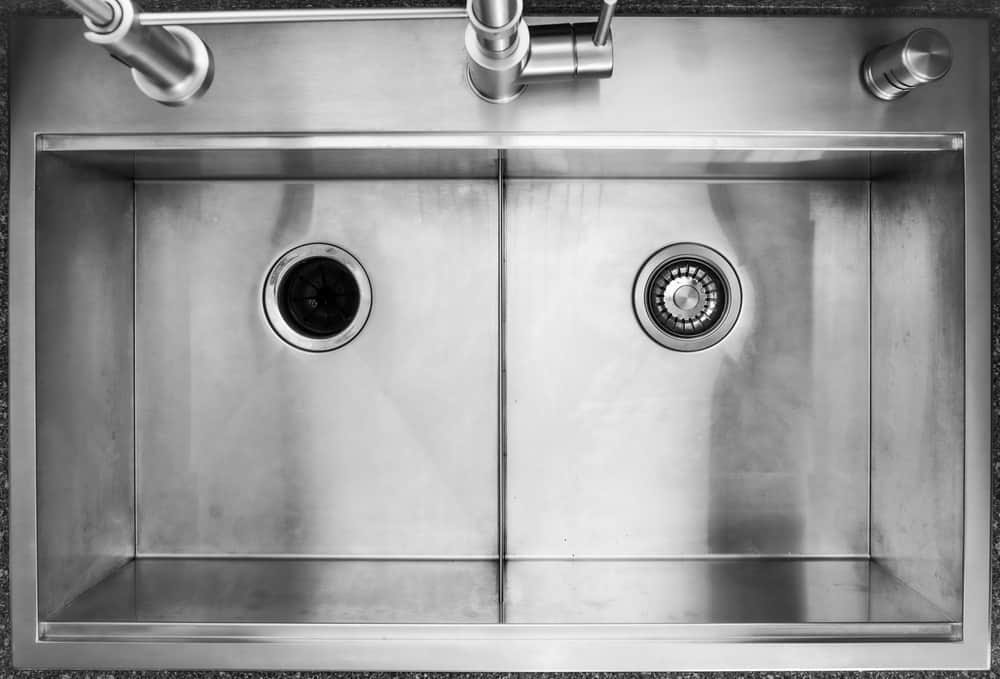
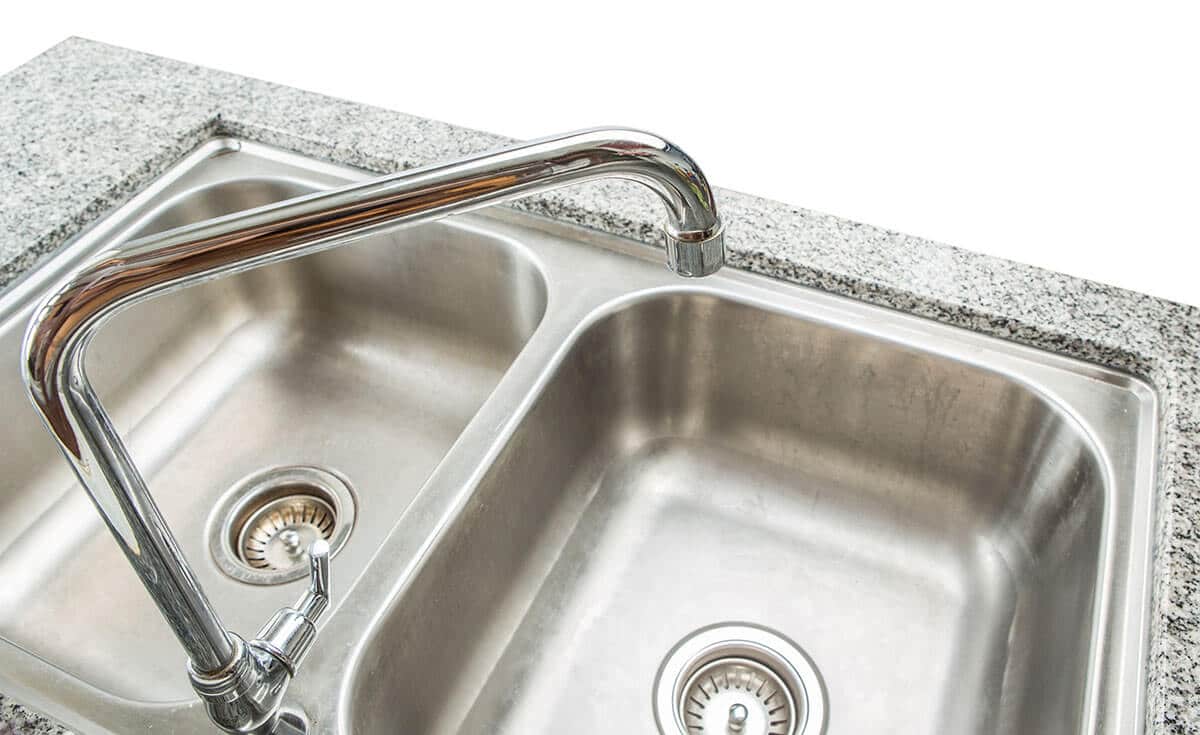
If you have experience with basic plumbing and some handyman skills, changing your double kitchen sink to a single should be a simple task. It will require some tools and a bit of time, but the end result will be a beautiful and functional sink that you can be proud of.The Basics of Changing a Double Kitchen Sink to a Single
The first step to changing your double kitchen sink to a single is to gather all the necessary tools. These will include a wrench, pliers, screwdriver, putty knife, and plumber's tape. You may also need a basin wrench if you have a hard-to-reach faucet.Step 1: Gather Your Tools
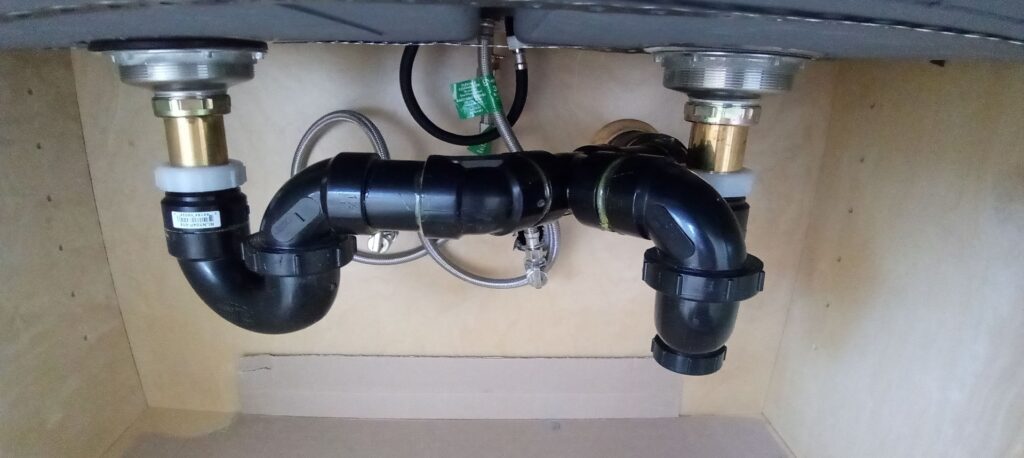
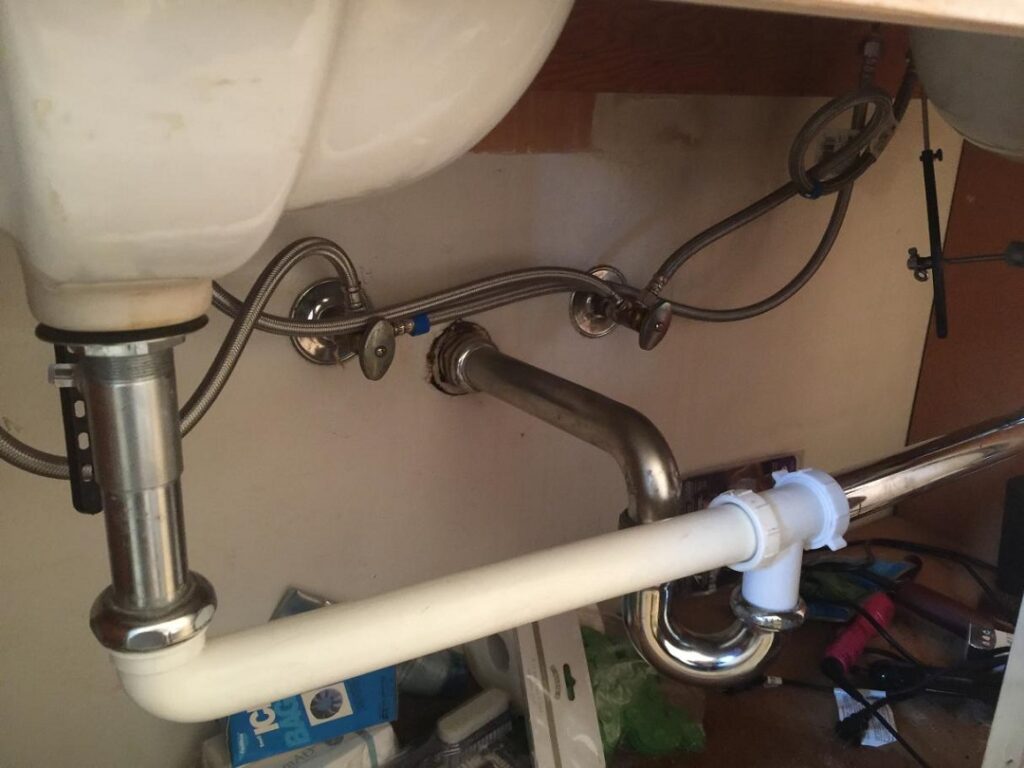
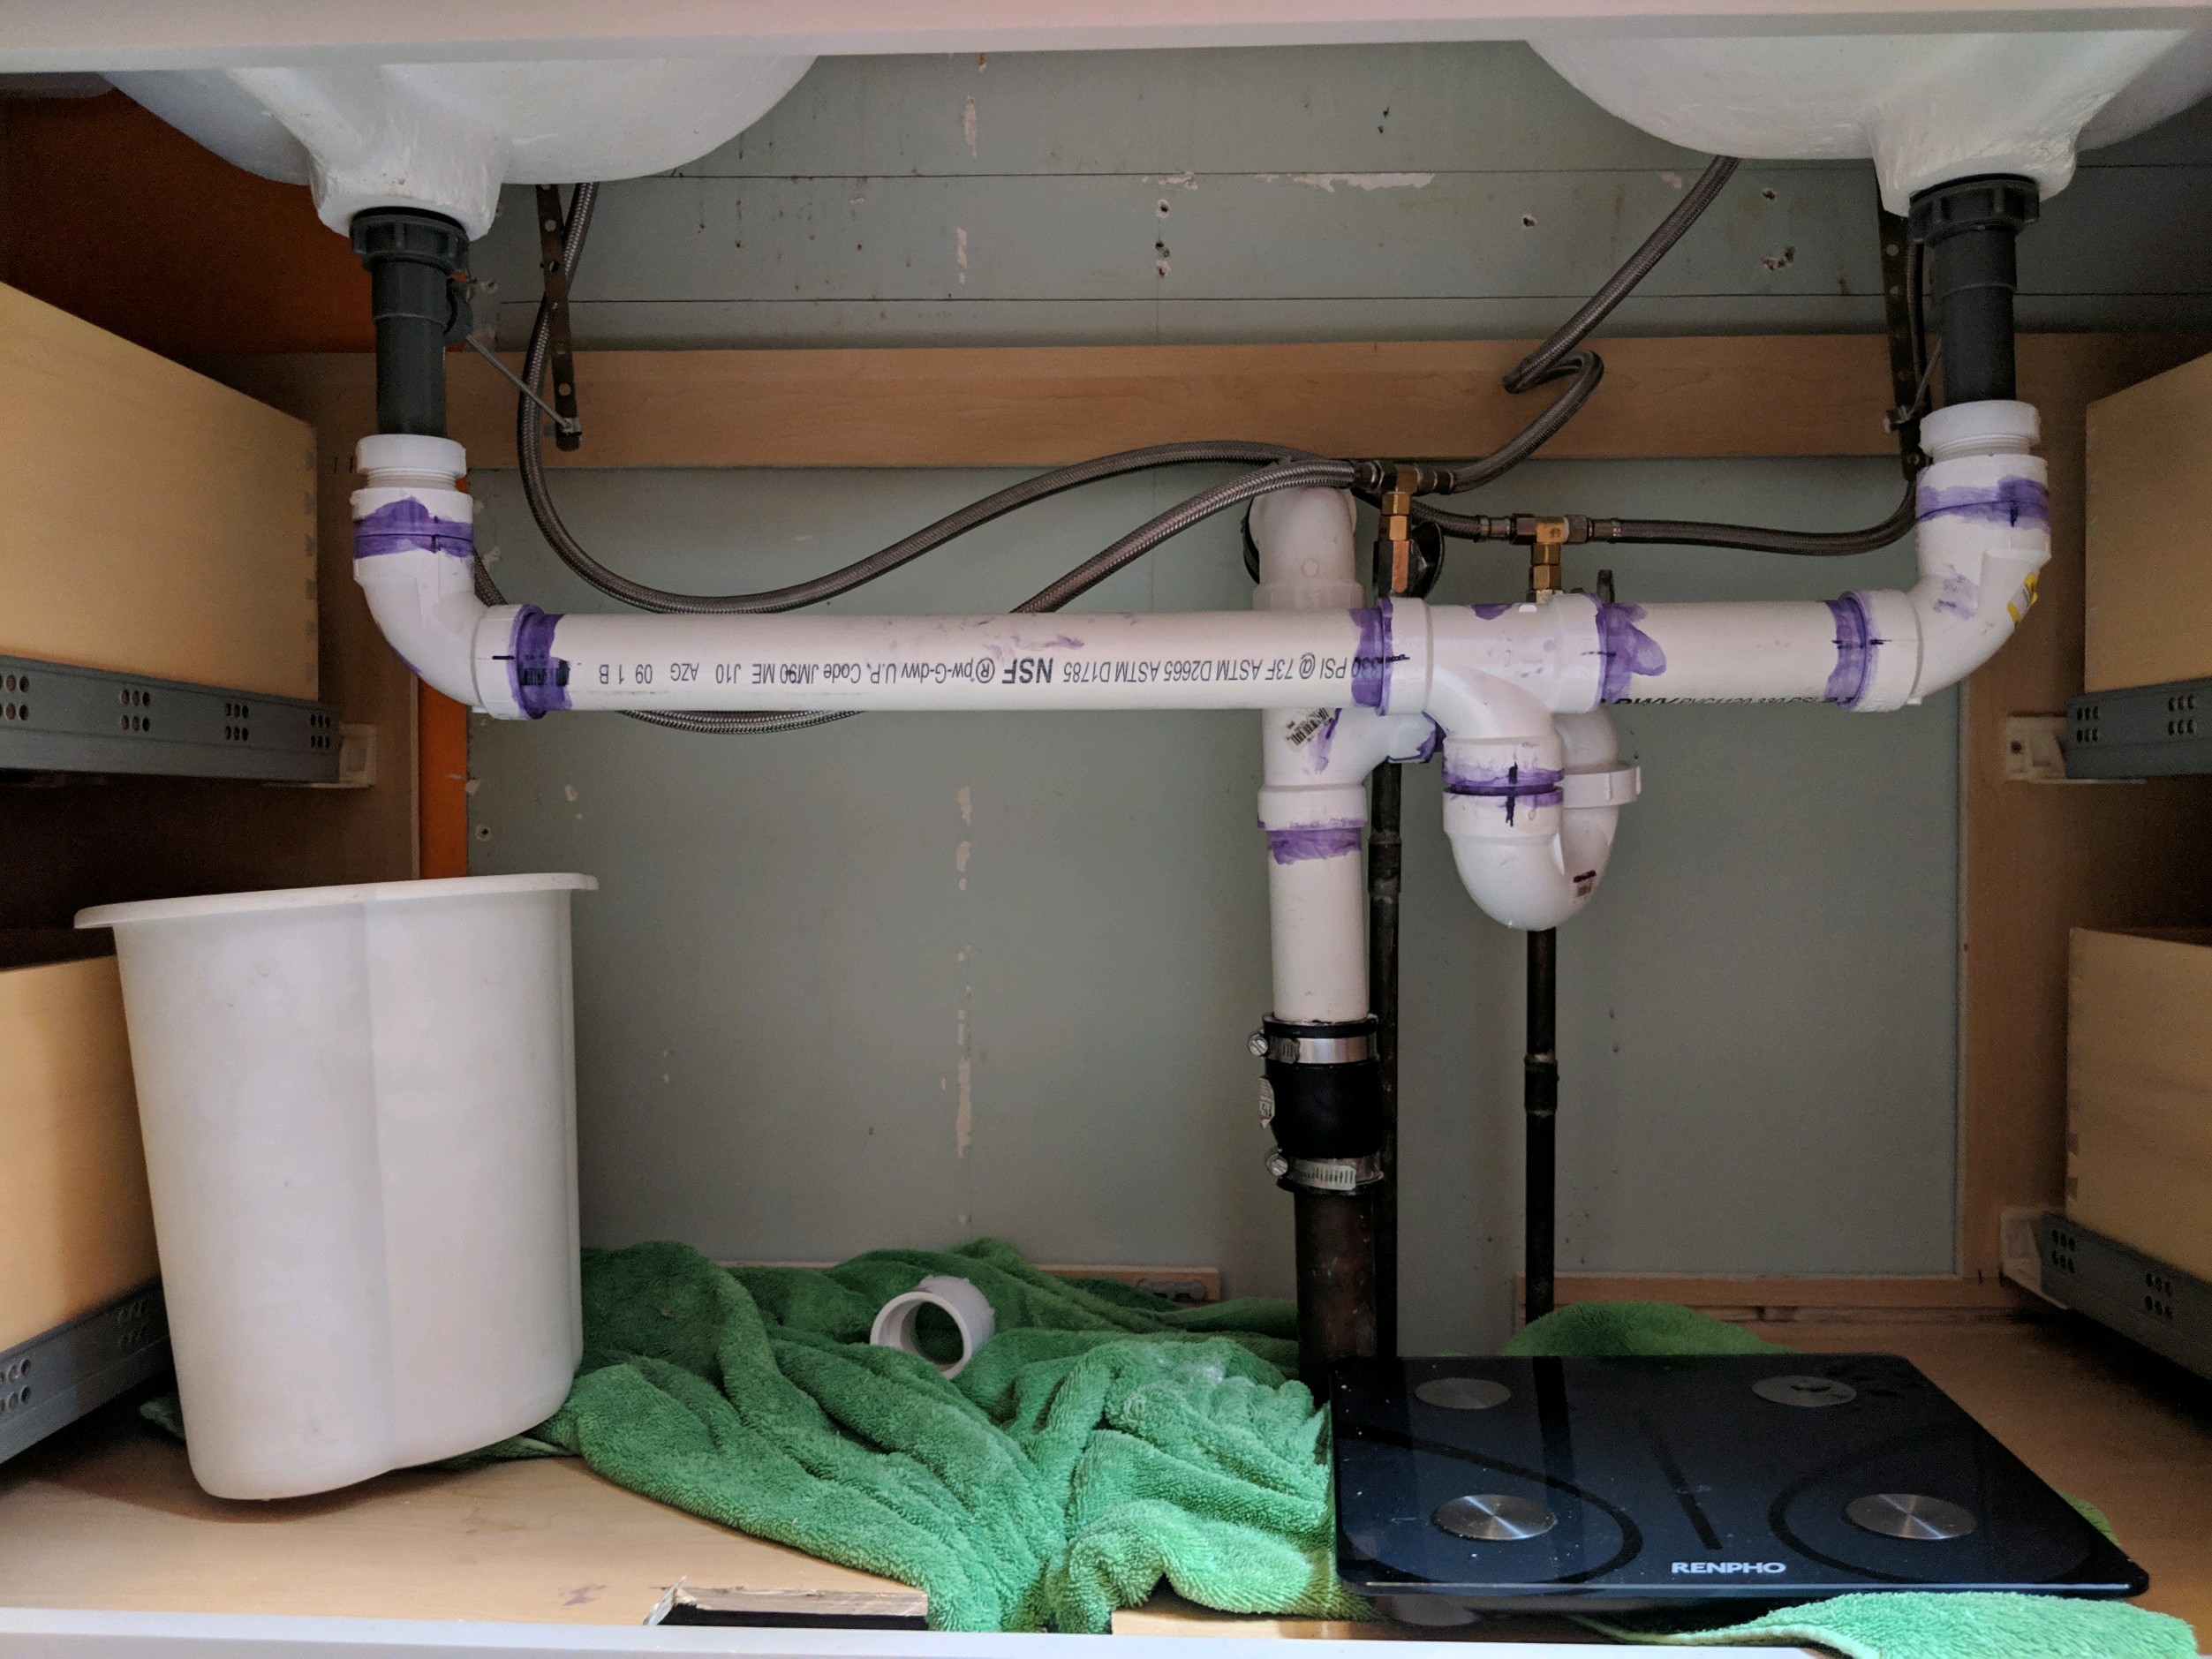
Before you start any work, make sure to turn off the water supply to your sink. Then, disconnect the plumbing from the double sink. This will involve removing the existing drain pipes, P-trap, and any other connections. Use your wrench or pliers to loosen any tight connections.Step 2: Shut Off the Water and Disconnect the Plumbing
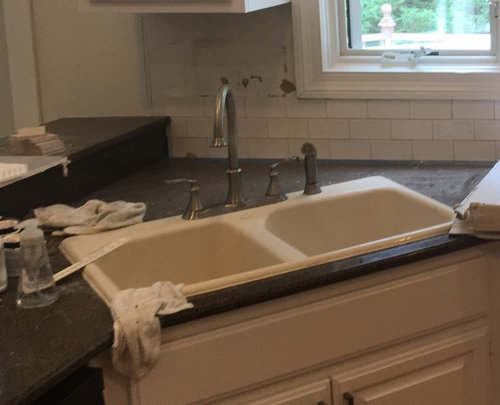
Once the plumbing is disconnected, you can remove the sink and countertop. Use your putty knife to loosen any adhesive or caulk between the sink and countertop. Then, carefully lift the sink and countertop as one piece and set it aside.Step 3: Remove the Sink and Countertop
Now that the old sink is removed, you'll need to prepare the cabinet for the new single sink. Measure the new sink and mark the dimensions on your cabinet. Use a jigsaw to cut out the marked area, making sure to follow the manufacturer's instructions for the proper size and placement.Step 4: Prepare the Cabinet for the New Sink
Once the cabinet is prepped, you can install the new single sink and faucet. Follow the manufacturer's instructions for proper installation. Use plumber's tape to create a tight seal on any connections.Step 5: Install the New Sink and Faucet
With the new sink in place, you can now reconnect the plumbing. Use your wrench or pliers to tighten all connections and make sure there are no leaks.Step 6: Connect the Plumbing
To give your new sink a polished look, you can use caulk to seal the edges between the sink and countertop. Use a caulk gun and follow the manufacturer's instructions for the best results.Step 7: Caulk the Sink
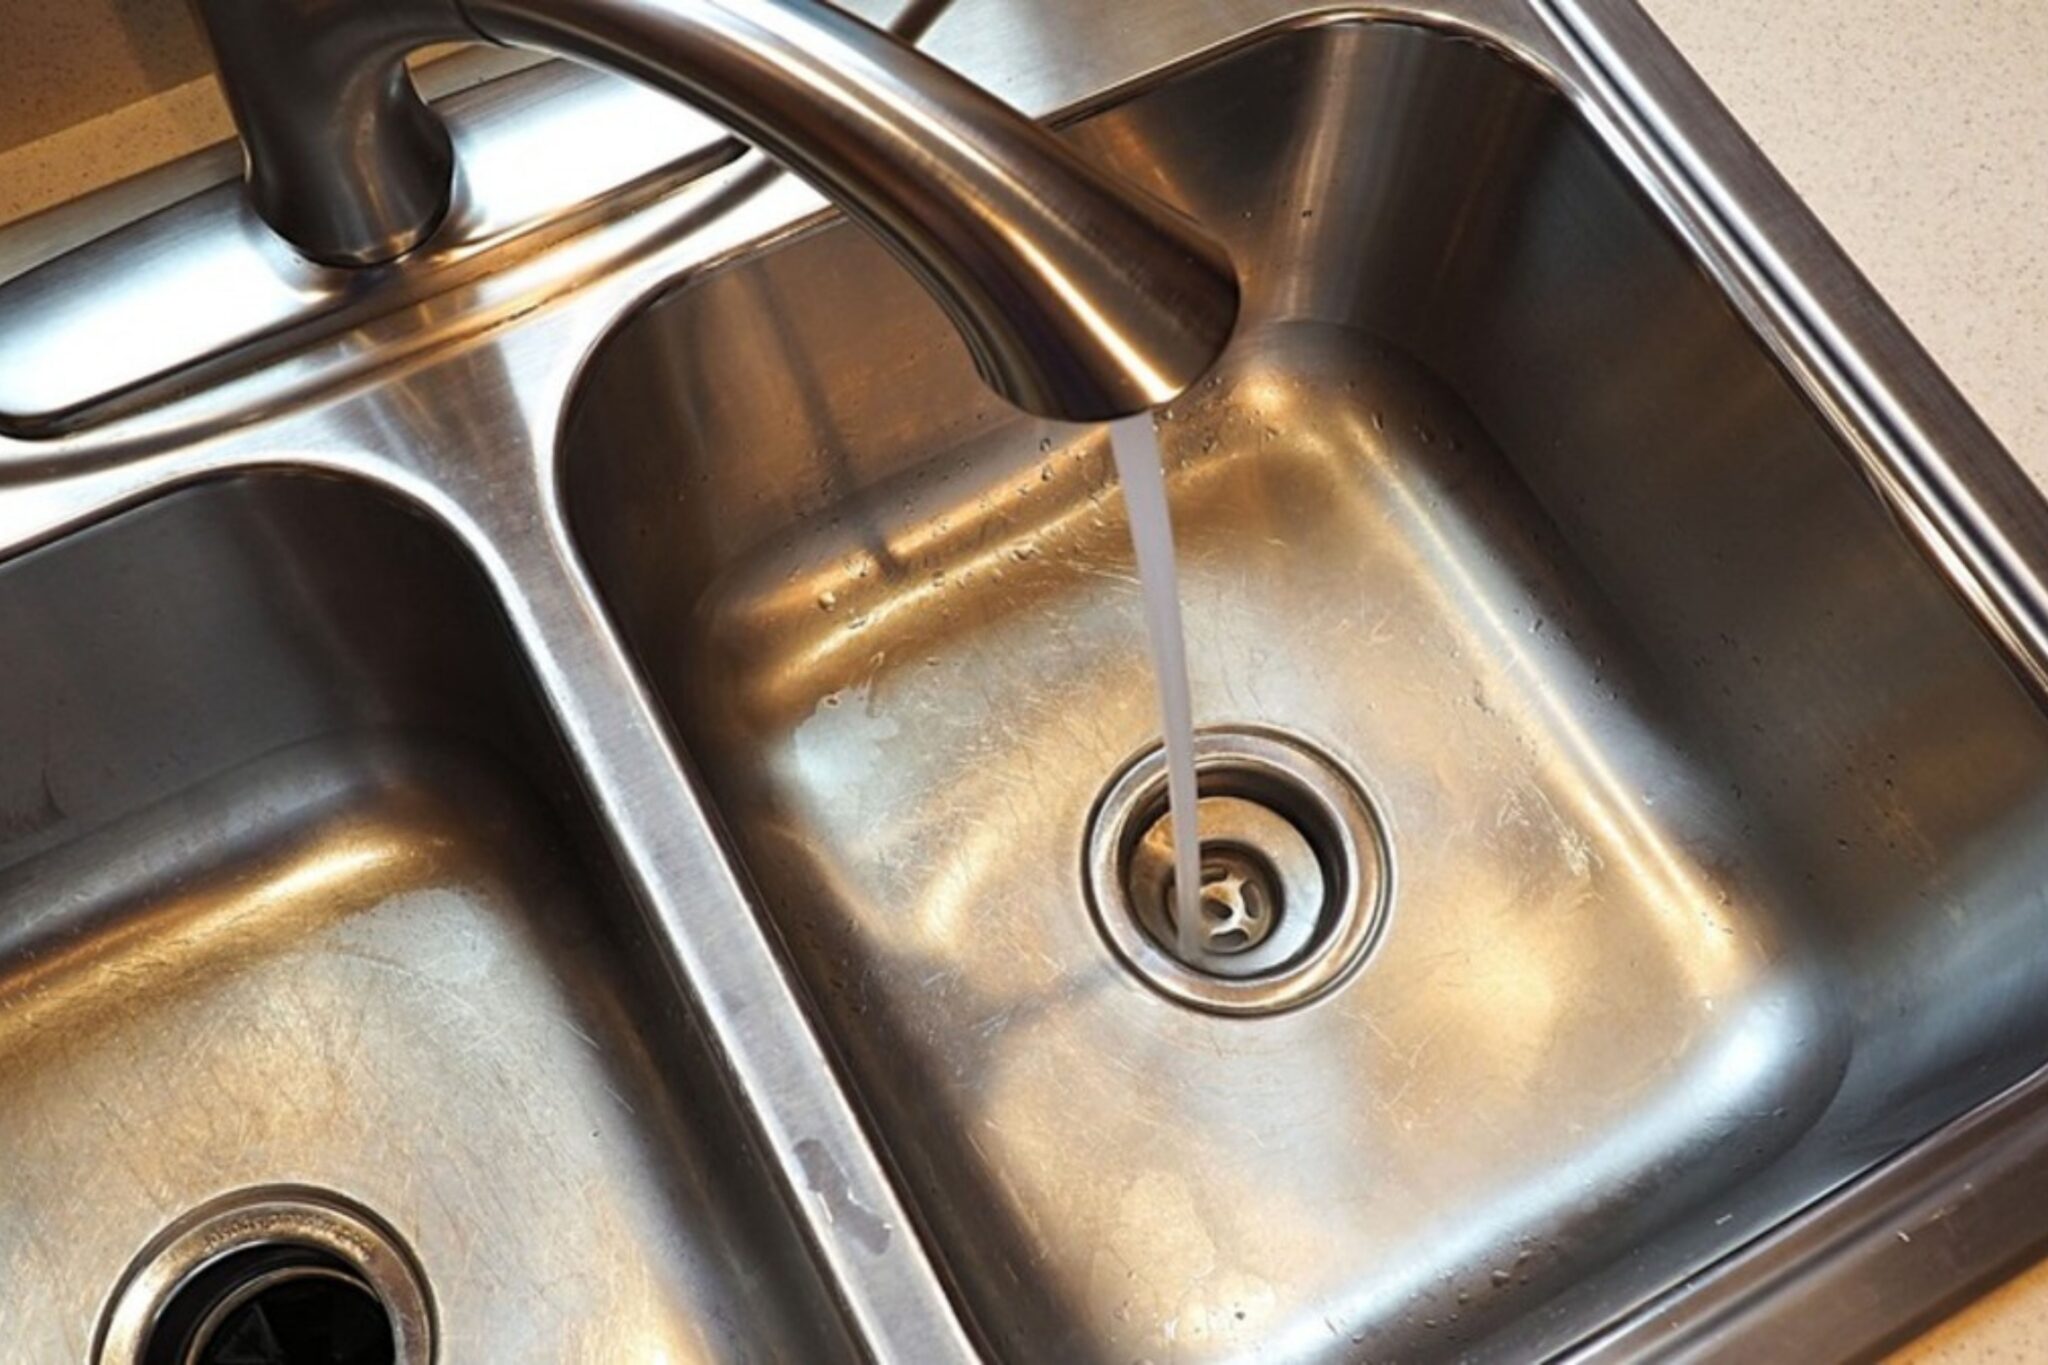
Once the caulk is dry, you can turn the water supply back on and test your new single sink. Make sure everything is functioning properly and that there are no leaks. If there are any issues, you can always refer back to the manufacturer's instructions for troubleshooting tips.Step 8: Turn on the Water and Test
Congratulations, you have successfully changed your double kitchen sink to a single one! Now you can enjoy a more spacious and functional sink in your kitchen. With proper maintenance and care, your new sink should last for years to come.Enjoy Your New Single Kitchen Sink
Benefits of Changing from a Double Kitchen Sink to a Single

Maximizes Counter Space
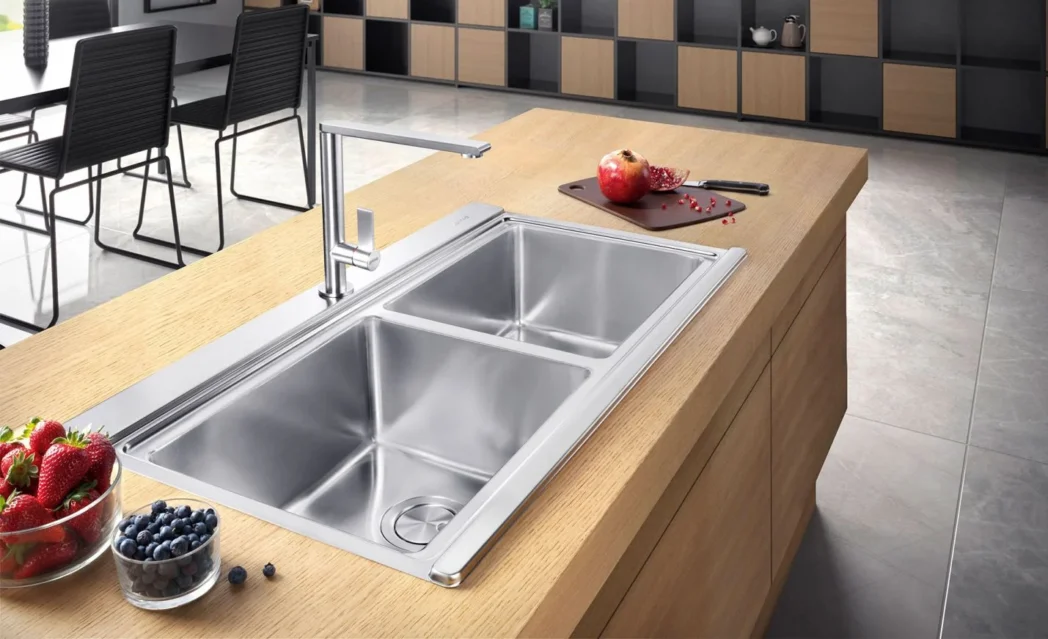
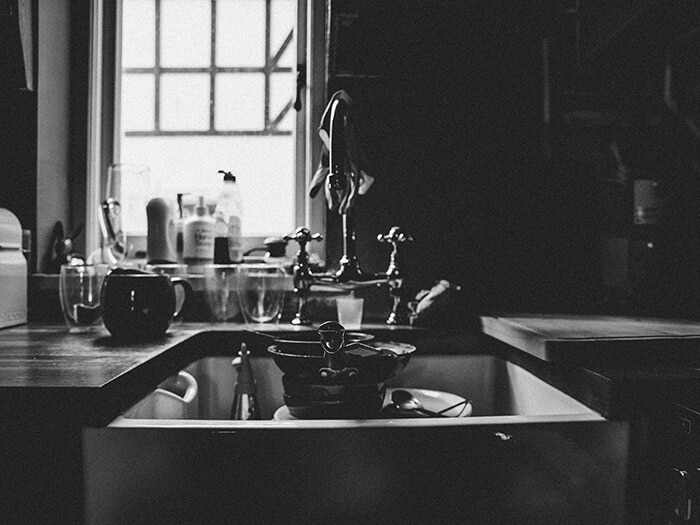 One of the biggest advantages of changing from a double kitchen sink to a single is the increase in counter space. With a single sink, you have the entire length of the sink to utilize for food prep, dishwashing, and other kitchen tasks. This means no more fighting for space with dirty dishes or struggling to find room for cutting boards and other kitchen tools. Plus, with the added counter space, you can even add more storage or appliances to your kitchen, making it more efficient and organized.
Easy to Clean and Maintain
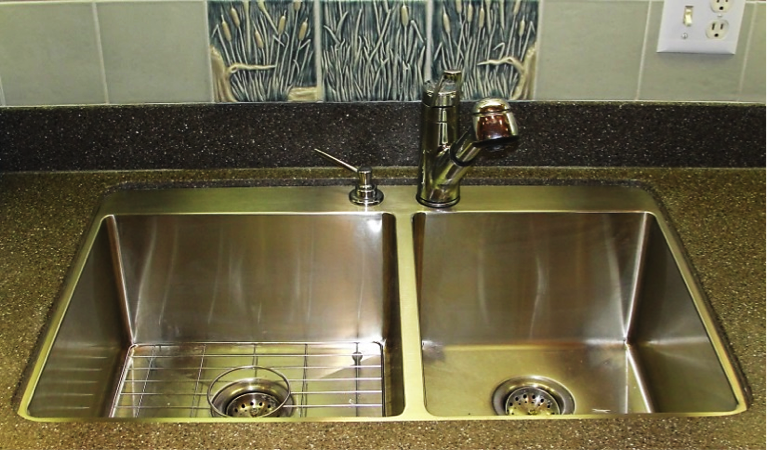
 Having a single kitchen sink also makes cleaning and maintenance a breeze. With a single large basin, there are fewer crevices and edges for dirt and grime to accumulate, making it easier to keep clean. You also won't have to worry about constantly cleaning and unclogging the divider between the two sinks, which can be a breeding ground for bacteria. Additionally, having a single sink means only one set of plumbing and drainage systems to maintain, saving you time and money in the long run.
Modern and Sleek Design
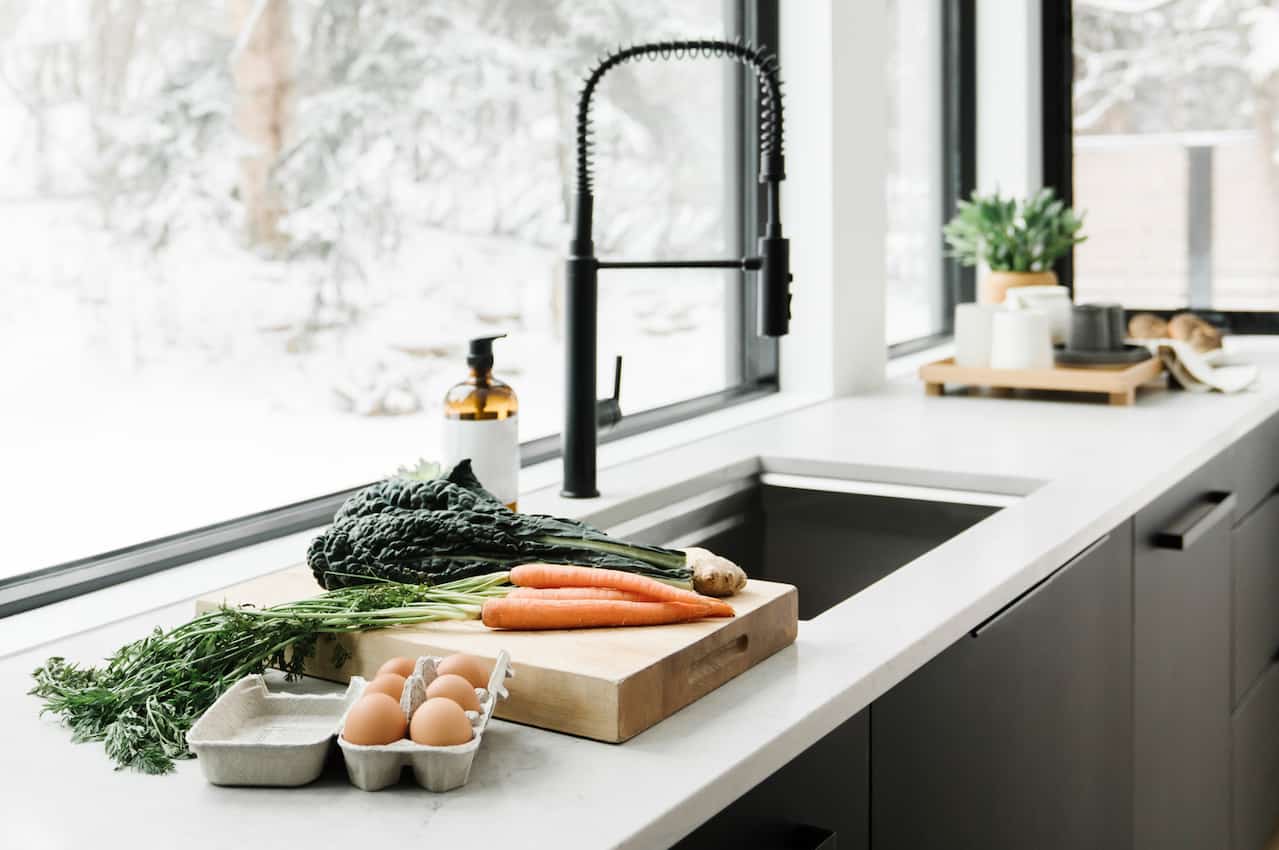
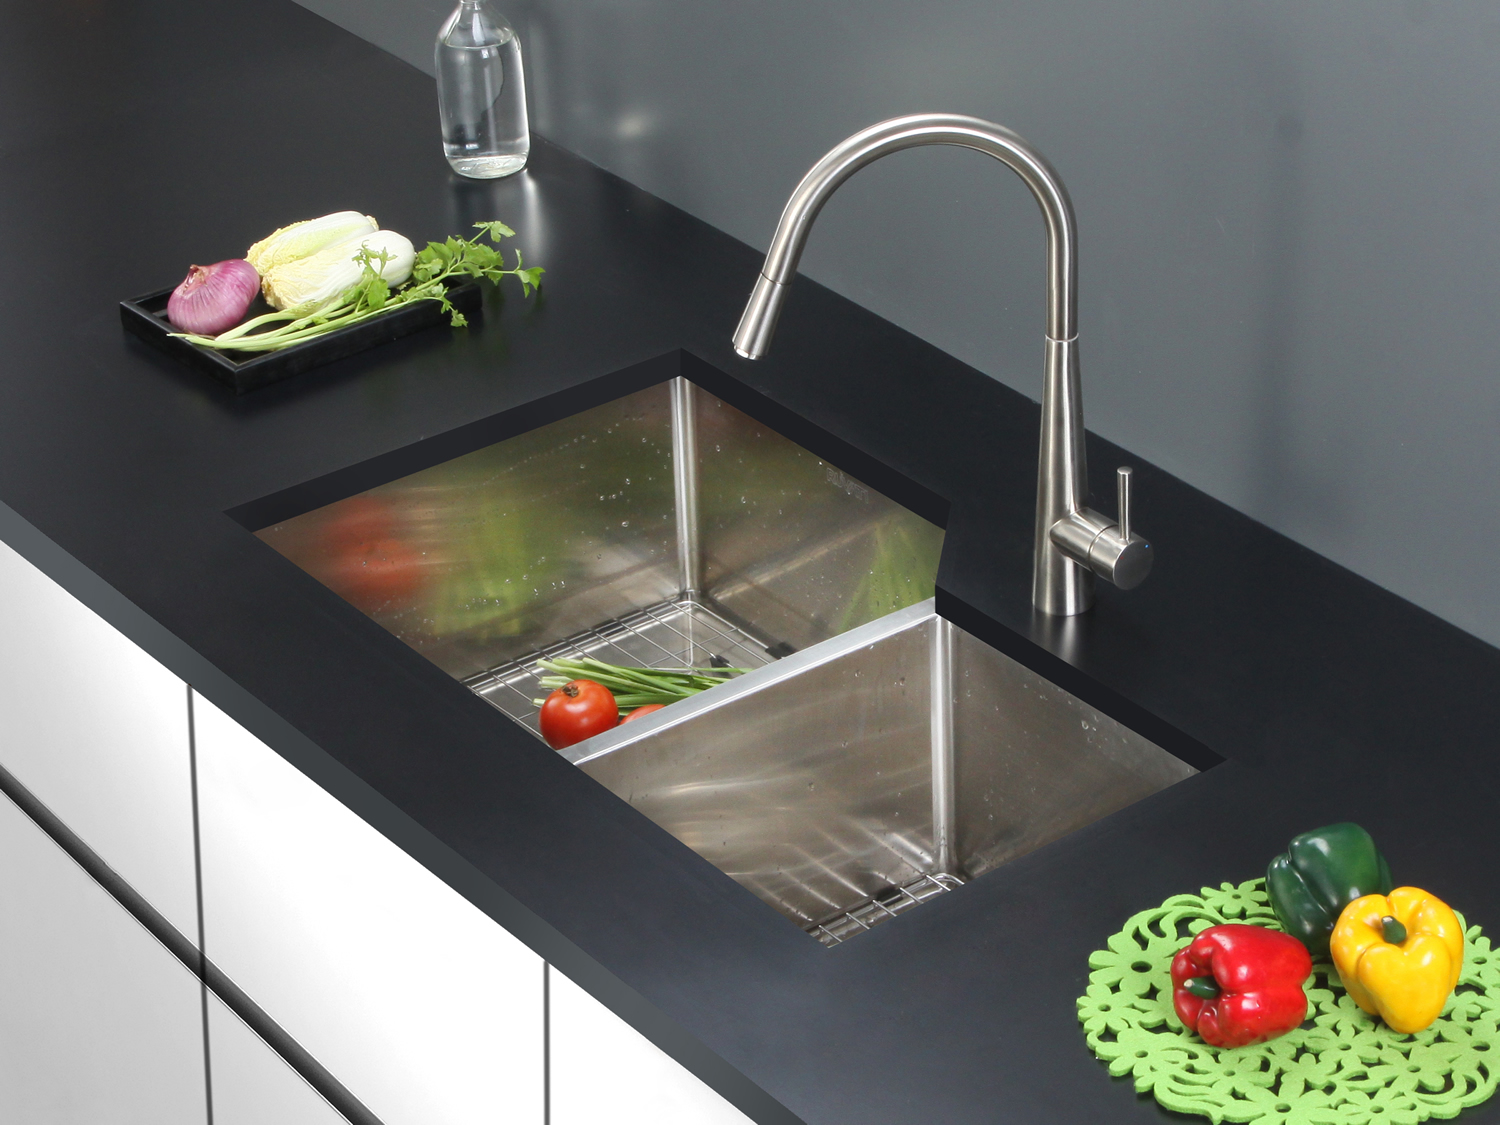
/how-to-install-a-sink-drain-2718789-hero-24e898006ed94c9593a2a268b57989a3.jpg) Another reason to consider changing to a single kitchen sink is for the aesthetic appeal. Single sinks have a more modern and sleek look, giving your kitchen a more updated and stylish feel. They also come in a variety of materials and styles, from farmhouse apron sinks to stainless steel undermount sinks, allowing you to choose the perfect one to match your kitchen's design.
Changing from a double kitchen sink to a single can greatly improve your kitchen's functionality, cleanliness, and appearance. With more counter space, easier cleaning and maintenance, and a modern design, it's a simple yet effective way to upgrade your kitchen. So why wait? Make the switch today and enjoy all the benefits of a single kitchen sink!
Another reason to consider changing to a single kitchen sink is for the aesthetic appeal. Single sinks have a more modern and sleek look, giving your kitchen a more updated and stylish feel. They also come in a variety of materials and styles, from farmhouse apron sinks to stainless steel undermount sinks, allowing you to choose the perfect one to match your kitchen's design.
Changing from a double kitchen sink to a single can greatly improve your kitchen's functionality, cleanliness, and appearance. With more counter space, easier cleaning and maintenance, and a modern design, it's a simple yet effective way to upgrade your kitchen. So why wait? Make the switch today and enjoy all the benefits of a single kitchen sink!


