1. How to Change a Kitchen Sink Sprayer Head
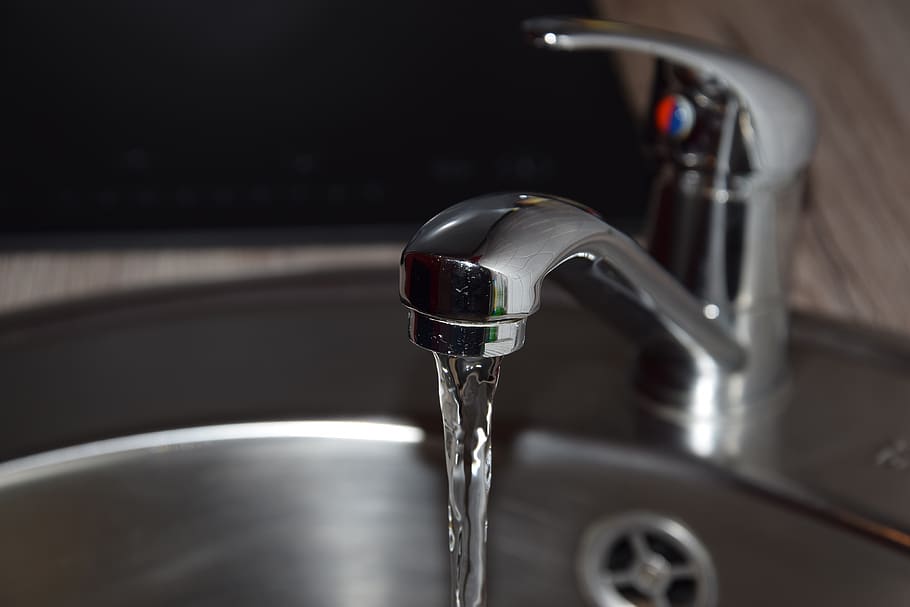
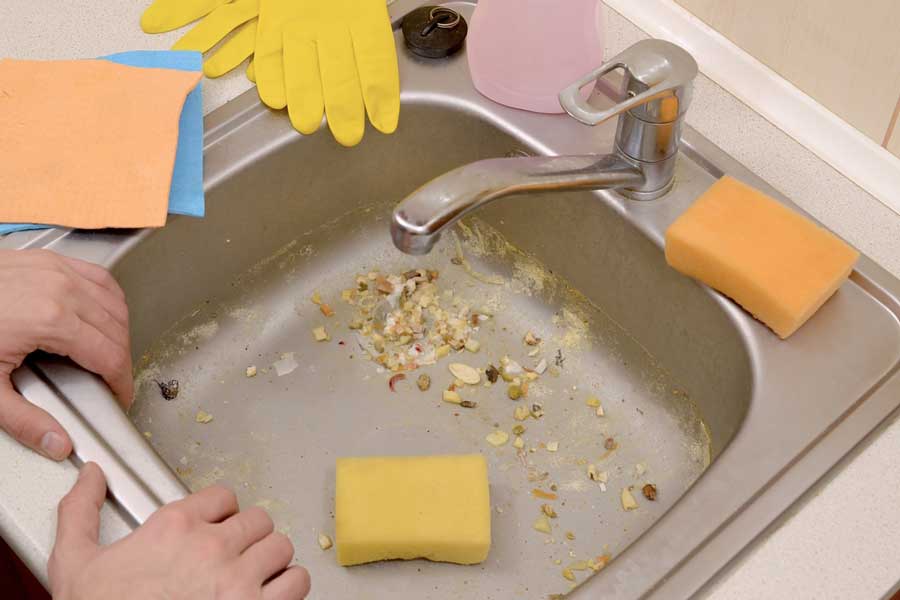
Is your kitchen sink sprayer head losing pressure? Have you noticed a decrease in water flow when using it? If so, it may be time to change your kitchen sink sprayer head. This is a common problem that can be easily fixed by following a few simple steps.
First, turn off the water supply to your kitchen sink. This can usually be done by turning off the shut-off valves located under the sink. If you can't find the shut-off valves, you may need to turn off the main water supply to your house.
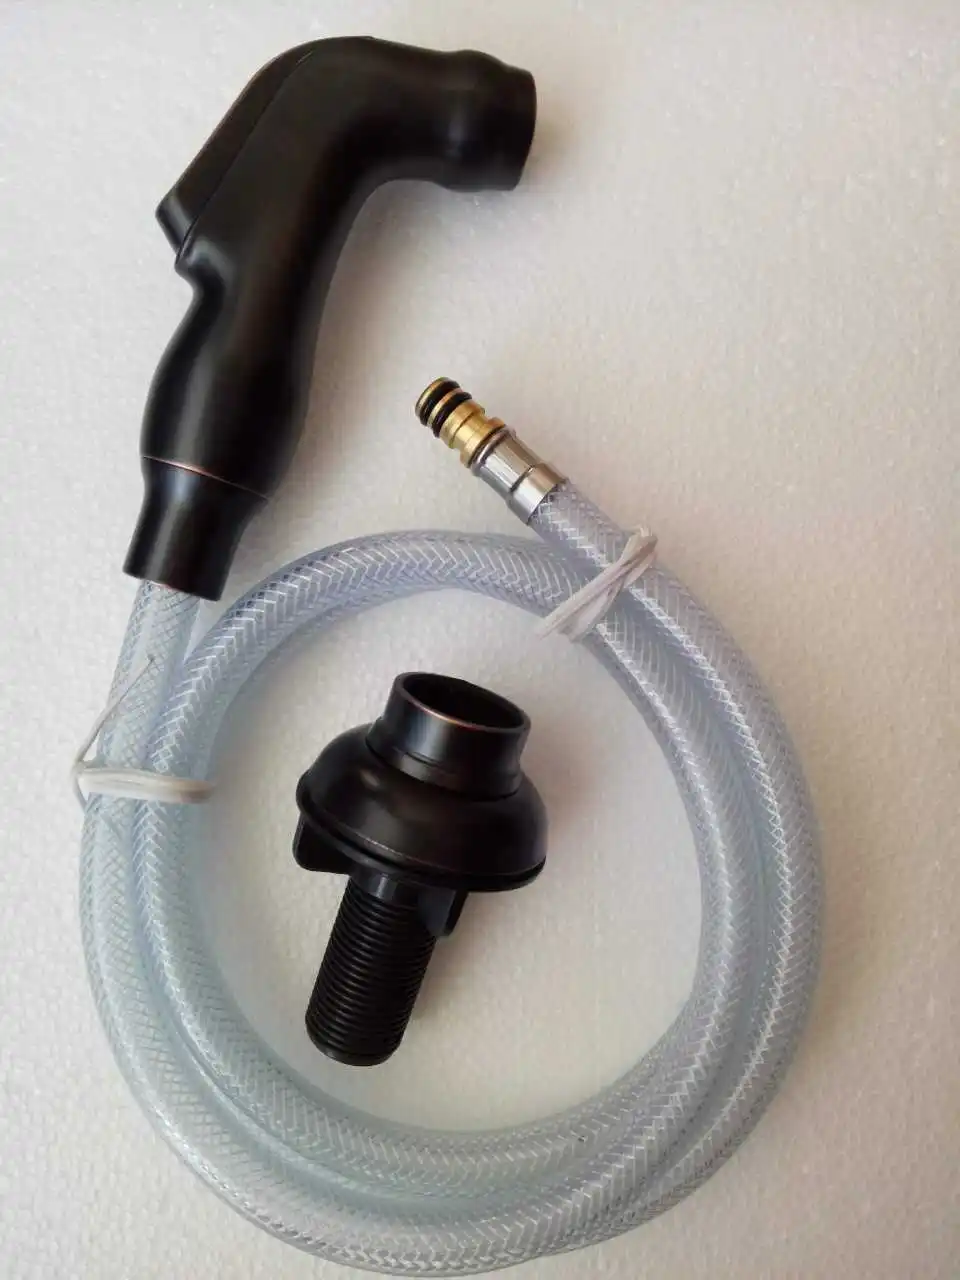
Next, unscrew the sprayer head from the hose. You may need to use pliers to loosen it if it is stuck. Once the old sprayer head is removed, clean the threads on the hose to ensure a tight seal with the new sprayer head.
Now, it's time to install the new sprayer head. Make sure the new head is compatible with your kitchen sink and hose. Then, screw it onto the hose, making sure it is tight and secure.
Finally, turn the water supply back on and test the new sprayer head. If the water pressure has been restored, congratulations! You have successfully changed your kitchen sink sprayer head.


1. How to Change a Kitchen Sink Sprayer Head


2. How to Replace a Kitchen Sink Sprayer Head
If your kitchen sink sprayer head is not just losing pressure, but also showing other signs of wear and tear, it may be time to replace it completely. This is a simple process that can be done in just a few minutes.
Start by turning off the water supply to your kitchen sink. Then, remove the old sprayer head by unscrewing it from the hose. Clean the threads on the hose and make sure the new sprayer head is compatible before screwing it on.
Next, check the spray pattern of the new sprayer head. If it is not to your liking, you can adjust it by turning the nozzle or using a small screwdriver to change the flow rate.
Once you are satisfied with the spray pattern, turn the water supply back on and test the new sprayer head. If everything is working properly, you have successfully replaced your kitchen sink sprayer head.


2. How to Replace a Kitchen Sink Sprayer Head


3. Troubleshooting Low Water Pressure in Kitchen Sink Sprayer
If you have changed or replaced your kitchen sink sprayer head but are still experiencing low water pressure, there may be other underlying issues causing the problem. Here are some common causes of low water pressure in kitchen sink sprayers and how to troubleshoot them.
Blocked or clogged aerator: The aerator is the small screen at the end of the sprayer head. Over time, it can become clogged with mineral deposits or debris, resulting in reduced water flow. To fix this, remove the aerator and clean it with a brush or vinegar.
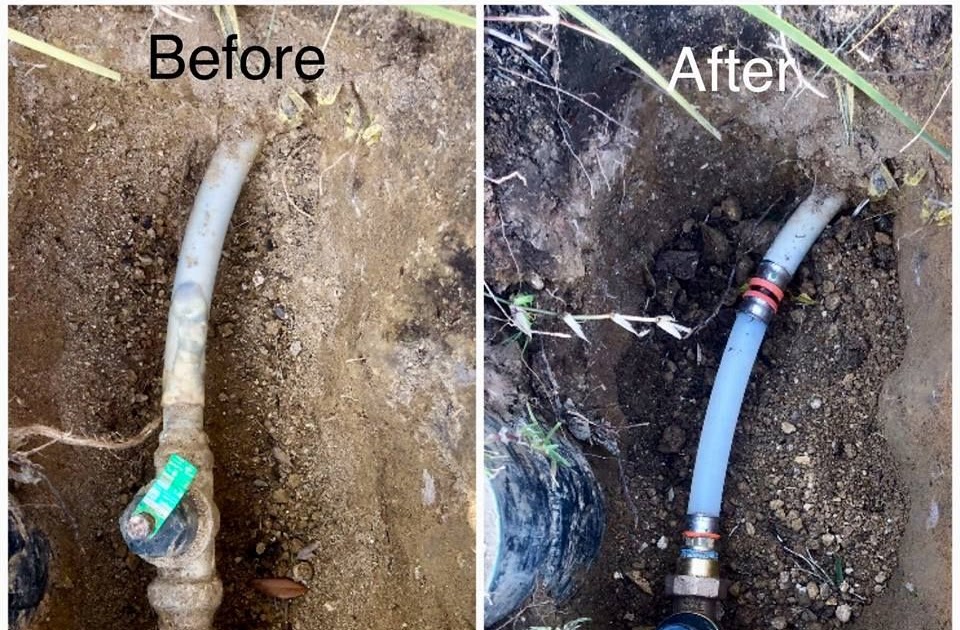
Blocked or clogged hose: If the hose itself is clogged, it can also affect the water pressure in your kitchen sink sprayer. Try running hot water through the hose to clear any blockages. If this does not work, you may need to replace the hose.
Leaky or damaged hose: A leak or damage in the hose can also cause low water pressure. Check the hose for any cracks or holes and replace it if necessary.
Water supply issues: If none of the above solutions work, there may be a problem with the water supply to your house. Check with your water provider to see if there are any known issues in your area.


3. Troubleshooting Low Water Pressure in Kitchen Sink Sprayer


4. How to Fix a Kitchen Sink Sprayer That Has Lost Pressure
If you have tried troubleshooting and none of the above solutions have worked, there may be a more complex issue with your kitchen sink sprayer. In this case, it is best to call a professional plumber to diagnose and fix the problem.
However, if you are a DIY enthusiast, you can try fixing the issue yourself by following these steps:
Step 1: Turn off the water supply to your kitchen sink.
Step 2: Disconnect the hose from the faucet and check for any blockages or damage.
Step 3: If there are no issues with the hose, check the diverter valve. This is a small valve located inside the faucet that controls the flow of water to the sprayer. It may be blocked or damaged, causing low pressure. Clean or replace the valve if necessary.
Step 4: If the diverter valve is not the problem, check the faucet cartridge. This is the mechanism that controls the flow of water to the faucet and sprayer. If it is dirty or damaged, it can affect water pressure. Clean or replace the cartridge if needed.
Step 5: Reassemble the faucet and test the water pressure. If it has been restored, congratulations! If not, it may be time to call a professional.


4. How to Fix a Kitchen Sink Sprayer That Has Lost Pressure


5. Step-by-Step Guide to Replacing a Kitchen Sink Sprayer Head
If you are a visual learner, here is a step-by-step guide to replacing a kitchen sink sprayer head:
Step 1: Turn off the water supply to your kitchen sink.
Step 2: Unscrew the old sprayer head from the hose.
Step 3: Clean the threads on the hose and make sure the new sprayer head is compatible.
Step 4: Screw the new sprayer head onto the hose.
Step 5: Turn the water supply back on and test the new sprayer head.
Step 6: Adjust the spray pattern if necessary.
Step 7: Enjoy your restored water pressure!


5. Step-by-Step Guide to Replacing a Kitchen Sink Sprayer Head


6. Common Causes of Low Water Pressure in Kitchen Sink Sprayer
Low water pressure in kitchen sink sprayers can be caused by a variety of factors. Here are some common culprits:
Mineral deposits: Over time, mineral deposits can build up in the aerator, hose, or other parts of the sprayer head, causing blockages and reduced water flow.
Damaged parts: Leaks, cracks, or other damage to the hose, aerator, or other components can also cause low water pressure.
Water supply issues: If there are problems with the water supply to your house, it can affect the water pressure in your kitchen sink sprayer.
Old or outdated parts: If your sprayer head or other components are old and worn out, they may need to be replaced to restore proper water pressure.


6. Common Causes of Low Water Pressure in Kitchen Sink Sprayer

_.jpg)
7. How to Install a New Kitchen Sink Sprayer Head
If you are installing a new kitchen sink sprayer head, here are the basic steps to follow:
Step 1: Turn off the water supply to your kitchen sink.
Step 2: Unscrew the old sprayer head from the hose.
Step 3: Clean the threads on the hose and make sure the new sprayer head is compatible.
Step 4: Screw the new sprayer head onto the hose.
Step 5: Turn the water supply back on and test the new sprayer head.
Step 6: Adjust the spray pattern if necessary.
Step 7: Enjoy your restored water pressure!


7. How to Install a New Kitchen Sink Sprayer Head
8. Tips for Maintaining Water Pressure in Kitchen Sink Sprayer
To prevent low water pressure in your kitchen sink sprayer, here are some tips for maintenance:
Regular cleaning: Clean the aerator and hose regularly to prevent mineral deposits and debris from building up and affecting water flow.
Replace old parts: If any components of your kitchen sink sprayer are old or damaged, replace them to maintain proper water pressure.
Check for leaks: Regularly check for leaks in the hose or other parts of the sprayer head and fix them promptly to prevent further damage and loss of pressure.
Upgrade to a high-pressure sprayer head: If you are constantly experiencing low water pressure, consider upgrading to a high-pressure sprayer head for better performance.


8. Tips for Maintaining Water Pressure in Kitchen Sink Sprayer


9. How to Troubleshoot and Fix a Kitchen Sink Sprayer with Low Pressure
If you are experiencing low water pressure in your kitchen sink sprayer, here are the steps to troubleshoot and fix the issue:
Step 1: Turn off the water supply to your kitchen sink.
Step 2: Check for any blockages or damage in the hose.
Step 3: Clean or replace the aerator if necessary.
Step 4: Check the diverter valve and clean or replace it if needed.
Step 5: Check the faucet cartridge and clean or replace it if necessary.
Step 6: Reassemble the faucet and test the water pressure.
Step 7: If the issue persists, call a professional plumber for assistance.

9. How to Troubleshoot and Fix a Kitchen Sink Sprayer with Low Pressure


10. DIY Guide to Replacing a Kitchen Sink Sprayer Head and Restoring Water Pressure
If you are a DIY enthusiast and want to learn how to replace a kitchen sink sprayer head and restore water pressure, follow these steps:
Step 1: Turn off the water supply to your kitchen sink.
Step 2: Unscrew the old sprayer head from the hose.
Step 3: Clean the threads on the hose and make sure the new sprayer head is compatible.
Step 4: Screw the new sprayer head onto the hose.
Step 5: Turn the water supply back on and test the new sprayer head.
Step 6: Adjust the spray pattern if necessary.
Step 7: If the water pressure is not restored, troubleshoot using the steps outlined in this article.
Step 8: If you are unable to fix the issue, call a professional plumber for assistance.
In conclusion, changing or replacing a kitchen sink sprayer head is a simple process that can be done by following the steps outlined in this article. However, if you are experiencing persistent low water pressure, it may be a sign of a more complex issue that requires professional help. By following these tips for maintenance and troubleshooting, you can ensure that your kitchen sink sprayer continues to function properly and provide adequate water pressure for all your cleaning and cooking needs.

10. DIY Guide to Replacing a Kitchen Sink Sprayer Head and Restoring Water Pressure

Why Changing the Sprayer Head on Your Kitchen Sink is Essential for Maintaining Water Pressure

Don't Let Low Water Pressure Ruin Your Kitchen Experience
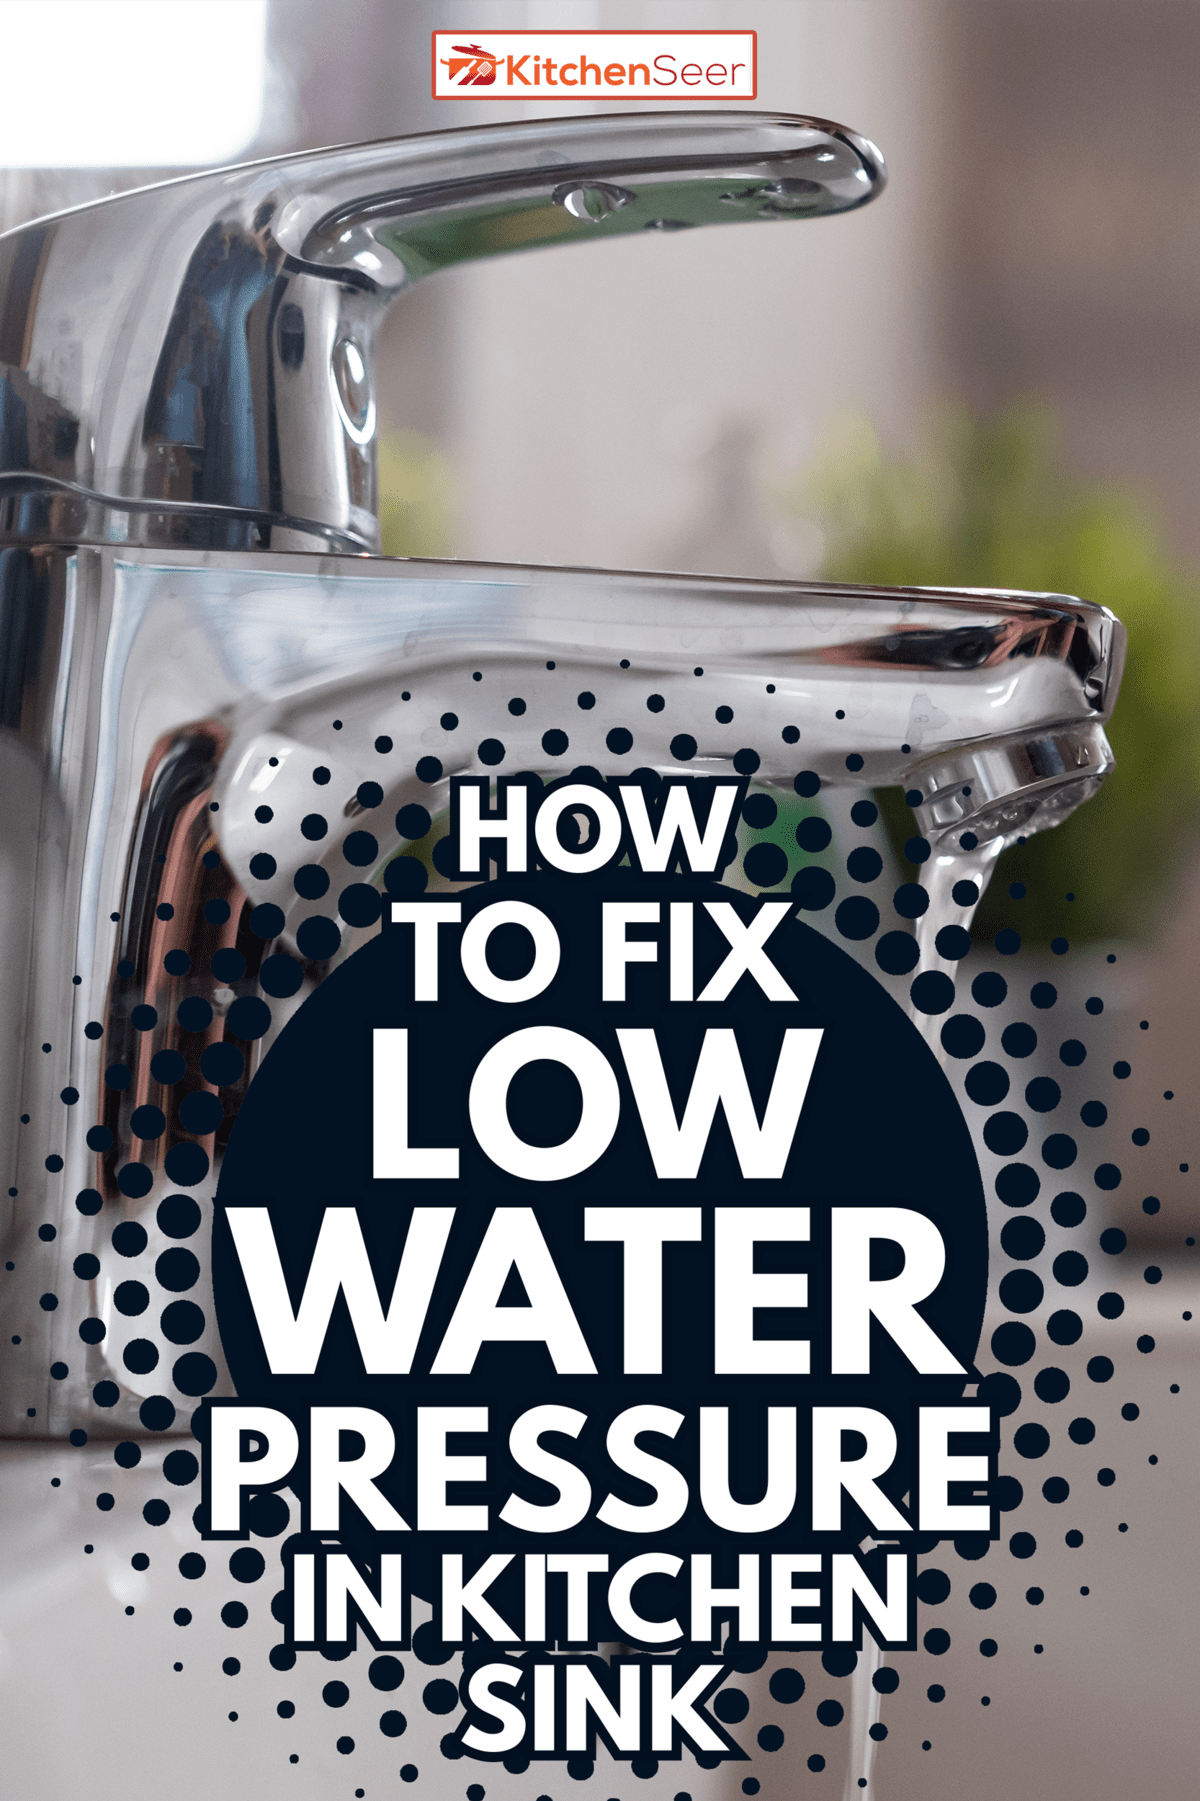
 If you've noticed a decrease in water pressure while using your kitchen sink, the culprit might be a faulty sprayer head. This small but essential component of your sink can greatly impact the overall water pressure in your kitchen. If you're tired of dealing with a weak and inconsistent flow of water, it's time to consider changing your sprayer head.
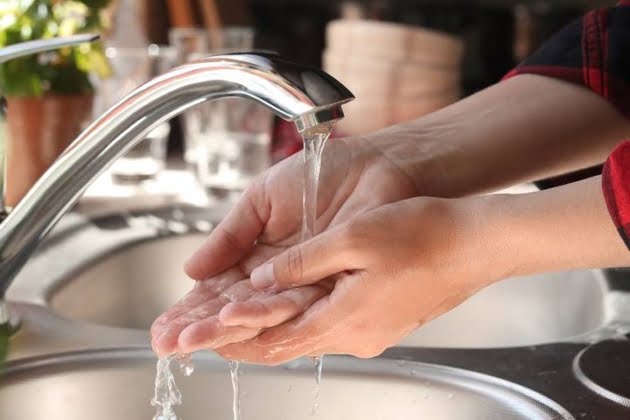
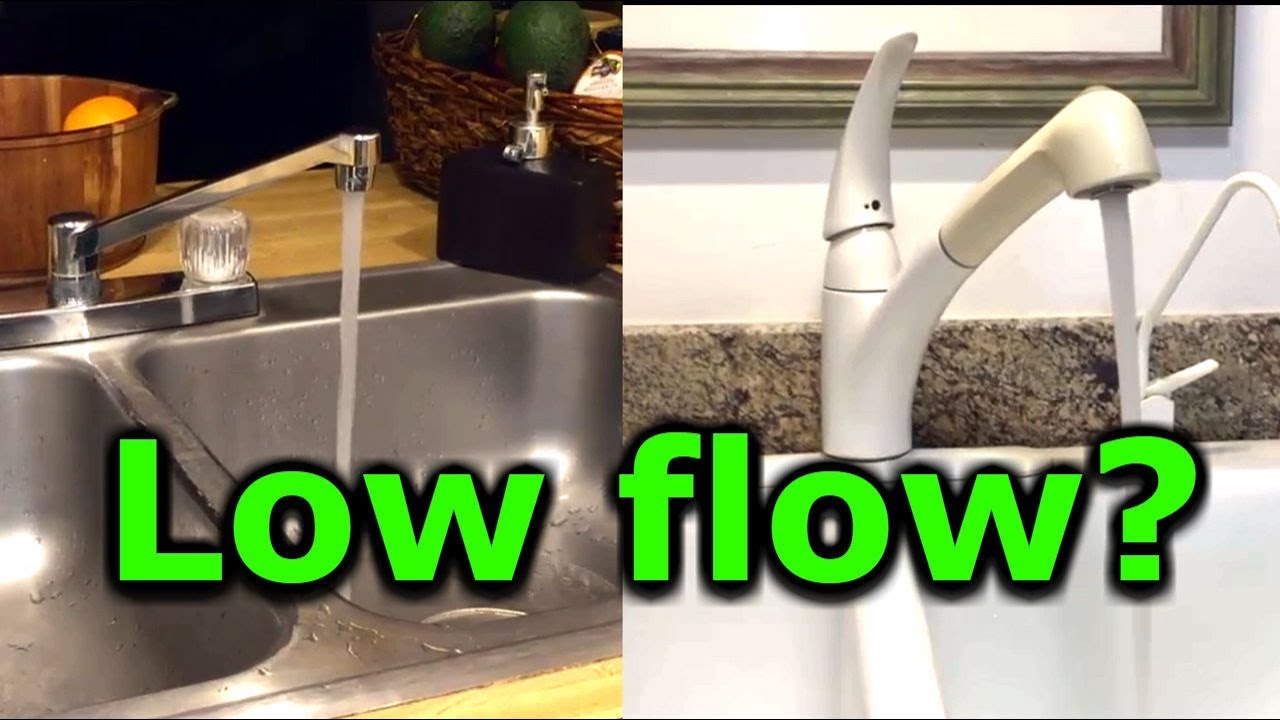
Low water pressure can be frustrating and inconvenient, making simple tasks like washing dishes and filling pots take longer than necessary.
Not only does it disrupt your daily routine, but it can also indicate underlying issues with your plumbing system.
Changing your sprayer head is a simple and cost-effective solution that can make a significant difference in your kitchen's water pressure.
If you've noticed a decrease in water pressure while using your kitchen sink, the culprit might be a faulty sprayer head. This small but essential component of your sink can greatly impact the overall water pressure in your kitchen. If you're tired of dealing with a weak and inconsistent flow of water, it's time to consider changing your sprayer head.
Low water pressure can be frustrating and inconvenient, making simple tasks like washing dishes and filling pots take longer than necessary.
Not only does it disrupt your daily routine, but it can also indicate underlying issues with your plumbing system.
Changing your sprayer head is a simple and cost-effective solution that can make a significant difference in your kitchen's water pressure.
Understanding the Importance of a Good Sprayer Head
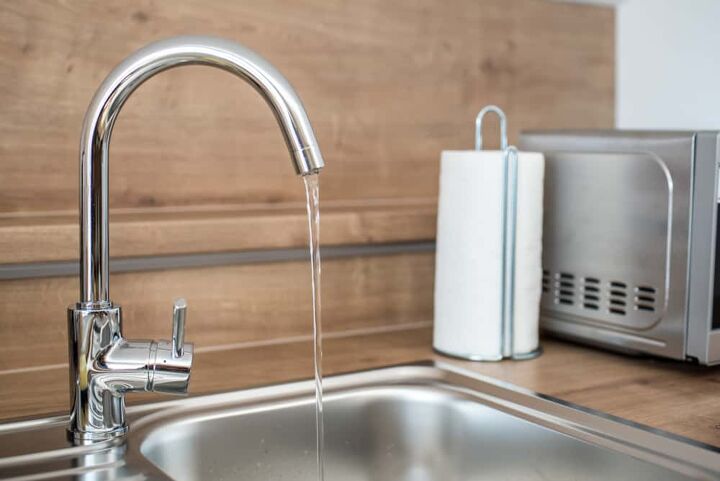
 The sprayer head is responsible for controlling the flow and direction of water from your kitchen sink faucet.
Over time, it can become clogged with mineral deposits, debris, and other contaminants, affecting its performance.
This buildup can also obstruct the water flow, leading to low water pressure.
Additionally, the rubber seals within the sprayer head can wear out, resulting in leaks and further impacting the water pressure.
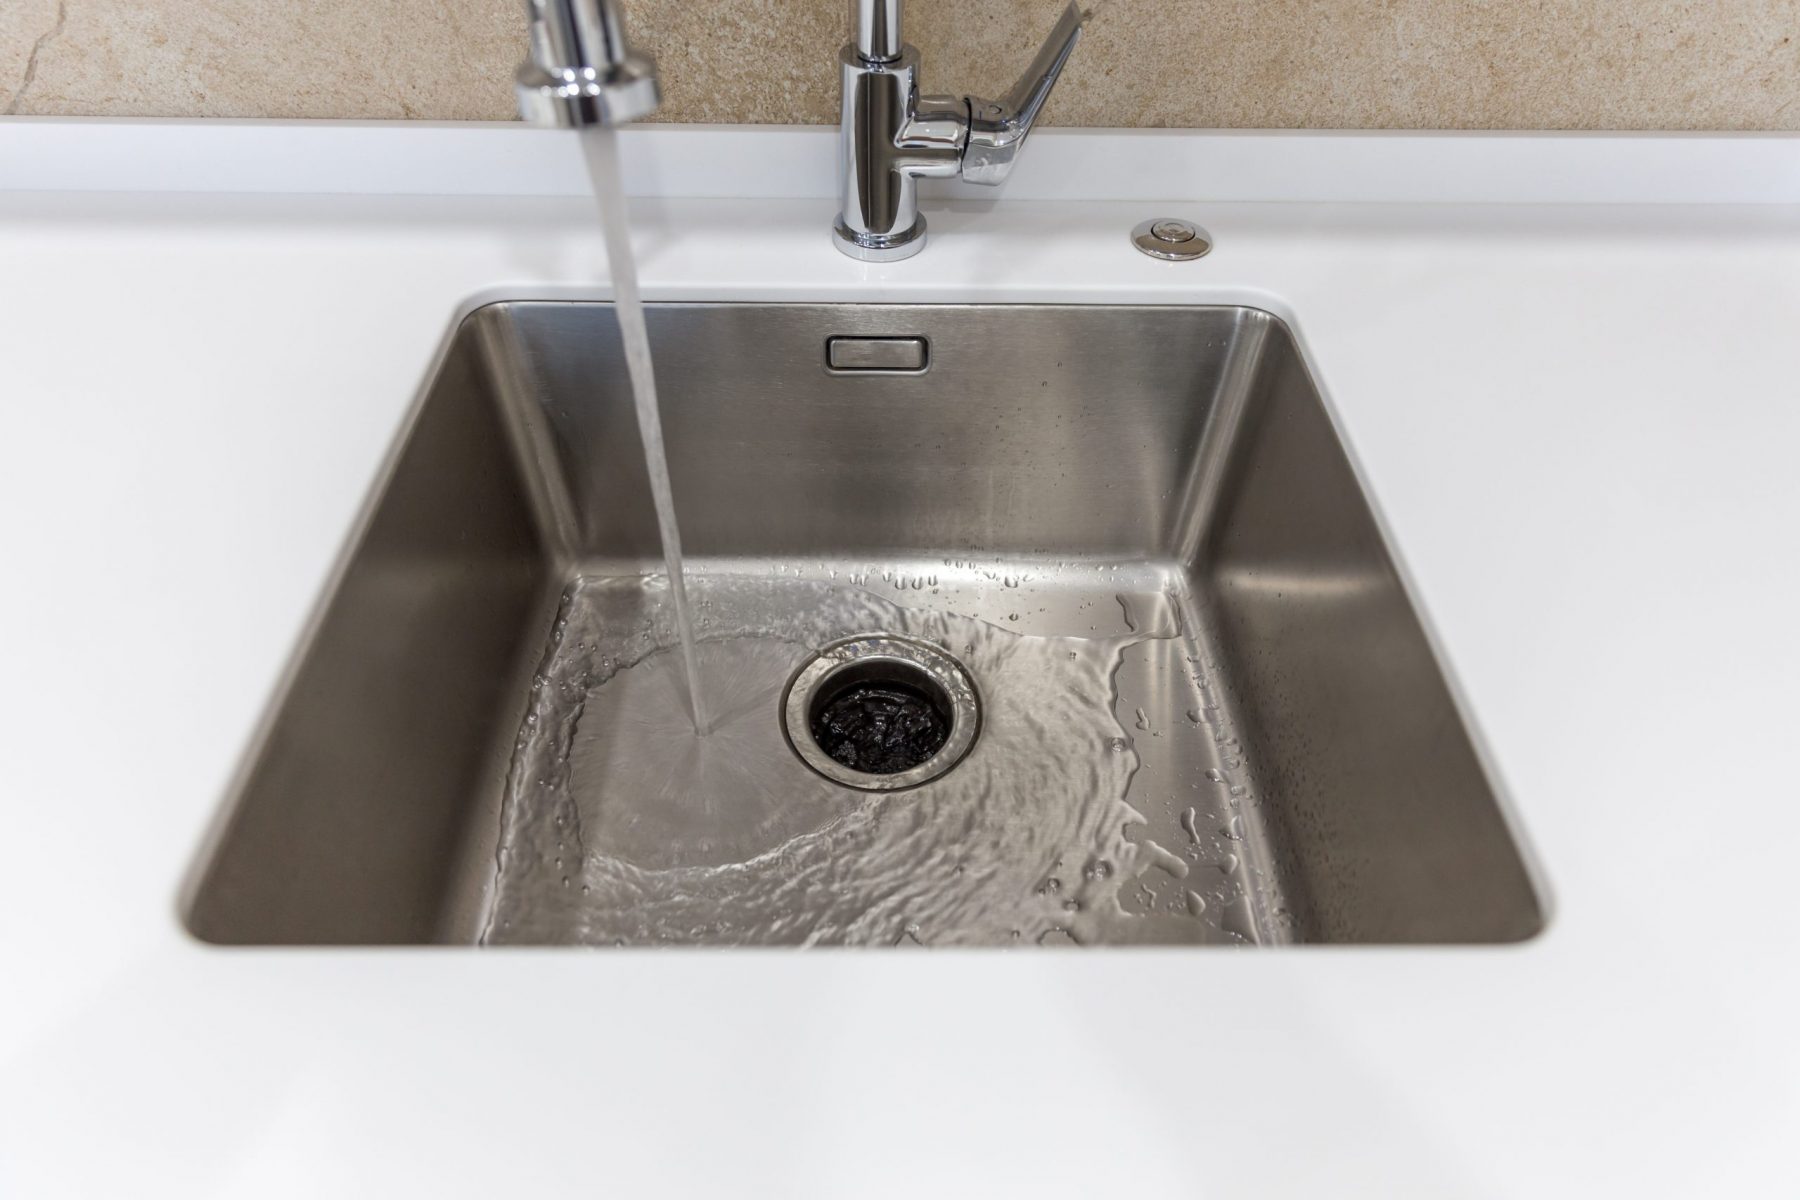
Replacing your sprayer head can improve the overall functionality of your kitchen sink faucet.
With a new and properly functioning sprayer head, you can enjoy a consistent and strong water flow, making tasks like rinsing dishes and cleaning the sink a breeze.
It can also help prevent potential plumbing issues in the future, saving you from costly repairs.
The sprayer head is responsible for controlling the flow and direction of water from your kitchen sink faucet.
Over time, it can become clogged with mineral deposits, debris, and other contaminants, affecting its performance.
This buildup can also obstruct the water flow, leading to low water pressure.
Additionally, the rubber seals within the sprayer head can wear out, resulting in leaks and further impacting the water pressure.
Replacing your sprayer head can improve the overall functionality of your kitchen sink faucet.
With a new and properly functioning sprayer head, you can enjoy a consistent and strong water flow, making tasks like rinsing dishes and cleaning the sink a breeze.
It can also help prevent potential plumbing issues in the future, saving you from costly repairs.
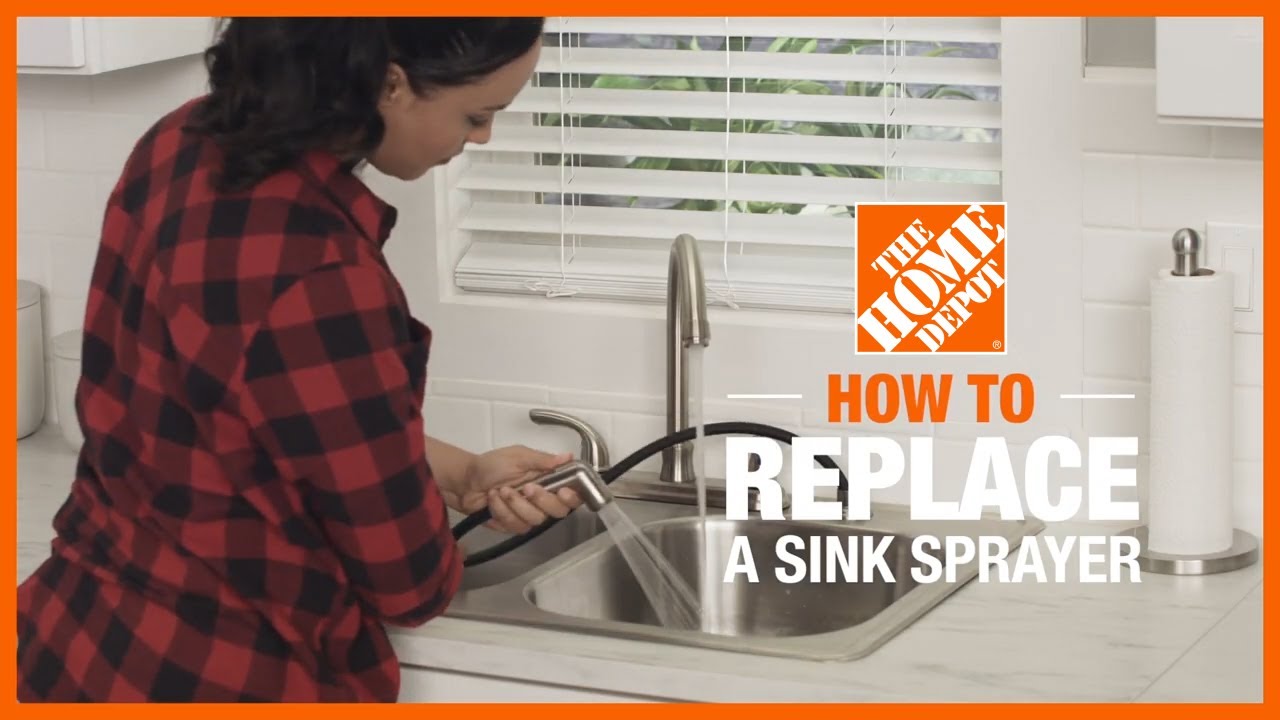
How to Change Your Sprayer Head
 Replacing your sprayer head is a simple process that can be done in a few easy steps.
First, turn off the water supply to your kitchen sink and disconnect the sprayer hose from the faucet.
Then, remove the old sprayer head by twisting it counterclockwise.
Next, clean the faucet and sprayer hose to remove any buildup or debris.
Finally,
attach the new sprayer head by twisting it clockwise and reconnect the sprayer hose to the faucet.
Turn on the water supply and test the new sprayer head for any leaks or issues.
Replacing your sprayer head is a simple process that can be done in a few easy steps.
First, turn off the water supply to your kitchen sink and disconnect the sprayer hose from the faucet.
Then, remove the old sprayer head by twisting it counterclockwise.
Next, clean the faucet and sprayer hose to remove any buildup or debris.
Finally,
attach the new sprayer head by twisting it clockwise and reconnect the sprayer hose to the faucet.
Turn on the water supply and test the new sprayer head for any leaks or issues.
Don't Ignore the Signs of Low Water Pressure
 If you've noticed a decrease in water pressure in your kitchen sink, don't ignore it.
It's essential to address the issue promptly to avoid potential plumbing problems and to maintain the efficiency of your kitchen.
Changing your sprayer head is a simple and effective way to improve water pressure and enhance your overall kitchen experience.
In conclusion,
changing the sprayer head on your kitchen sink is essential for maintaining water pressure and improving the functionality of your kitchen.
Don't let a faulty sprayer head ruin your kitchen experience – invest in a new one and enjoy a strong and consistent water flow.
If you've noticed a decrease in water pressure in your kitchen sink, don't ignore it.
It's essential to address the issue promptly to avoid potential plumbing problems and to maintain the efficiency of your kitchen.
Changing your sprayer head is a simple and effective way to improve water pressure and enhance your overall kitchen experience.
In conclusion,
changing the sprayer head on your kitchen sink is essential for maintaining water pressure and improving the functionality of your kitchen.
Don't let a faulty sprayer head ruin your kitchen experience – invest in a new one and enjoy a strong and consistent water flow.