Are your bathroom sink valves old and worn out, causing leaks and other plumbing issues? It may be time to replace them. Changing the bathroom sink valves is a simple and cost-effective way to improve the functionality of your sink and prevent further damage. In this guide, we will walk you through the steps of changing your bathroom sink valves and provide tips to make the process easier.How to Change Bathroom Sink Valves


How to Change Bathroom Sink Valves


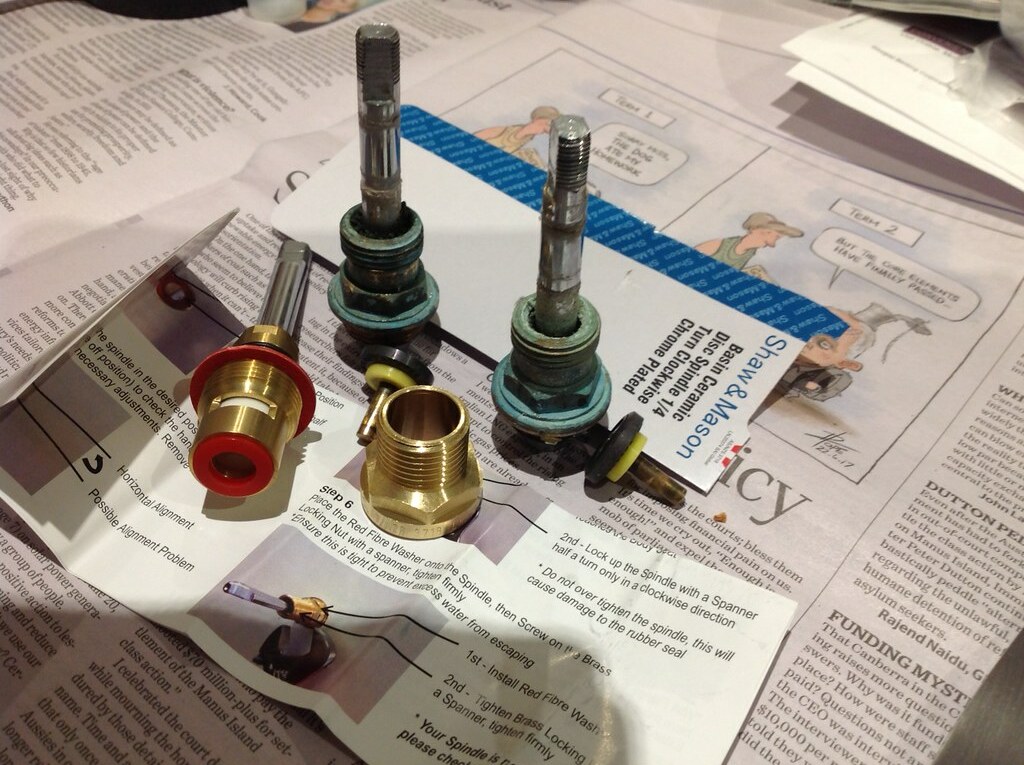
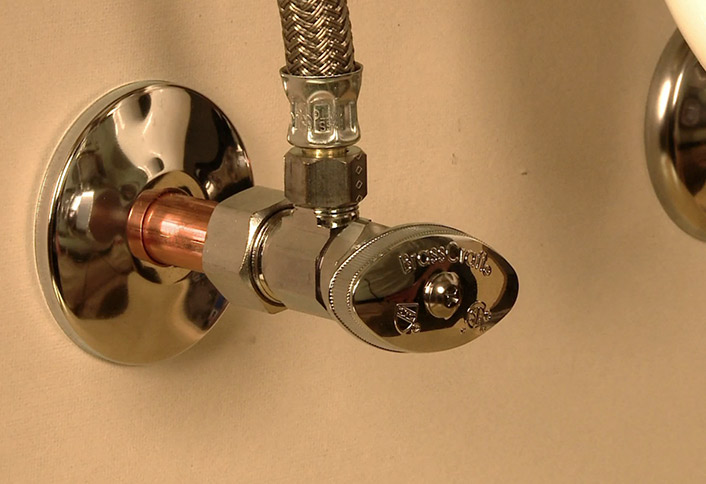
Before you begin, it's important to know what type of valve you have. There are two main types of bathroom sink valves: compression and ball valves. Compression valves have two handles, one for hot water and one for cold water, and require a wrench to open and close. Ball valves have a single handle that controls both hot and cold water and can be turned by hand. Once you have determined the type of valve you have, you can proceed with the replacement process.Replacing Bathroom Sink Valves


Replacing Bathroom Sink Valves


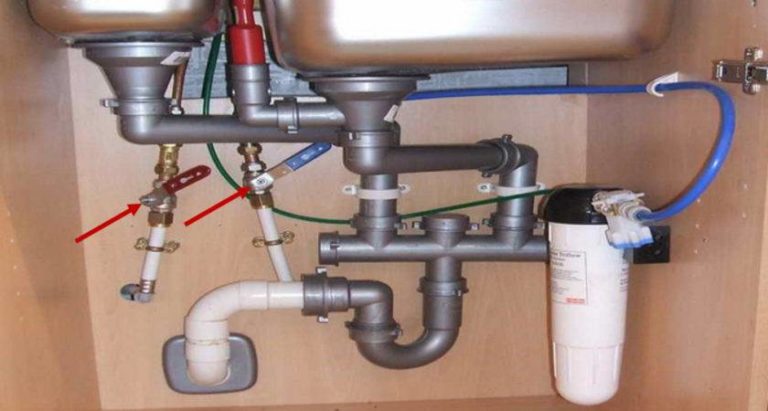
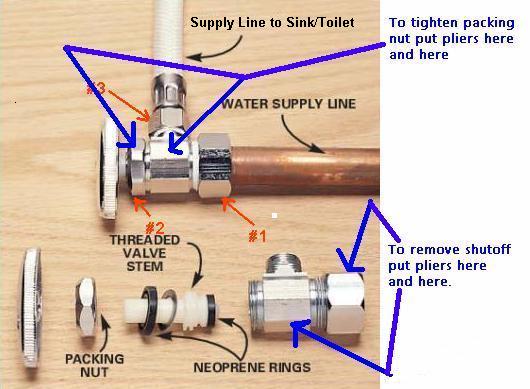
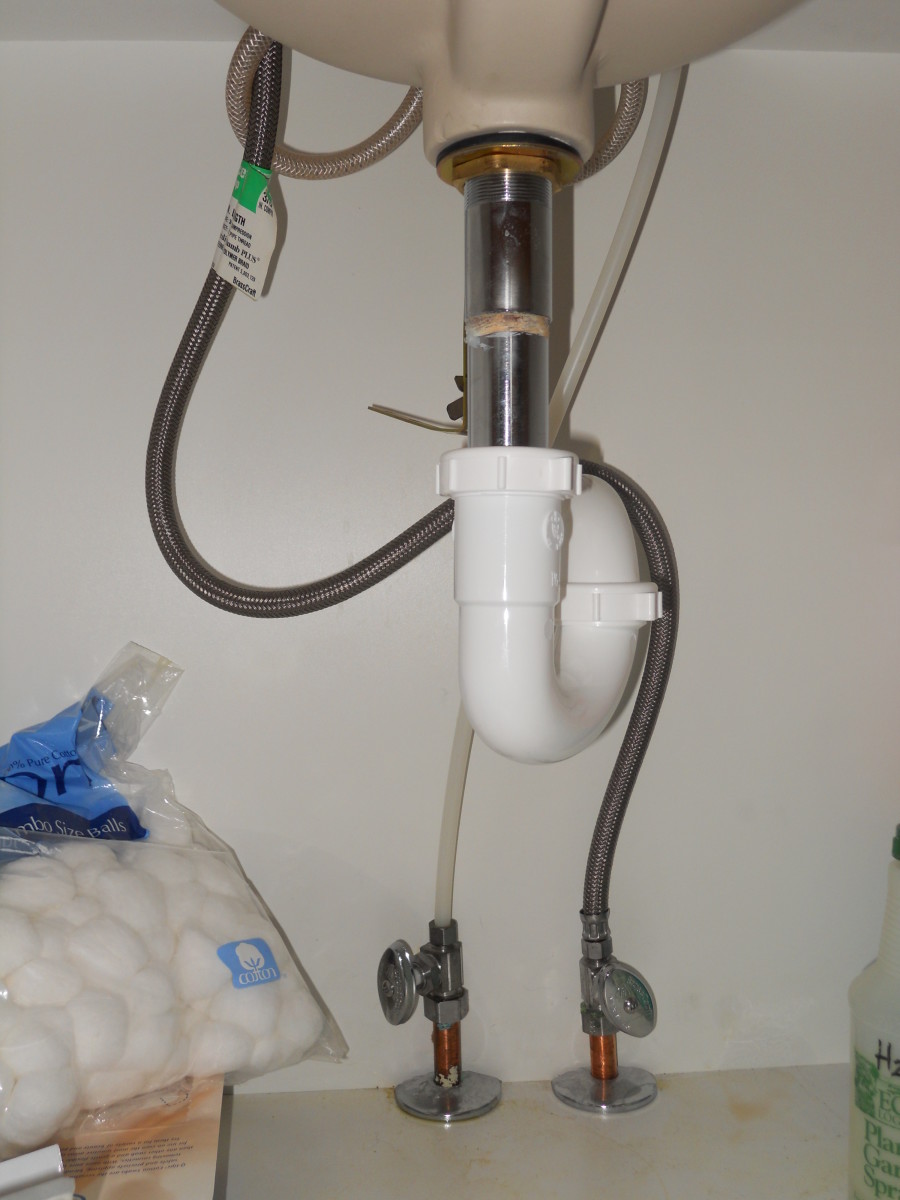
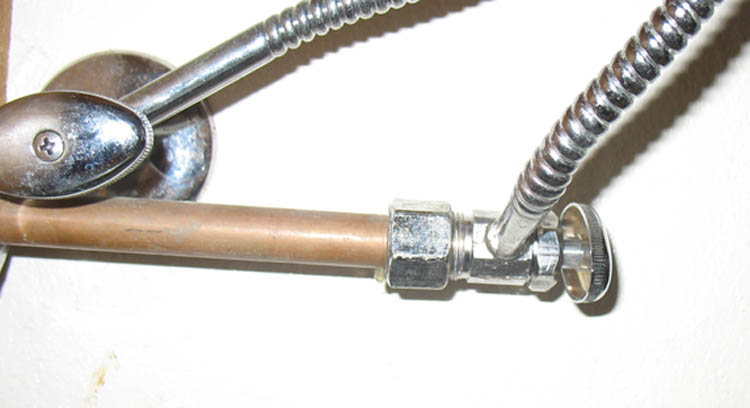
Step 1: Turn off the water supply. Before you begin, shut off the water supply to the sink by turning the shut-off valves under the sink clockwise. If you don't have shut-off valves, you will need to turn off the main water supply to your home. Step 2: Drain the water. Turn on the faucet to drain any remaining water from the pipes. This will prevent a mess when you disconnect the old valves. Step 3: Loosen the compression nut. If you have compression valves, use a wrench to loosen the nut that connects the valve to the pipes. Step 4: Remove the old valve. Once the nut is loosened, you can remove the old valve from the pipes. Step 5: Install the new valve. Place the new valve onto the pipes and secure it with the compression nut. Make sure the valve is facing the correct direction, with the hot water on the left and cold water on the right. Step 6: Tighten the nut. Use a wrench to tighten the compression nut, making sure it is snug but not too tight. Step 7: Turn on the water supply. Once the new valve is installed and secure, turn the water supply back on and check for any leaks.Step-by-Step Guide for Changing Bathroom Sink Valves


Step-by-Step Guide for Changing Bathroom Sink Valves


If you are comfortable with basic plumbing tasks, changing your bathroom sink valves is a DIY project that you can tackle yourself. It's important to have the right tools for the job, including a wrench, pliers, and Teflon tape. Teflon tape is used to create a watertight seal between the valve and the pipes. You can find it at any hardware store.DIY Bathroom Sink Valve Replacement


DIY Bathroom Sink Valve Replacement


The following tools are necessary for changing your bathroom sink valves:Tools Needed for Changing Bathroom Sink Valves


Tools Needed for Changing Bathroom Sink Valves


Here are a few tips to keep in mind when replacing your bathroom sink valves:Tips for Replacing Bathroom Sink Valves


Tips for Replacing Bathroom Sink Valves


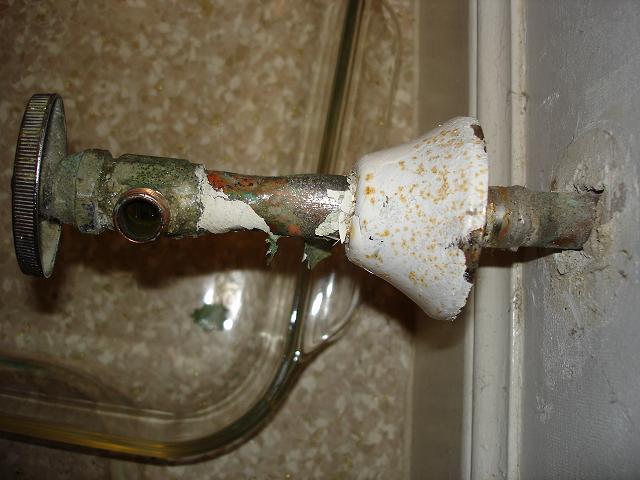
Over time, bathroom sink valves can become worn out or damaged, causing leaks and other plumbing issues. Some common problems with bathroom sink valves include:Common Problems with Bathroom Sink Valves


Common Problems with Bathroom Sink Valves


When selecting new bathroom sink valves, it's important to choose high-quality valves that will last for years to come. Look for valves that are made of durable materials and have a good warranty. It's also important to choose valves that are compatible with your existing plumbing system.Choosing the Right Bathroom Sink Valves


Choosing the Right Bathroom Sink Valves


The cost of changing bathroom sink valves will depend on the type of valves you choose and whether you hire a professional or do it yourself. On average, a DIY project will cost between $50-$100 for materials. Hiring a professional can cost anywhere from $150-$300, depending on the complexity of the job.Cost of Changing Bathroom Sink Valves

Cost of Changing Bathroom Sink Valves


Deciding whether to hire a professional or do it yourself will depend on your level of experience and comfort with plumbing tasks. If you are not confident in your abilities or are dealing with a complex plumbing system, it may be better to hire a professional. However, if you have some experience with plumbing and feel comfortable with the task, it can be a simple and cost-effective DIY project. Changing your bathroom sink valves is a task that can improve the functionality of your sink and prevent further plumbing issues. By following these steps and tips, you can easily replace your old valves and enjoy a leak-free sink. Remember to always turn off the water supply and use the proper tools and materials for the job. Happy plumbing!Professional vs. DIY Bathroom Sink Valve Replacement


Professional vs. DIY Bathroom Sink Valve Replacement
:max_bytes(150000):strip_icc()/steam-cleaning-professional-vs-diy-2908776-hero-24ffd77737924bca908036dabcdcbbad.jpg)


Why You Should Consider Changing Your Bathroom Sink Valves

Maintaining Your Bathroom's Functionality
 One of the most important aspects of a functional bathroom is the sink. It is used daily for various tasks such as washing your hands, brushing your teeth, and even cleaning. However, the valves that control the flow of water to the sink are often overlooked. Over time, these valves can wear out or become faulty, resulting in leaky faucets or low water pressure. This can be a major inconvenience and disrupt the functionality of your bathroom. To ensure that your bathroom sink continues to function properly, it is important to
regularly inspect and change your sink valves
.
One of the most important aspects of a functional bathroom is the sink. It is used daily for various tasks such as washing your hands, brushing your teeth, and even cleaning. However, the valves that control the flow of water to the sink are often overlooked. Over time, these valves can wear out or become faulty, resulting in leaky faucets or low water pressure. This can be a major inconvenience and disrupt the functionality of your bathroom. To ensure that your bathroom sink continues to function properly, it is important to
regularly inspect and change your sink valves
.
Preventing Water Damage
 Leaking sink valves can also lead to
water damage
in your bathroom. If left unchecked, even a small leak can cause mold growth, damage to your walls and floors, and even structural issues. This can result in costly repairs and renovations. By changing your sink valves, you can prevent these potential issues and save yourself from the hassle and expense of dealing with water damage.
Leaking sink valves can also lead to
water damage
in your bathroom. If left unchecked, even a small leak can cause mold growth, damage to your walls and floors, and even structural issues. This can result in costly repairs and renovations. By changing your sink valves, you can prevent these potential issues and save yourself from the hassle and expense of dealing with water damage.
Improving Water Efficiency
 Old or faulty sink valves can also lead to
water wastage
. A leaky faucet can waste hundreds of gallons of water per year, resulting in higher water bills and a negative impact on the environment. By replacing your sink valves with newer, more efficient ones, you can reduce your water usage and save money in the long run.
Old or faulty sink valves can also lead to
water wastage
. A leaky faucet can waste hundreds of gallons of water per year, resulting in higher water bills and a negative impact on the environment. By replacing your sink valves with newer, more efficient ones, you can reduce your water usage and save money in the long run.
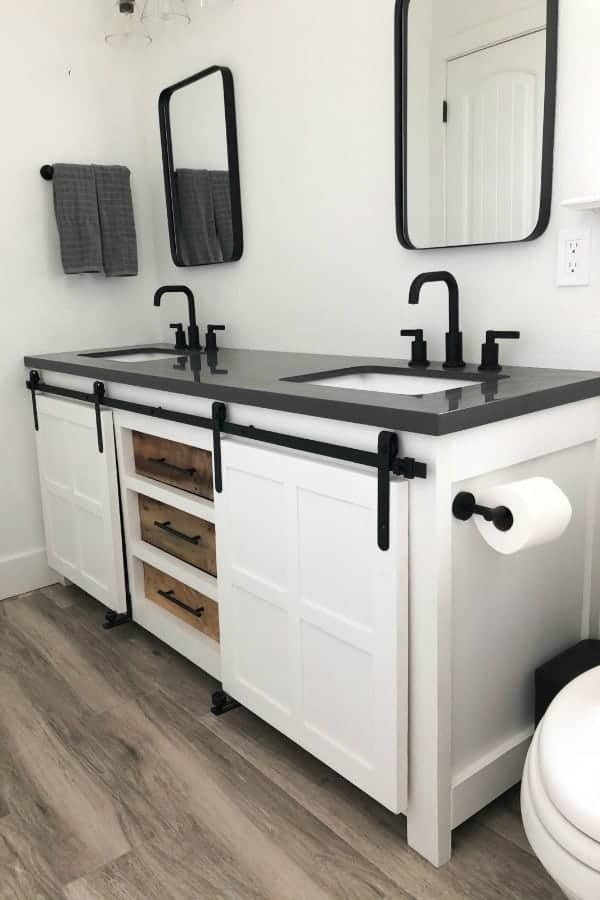
Updating Your Bathroom's Design
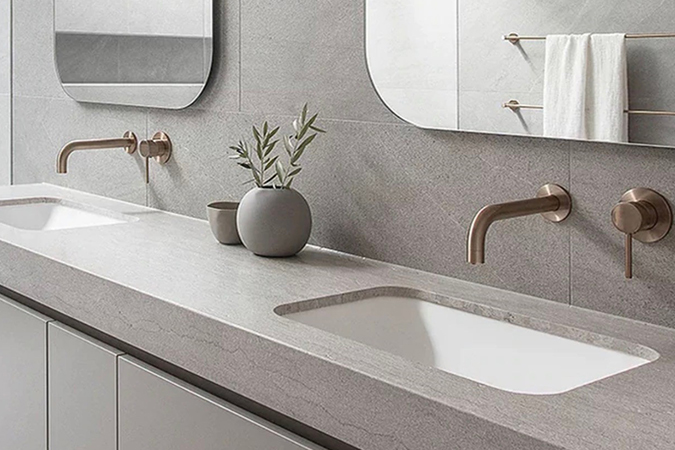
 Aside from functionality, changing your bathroom sink valves can also
improve the overall design
of your bathroom. With a wide variety of styles and finishes available, you can choose valves that complement your bathroom's aesthetic and give it a fresh, updated look.
Aside from functionality, changing your bathroom sink valves can also
improve the overall design
of your bathroom. With a wide variety of styles and finishes available, you can choose valves that complement your bathroom's aesthetic and give it a fresh, updated look.
How to Change Your Bathroom Sink Valves
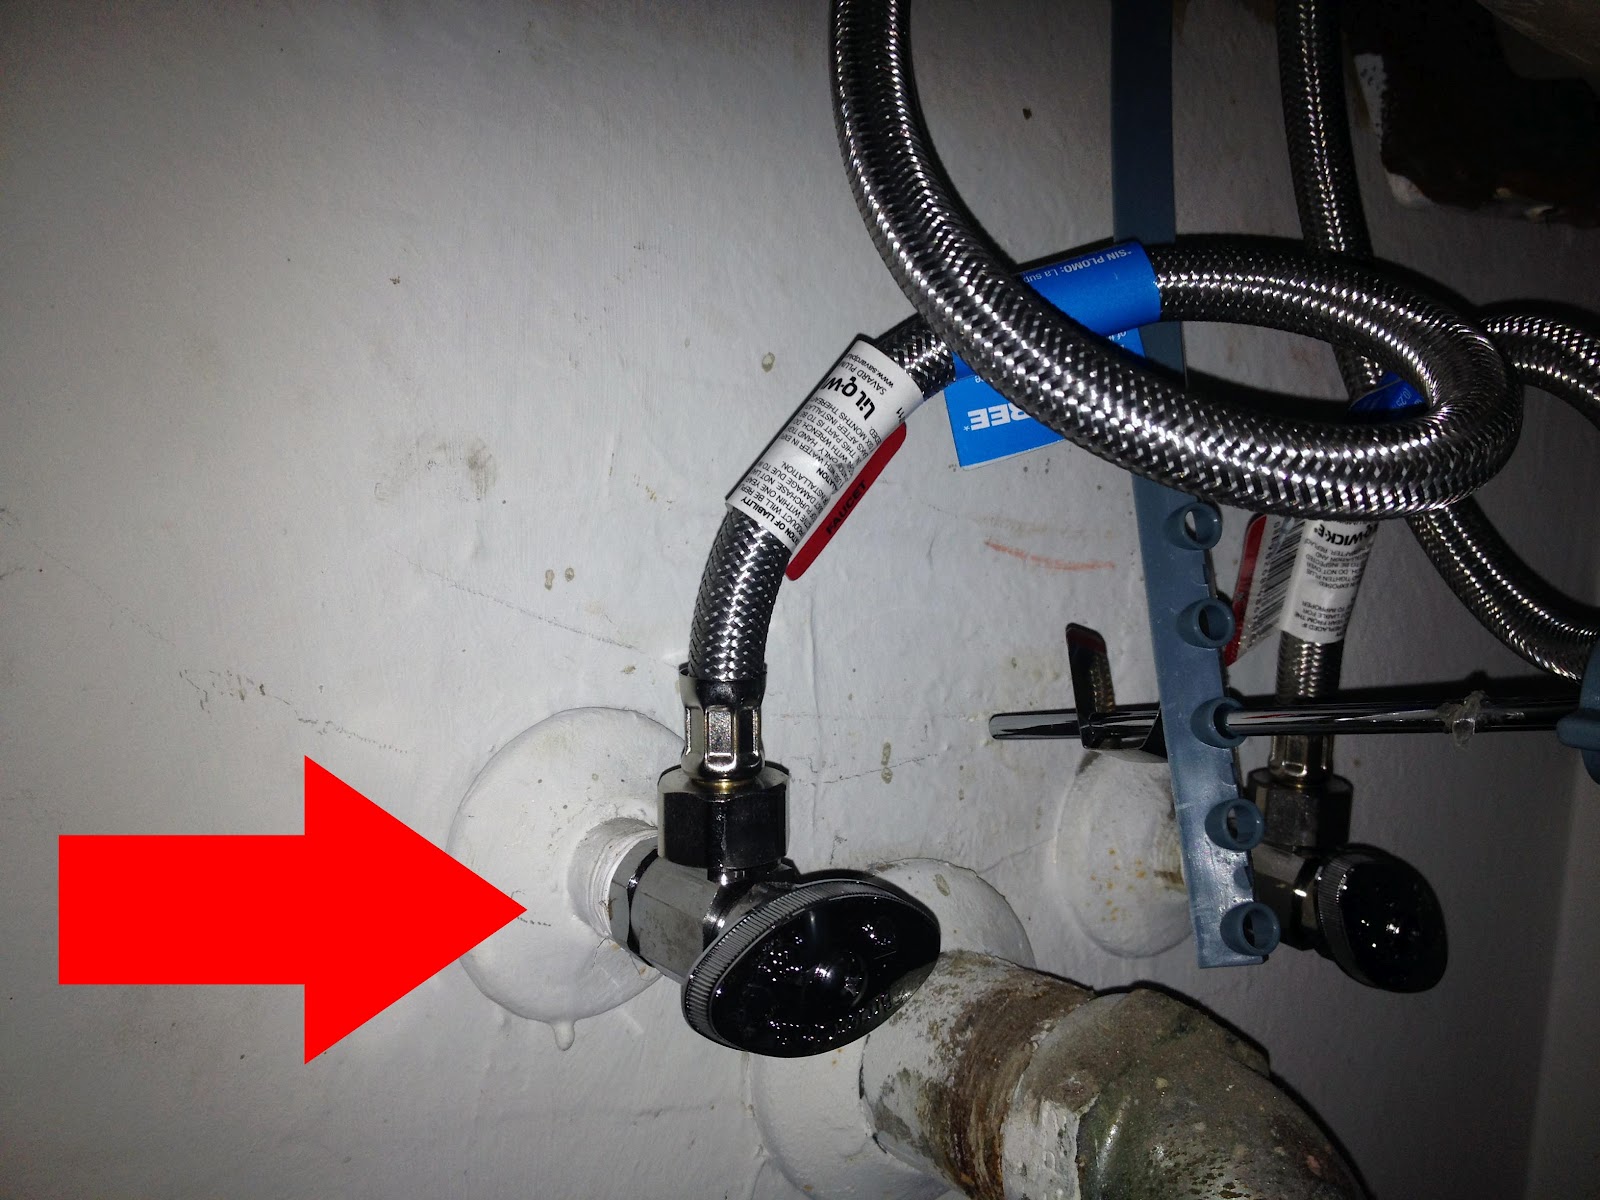
 Changing your bathroom sink valves is a relatively simple process that can be done by most homeowners. You will need to
shut off the water supply
to your sink, remove the old valves, and install the new ones. It is important to
follow manufacturer instructions
and use the proper tools to ensure a successful replacement.
In conclusion, changing your bathroom sink valves is a crucial aspect of maintaining a functional and efficient bathroom. It can prevent water damage, improve water efficiency, and give your bathroom a refreshed look. Make sure to
regularly inspect and replace your sink valves
to keep your bathroom in top condition.
Changing your bathroom sink valves is a relatively simple process that can be done by most homeowners. You will need to
shut off the water supply
to your sink, remove the old valves, and install the new ones. It is important to
follow manufacturer instructions
and use the proper tools to ensure a successful replacement.
In conclusion, changing your bathroom sink valves is a crucial aspect of maintaining a functional and efficient bathroom. It can prevent water damage, improve water efficiency, and give your bathroom a refreshed look. Make sure to
regularly inspect and replace your sink valves
to keep your bathroom in top condition.