If you're tired of seeing unsightly gaps and cracks in your kitchen walls, it's time to learn how to caulk like a pro. Caulking is a simple yet effective way to seal and protect your kitchen walls from moisture, mold, and mildew. With the right tools and techniques, you can easily achieve a professional-looking finish that will last for years to come.How to Caulk a Kitchen Wall


How to Caulk a Kitchen Wall


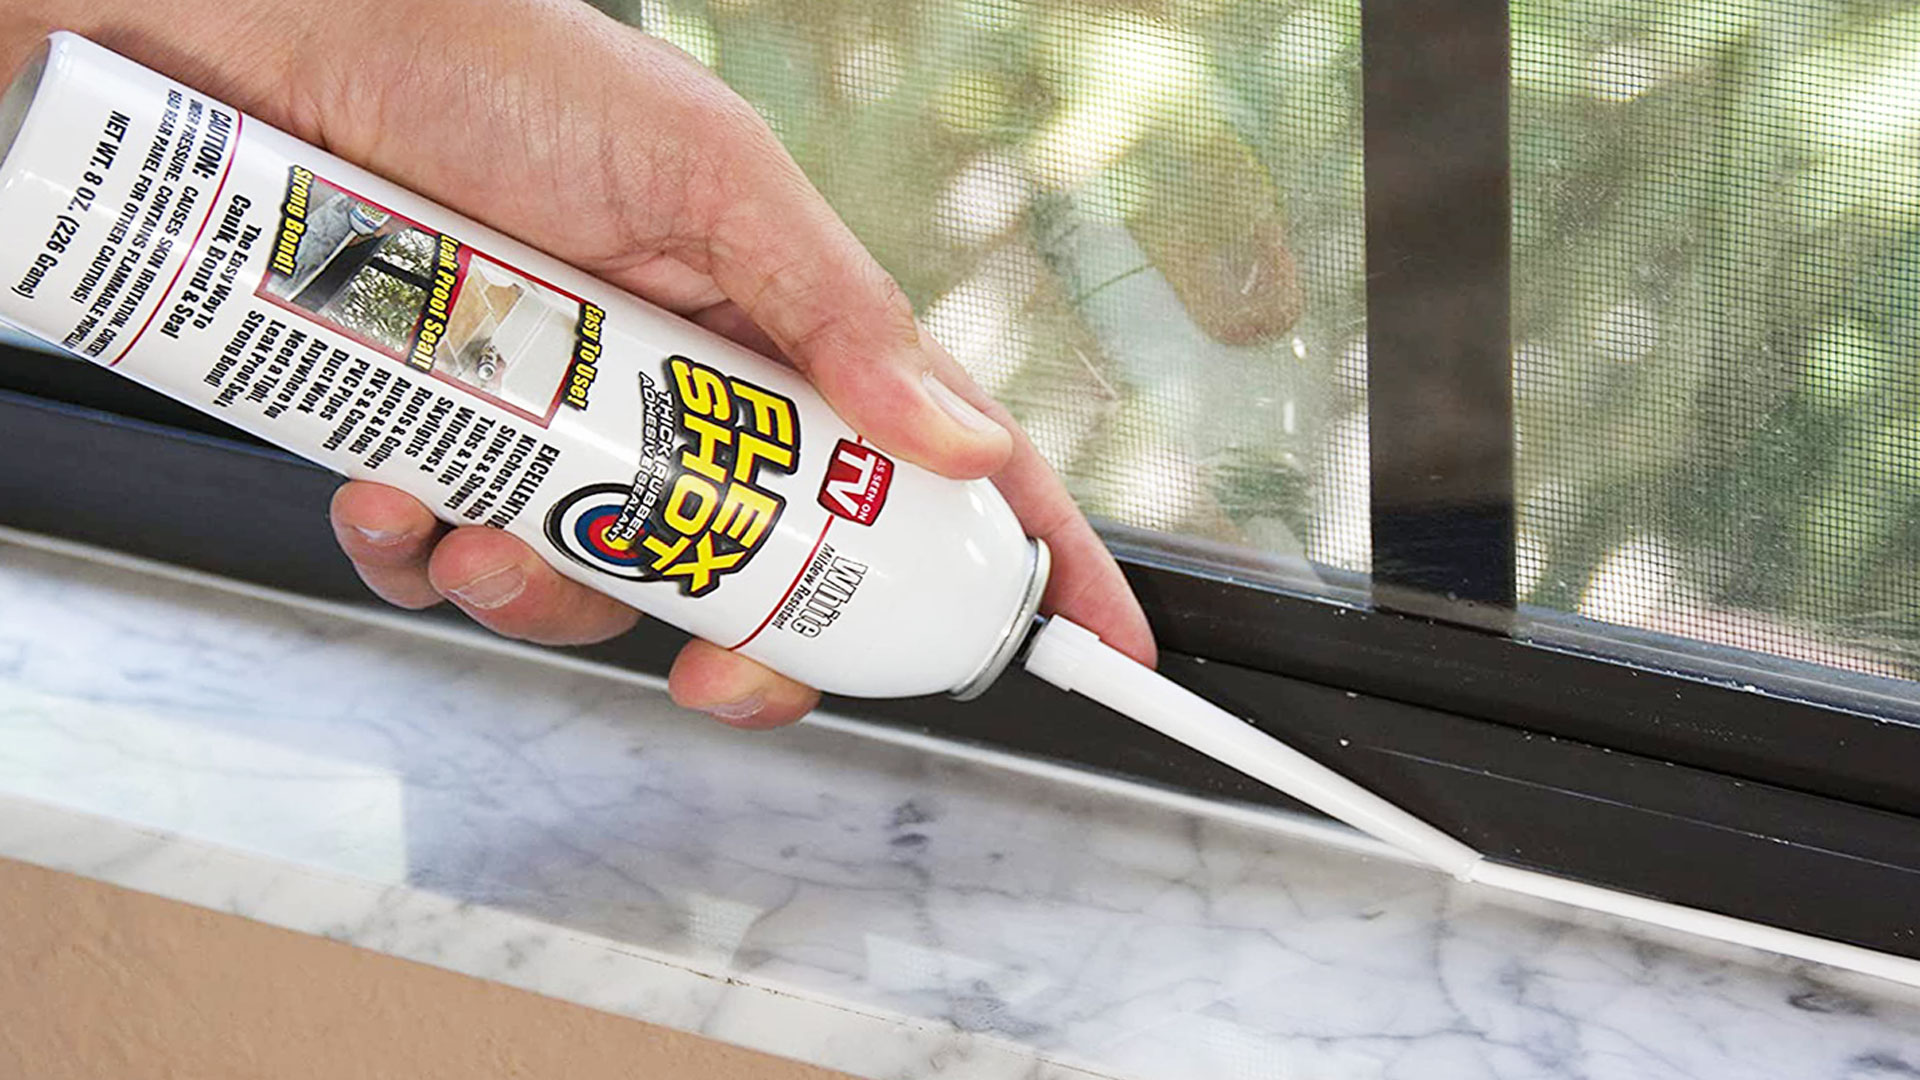
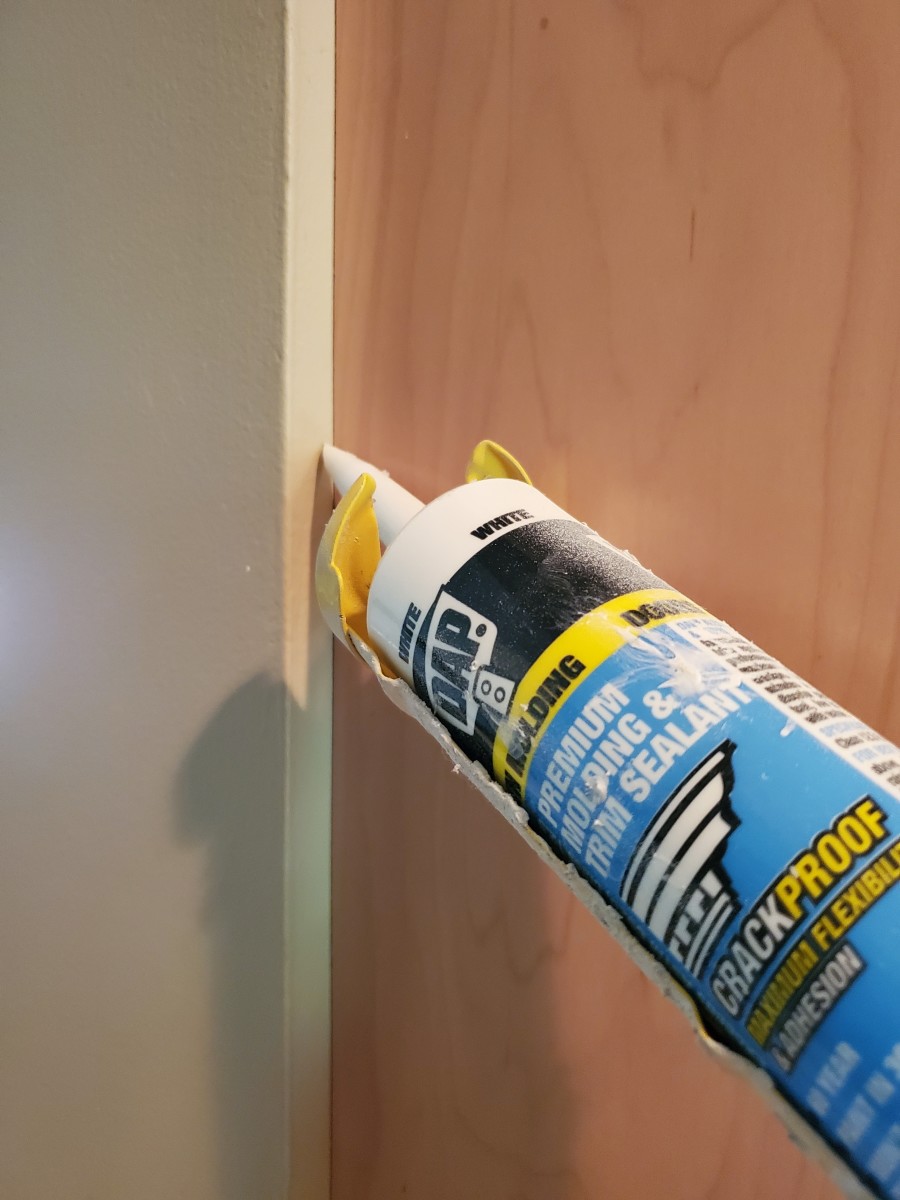
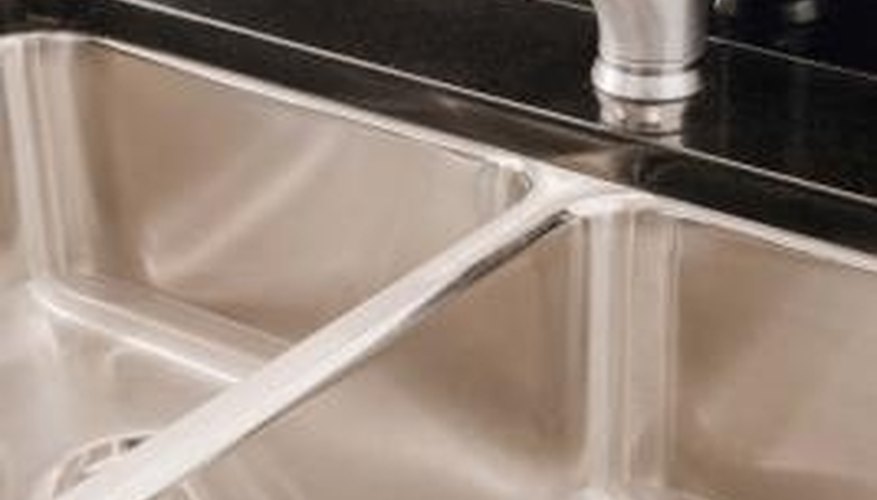
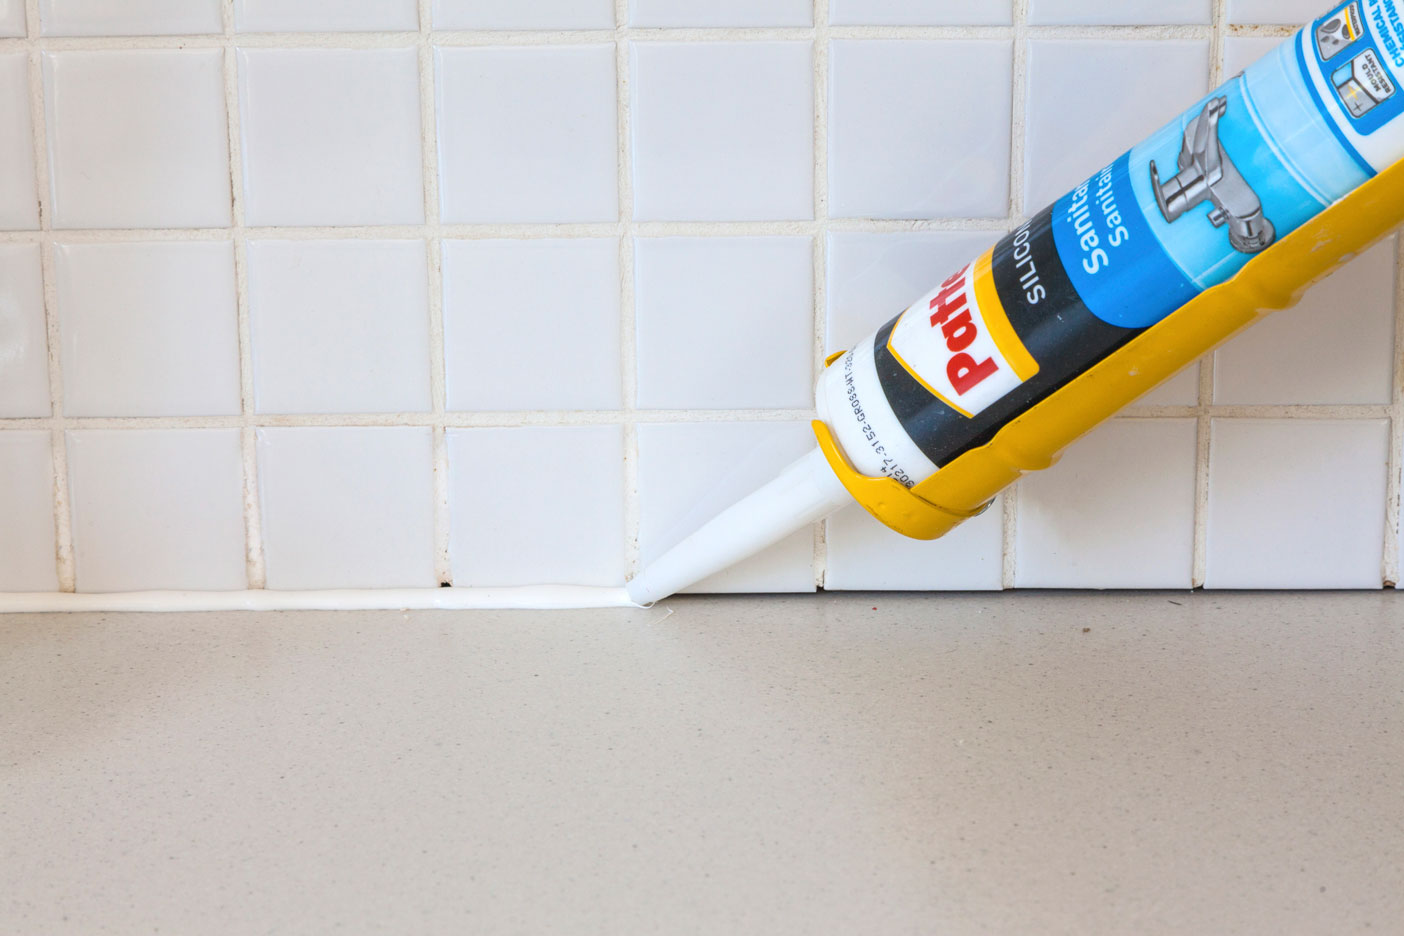
When it comes to caulking kitchen walls, not all caulks are created equal. Choosing the right caulk for your kitchen walls is crucial in achieving a long-lasting seal. For kitchen walls, it is recommended to use either silicone or acrylic latex caulk. Silicone caulk is best for areas that are frequently exposed to water, such as around the sink or backsplash. On the other hand, acrylic latex caulk is more versatile and can be used for both interior and exterior applications.Best Caulk for Kitchen Walls


Best Caulk for Kitchen Walls


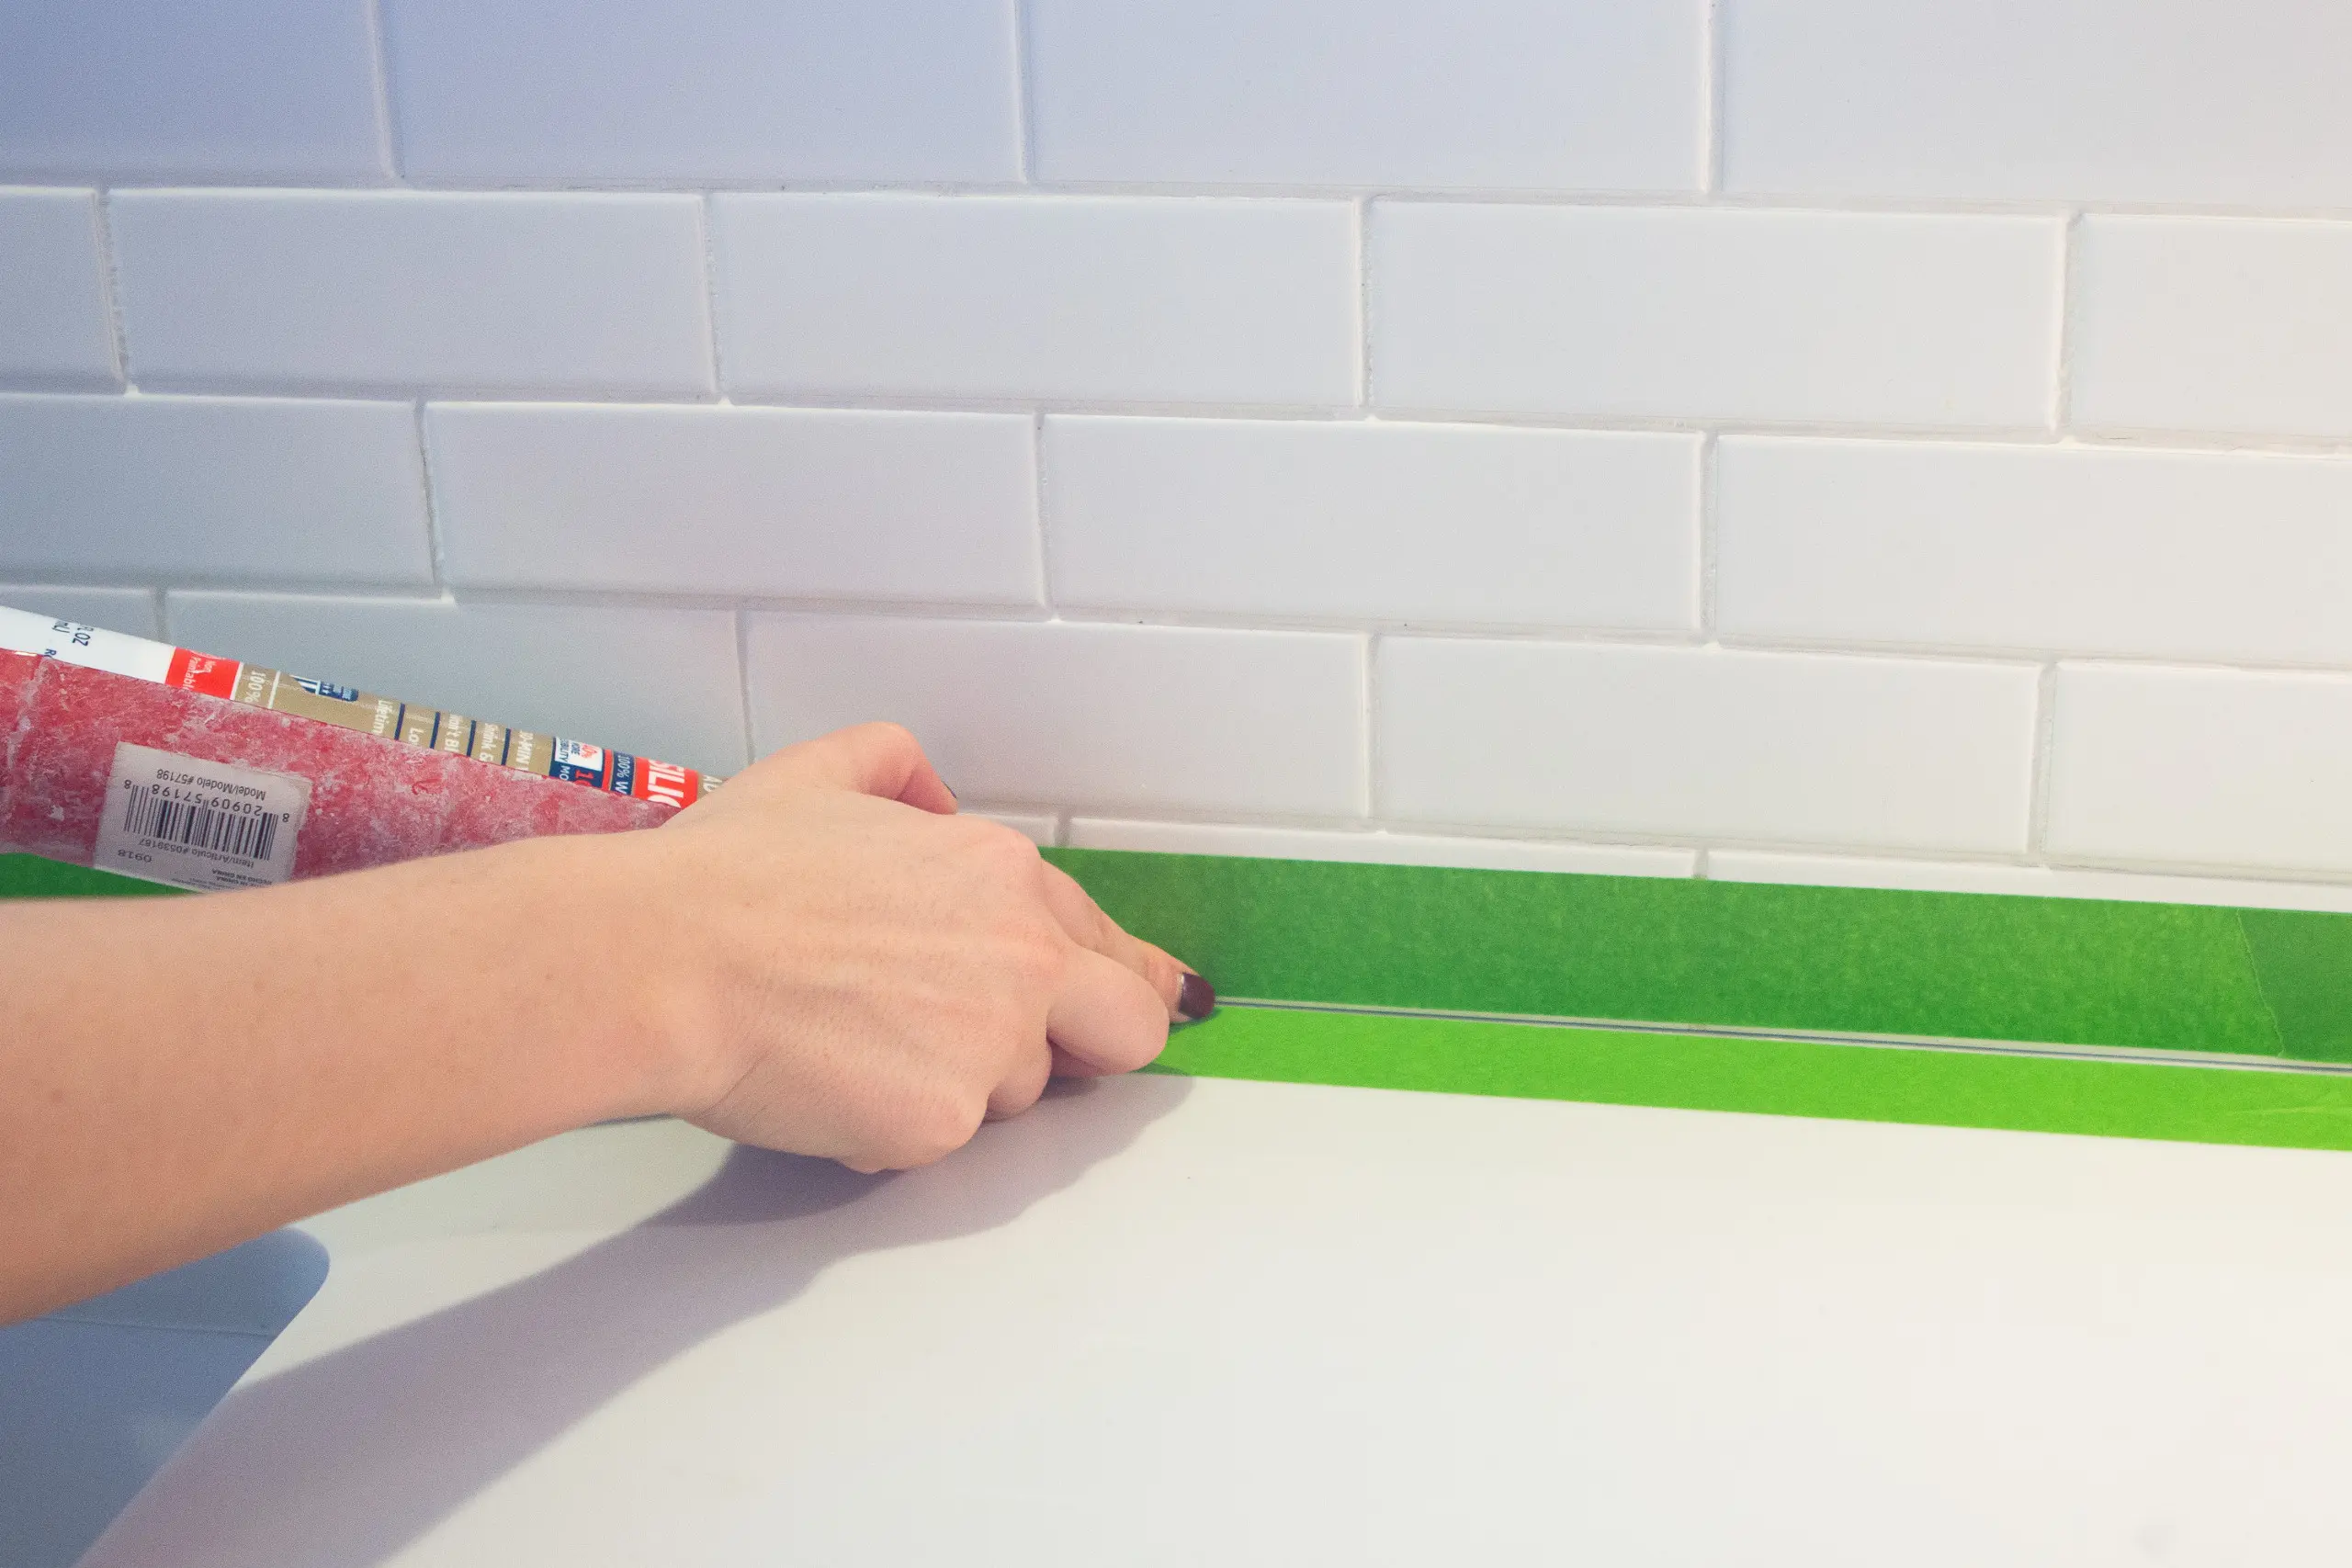
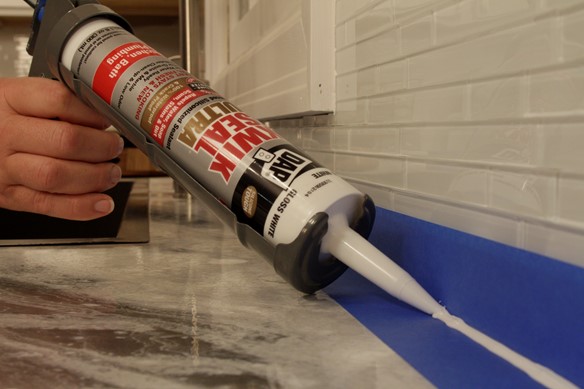
Before you start caulking, it's important to properly prepare the area. Make sure to clean the surface of the walls and remove any old caulk or debris. You can use a putty knife or scraper to help with this process. It's also a good idea to use painter's tape to protect any surfaces that you don't want to get caulk on. When applying the caulk, try to keep a steady hand and apply the caulk in a smooth, continuous motion.Tips for Caulking Kitchen Walls

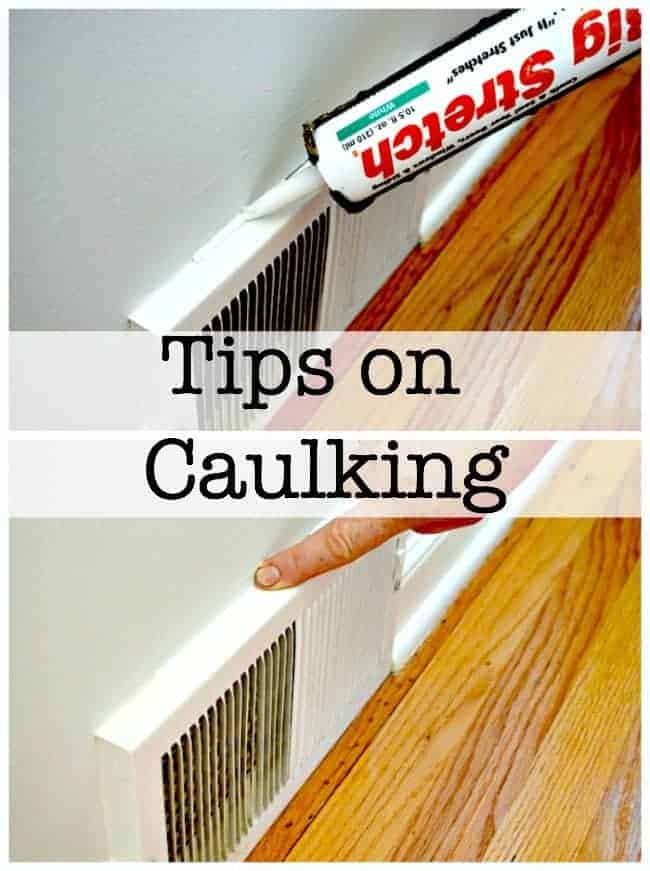
Tips for Caulking Kitchen Walls


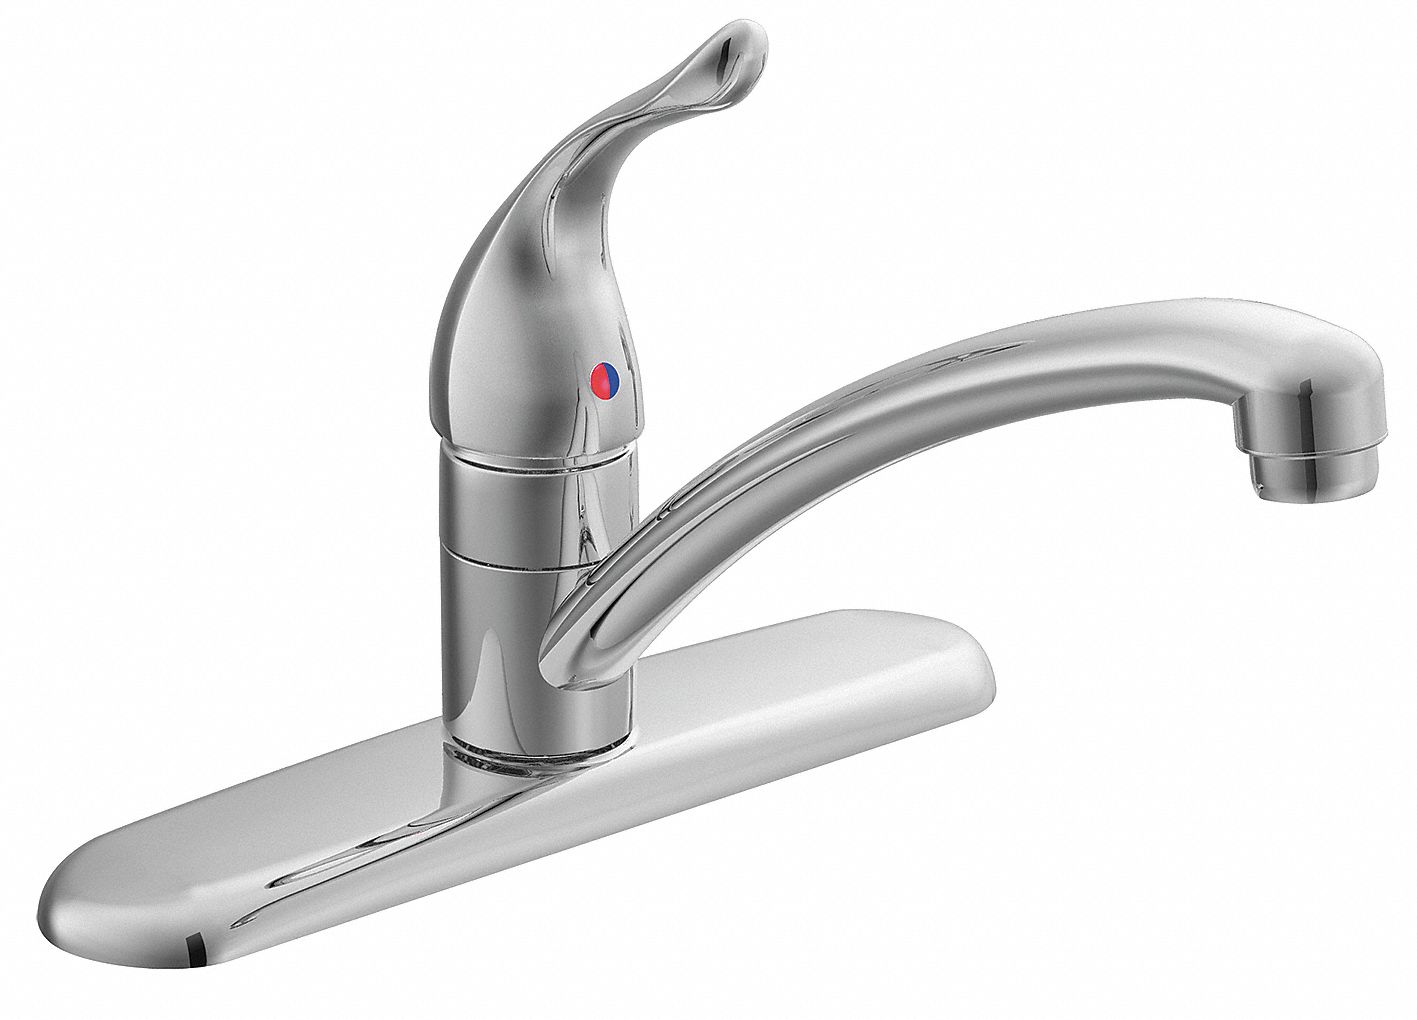
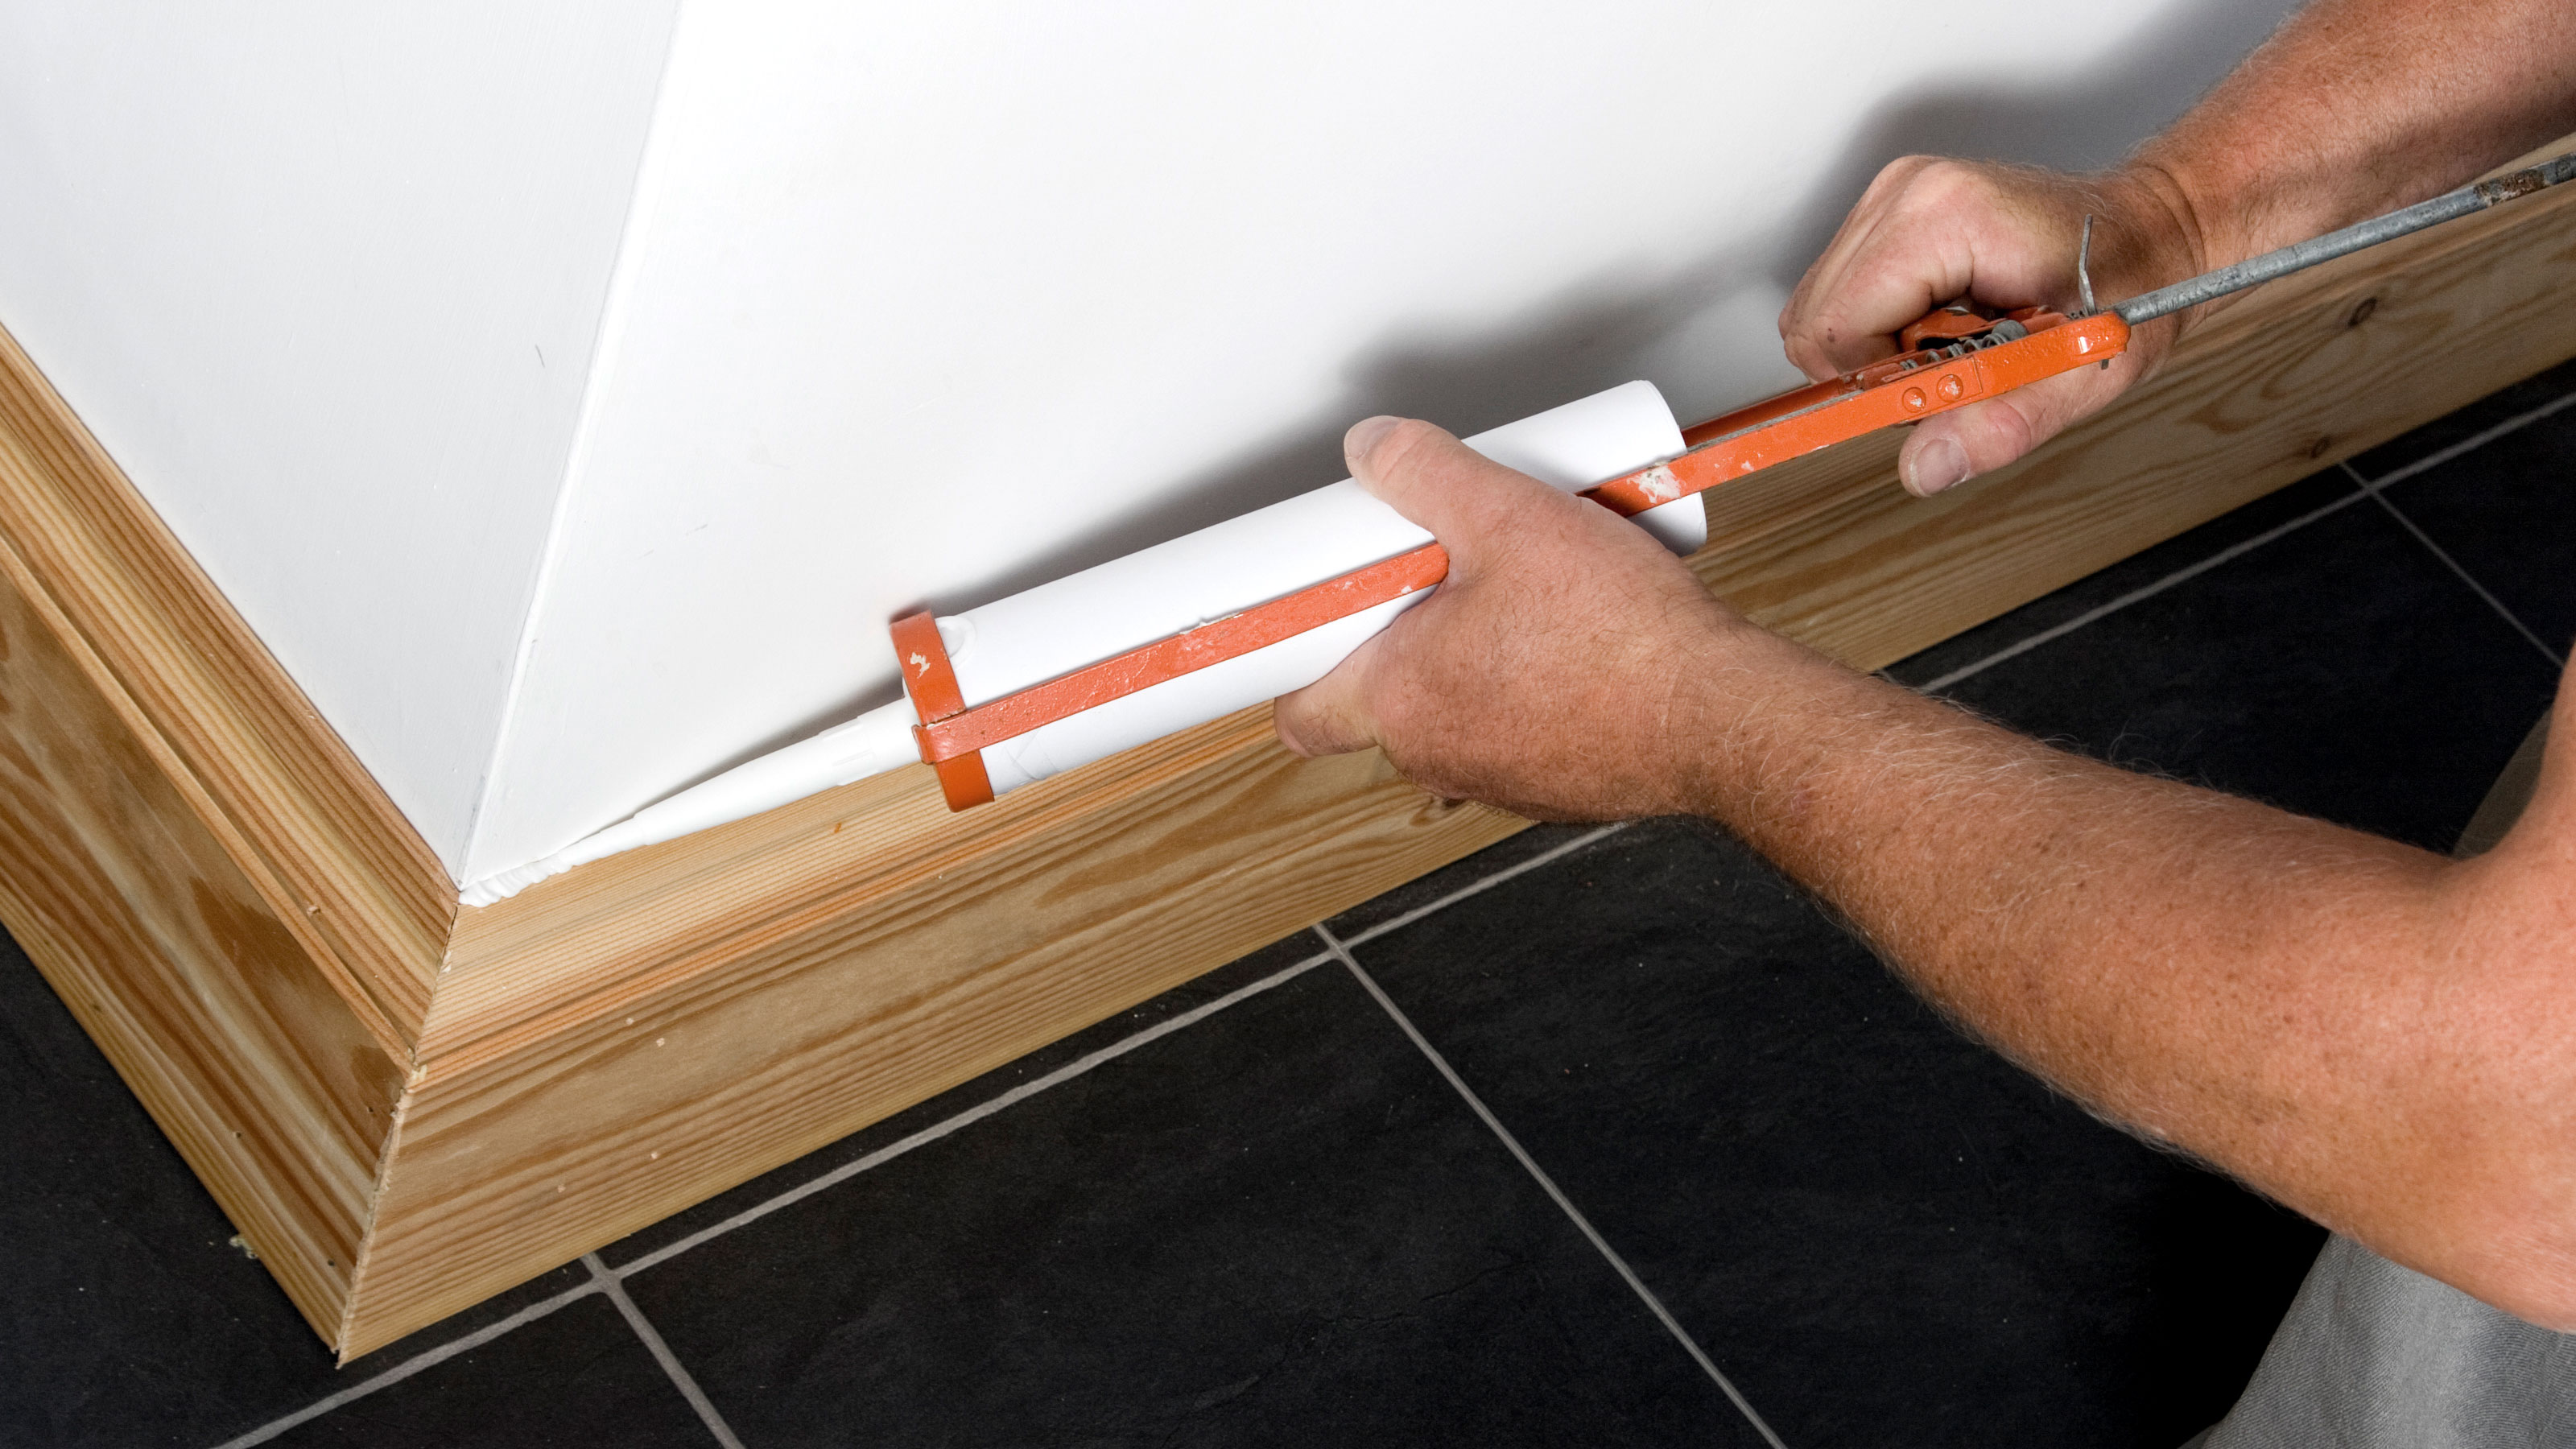
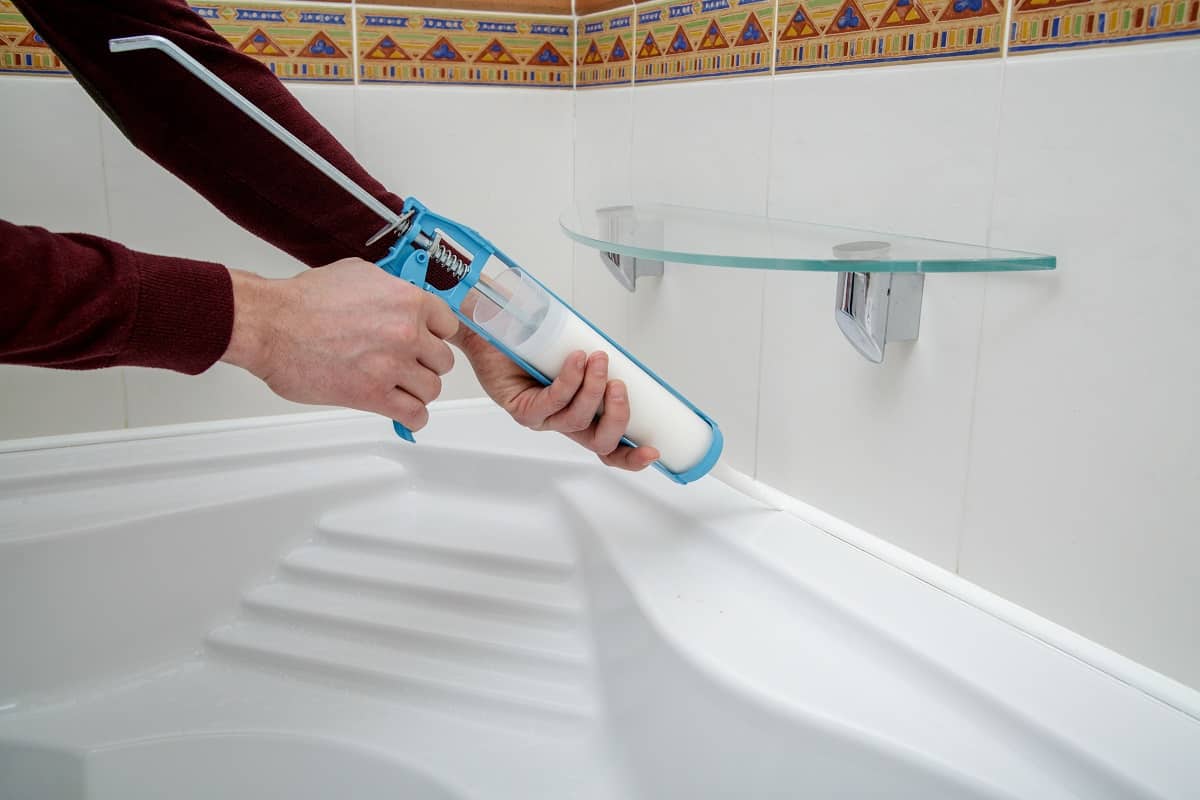
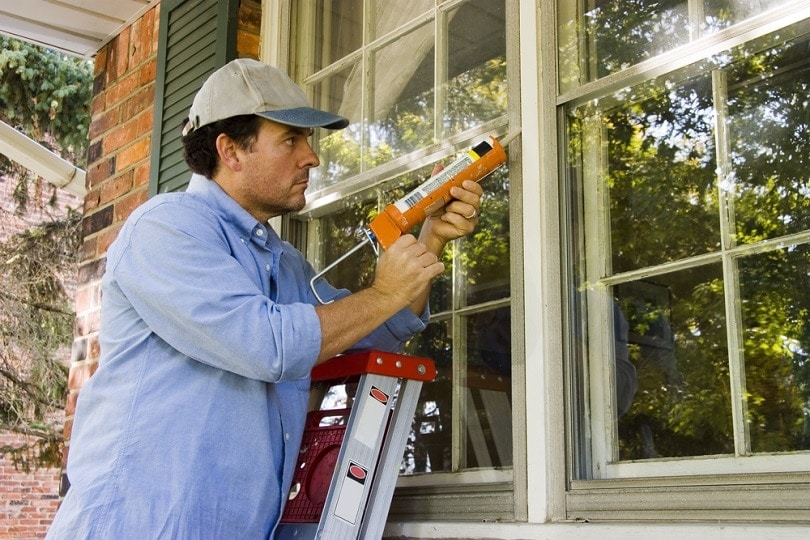
Having the right tools can make all the difference when it comes to caulking kitchen walls. Some essential tools to have on hand include a caulking gun, putty knife, and a damp cloth. A caulking gun will help you control the flow of caulk, while a putty knife is useful for smoothing out the caulk and removing any excess. The damp cloth can be used to wipe away any mistakes or clean up any messes.Caulking Tools for Kitchen Walls


Caulking Tools for Kitchen Walls


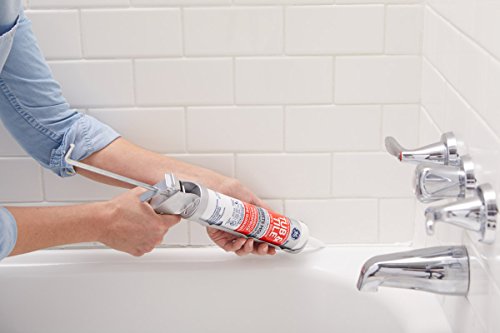
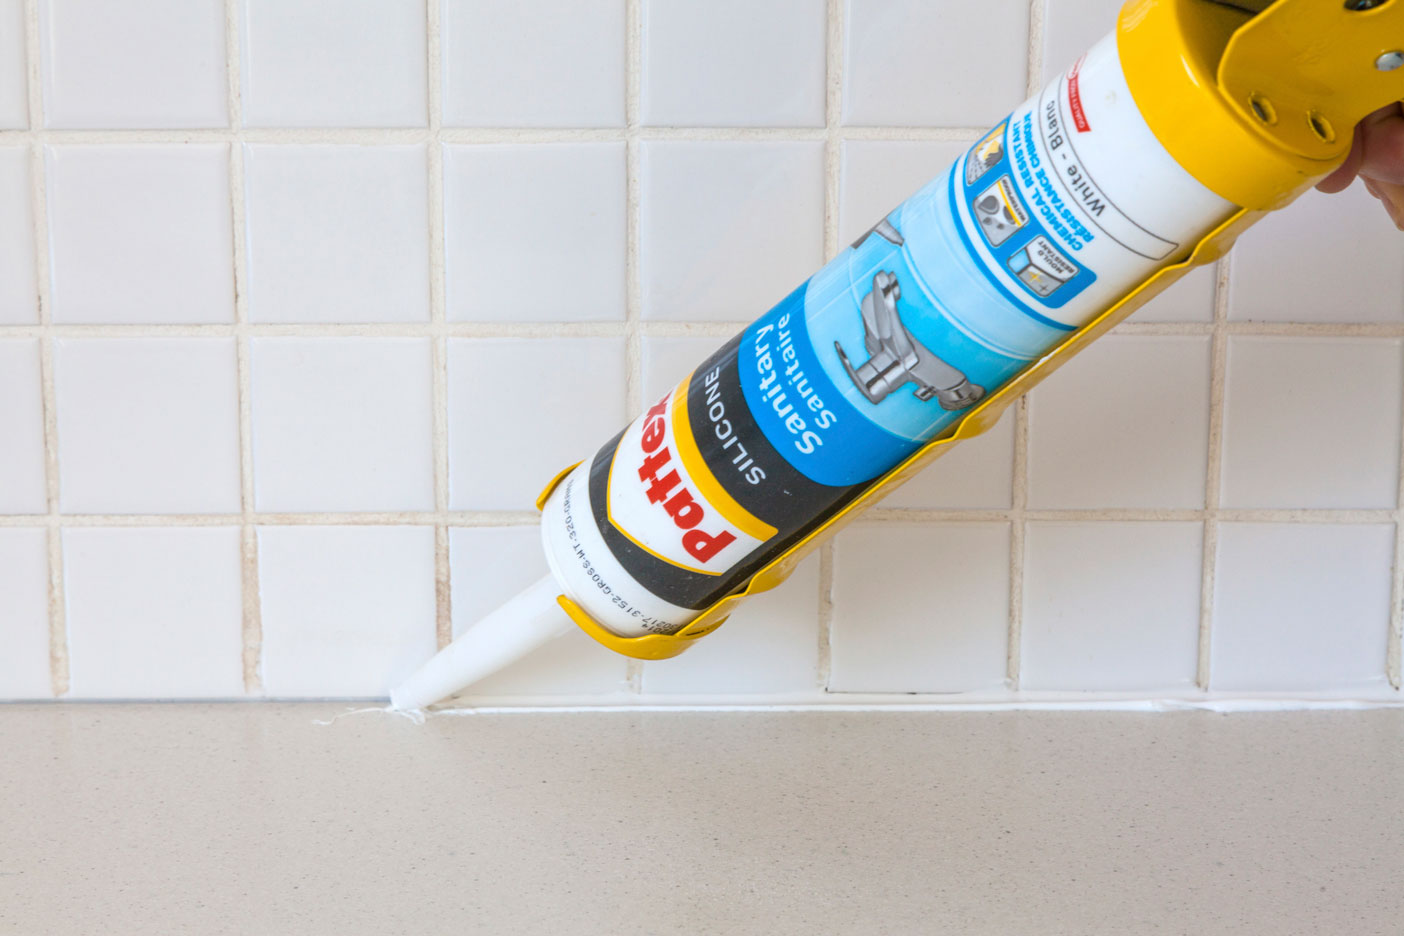
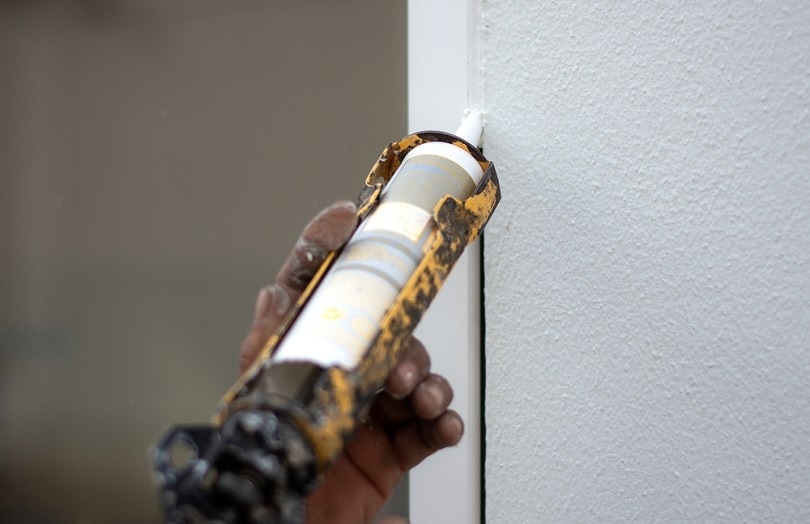
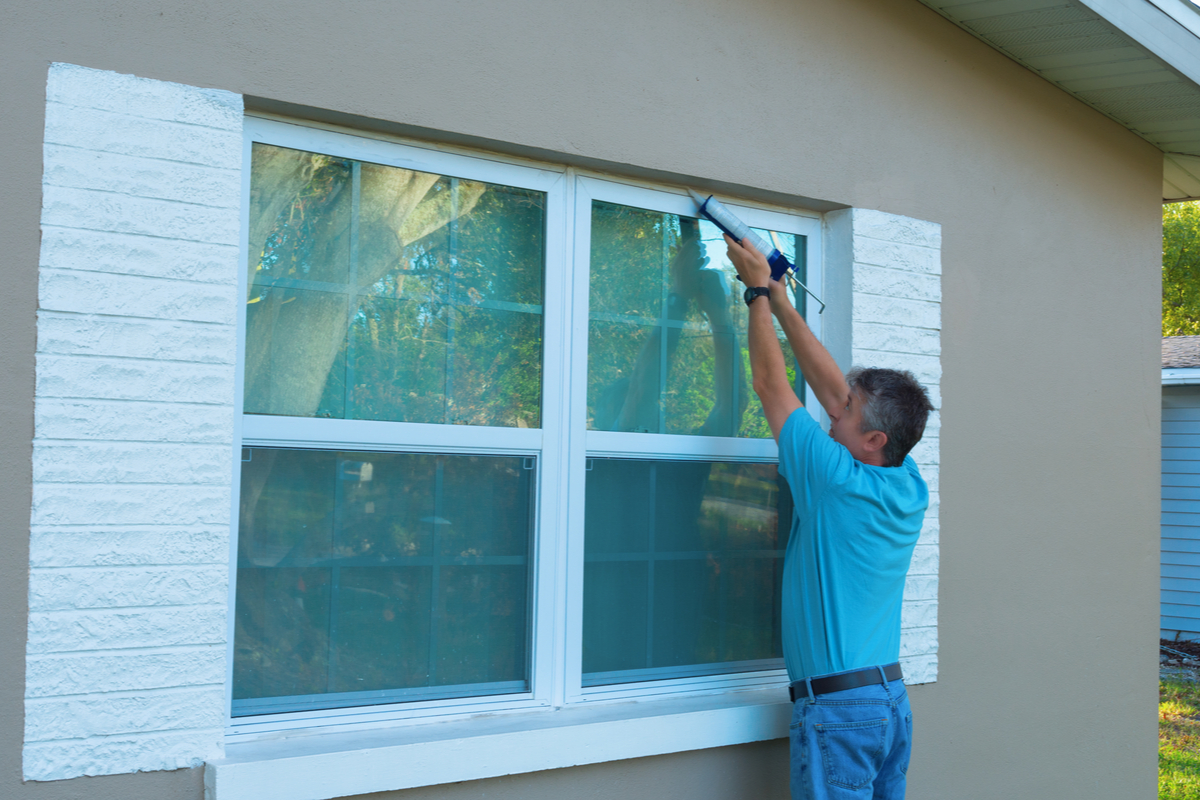
Step 1: Prepare the area by cleaning the walls and removing any old caulk or debris. Step 2: Cut the tip of the caulk tube at a 45-degree angle with a utility knife. Step 3: Load the caulk tube into the caulking gun and squeeze the trigger until the caulk starts to come out. Step 4: Apply the caulk in a smooth, continuous motion along the edge of the wall, using the tip of the caulk tube to guide the flow. Step 5: Use a damp cloth or your finger to smooth out the caulk and remove any excess. Step 6: Remove the painter's tape before the caulk dries to avoid pulling it up with the tape.Step-by-Step Guide to Caulking Kitchen Walls


Step-by-Step Guide to Caulking Kitchen Walls
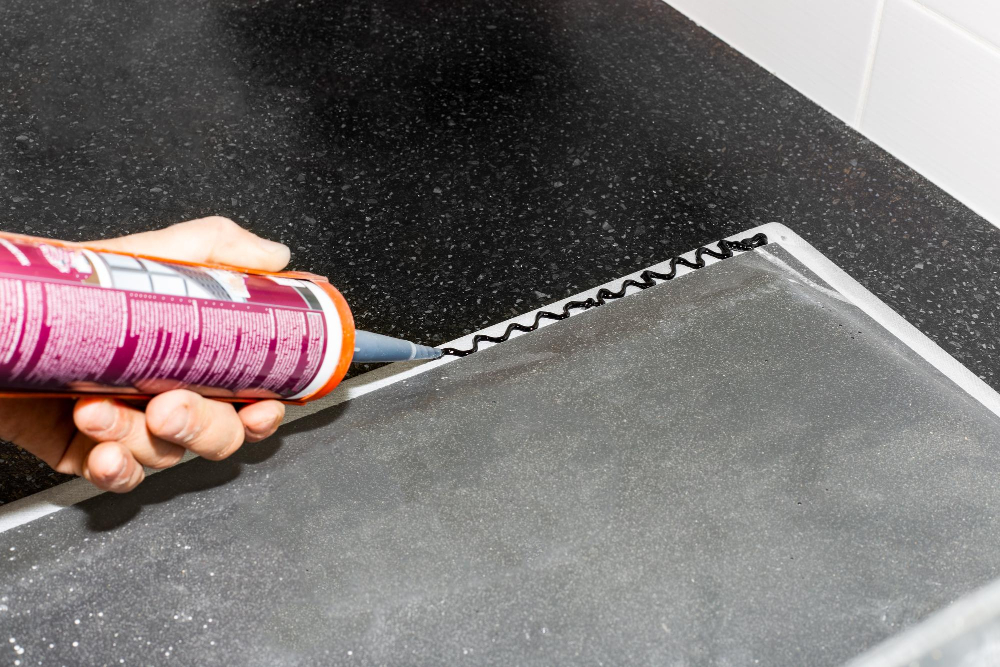
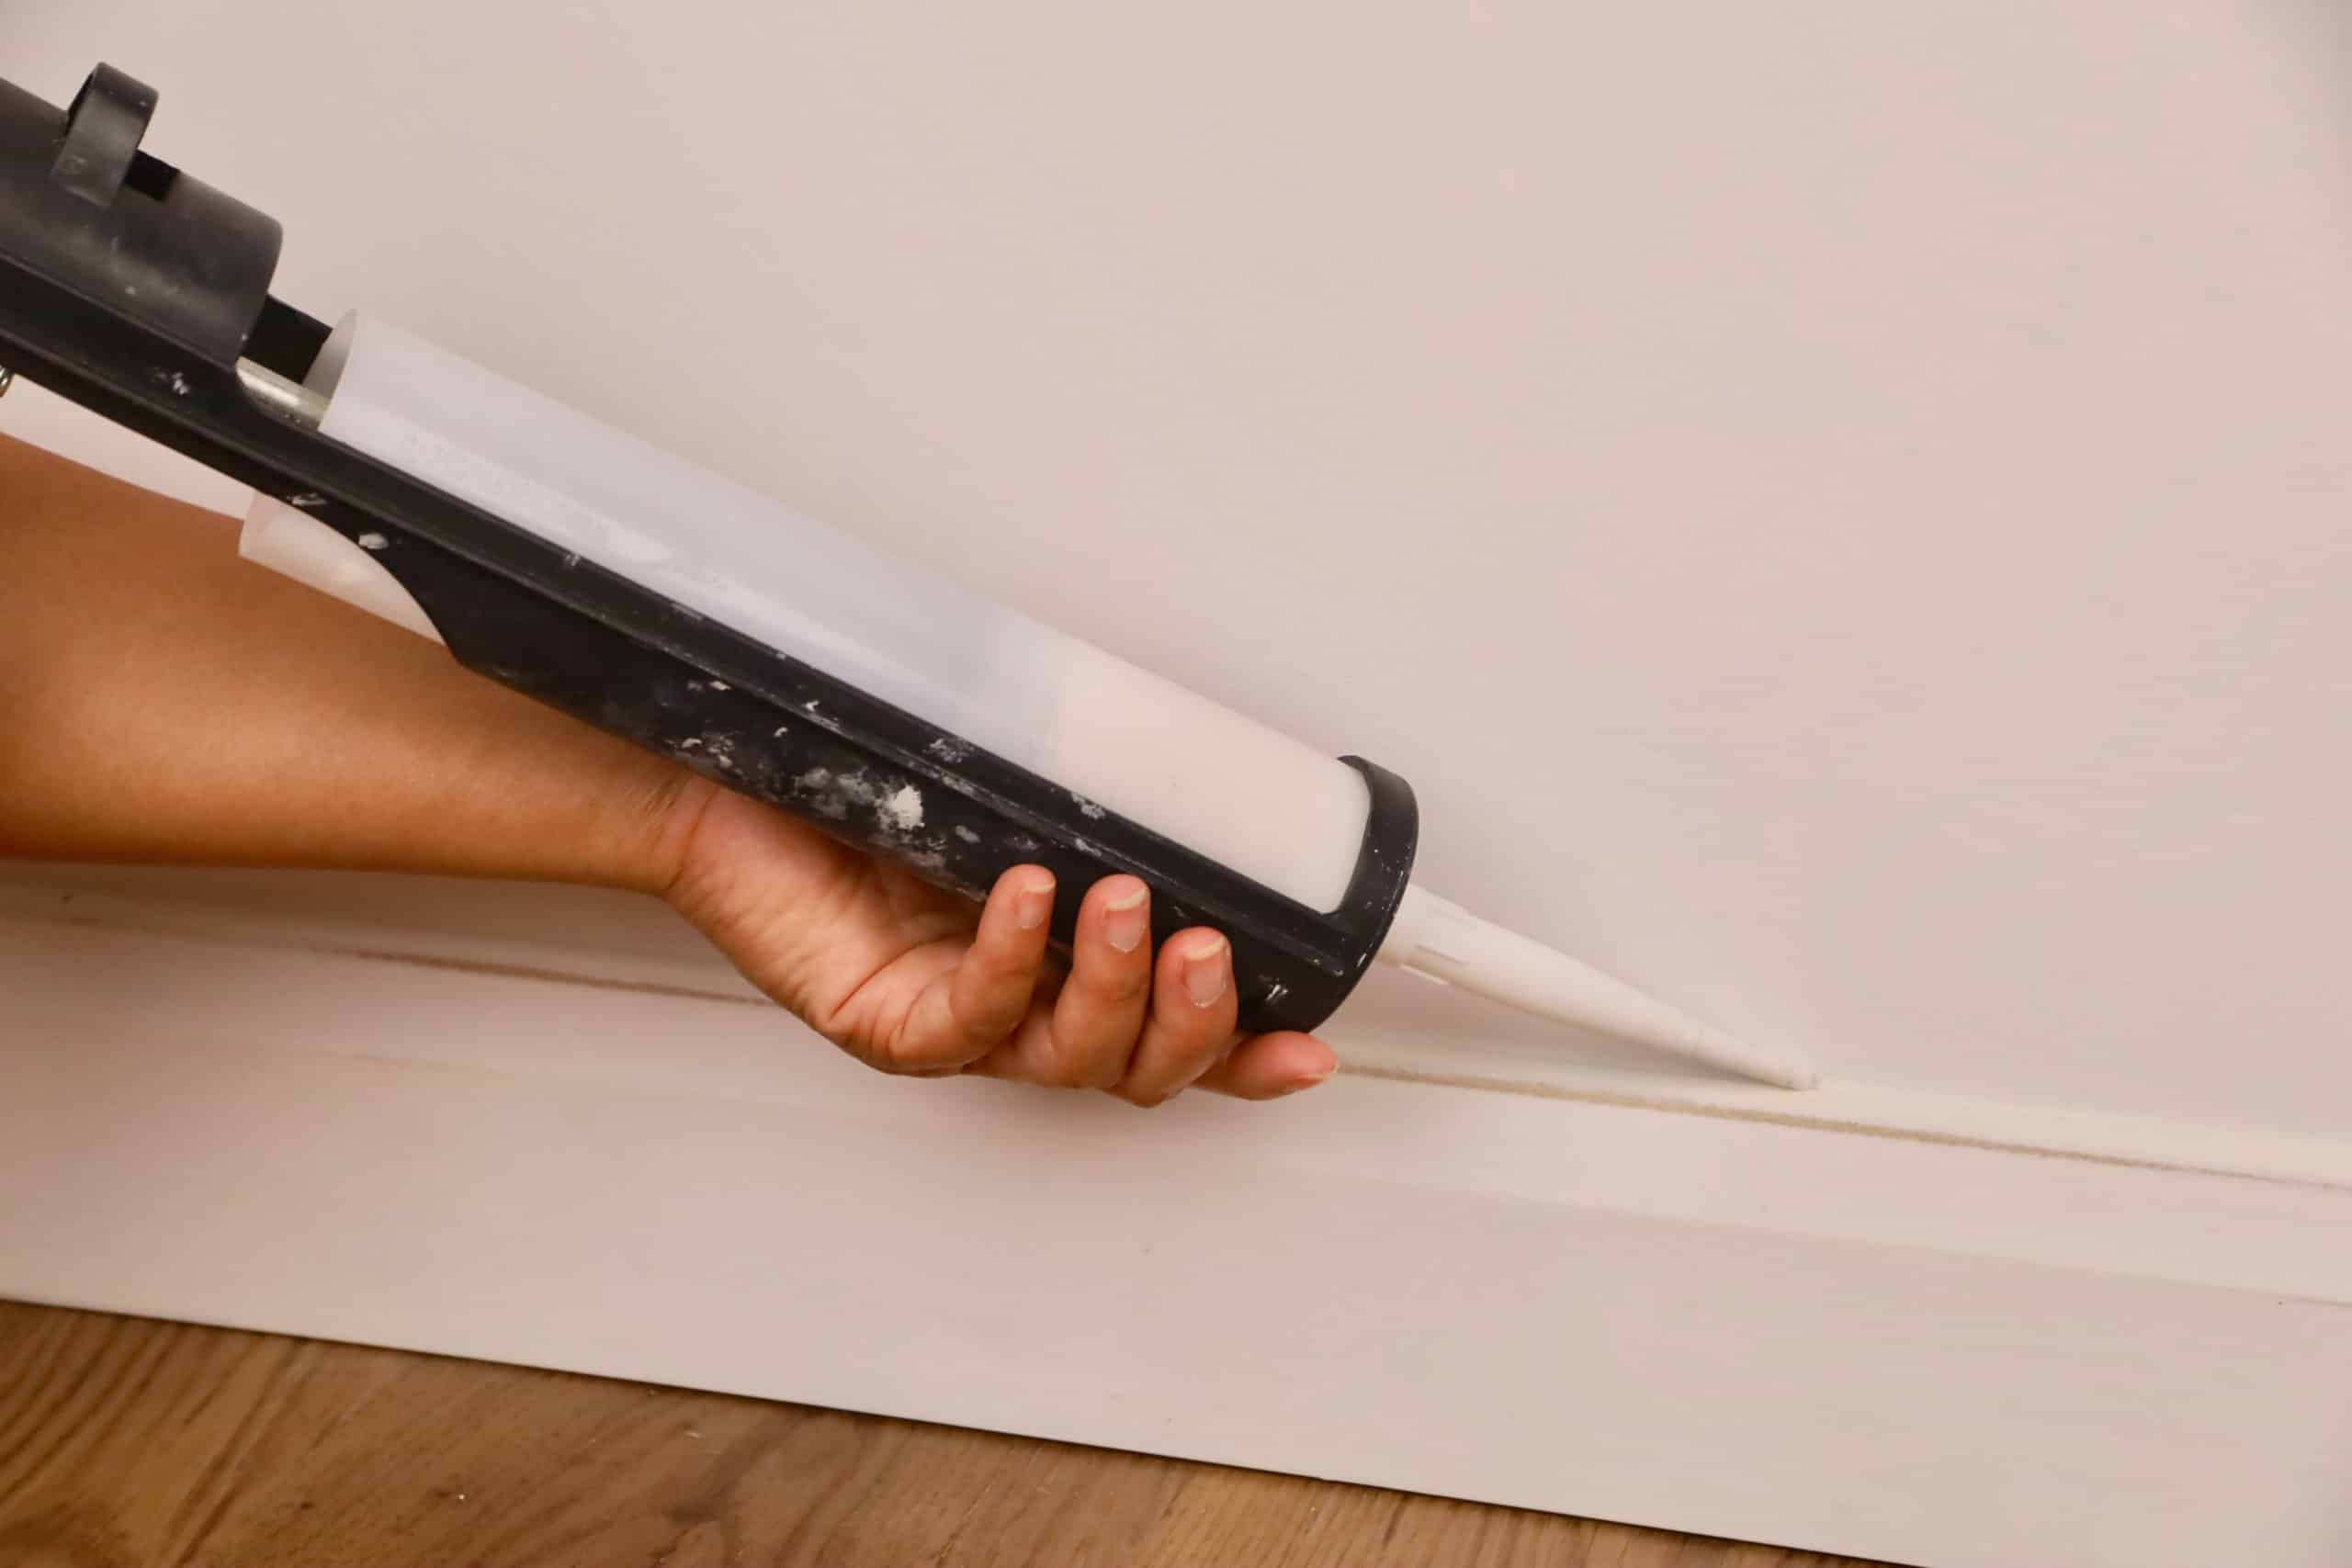


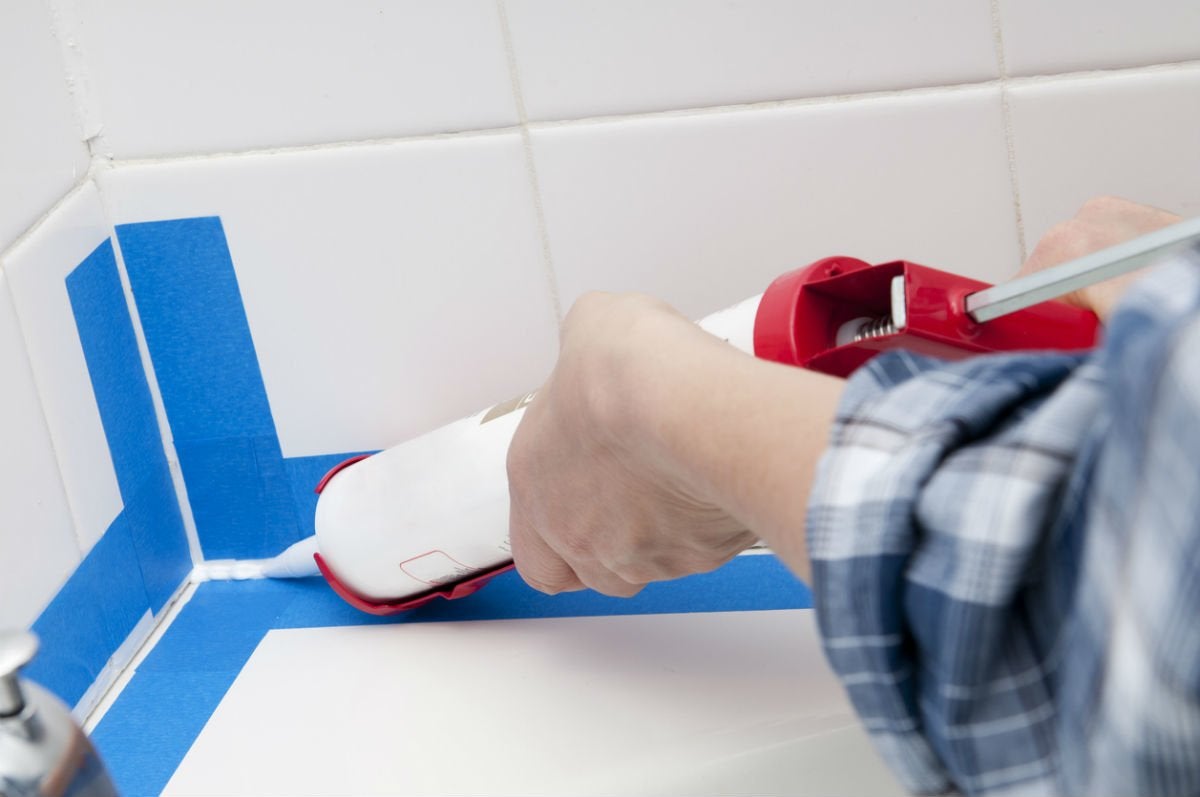
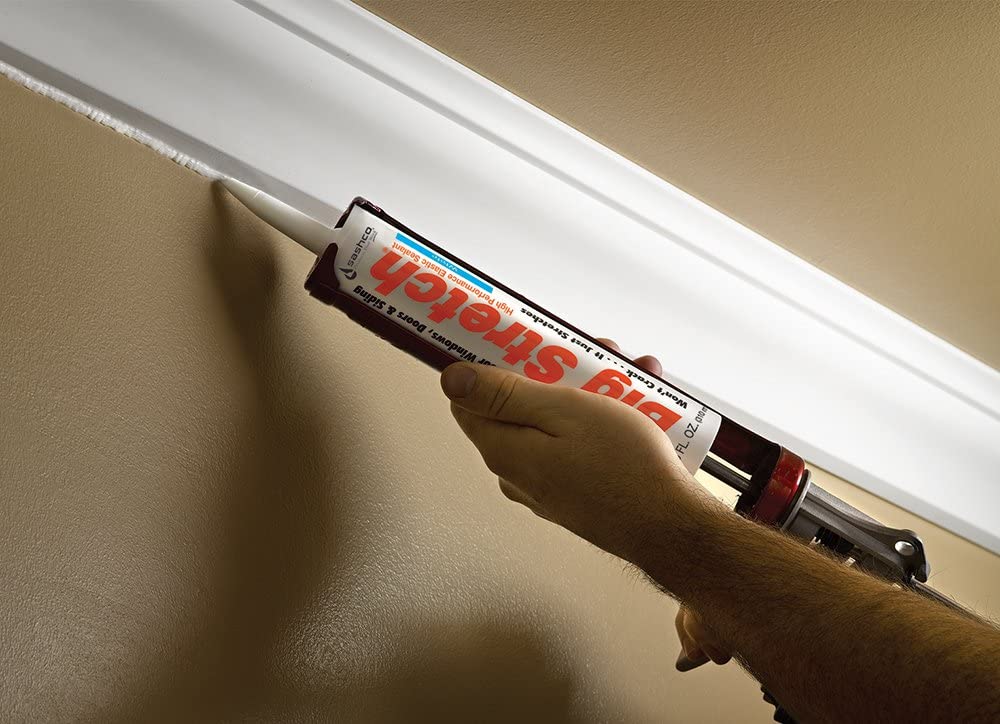
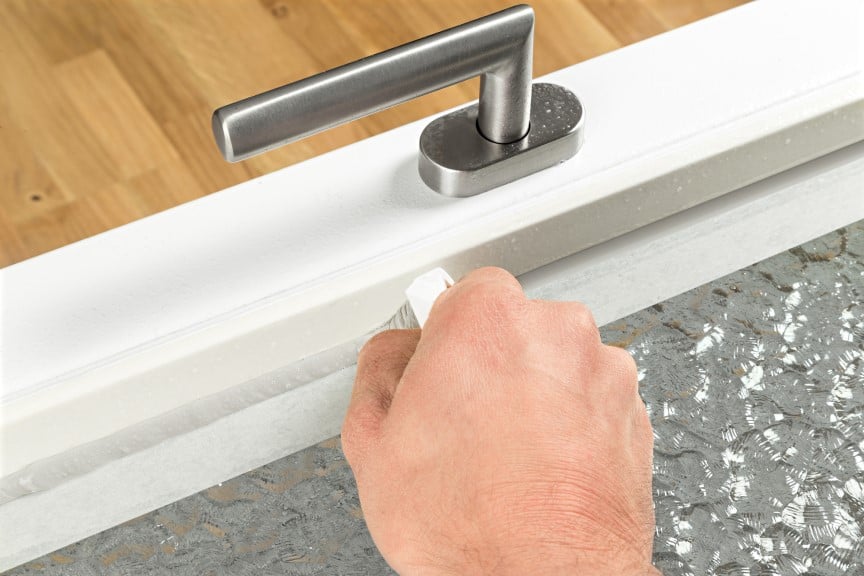
There are different techniques you can use when caulking kitchen walls, depending on the type of caulk you are using. For silicone caulk, it's best to apply it in a continuous bead and then use a wet finger to smooth it out. For acrylic latex caulk, you can use the same technique or use a putty knife to smooth it out. It's important to work quickly and efficiently when caulking, as caulk can dry fast.Caulking Techniques for Kitchen Walls

Caulking Techniques for Kitchen Walls

/182836729-56a49f253df78cf772834e2d.jpg)


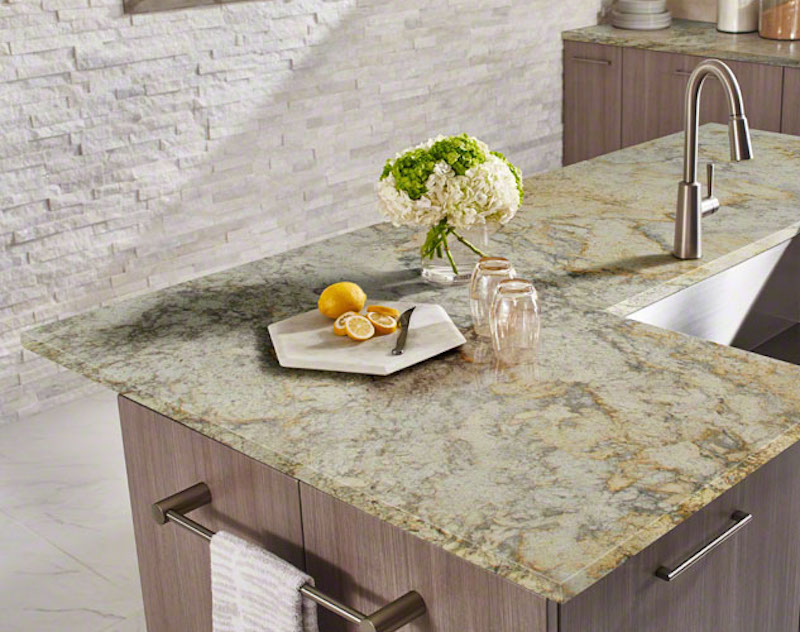
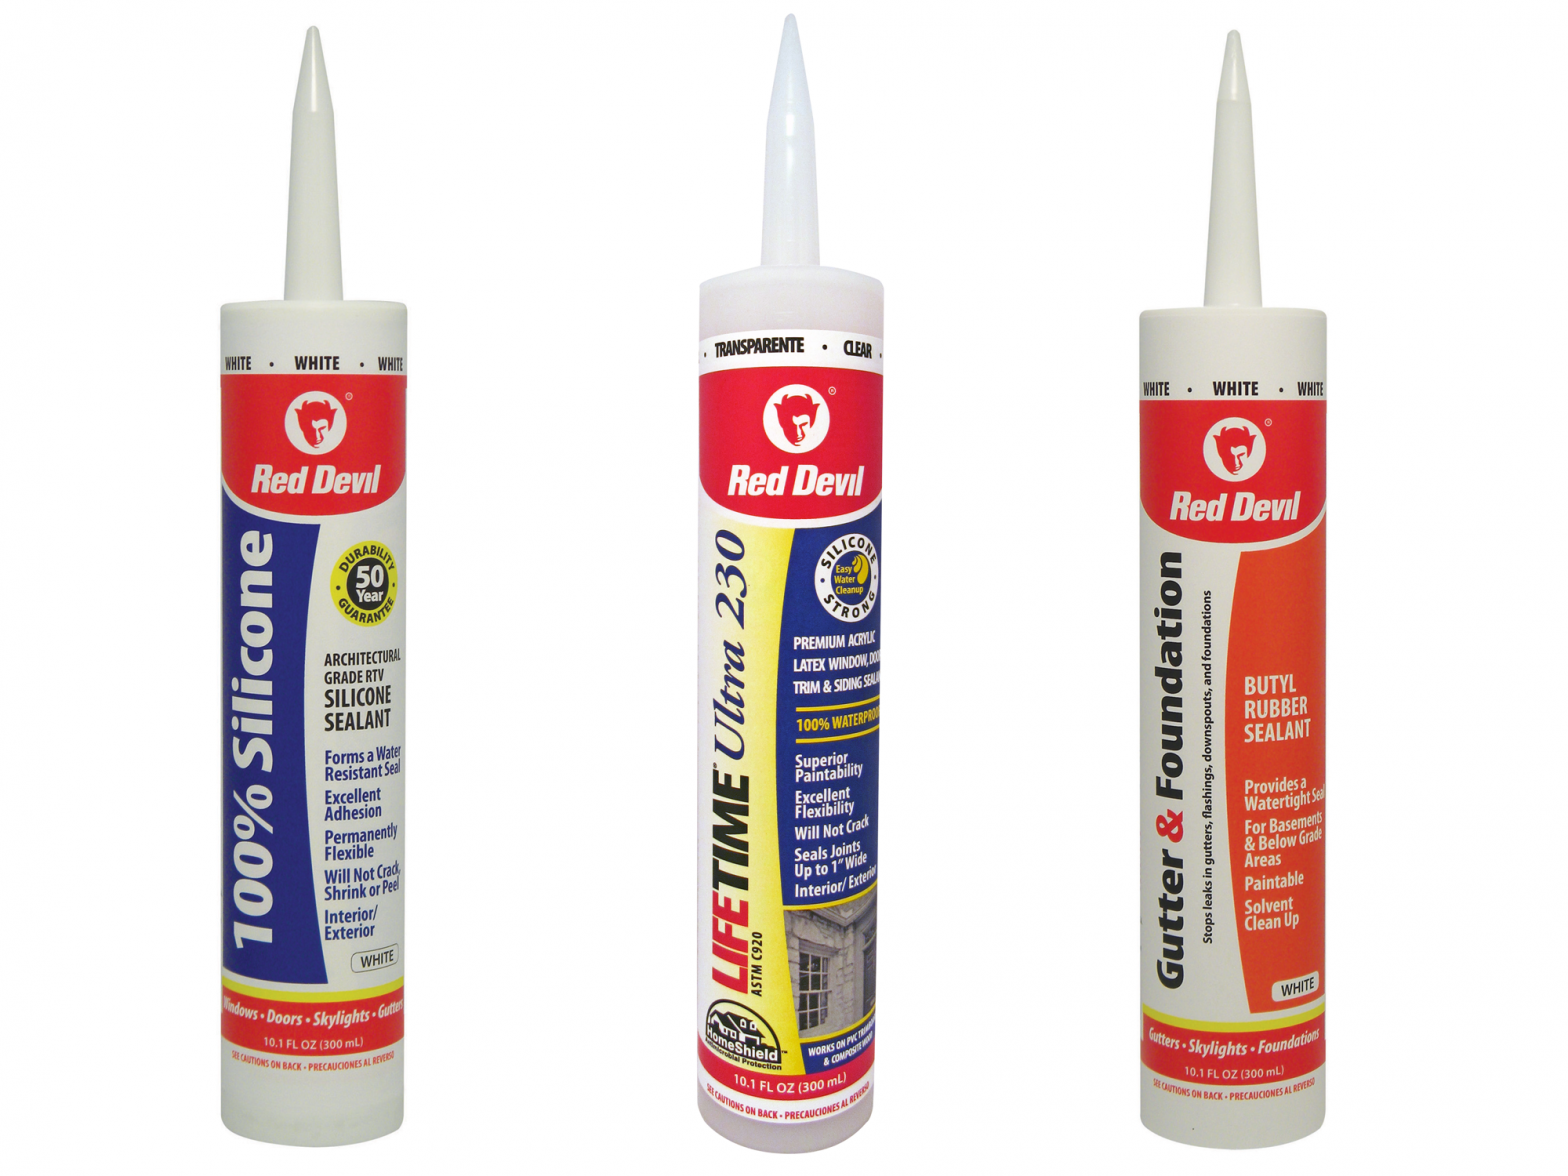
As mentioned earlier, silicone and acrylic latex caulk are the best options for caulking kitchen walls. However, there are also different types of caulk within these categories, such as mildew-resistant caulk, paintable caulk, and clear caulk. Consider the specific needs of your kitchen walls and choose the type of caulk that will best suit your needs.Choosing the Right Caulk for Your Kitchen Walls


Choosing the Right Caulk for Your Kitchen Walls


One common mistake when caulking kitchen walls is not properly preparing the area beforehand. This can result in a poor seal and a messy finish. Another mistake is not using enough caulk or not applying it in a continuous bead, which can result in gaps and cracks. It's also important to use the right type of caulk for the job, as using the wrong type can lead to a weak seal.Common Mistakes When Caulking Kitchen Walls


Common Mistakes When Caulking Kitchen Walls


The frequency at which you should caulk your kitchen walls depends on various factors, such as the type of caulk used, the condition of the walls, and the amount of moisture in the kitchen. On average, it's recommended to re-caulk kitchen walls every 5-10 years. However, if you notice any gaps or cracks, it's best to caulk them as soon as possible to prevent any further damage.How Often Should You Caulk Your Kitchen Walls?


How Often Should You Caulk Your Kitchen Walls?

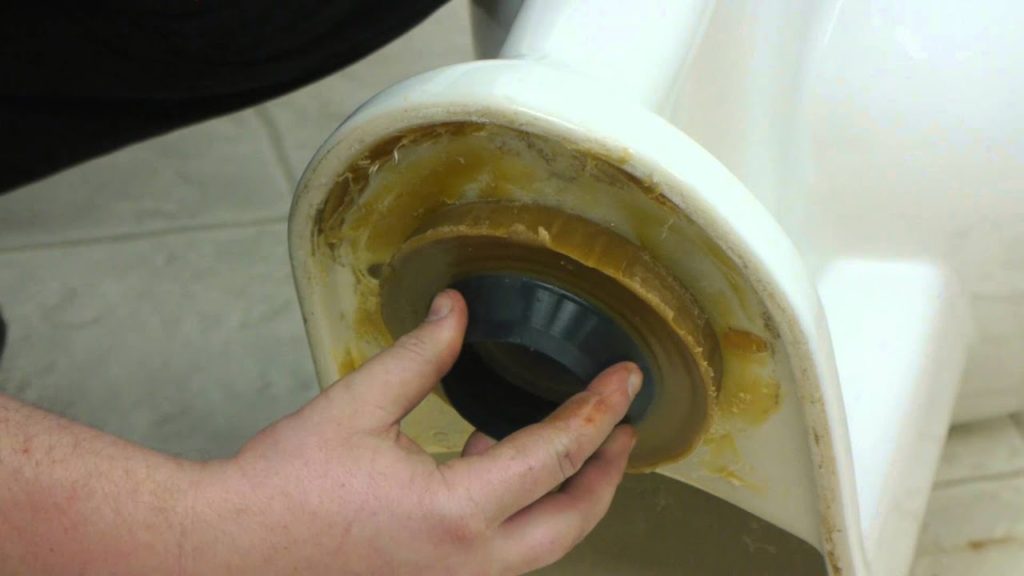


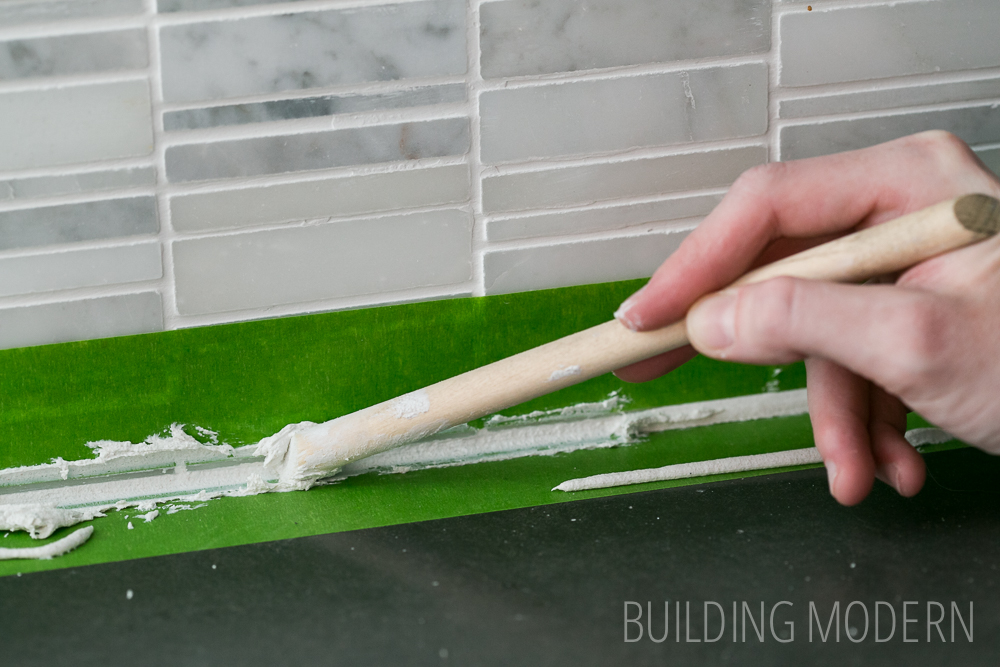
If you're planning to re-caulk your kitchen walls, it's important to remove any old caulk first. This can be done using a caulk removal tool or a scraper. It's important to be gentle when removing old caulk to avoid damaging the walls. Once the old caulk is removed, make sure to clean the area thoroughly before applying new caulk.Removing Old Caulk from Kitchen Walls


Removing Old Caulk from Kitchen Walls
:max_bytes(150000):strip_icc()/how-to-remove-old-caulk-1824827-01-3d0370c59e124dbbaa6560c68bab111c.jpg)


Caulking Your Kitchen Walls: The Final Touch for a Professional and Polished Look

Why Caulking is Important for Your Kitchen Walls
 When it comes to designing your dream kitchen, every detail matters. From the color scheme to the appliances, every element plays a role in creating a cohesive and functional space. One important aspect that is often overlooked is caulking the kitchen walls.
Caulking
is the process of sealing gaps and cracks between surfaces, and it is an essential step in achieving a professional and polished look for your kitchen. Not only does it enhance the aesthetic appeal, but it also serves as a protective barrier against moisture, mold, and mildew. It is a small but crucial step that can make a big difference in the overall appearance and longevity of your kitchen walls.
When it comes to designing your dream kitchen, every detail matters. From the color scheme to the appliances, every element plays a role in creating a cohesive and functional space. One important aspect that is often overlooked is caulking the kitchen walls.
Caulking
is the process of sealing gaps and cracks between surfaces, and it is an essential step in achieving a professional and polished look for your kitchen. Not only does it enhance the aesthetic appeal, but it also serves as a protective barrier against moisture, mold, and mildew. It is a small but crucial step that can make a big difference in the overall appearance and longevity of your kitchen walls.
The Benefits of Caulking Your Kitchen Walls
 Caulking
offers numerous benefits that go beyond just improving the appearance of your kitchen walls. It helps to prevent water damage, which is especially important in a high-moisture area like the kitchen. By sealing any gaps or cracks, it prevents water from seeping in and causing damage to your walls and underlying structures. This can save you from costly repairs in the long run. Additionally,
caulking
also helps to improve the energy efficiency of your kitchen by preventing air leaks, which can lead to increased heating and cooling costs. It also creates a clean and smooth surface, making it easier to clean and maintain your kitchen walls.
Caulking
offers numerous benefits that go beyond just improving the appearance of your kitchen walls. It helps to prevent water damage, which is especially important in a high-moisture area like the kitchen. By sealing any gaps or cracks, it prevents water from seeping in and causing damage to your walls and underlying structures. This can save you from costly repairs in the long run. Additionally,
caulking
also helps to improve the energy efficiency of your kitchen by preventing air leaks, which can lead to increased heating and cooling costs. It also creates a clean and smooth surface, making it easier to clean and maintain your kitchen walls.
How to Caulk Your Kitchen Walls
 Caulking your kitchen walls may seem like a daunting task, but it is a simple and straightforward process that can be done by anyone. First,
clean
the surface of your walls thoroughly, removing any dirt, dust, or debris. Next,
measure
and
cut
the tip of the caulk tube at a 45-degree angle to allow for a smooth application. Then,
apply
a thin and even line of caulk along the gaps and cracks, using a caulk gun or your finger to smooth it out. Finally,
wipe
away any excess caulk and let it dry completely before painting over it.
Caulking
is a simple and affordable way to give your kitchen walls a professional and finished look.
Caulking your kitchen walls may seem like a daunting task, but it is a simple and straightforward process that can be done by anyone. First,
clean
the surface of your walls thoroughly, removing any dirt, dust, or debris. Next,
measure
and
cut
the tip of the caulk tube at a 45-degree angle to allow for a smooth application. Then,
apply
a thin and even line of caulk along the gaps and cracks, using a caulk gun or your finger to smooth it out. Finally,
wipe
away any excess caulk and let it dry completely before painting over it.
Caulking
is a simple and affordable way to give your kitchen walls a professional and finished look.
Conclusion
 In conclusion,
caulking
your kitchen walls is an essential step in achieving a well-designed and functional space. It not only enhances the appearance of your kitchen but also provides numerous benefits such as preventing water damage and improving energy efficiency. With the right tools and techniques, you can easily
caulk
your kitchen walls and add the final touch that will give your kitchen a polished and professional look. So, don't overlook this crucial step in your kitchen design process, and enjoy the benefits of a well-caulked and beautiful kitchen.
In conclusion,
caulking
your kitchen walls is an essential step in achieving a well-designed and functional space. It not only enhances the appearance of your kitchen but also provides numerous benefits such as preventing water damage and improving energy efficiency. With the right tools and techniques, you can easily
caulk
your kitchen walls and add the final touch that will give your kitchen a polished and professional look. So, don't overlook this crucial step in your kitchen design process, and enjoy the benefits of a well-caulked and beautiful kitchen.