Painting a bathroom vanity is a simple and cost-effective way to give your bathroom a fresh new look. Whether you want to update the color or completely transform the style of your vanity, painting is a great DIY project that can be done in a weekend. With the right tools and techniques, you can achieve a professional-looking finish that will make your bathroom feel like a brand new space. Read on for our step-by-step guide to painting a bathroom vanity.How to Paint a Bathroom Vanity
Before you begin, make sure to gather all the necessary supplies. This includes painter's tape, sandpaper, primer, paint, paintbrushes, and a drop cloth. It's also a good idea to remove the doors and hardware from your vanity and set them aside in a safe place. Now, let's get started!DIY Bathroom Vanity Painting Tutorial
Step 1: Begin by thoroughly cleaning your vanity with a mild cleaner. This will remove any dirt, grime, or residue that could affect the paint's adhesion. Step 2: Next, lightly sand the surface of your vanity with fine-grit sandpaper. This will create a rough texture for the primer and paint to adhere to. Be sure to wipe away any dust with a damp cloth before moving on to the next step. Step 3: Use painter's tape to cover any areas that you don't want to get paint on, such as the walls, countertops, or flooring. Step 4: Apply a coat of primer to the entire surface of your vanity. This will create a smooth and durable base for your paint. Be sure to follow the instructions on the primer and allow it to dry completely before moving on to the next step. Step 5: Now, it's time to paint! Use a high-quality paintbrush or foam roller to apply your chosen paint color to the vanity. It's best to apply several thin coats rather than one thick coat to avoid drips and ensure an even finish. Allow each coat to dry completely before applying the next one. Step 6: Once the paint is completely dry, you can add a clear coat for extra protection and shine. This step is optional, but it can help to prevent your vanity from chipping or peeling over time.Step-by-Step Guide to Painting a Bathroom Vanity
When it comes to selecting the best paint for your bathroom vanity, it's important to choose a high-quality, durable paint that can withstand moisture and frequent use. Look for paints specifically designed for bathrooms or kitchens, as they are more resistant to water and humidity. Satin or semi-gloss finishes are also recommended for their durability and ease of cleaning.Best Paint for Bathroom Vanity
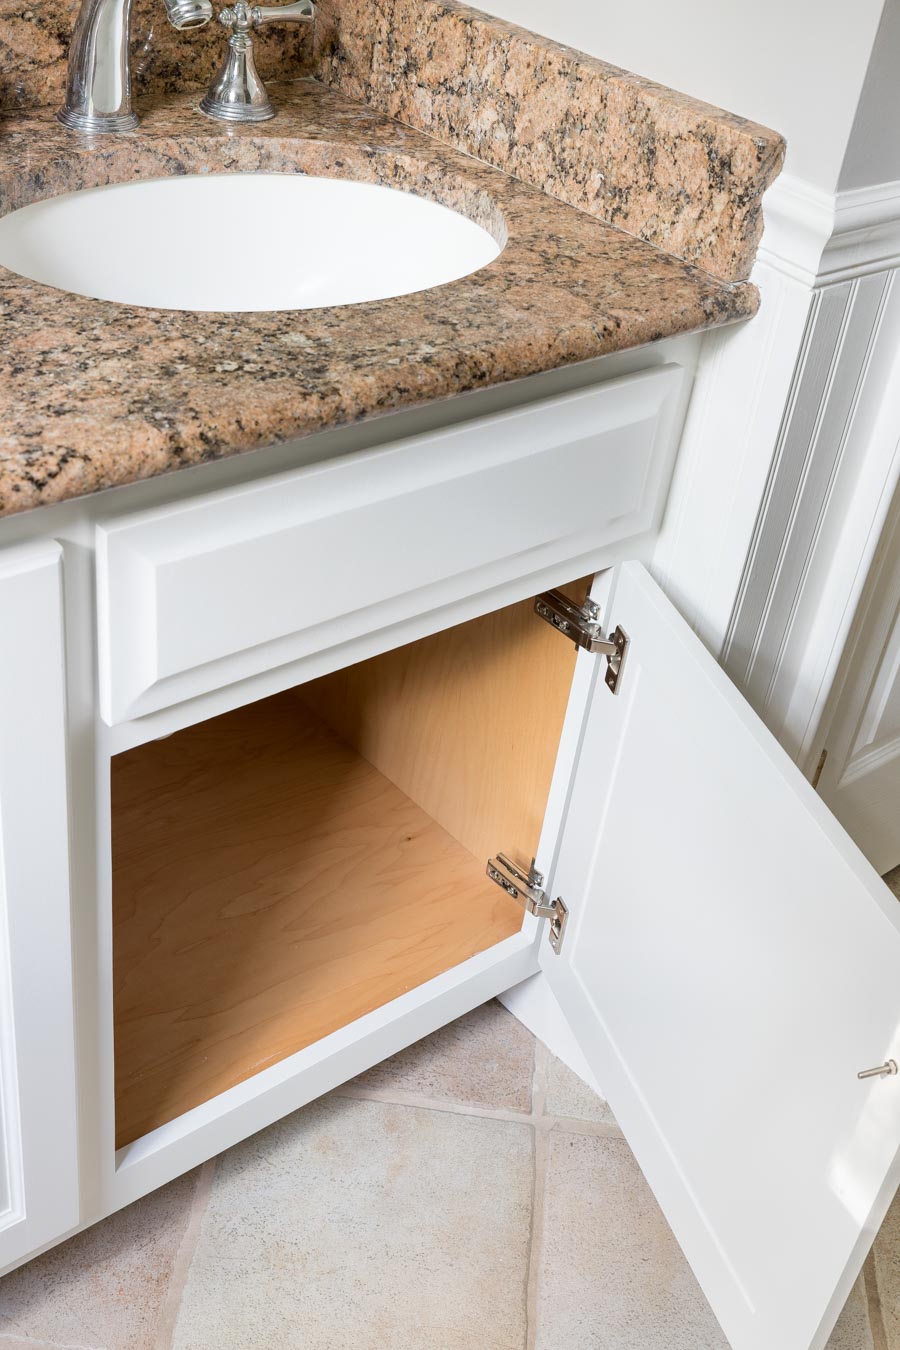
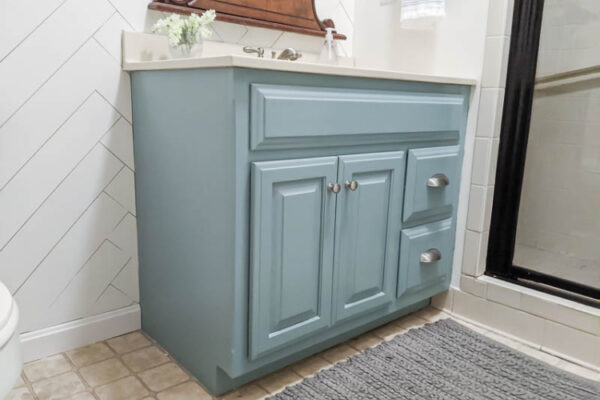
Tip #1: If you're painting a wooden vanity, be sure to use a wood filler to fill in any cracks or imperfections before painting. This will create a smooth surface for your paint to adhere to. Tip #2: It's best to remove the doors and hardware from your vanity before painting to ensure a neat and professional-looking finish. If you can't remove the doors, use painter's tape to cover the hinges and hardware to avoid getting paint on them. Tip #3: If your vanity has a glossy or slick surface, lightly sand it before applying primer to help the paint adhere better. Tip #4: Consider adding a pop of color to your bathroom by painting the vanity a bold or unexpected color. This can make a big impact and give your bathroom a unique and personalized touch.Tips for Painting a Bathroom Vanity
Painting your bathroom vanity is a budget-friendly way to transform the look and feel of your bathroom. It's a simple and fun DIY project that can be completed in just a couple of days, and the results are sure to impress. So why not give it a try and see the amazing difference a fresh coat of paint can make?Transform Your Bathroom Vanity with Paint
Do: Use high-quality paint and tools for the best results. Do: Take your time and allow each coat of paint to dry completely before applying the next one. Do: Protect your floors and any areas you don't want to get paint on with a drop cloth and painter's tape. Don't: Rush the process. Painting a vanity requires patience and attention to detail for a professional finish. Don't: Neglect to prep your vanity properly before painting. This will ensure the paint adheres properly and results in a smooth and long-lasting finish. Don't: Forget to add a clear coat for extra protection and shine.Painting a Bathroom Vanity: Dos and Don'ts
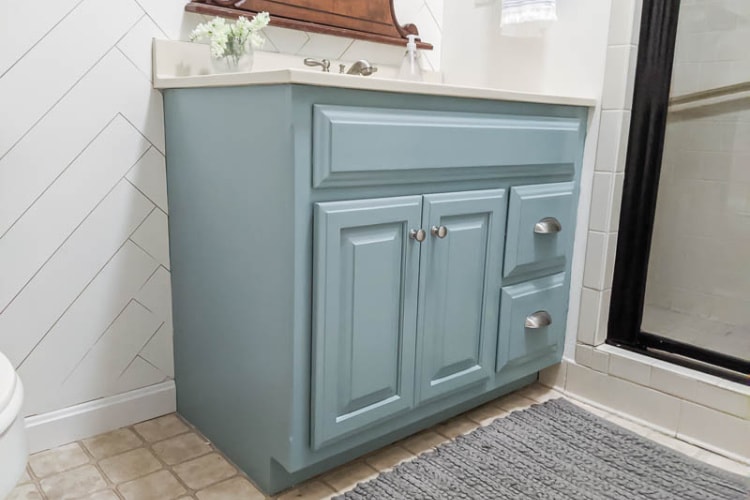
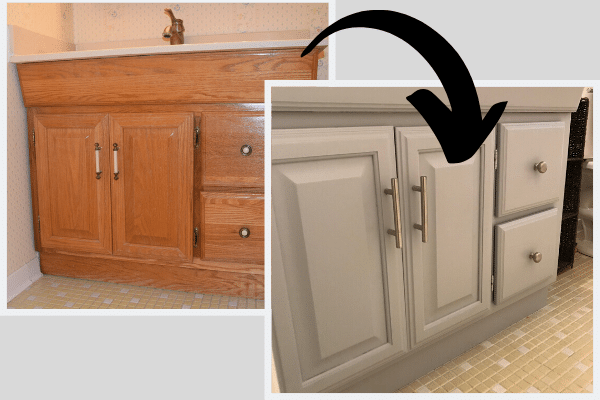
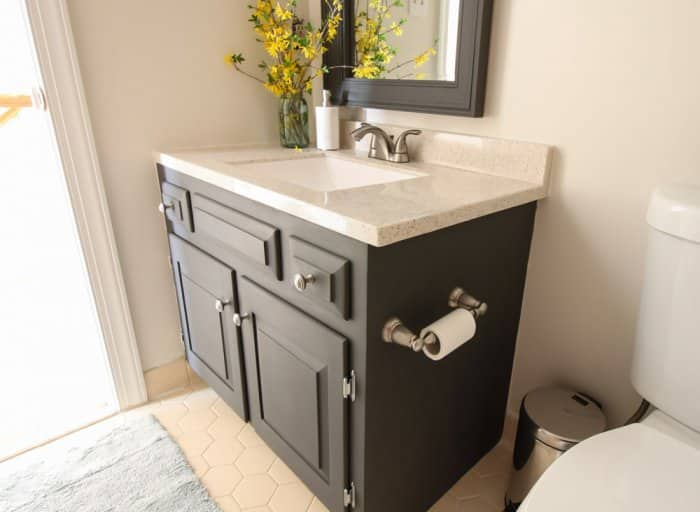
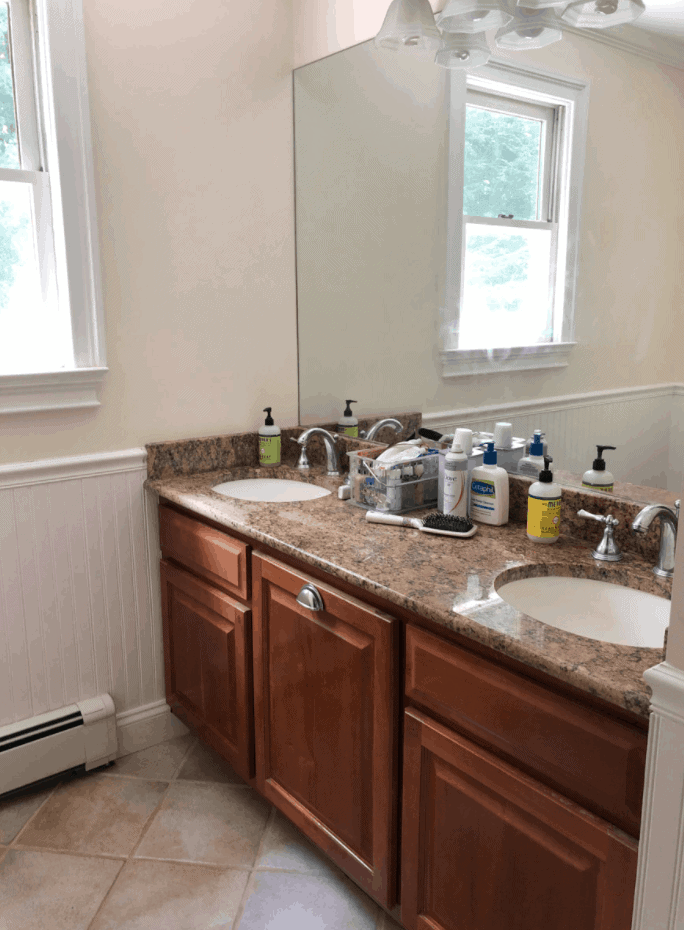
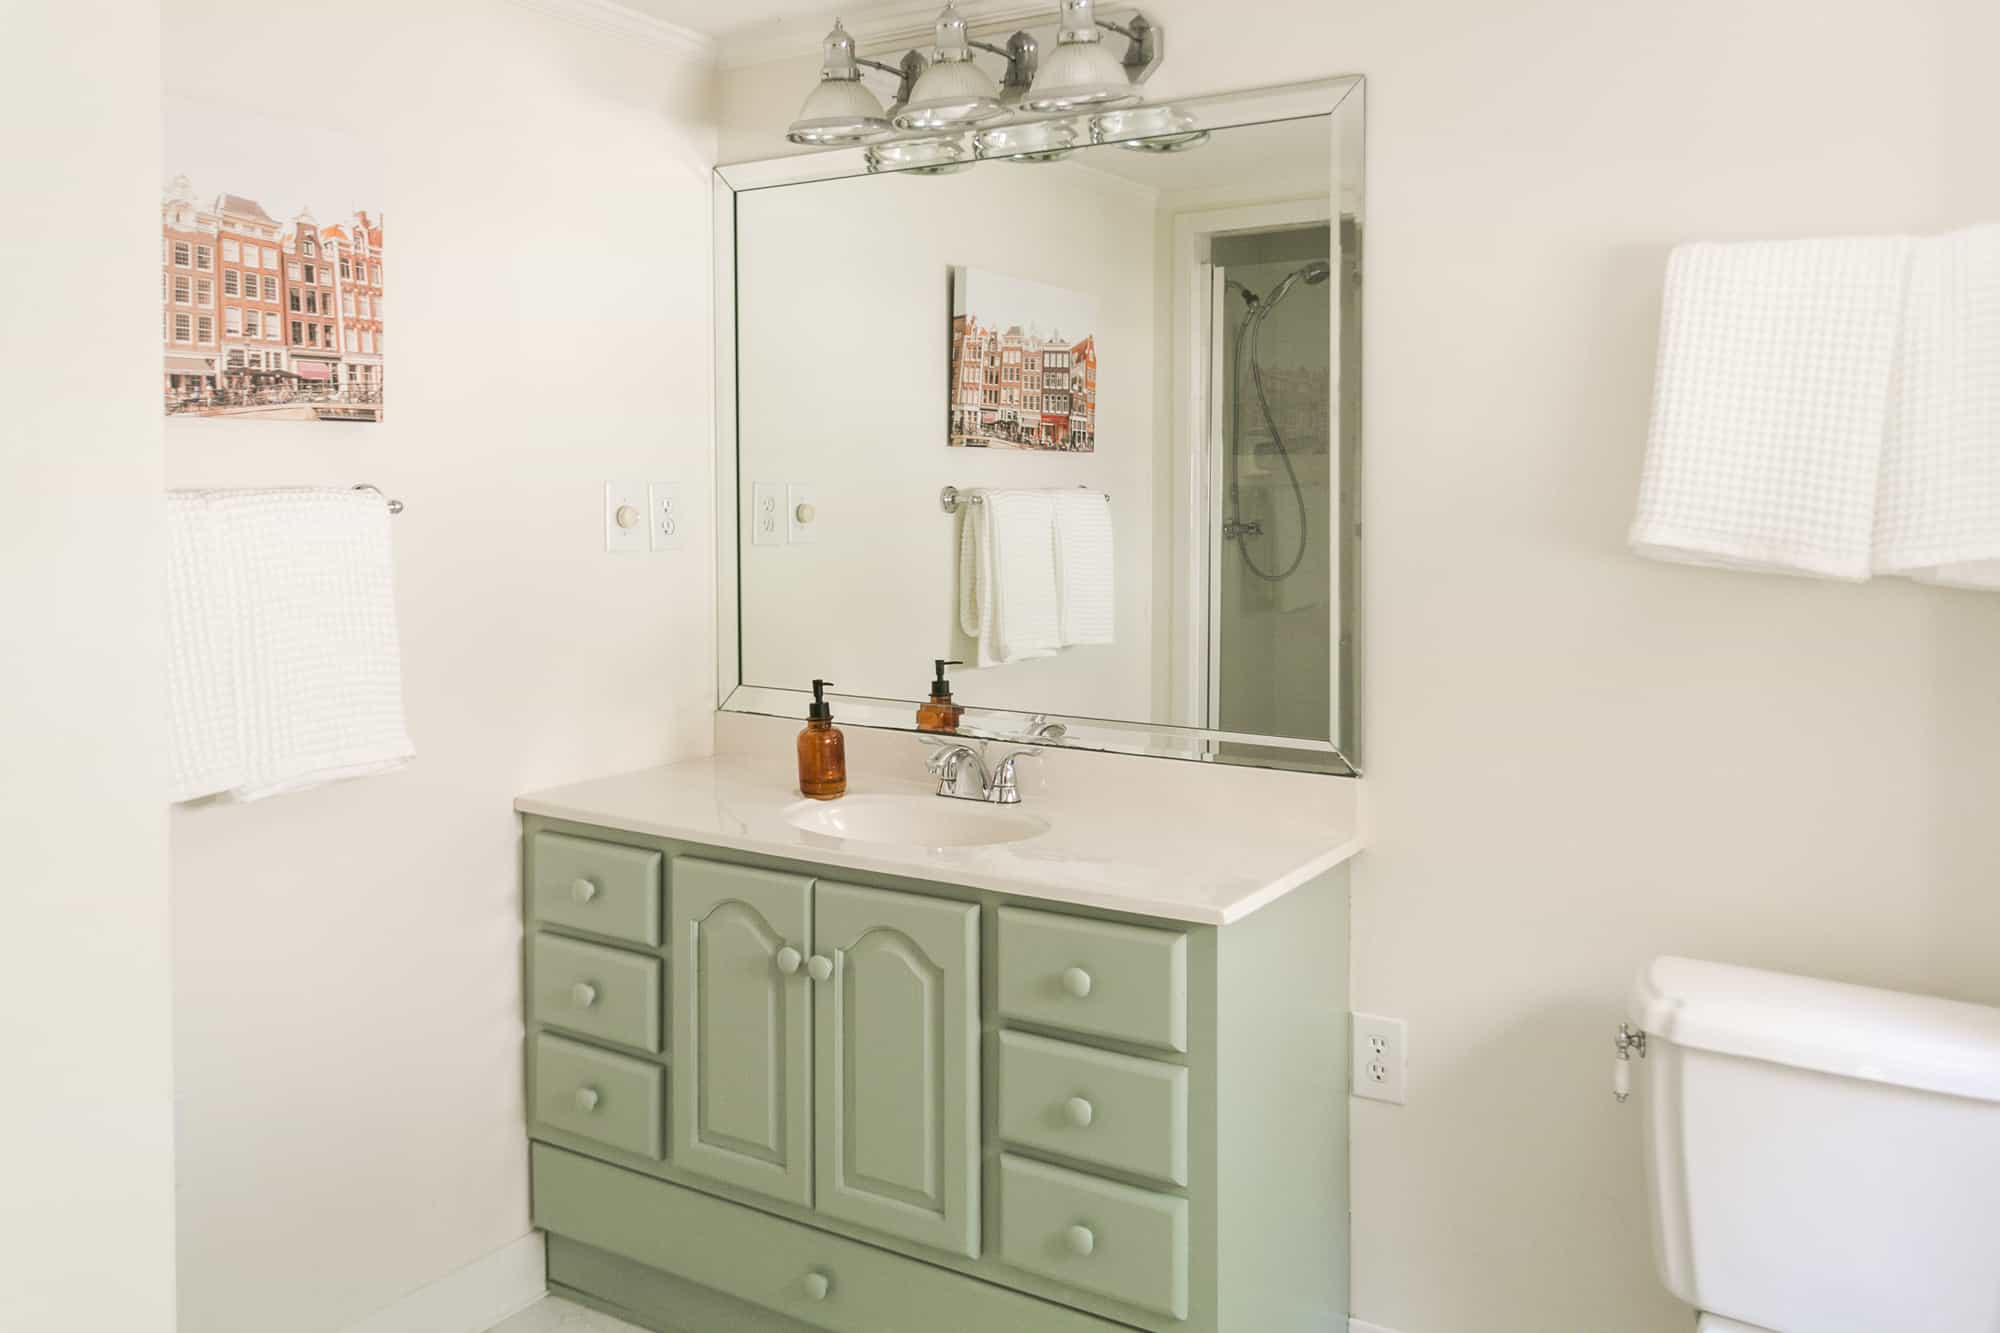
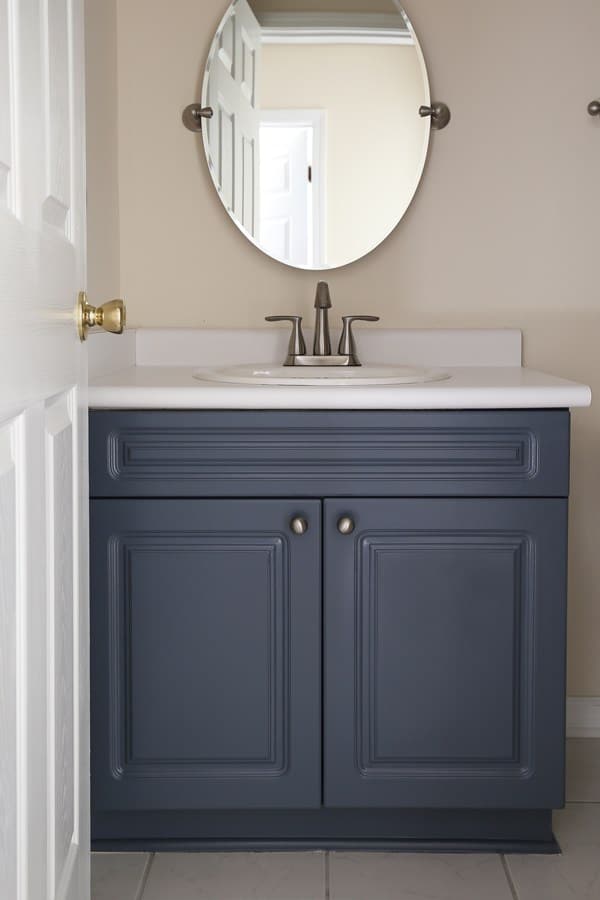
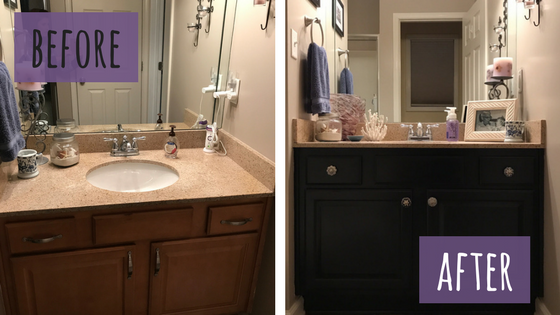
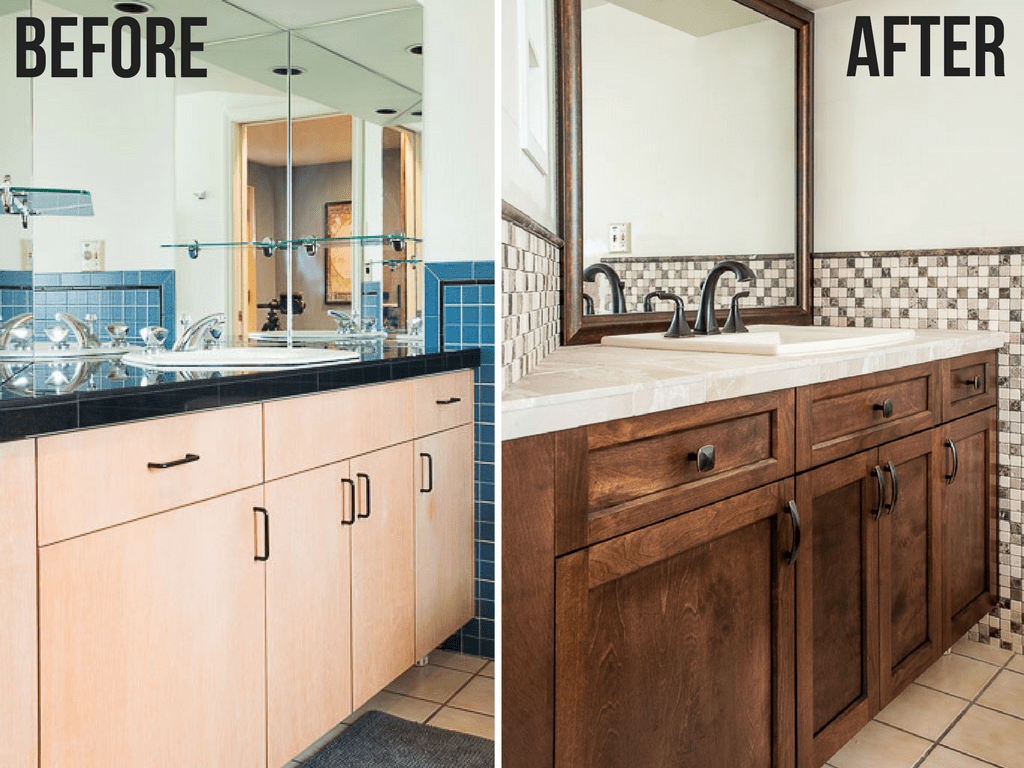
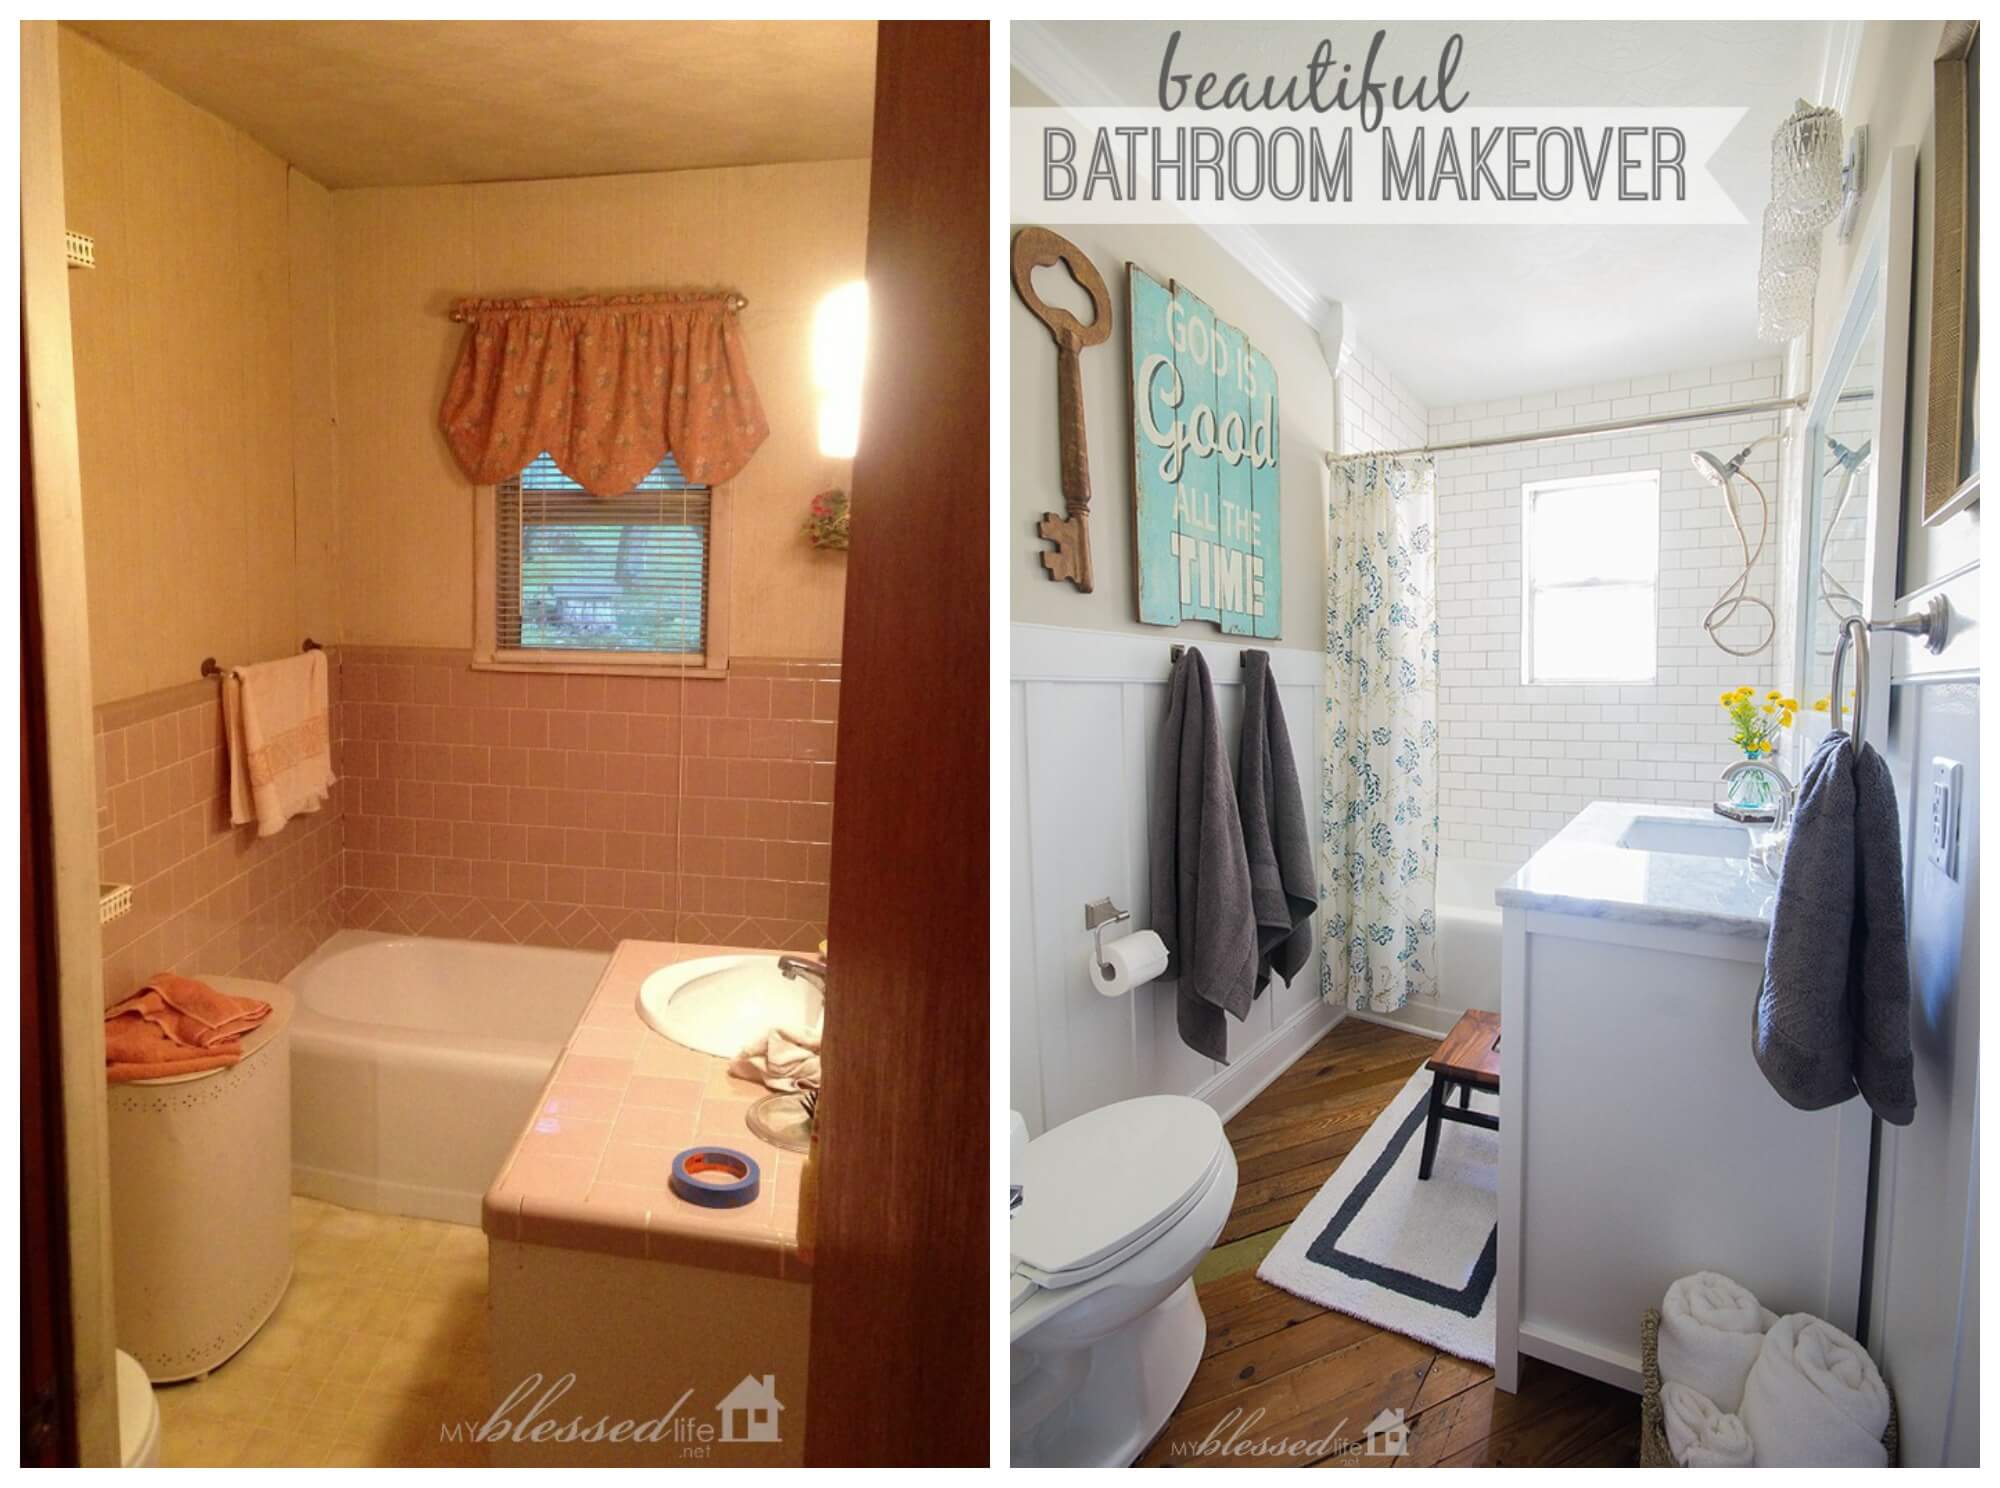
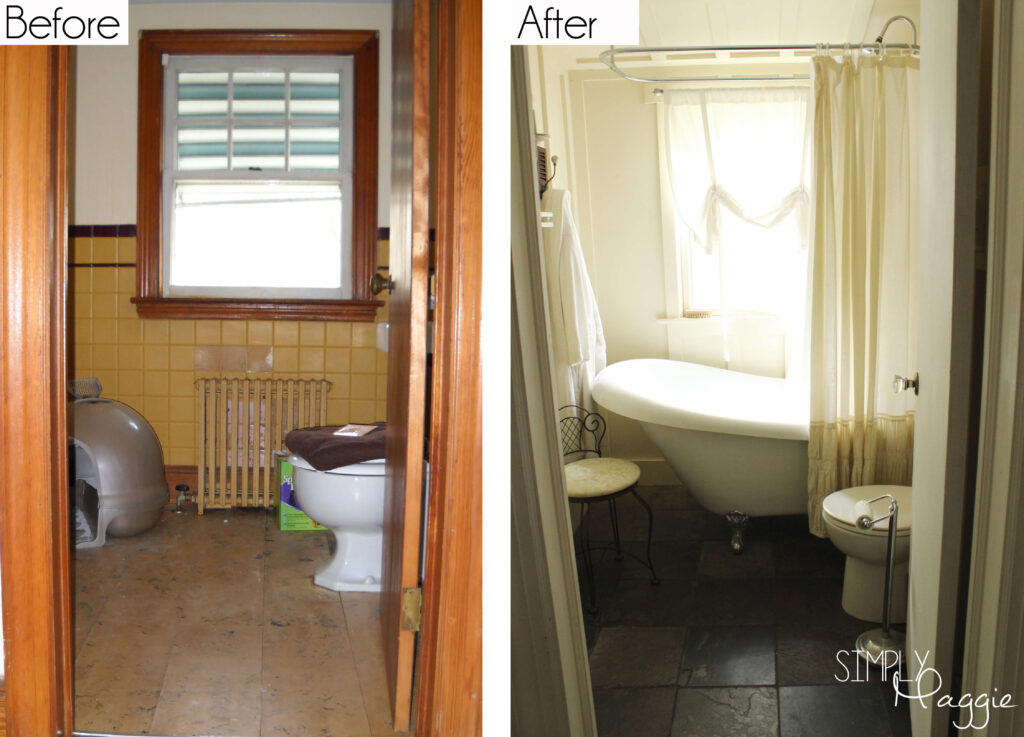
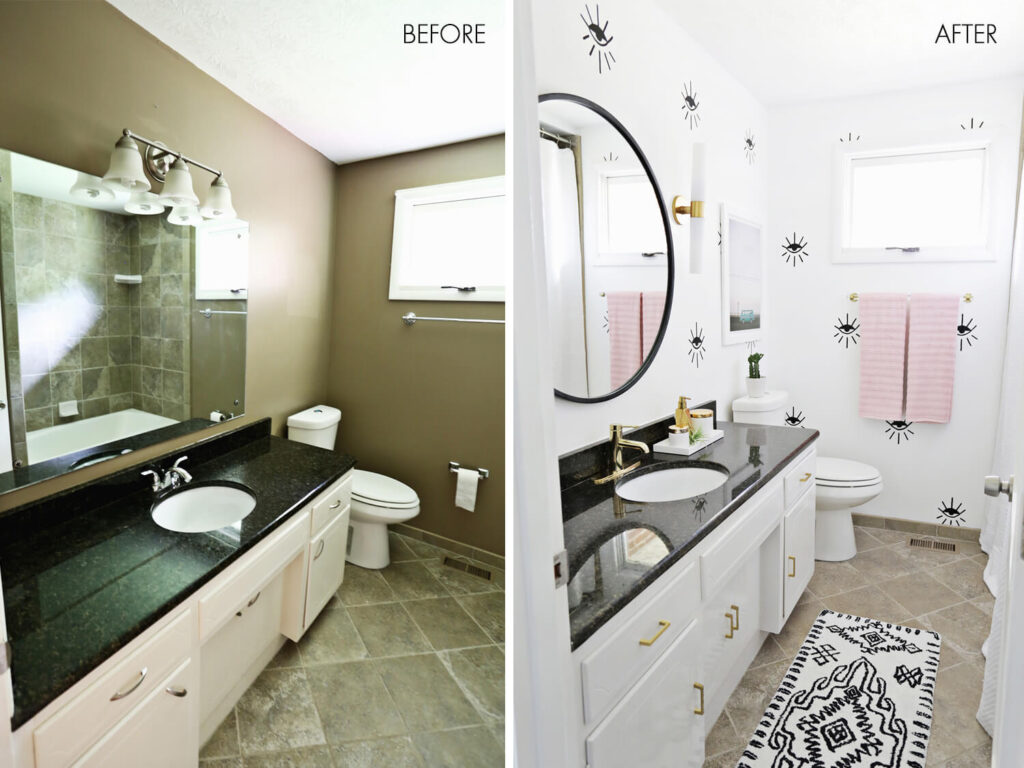
Still not convinced that painting your bathroom vanity can make a big difference? Just take a look at some before and after photos! You'll be amazed at how a simple coat of paint can completely transform the look of your vanity and your bathroom.Before and After: Painted Bathroom Vanity
Replacing a bathroom vanity can be a costly and time-consuming project. But with a can of paint and a few supplies, you can give your vanity a makeover for a fraction of the cost. This budget-friendly option is perfect for those who want to update their bathroom on a budget.Budget-Friendly Bathroom Vanity Makeover with Paint
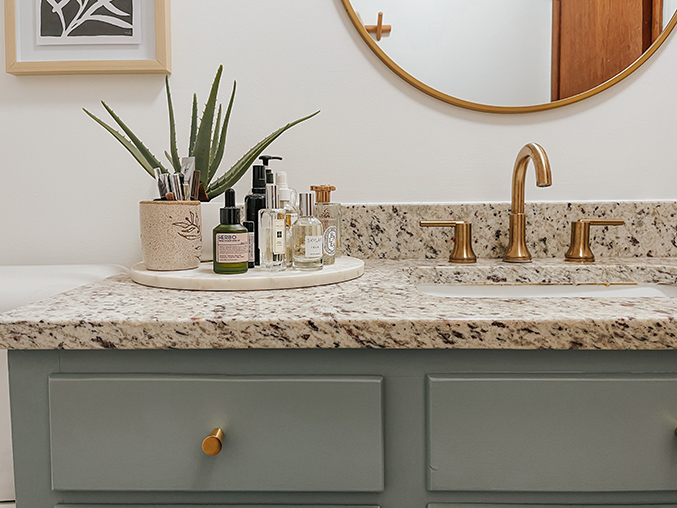
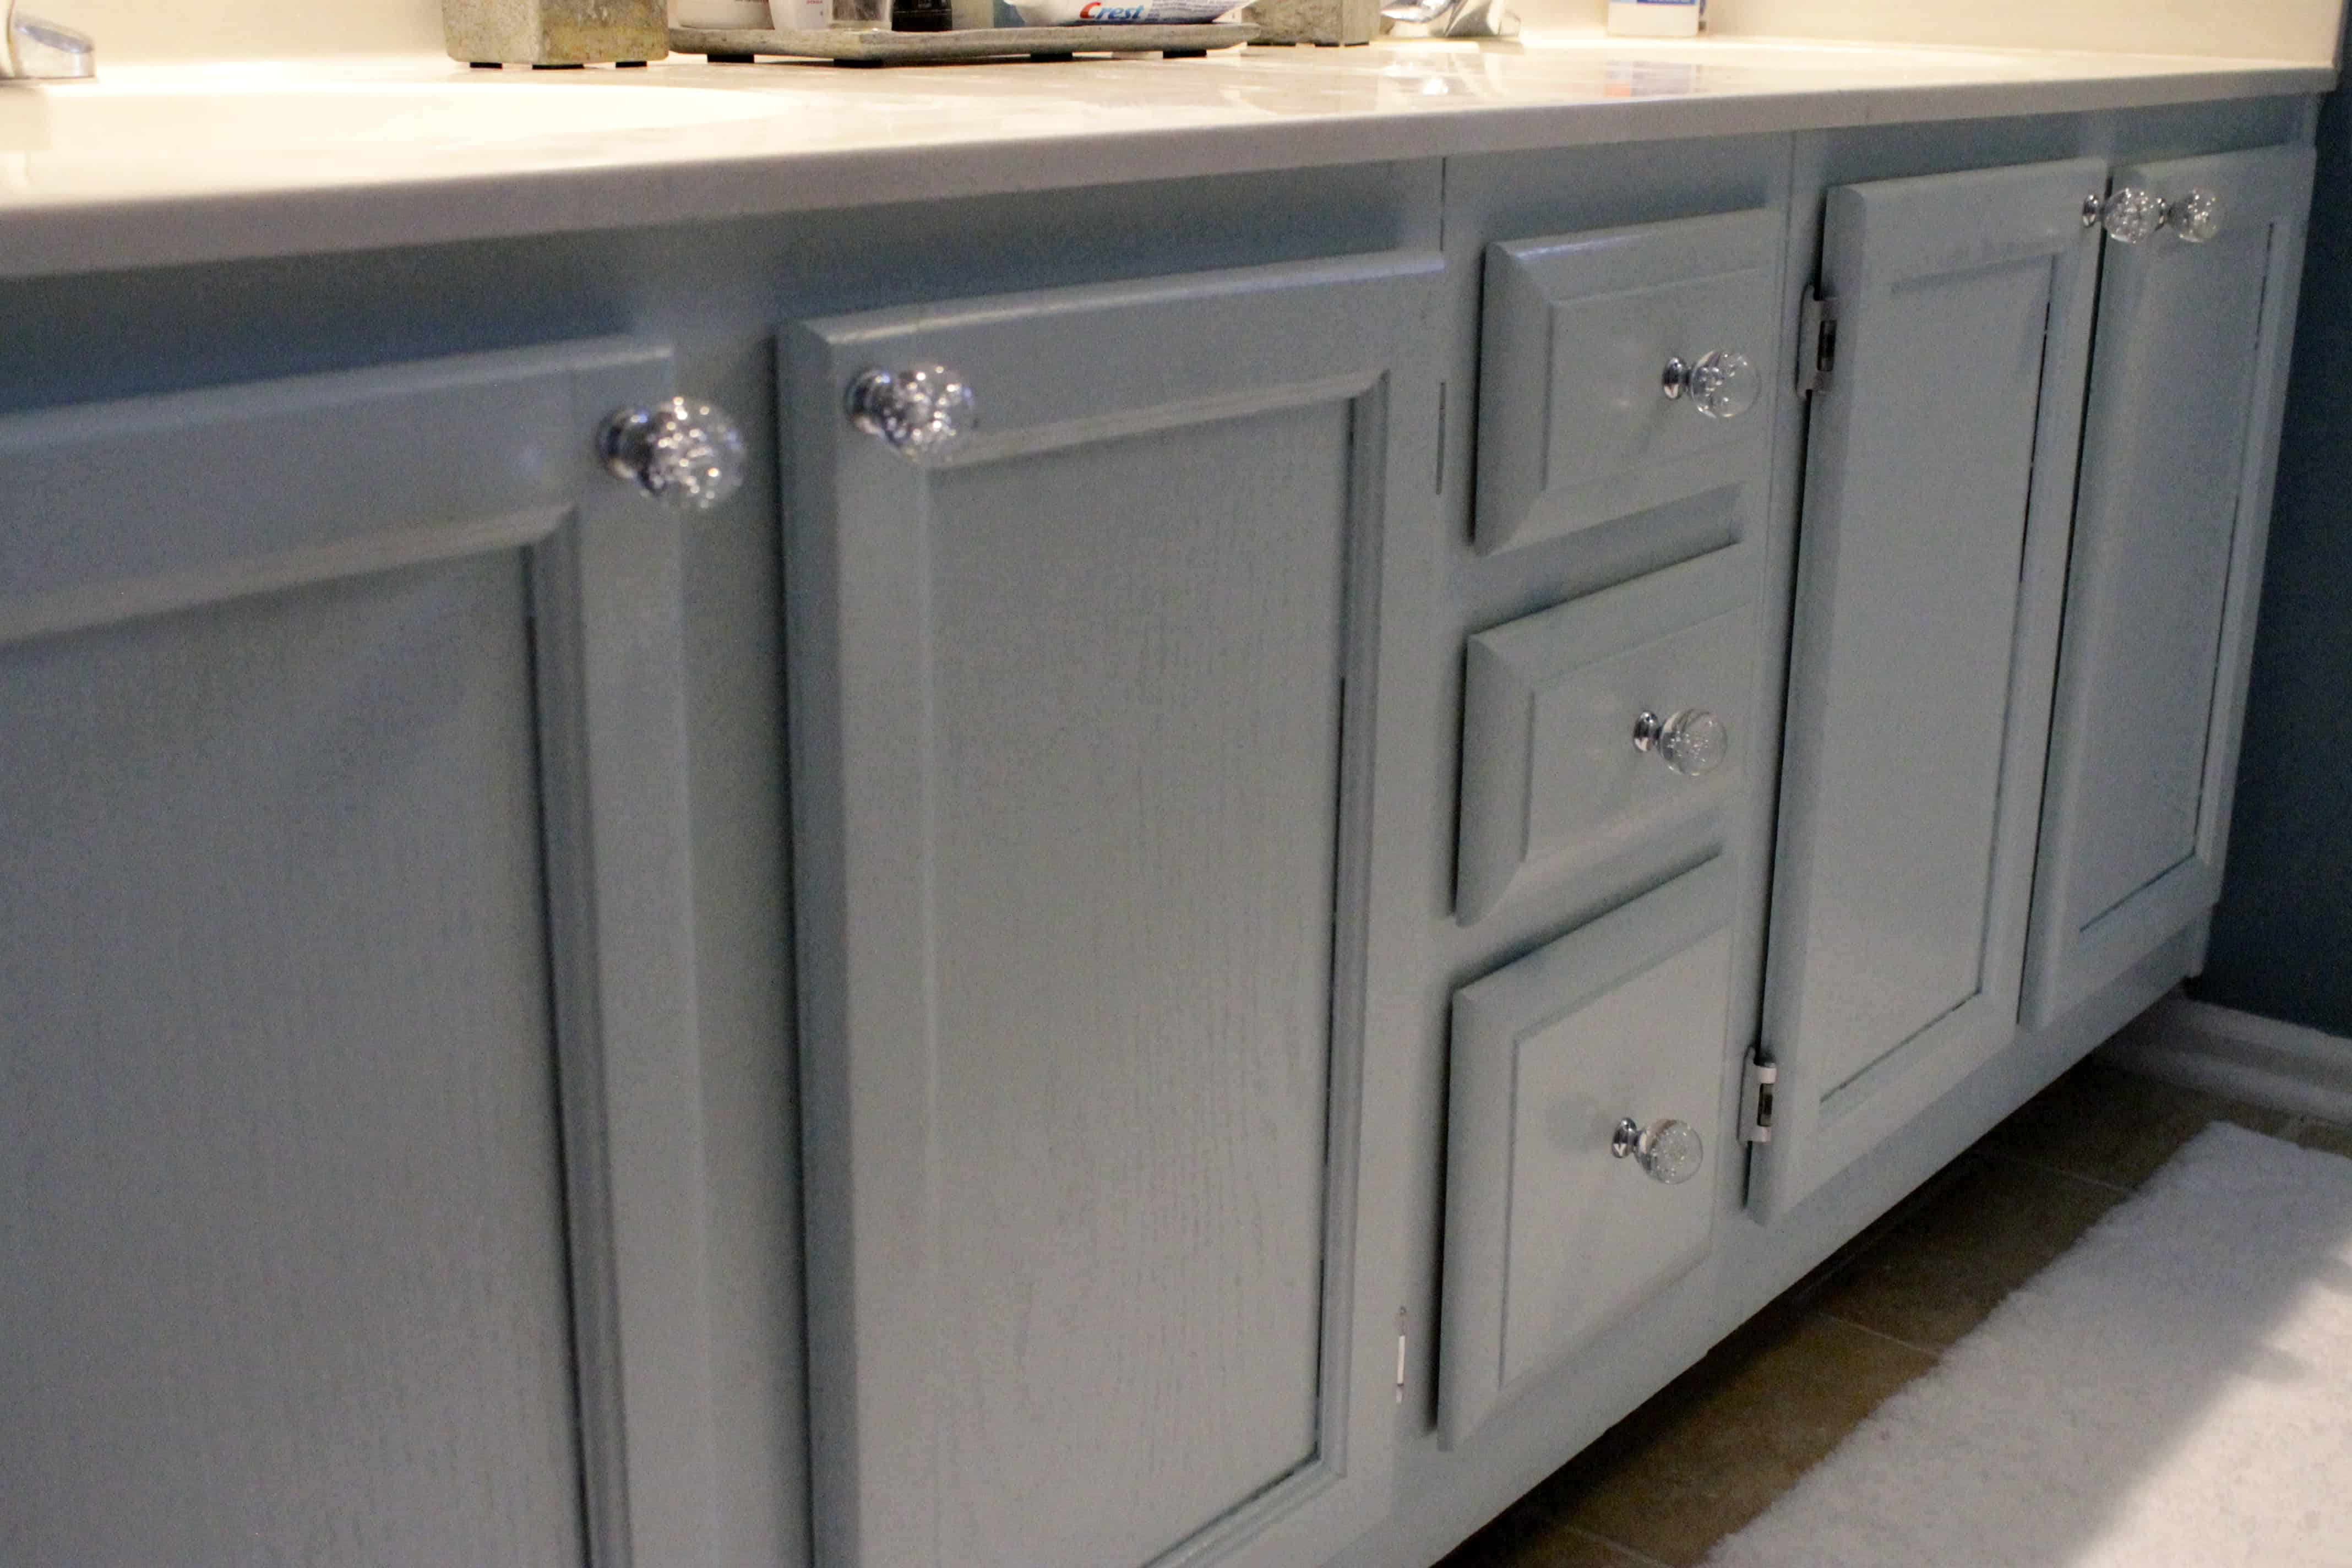
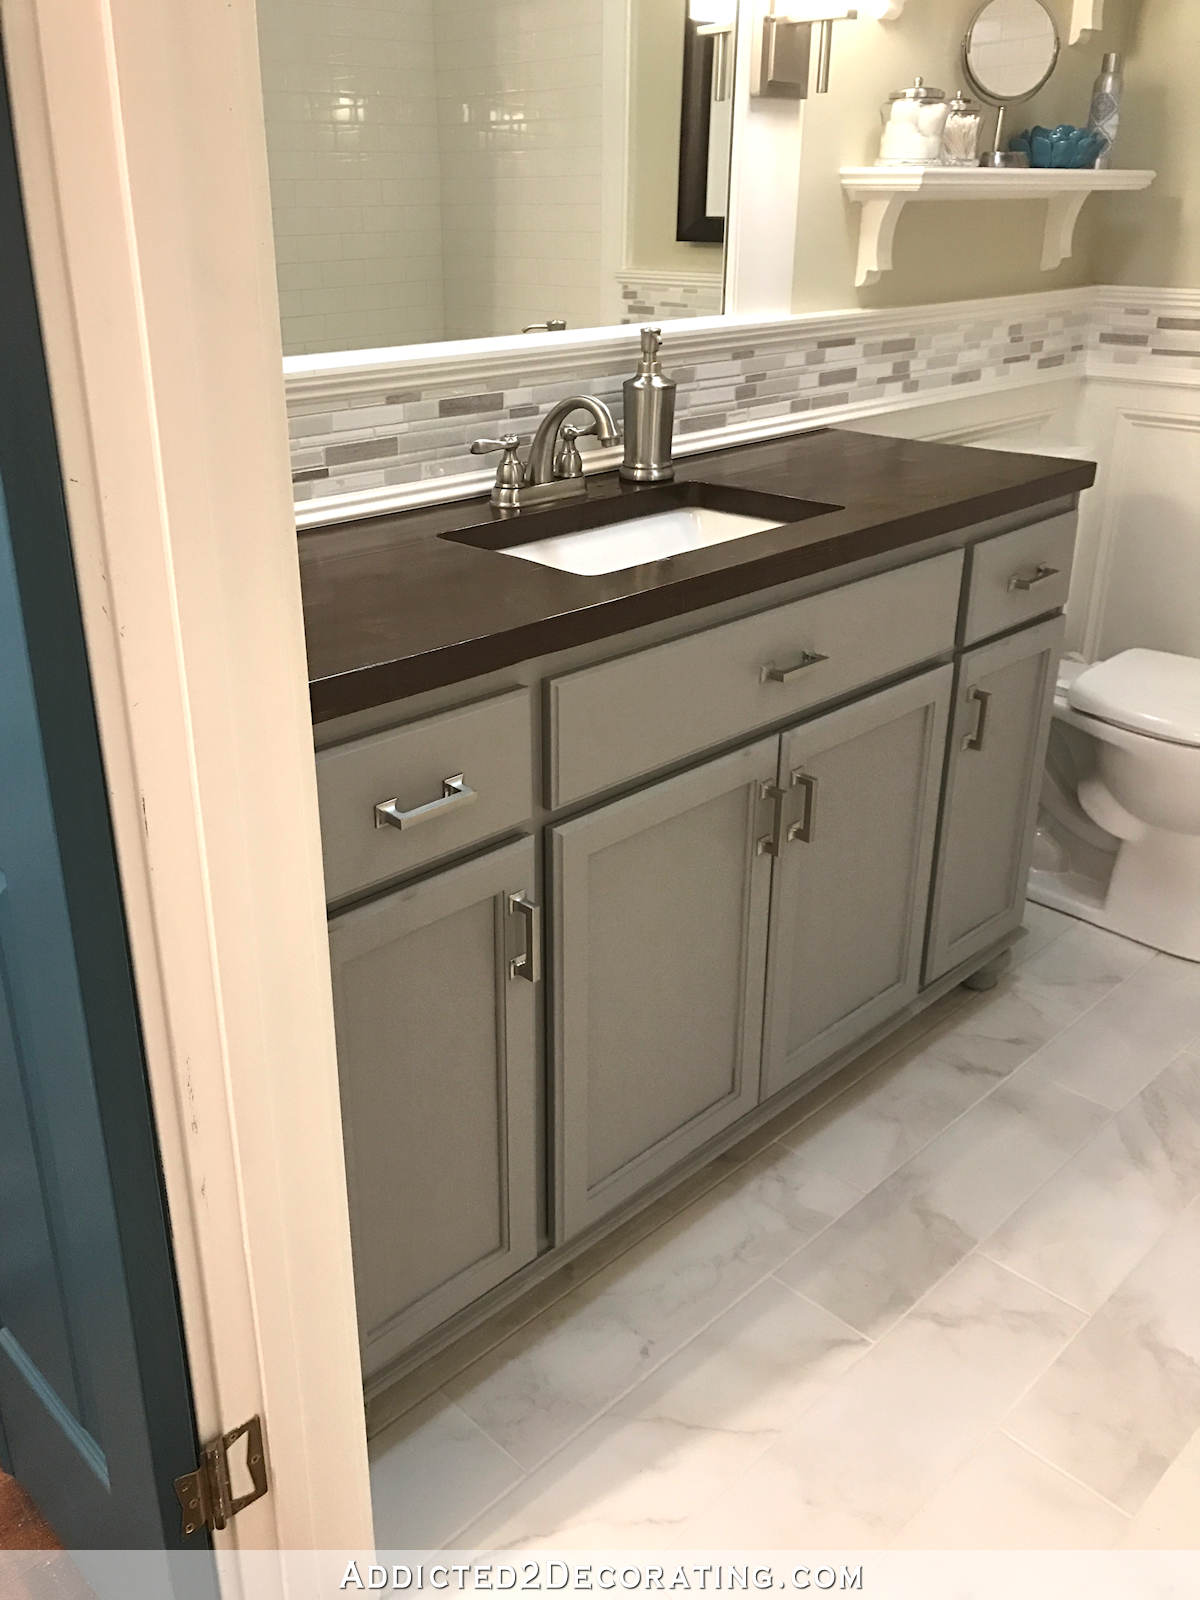
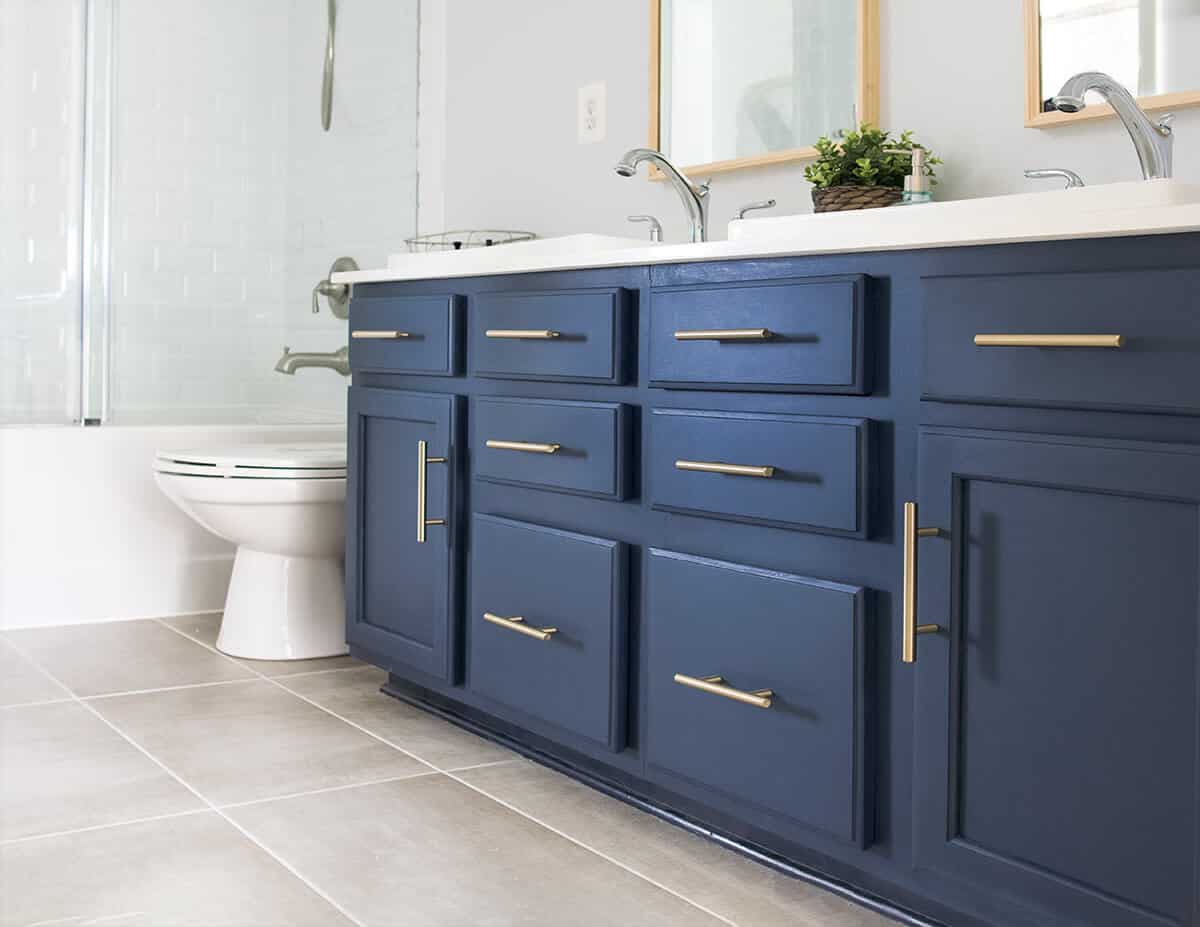
Choosing the right paint color for your bathroom vanity can be overwhelming. But don't worry, we've got you covered! When selecting a color, consider the overall style and color scheme of your bathroom, as well as your personal preferences. Neutral colors such as white, gray, or navy are timeless and versatile, while bolder colors can add a fun and unique touch. Don't be afraid to experiment and have fun with it! In conclusion, painting a bathroom vanity is a simple and budget-friendly way to give your bathroom a fresh new look. With the right tools and techniques, you can achieve a professional-looking finish that will make your bathroom feel like a brand new space. So why not grab your paintbrush and get started on your vanity transformation today?How to Choose the Right Paint Color for Your Bathroom Vanity
The Benefits of Painting Your Bathroom Vanity

Revamp Your Space with a Fresh Coat of Paint
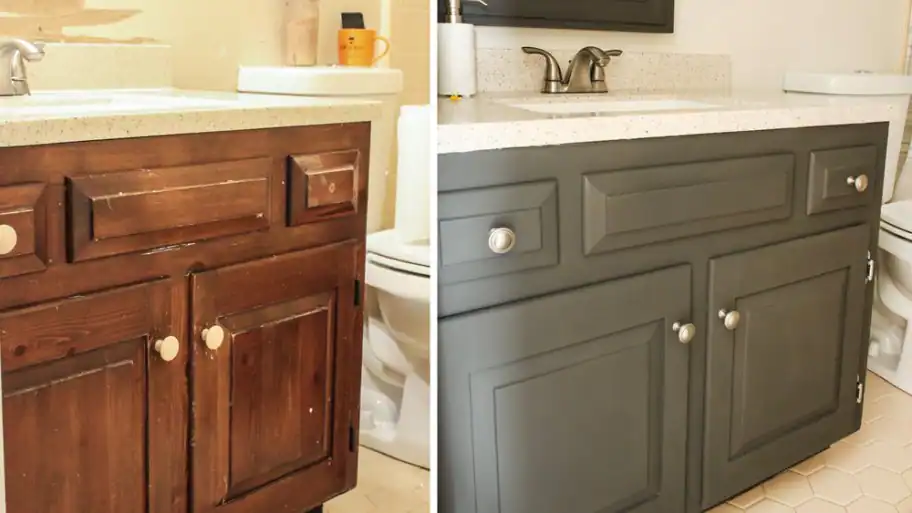 If you're looking to give your bathroom a makeover, one of the most effective and affordable ways to do so is by painting your vanity. This small but impactful change can completely transform the look and feel of your bathroom, without the hassle and expense of a full renovation. But can you paint a bathroom vanity? The answer is yes, and the benefits of doing so are numerous.
Save Money on a Budget
One of the main reasons people choose to paint their bathroom vanity is because it is a cost-effective solution. Instead of replacing the entire vanity, which can be pricey and time-consuming, simply painting it can give it a whole new look. This is especially beneficial for those on a tight budget or looking to make a quick and easy update to their bathroom.
Choose Your Perfect Color
When you paint your vanity, you have the freedom to choose any color you want. This allows you to create a unique and personalized look for your bathroom, whether you want a bold and dramatic statement or a calm and serene atmosphere. You can also choose a color that complements the rest of your bathroom decor, tying the entire space together.
Extend the Lifespan of Your Vanity
Bathroom vanities are exposed to a lot of moisture and humidity, which can lead to wear and tear over time. By painting your vanity, you can protect it from these elements and extend its lifespan. This will save you money in the long run, as you won't have to replace it as frequently.
Quick and Easy Upgrade
Painting your bathroom vanity is a relatively simple and quick process, especially compared to a full renovation. With the right tools and techniques, you can easily complete this project in a day or two, depending on the size of your vanity. This makes it a perfect weekend DIY project for those looking to spruce up their bathroom without a major time commitment.
Conclusion
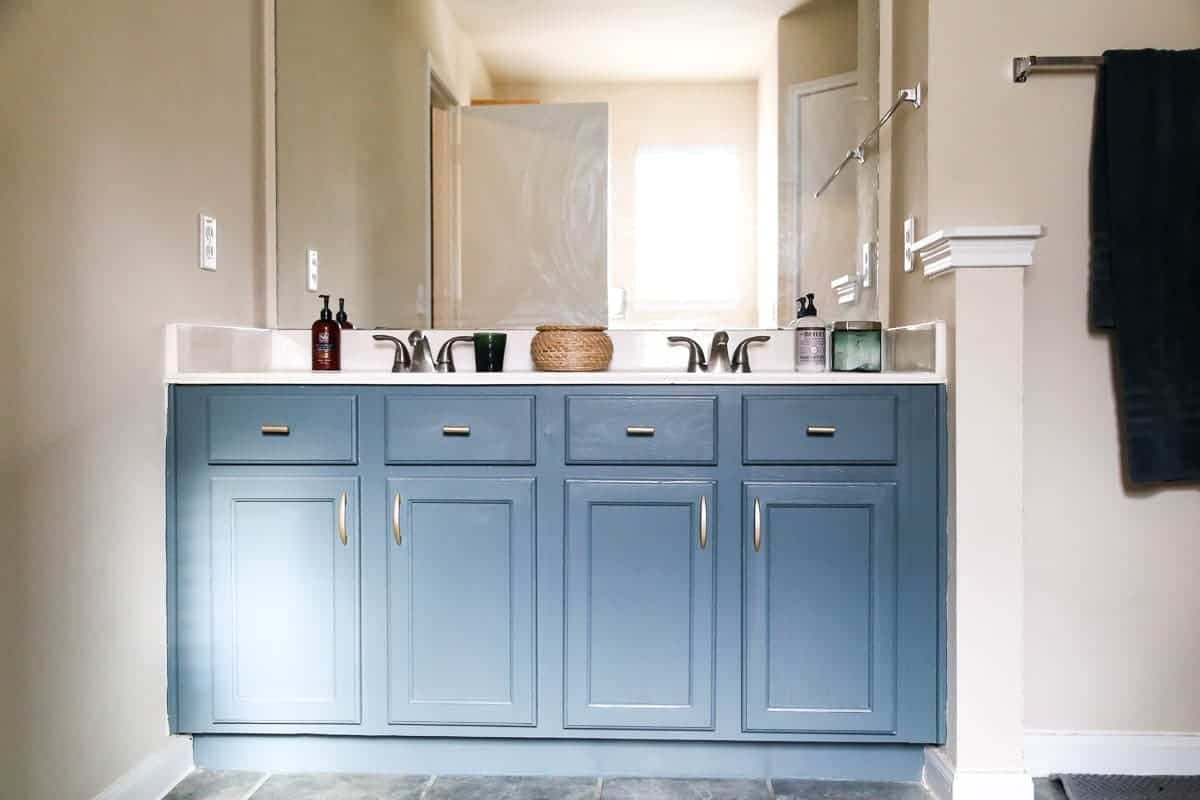 In conclusion, painting your bathroom vanity is a fantastic way to revamp your space on a budget, choose your perfect color, protect your vanity, and make a quick and easy upgrade. With its many benefits, it's no wonder that more and more people are choosing to paint their bathroom vanities. So go ahead and grab your paintbrush, and give your bathroom a fresh new look.


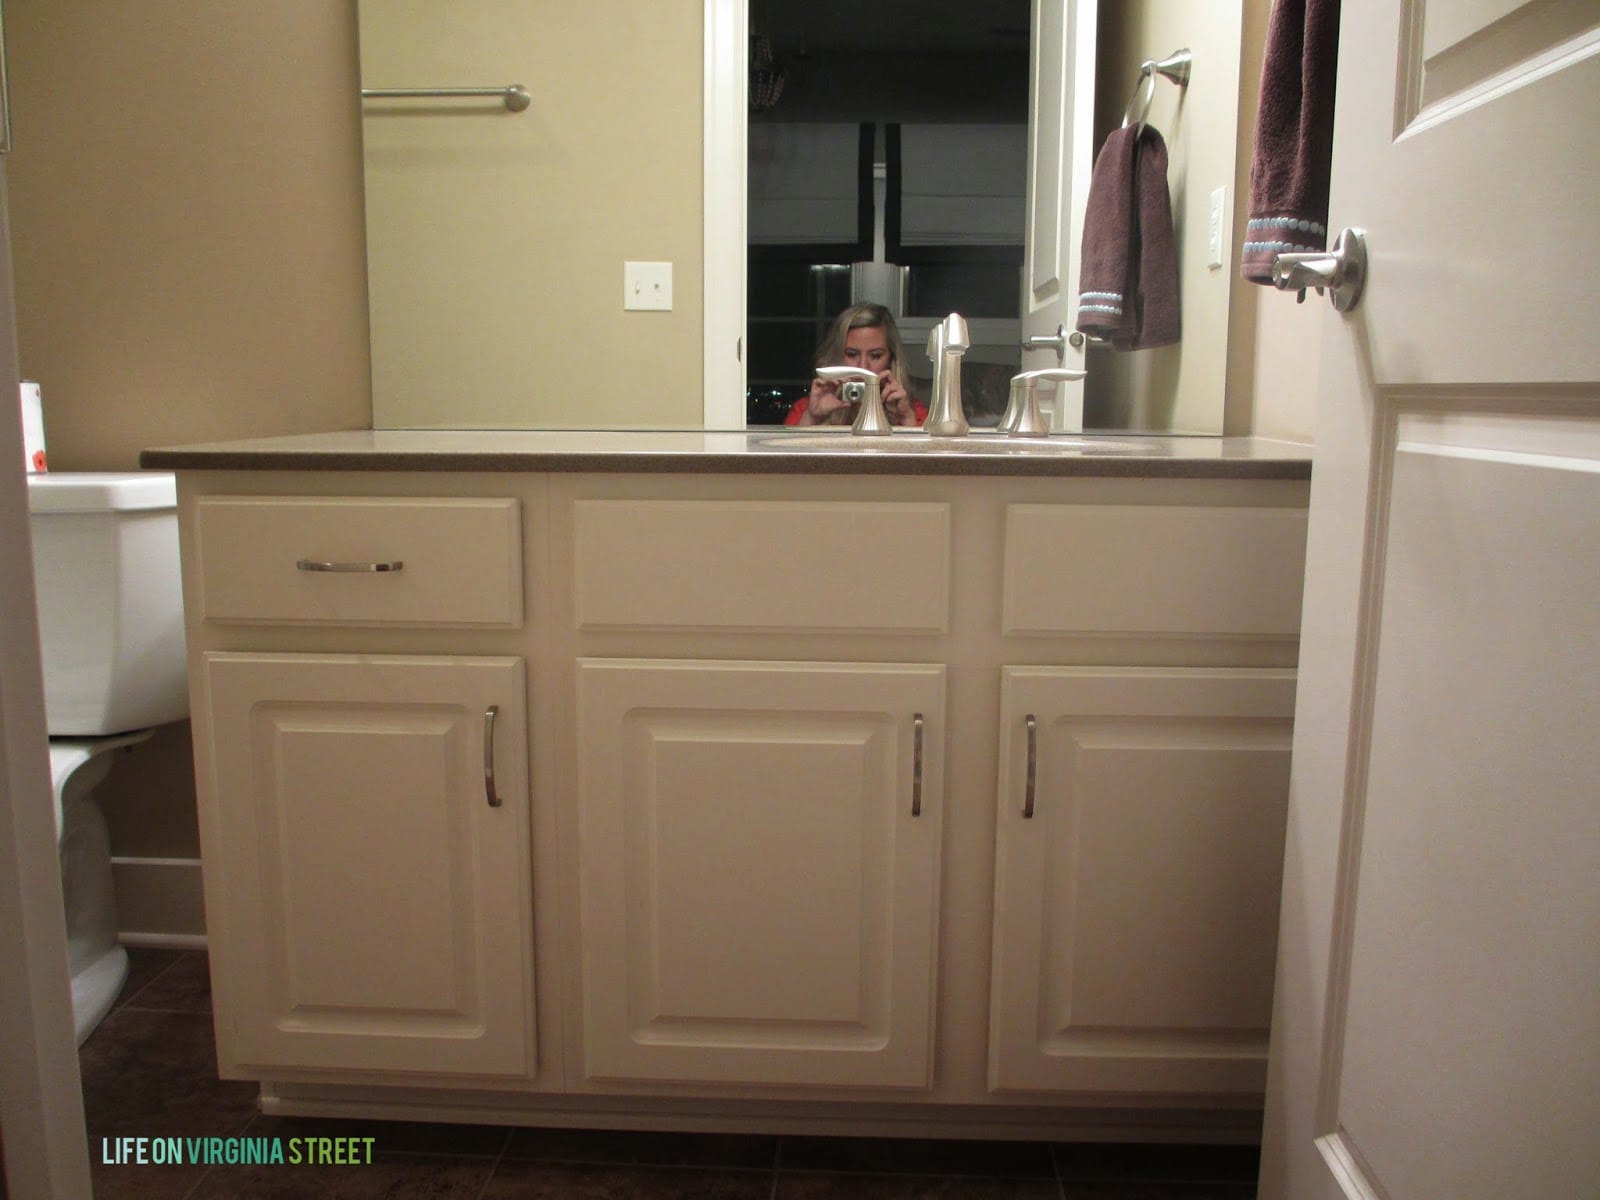

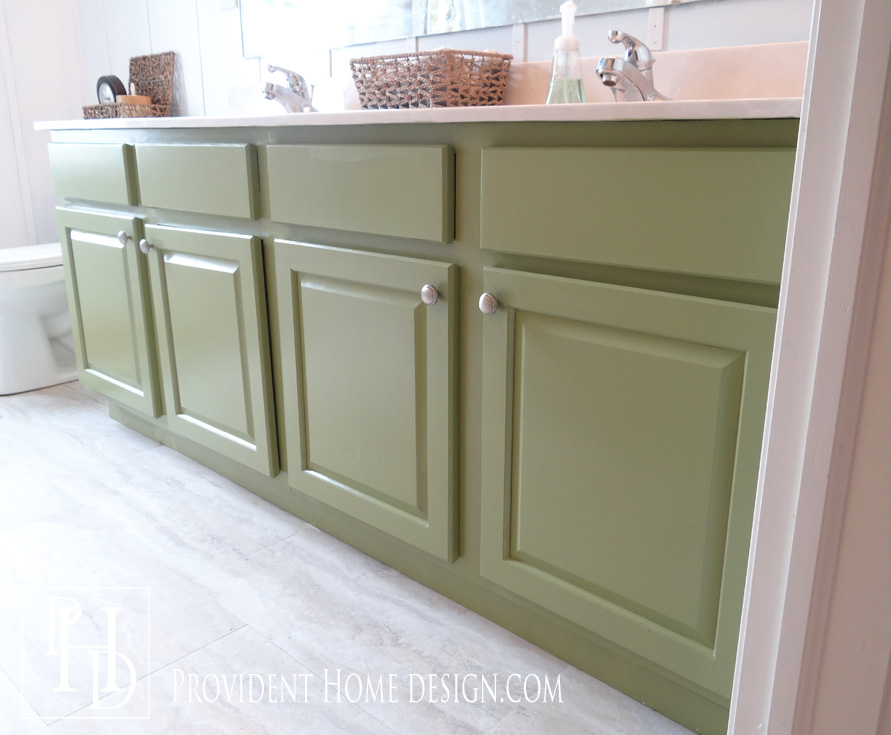



:max_bytes(150000):strip_icc()/build-something-diy-vanity-594402125f9b58d58ae21158.jpg)
:max_bytes(150000):strip_icc()/cherry-diy-bathroom-vanity-594414da5f9b58d58a099a36.jpg)























:max_bytes(150000):strip_icc()/Screen-Shot-2015-08-31-at-8.03.54-PM-56a193725f9b58b7d0c0c79c.png)



/https://specials-images.forbesimg.com/imageserve/610022da8070ccb5caf23908/0x0.jpg%3FcropX1%3D0%26cropX2%3D1503%26cropY1%3D143%26cropY2%3D1145)


