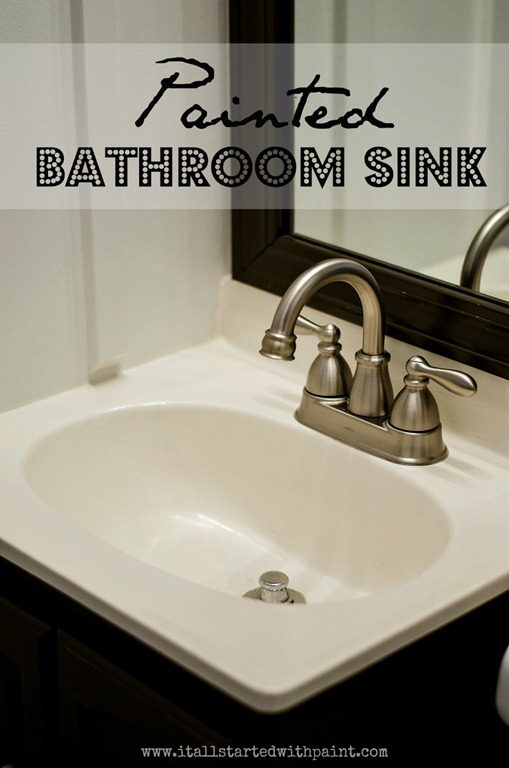
Painting Your Bathroom Sink: A Step-by-Step Guide
Are you tired of looking at your outdated or worn out bathroom sink? Maybe you've been thinking about replacing it, but the cost and hassle of a renovation make you reconsider. Luckily, there is a budget-friendly and simple solution that can give your sink a fresh new look - painting it! Yes, you read that right. With the right tools and techniques, you can easily transform your bathroom sink into a stylish focal point without breaking the bank. In this article, we will walk you through the process of painting your bathroom sink, so you can give your bathroom a much-needed upgrade.


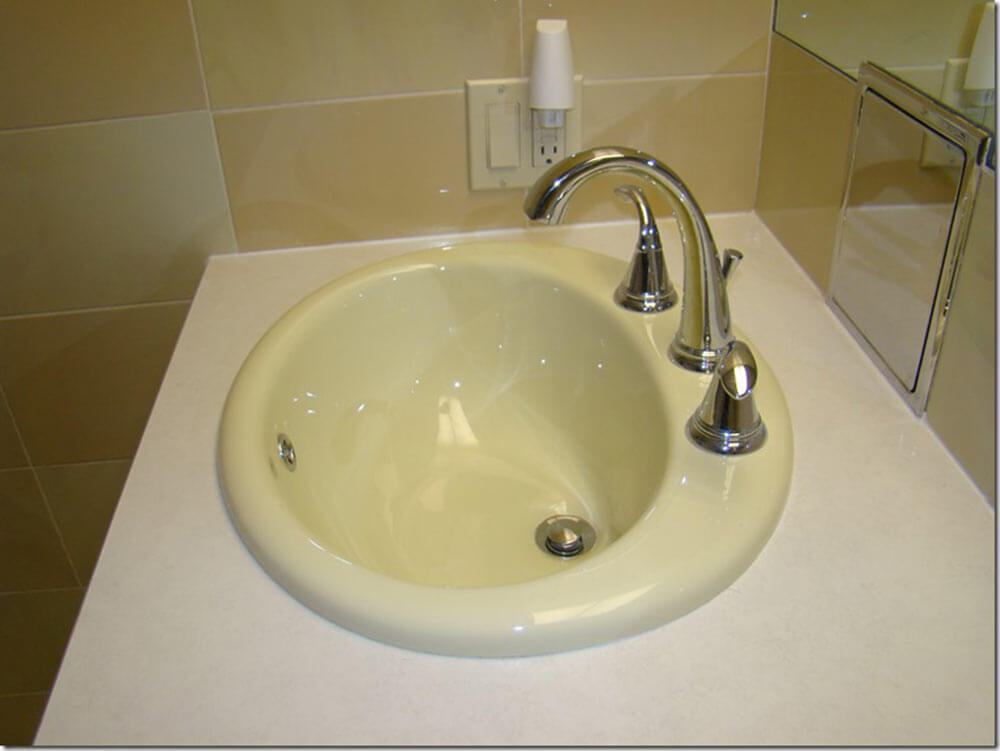
painting bathroom sink


Step 1: Gather Your Supplies
The first step in any painting project is to gather all the necessary supplies. For painting your bathroom sink, you will need the following:
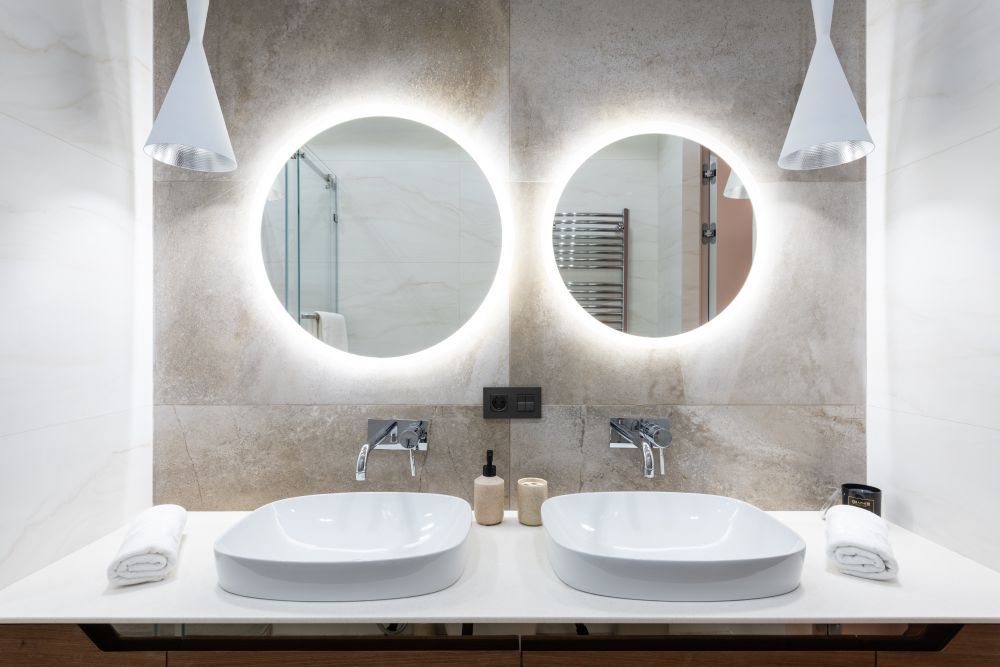
how to paint a bathroom sink


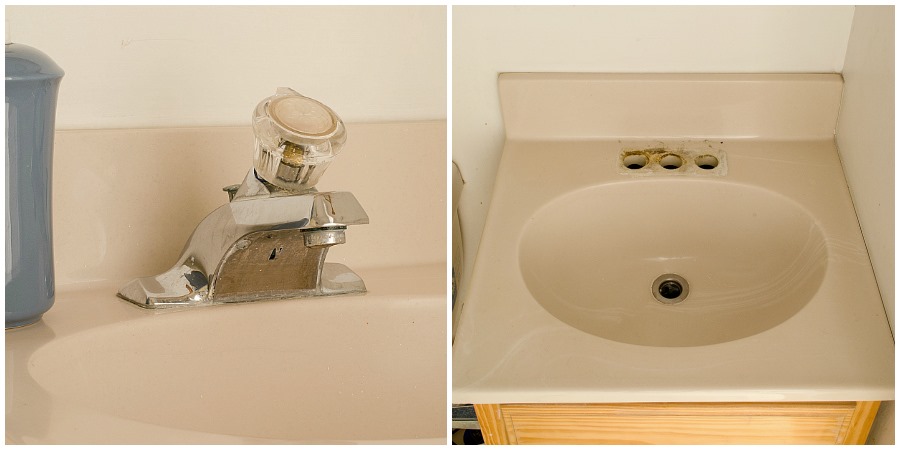
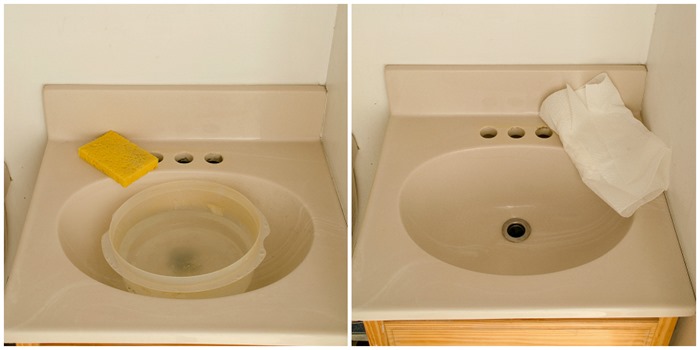
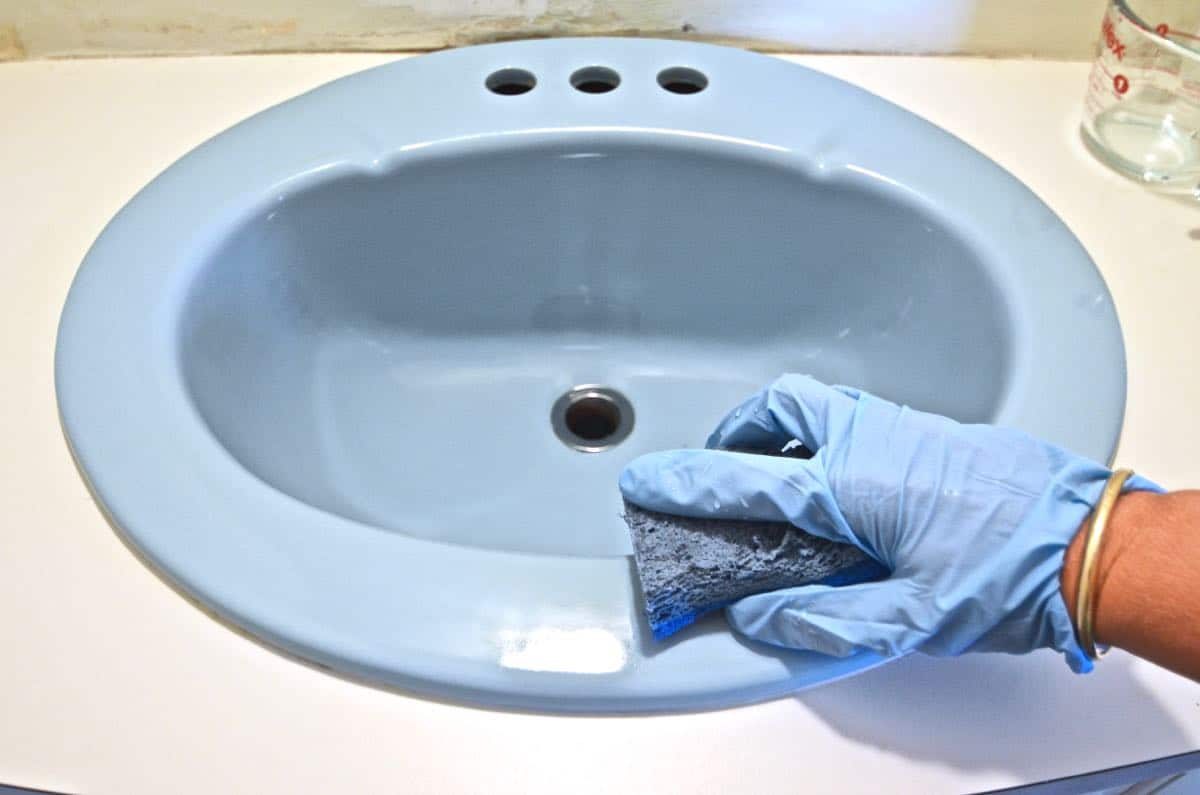
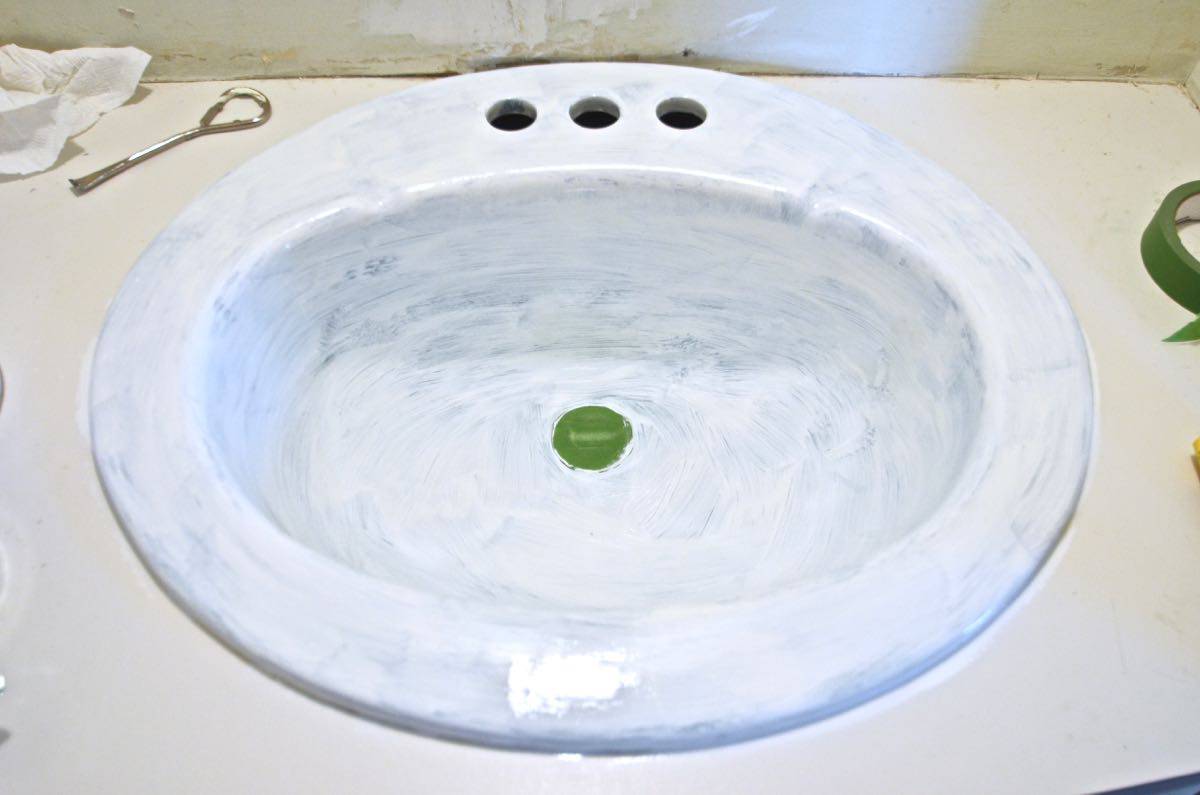
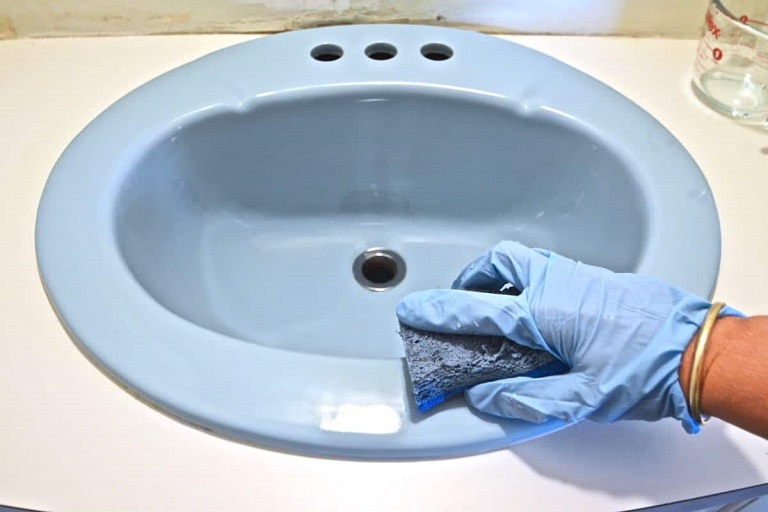
Step 2: Prep Your Sink
Before you begin painting, you need to properly prepare your sink. Start by thoroughly cleaning it with soap and water to remove any dirt, grime, or soap scum. Next, use fine-grit sandpaper to lightly sand the surface of the sink. This will help the primer and paint adhere better. Make sure to wipe away any dust or debris with a damp cloth before moving on to the next step.

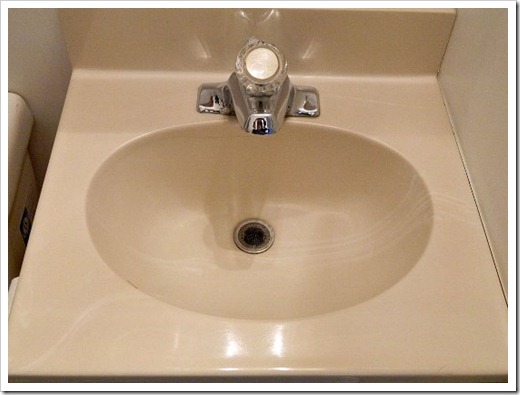
painting a bathroom sink

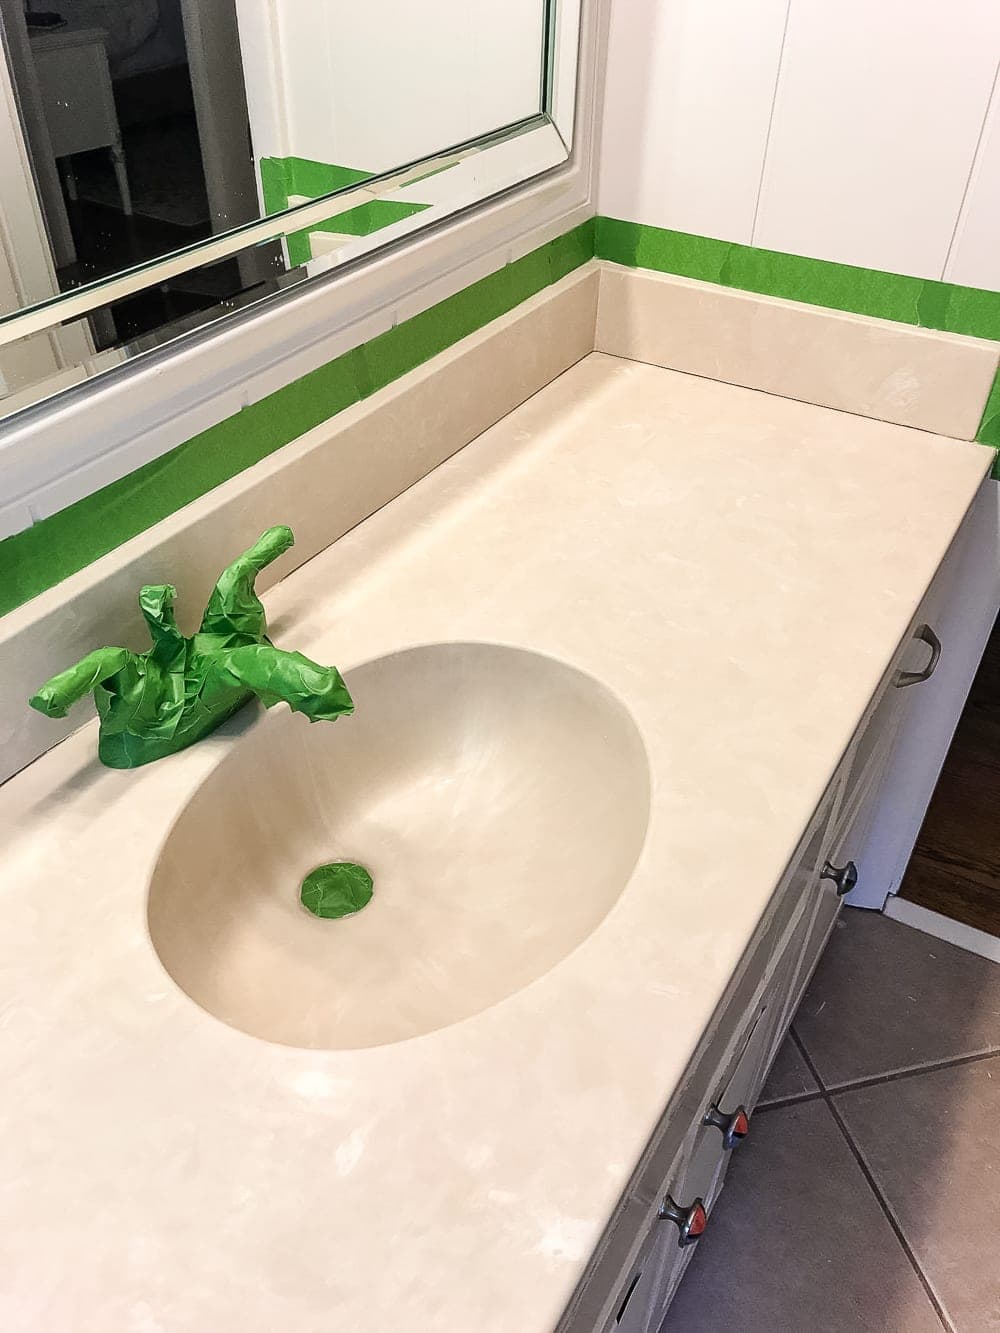
Step 3: Mask Off the Area
Protect the surrounding areas of your sink by using masking tape or painter's tape to cover the edges of your sink, countertops, and any fixtures. This will prevent any accidental paint drips or splatters.


bathroom sink paint


Step 4: Apply the Primer
Now it's time to apply the primer. This is an essential step to ensure that the paint adheres properly and lasts long. Using a paintbrush, apply a thin and even coat of primer to the entire sink. Make sure to cover all the nooks and crannies. Let the primer dry completely before moving on to the next step.

painting sink


Step 5: Paint Your Sink
Once the primer is completely dry, it's time to paint your sink. Using a small paintbrush, start with the edges and corners of the sink, and then use a paint roller to cover the larger areas. Apply thin coats of paint and let each coat dry completely before adding another one. This will prevent the paint from dripping or running. For a smooth and professional finish, apply 2-3 coats of paint.

painting a sink

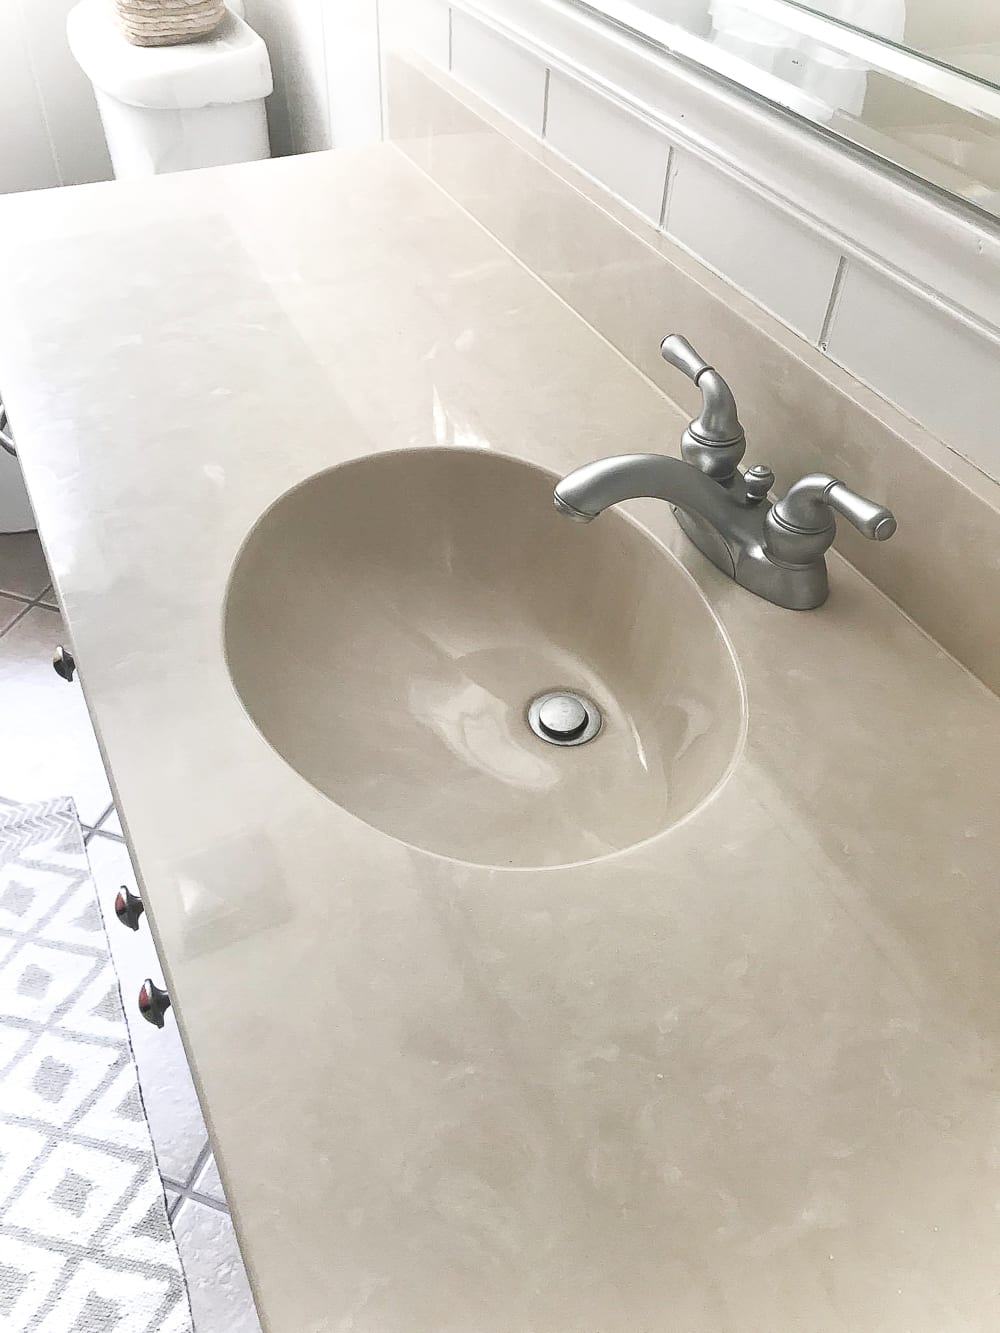
Step 6: Let It Cure
After the final coat of paint, let your sink cure for at least 24 hours before using it. This will give the paint enough time to fully dry and harden, ensuring a durable finish.


painting a porcelain sink


Tips and Tricks for Painting Different Types of Sinks
If you have a specific type of sink, such as porcelain, ceramic, fiberglass, or plastic, there are some additional steps you can take to ensure the best results.


painting a ceramic sink


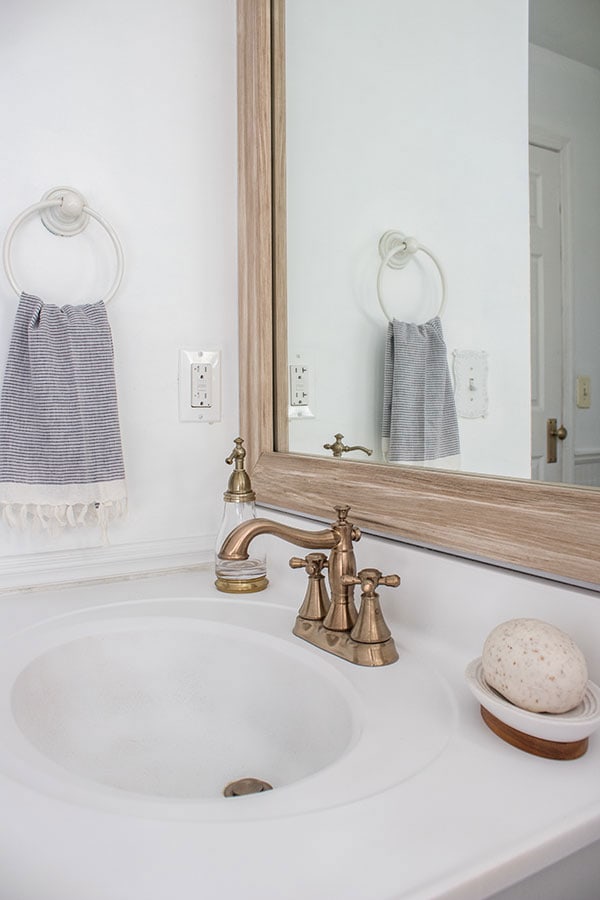
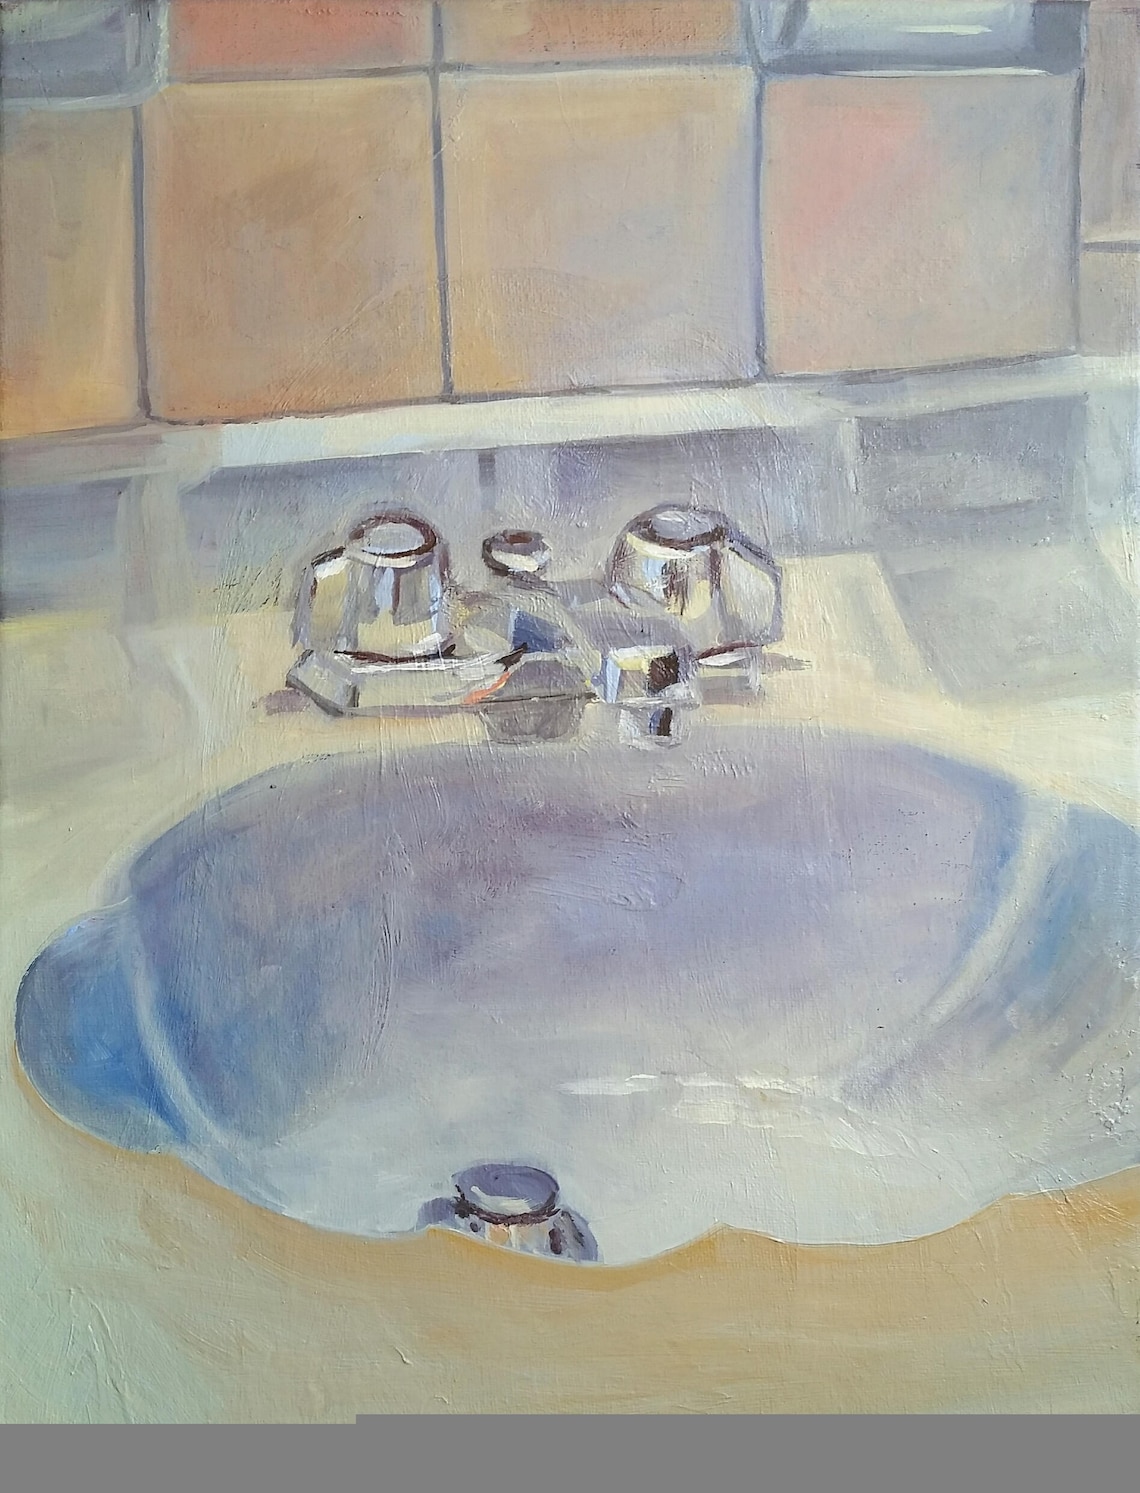
Final Thoughts
Painting your bathroom sink is a budget-friendly and easy way to give your bathroom a fresh new look. With the right tools and techniques, you can transform your old and worn out sink into a stylish focal point in your bathroom. So, why wait? Grab your supplies and give your bathroom a much-needed upgrade with a fresh coat of paint on your sink.


painting a fiberglass sink


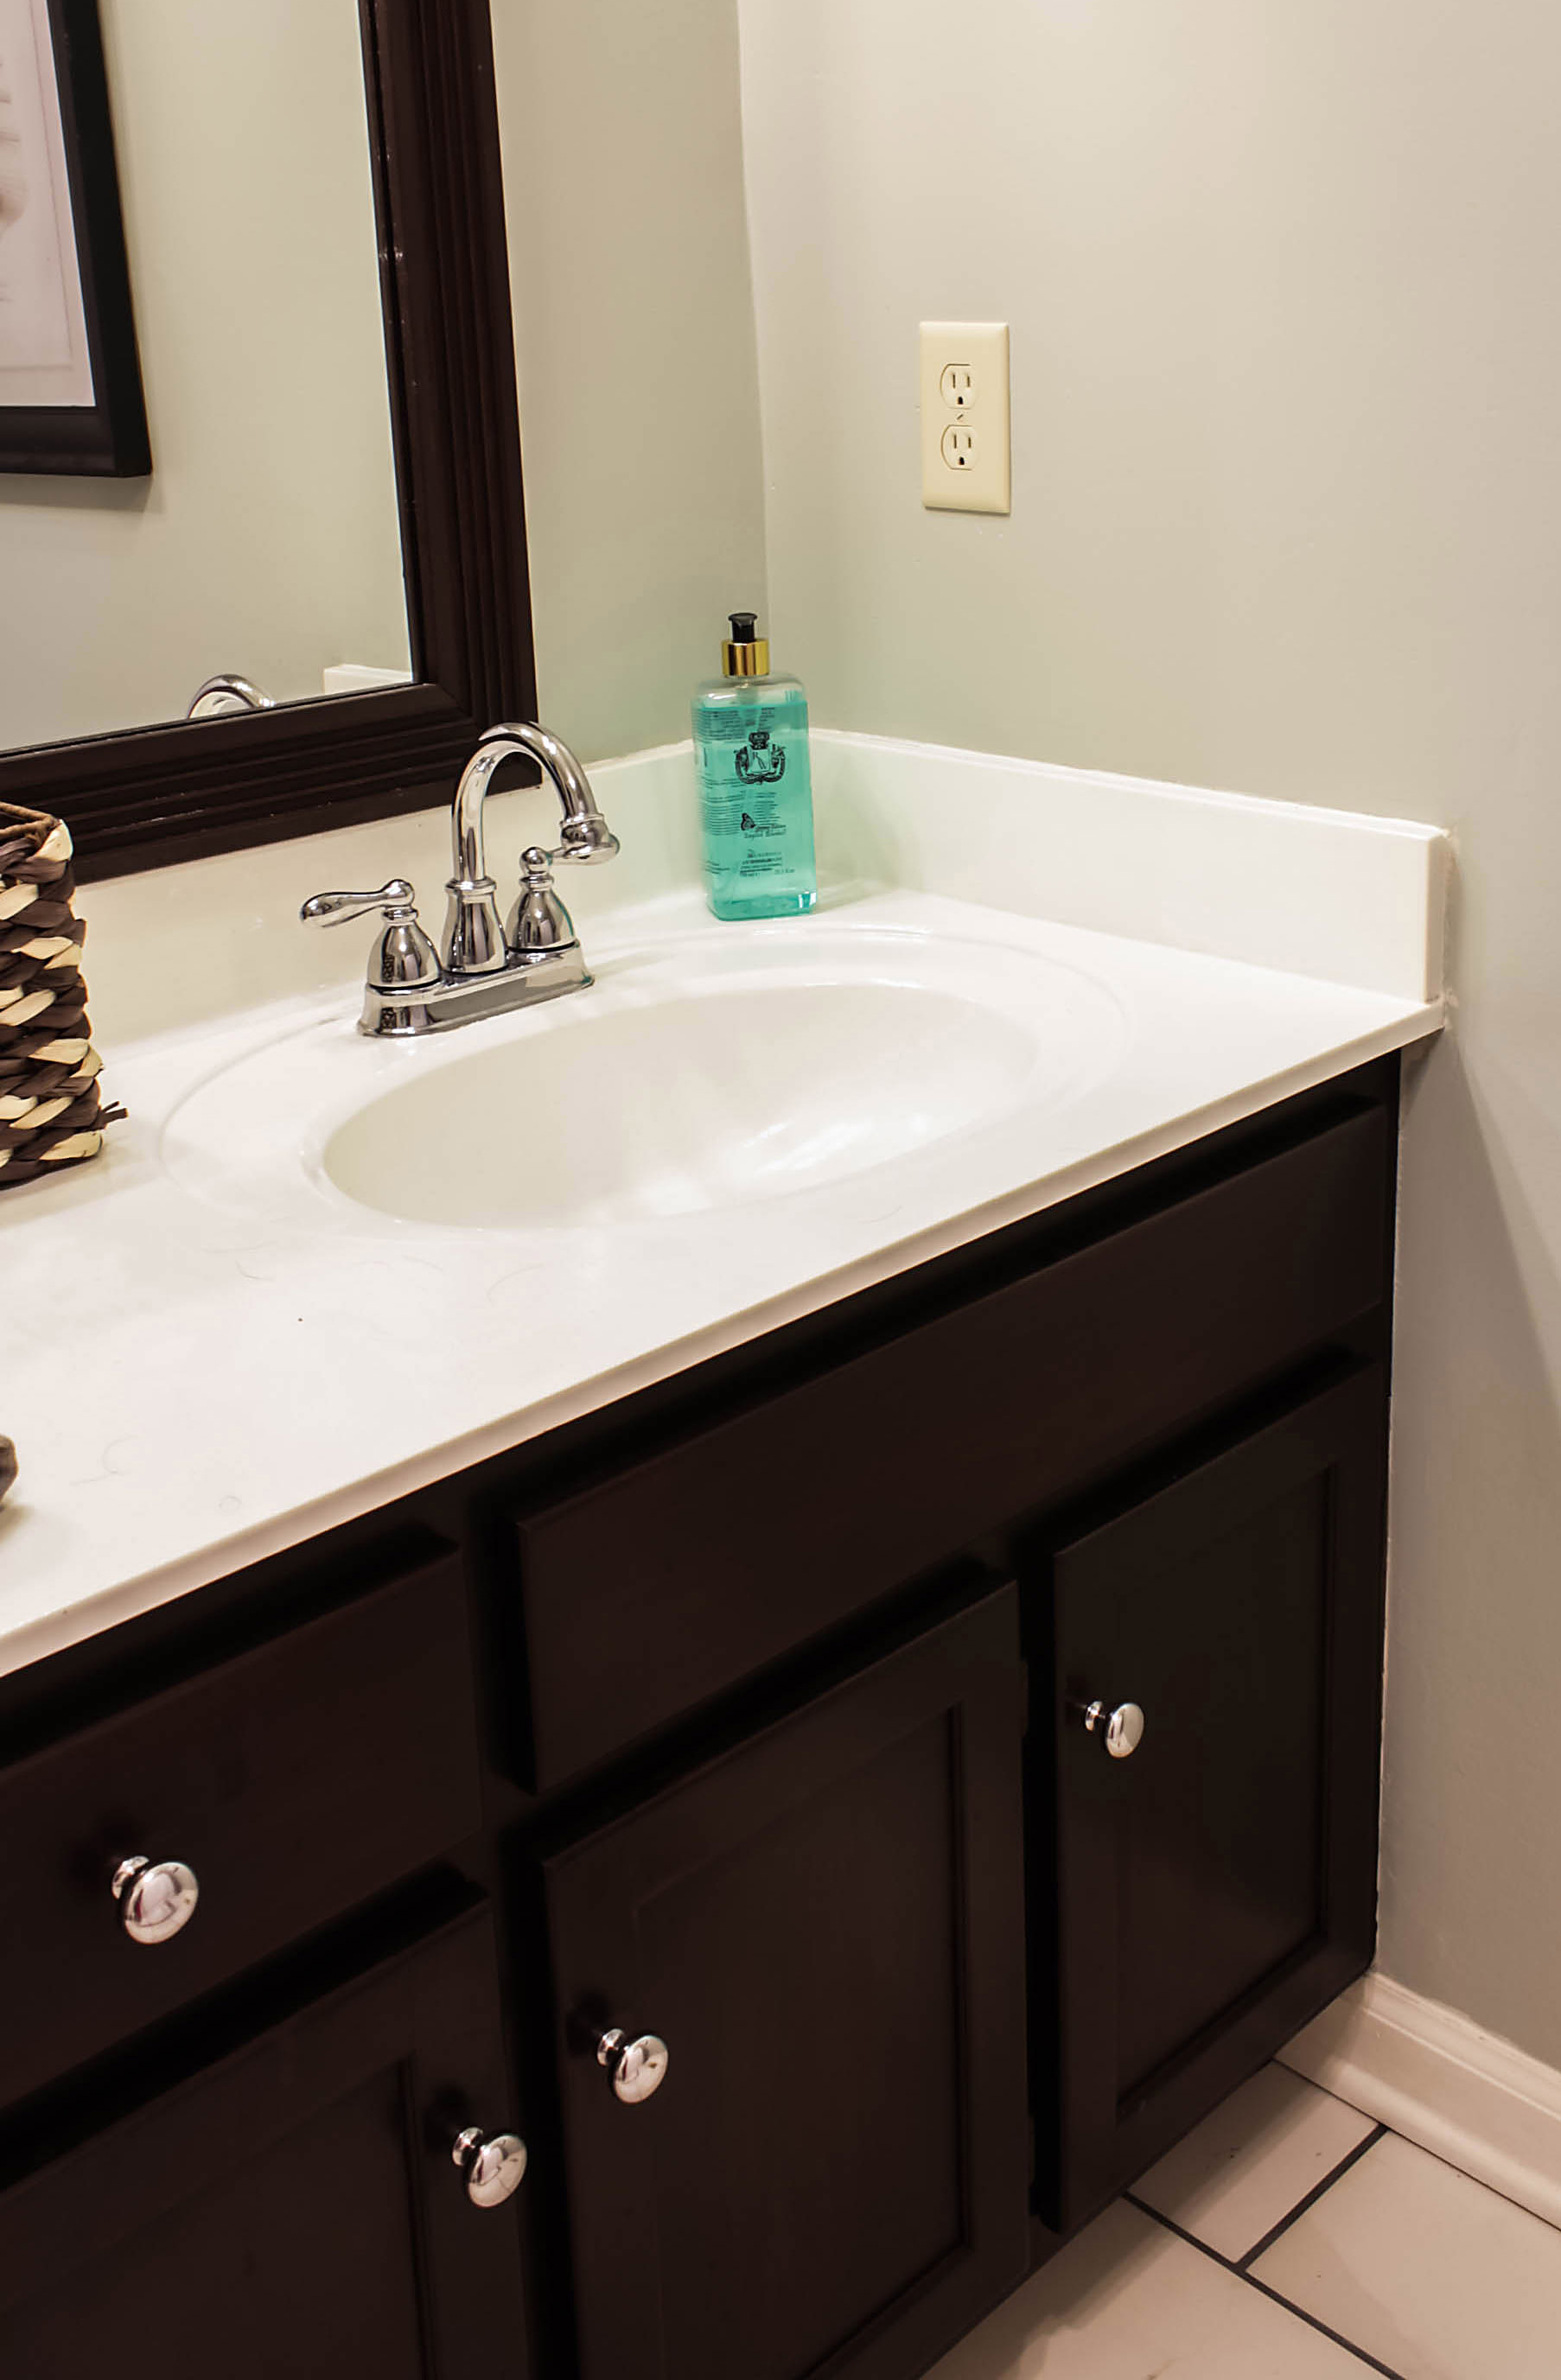
The Benefits of Painting Your Bathroom Sink

Transform Your Bathroom with a Fresh Coat of Paint
 When it comes to designing your home, the bathroom is often overlooked. However, a well-designed bathroom can drastically improve the overall aesthetic of your house. One simple and cost-effective way to update your bathroom is by
painting your bathroom sink
. This not only adds a pop of color and style to the room but also extends the life of your sink. Here are some of the benefits of painting your bathroom sink.
When it comes to designing your home, the bathroom is often overlooked. However, a well-designed bathroom can drastically improve the overall aesthetic of your house. One simple and cost-effective way to update your bathroom is by
painting your bathroom sink
. This not only adds a pop of color and style to the room but also extends the life of your sink. Here are some of the benefits of painting your bathroom sink.
Cost-effective Solution
 Replacing a bathroom sink can be a costly and time-consuming process. By opting to
paint your bathroom sink
, you can achieve a new look without breaking the bank. A can of paint and some basic supplies are all you need to give your sink a fresh new look. Plus, you can choose from a variety of colors and finishes to match your bathroom's design scheme.
Replacing a bathroom sink can be a costly and time-consuming process. By opting to
paint your bathroom sink
, you can achieve a new look without breaking the bank. A can of paint and some basic supplies are all you need to give your sink a fresh new look. Plus, you can choose from a variety of colors and finishes to match your bathroom's design scheme.
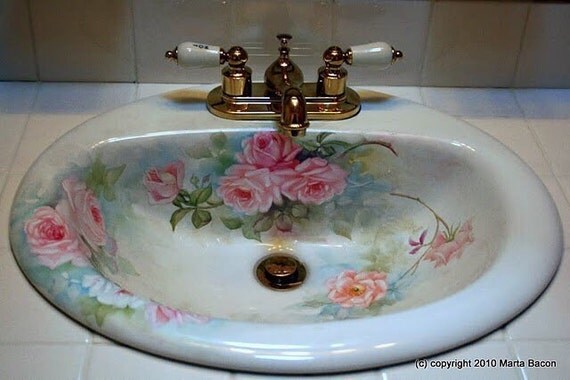
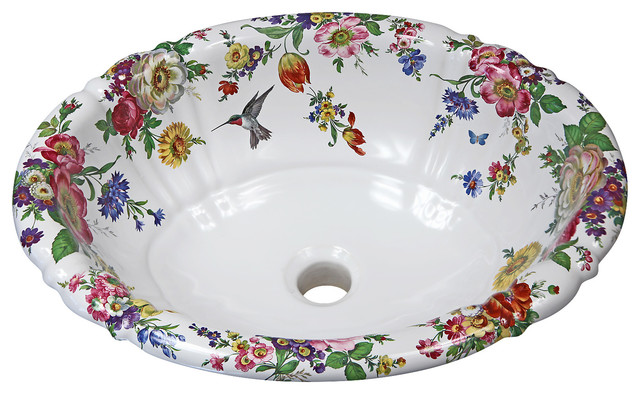
Customization and Personalization
 Painting your bathroom sink allows you to
customize and personalize
it according to your taste and style. Whether you want a bold and vibrant sink or a subtle and elegant one, the possibilities are endless. You can also experiment with different painting techniques, such as stenciling or ombre, to create a unique and one-of-a-kind sink.
Painting your bathroom sink allows you to
customize and personalize
it according to your taste and style. Whether you want a bold and vibrant sink or a subtle and elegant one, the possibilities are endless. You can also experiment with different painting techniques, such as stenciling or ombre, to create a unique and one-of-a-kind sink.
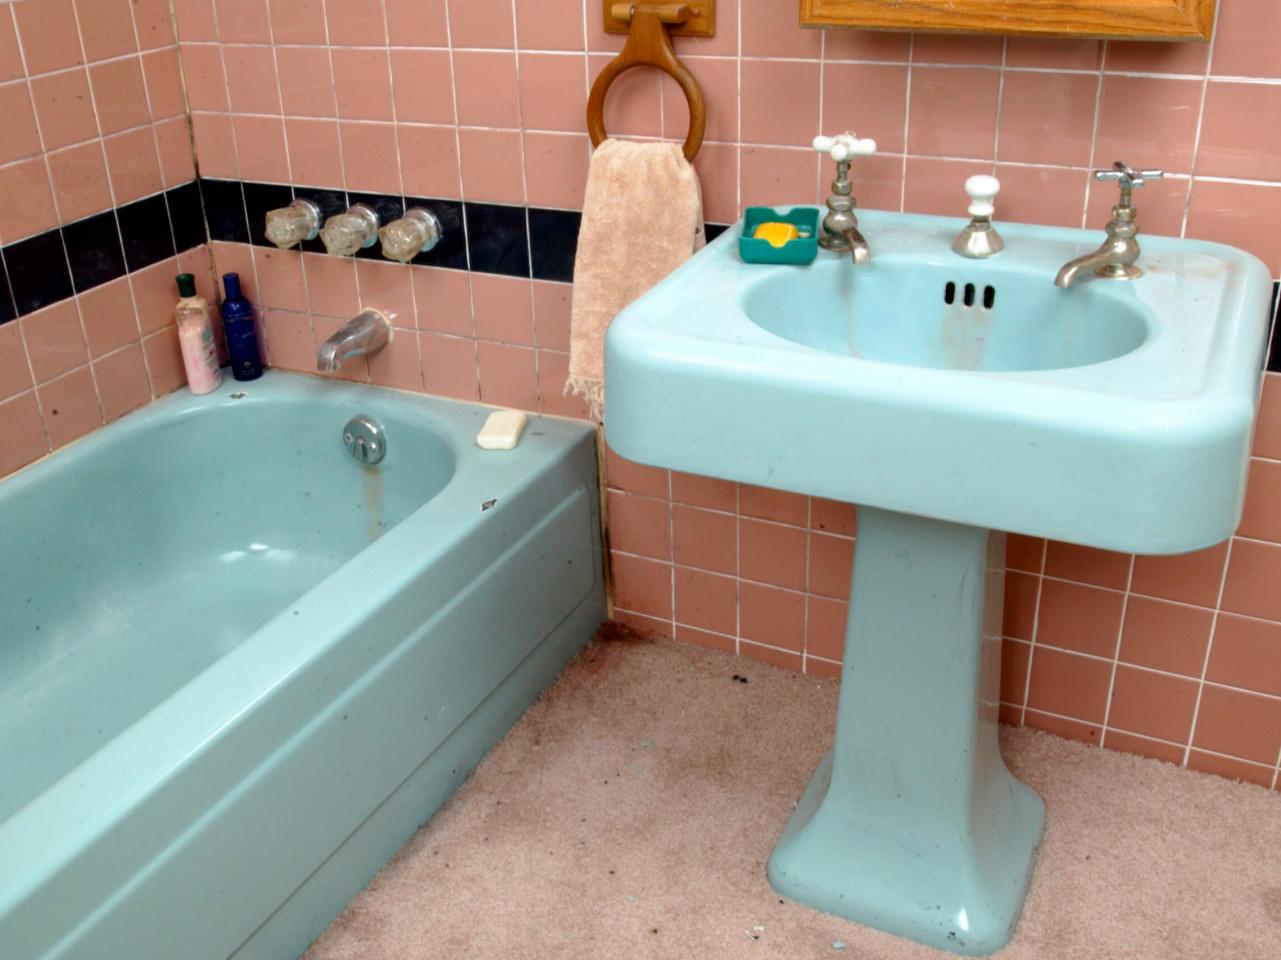
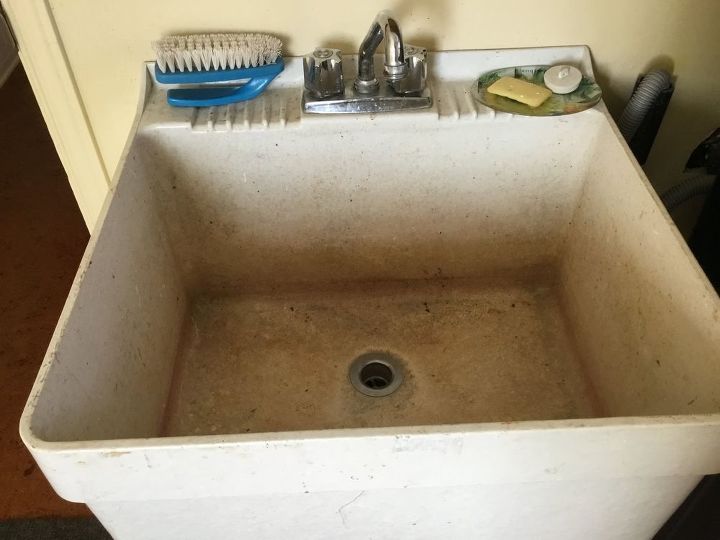
Extends the Life of Your Sink
 Over time, bathroom sinks can become dull and worn out, especially if they are made of porcelain or other materials that are prone to staining and chipping. By
painting your bathroom sink
, you can cover up any imperfections and protect it from further damage. This can extend the life of your sink and save you from having to replace it in the near future.
Over time, bathroom sinks can become dull and worn out, especially if they are made of porcelain or other materials that are prone to staining and chipping. By
painting your bathroom sink
, you can cover up any imperfections and protect it from further damage. This can extend the life of your sink and save you from having to replace it in the near future.
Easy and Quick Process
 Painting your bathroom sink is a simple and quick process that can be completed within a day. First, you will need to clean and sand the surface of your sink to ensure that the paint adheres properly. Then, apply a primer and let it dry. Once the primer is dry, you can start painting your sink with your chosen color. Finally, add a topcoat for extra protection and let it dry completely. Voila! You have a brand new sink.
In conclusion,
painting your bathroom sink
is a cost-effective, customizable, and easy way to update your bathroom's design. It also extends the life of your sink, making it a practical choice for homeowners. With a little bit of paint and some creativity, you can transform your bathroom and give it a fresh new look. So, the next time you're thinking of redecorating, don't forget to consider the benefits of painting your bathroom sink.
Painting your bathroom sink is a simple and quick process that can be completed within a day. First, you will need to clean and sand the surface of your sink to ensure that the paint adheres properly. Then, apply a primer and let it dry. Once the primer is dry, you can start painting your sink with your chosen color. Finally, add a topcoat for extra protection and let it dry completely. Voila! You have a brand new sink.
In conclusion,
painting your bathroom sink
is a cost-effective, customizable, and easy way to update your bathroom's design. It also extends the life of your sink, making it a practical choice for homeowners. With a little bit of paint and some creativity, you can transform your bathroom and give it a fresh new look. So, the next time you're thinking of redecorating, don't forget to consider the benefits of painting your bathroom sink.