Introduction
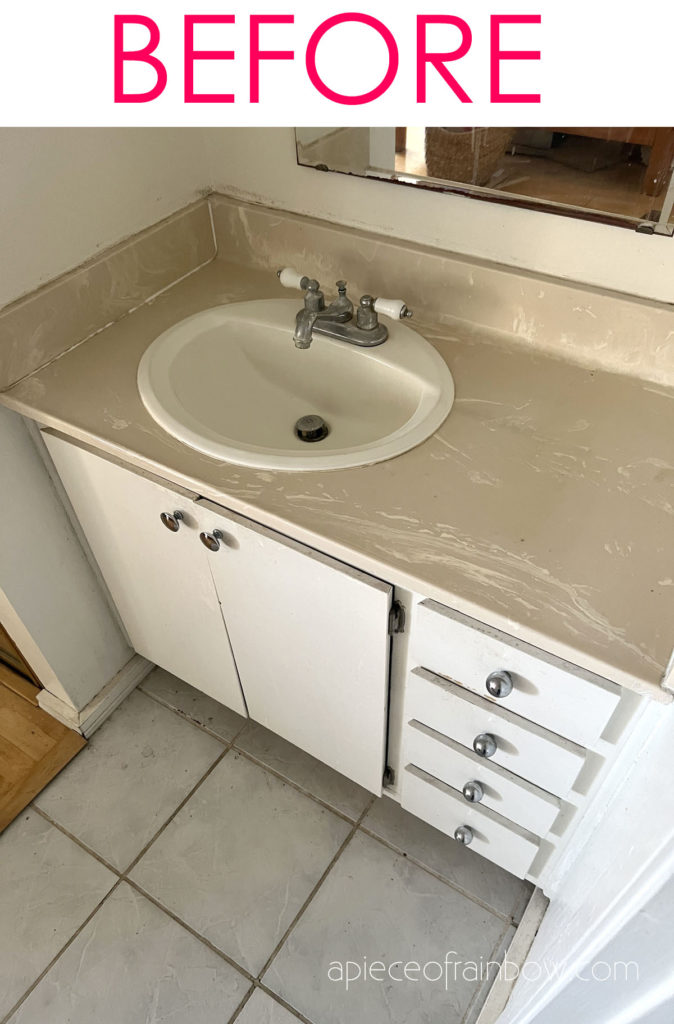
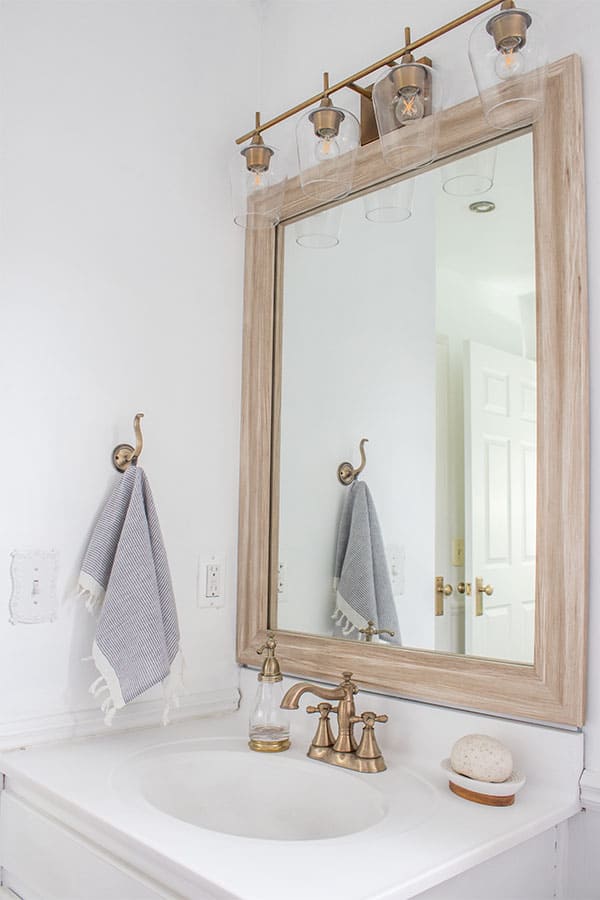
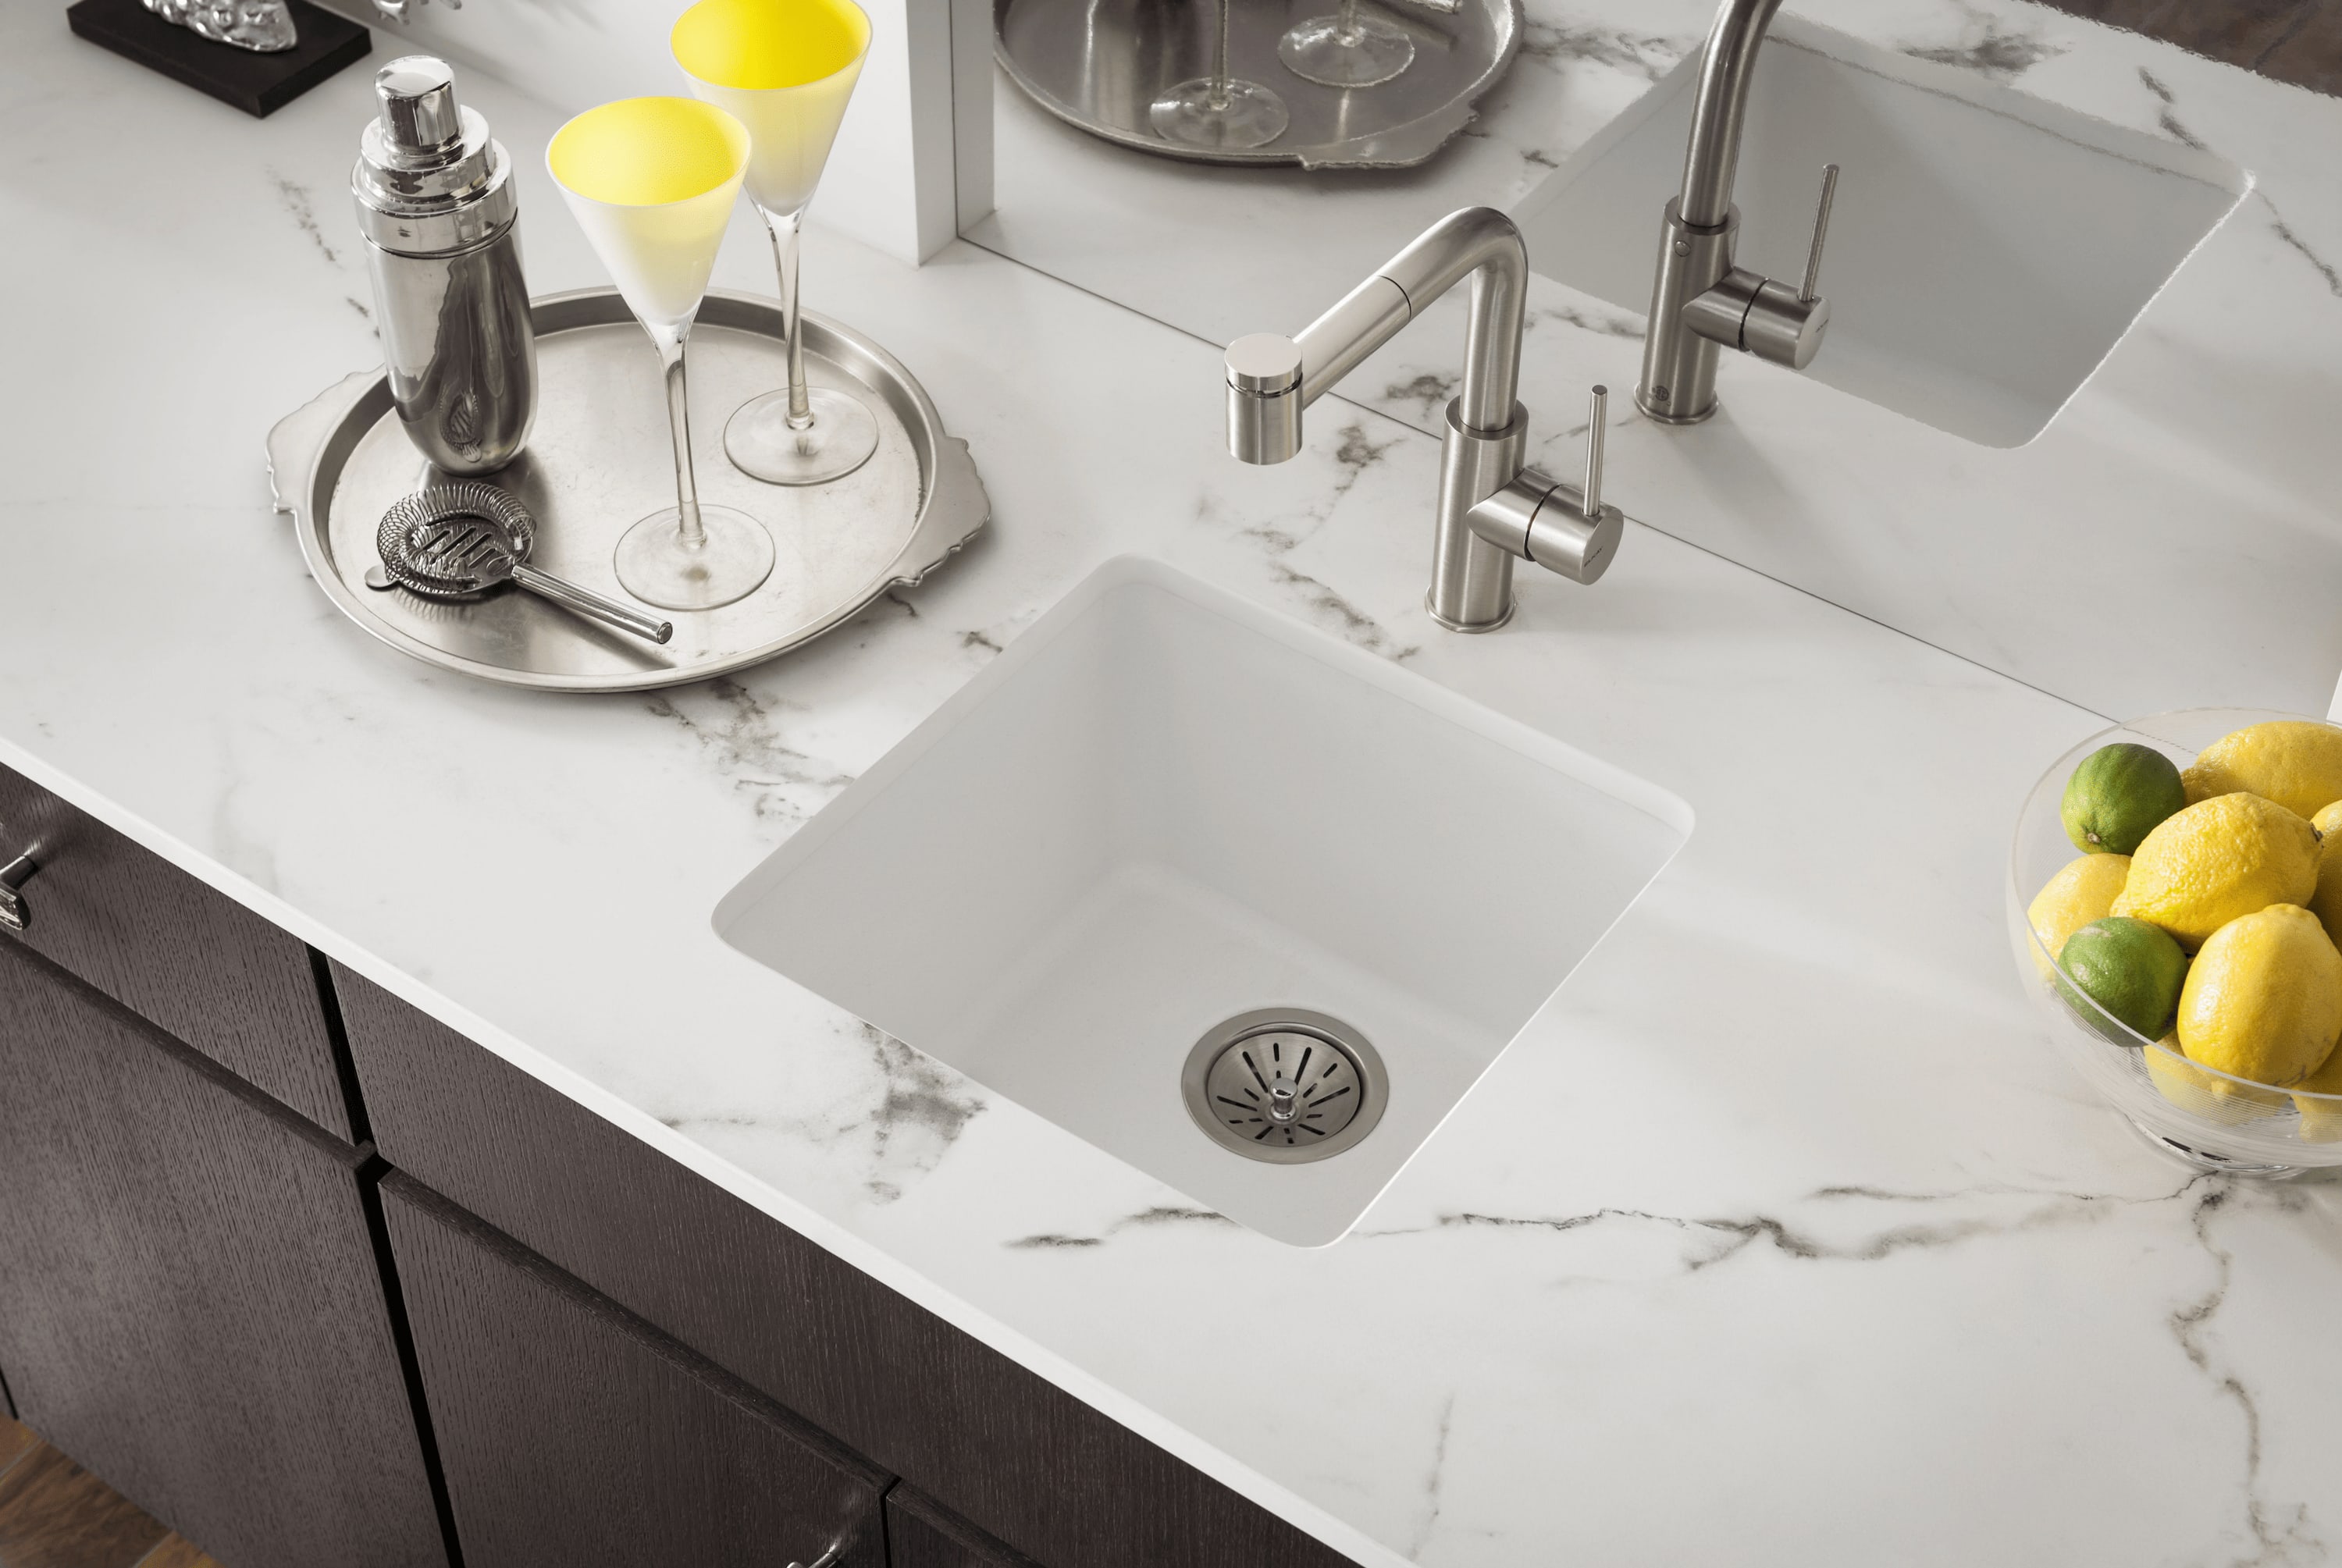
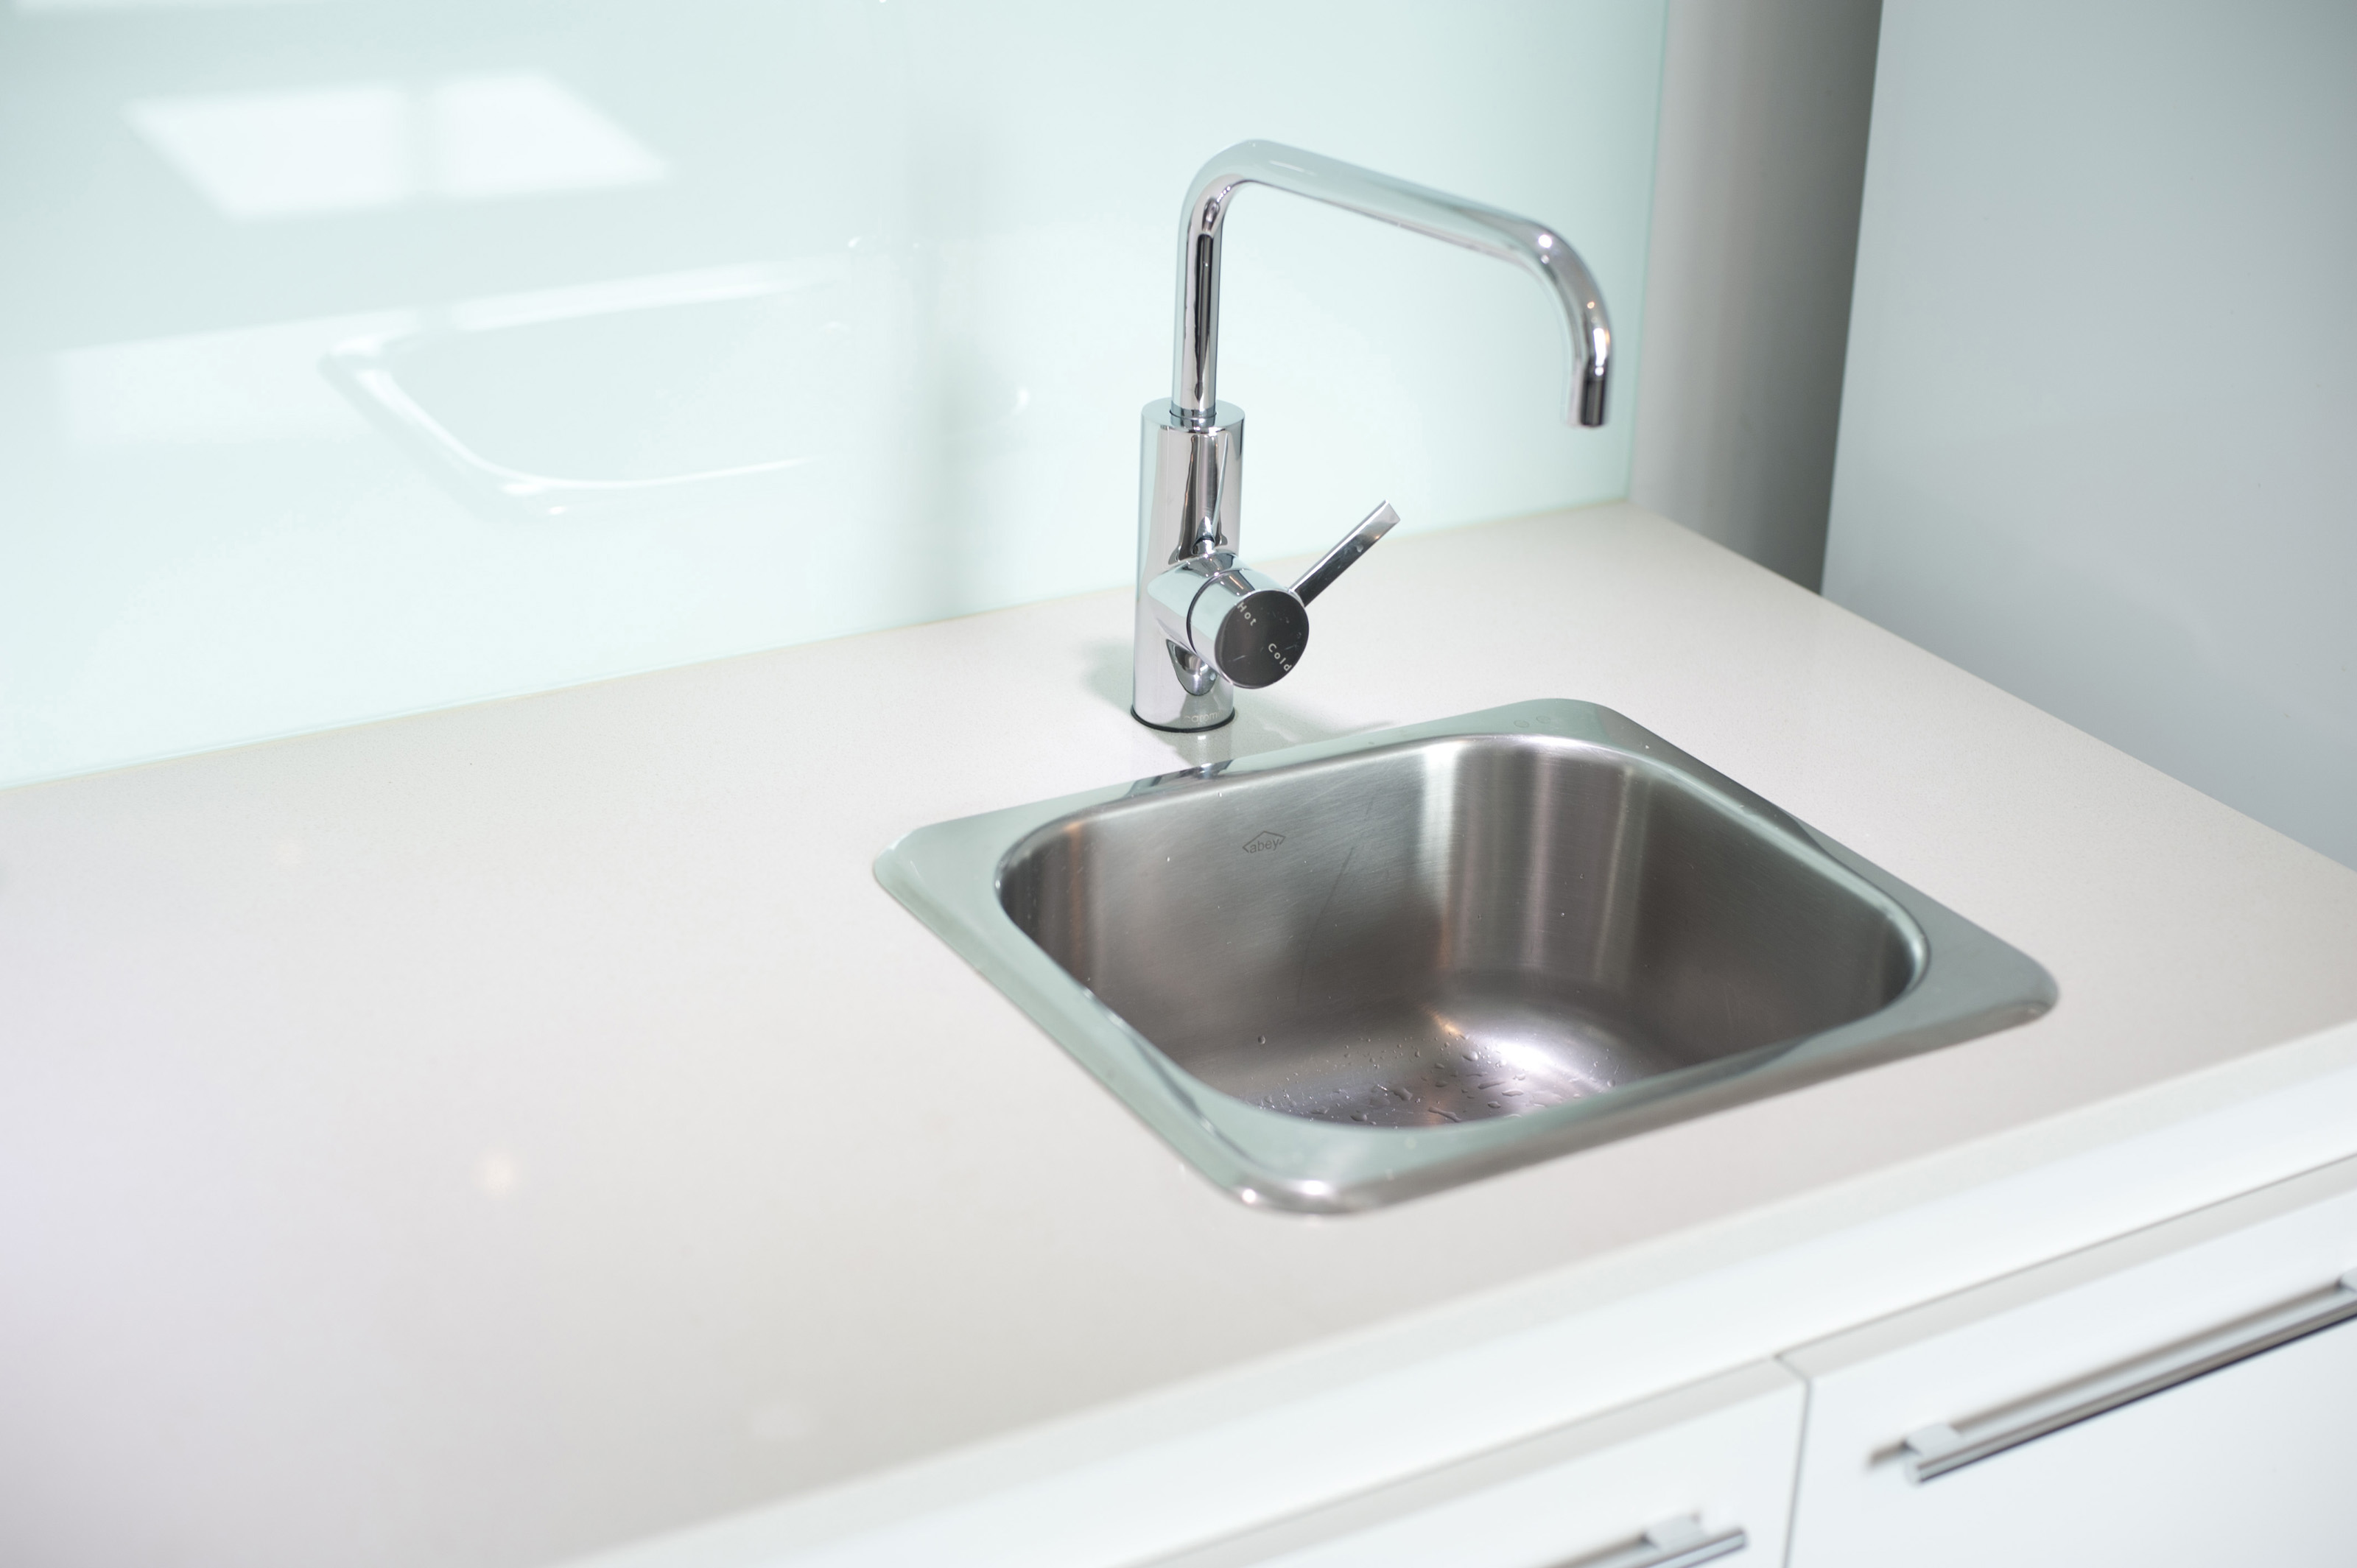
Are you tired of your old and worn-out bathroom sink countertop? Do you want to give it a fresh and new look without spending a fortune? Look no further, because in this article, we will discuss the top 10 ways on how you can transform your bathroom sink countertop by painting it. Yes, you read that right, painting! It's a cost-effective and easy way to upgrade your bathroom's overall look. So, without further ado, let's dive into the world of painting bathroom sink countertops.


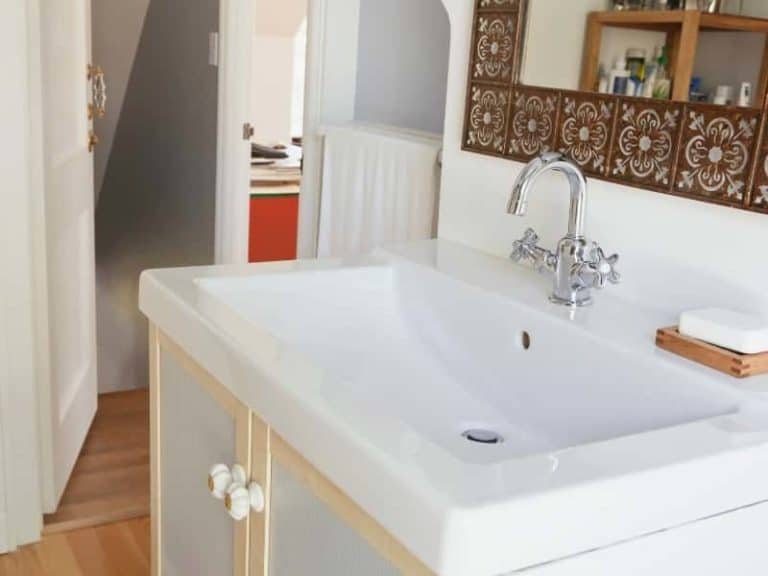
painting bathroom sink countertop


1. Painting Bathroom Sink Countertop: A Beginner's Guide
If you're new to painting, don't worry, we got you covered. First, you need to decide on the type of paint you want to use. Acrylic and latex paints are the most commonly used for bathroom sink countertops. They are water-resistant and easy to clean. You also need to consider the color that will match your bathroom's theme. Once you have your supplies ready, the next step is to prepare the countertop for painting.


painting bathroom sink
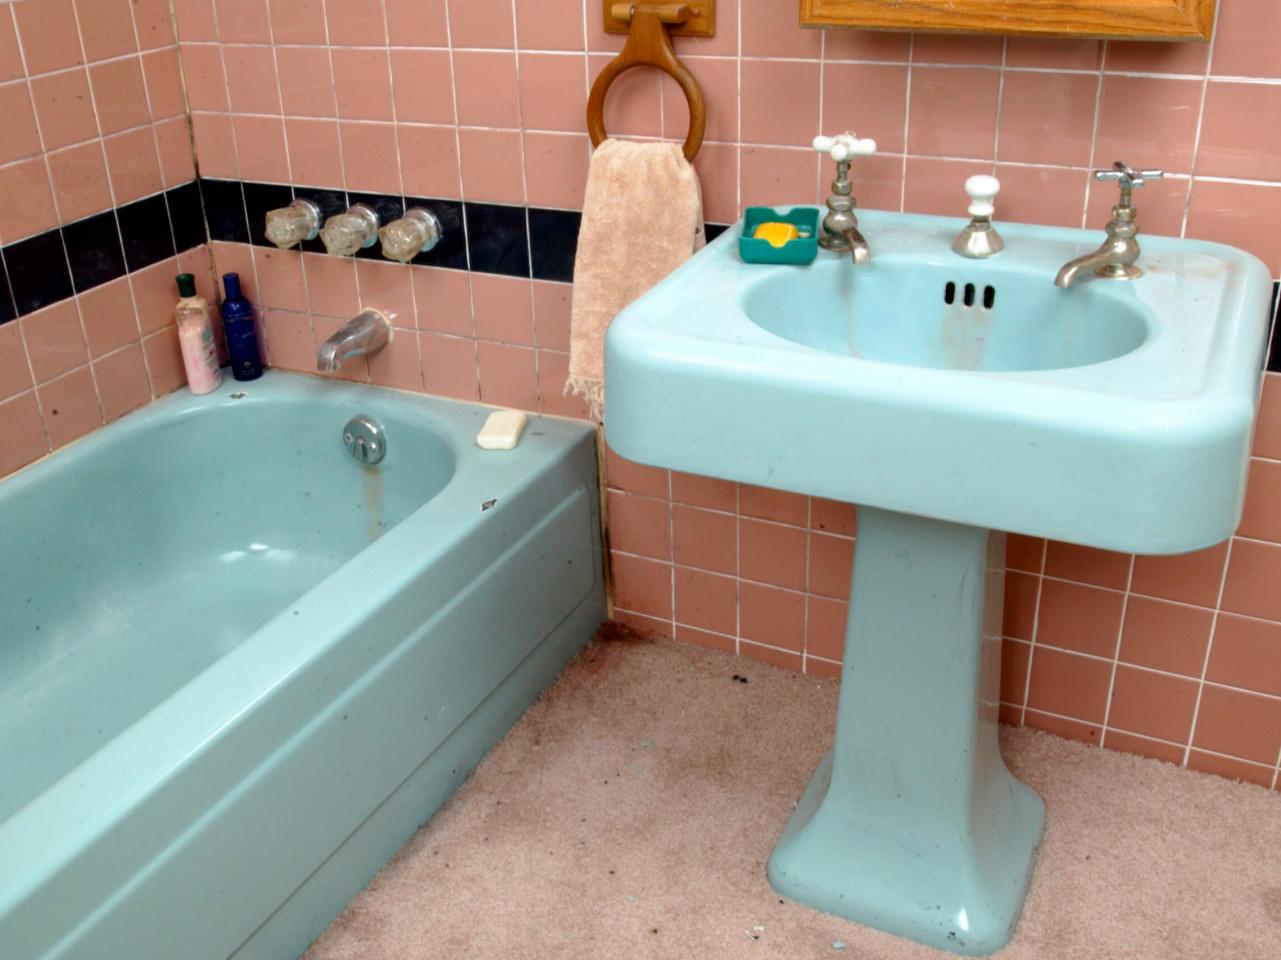


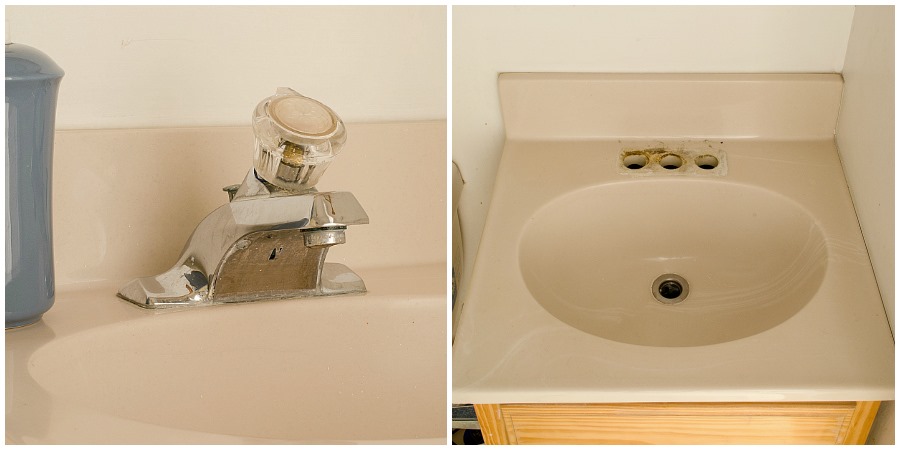
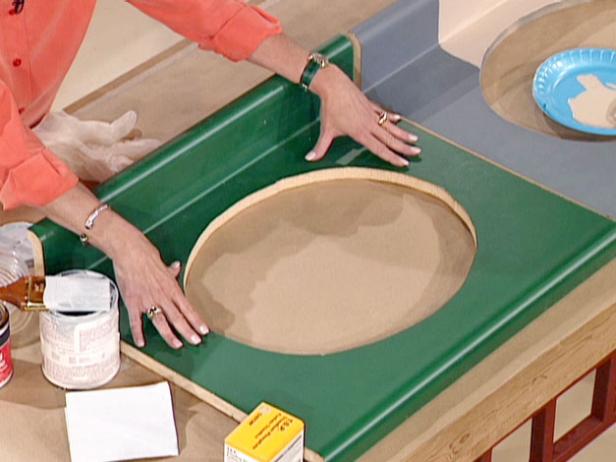
2. Preparing the Bathroom Sink Countertop
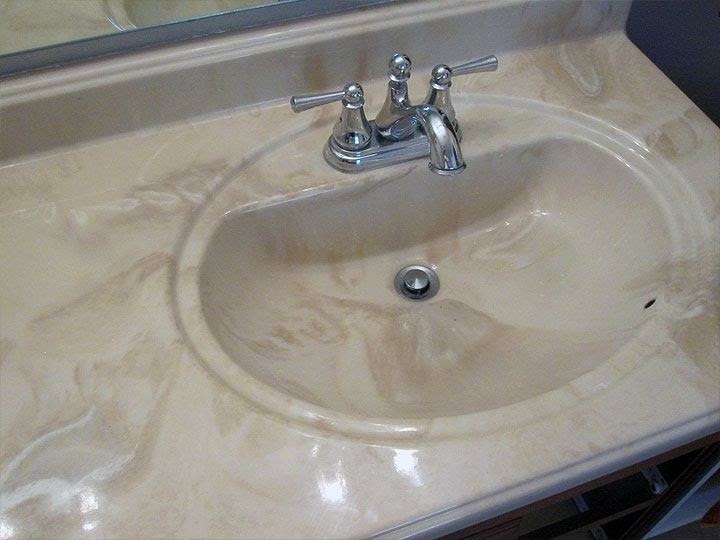
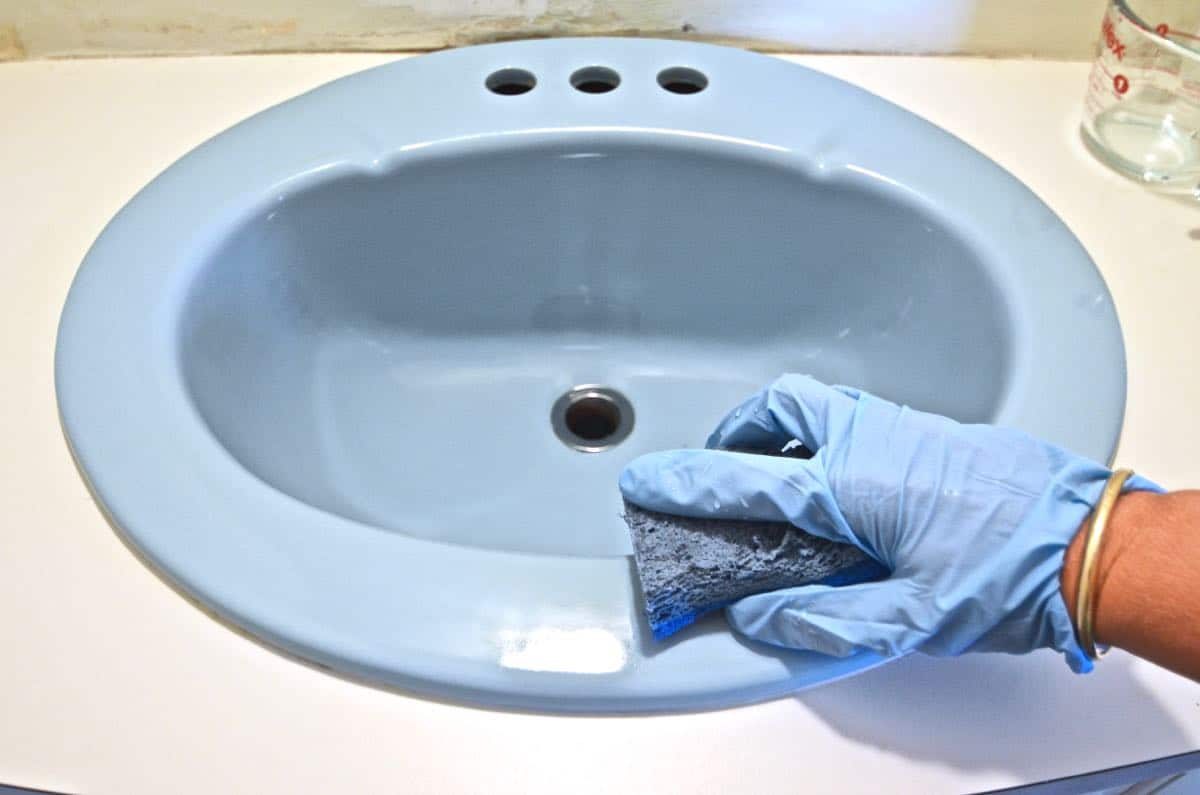
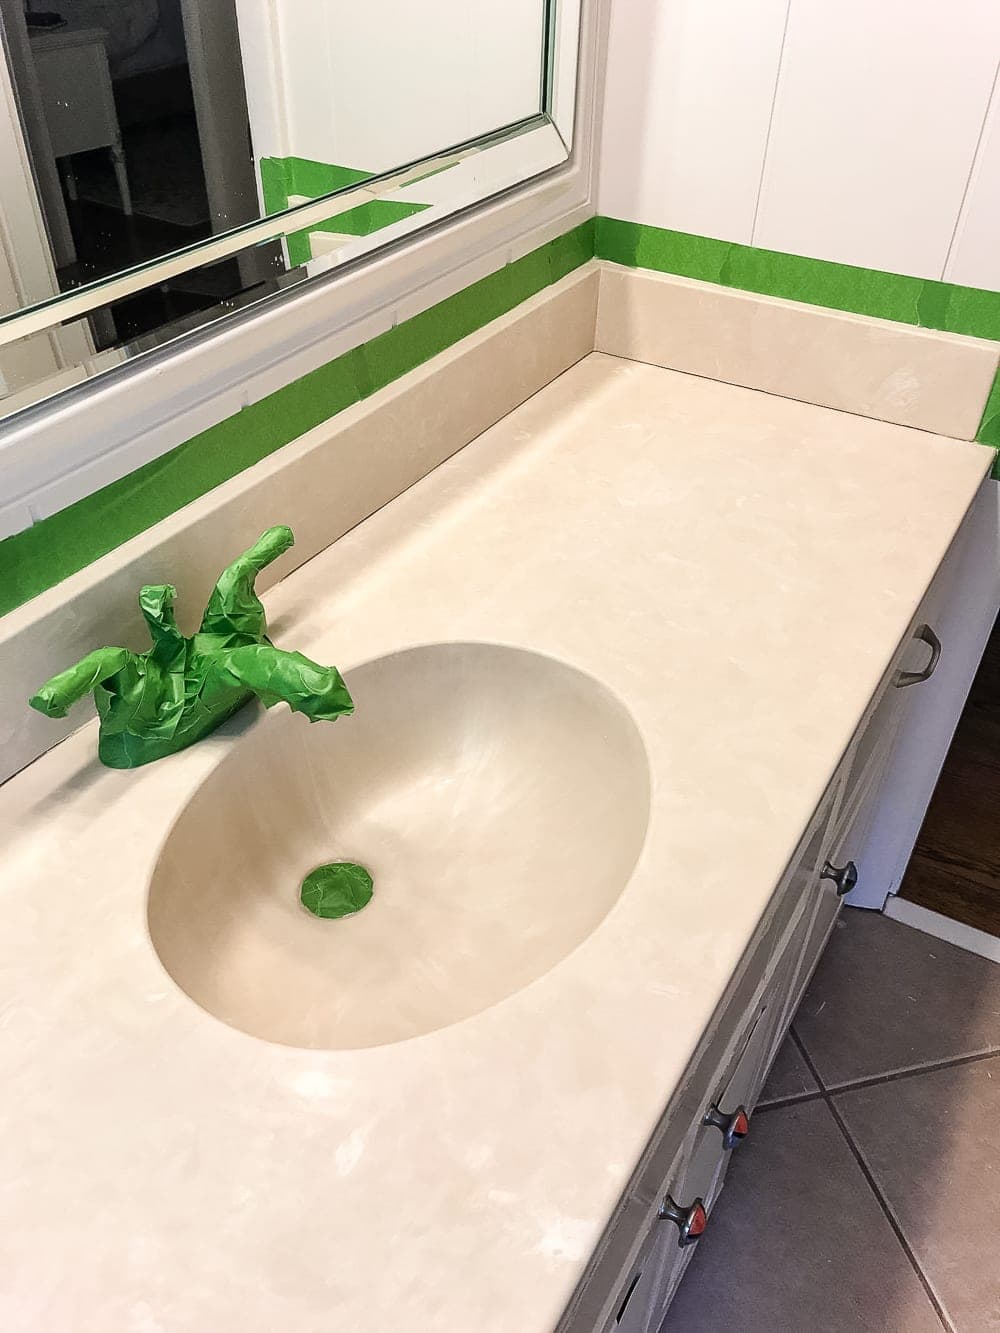
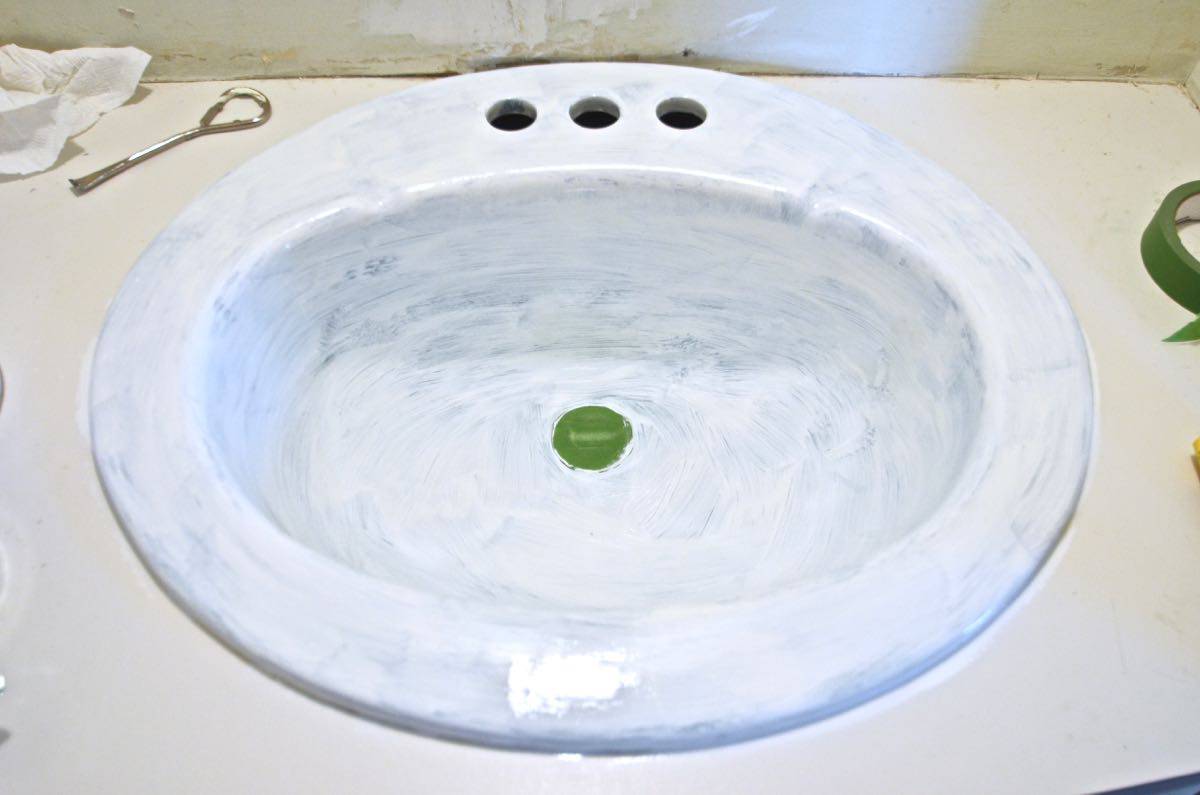
Before painting, make sure to clean the countertop thoroughly. Use a mixture of warm water and mild soap to remove any dirt, grime, or residue. If there are any cracks or chips, fill them in with a wood filler and sand it down until it's smooth. For laminate countertops, use a fine-grit sandpaper to roughen the surface, allowing the paint to adhere better.


painting countertop


3. Priming the Countertop
Priming is an essential step in painting bathroom sink countertops. It creates a smooth and even surface for the paint to stick to. Use a high-quality primer and apply it evenly with a paint roller or brush. Let it dry completely before moving on to the next step.


bathroom sink countertop paint


4. Choosing the Right Paint
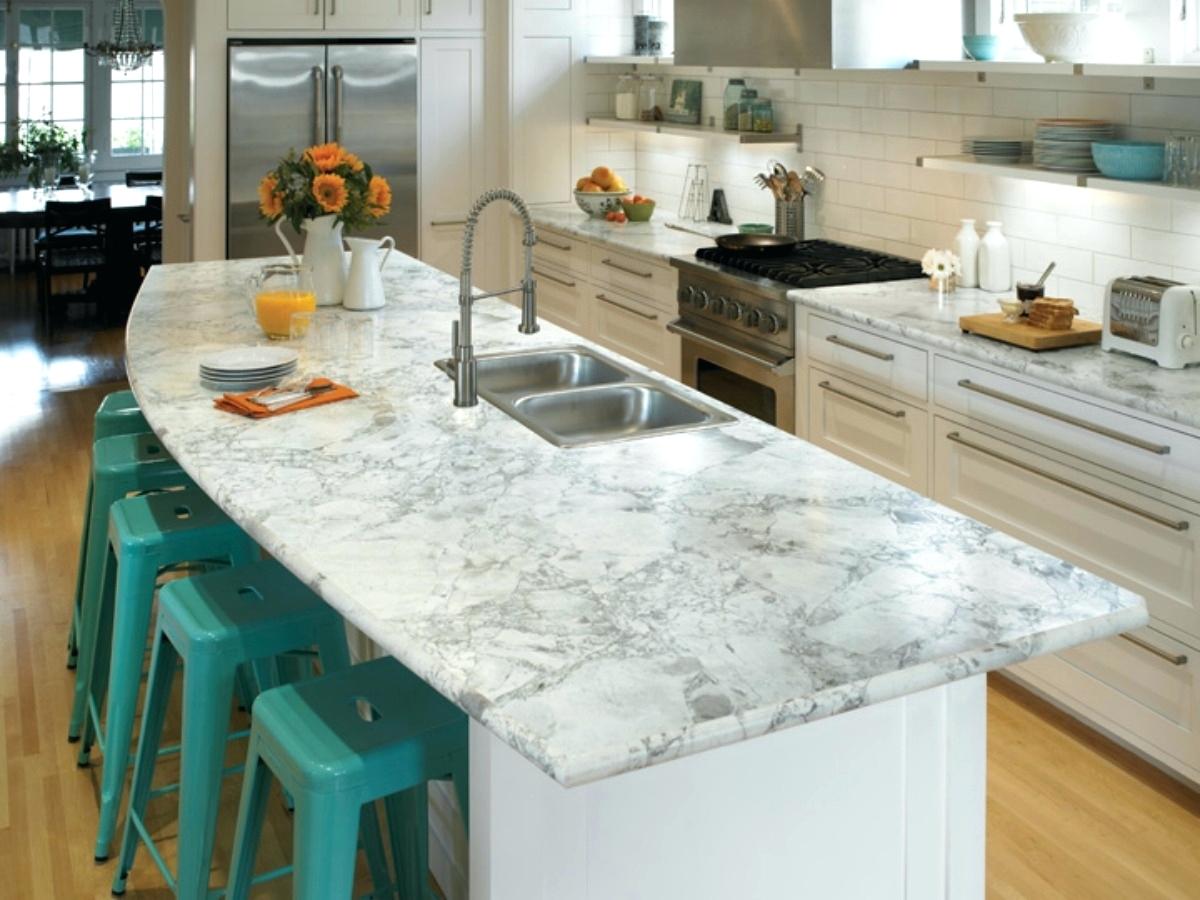
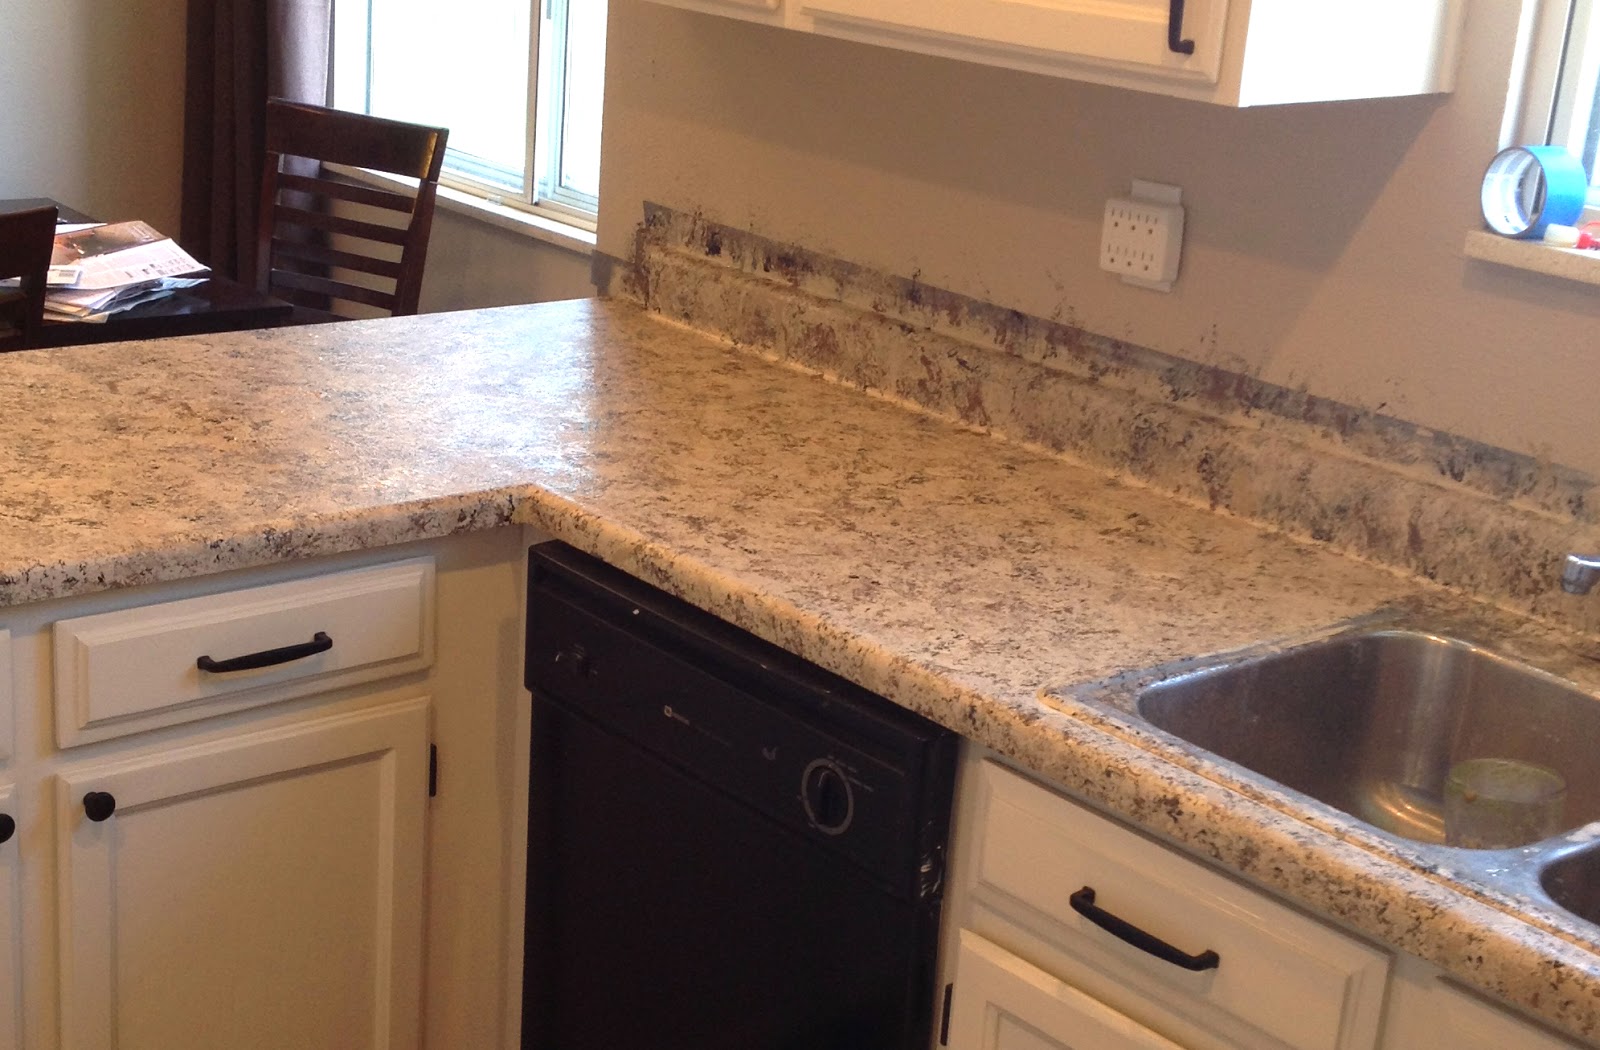
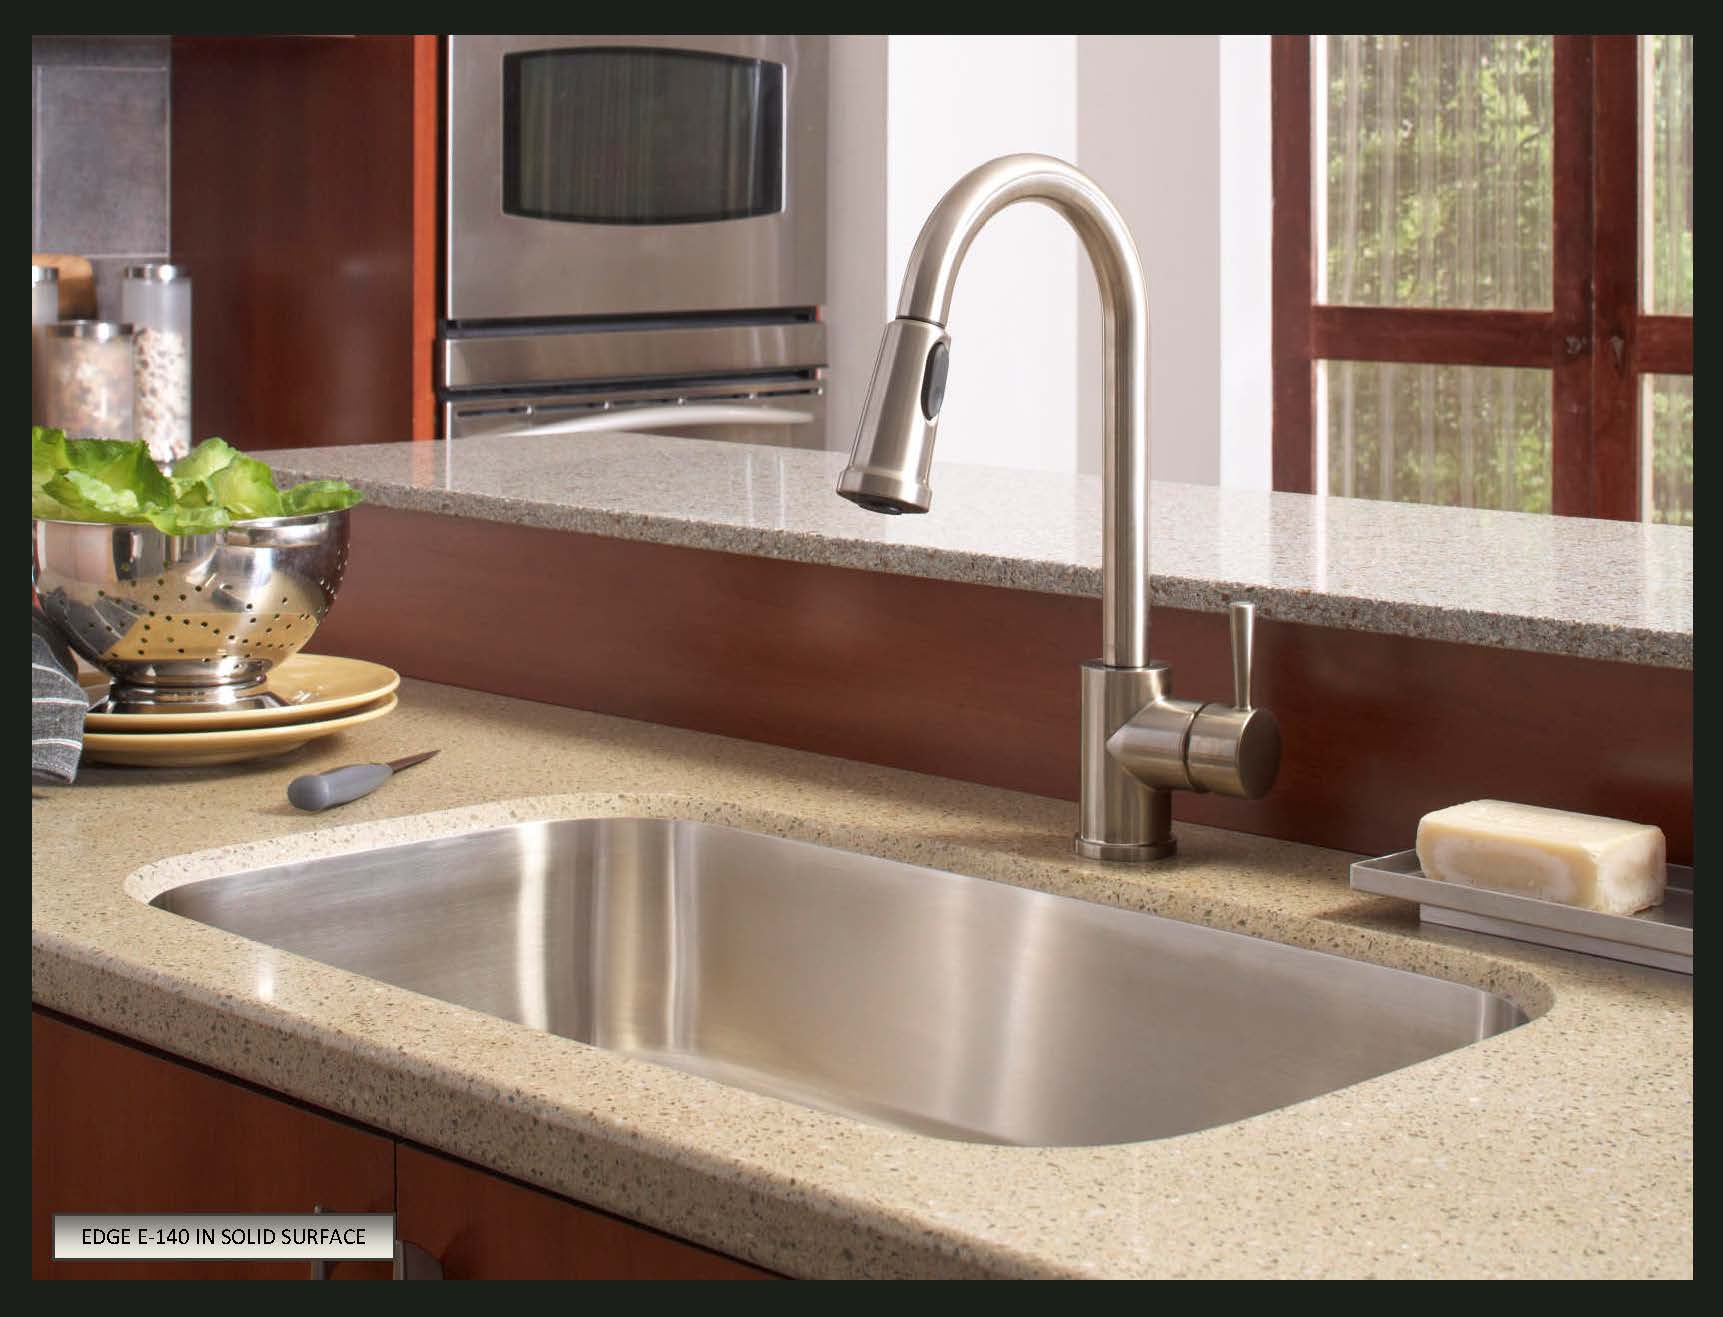
As mentioned earlier, acrylic and latex paints are the best options for bathroom sink countertops. They come in different finishes, such as matte, satin, or gloss. Consider the level of shine you want for your countertop and choose the appropriate finish. It's also essential to use a paint that is specifically made for painting countertops to ensure durability and water-resistance.


painting sink countertop


5. Painting the Countertop
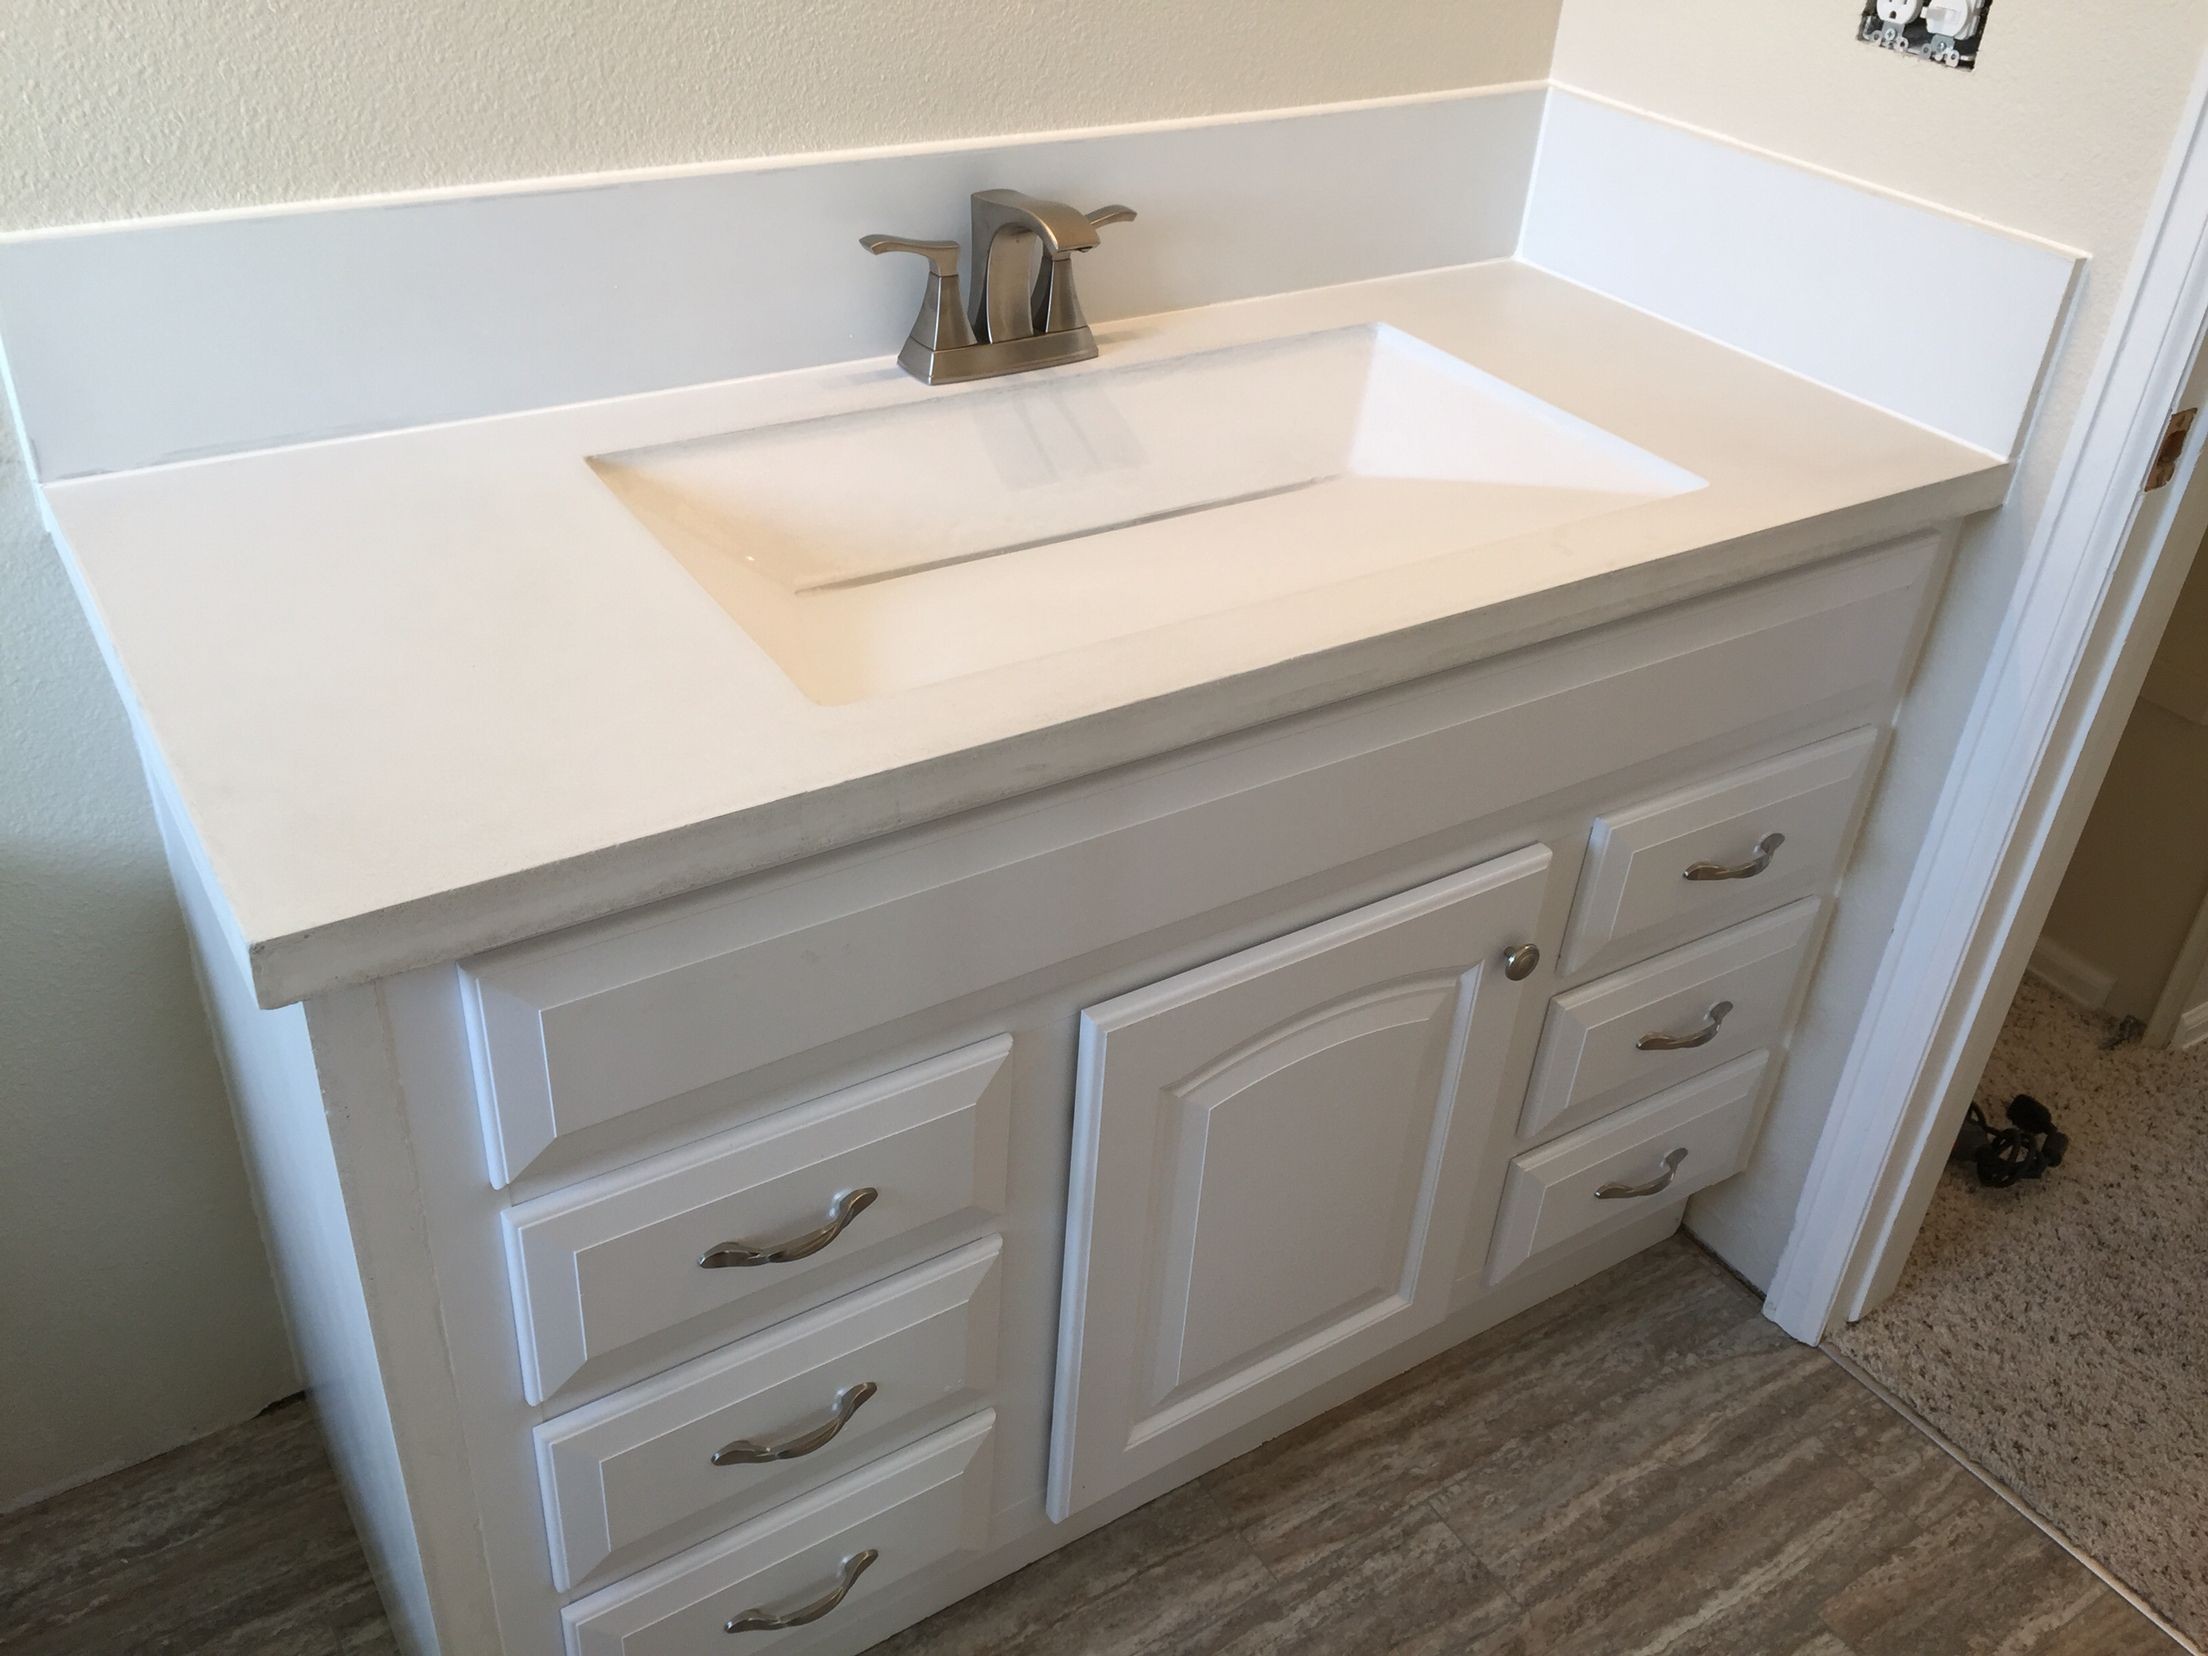
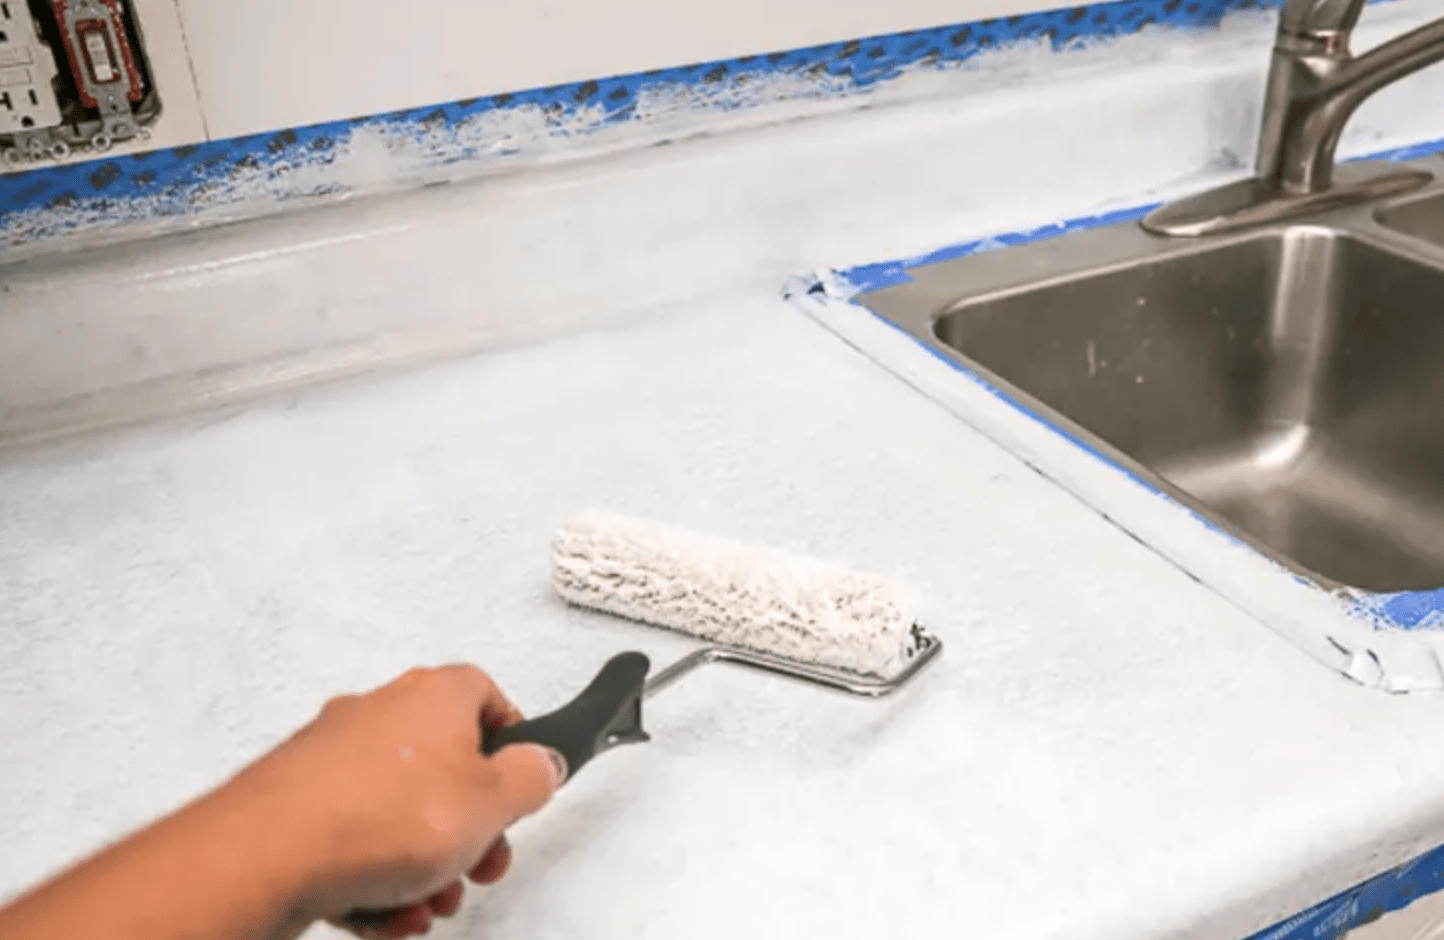
Now comes the fun part, painting! Start by using a paintbrush to cut in the edges and corners of the countertop. Then, use a paint roller to apply the paint evenly on the rest of the surface. Apply thin and even coats, and let each coat dry completely before applying the next one. You may need to apply 2-3 coats, depending on the color and coverage.

bathroom sink paint


6. Adding a Design or Pattern
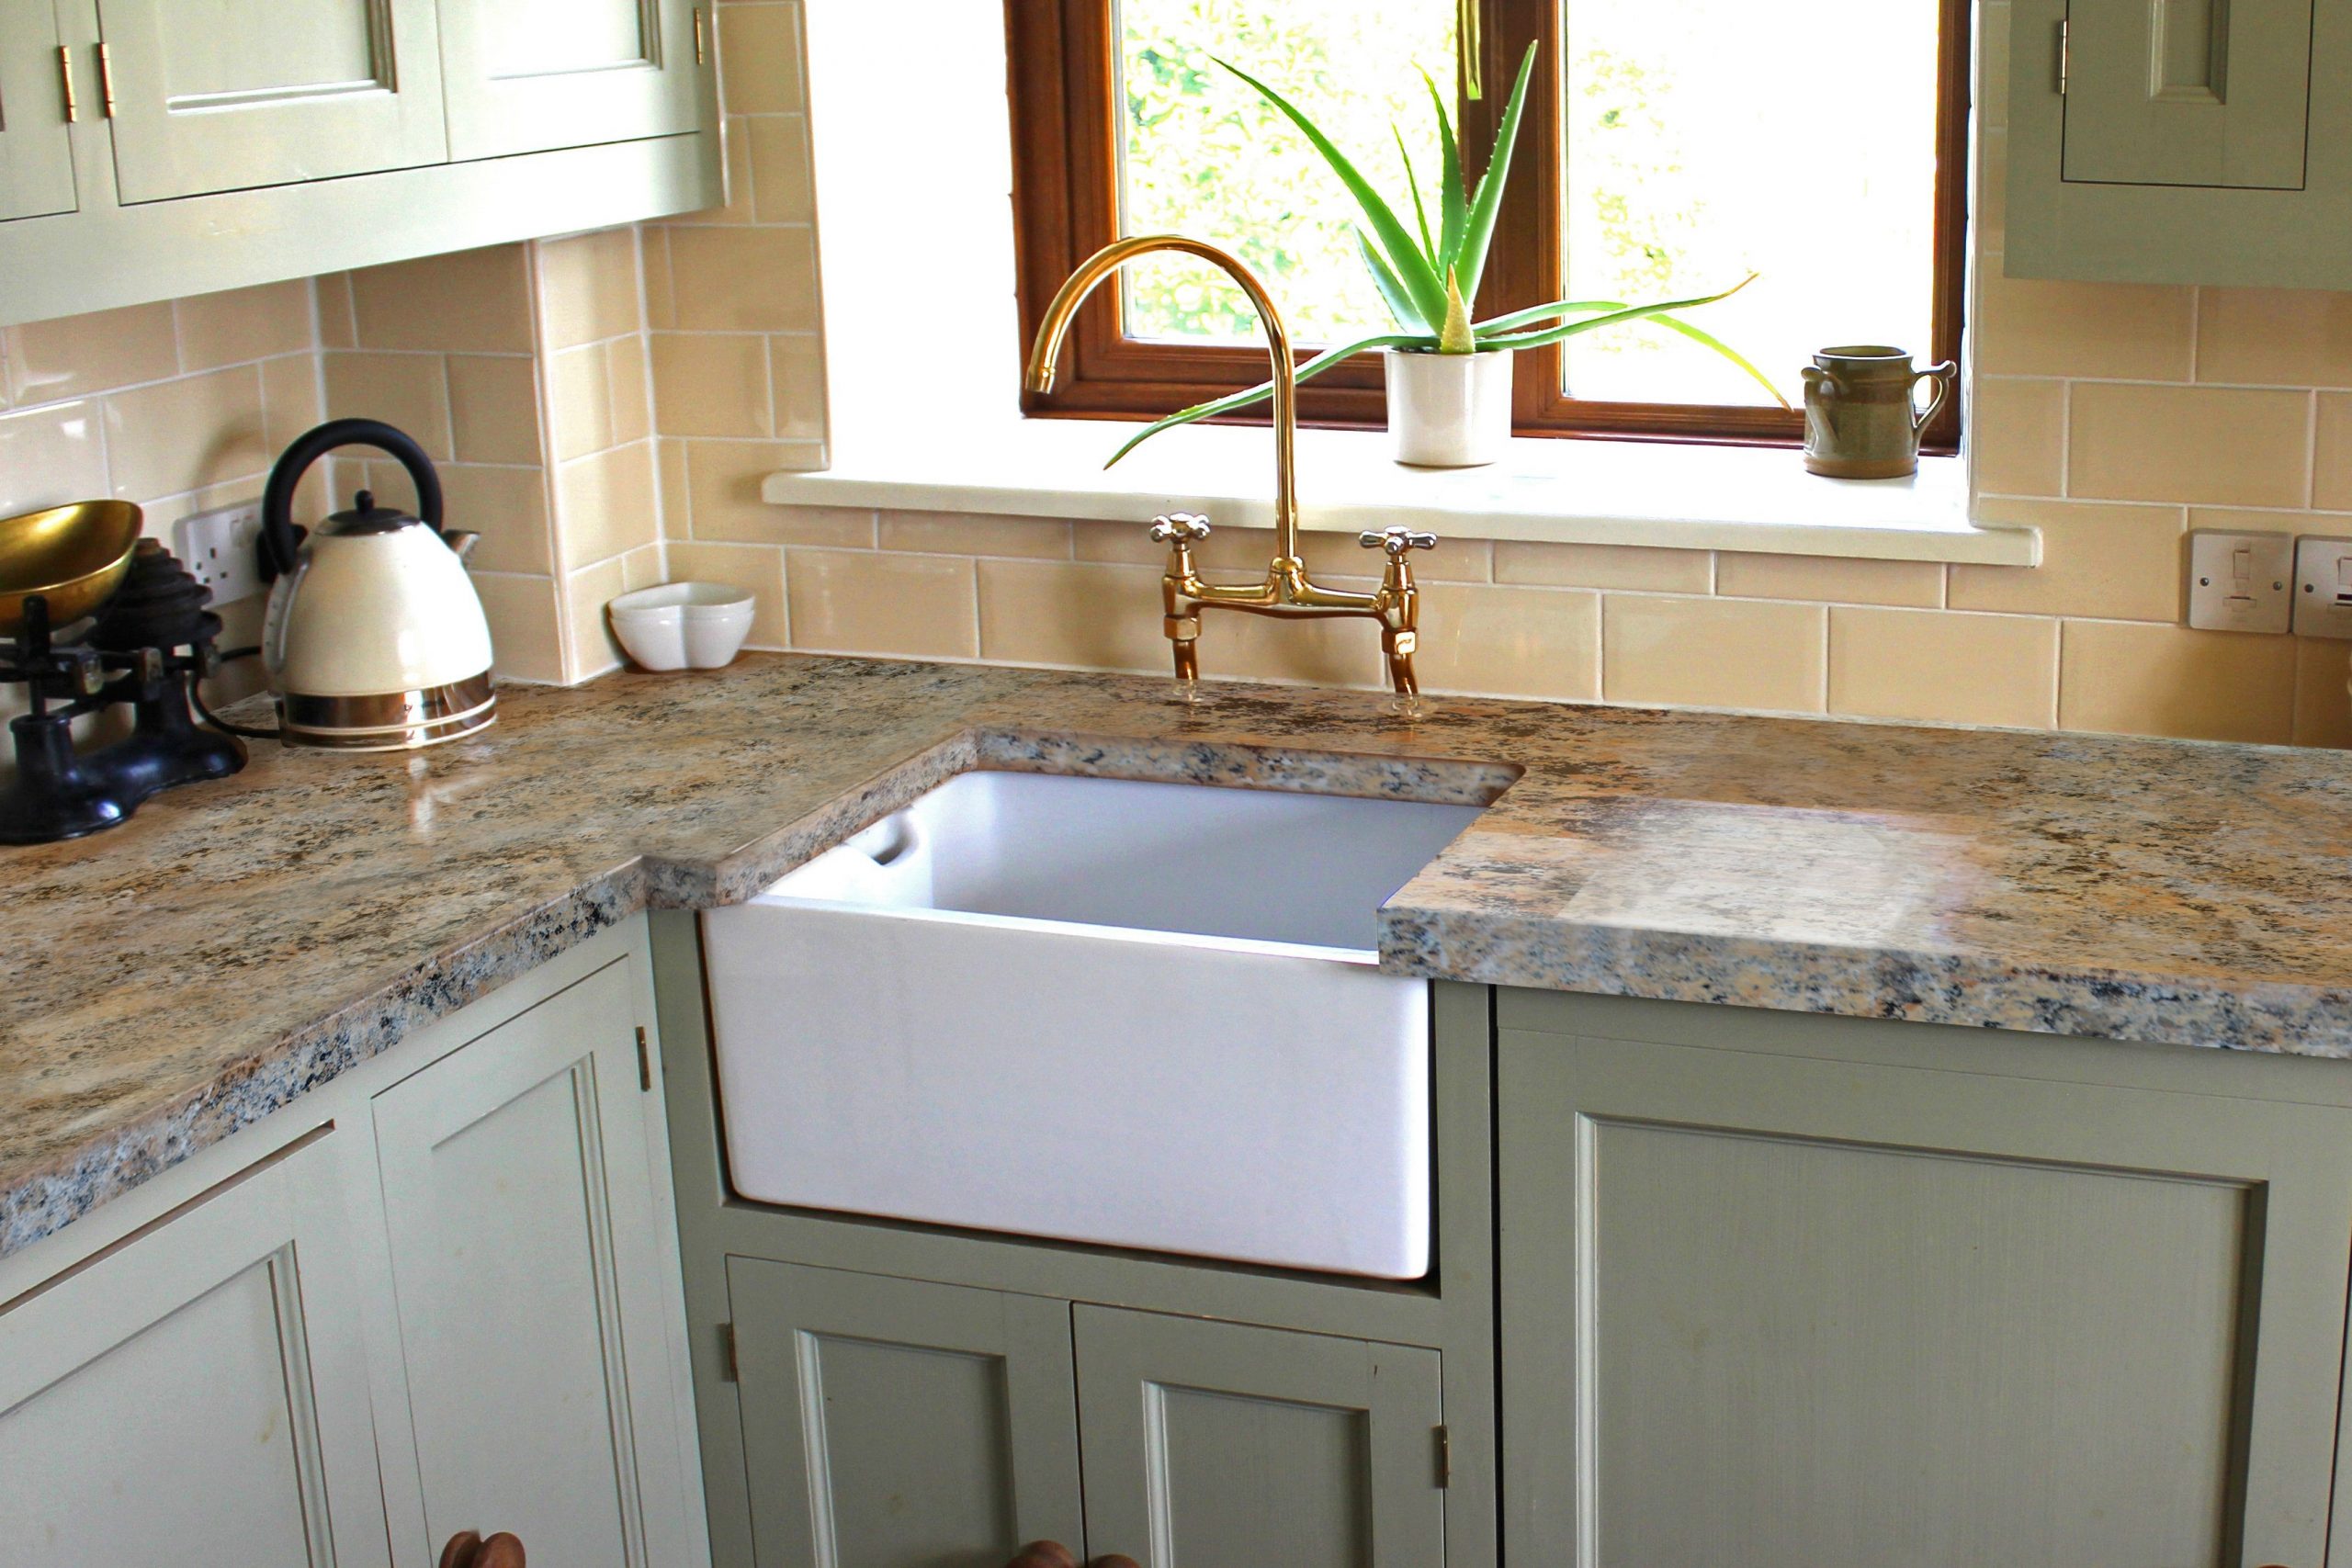
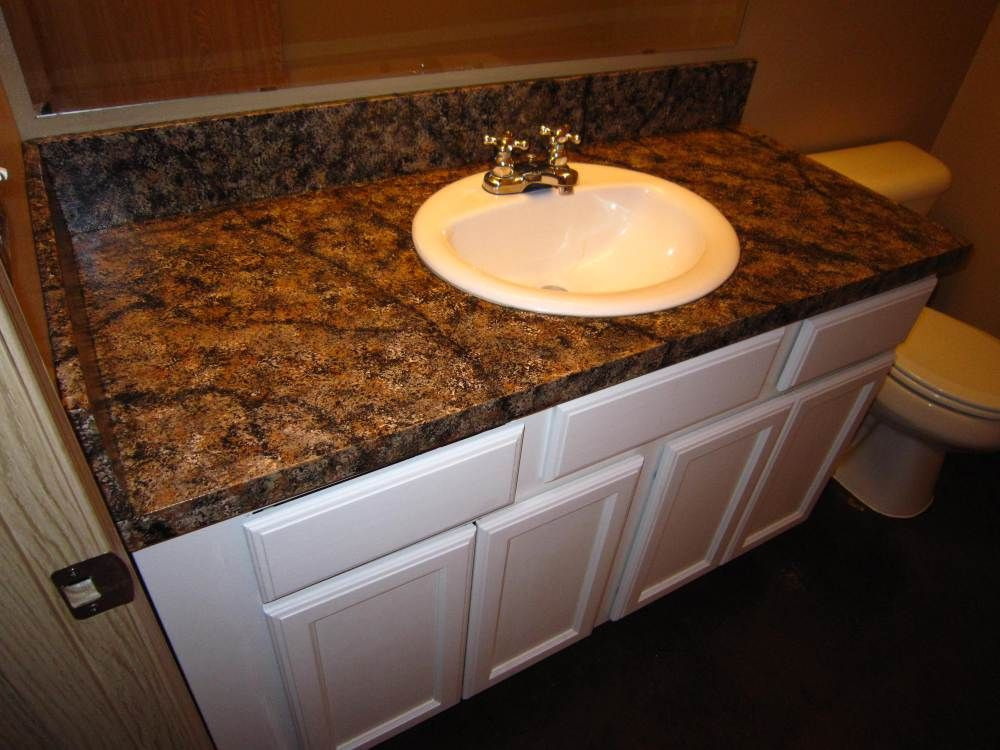
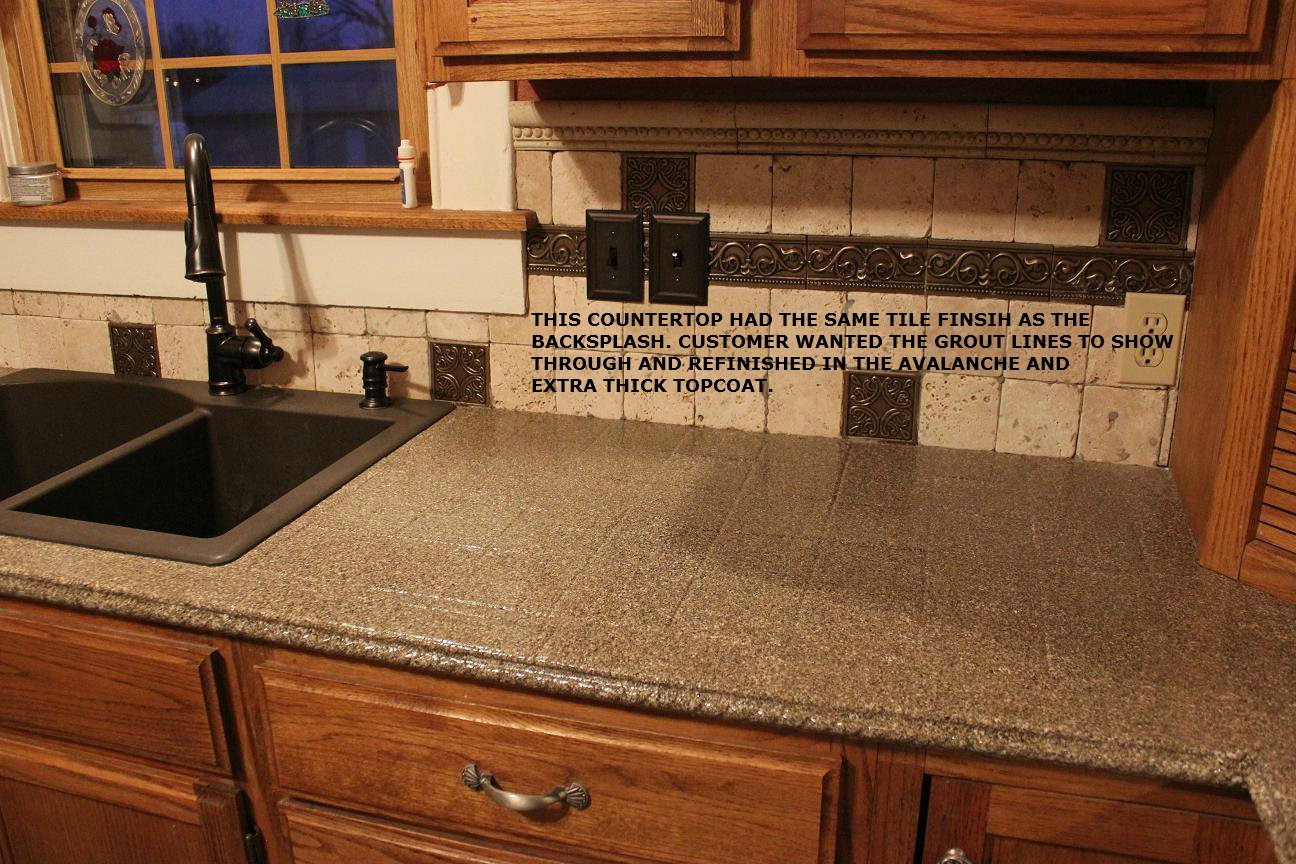
If you want to add a little something extra to your bathroom sink countertop, consider adding a design or pattern. You can use stencils or tape to create a geometric or striped pattern. Or, if you're feeling more adventurous, you can freehand a design using a small paintbrush. Just make sure to let the base coat of paint dry completely before adding the design.


countertop paint
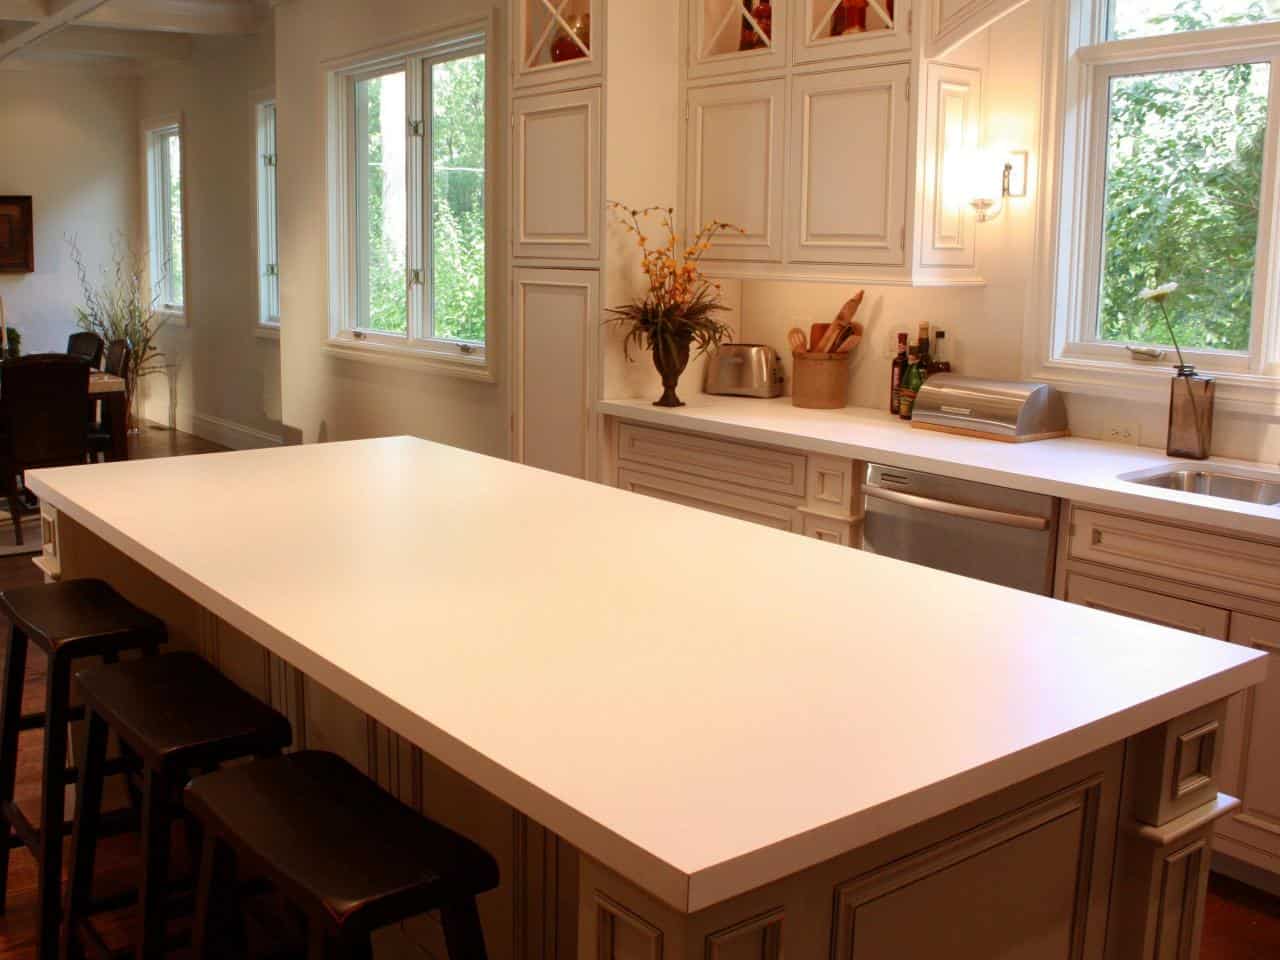


:max_bytes(150000):strip_icc()/WhiteCountertopinKitchen-872f4fc7040a41da9a6ec688f03a7ab0.jpg)

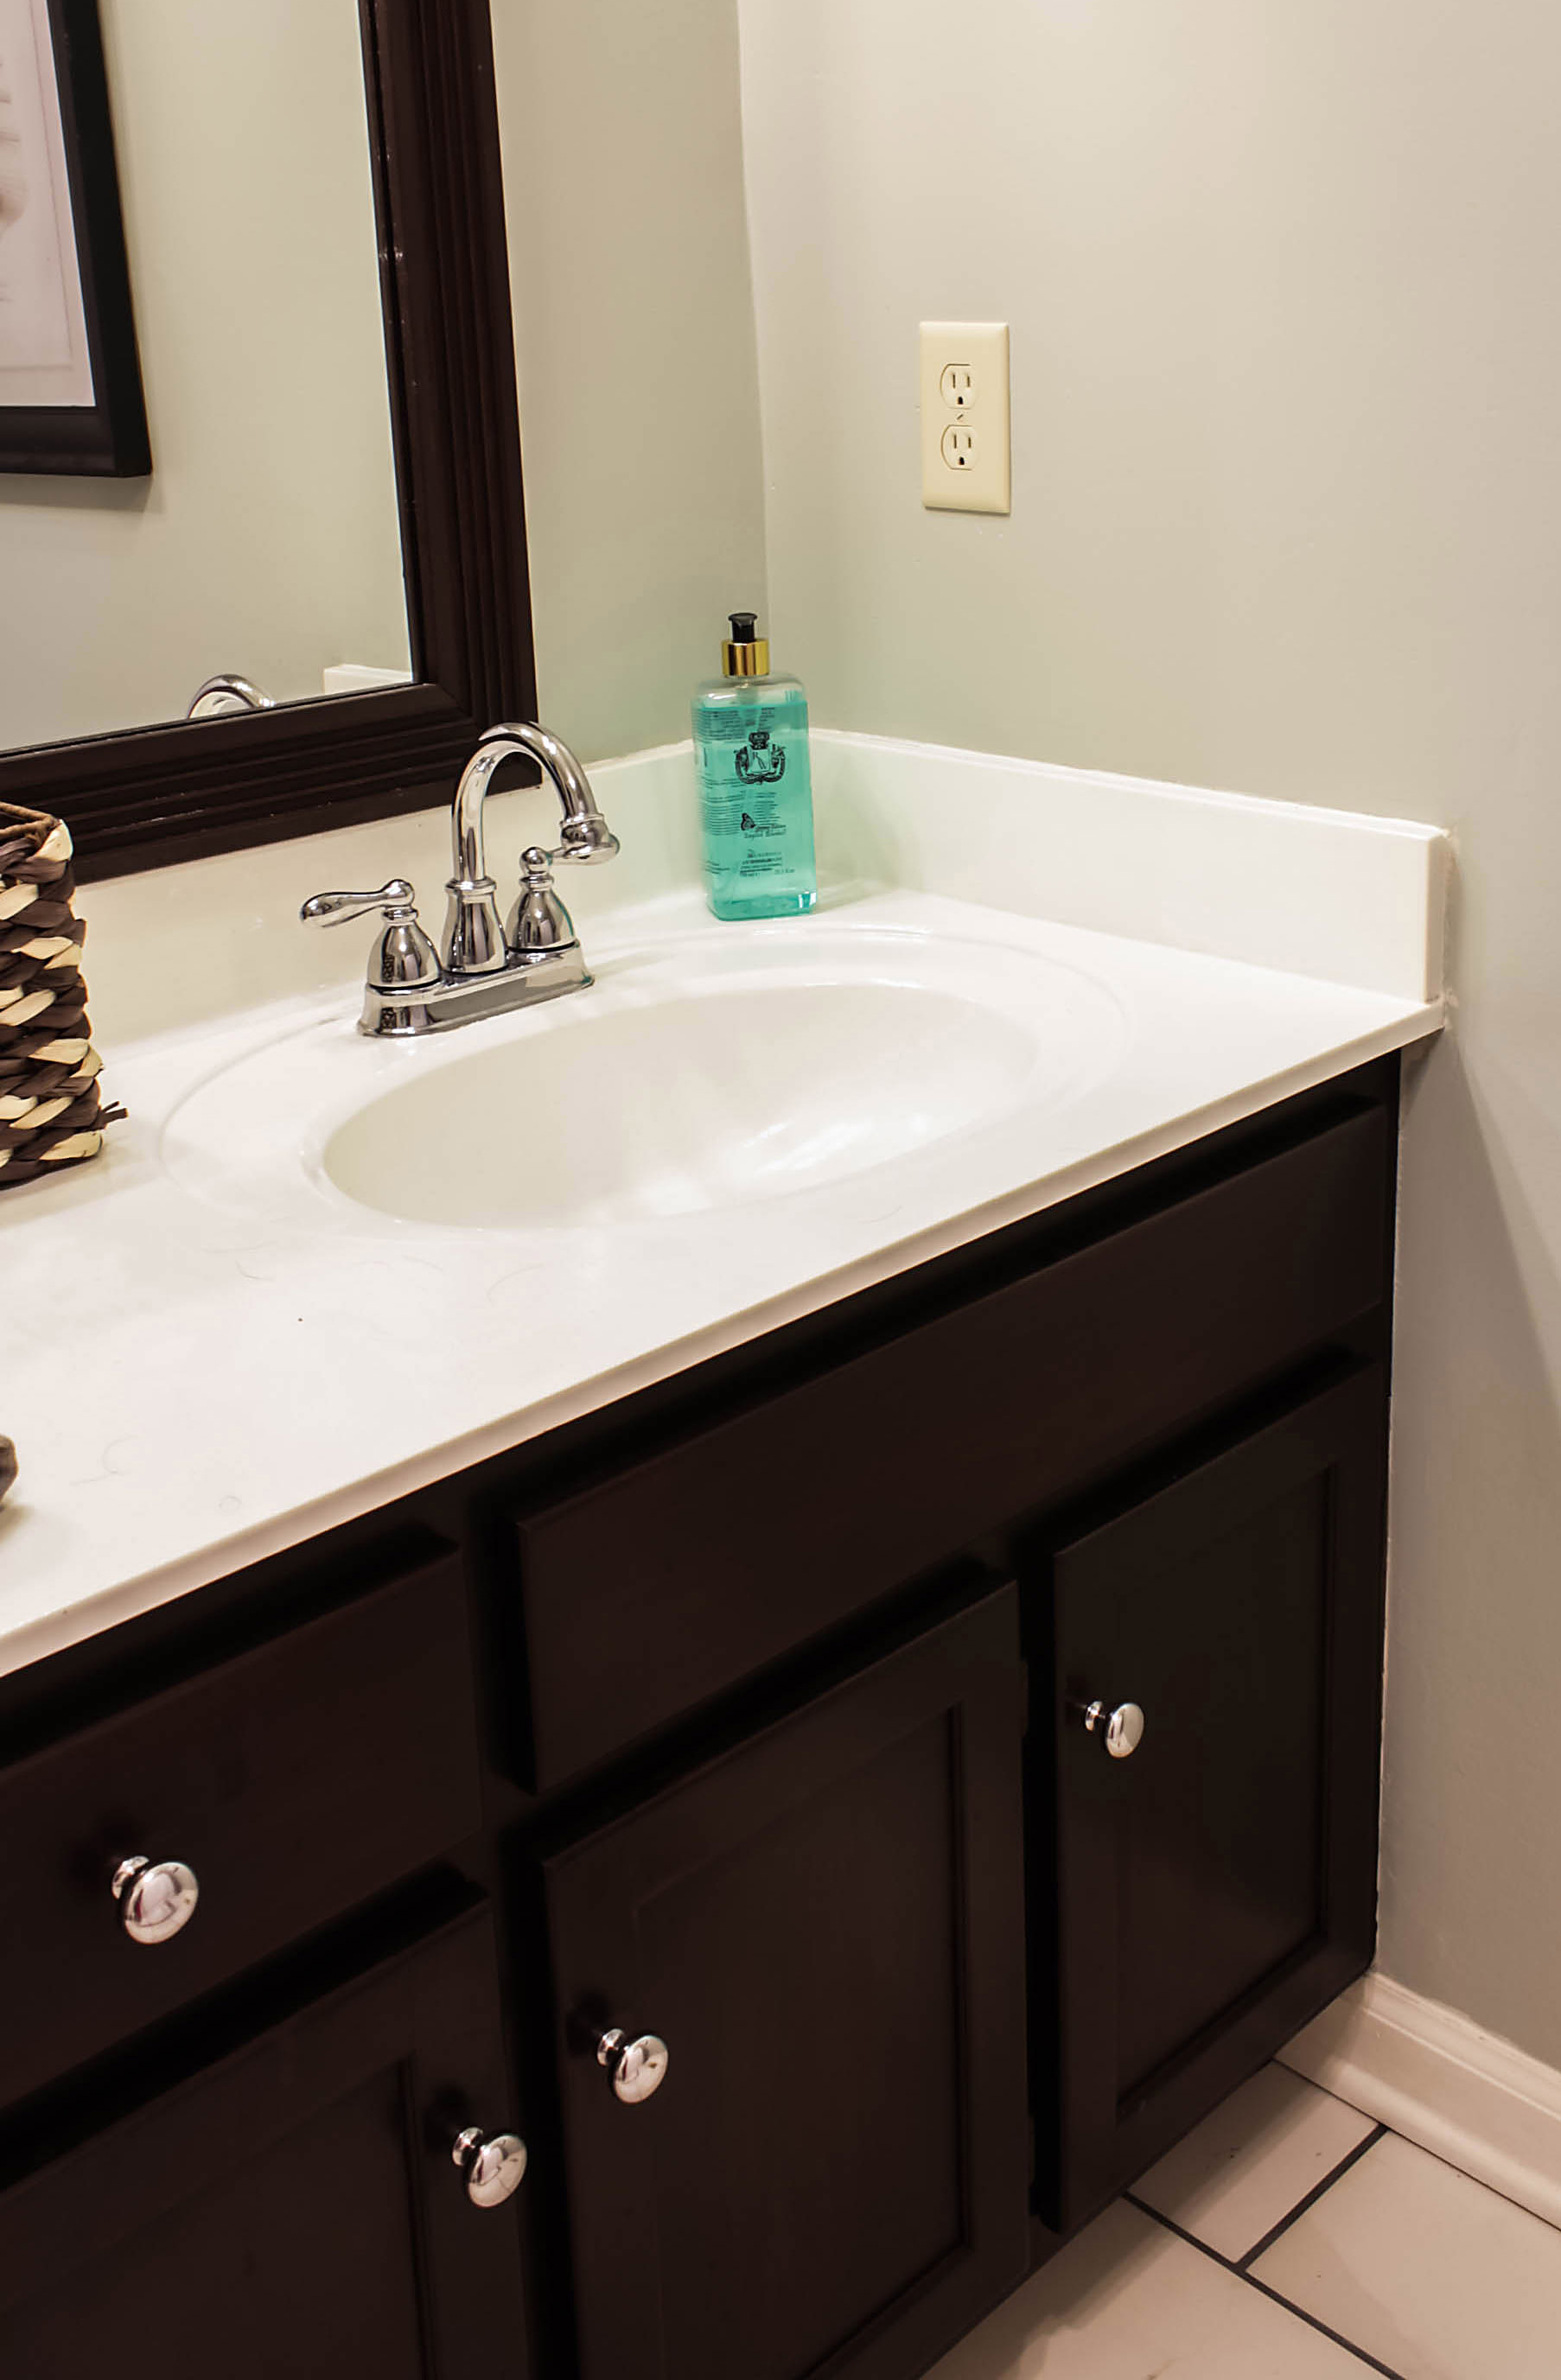
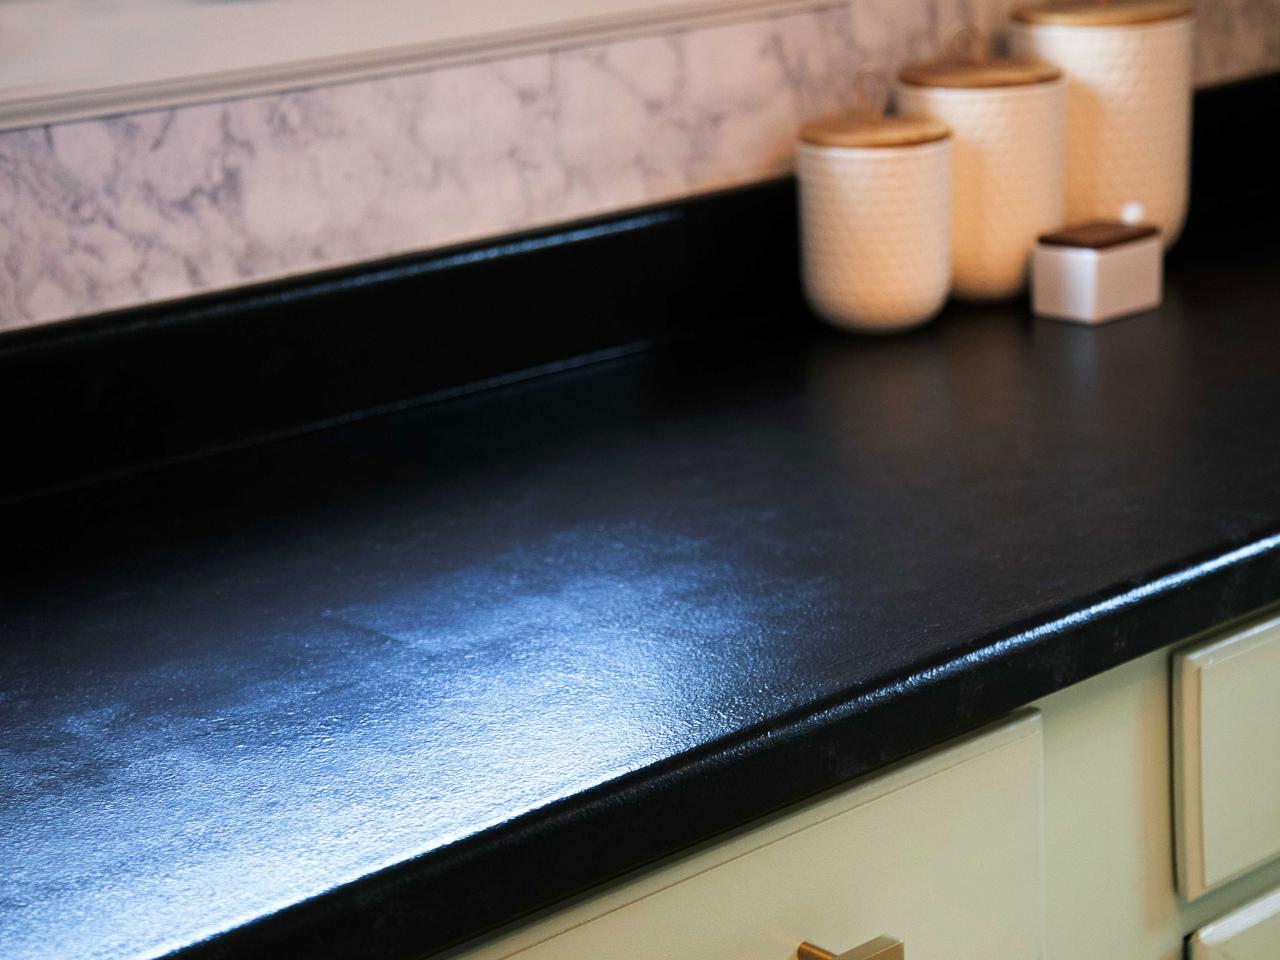
7. Sealing the Countertop
To ensure the longevity of your painted bathroom sink countertop, you need to seal it. Apply a clear polyurethane sealant using a paintbrush, and let it dry completely. This will protect the paint from water and other liquids, making it more durable.


bathroom countertop paint


8. Curing Time
After sealing, the countertop needs time to cure. It's best to wait at least 48 hours before using the sink or placing any items on the countertop. This will give the paint and sealant enough time to fully dry and adhere to the surface.

sink countertop paint


9. Maintenance and Cleaning
To maintain the beauty of your newly painted bathroom sink countertop, it's essential to clean it regularly. Use a mild cleaner and a soft cloth to wipe the surface. Avoid using harsh chemicals or abrasive cleaners that can damage the paint and sealant.

painting bathroom countertop


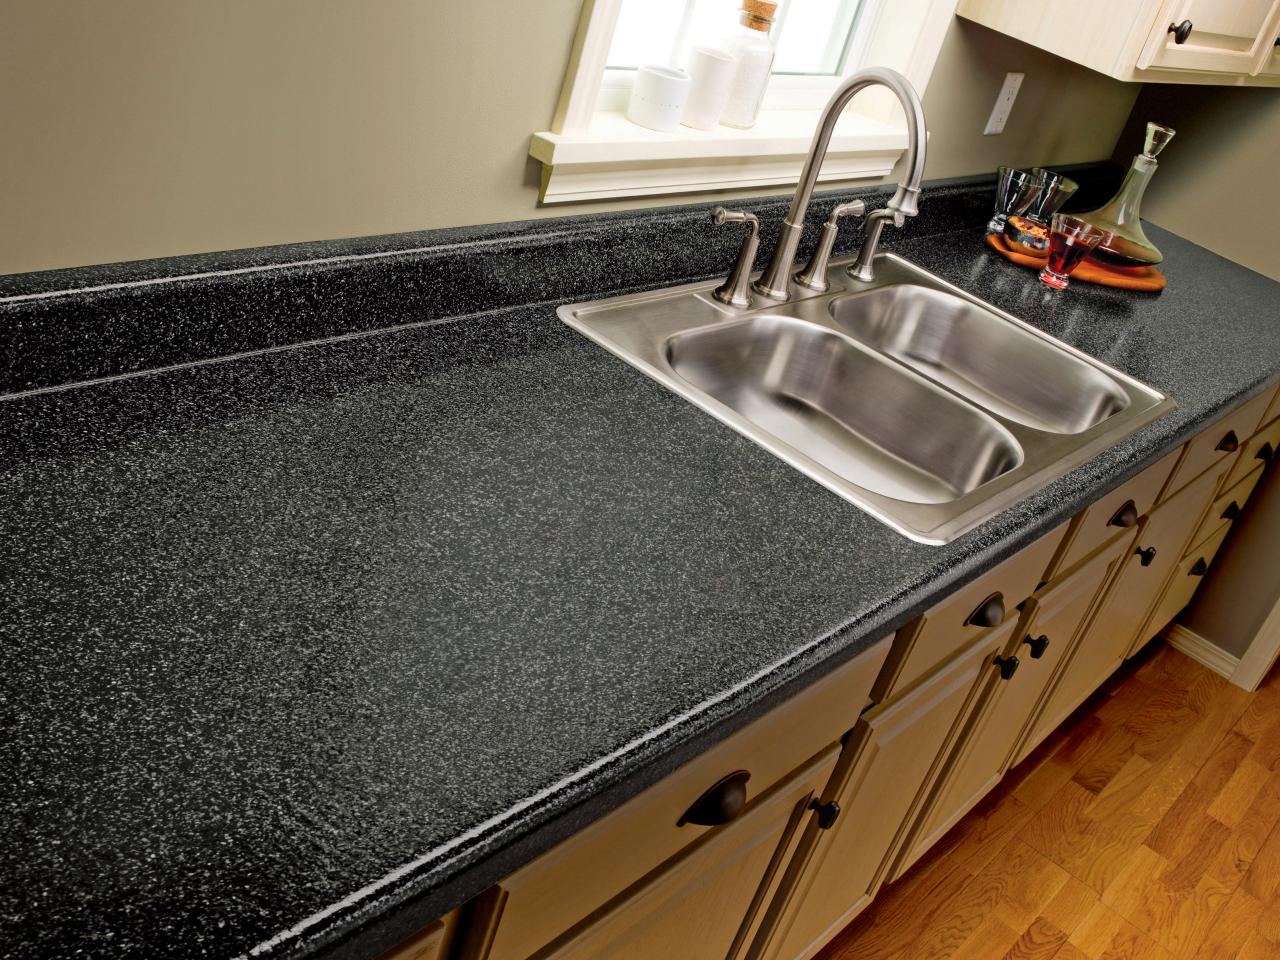
/bathroom-countertop-materials-1821381_hero_10821-dbe4a72853634f56ae9ee29699e458e1.jpg)
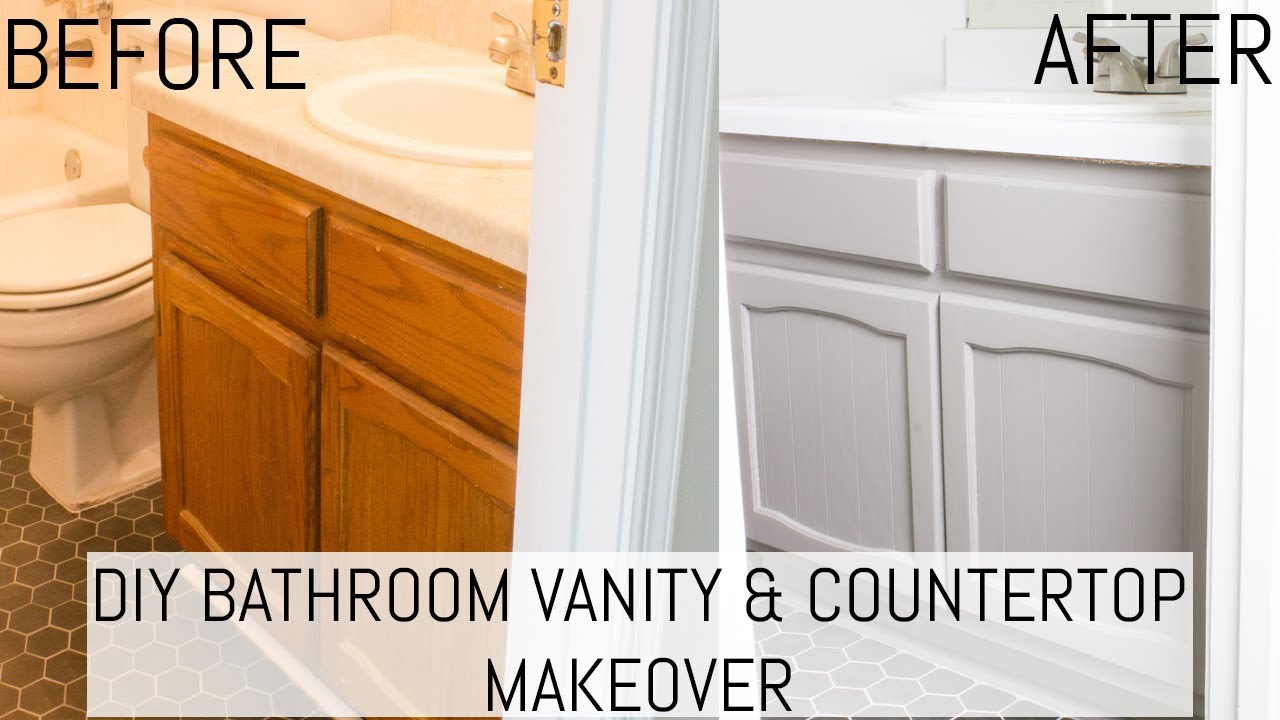
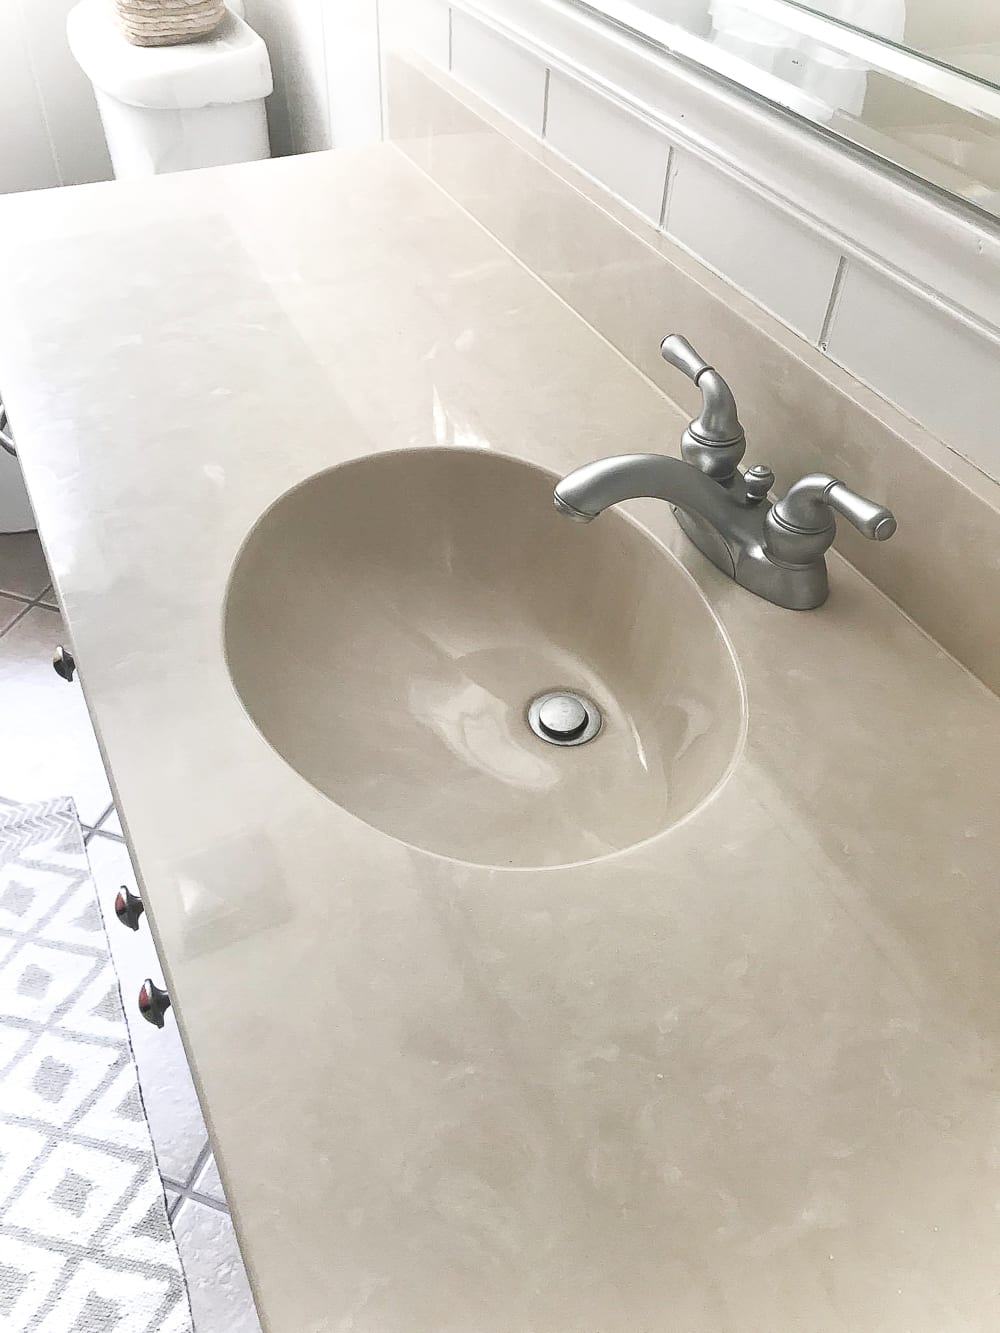
Transform Your Bathroom with a Freshly Painted Countertop
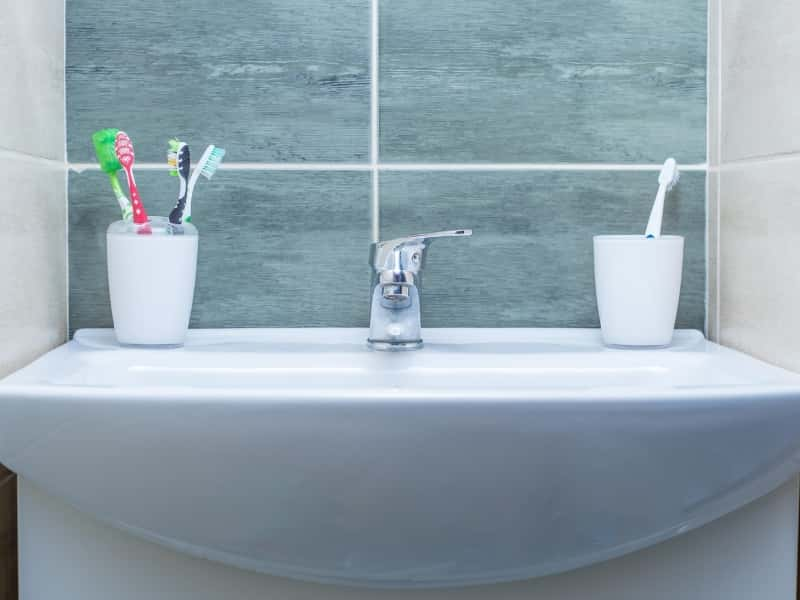
Revamp Your Bathroom Aesthetics
 Are you tired of looking at the same old, dull bathroom sink countertop every day? Do you want to give your bathroom a quick and affordable makeover? Look no further, because
painting your bathroom sink countertop
might just be the solution you’ve been looking for. It’s a simple and cost-effective way to revamp your bathroom aesthetics and add a touch of personal style. Here’s everything you need to know about
painting your bathroom sink countertop
.
Are you tired of looking at the same old, dull bathroom sink countertop every day? Do you want to give your bathroom a quick and affordable makeover? Look no further, because
painting your bathroom sink countertop
might just be the solution you’ve been looking for. It’s a simple and cost-effective way to revamp your bathroom aesthetics and add a touch of personal style. Here’s everything you need to know about
painting your bathroom sink countertop
.
The Benefits of Painting Your Bathroom Sink Countertop
 Painting your bathroom sink countertop is a great way to update the look of your bathroom without having to spend a fortune on a complete renovation. It’s a budget-friendly option that can
transform
the entire look and feel of your bathroom. Not only is it a cost-effective solution, but it’s also a quick and easy one. You can
add a fresh coat of paint
to your bathroom countertop in just a few hours, and the results will be instantly noticeable.
Painting your bathroom sink countertop is a great way to update the look of your bathroom without having to spend a fortune on a complete renovation. It’s a budget-friendly option that can
transform
the entire look and feel of your bathroom. Not only is it a cost-effective solution, but it’s also a quick and easy one. You can
add a fresh coat of paint
to your bathroom countertop in just a few hours, and the results will be instantly noticeable.
Choosing the Right Paint
 Before you start your painting project, it’s important to
choose the right paint
for your bathroom sink countertop. You’ll want to select a paint that is specifically designed for use on
countertops and high-moisture areas
, such as bathrooms. Look for paints that are labeled as
waterproof
and
mold and mildew resistant
. It’s also recommended to use a
high-quality primer
to ensure the paint adheres properly to the countertop surface.
Before you start your painting project, it’s important to
choose the right paint
for your bathroom sink countertop. You’ll want to select a paint that is specifically designed for use on
countertops and high-moisture areas
, such as bathrooms. Look for paints that are labeled as
waterproof
and
mold and mildew resistant
. It’s also recommended to use a
high-quality primer
to ensure the paint adheres properly to the countertop surface.
The Painting Process
 The first step in the painting process is to thoroughly
clean and sand
your bathroom sink countertop. This will ensure that the paint will adhere properly and provide a smooth finish. Next, apply a coat of
primer
to the countertop, following the manufacturer’s instructions. Once the primer is dry, it’s time to
apply the paint
. Use a
brush or roller
to apply the paint evenly and smoothly. You may need to apply multiple coats, depending on the color and type of paint you choose. Finally,
seal
the countertop with a waterproof sealant to protect the paint and give it a polished finish.
The first step in the painting process is to thoroughly
clean and sand
your bathroom sink countertop. This will ensure that the paint will adhere properly and provide a smooth finish. Next, apply a coat of
primer
to the countertop, following the manufacturer’s instructions. Once the primer is dry, it’s time to
apply the paint
. Use a
brush or roller
to apply the paint evenly and smoothly. You may need to apply multiple coats, depending on the color and type of paint you choose. Finally,
seal
the countertop with a waterproof sealant to protect the paint and give it a polished finish.
Endless Design Possibilities
 One of the most exciting aspects of
painting your bathroom sink countertop
is the endless design possibilities it offers. You can choose from a wide variety of paint colors and finishes to
complement your bathroom decor
. You can also get creative with patterns and designs, such as
marble or granite effects
, to give your bathroom a unique and luxurious look.
One of the most exciting aspects of
painting your bathroom sink countertop
is the endless design possibilities it offers. You can choose from a wide variety of paint colors and finishes to
complement your bathroom decor
. You can also get creative with patterns and designs, such as
marble or granite effects
, to give your bathroom a unique and luxurious look.
Affordable and Effective Solution
 In conclusion,
painting your bathroom sink countertop
is an affordable and effective solution for updating your bathroom. It’s a simple and quick process that can
transform
the look of your bathroom and add a personal touch to your space. So, why wait? Grab your paintbrush and give your bathroom a fresh new look today!
In conclusion,
painting your bathroom sink countertop
is an affordable and effective solution for updating your bathroom. It’s a simple and quick process that can
transform
the look of your bathroom and add a personal touch to your space. So, why wait? Grab your paintbrush and give your bathroom a fresh new look today!