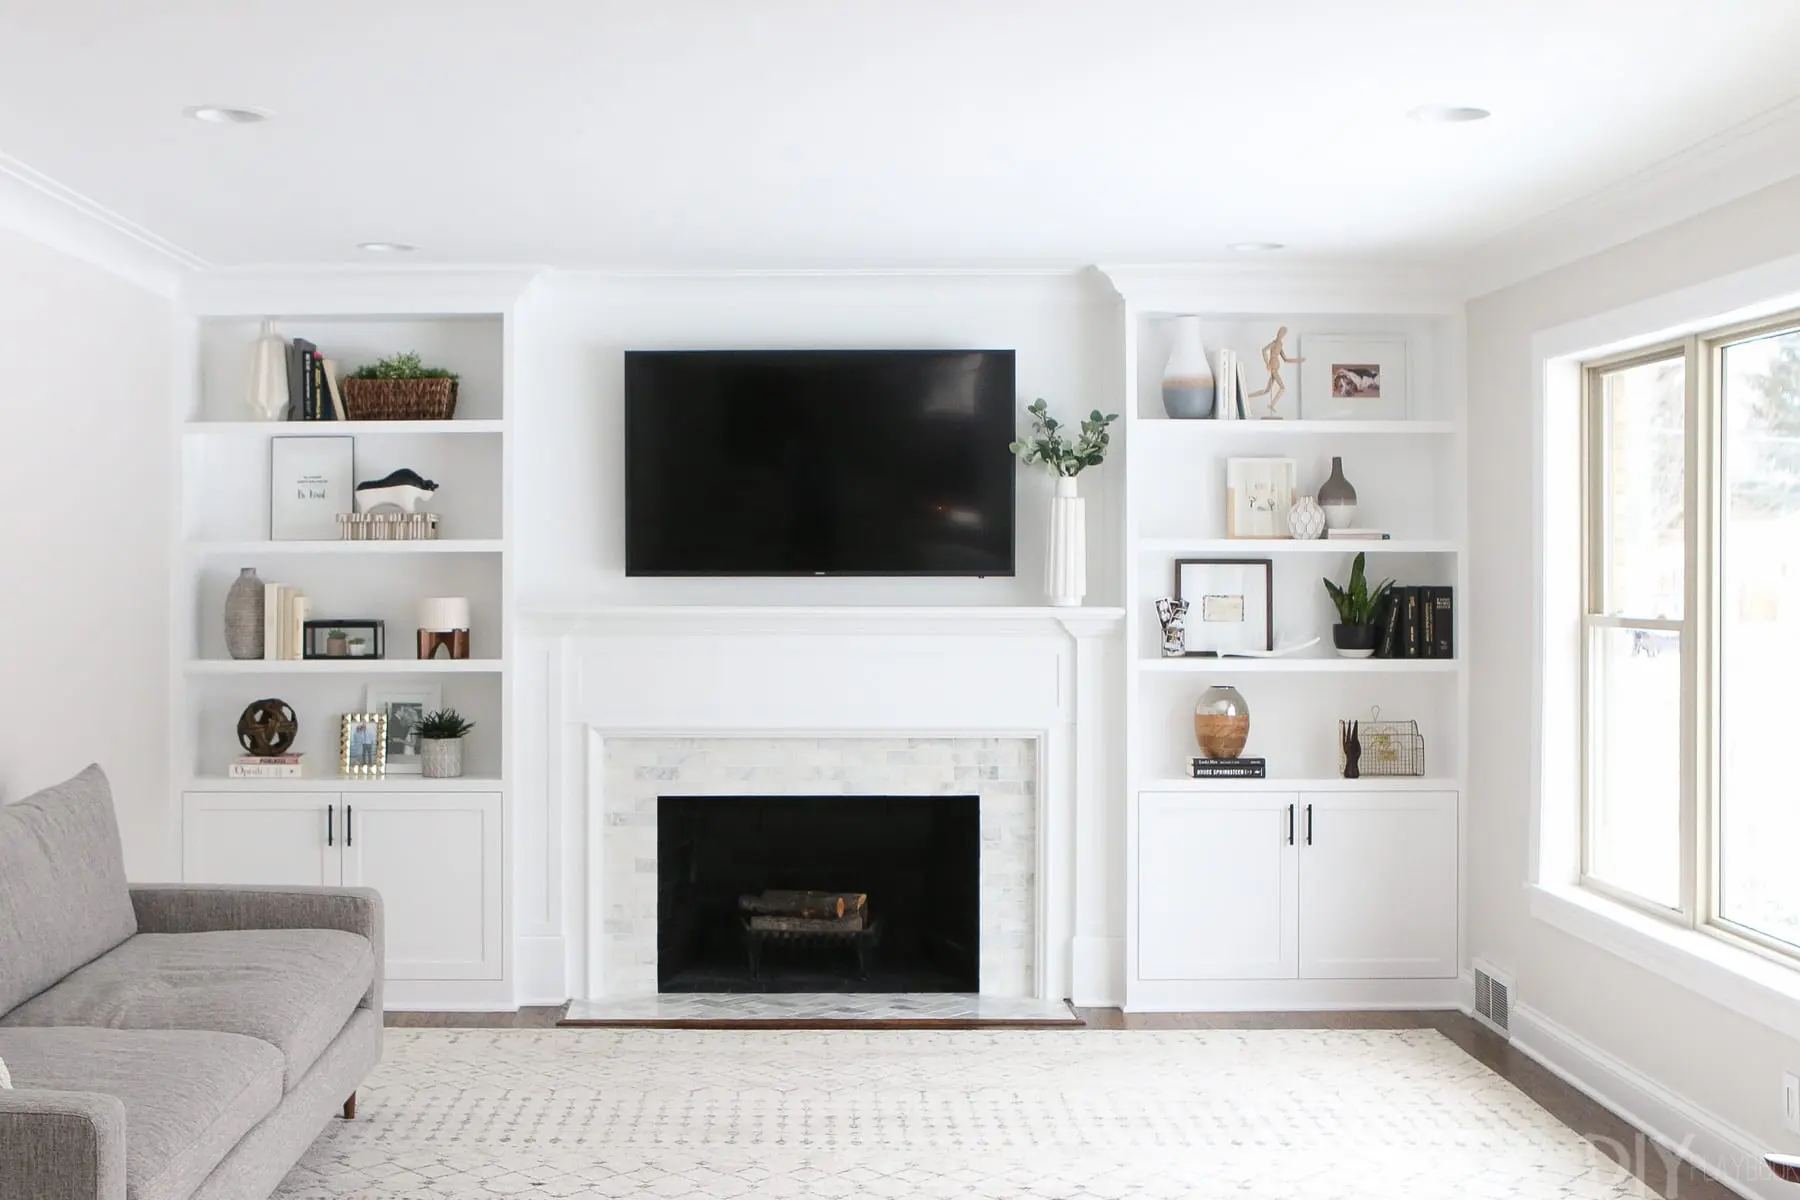
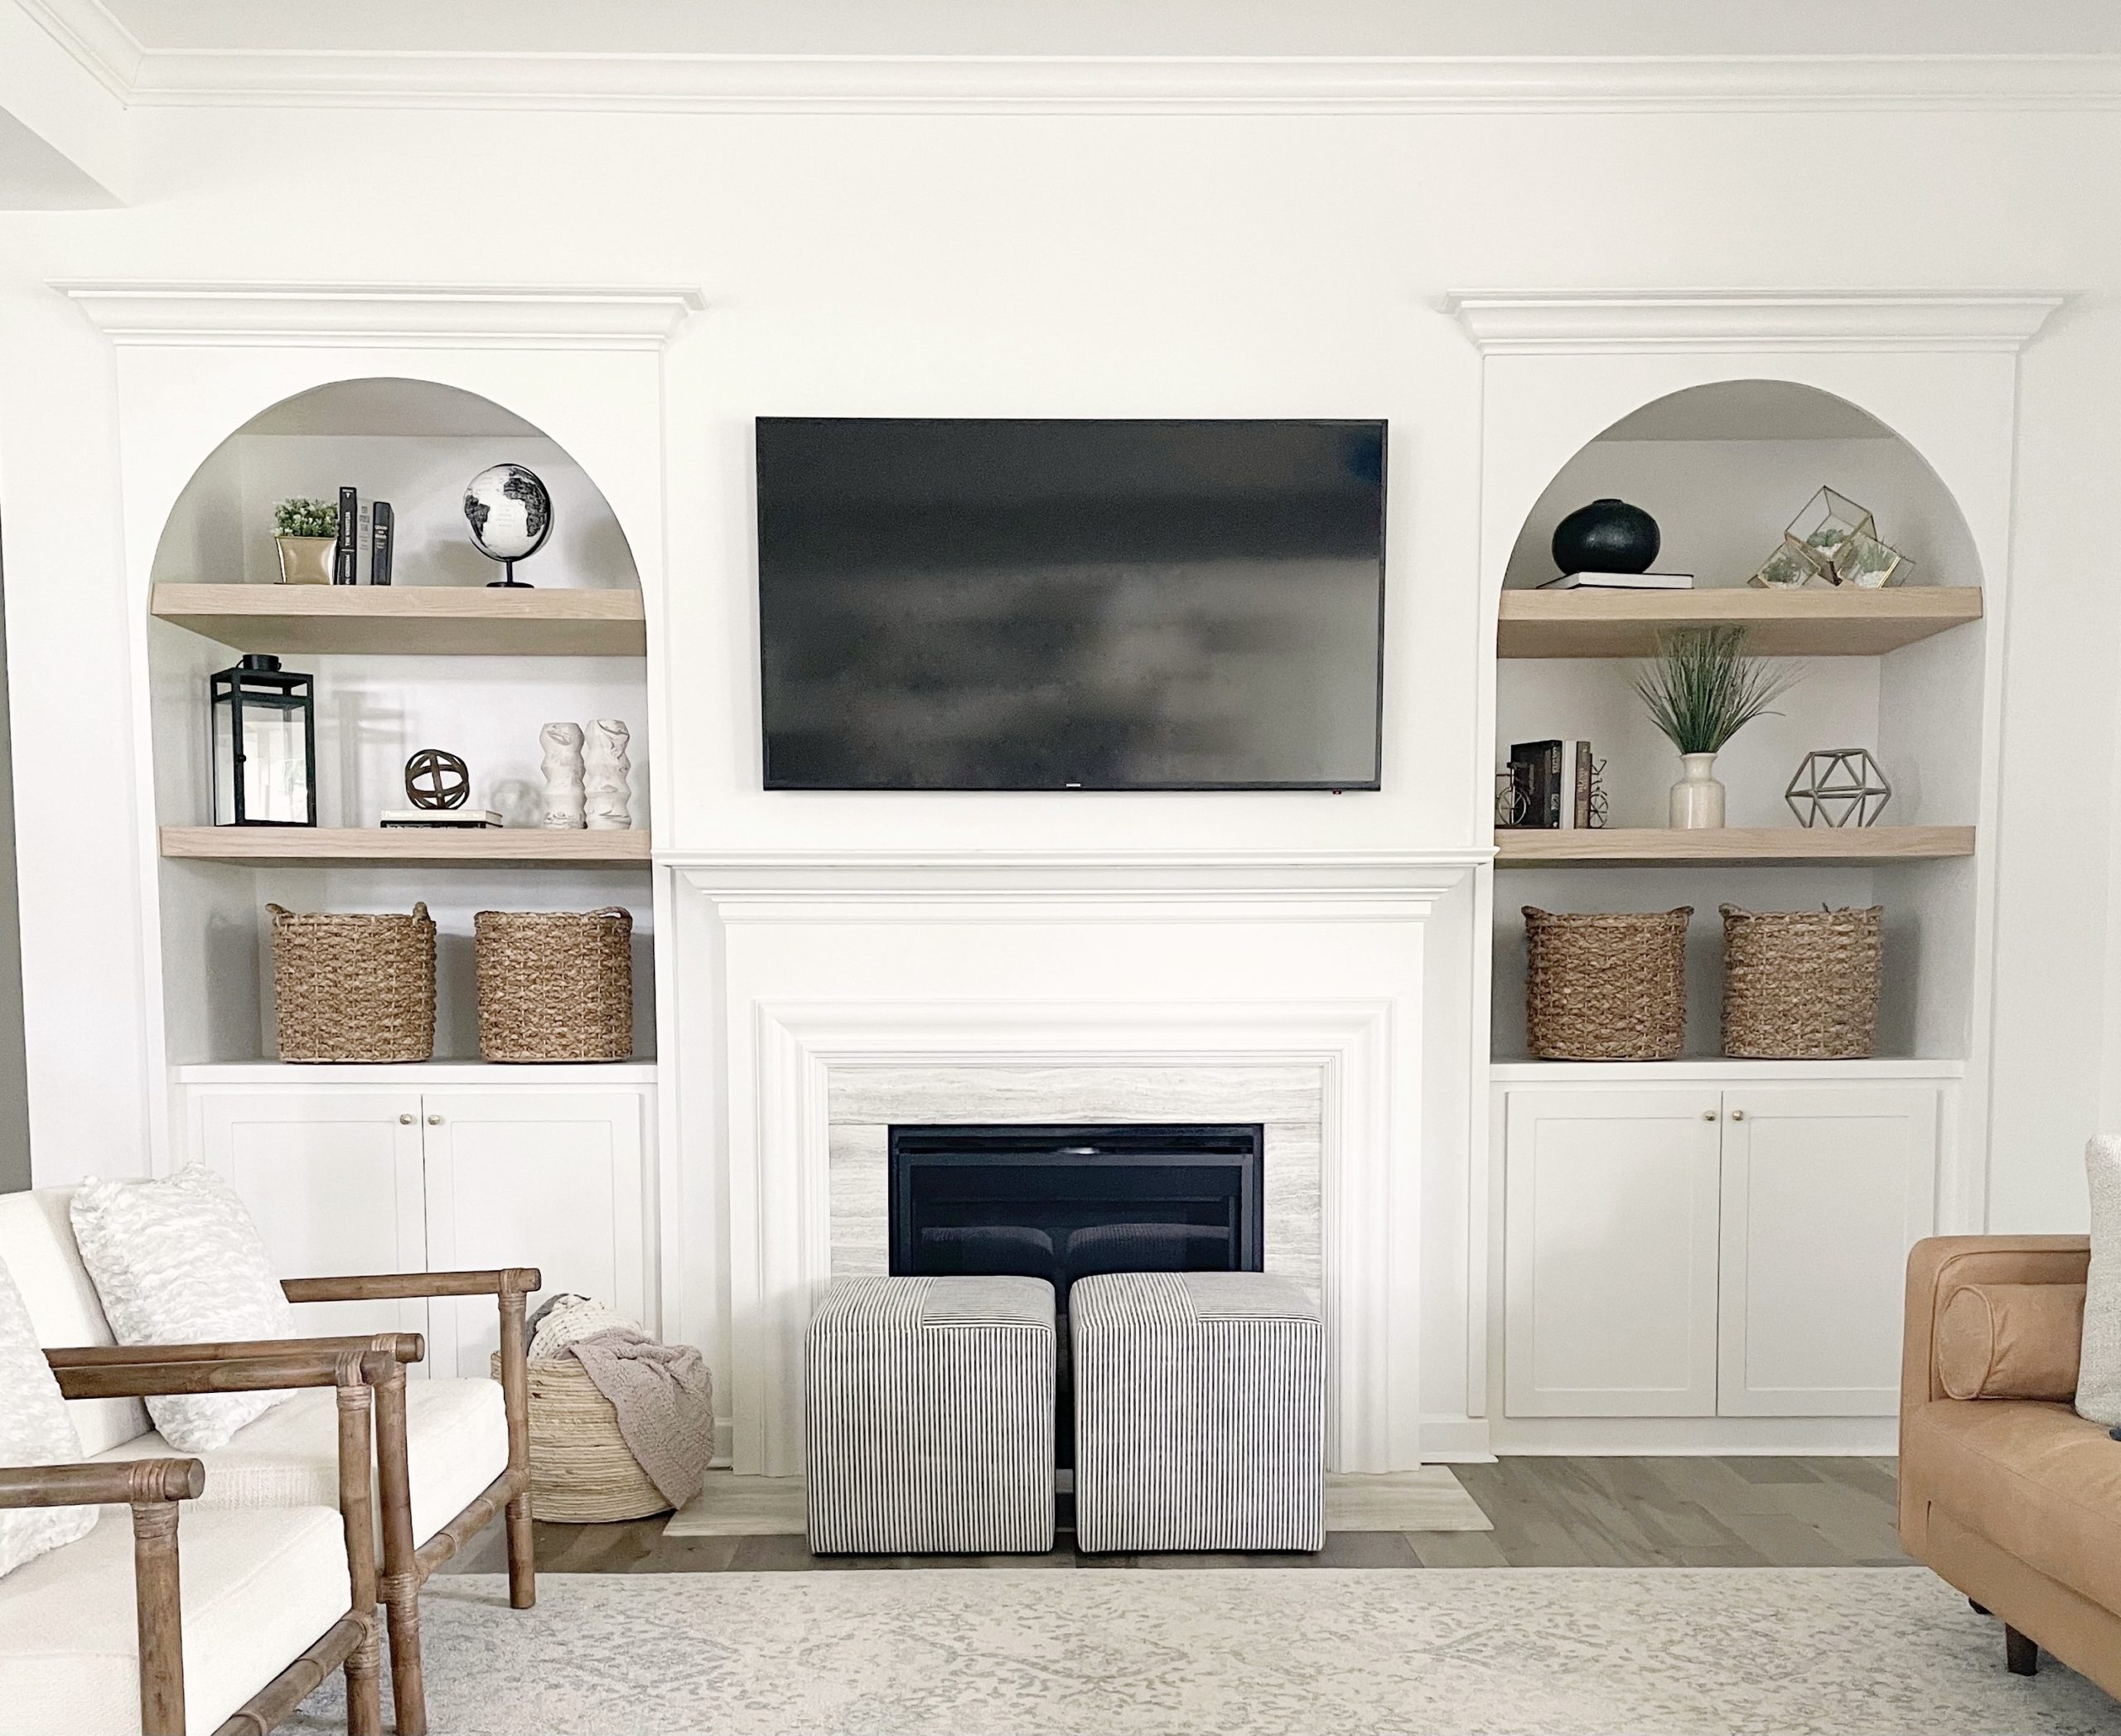
Are you tired of clutter in your living room and looking for a way to organize your space? Building your own shelves is a great solution that not only adds storage but also adds a personal touch to your home. It may seem like a daunting task, but with the right tools and materials, you can easily create custom shelves that fit your living room perfectly. Here are 10 easy-to-follow steps to building your own living room shelves:DIY Living Room Shelves: How to Build Your Own
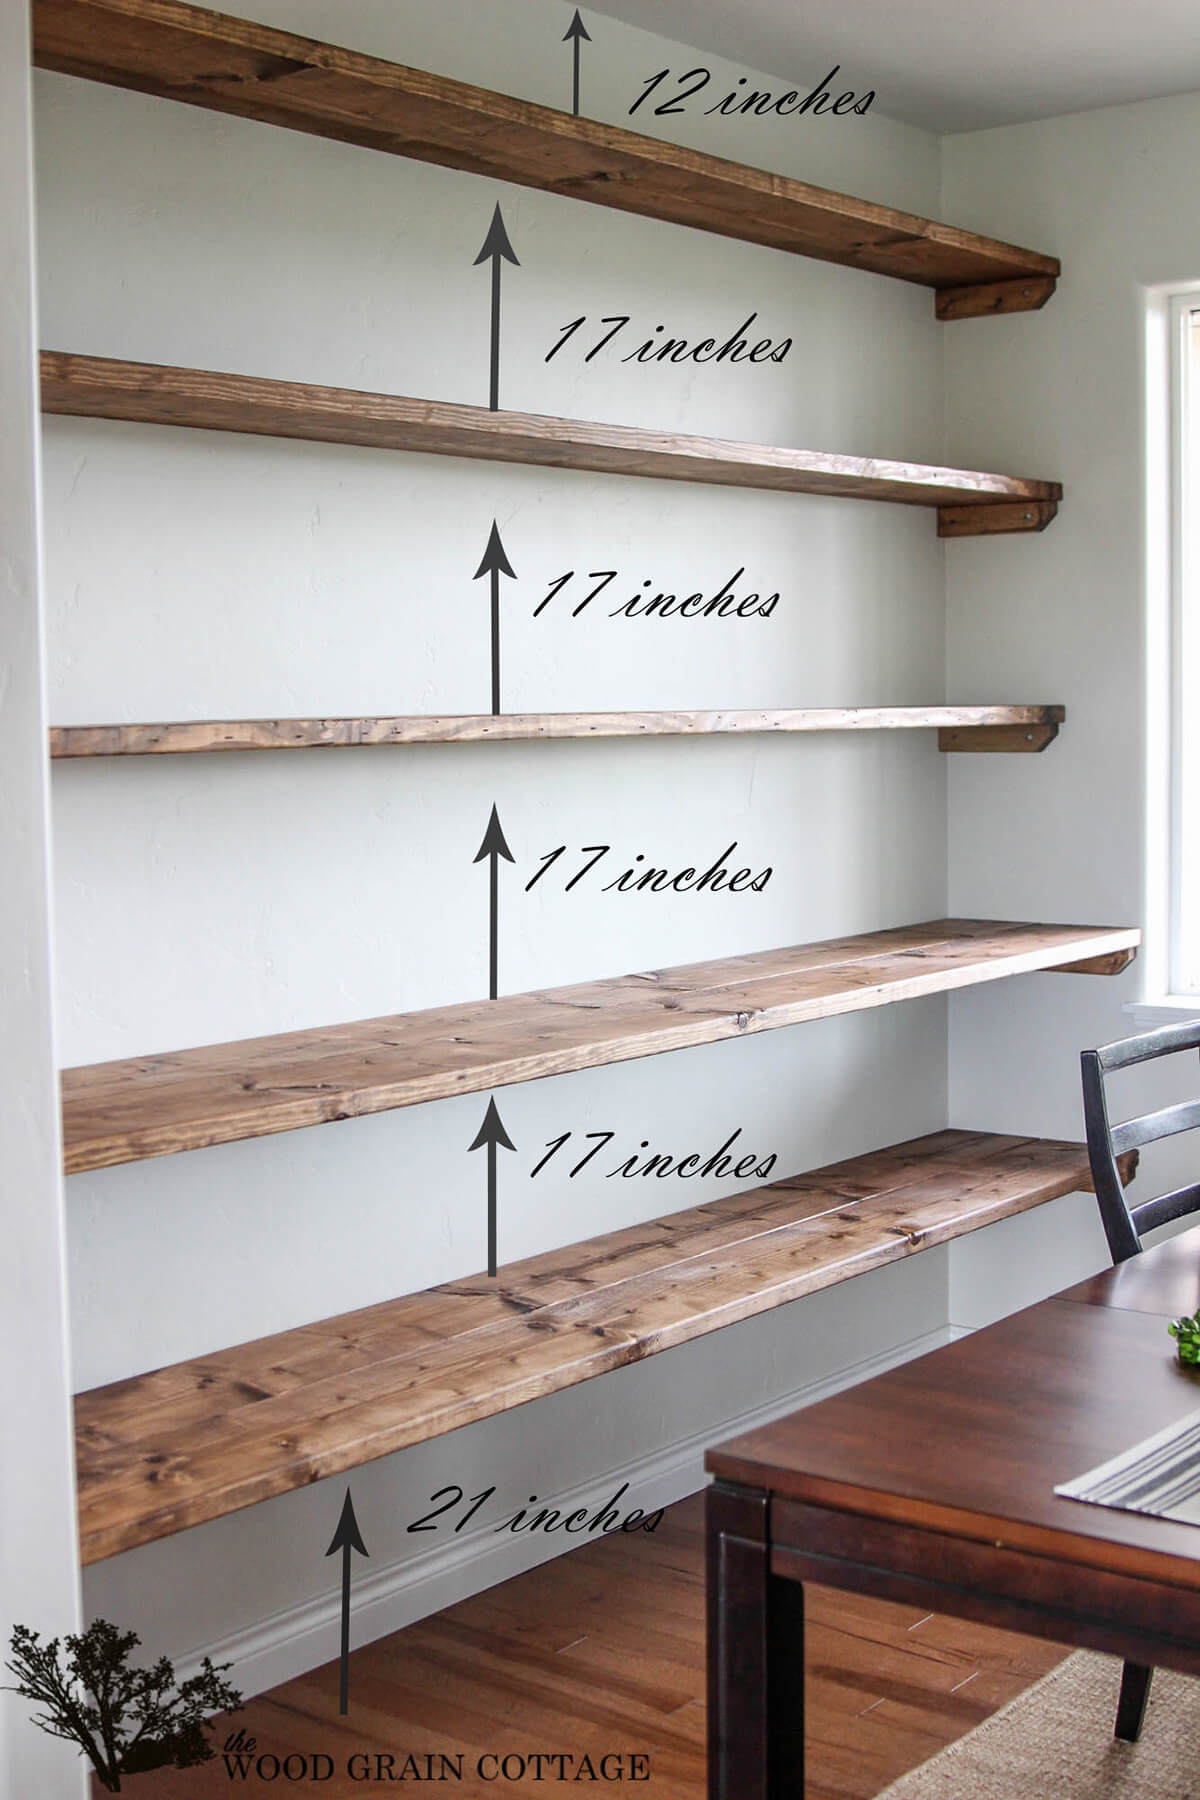
The first step to building any DIY project is to measure and plan. Measure the space where you want to install the shelves, and determine the size and shape of your shelves. This will help you decide how much material you need and what type of shelves will work best in your living room.1. Measure and Plan
Once you have your measurements, it's time to choose the materials for your shelves. You can use wood, metal, or even repurpose old items like crates or pallets. Make sure to choose materials that are sturdy and can support the weight of your items.2. Choose Your Materials
If you're using wood, cut it to the desired length and shape using a saw. You can also have the wood cut at your local hardware store if you don't have the necessary tools at home.3. Cut the Wood
Once you have your wood pieces cut, sand them to remove any rough edges or splinters. This will ensure a smooth finish and prevent any injuries when handling the shelves.4. Sand the Wood
If you want to add a pop of color to your living room shelves, you can paint or stain the wood before assembling them. Make sure to let the paint or stain dry completely before moving on to the next step.5. Paint or Stain the Wood
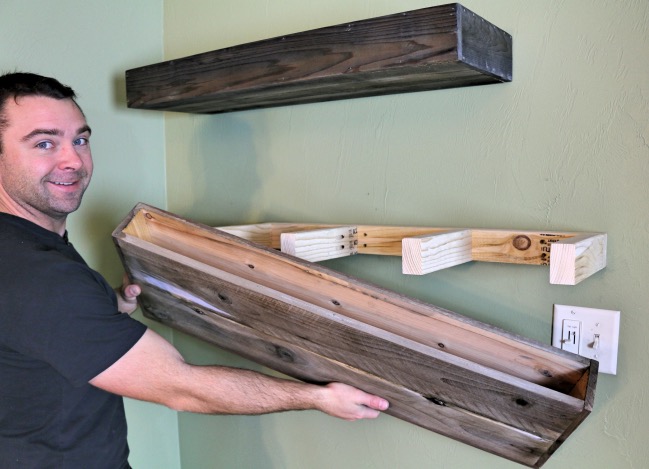
Using a drill and screws, assemble the shelves according to your design. If you're using metal shelves, you can skip this step and simply attach the shelves to the wall.6. Assemble the Shelves
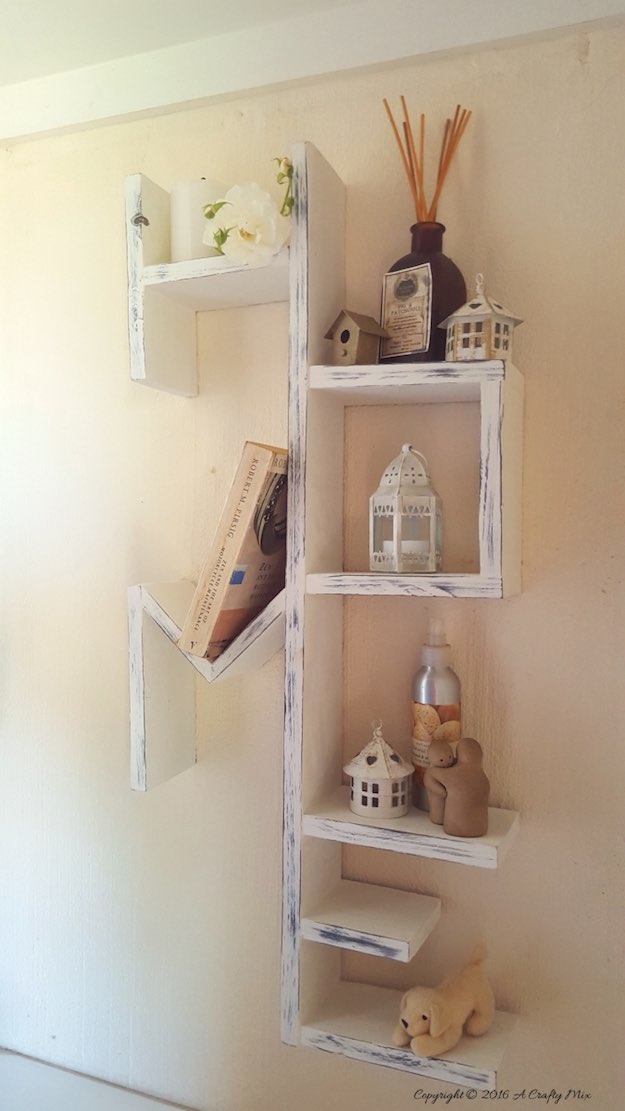
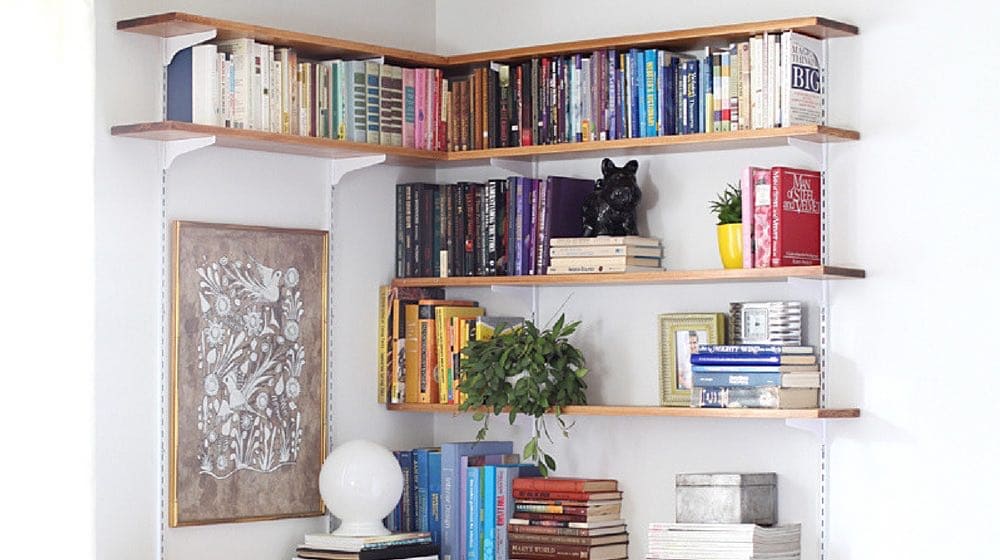
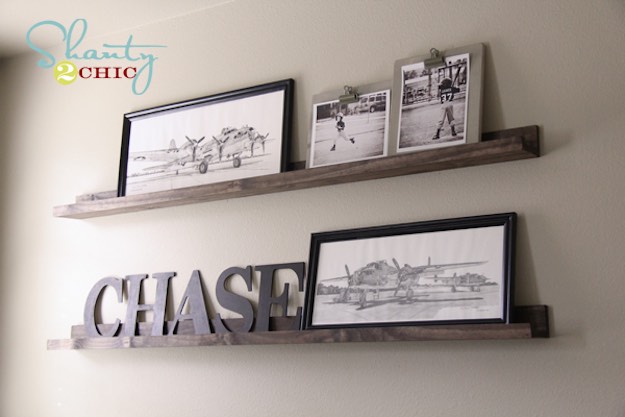
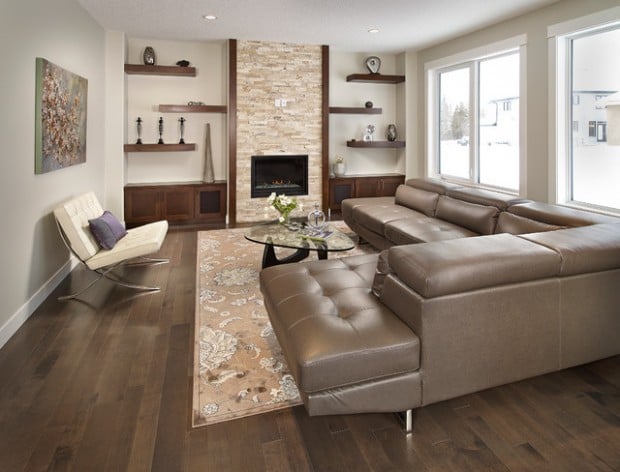
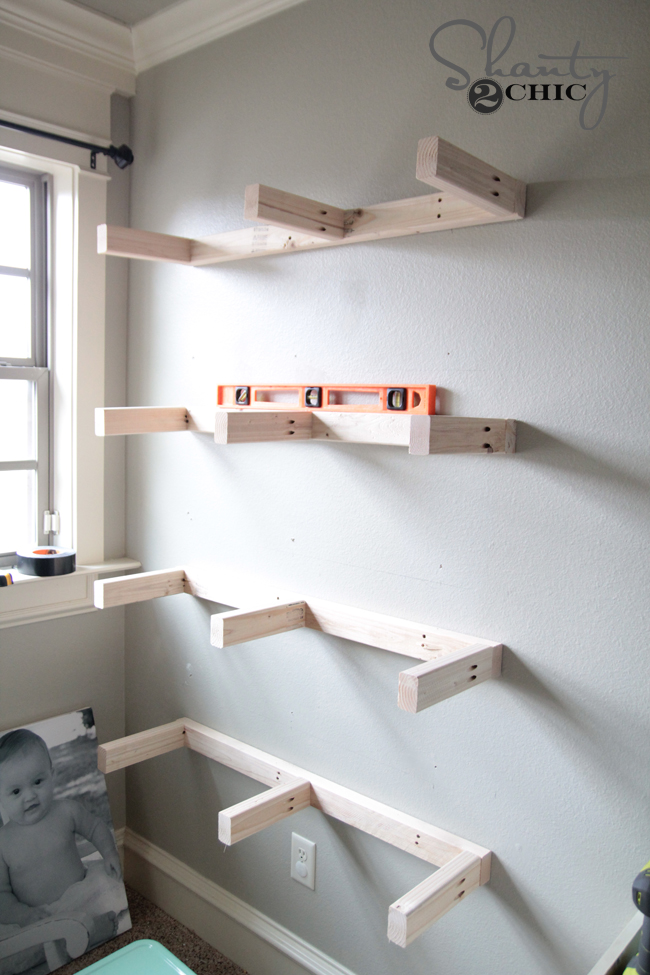
If you're using floating shelves, you will need to install brackets to support the shelves. Make sure to use a level to ensure that the shelves are straight before screwing in the brackets.7. Install Brackets
Using a drill, attach the shelves to the wall. Make sure to use sturdy screws that can support the weight of the shelves and items placed on them. If you're not comfortable with drilling into your walls, you can use adhesive strips or hooks to hang the shelves.8. Attach the Shelves to the Wall
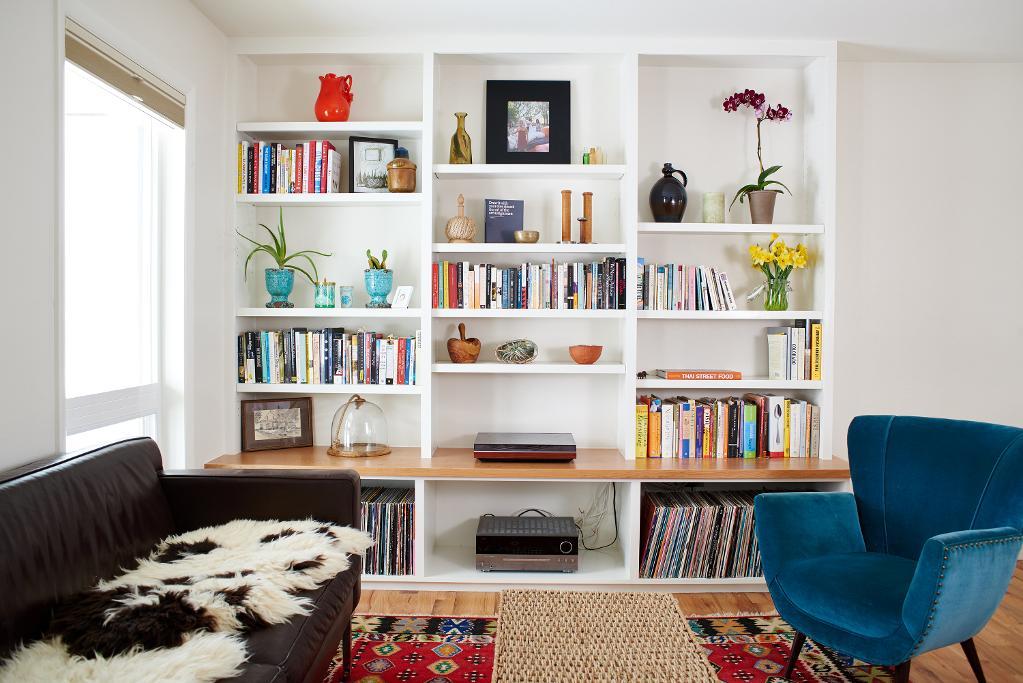
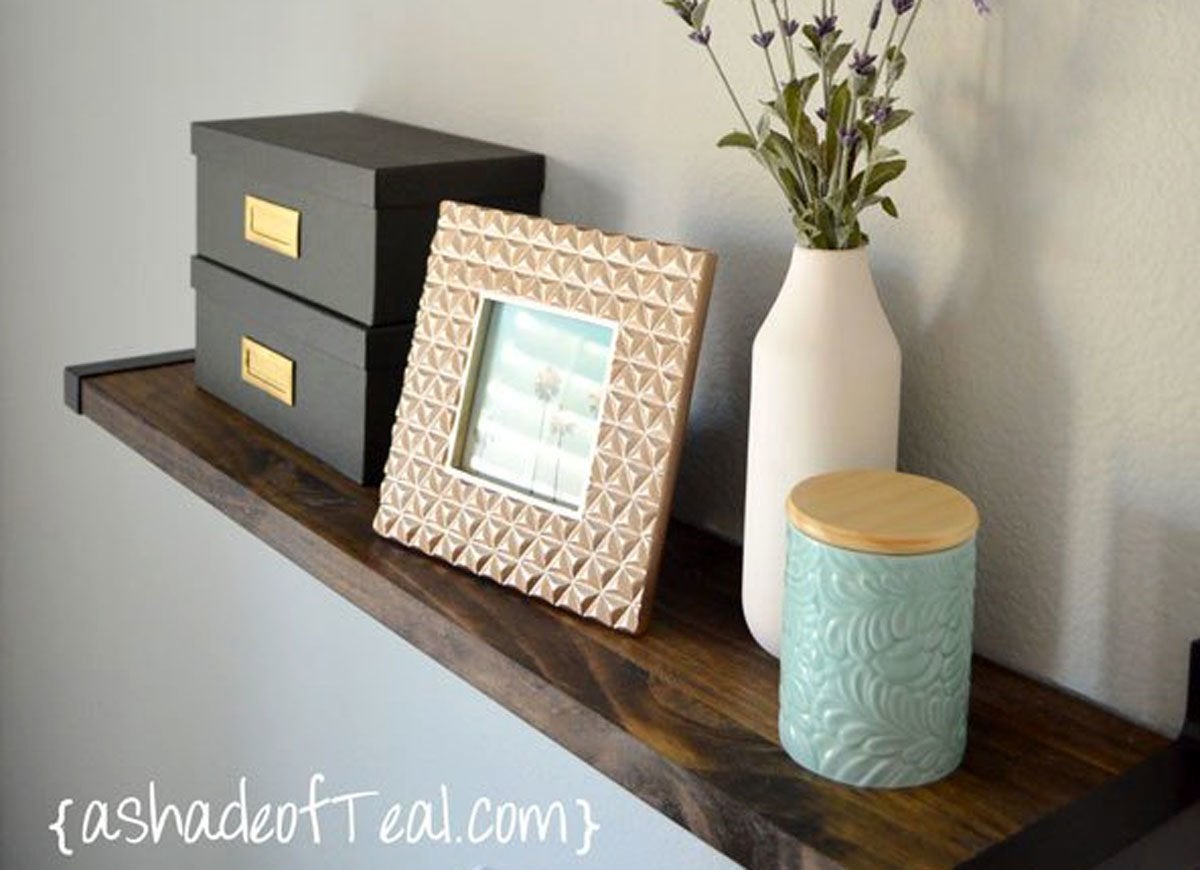
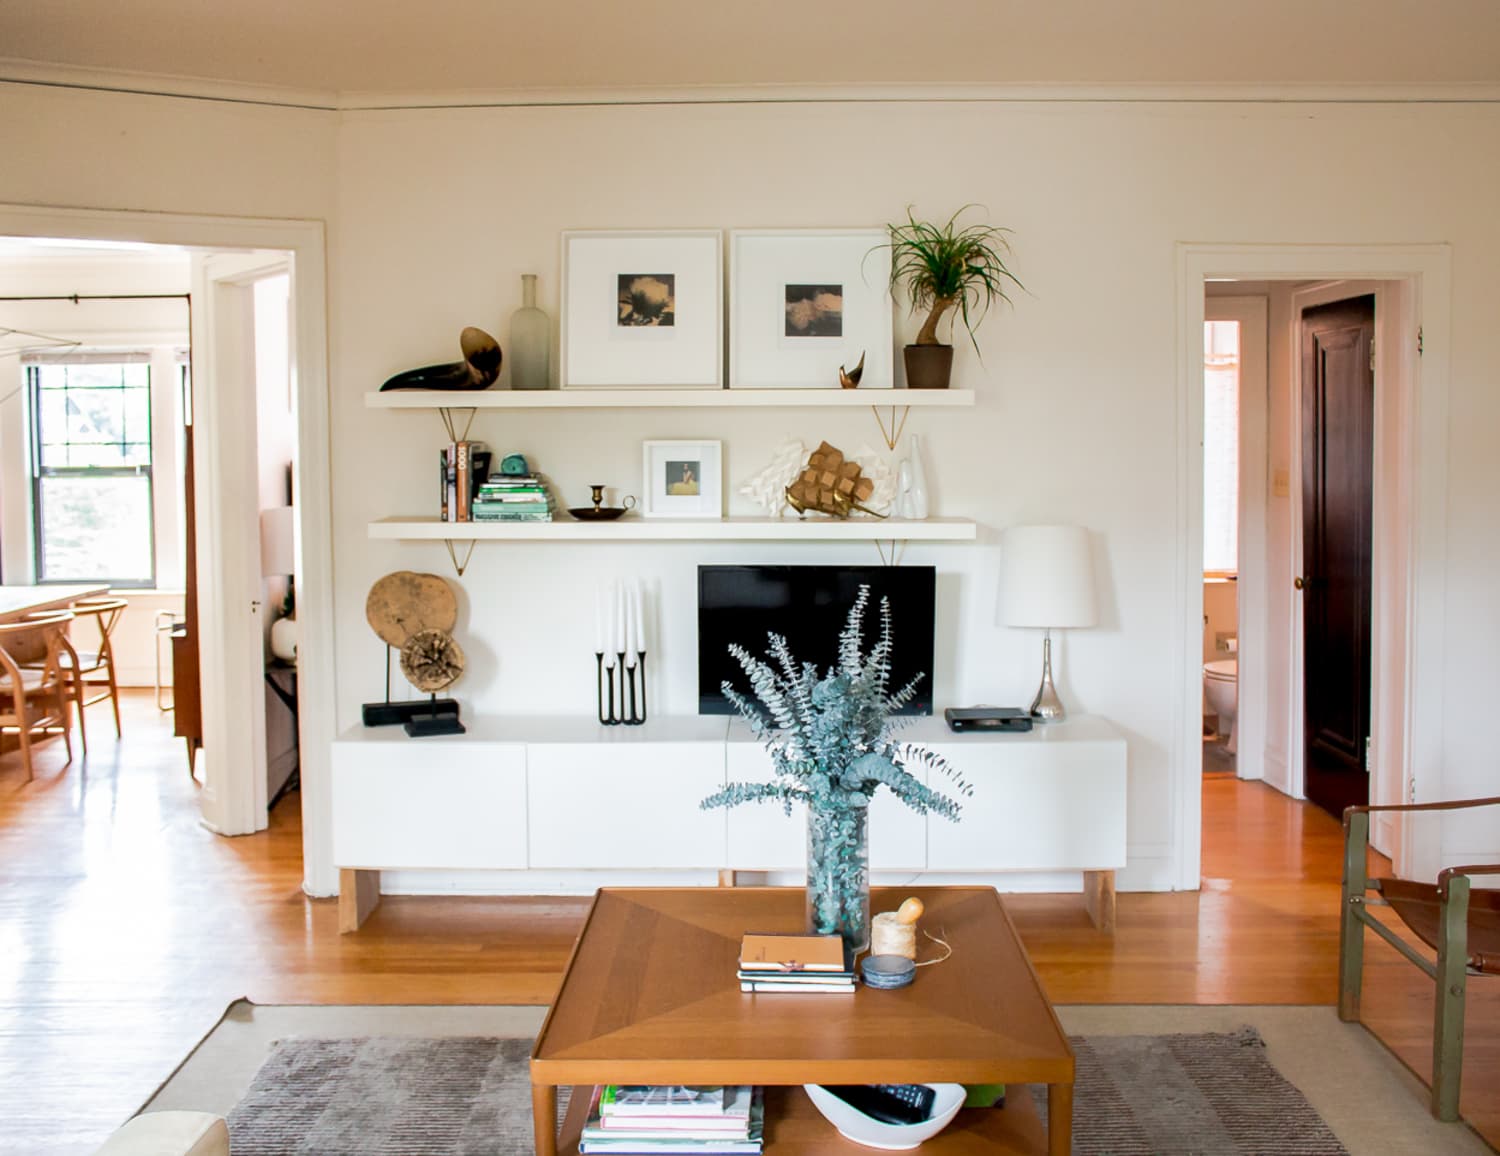
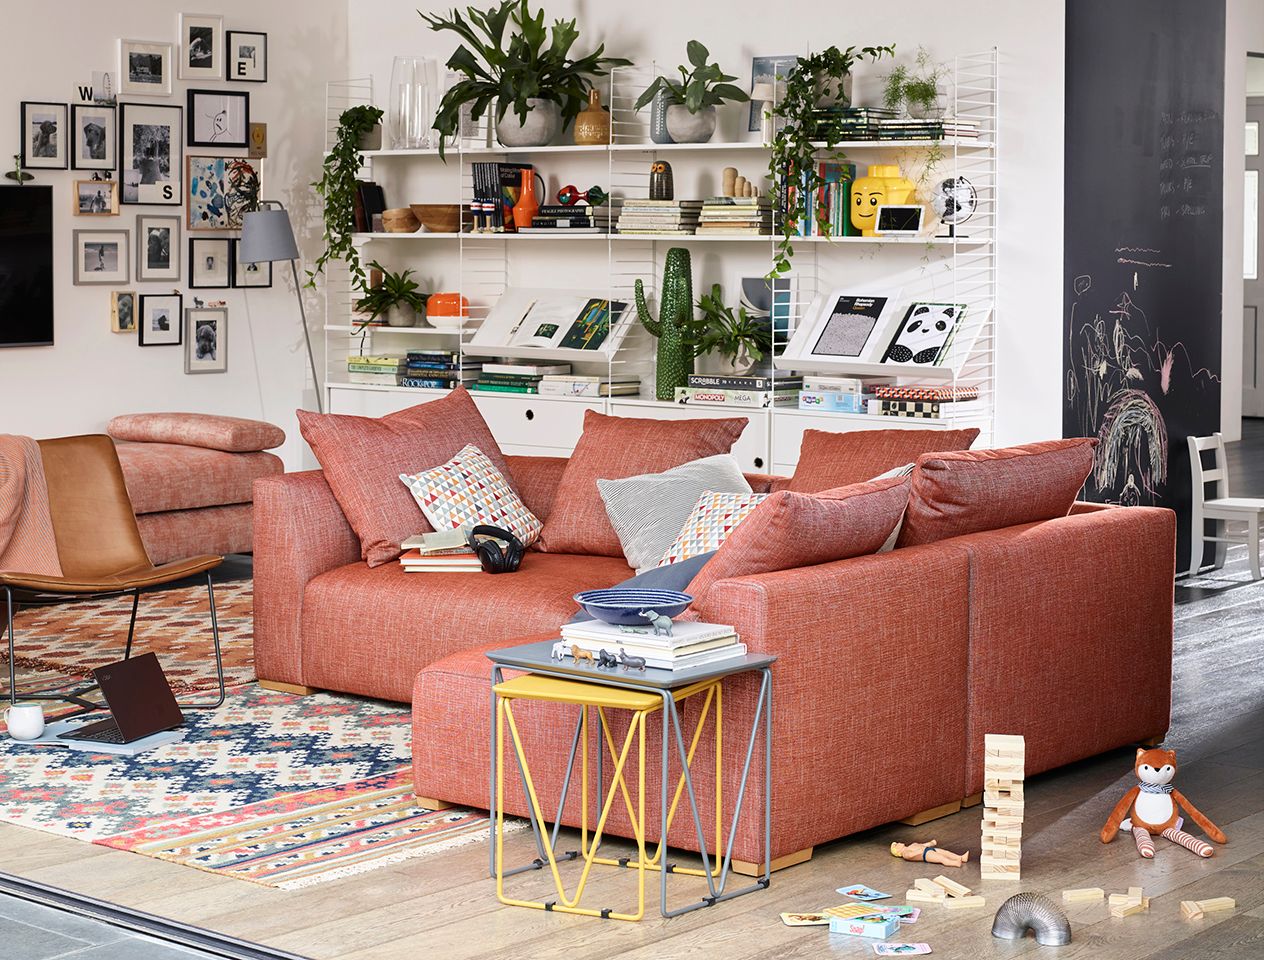
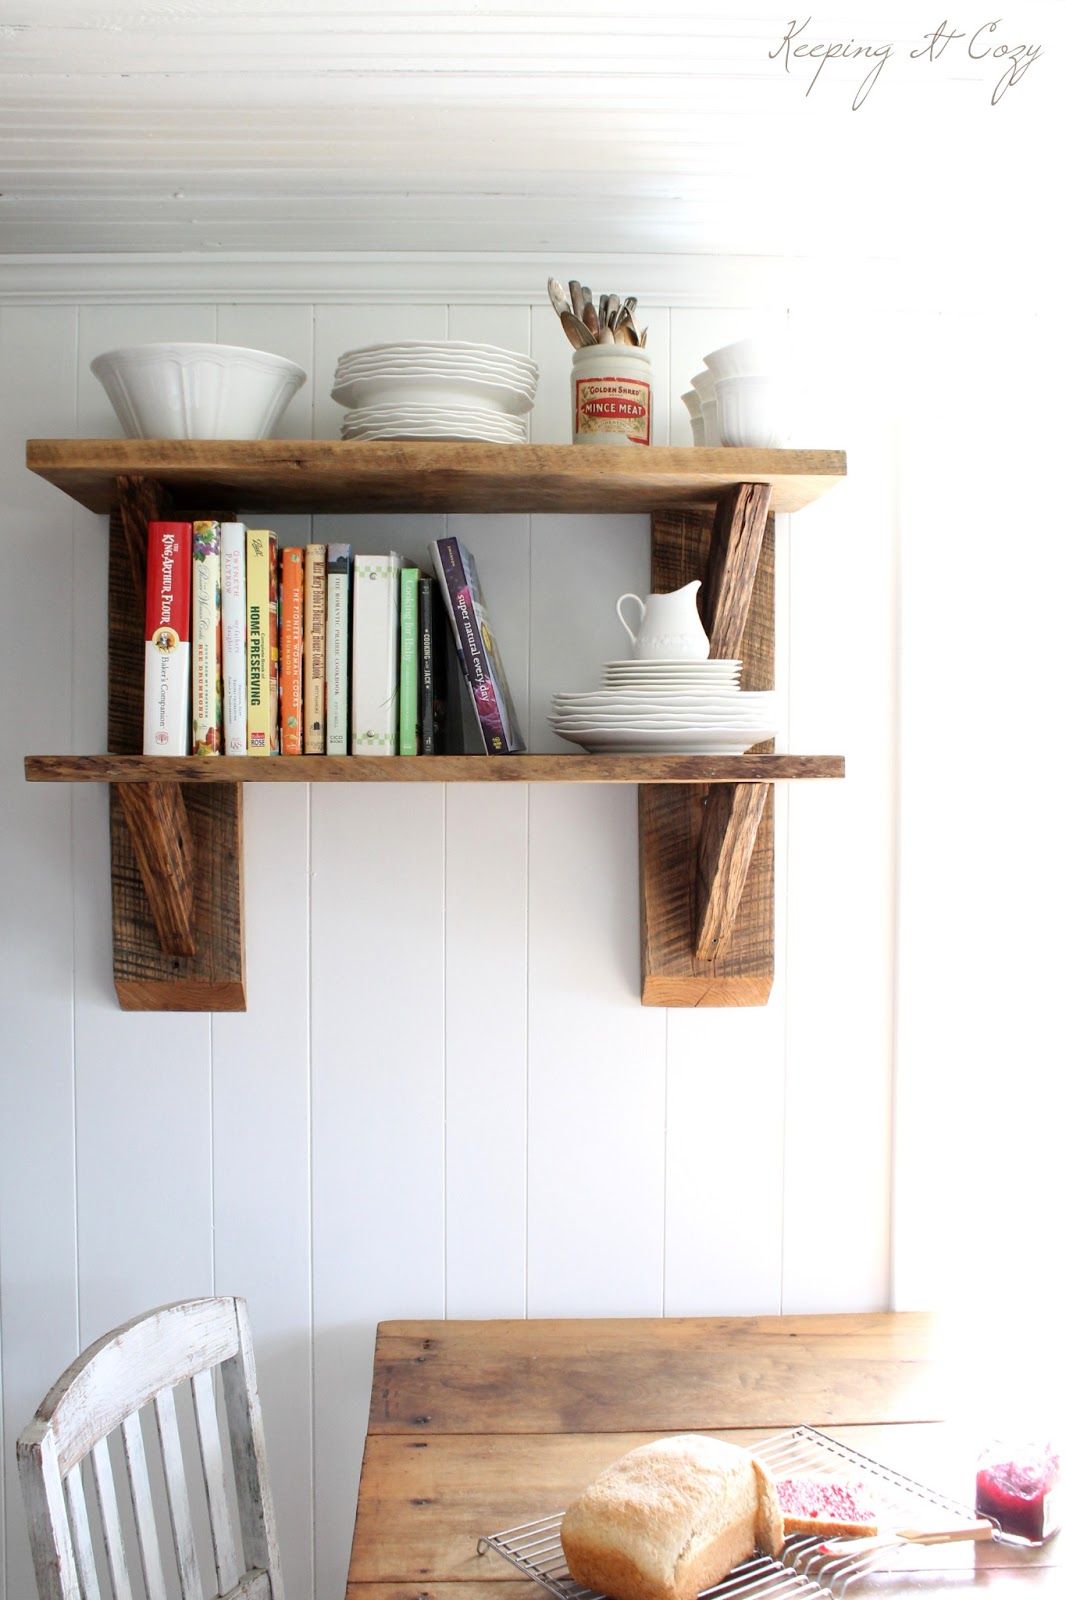
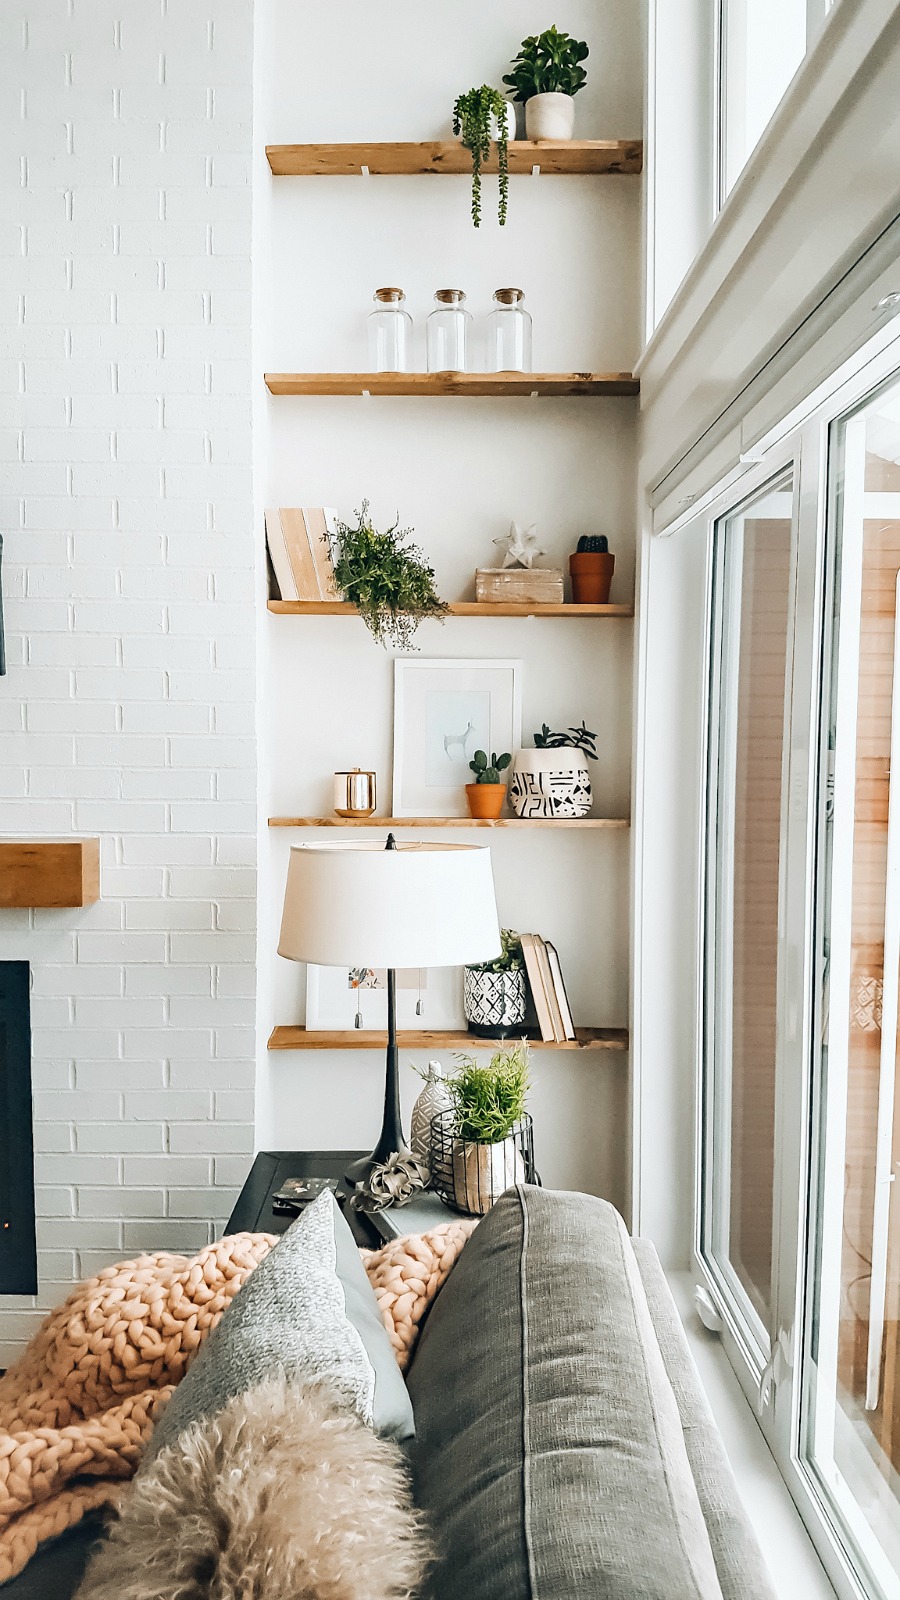
Now comes the fun part – decorating and organizing your shelves! Use decorative items such as plants, picture frames, or books to add a personal touch to your shelves. And don't forget to use storage boxes or baskets to keep your items organized and clutter-free.9. Decorate and Organize
Maximizing Space in Your Living Room With Custom Shelves

Elevate Your Living Room Design
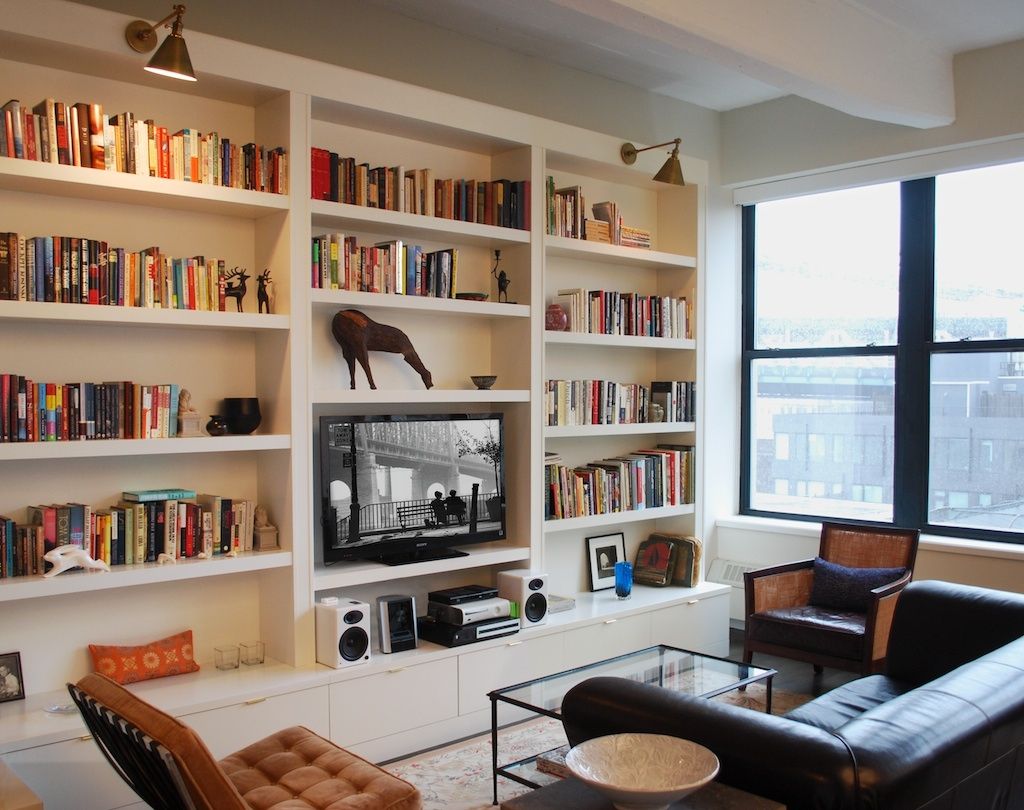
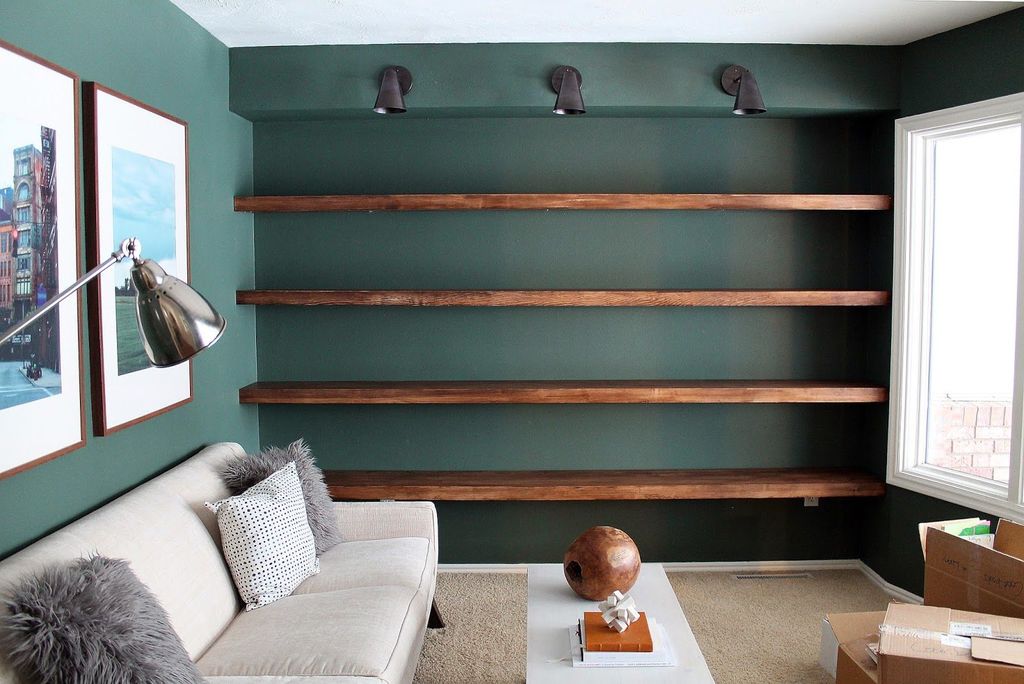
 When it comes to designing your living room, one of the most important factors to consider is space. A cluttered and disorganized living room can make the space feel smaller and less inviting. That's where custom shelves come in. These versatile storage solutions not only provide a functional way to keep your belongings organized, but they can also enhance the overall design of your living room.
Customize to Your Needs
Maximize Vertical Space
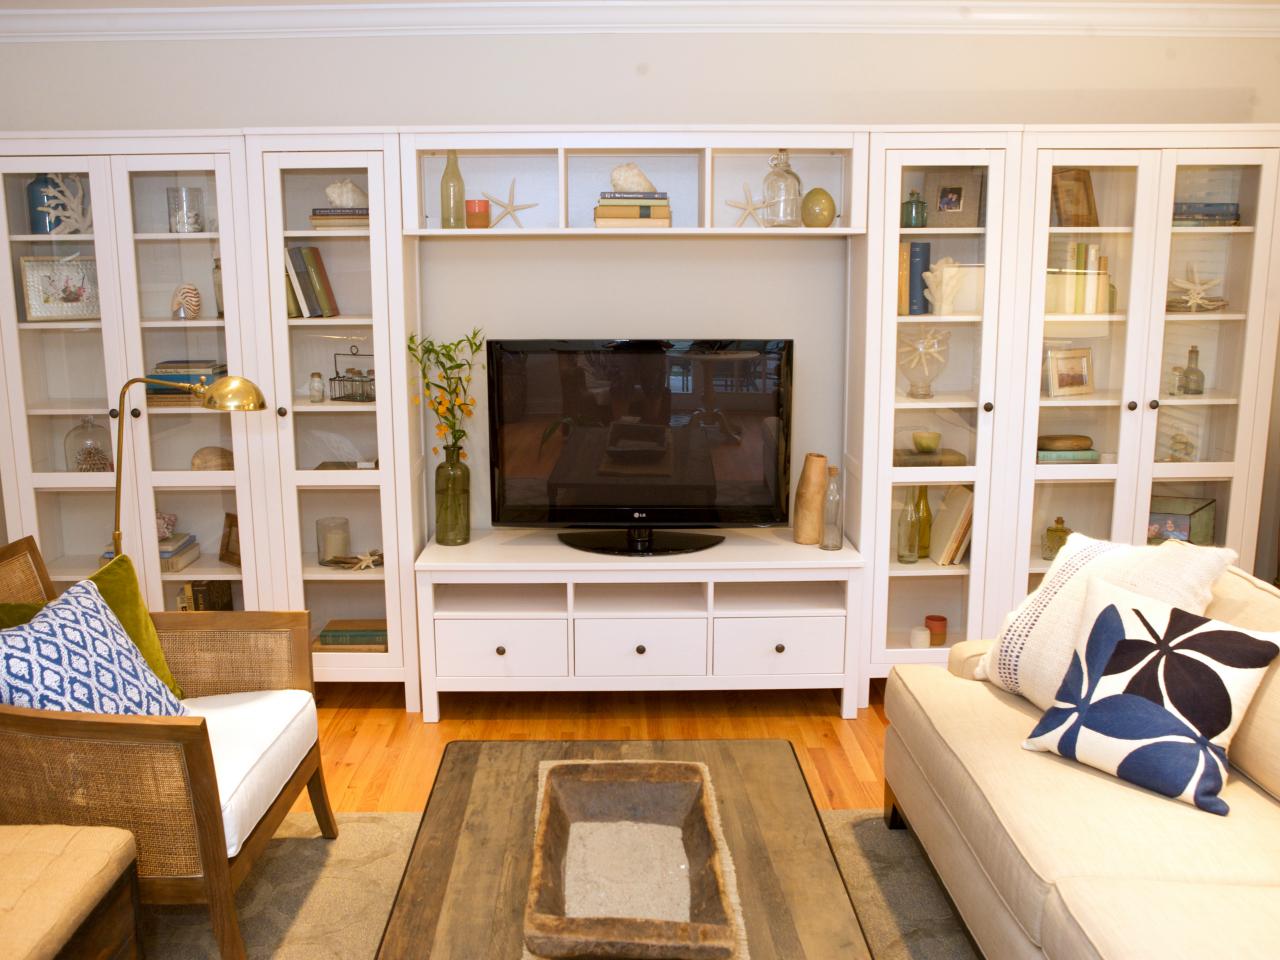
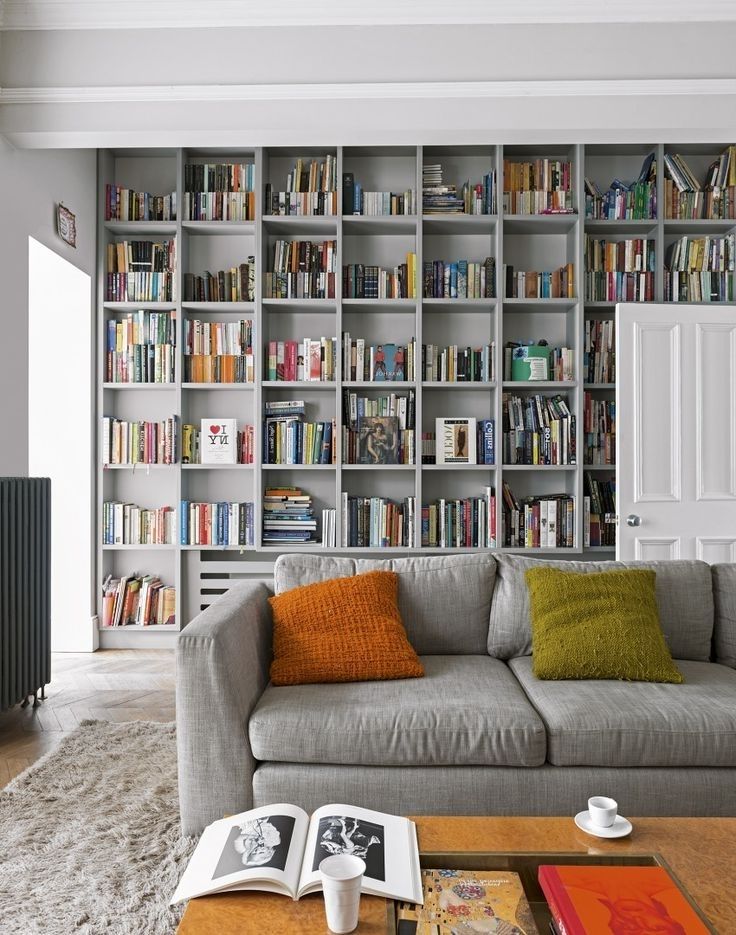
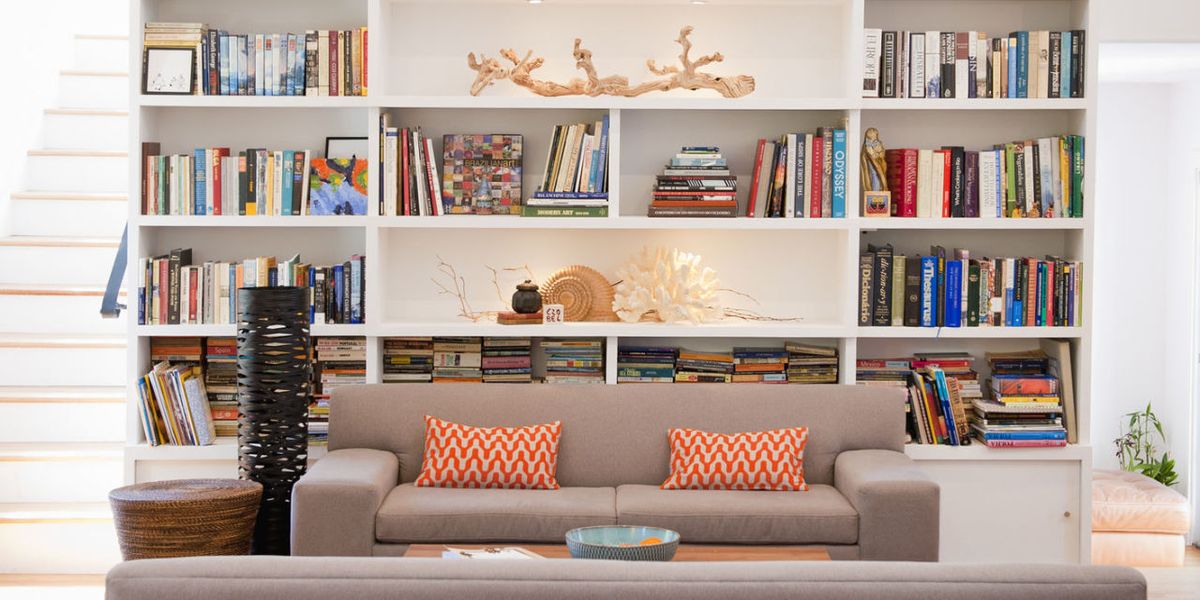
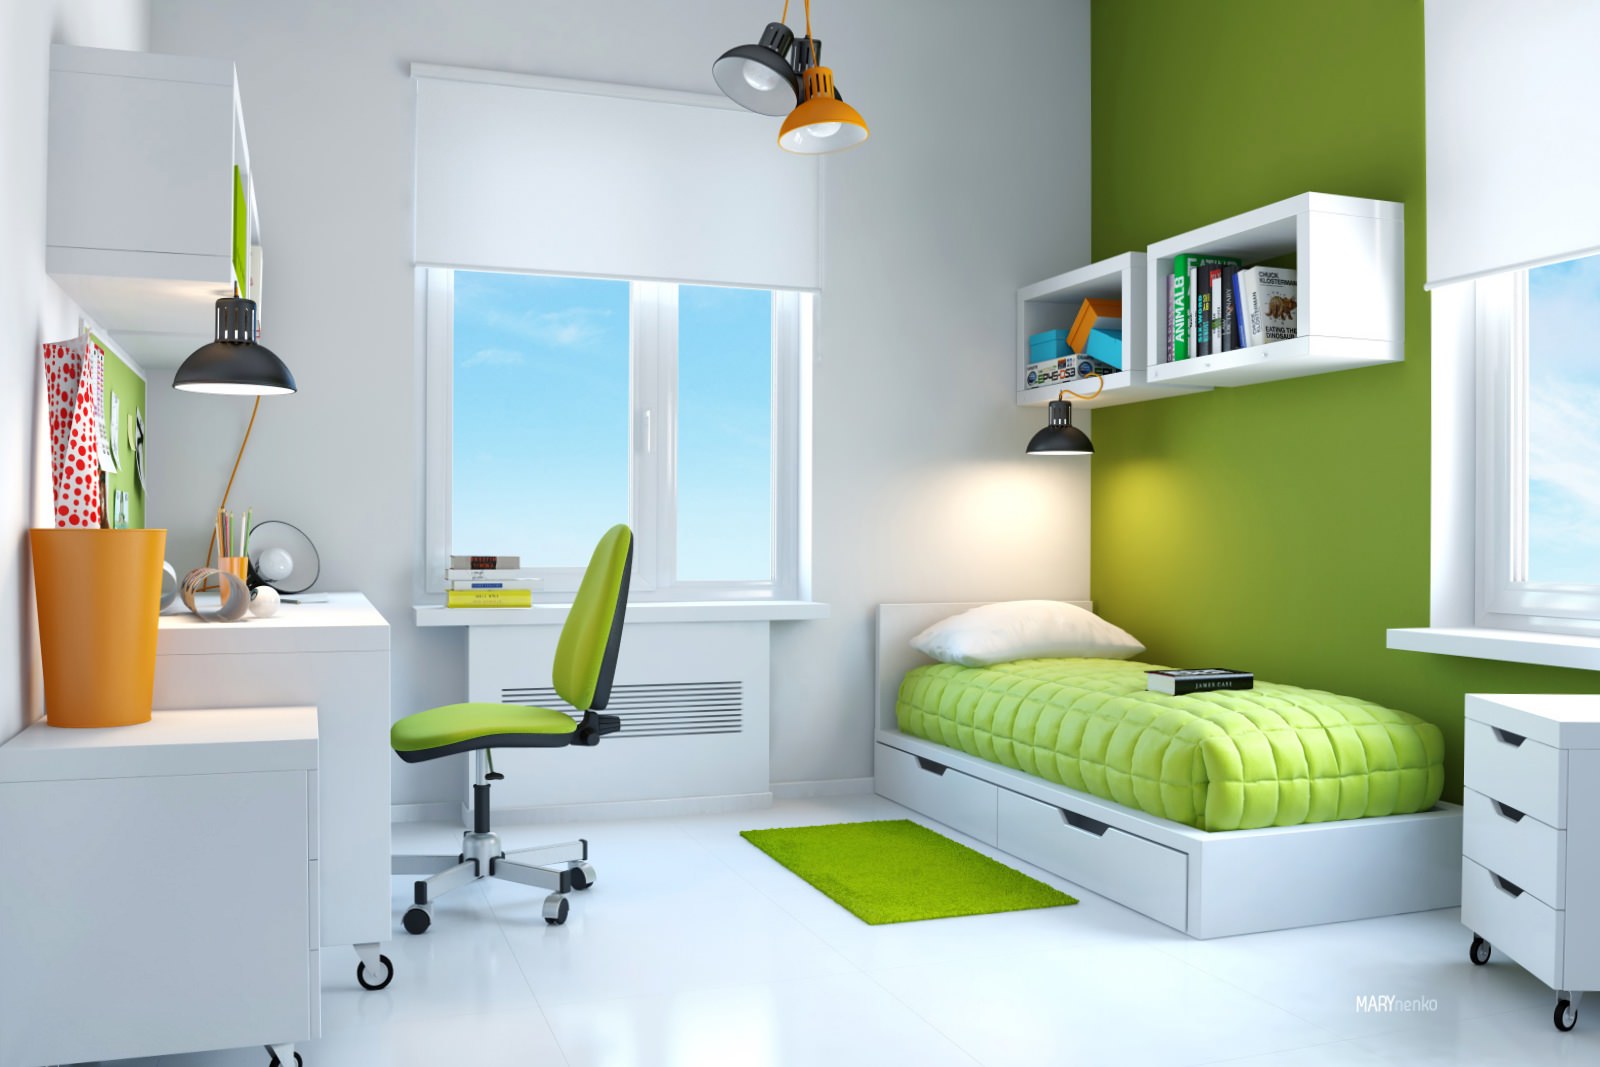
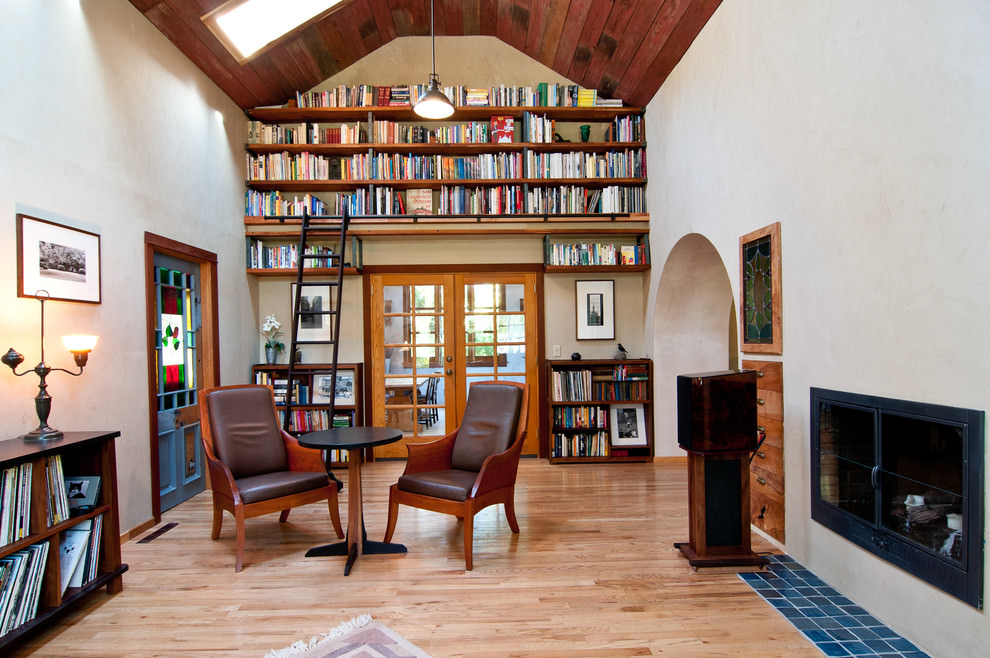
 With limited floor space in most living rooms, it's important to utilize vertical space to its full potential. Custom shelves allow you to take advantage of every inch of wall space, providing ample storage without taking up valuable floor space. This also creates a sense of height and makes the room feel more spacious and open.
Make a Statement
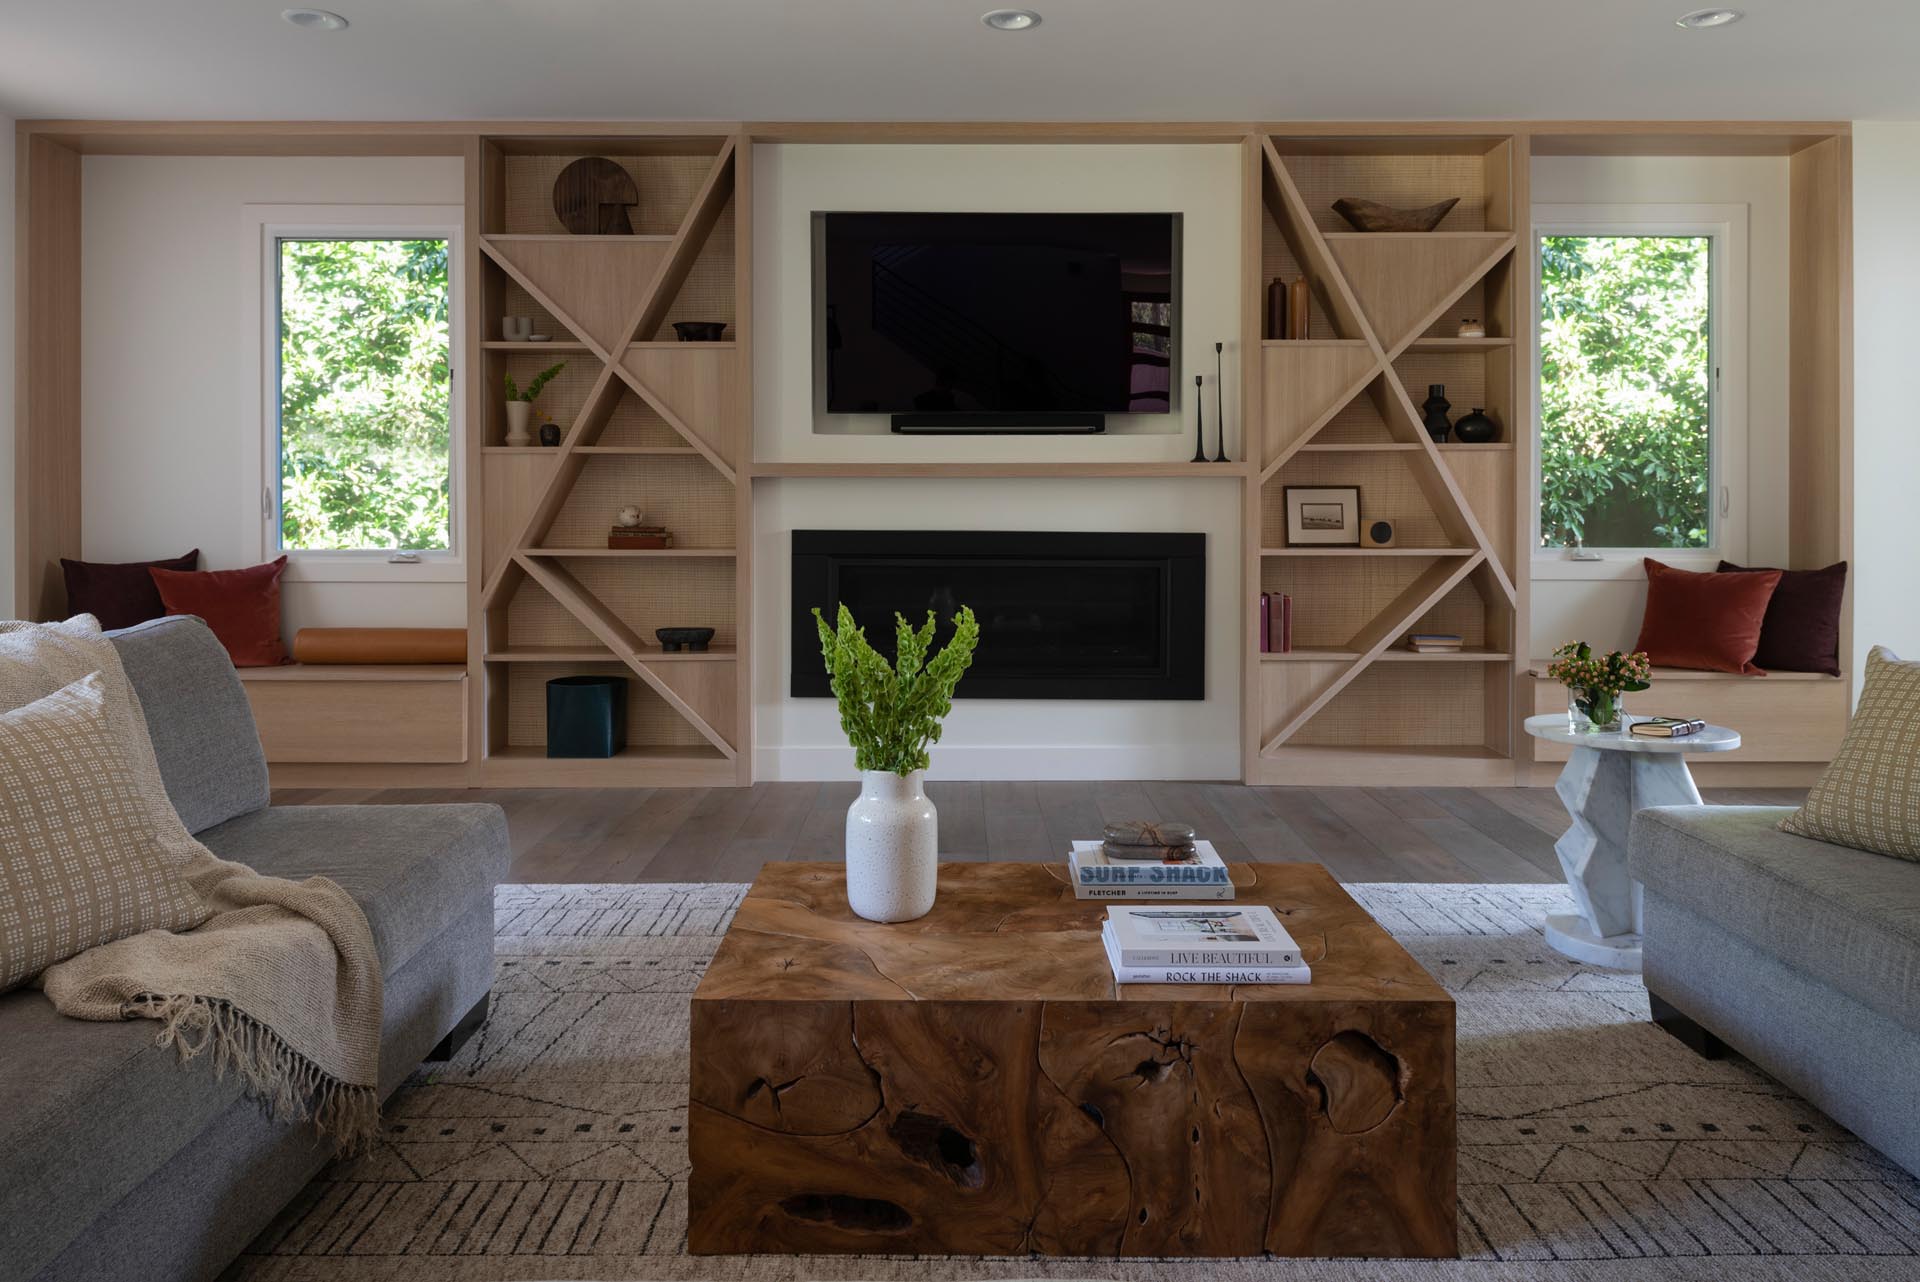
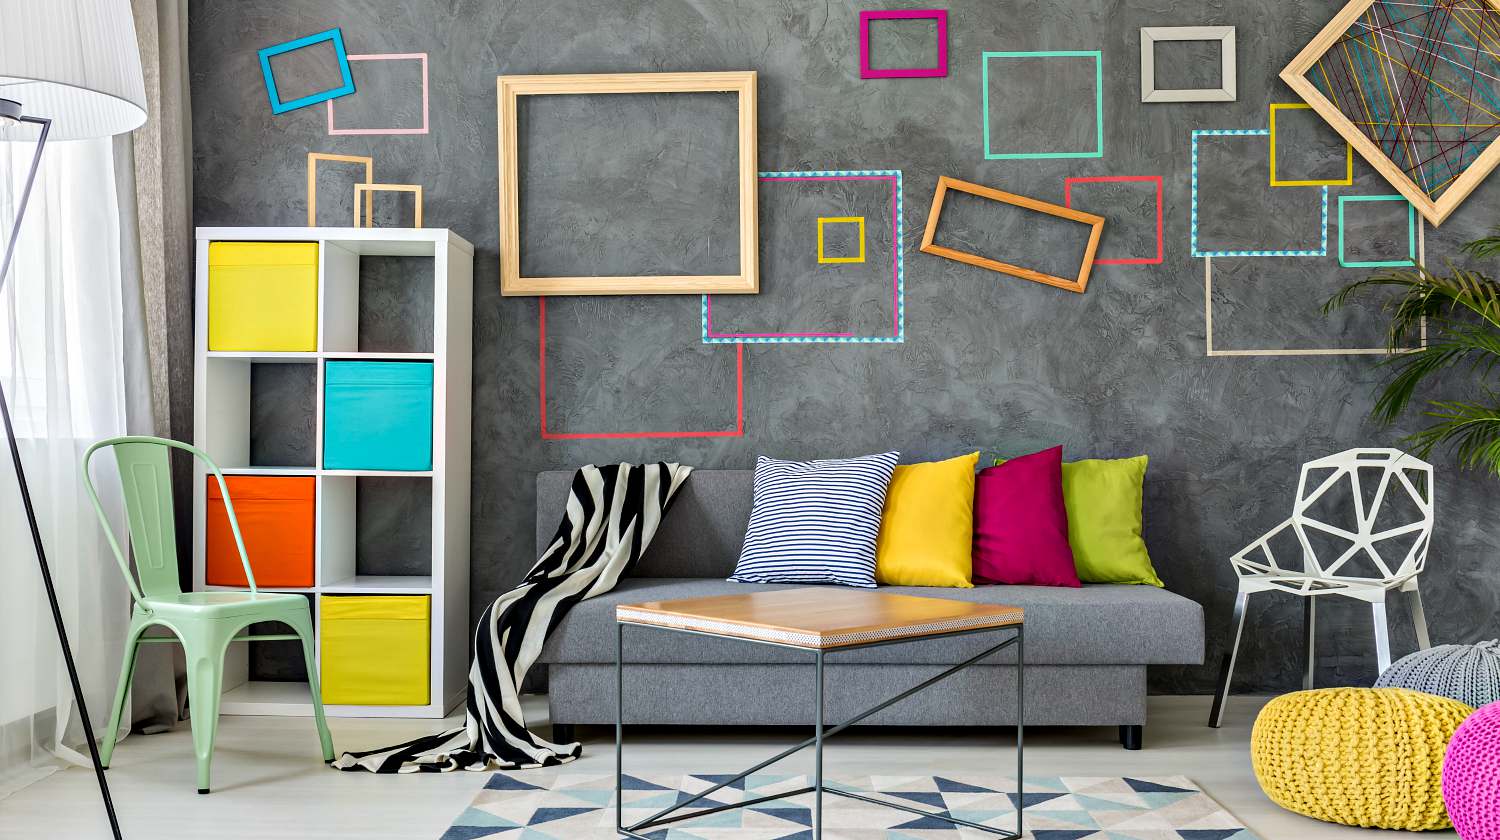
 Custom shelves not only serve as practical storage solutions, but they can also make a statement in your living room design. Incorporate unique and eye-catching elements, such as bold colors, decorative patterns, or interesting shapes, to add a pop of personality to your space. This will not only make your living room stand out, but it will also reflect your own personal style and taste.
Add Functionality
 In addition to providing storage, custom shelves can also add functionality to your living room. You can incorporate built-in features, such as a built-in desk or hidden storage compartments, to make the most out of your shelves. This can create a multi-functional space that can be used for a variety of purposes, from working to entertaining guests.
Conclusion
 In conclusion, custom shelves are a game-changer when it comes to designing your living room. They not only provide practical storage solutions, but they can also enhance the overall aesthetic and functionality of the space. So, if you're looking to elevate your living room design and make the most out of your space, consider building custom shelves today. With endless customization options, you can create a unique and personalized storage solution that perfectly fits your living room and lifestyle.













:max_bytes(150000):strip_icc()/beautiful-living-rooms-with-built-in-shelving-4122539-hero-2a0ac4d1d64a4561a22c926d9ba0b0ed.jpg)


