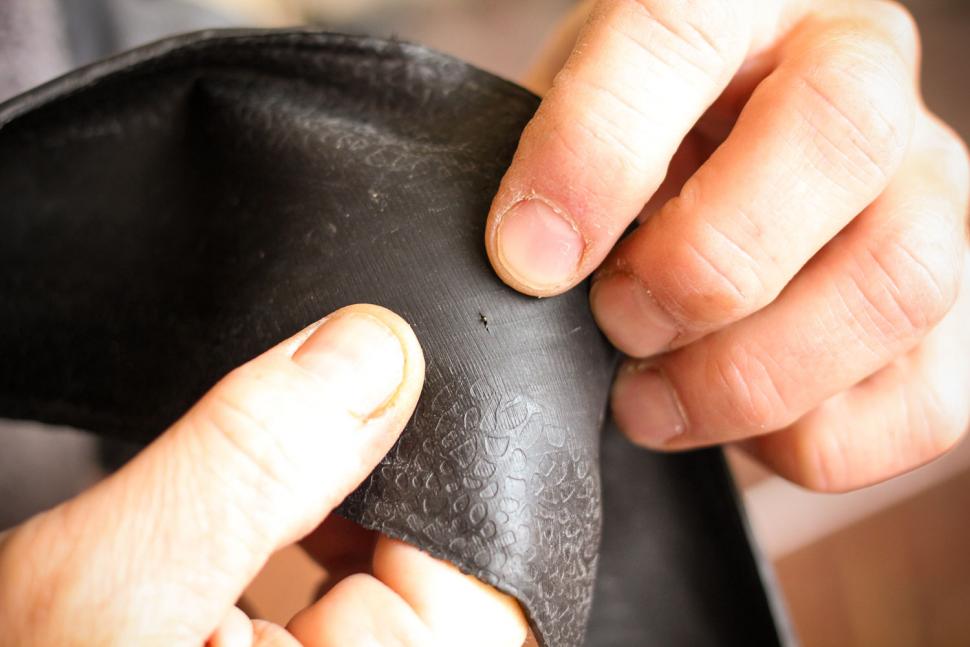
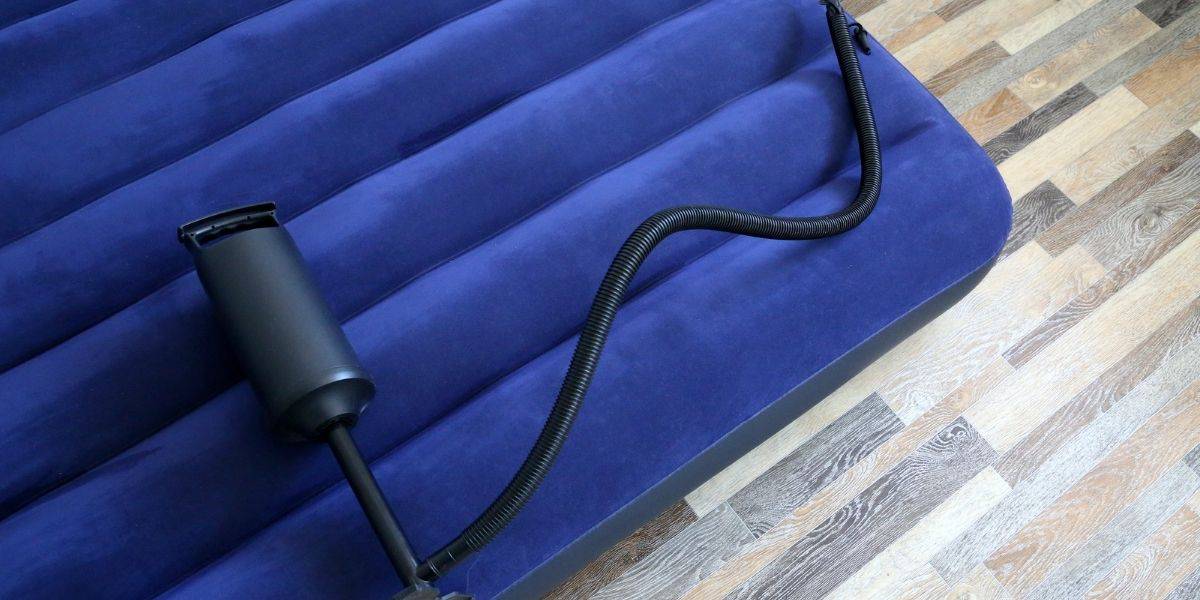
Accidents happen, and sometimes that means you end up with a hole in your inflatable mattress. But don't worry, it's not the end of the world! With a few simple steps, you can easily patch up that hole and have your mattress as good as new. The first step is to locate the hole. This can be done by inflating the mattress and listening for the sound of air escaping or by using a mixture of soap and water to find the leak. Once you've found the hole, mark it with a pen or piece of tape so you know where to focus your repair efforts. Next, gather your materials. You'll need a patch kit, which can usually be found at any store that sells inflatable mattresses. If you don't have a patch kit, you can also use duct tape as a temporary fix. You'll also need scissors, rubbing alcohol, and a clean cloth. Clean the area around the hole with rubbing alcohol and the cloth. This will ensure that the patch will adhere properly. If you're using a patch kit, follow the instructions provided to apply the patch. If you're using duct tape, cut a piece large enough to cover the hole and press it firmly onto the mattress. Once the patch is applied, give it some time to dry and set. This can take anywhere from a few hours to overnight, depending on the type of patch you used. It's best to leave the mattress inflated during this time to ensure the patch adheres properly. After the patch is dry, you can test it by inflating the mattress and checking for any air leaks. If there are still leaks, you may need to apply another layer of patch or duct tape. Remember to keep your patch kit or duct tape handy in case any new holes appear in the future. And if you're using the mattress for camping or outdoor activities, it's a good idea to bring the patch kit with you just in case.1. Patching a Hole in an Inflatable Mattress


1. Patching a Hole in an Inflatable Mattress


A leak in your air mattress can be a frustrating and uncomfortable problem. But with the right tools and techniques, you can easily fix that leak and have your air mattress back to its fully inflated state in no time. The first step is to locate the leak. This can be done by inflating the mattress and listening for the sound of air escaping or by using a mixture of soap and water to find the leak. Once you've found the leak, mark it with a pen or piece of tape so you know where to focus your repair efforts. If the leak is small, you may be able to fix it with a patch kit. These kits can usually be found at any store that sells inflatable mattresses. If you don't have a patch kit, you can also use duct tape as a temporary fix. Clean the area around the leak with rubbing alcohol and a clean cloth. This will ensure that the patch or duct tape adheres properly. If you're using a patch, follow the instructions provided to apply it. If you're using duct tape, cut a piece large enough to cover the leak and press it firmly onto the mattress. Once the patch or duct tape is applied, give it some time to dry and set. It's best to leave the mattress inflated during this time to ensure the patch adheres properly. After the patch is dry, you can test it by inflating the mattress and checking for any air leaks. If there are still leaks, you may need to apply another layer of patch or duct tape. It's important to regularly check your air mattress for leaks and fix them as soon as possible to prevent further damage. And remember to always have a patch kit or duct tape on hand in case any new leaks appear.2. How to Fix a Leak in an Air Mattress


2. How to Fix a Leak in an Air Mattress


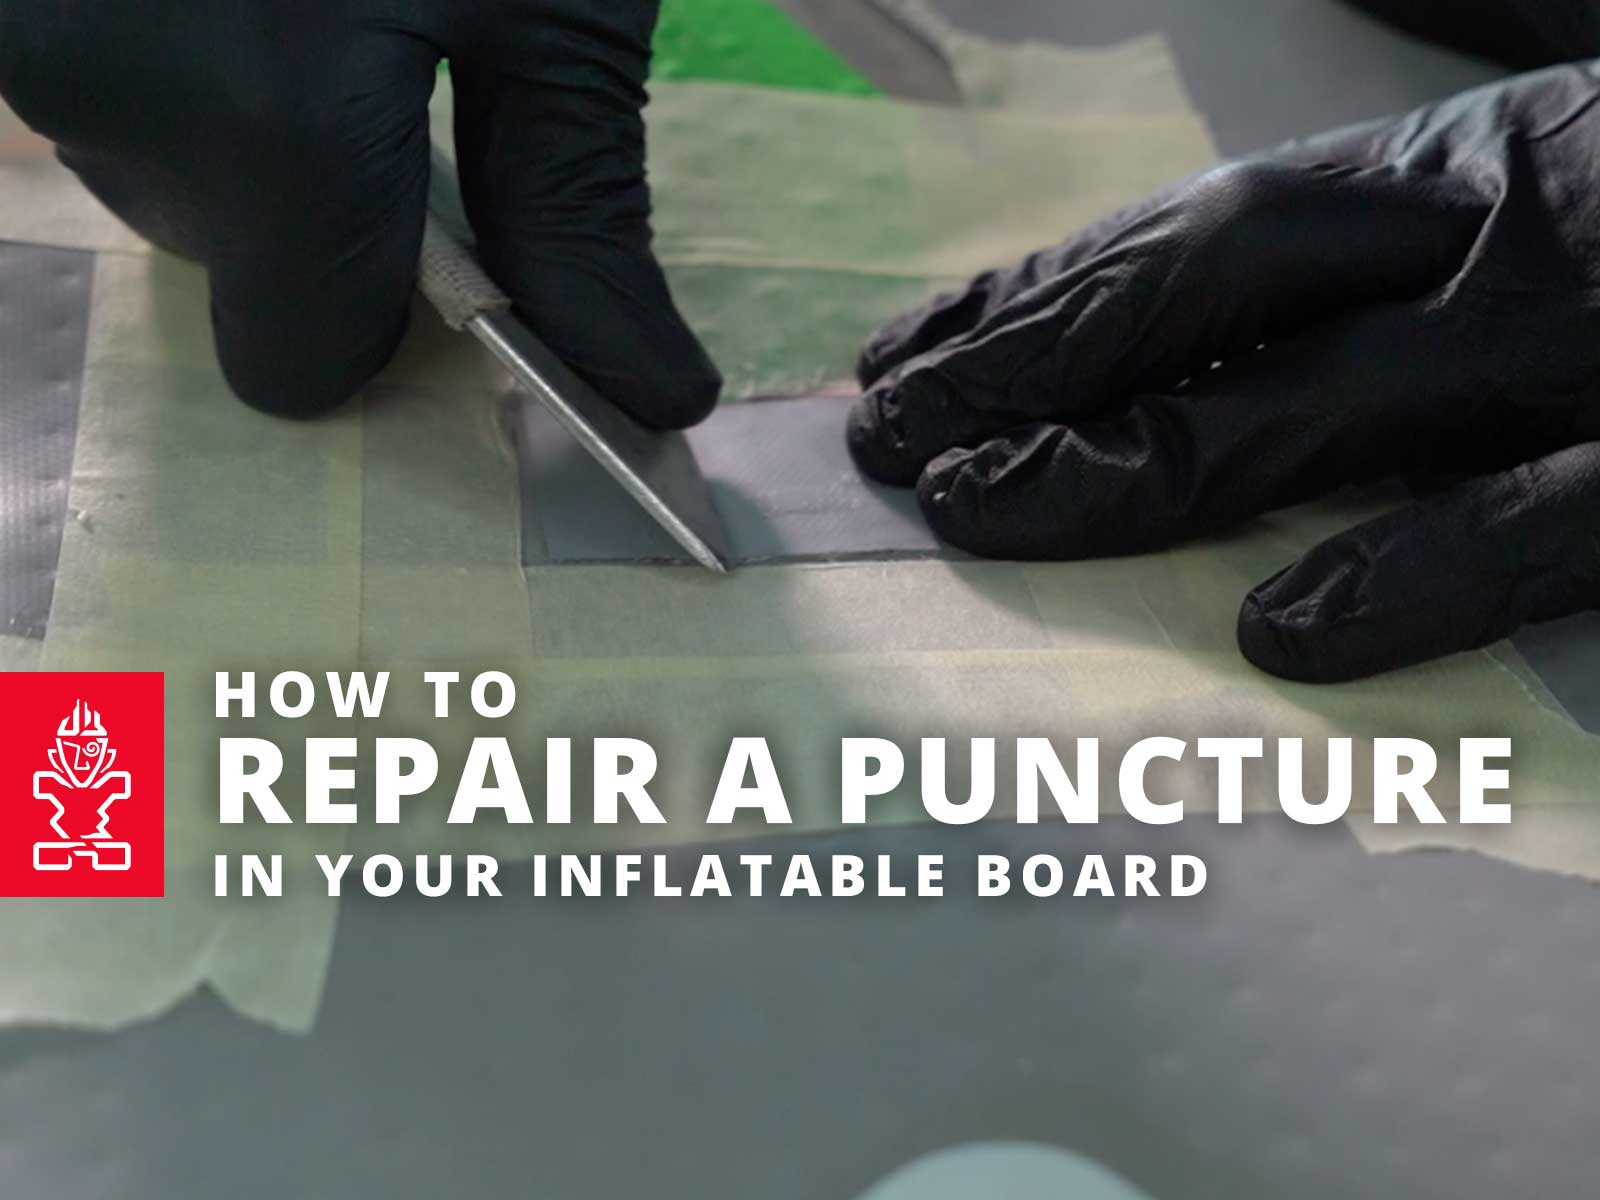
A puncture in your inflatable bed can quickly ruin a good night's sleep. But with some quick and easy repairs, you can have your bed back to its fully inflated state in no time. The first step is to locate the puncture. This can be done by inflating the bed and listening for the sound of air escaping or by using a mixture of soap and water to find the leak. Once you've found the puncture, mark it with a pen or piece of tape so you know where to focus your repair efforts. If the puncture is small, you may be able to fix it with a patch kit. These kits can usually be found at any store that sells inflatable beds. If you don't have a patch kit, you can also use duct tape as a temporary fix. Clean the area around the puncture with rubbing alcohol and a clean cloth. This will ensure that the patch or duct tape adheres properly. If you're using a patch, follow the instructions provided to apply it. If you're using duct tape, cut a piece large enough to cover the puncture and press it firmly onto the bed. Once the patch or duct tape is applied, give it some time to dry and set. It's best to leave the bed inflated during this time to ensure the patch adheres properly. After the patch is dry, you can test it by inflating the bed and checking for any air leaks. If there are still leaks, you may need to apply another layer of patch or duct tape. Remember to regularly check your inflatable bed for punctures and make any necessary repairs to prevent further damage. And always have a patch kit or duct tape on hand for quick fixes.3. Repairing a Puncture in an Inflatable Bed


3. Repairing a Puncture in an Inflatable Bed


Have you ever found yourself in need of an inflatable mattress repair but don't have a patch kit on hand? Don't worry, you can easily make your own DIY repair solution using everyday household items. To start, you'll need a few materials: a piece of paper, a pen, scissors, duct tape, and rubbing alcohol. First, locate the puncture or leak in your mattress by inflating it and listening for the sound of air escaping. Mark the spot with the pen. Next, cut a small piece of paper and place it over the puncture, making sure it covers the entire area. Use the pen to trace the outline of the puncture onto the paper. Remove the paper and cut along the traced line to create a template for your patch. Clean the area around the puncture with rubbing alcohol and a clean cloth. Then, use the template to cut a piece of duct tape large enough to cover the puncture. Press the duct tape firmly onto the mattress, making sure to cover the entire puncture. After the duct tape is applied, give it some time to dry and set. It's best to leave the mattress inflated during this time to ensure the duct tape adheres properly. Once it's dry, you can test the repair by inflating the mattress and checking for any air leaks. This DIY repair solution may not be as long-lasting as a patch kit, but it can provide a temporary fix until you're able to get your hands on a proper repair kit. Just remember to regularly check the duct tape and make any necessary repairs to prevent further damage.4. DIY Inflatable Mattress Repair


4. DIY Inflatable Mattress Repair


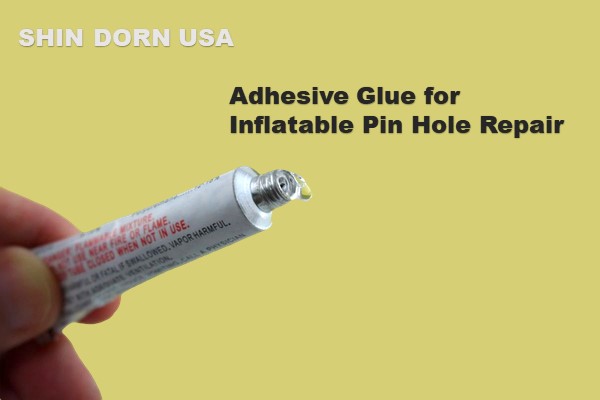
When it comes to repairing an air mattress, choosing the right adhesive can make all the difference. The best adhesive for repairing an air mattress is one that is strong, flexible, and waterproof. One popular adhesive for repairing inflatable mattresses is PVC cement. This type of adhesive is specifically designed for use with PVC materials, which most air mattresses are made of. It provides a strong and long-lasting bond that is also flexible, allowing the mattress to be inflated and deflated without causing damage to the repair. Another option is to use a waterproof adhesive such as silicone sealant. This type of adhesive is great for repairing small punctures and tears and also provides a waterproof seal. However, it may not be as strong as PVC cement and may not be suitable for larger repairs. When using any type of adhesive, it's important to follow the instructions carefully and allow enough time for the adhesive to fully dry and set before using the mattress again. Whichever adhesive you choose, make sure it is specifically designed for use with inflatable mattresses and is waterproof. This will ensure a strong and long-lasting repair.5. Best Adhesive for Repairing an Air Mattress


5. Best Adhesive for Repairing an Air Mattress


Don't have a lot of time to spend on repairing your inflatable mattress? No problem! With these quick and easy repair techniques, you can have your mattress fixed and ready to use in no time. If you have a small puncture or tear, you can use a self-adhesive patch. These patches can usually be found at any store that sells inflatable mattresses and are specifically designed for quick and easy repairs. Simply clean the area around the puncture or tear, peel off the backing of the patch, and press it firmly onto the mattress. For larger tears or punctures, you can use a combination of PVC cement and a patch. Apply the PVC cement to the mattress according to the instructions provided and then press the patch firmly onto the cement. This method provides a strong and long-lasting repair that can be done in just a few minutes. If you're in a pinch and don't have any repair materials on hand, you can also use duct tape as a temporary fix. Simply cut a piece large enough to cover the puncture or tear and press it firmly onto the mattress. Remember to regularly check your mattress for any new leaks and make necessary repairs as soon as possible to prevent further damage. And always keep a patch kit or duct tape on hand for quick fixes.6. Quick and Easy Inflatable Mattress Repair


6. Quick and Easy Inflatable Mattress Repair


Fixing a tear in an air mattress can be a bit more challenging than repairing a puncture. But with these tips, you can easily fix that tear and have your mattress as good as new. The first step is to locate the tear. This can be done by inflating the mattress and listening for the sound of air escaping or by using a mixture of soap and water to find the leak. Once you've found the tear, mark it with a pen or piece of tape so you know where to focus your repair efforts. Next, gather your materials. You'll need a patch kit, scissors, rubbing alcohol, and a clean cloth. You may also need a needle and thread if the tear is on a seam. Clean the area around the tear with rubbing alcohol and the cloth. If the tear is on a seam, you may need to carefully sew it back together before applying the patch. If the tear is on the main body of the mattress, follow the instructions provided with the patch kit to apply the patch. After the patch is applied, give it some time to dry and set. It's best to leave the mattress inflated during this time to ensure the patch adheres properly. If the tear is on a seam, you may also want to add a layer of PVC cement to provide extra reinforcement. Once the patch is dry, you can test it by inflating the mattress and checking for any air leaks. If there are still leaks, you may need to apply another layer of patch or PVC cement. With a little patience and the right materials, you can easily fix a tear in your air mattress and have it ready for use in no time.7. Tips for Fixing a Tear in an Air Mattress


7. Tips for Fixing a Tear in an Air Mattress


When it comes to repairing a hole in an inflatable bed, the process is similar to fixing a puncture or tear. However, there are a few extra steps you can take to ensure a strong and long-lasting repair. The first step is to locate the hole. This can be done by inflating the bed and listening for the sound of air escaping or by using a mixture of soap and water to find the leak. Once you've found the hole, mark it with a pen or piece of tape so you know where to focus your repair efforts. If the hole is small, you may be able to fix it with a patch kit. These kits can usually be found at any store that sells inflatable beds. If you don't have a patch kit, you can also use duct tape as a temporary fix. Clean the area around the hole with rubbing alcohol and a clean cloth. This will ensure that the patch or duct tape adheres properly. If you're using a patch, follow the instructions provided to apply it. If you're using duct tape, cut a piece large enough to cover the hole and press it firmly onto the bed. Once the patch or duct tape is applied, give it some time to dry and set. It's best to leave the bed inflated during this time to ensure the patch adheres properly. To provide extra reinforcement for the hole, you can also use a piece of fabric or mesh along with the patch or duct tape. Simply place the fabric over the hole before applying the patch or duct tape, and then press it firmly onto the bed. After the patch is dry, you can test it by inflating the bed and checking for any air leaks. If there are still leaks, you may need to apply another layer of patch or duct tape.8. How to Repair a Hole in an Inflatable Bed


8. How to Repair a Hole in an Inflatable Bed


When you find yourself in need of an air mattress repair but don't have a patch kit on hand, duct tape can be a quick and easy solution. However, it's important to use the right technique to ensure a strong and long-lasting repair.9. Patching an Air Mattress with Duct Tape


9. Patching an Air Mattress with Duct Tape

:max_bytes(150000):strip_icc()/81QHm8NXr2L._AC_SL1500_1-17bafdc326cf4922b0d8acca4d9b5639.jpg)


The Best Way to Repair an Inflatable Mattress
Why is Repairing Your Inflatable Mattress Important?
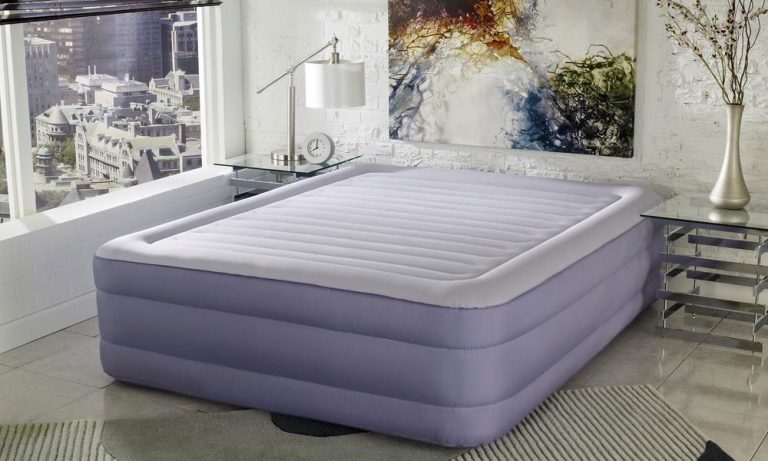
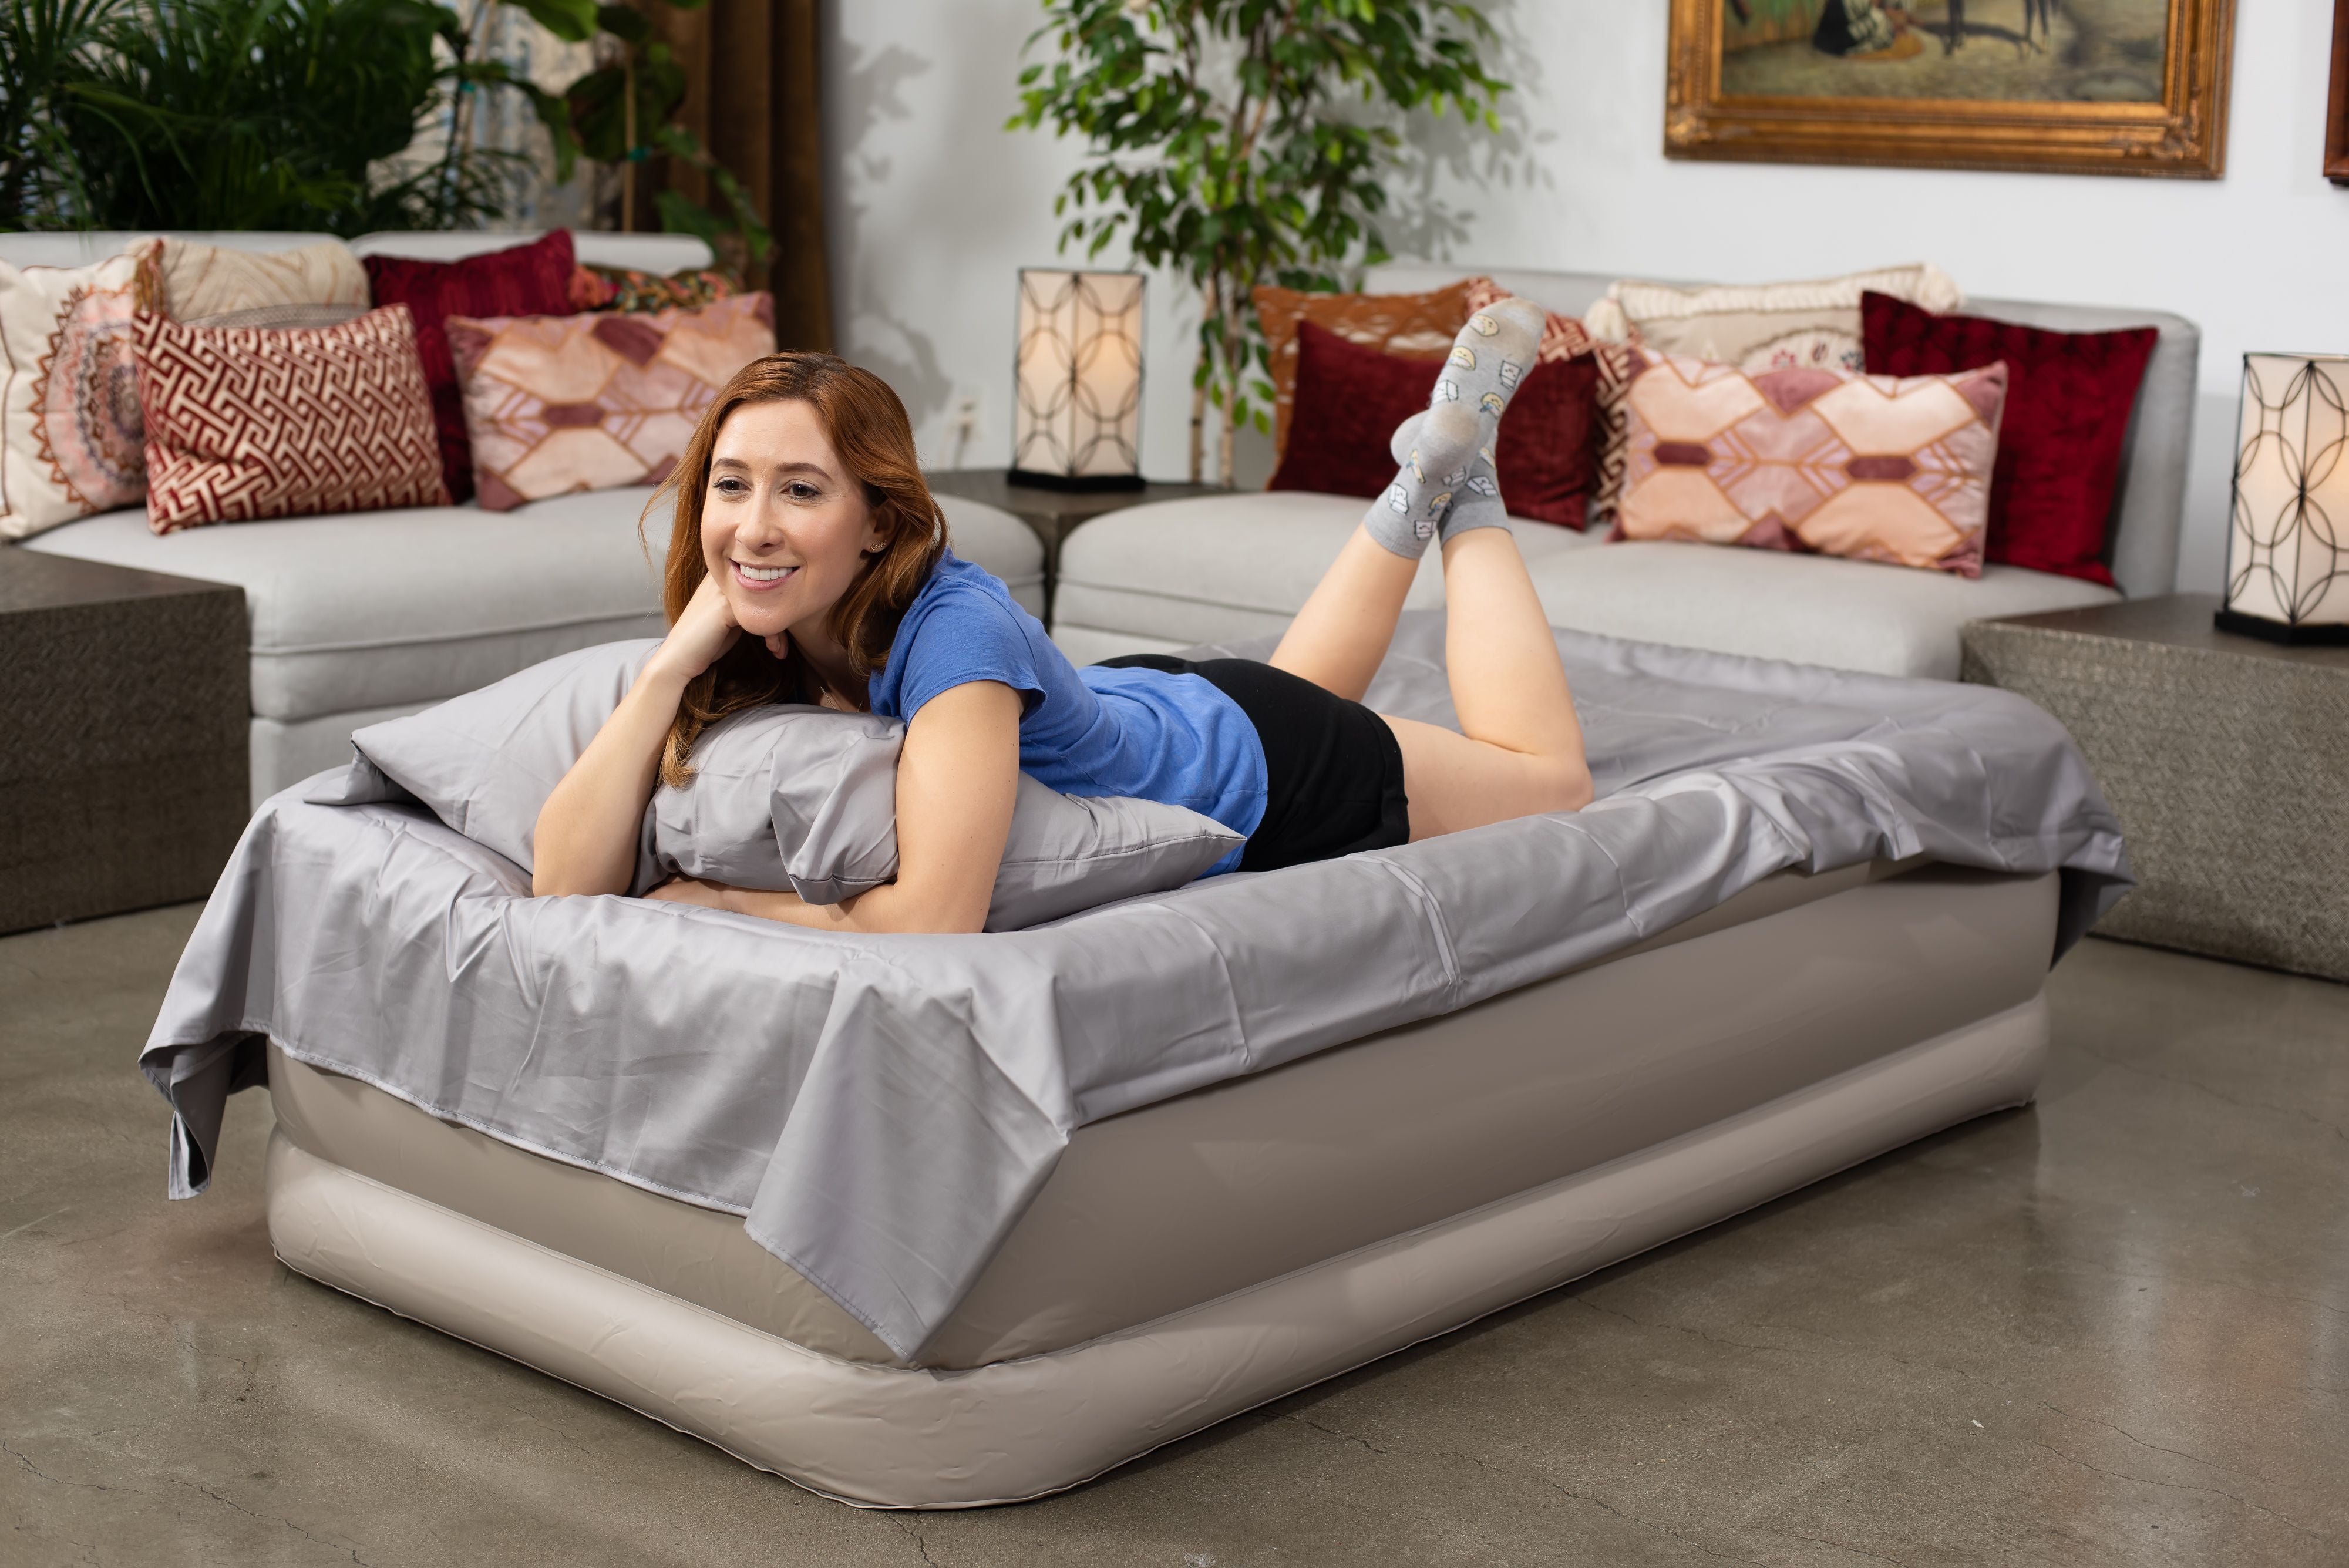
 An inflatable mattress is a convenient and versatile option for temporary bedding. Whether you are camping, hosting guests, or need a quick extra bed, an inflatable mattress can come in handy. However, like any other product, inflatable mattresses are not immune to wear and tear. Holes, leaks, and tears can occur, rendering your mattress unusable. This is where knowing how to properly repair an inflatable mattress comes in. Not only does it save you the cost of buying a new one, but it also extends the lifespan of your current mattress.
The Steps to Repair an Inflatable Mattress
 Before starting the repair process, it is important to locate the source of the leak or damage. Once you have identified the problem area, follow these steps to repair your inflatable mattress:
1. Gather Your Repair Materials
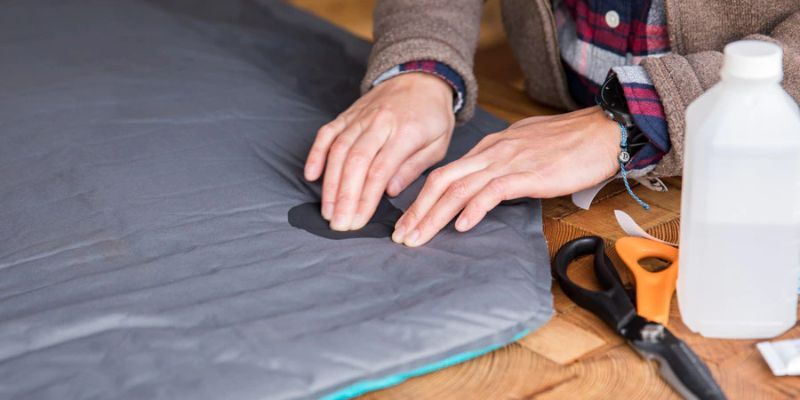
To effectively repair your inflatable mattress, you will need a few key materials. These include a repair patch or kit, rubbing alcohol, a cloth, and a pair of scissors. The repair patch or kit can be purchased at most outdoor or camping stores, and it typically includes adhesive and a patch.
2. Clean the Area
Before applying the repair patch, it is crucial to properly clean the damaged area. Use rubbing alcohol and a cloth to remove any dirt, debris, or oils that may prevent the patch from adhering properly.
3. Cut the Patch to Size
If using a repair patch, cut it to the appropriate size to cover the damaged area. Make sure to leave at least an inch of extra patch around the hole or tear.
4. Apply the Adhesive
Using the adhesive provided in the repair kit, or a strong adhesive such as super glue, carefully apply it to the damaged area. Avoid using too much adhesive as it can cause the patch to bubble or become lumpy.
5. Place the Patch
Carefully place the patch over the damaged area, ensuring it is smooth and flat. Gently press down on the patch to secure it in place and remove any air bubbles.
6. Let it Dry
Allow the adhesive to dry completely before using the mattress. This can take anywhere from a few hours to overnight, depending on the type of adhesive used.
Before starting the repair process, it is important to locate the source of the leak or damage. Once you have identified the problem area, follow these steps to repair your inflatable mattress:
1. Gather Your Repair Materials
To effectively repair your inflatable mattress, you will need a few key materials. These include a repair patch or kit, rubbing alcohol, a cloth, and a pair of scissors. The repair patch or kit can be purchased at most outdoor or camping stores, and it typically includes adhesive and a patch.
2. Clean the Area
Before applying the repair patch, it is crucial to properly clean the damaged area. Use rubbing alcohol and a cloth to remove any dirt, debris, or oils that may prevent the patch from adhering properly.
3. Cut the Patch to Size
If using a repair patch, cut it to the appropriate size to cover the damaged area. Make sure to leave at least an inch of extra patch around the hole or tear.
4. Apply the Adhesive
Using the adhesive provided in the repair kit, or a strong adhesive such as super glue, carefully apply it to the damaged area. Avoid using too much adhesive as it can cause the patch to bubble or become lumpy.
5. Place the Patch
Carefully place the patch over the damaged area, ensuring it is smooth and flat. Gently press down on the patch to secure it in place and remove any air bubbles.
6. Let it Dry
Allow the adhesive to dry completely before using the mattress. This can take anywhere from a few hours to overnight, depending on the type of adhesive used.
Preventative Measures for Your Inflatable Mattress
 While knowing how to repair your inflatable mattress is important, taking preventative measures can also help prolong its lifespan. Here are a few tips to keep your inflatable mattress in good condition:
- Store it Properly
When not in use, make sure to properly deflate and store your inflatable mattress. This will prevent any unnecessary stress on the material, which can cause damage.
- Protect it
Placing a protective cover or sheet over your inflatable mattress can help prevent punctures or tears.
- Keep it Away from Sharp Objects
Avoid placing your inflatable mattress near sharp objects such as rocks, branches, or even jewelry, as they can easily puncture the material.
While knowing how to repair your inflatable mattress is important, taking preventative measures can also help prolong its lifespan. Here are a few tips to keep your inflatable mattress in good condition:
- Store it Properly
When not in use, make sure to properly deflate and store your inflatable mattress. This will prevent any unnecessary stress on the material, which can cause damage.
- Protect it
Placing a protective cover or sheet over your inflatable mattress can help prevent punctures or tears.
- Keep it Away from Sharp Objects
Avoid placing your inflatable mattress near sharp objects such as rocks, branches, or even jewelry, as they can easily puncture the material.
In Conclusion
 Knowing how to repair an inflatable mattress is a skill that can save you time and money in the long run. By following these steps and taking preventative measures, you can ensure your inflatable mattress stays in good condition for many uses to come.