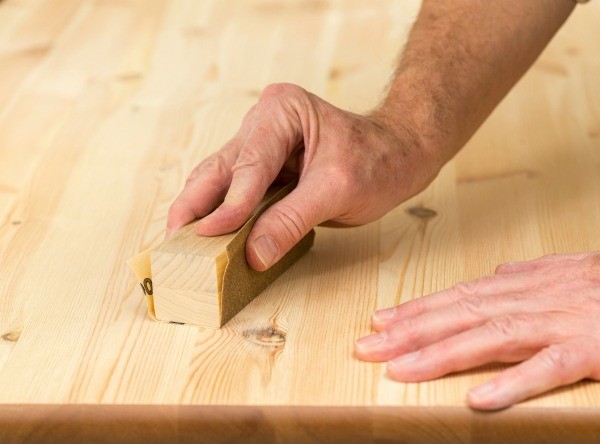
One of the most traditional ways to refinish an oak kitchen table is by sanding it down and applying a new stain. This method allows you to completely change the color of your table and gives you the opportunity to fix any scratches or imperfections on the surface. Start by using a coarse sandpaper to remove the top layer of the old finish, then switch to a finer grit to smooth out the surface. Once the table is sanded down, stain the wood with a color of your choice and seal it with a clear finish.1. Sanding and Staining
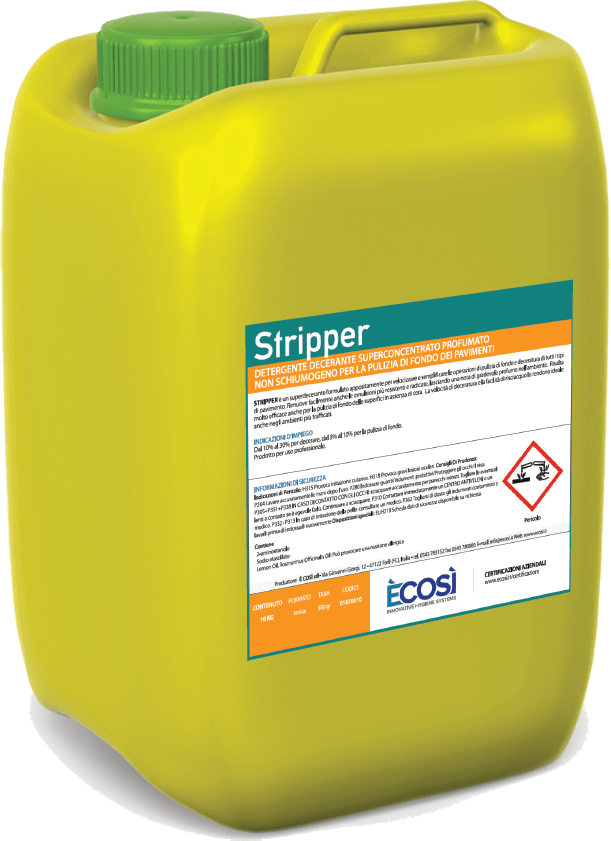
If your oak kitchen table has multiple layers of old paint or stain, sanding may not be enough to remove it all. In this case, stripping the table down to its natural wood is a better option. You can purchase a chemical stripping product from your local hardware store and follow the instructions carefully. After stripping off the old finish, you can apply a new stain to give your table a fresh look and protect it with a clear coat.2. Stripping and Restaining
A chemical stripper can also be used to remove old paint or stain from your oak kitchen table. This method is especially useful for intricate designs or carvings on your table that may be difficult to sand. Make sure to choose a high-quality, non-toxic chemical stripper and follow the instructions carefully. Once the old finish has been stripped away, you can proceed with staining and finishing as desired.3. Using a Chemical Stripper
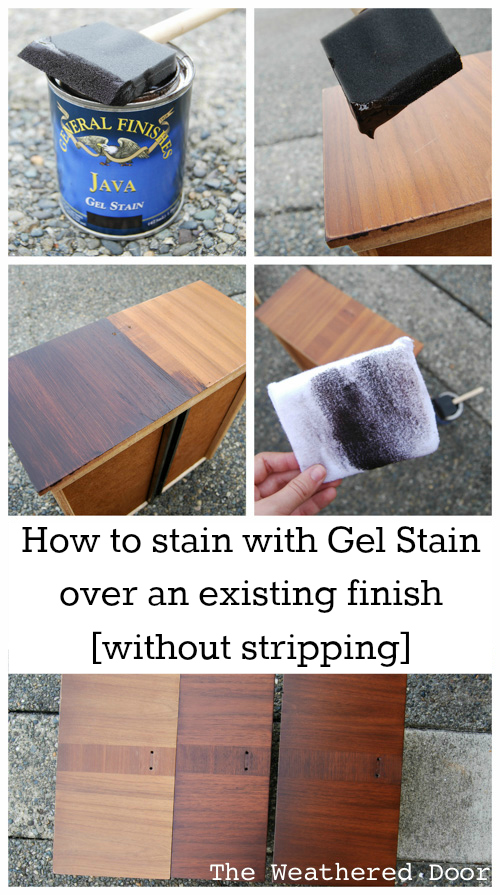
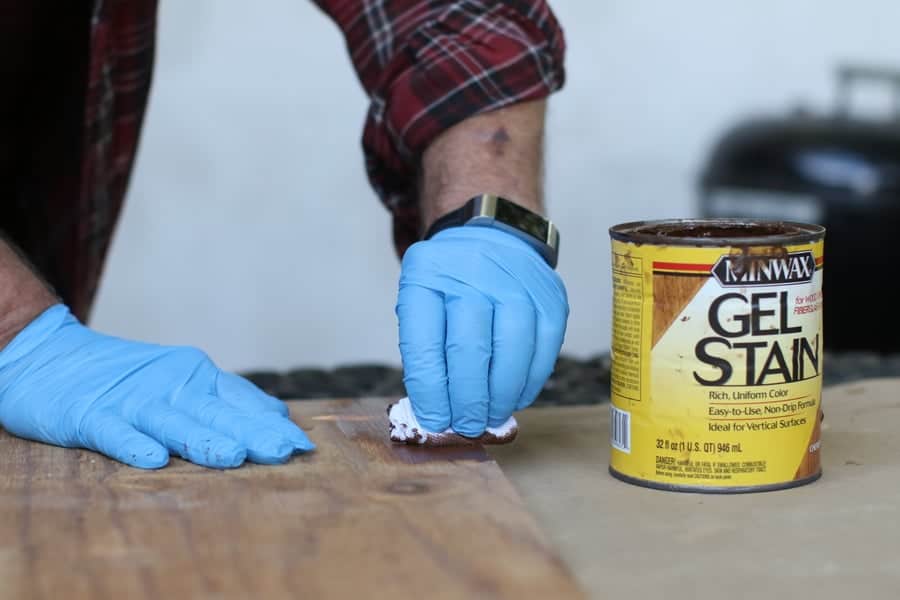
Gel stains are a popular choice for refinishing oak furniture as they are thicker and easier to control. They also have a longer drying time, allowing you to correct any mistakes before the stain sets. Simply apply the gel stain with a brush or rag and wipe off any excess after a few minutes. You can also layer the stain to achieve a darker color. Finish off with a top coat for added protection.4. Applying a Gel Stain
If you prefer a smooth, professional-looking finish, using a paint sprayer is the way to go. It allows you to evenly apply the stain or paint and gives a more consistent color. Choose a high-quality paint sprayer and practice on a piece of scrap wood before tackling your oak kitchen table. Remember to cover the surrounding area to avoid overspray and wear protective gear.5. Using a Paint Sprayer
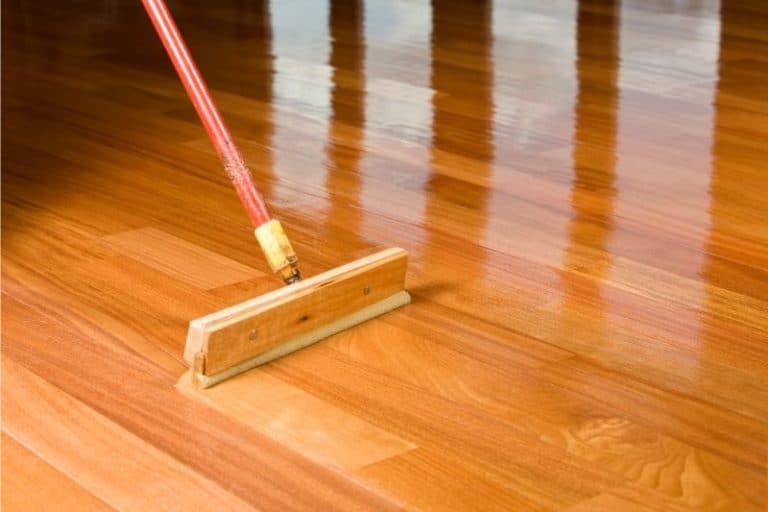
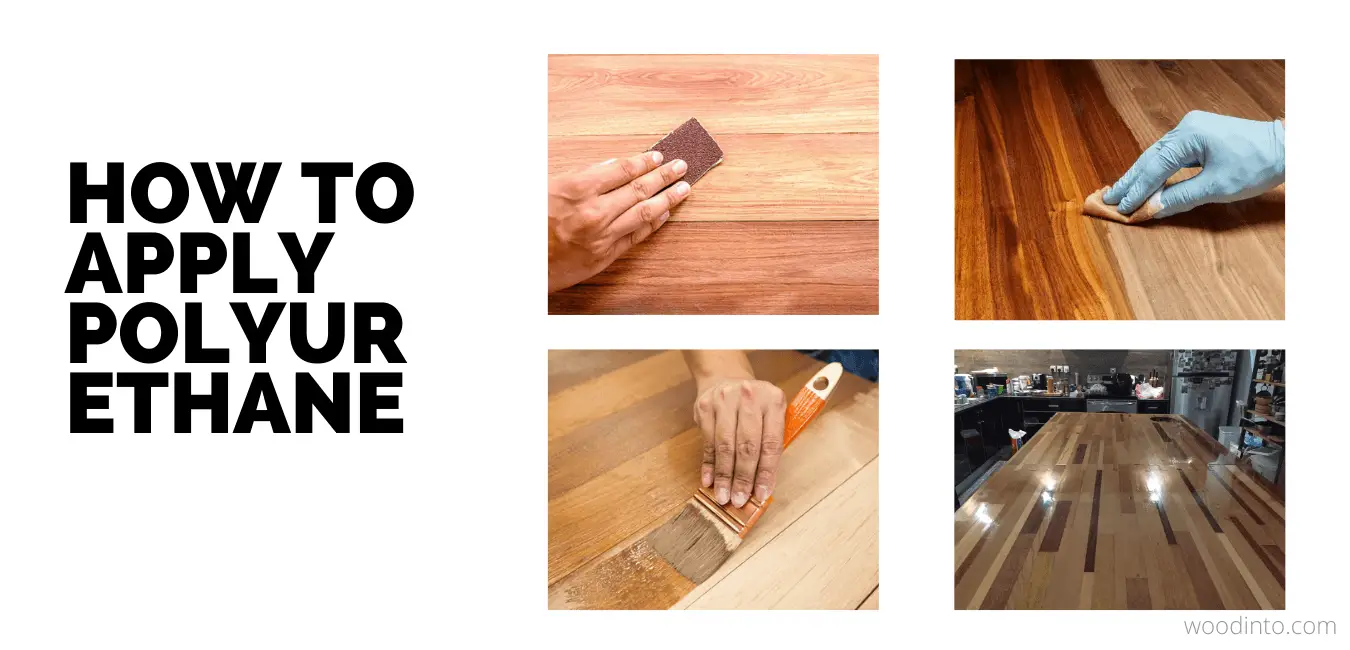
Polyurethane is a durable, clear finish that can be applied over stained or painted wood. It provides a protective layer against scratches, spills, and general wear and tear. After staining or painting your oak kitchen table, apply multiple coats of polyurethane according to the manufacturer's instructions. Sand lightly between each coat for a smooth finish.6. Applying a Polyurethane Finish
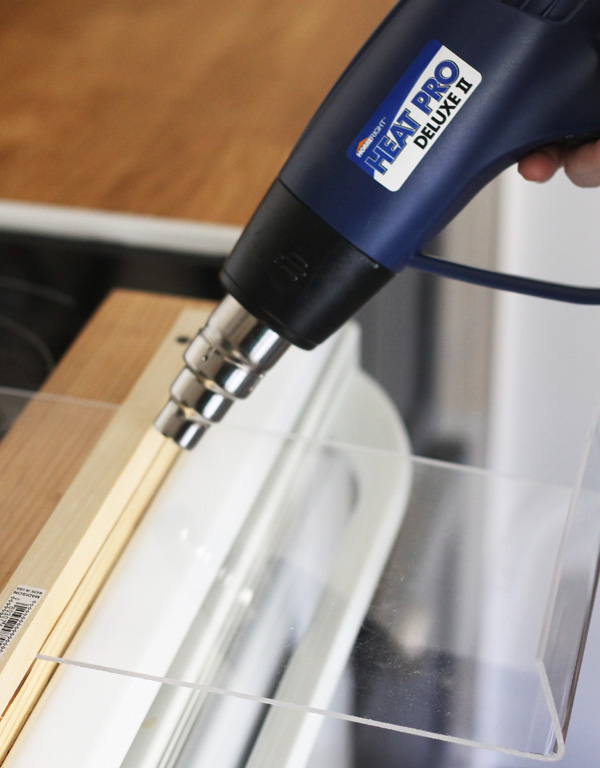
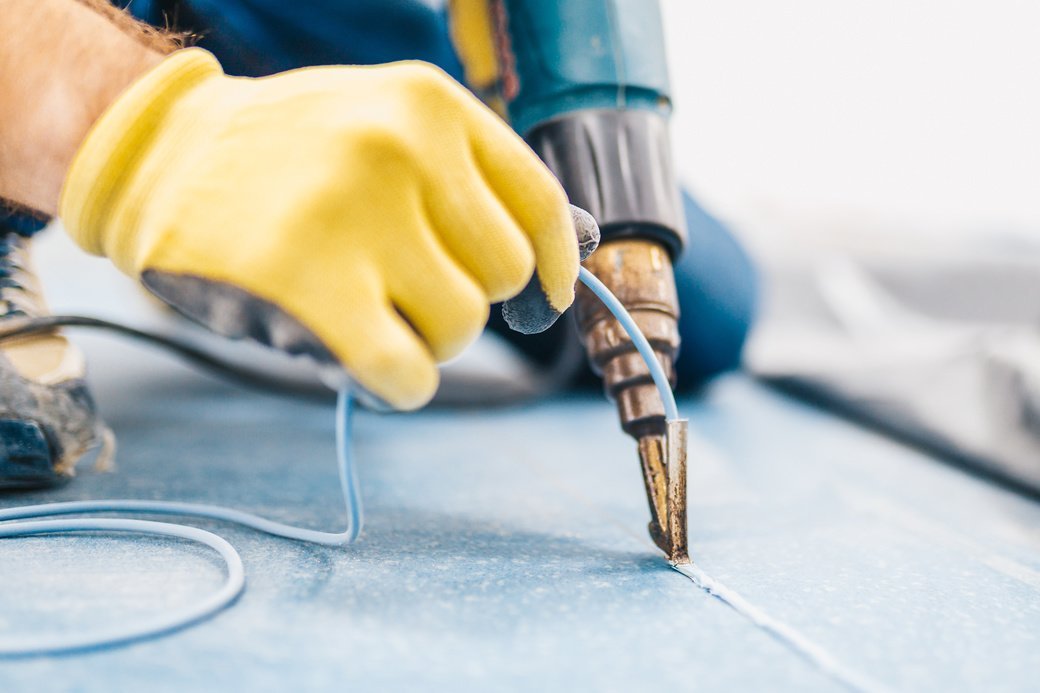
A heat gun is a handy tool for removing old paint or finish from your oak kitchen table. It uses hot air to soften the finish, making it easier to scrape off with a putty knife or scraper. This method may take longer than chemical stripping, but it is a safer and more environmentally-friendly option. Once the old finish is removed, sand the table to prepare it for staining or painting.7. Using a Heat Gun
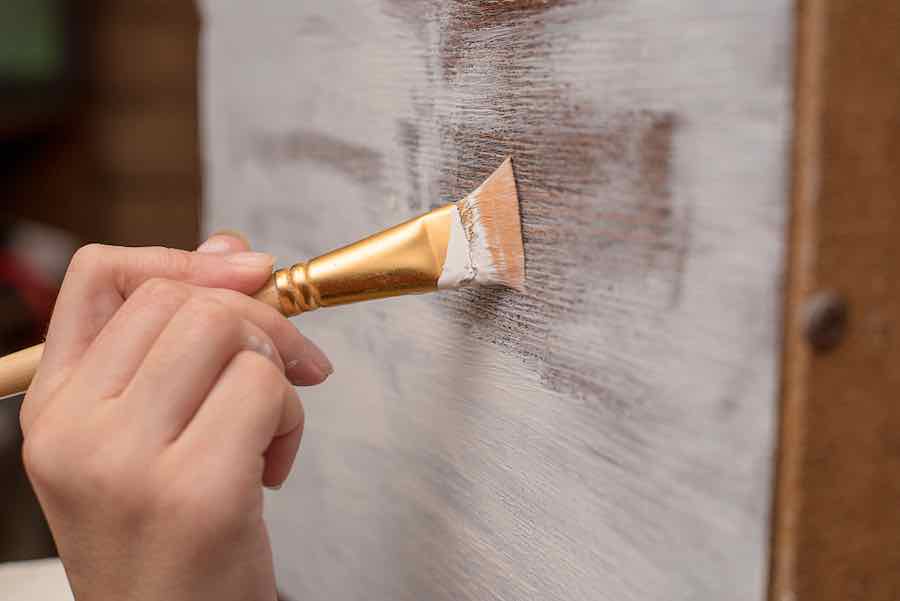
Chalk paint has gained popularity in recent years for its easy application and versatile finish. It can be used on various surfaces, including wood, without the need for sanding or priming. Simply paint your oak kitchen table with chalk paint and distress it with sandpaper for a shabby chic look. You can also seal the paint with wax or a clear coat for added protection.8. Applying a Chalk Paint
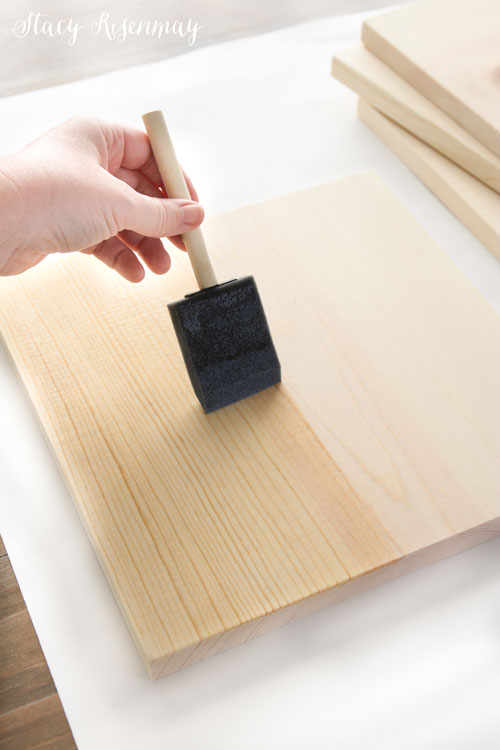
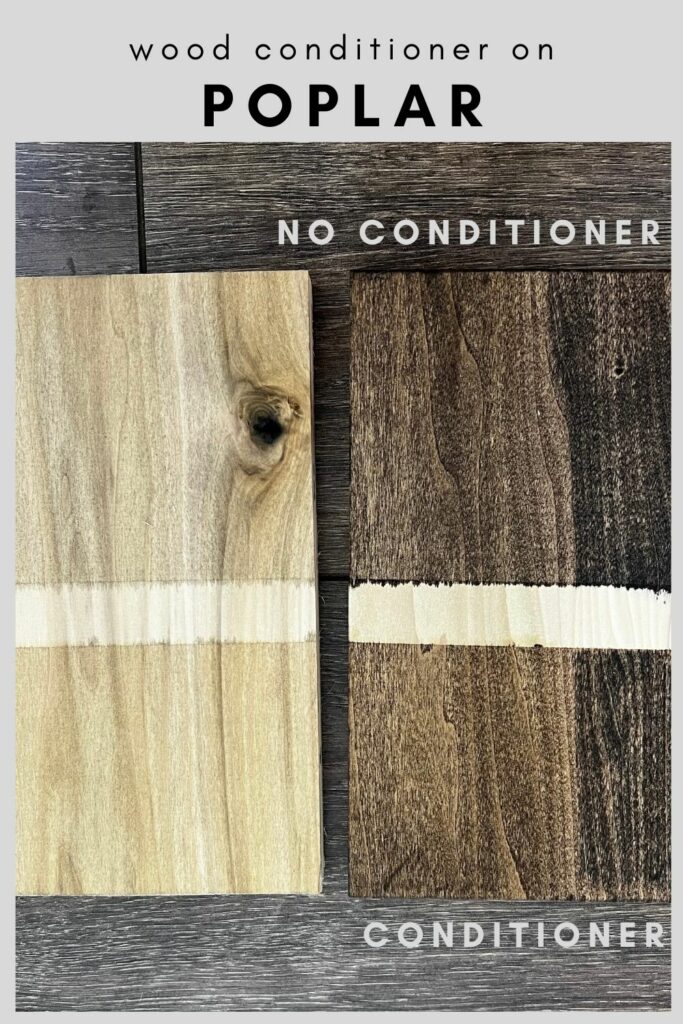
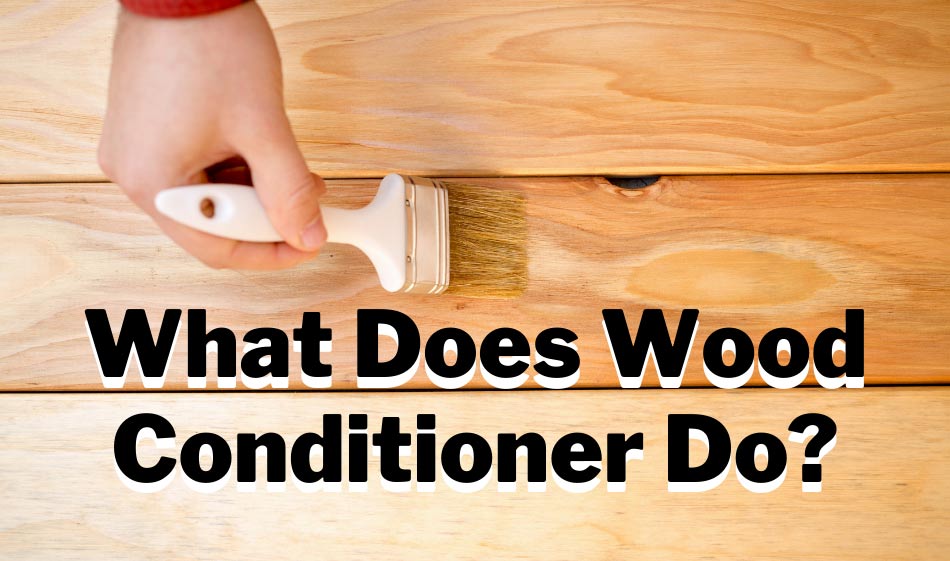
Before staining your oak kitchen table, it is important to prepare the wood to ensure an even and smooth finish. A wood conditioner helps to open up the pores of the wood and allow the stain to penetrate evenly. This step is especially important if you are working with a type of wood that is known for blotching, such as oak. Apply the wood conditioner according to the instructions, let it dry, then proceed with staining.9. Using a Wood Conditioner
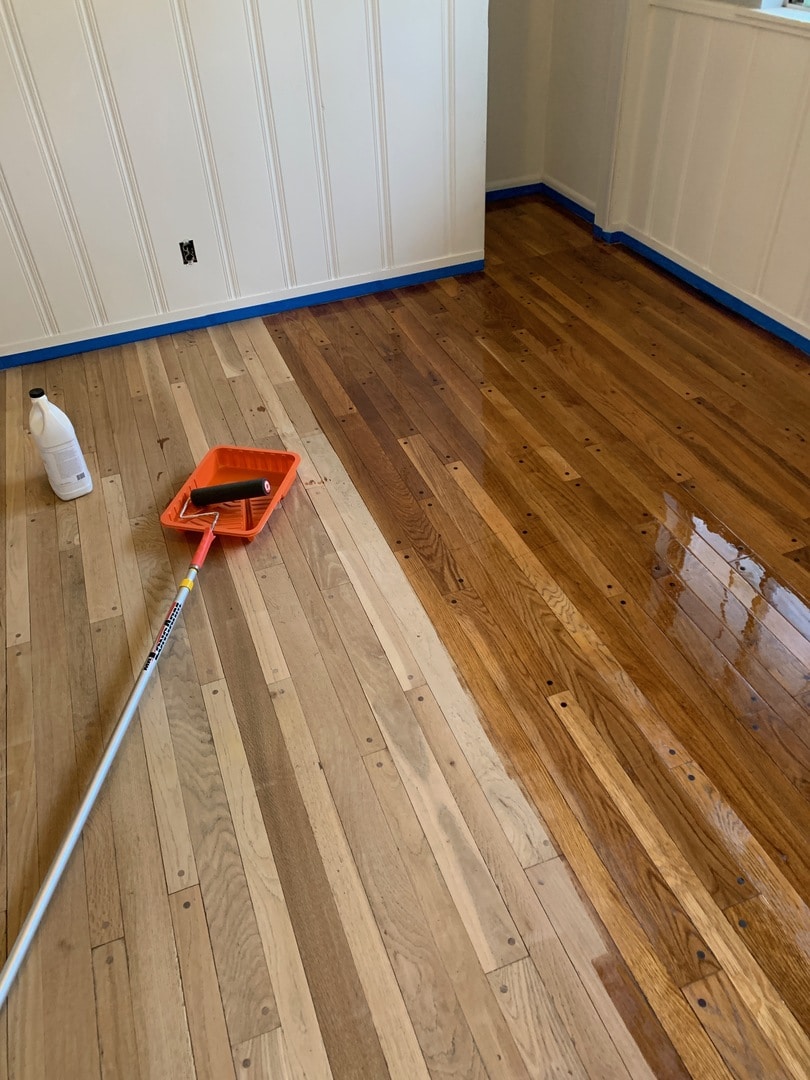
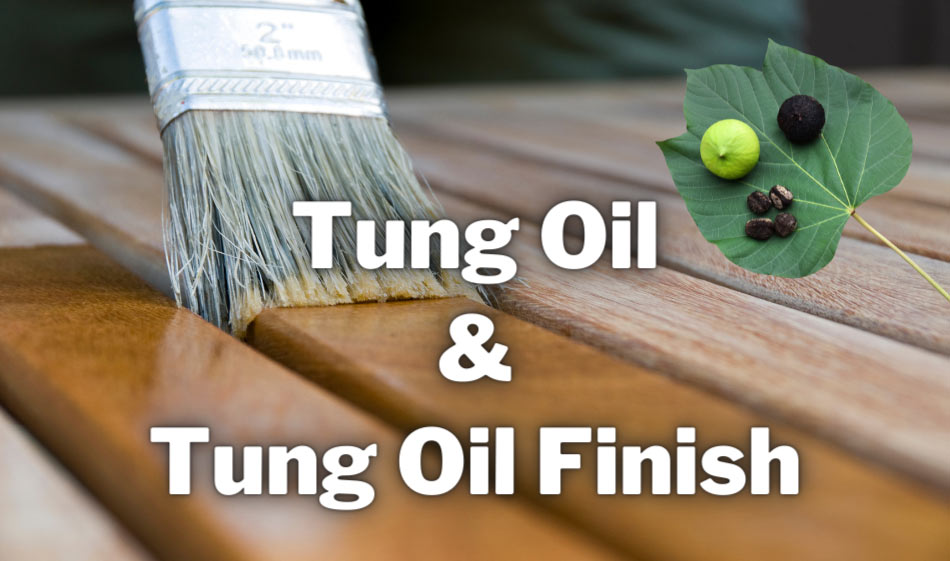
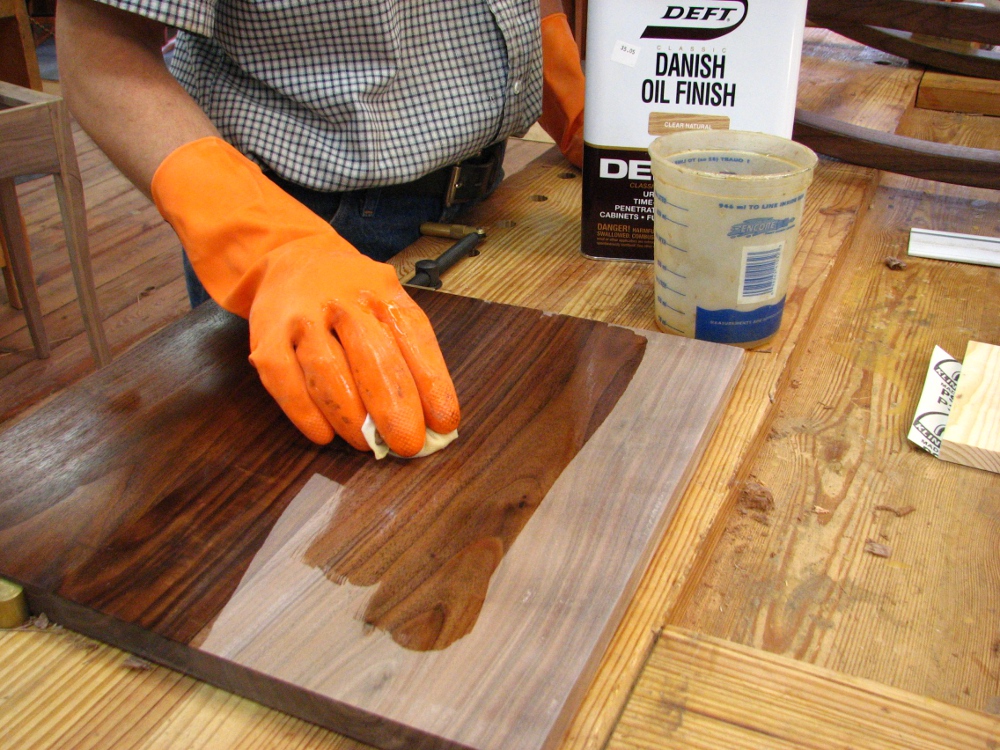
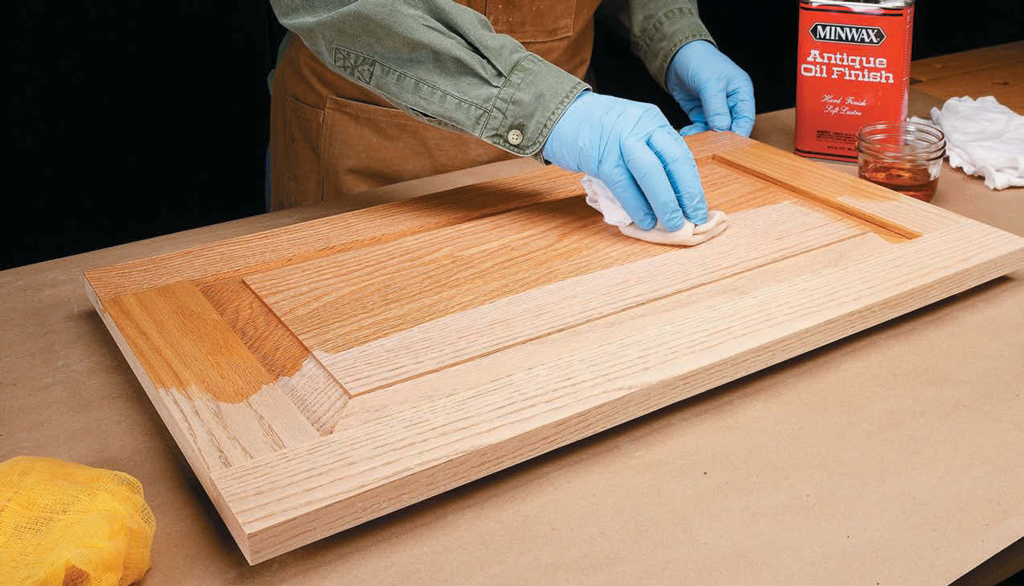
Tung oil is a natural, eco-friendly finish that is perfect for oak furniture. It brings out the natural beauty of the wood while providing a protective layer against scratches and water damage. To apply, rub the oil onto the surface of your oak kitchen table with a cloth and let it soak in for a few minutes before wiping off any excess. Repeat this process until you achieve the desired level of shine and protection. In conclusion, refinishing your oak kitchen table can be a fun and rewarding project that can give new life to an old piece of furniture. With the right tools and techniques, you can transform your table into a beautiful and functional centerpiece in your home. Remember to always follow safety precautions and choose high-quality products for the best results. Happy refinishing!10. Applying a Tung Oil Finish
The Importance of Proper Preparation

Before diving into the refinishing process, it is crucial to properly prepare your oak kitchen table. This step is often overlooked, but it can make a significant difference in the end result. First, remove any hardware or accessories from the table, such as drawer pulls or table legs. Then, thoroughly clean the table with a gentle cleaner and allow it to dry completely.

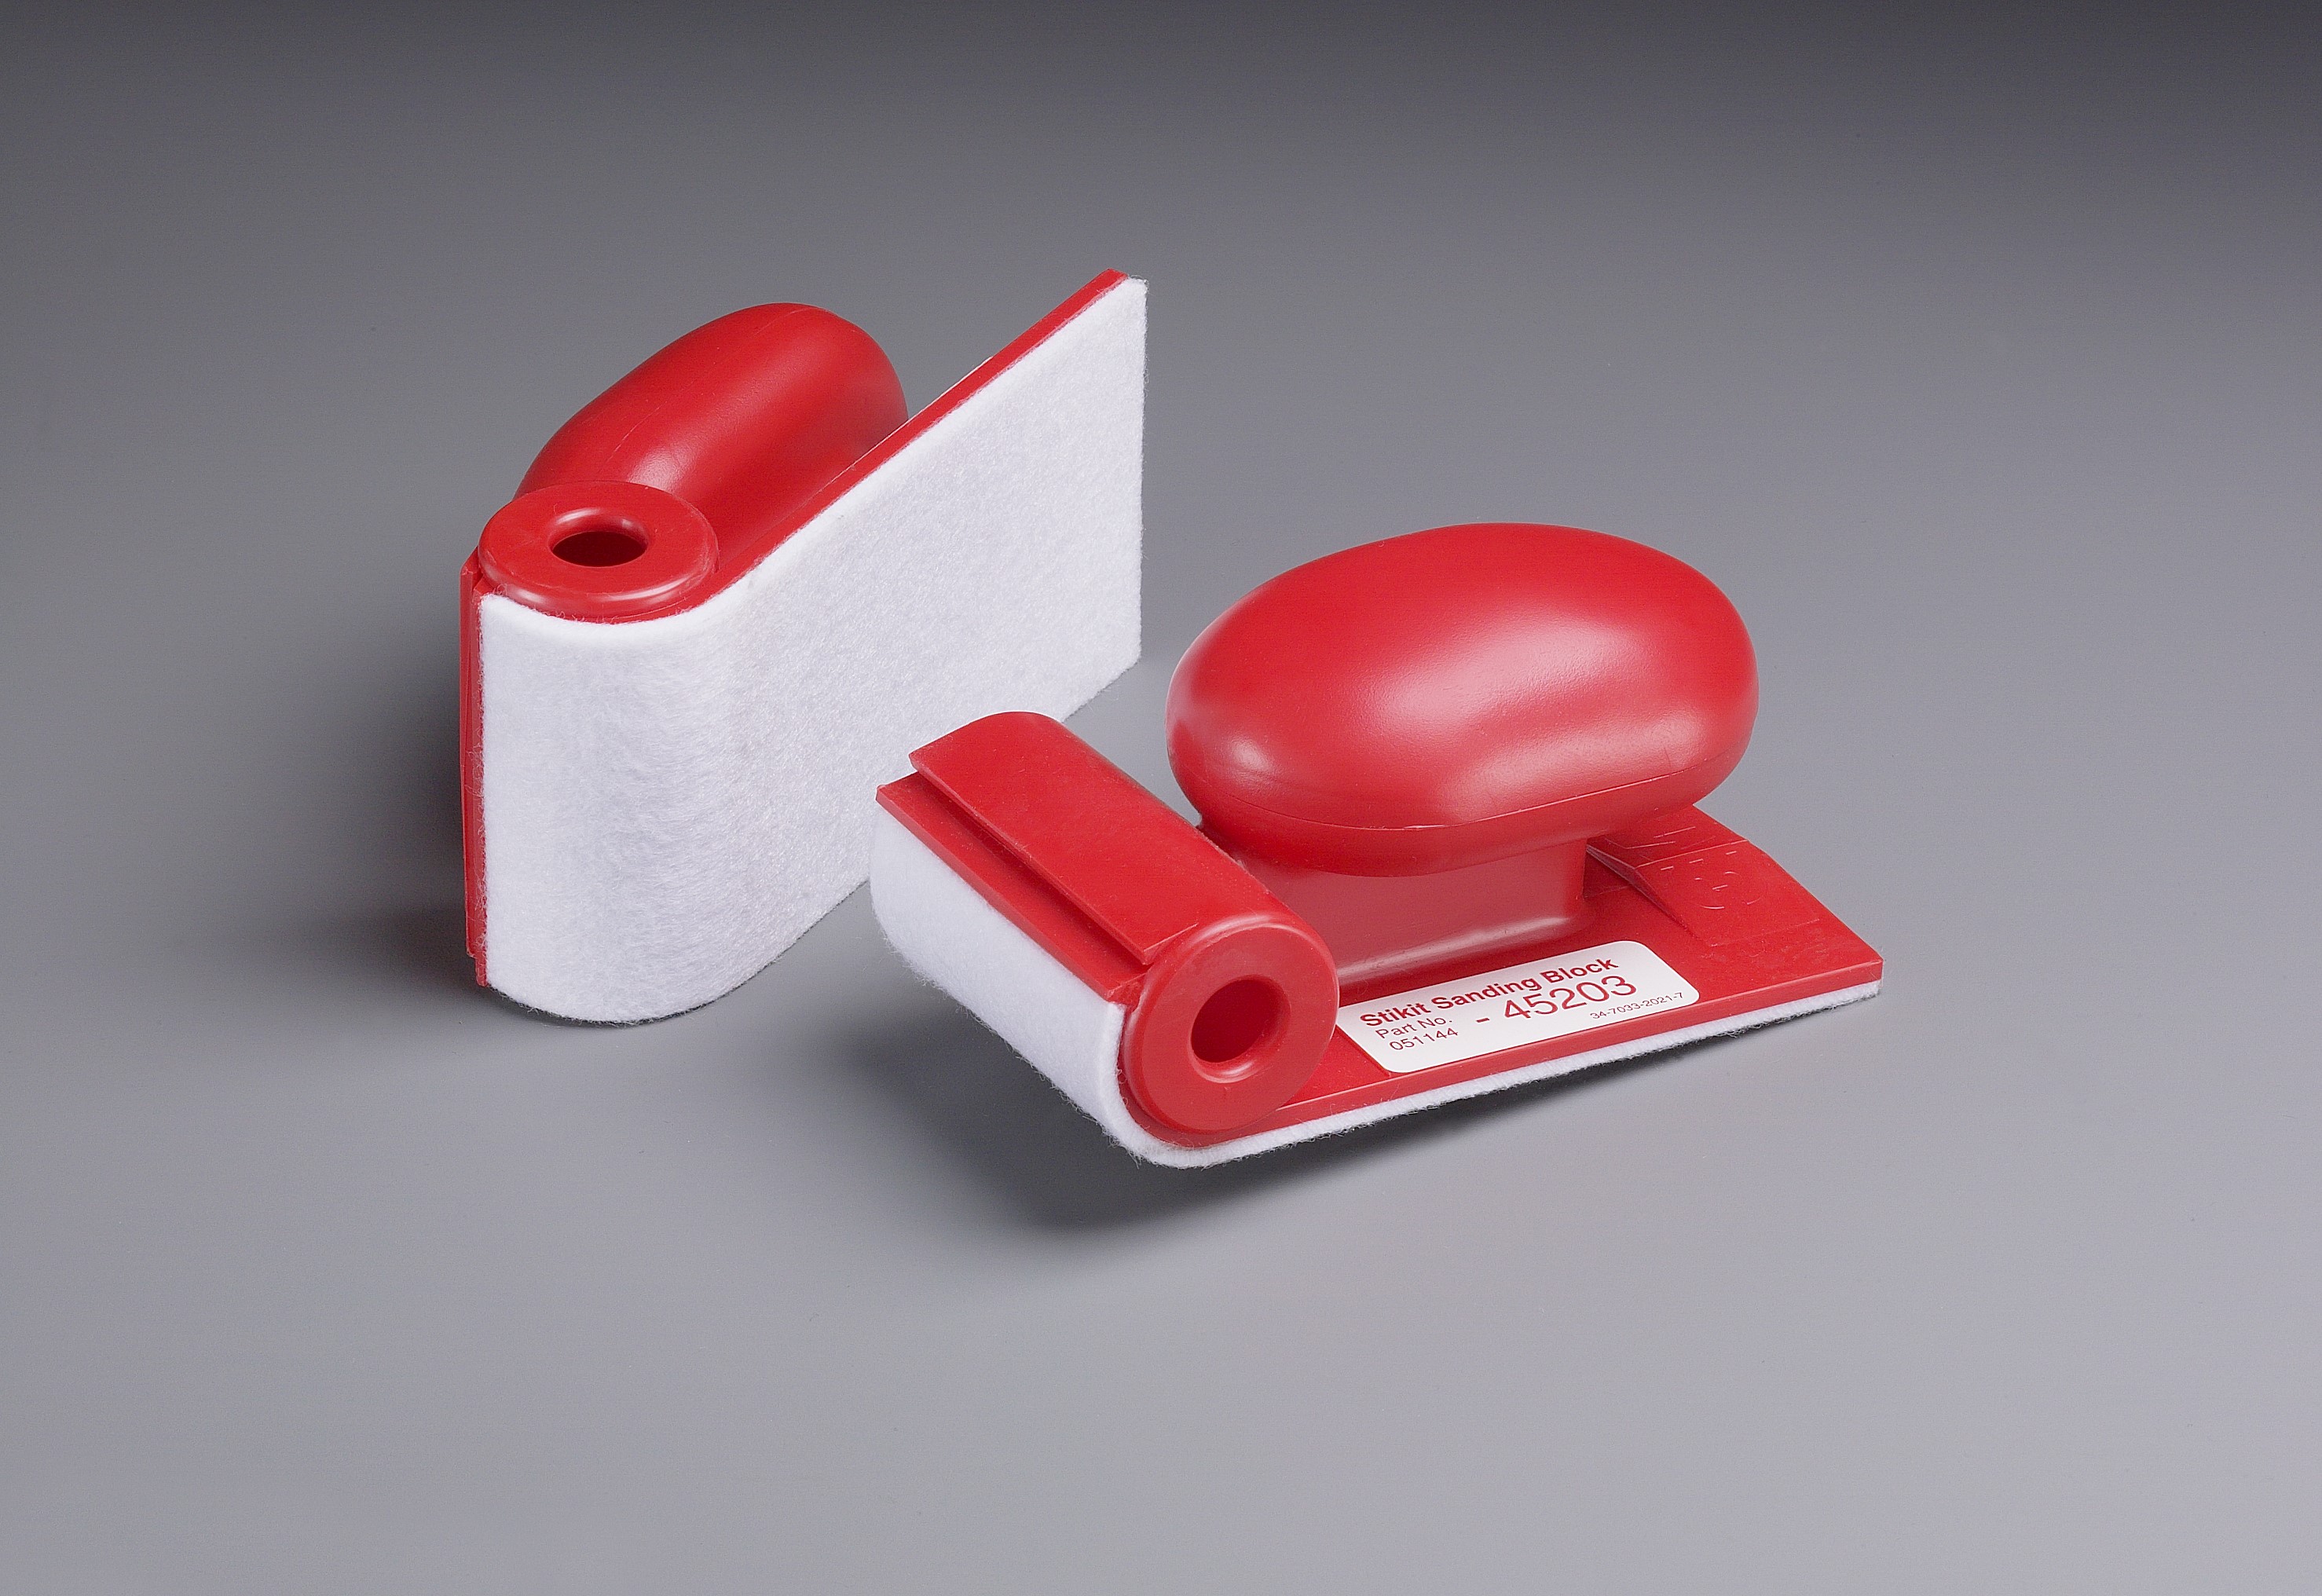
Next, sanding is a critical step in refinishing an oak kitchen table. This will not only remove any existing finish, but it will also smooth out any imperfections or scratches on the surface. Start with a coarse grit sandpaper and gradually switch to finer grits for a smoother finish. Be sure to sand with the grain of the wood to avoid any damage. Once the sanding is complete, wipe down the table with a tack cloth to remove any dust.
Staining and Sealing for a Beautiful Finish
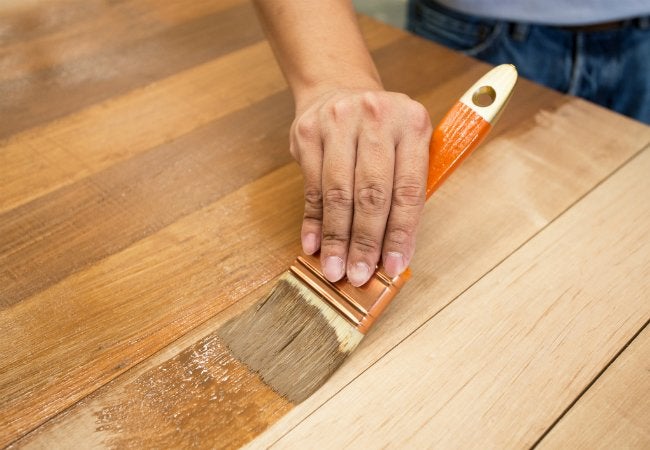
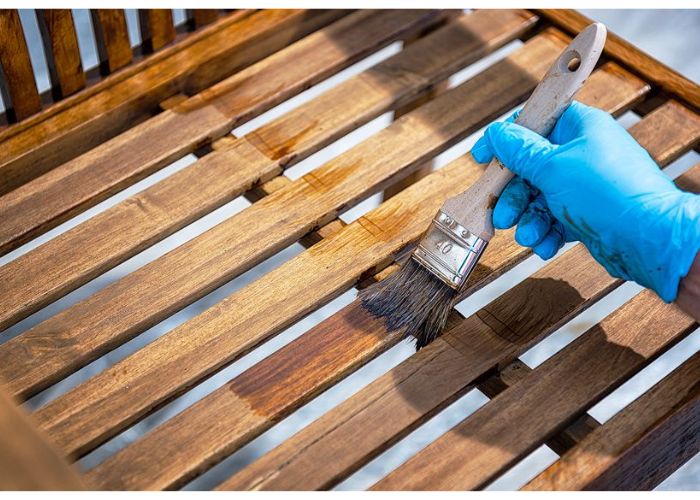
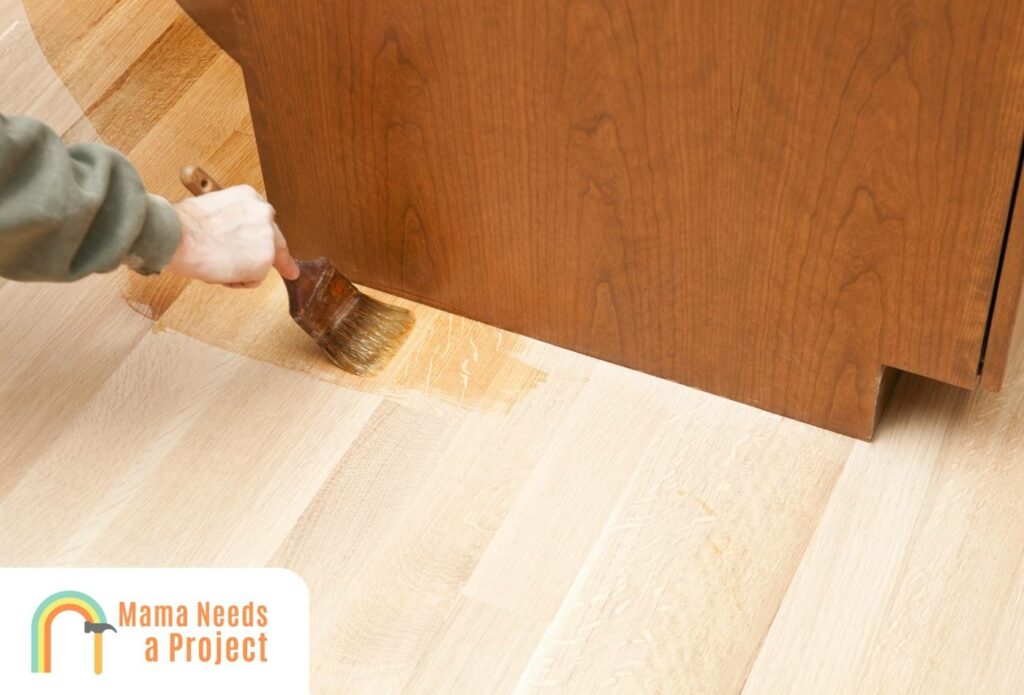
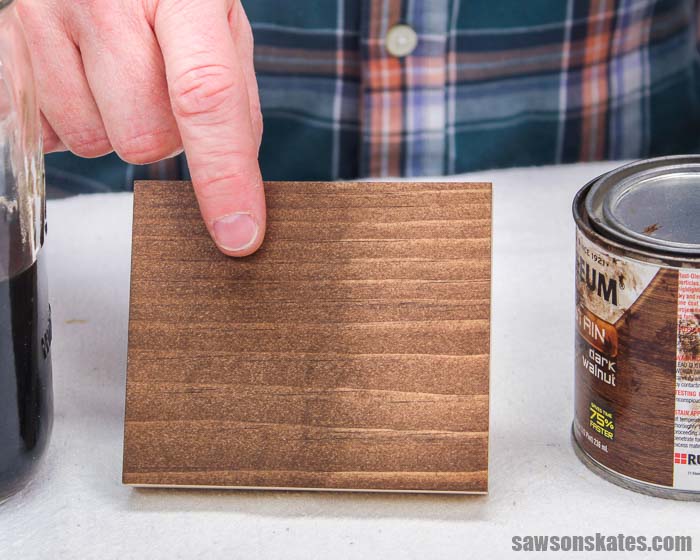
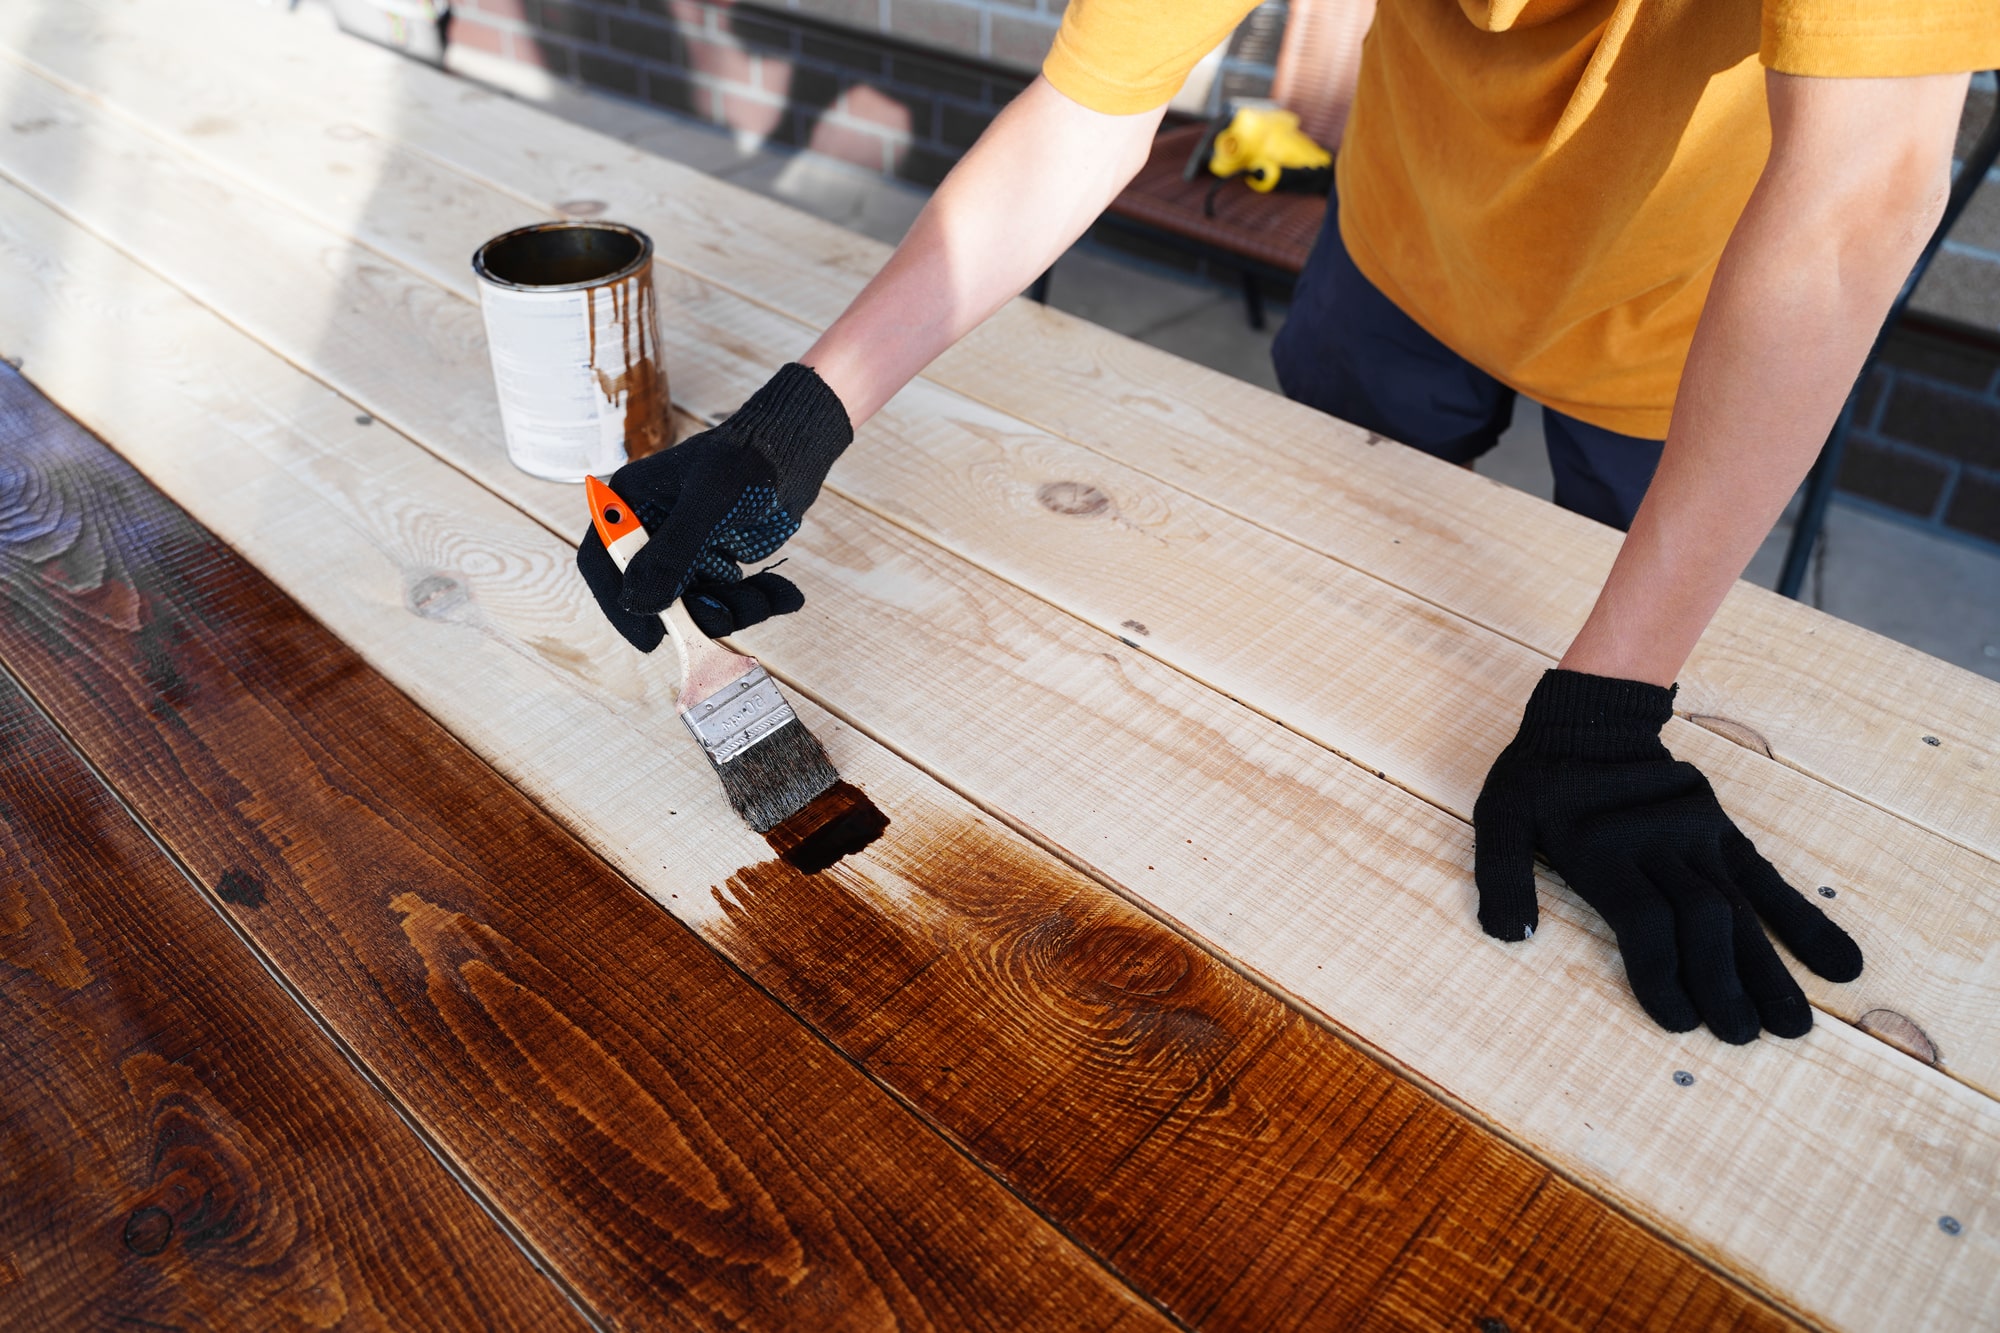
Now comes the fun part - choosing a stain color for your oak kitchen table. Consider the overall style and color scheme of your kitchen to find the perfect match. Apply the stain evenly with a brush or cloth, following the grain of the wood. Be sure to test the stain on a small, inconspicuous area before applying it to the entire table. Once the stain has dried, you can apply a sealant to protect the table and give it a glossy finish. Choose a sealant that is specifically designed for wood furniture and follow the manufacturer's instructions for application. This will ensure that your table is well-protected and will last for years to come.
Don't Forget the Finishing Touches!
After the stain and sealant have dried completely, you can reattach any hardware or accessories and add any finishing touches to your oak kitchen table. Consider adding a protective table cloth or runner to protect the surface and add some decorative elements. You can also add new table legs or give your existing ones a fresh coat of paint for a unique touch. Remember to use coasters and trivets to protect your newly refinished table from hot dishes and spills. With these final touches, your oak kitchen table will be transformed into a beautiful centerpiece for your kitchen.
In conclusion, refinishing an oak kitchen table is a great way to refresh the look of your kitchen without breaking the bank. With proper preparation, sanding, staining, and sealing, you can achieve a beautiful and durable finish that will bring new life to your table. With some creativity and attention to detail, your oak kitchen table will become a stunning addition to your home.









































:max_bytes(150000):strip_icc()/770_SantaYnez_FamilyRoom_011-82636c6ea1df487eb70fa8ed313a6369.jpg)


