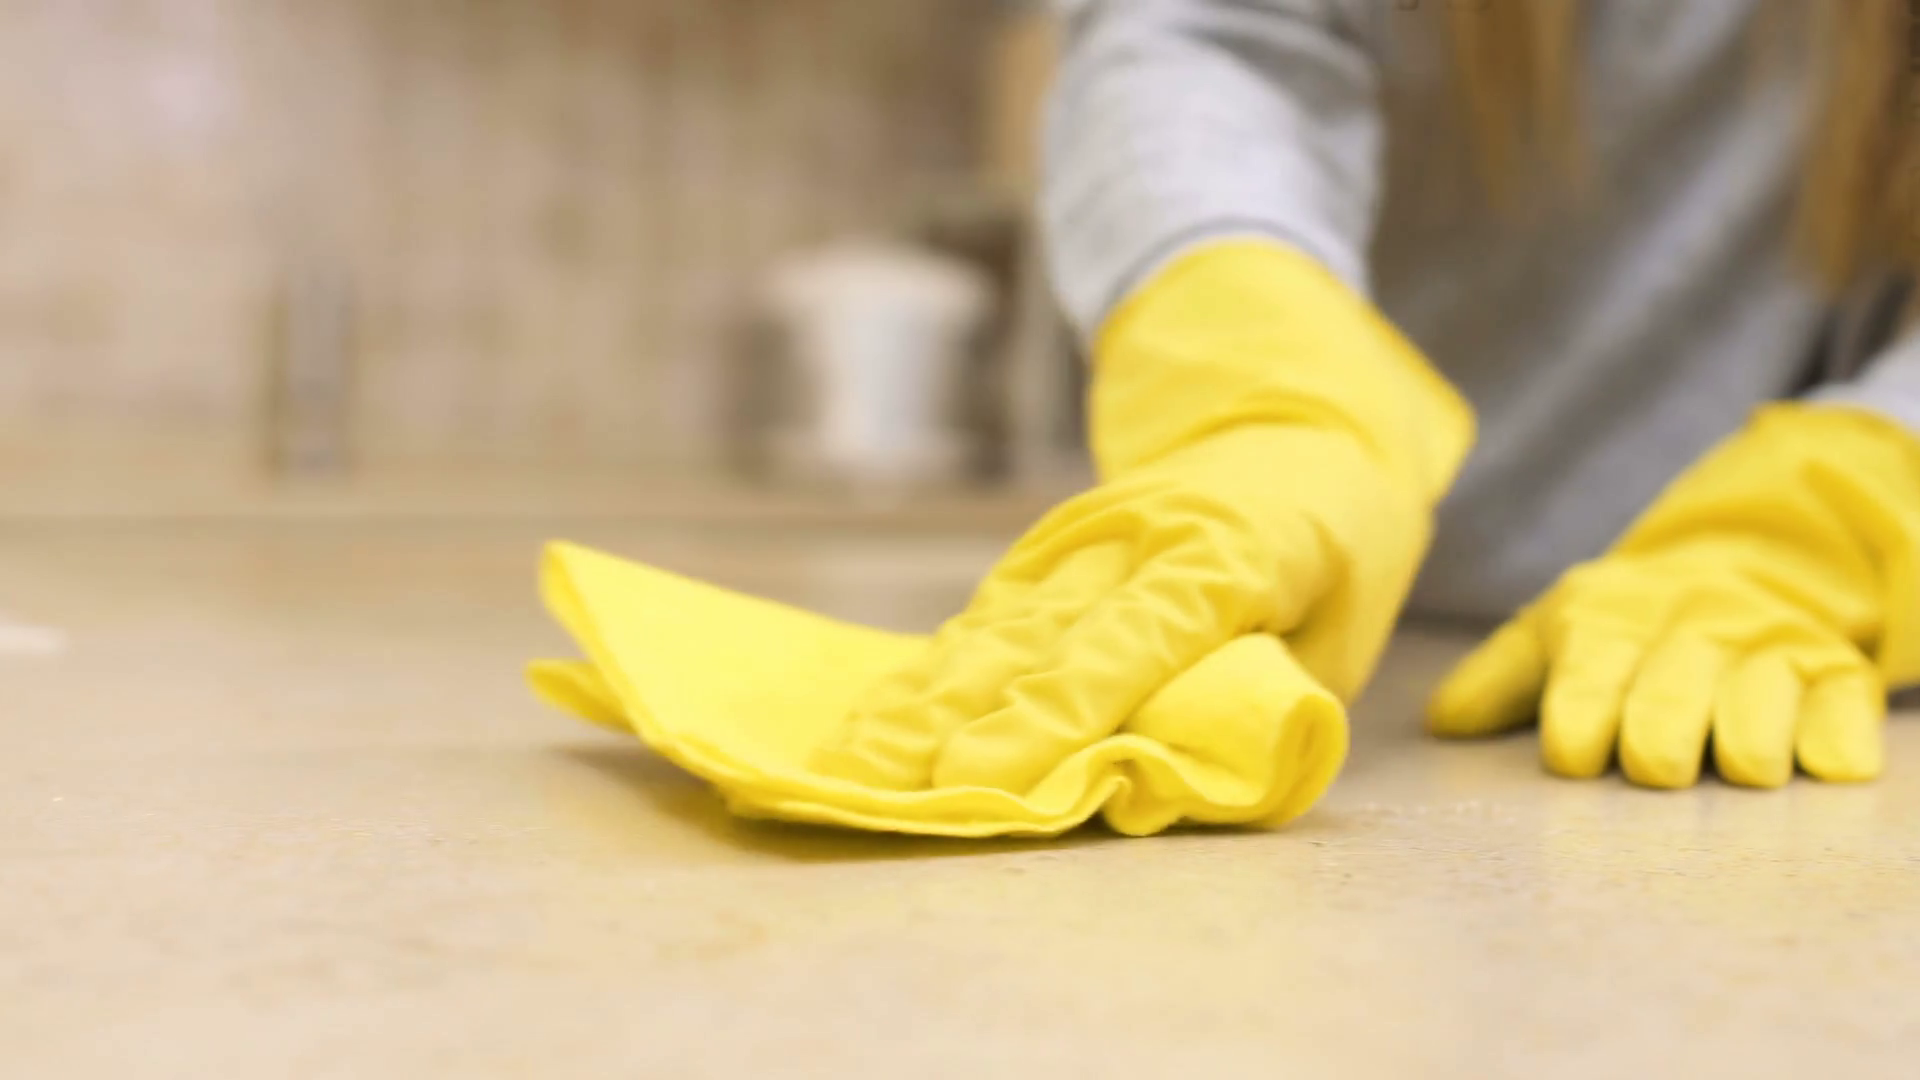
Before you start painting your kitchen table, it's important to properly prep the surface. This will ensure that the paint adheres well and the finished product looks smooth and professional. Start by removing any items from the table, such as dishes or placemats. Then, use a damp cloth to wipe down the entire surface, removing any dust or debris. If there are any rough spots or imperfections, use a fine-grit sandpaper to smooth them out.1. Prep the Table
Sanding the table is crucial for creating a smooth and even surface for the paint to adhere to. Use a medium-grit sandpaper to gently sand the entire surface of the table. This will help remove any remaining imperfections and create a rough texture for the paint to grip onto. Be sure to wipe down the table again with a damp cloth after sanding to remove any dust.2. Sand the Table
Before you start painting, it's important to make sure the table is completely clean. This will help the paint adhere better and prevent any dirt or dust from getting trapped under the paint. Use a mild soap and water to thoroughly clean the table. You can also use a degreaser if there are any stubborn stains or grease on the table.3. Clean the Table
Priming the table is an important step for ensuring a professional and long-lasting finish. Choose a high-quality primer that is suitable for the material of your table, whether it's wood, metal, or laminate. Apply the primer in thin, even coats using a paintbrush or roller, making sure to cover the entire surface of the table. Allow the primer to dry completely before moving on to the next step.4. Prime the Table
When it comes to painting a kitchen table, it's important to choose the right type of paint. For a durable and long-lasting finish, choose a paint specifically designed for furniture or high-traffic areas. You can also consider using chalk paint, which is known for its smooth finish and ability to adhere well to various surfaces. Be sure to choose a color that complements your kitchen decor.5. Choose the Right Paint
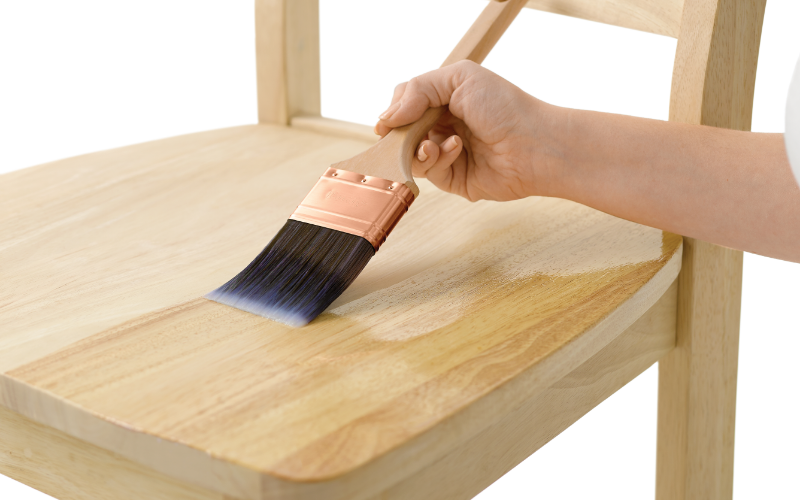
Using a paintbrush or roller, apply the first coat of paint to the table in long, even strokes. Be sure to cover the entire surface, including the legs and any intricate details. If you're using a lighter color, you may need to apply a second coat for full coverage. Allow the first coat to dry completely before moving on to the next step.6. Apply the First Coat
After the first coat has dried, use a fine-grit sandpaper to lightly sand the surface of the table. This will help smooth out any brush strokes or imperfections and create a smooth finish. Be sure to wipe down the table again with a damp cloth to remove any dust before moving on to the next step.7. Sand the First Coat
If necessary, apply a second coat of paint in the same manner as the first. This will ensure full coverage and a more vibrant color. Allow the second coat to dry completely before moving on to the final step.8. Apply the Second Coat
Just like with the first coat, use a fine-grit sandpaper to lightly sand the surface of the table after the second coat has dried. This will create a smooth and professional finish for your kitchen table.9. Sand the Second Coat
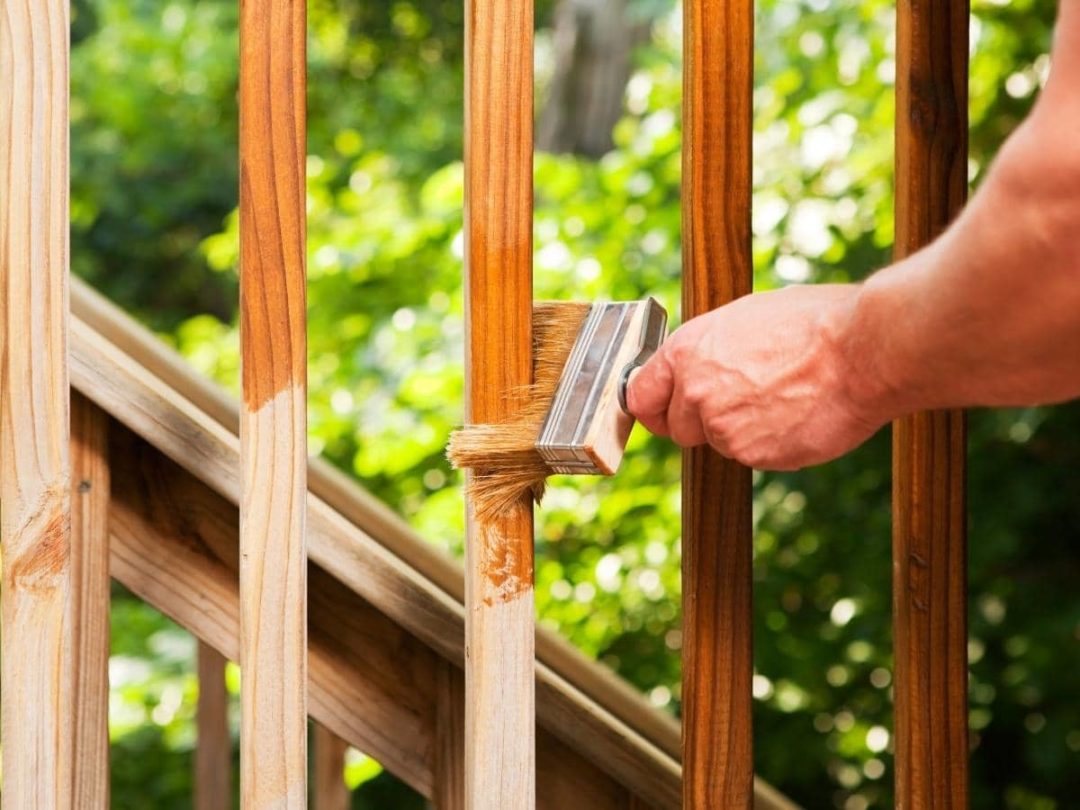
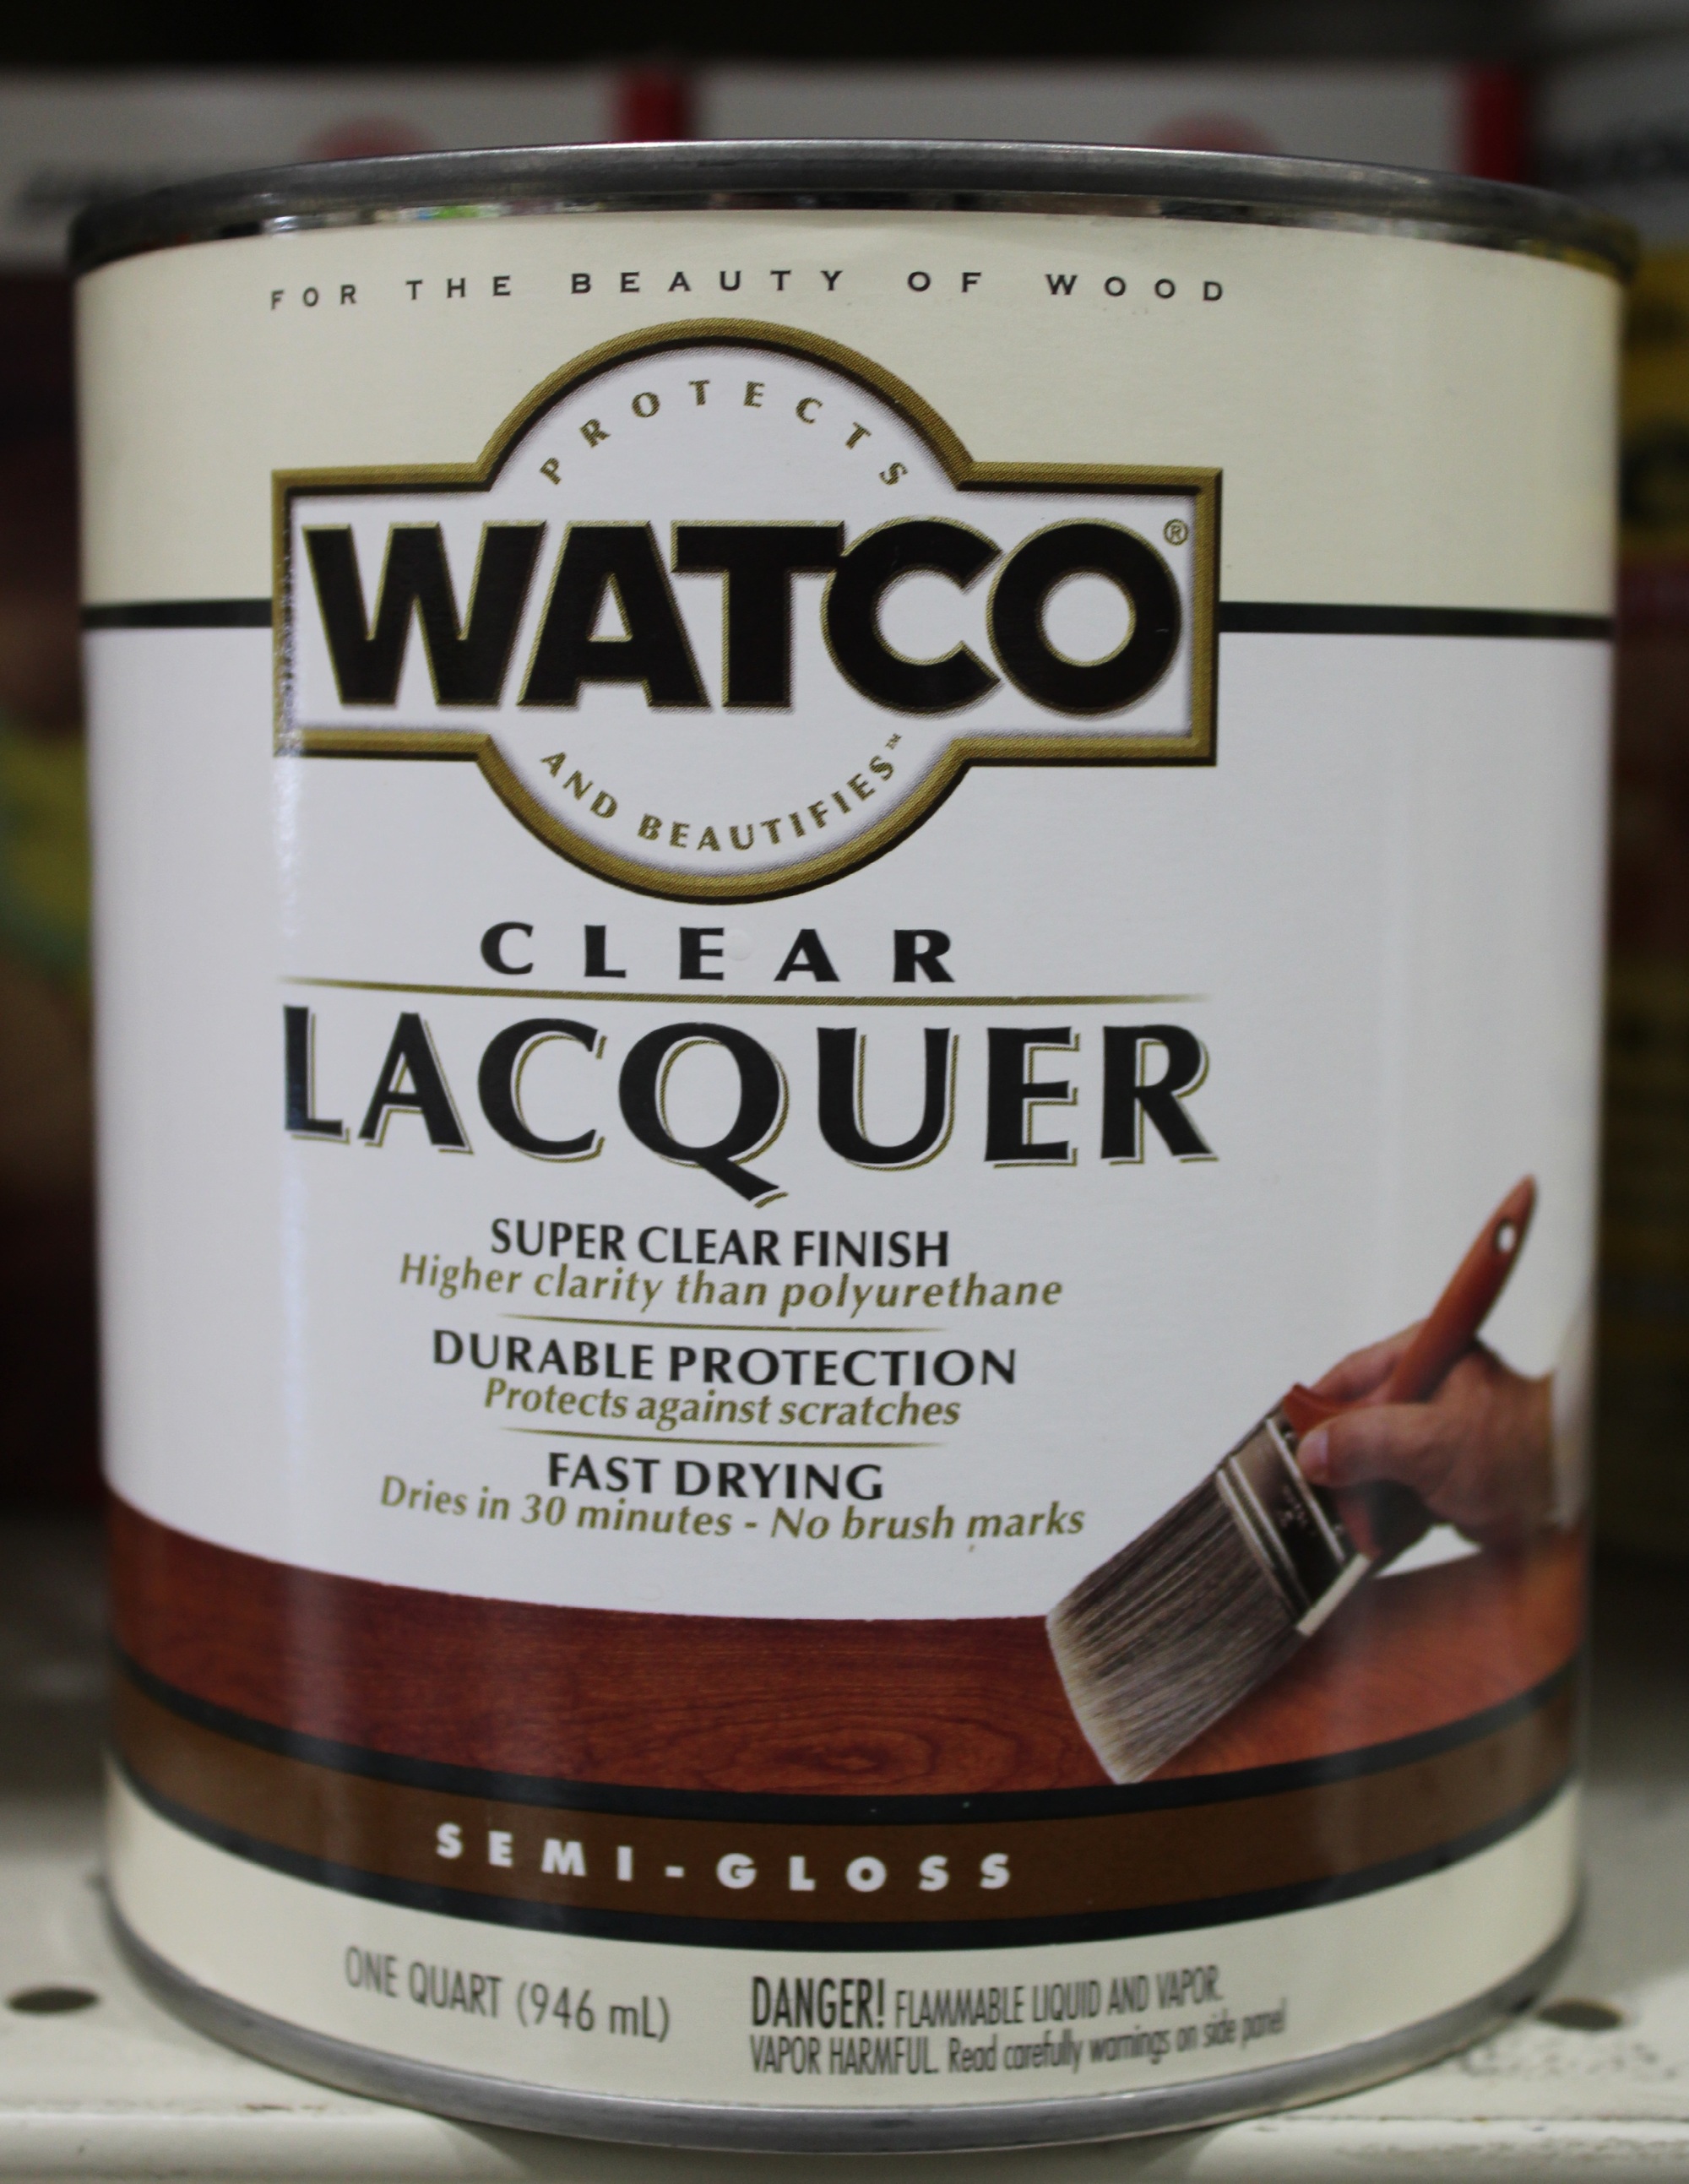
To protect your newly painted kitchen table from scratches and stains, it's important to apply a protective finish. You can use a clear polyurethane or wax, depending on the type of paint you used. Apply the protective finish in thin, even coats using a paintbrush or cloth, and allow it to dry completely before using the table. With these 10 steps, you can easily transform your old and worn kitchen table into a beautiful and refreshed piece of furniture. Remember to take your time and follow each step carefully for the best results. Happy painting!10. Apply a Protective Finish
Additional Body Paragraph:

Prep Work: Sanding and Priming
 For a professional and long-lasting finish on your kitchen table, it is crucial to properly prepare the surface before painting. This involves sanding and priming the table to ensure that the paint adheres well and creates a smooth and even surface. Use a fine-grit sandpaper to lightly sand the entire table, including the legs and edges. This will remove any imperfections and create a slightly rough surface for the paint to grip onto. After sanding, wipe down the table with a damp cloth to remove any dust or debris.
Remember to wear a mask and goggles while sanding to protect yourself from inhaling any particles.
Next, apply a coat of primer to the entire table using a paintbrush or roller. This will create a barrier between the wood and paint, ensuring a more durable finish. Allow the primer to dry completely before moving on to the next step.
Tip: Choose a primer specifically designed for use on wood surfaces for the best results.
Choosing the Right Paint
 When it comes to painting your kitchen table, it is important to choose the right type of paint for the job.
Acrylic or latex paint is a popular choice for furniture as it is durable and easy to clean.
Look for a paint specifically labeled for use on wood surfaces and in a finish that suits your style. Satin and semi-gloss finishes are ideal for kitchen tables as they are easy to clean and provide a slight sheen.
Remember to stir the paint thoroughly before use to ensure an even and consistent color.
Depending on the size of your table and the type of paint, you may need to apply multiple coats for full coverage. Allow each coat to dry completely before adding another layer.
Applying the Paint
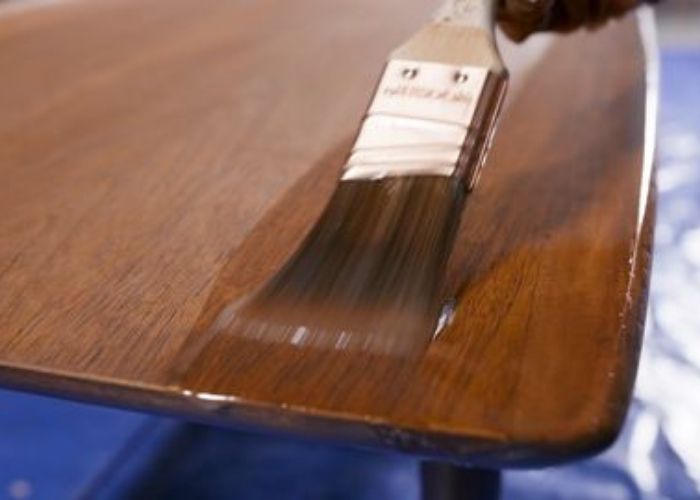
 Now that your prep work is done and you have chosen the right paint, it's time to start painting your kitchen table. Use a paintbrush or roller to apply the paint in long, even strokes, following the direction of the wood grain. Start with the tabletop and work your way down to the legs and edges.
Be sure to paint in a well-ventilated area and wear a mask if necessary to avoid inhaling any fumes.
If you are using multiple coats, lightly sand the table in between each coat to ensure a smooth finish. Once you have achieved the desired coverage, allow the final coat to dry completely before using your newly painted kitchen table.
Finishing Touches
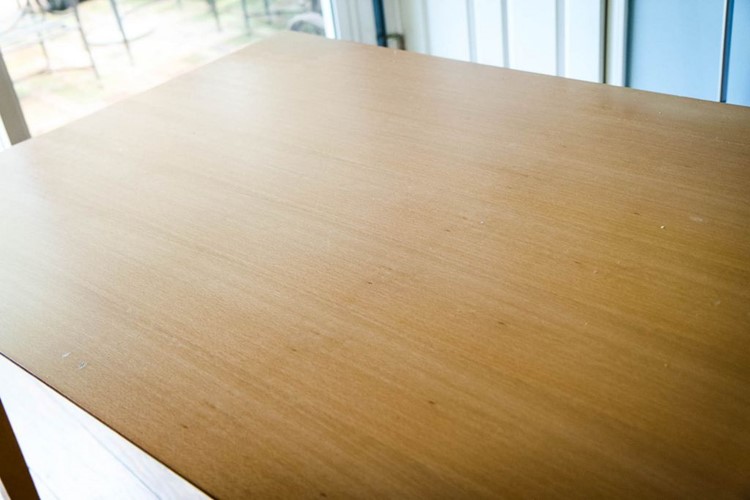 To protect your newly painted kitchen table and add a professional finish, it is important to apply a topcoat. This will not only protect the paint from scratches and spills but also give your table a smooth and polished look.
Choose a clear polyurethane or polycrylic topcoat for the best results.
Apply the topcoat using a clean paintbrush or roller, following the same technique as when applying the paint. Allow the topcoat to dry completely before using your table.
Tip: For added protection, you can also add a layer of furniture wax on top of the topcoat.
And there you have it, a beautifully painted kitchen table that will add a touch of style to your space for years to come.


