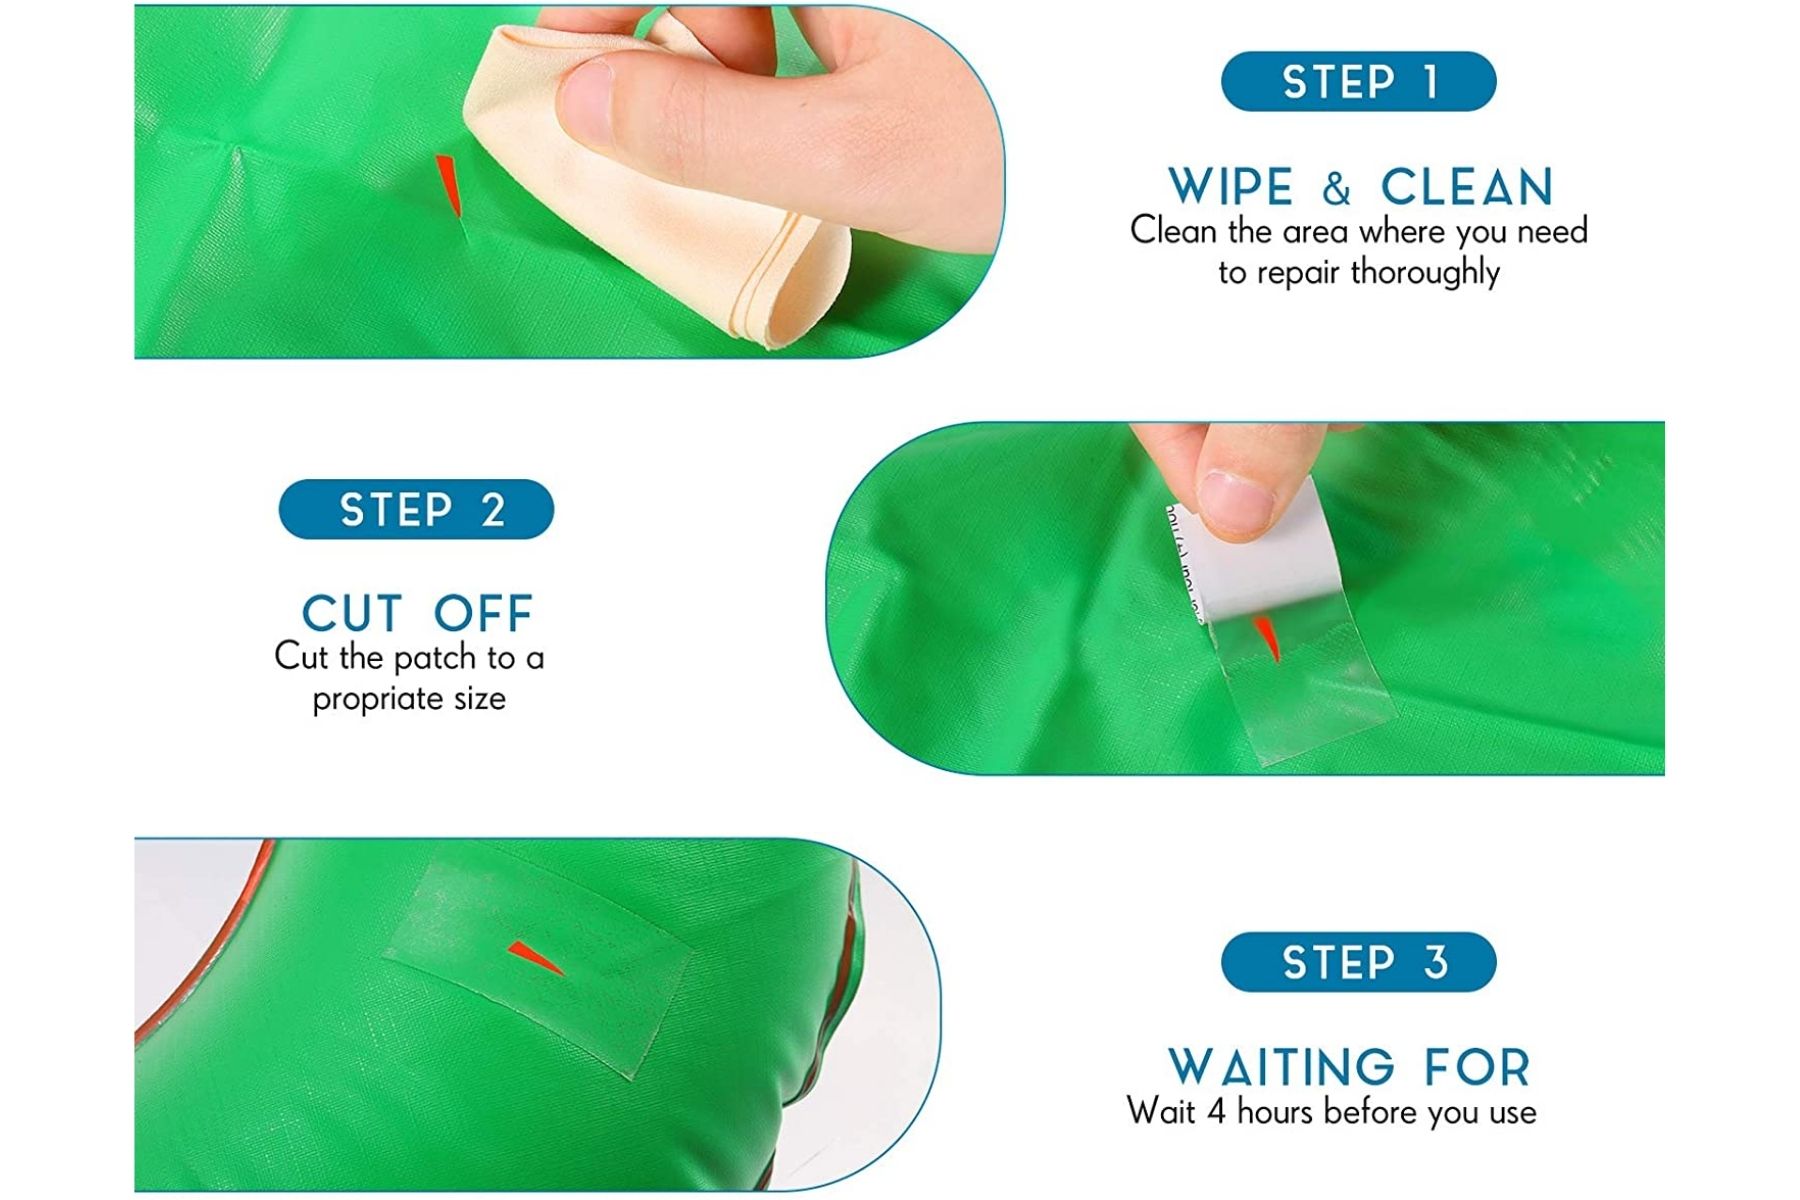
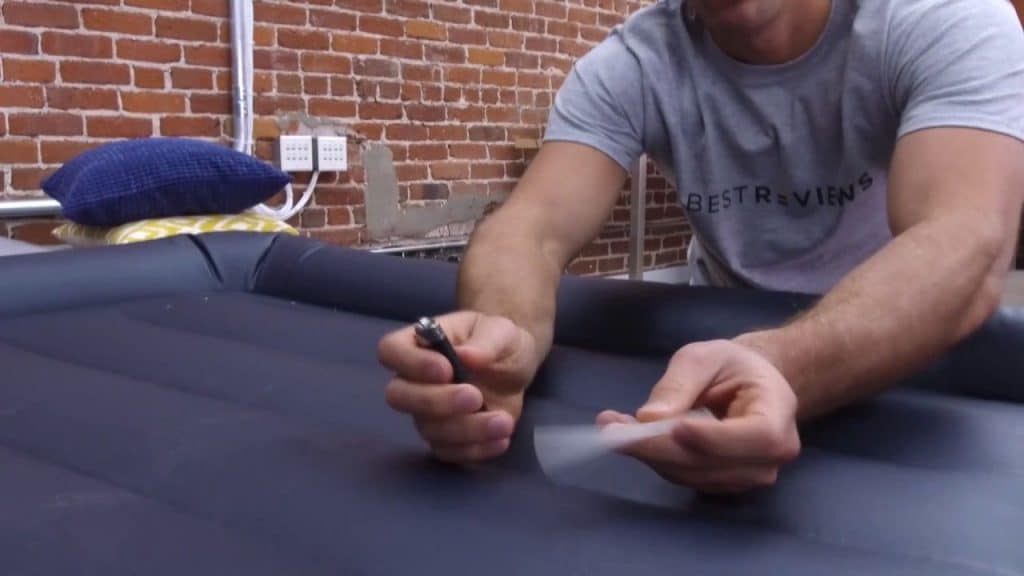
If you've ever woken up on the floor after your air mattress deflated overnight, you know how frustrating it can be to deal with a hole in your mattress. But fear not, because patching a hole in an air mattress is easier than you think! The first step is to locate the hole. It's important to thoroughly check the entire mattress for any small punctures or tears. Once you've found the hole, clean the area with rubbing alcohol and let it dry completely. Next, you'll need a patch kit specifically designed for air mattresses. These can usually be found at your local hardware or camping store. Make sure to read the instructions carefully before starting the patching process. Apply the adhesive from the patch kit to the hole, covering it completely. Then, place the patch over the hole and press down firmly. It's recommended to hold the patch in place for a few minutes to ensure it properly adheres to the mattress. Allow the patch to dry completely before adding any weight or pressure to the mattress. Once dry, you can inflate the mattress and test the patch to make sure it's secure. If all looks good, your air mattress should be ready to use again!1. Patching a Hole in an Air Mattress
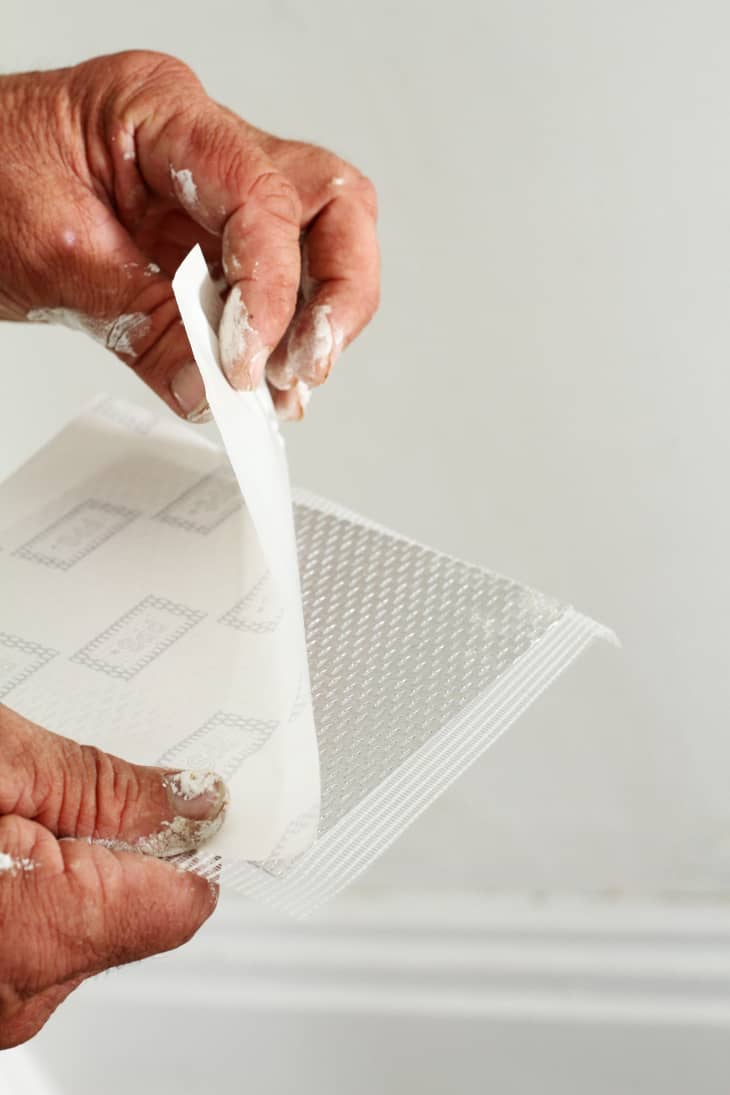

1. Patching a Hole in an Air Mattress


Dealing with a leak in your air mattress can be a bit trickier than a simple hole. But with the right tools and techniques, you can fix the leak and have your mattress fully functional again in no time. The first step is to locate the leak. This can be done by inflating the mattress and listening for any hissing sounds or feeling for any air escaping. Once you've found the leak, mark the area with a piece of tape or a pen. Next, you'll need to deflate the mattress and clean the area around the leak with rubbing alcohol. This will help the adhesive from the patch kit to properly bond. Let the area dry completely before moving on to the next step. Apply the adhesive from the patch kit to the leak and then place the patch over it, pressing down firmly. If the leak is in a difficult spot, you may need to use a hair dryer to warm up the adhesive and help it adhere better. Once the patch is in place, hold it down for a few minutes to ensure it's secure. Allow the patch to dry completely before inflating the mattress and testing the leak. If all is well, your air mattress should be good as new!2. How to Fix a Leak in an Air Mattress


2. How to Fix a Leak in an Air Mattress


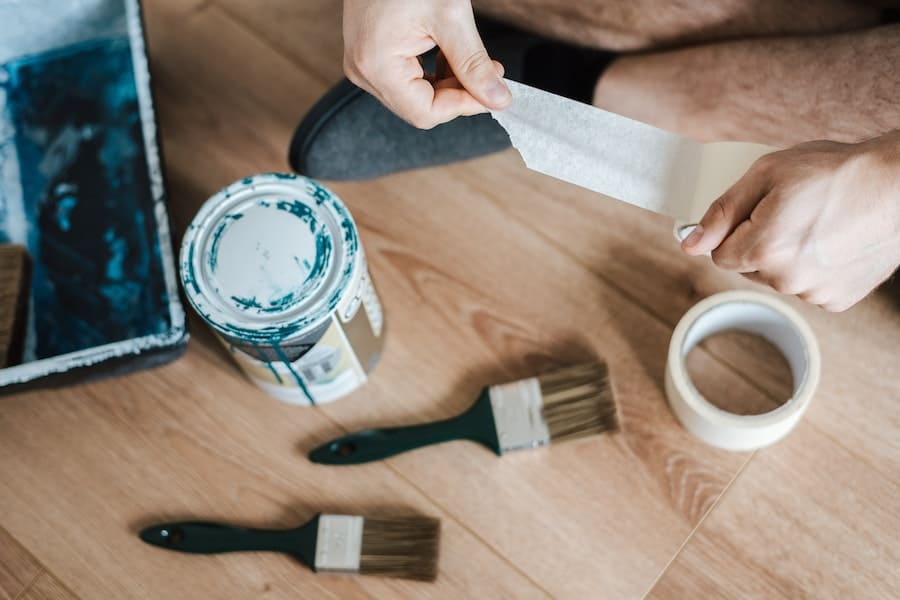
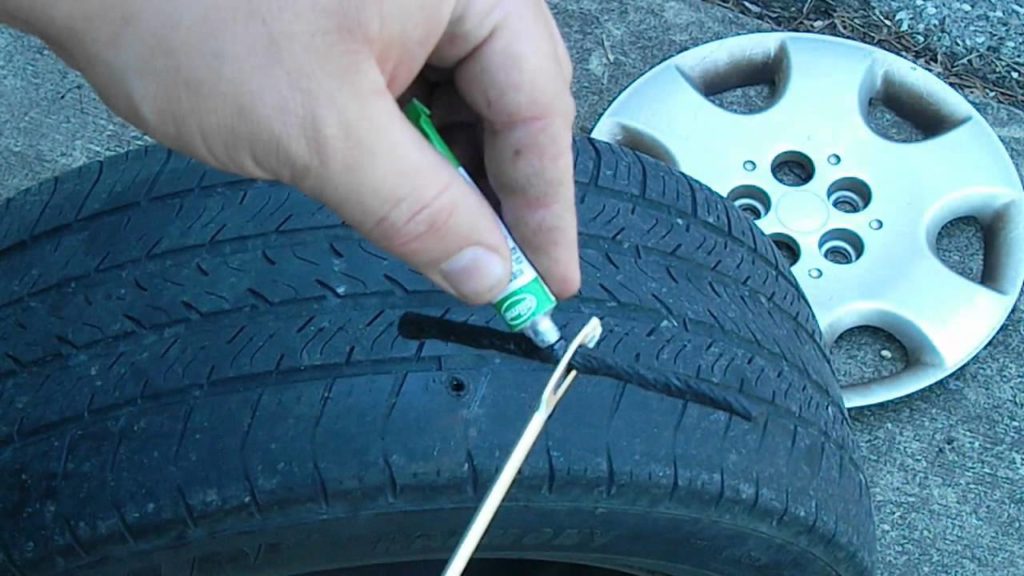
For those who prefer a more hands-on approach, DIY air mattress repair may be the way to go. This method can be cost-effective and allows you to use materials you may already have at home. To patch a hole or leak in your air mattress using DIY methods, you'll need some household items such as duct tape, super glue, and a patch of fabric. Make sure to clean the area around the hole or leak with rubbing alcohol before starting the repair process. Cut a piece of duct tape to cover the hole or leak and place it over the damaged area. Then, cut a smaller piece of fabric to act as a reinforcement for the patch. Apply super glue around the edges of the duct tape and place the fabric on top, pressing down firmly. This will create a strong and durable patch for your air mattress. Allow the patch to dry completely before inflating and testing the mattress. If all is well, your DIY repair should hold up and your air mattress will be ready to use again.3. DIY Air Mattress Repair


3. DIY Air Mattress Repair


When you're in a pinch and need a quick fix for your air mattress, there are a few simple solutions that can get you by until you're able to properly patch or repair it. If you're dealing with a small hole or leak, you can use a piece of duct tape to cover it and provide a temporary seal. You can also use a hot glue gun to seal smaller holes or tears in your air mattress. For larger holes or leaks, you can use a plastic bag or tarp to create a makeshift patch. Simply cut a piece of the plastic to cover the damaged area and secure it with duct tape or super glue. This will help prevent any further air from escaping and give you some time to properly repair the mattress.4. Quick and Easy Air Mattress Fixes


4. Quick and Easy Air Mattress Fixes


If you're looking for the best products to use for repairing your air mattress, there are a few options that stand out. One popular choice is the Tear-Aid Repair Patch Kit. This kit is specifically designed for repairing air mattresses and is known for its strong and durable patches. It also comes with everything you need for the repair process, including alcohol wipes and instructions. Another option is the Coleman Air Mattress Repair Kit. This kit is great for quick and easy fixes and comes with multiple patches, making it perfect for multiple repairs. It also includes a tube of adhesive and a plastic sheet to reinforce the patches. Whichever product you choose, it's important to follow the instructions carefully and make sure the patch is properly applied and dried before using the mattress again.5. Best Products for Repairing an Air Mattress


5. Best Products for Repairing an Air Mattress


Fixing a seam on an air mattress can be a bit more challenging than a hole or leak, but it's still doable with the right tools and techniques. First, you'll need to locate the seam and clean the area with rubbing alcohol. It's important to make sure the area is completely dry before attempting to repair the seam. Next, you can use a product like Seam Grip to seal the seam. This adhesive is specifically made for repairing seams on outdoor gear, including air mattresses. Apply the adhesive along the seam and press the two sides together, holding them in place for a few minutes. Allow the adhesive to dry completely before inflating and testing the seam. If all is well, your air mattress should be as good as new.6. Tips for Fixing an Air Mattress Seam


6. Tips for Fixing an Air Mattress Seam


Duct tape is a versatile and handy tool to have when it comes to repairing all sorts of things, including air mattresses. To repair a hole or leak in your air mattress with duct tape, start by cleaning the area with rubbing alcohol and letting it dry completely. You can then cut a piece of duct tape to cover the damaged area and place it over the hole or leak. Make sure to press down firmly and smooth out any air bubbles. If the hole or leak is in a difficult spot, you can use a hair dryer to warm up the adhesive and help it adhere better. It's also recommended to place a second layer of duct tape over the first for added strength and durability. Allow the duct tape to dry completely before inflating and testing the mattress.7. Repairing an Air Mattress with Duct Tape


7. Repairing an Air Mattress with Duct Tape


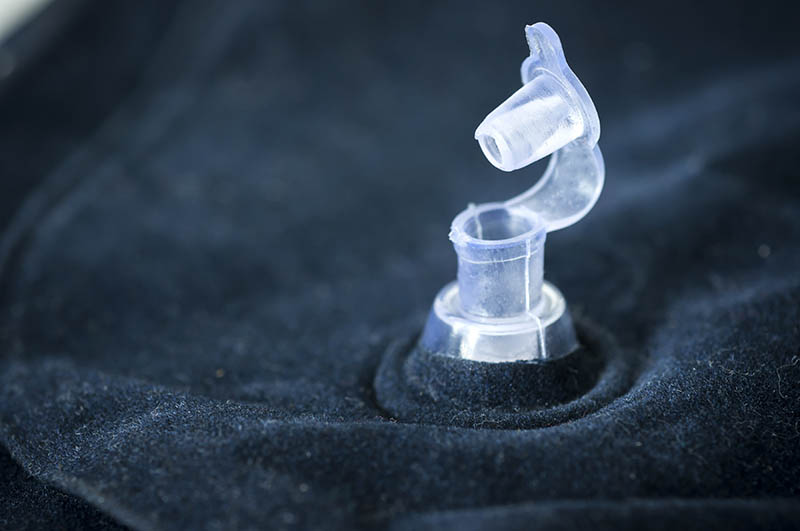
If your air mattress is leaking from the valve, it may need to be replaced. Valves can become worn or damaged over time, causing them to leak air. To replace the valve, you'll need to remove the old one first. This can be done by unscrewing it or using a pair of pliers to gently pull it out. Once the old valve is removed, clean the area with rubbing alcohol and let it dry completely. Next, apply a thin layer of super glue to the new valve and place it in the same spot as the old one. Hold it in place for a few minutes to ensure it's secure, then allow it to dry completely before inflating and using the mattress. If the valve is not easily removable, you can try using a patch kit designed specifically for repairing valves. Make sure to read the instructions carefully and follow the recommended steps for application.8. How to Fix an Air Mattress Valve


8. How to Fix an Air Mattress Valve


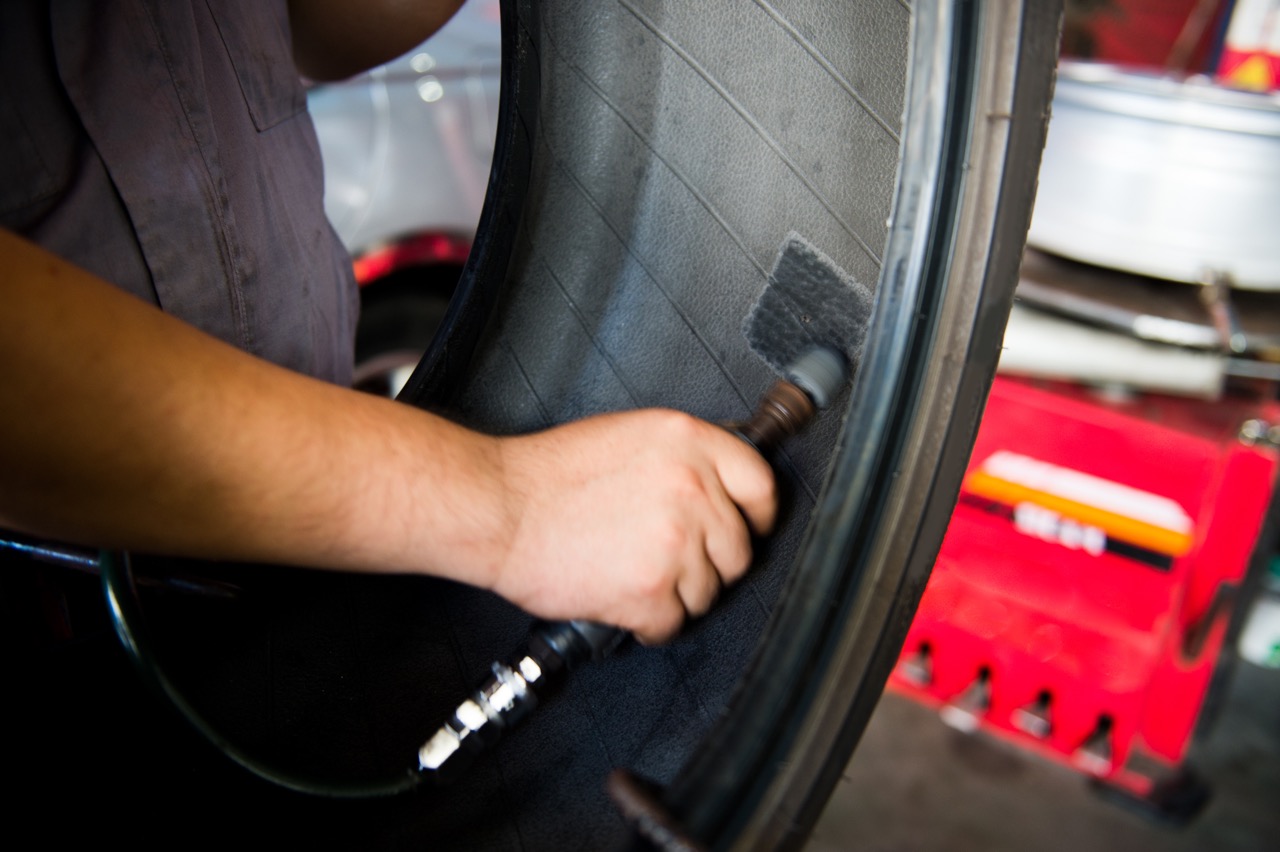
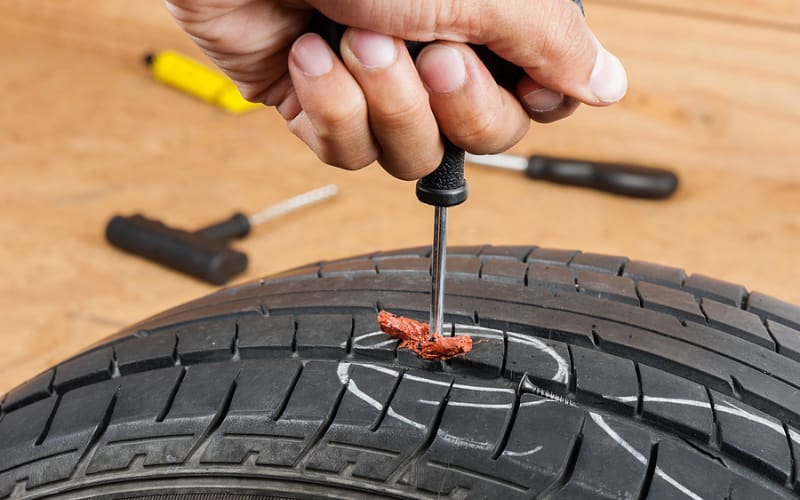
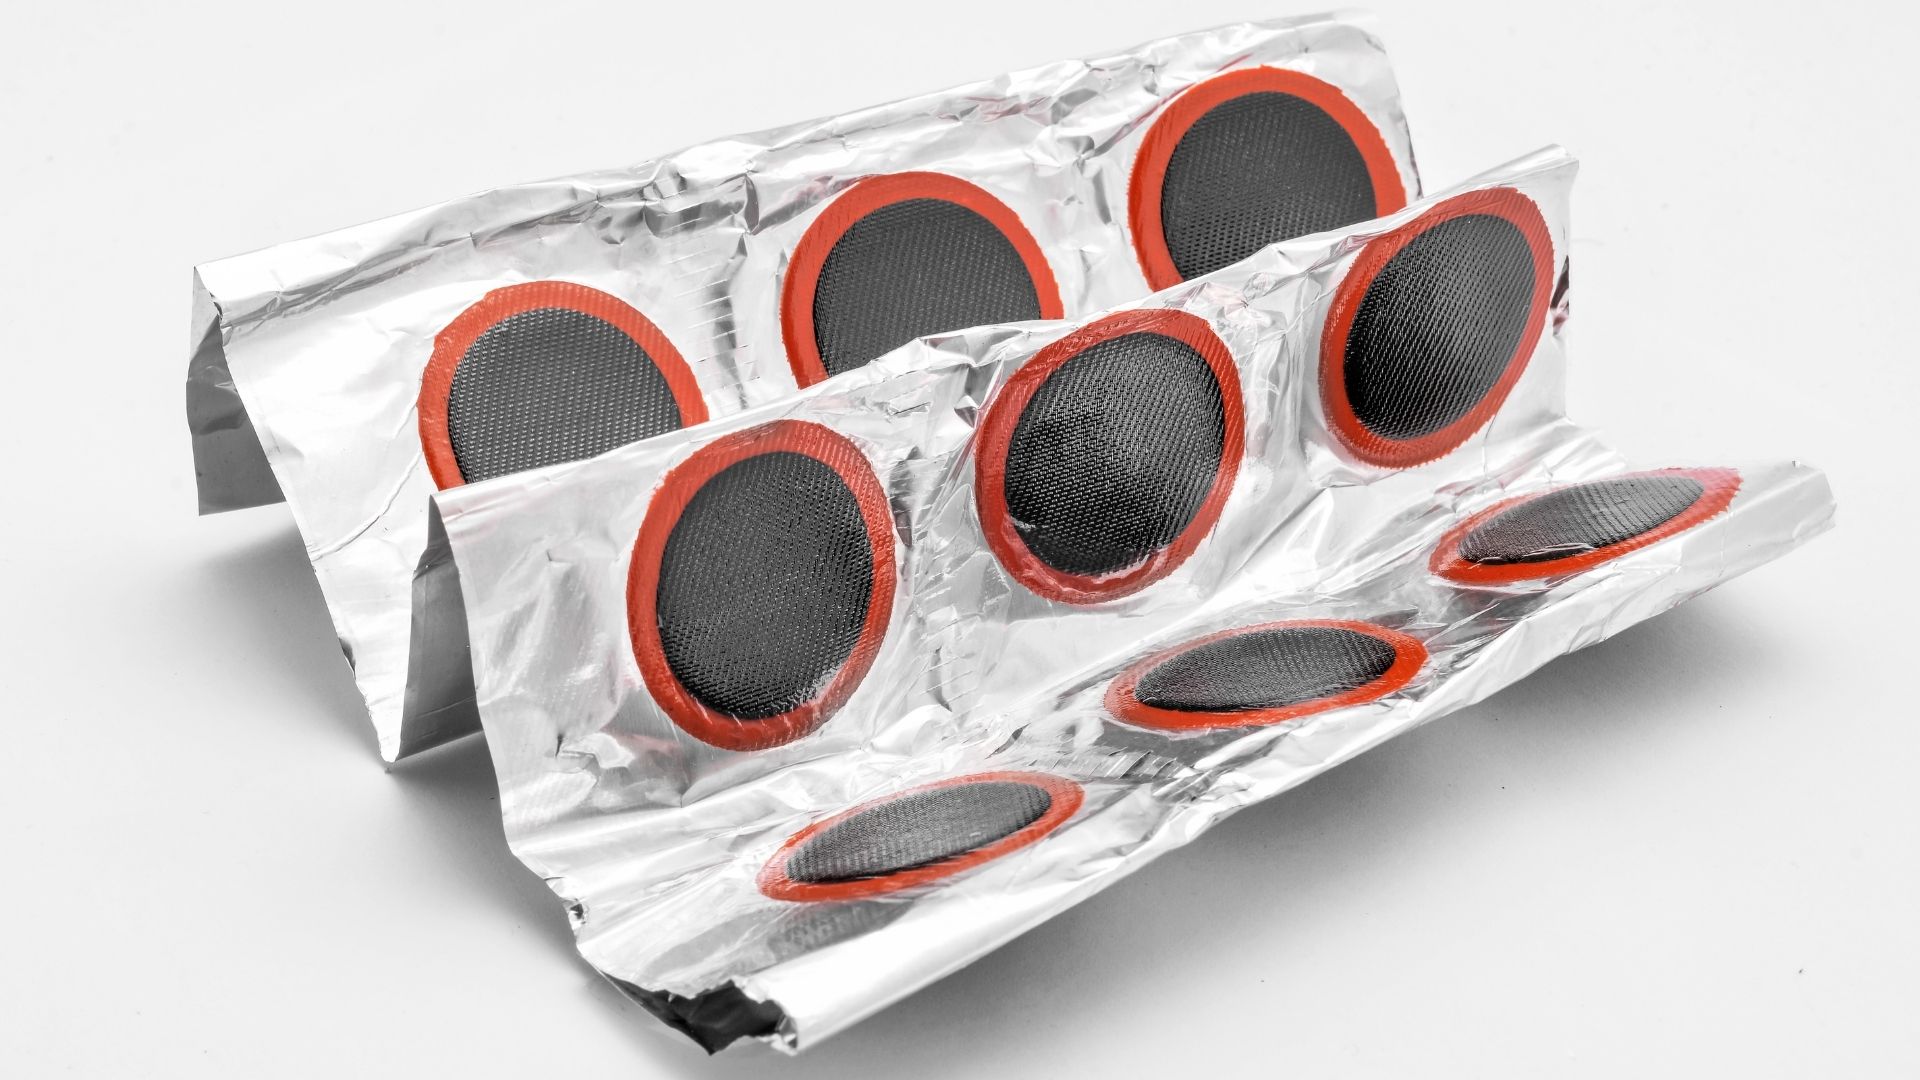
A bicycle tire patch can also be used to repair an air mattress, especially for smaller holes or leaks. To patch a hole or leak with a bicycle tire patch, start by cleaning the area with rubbing alcohol and letting it dry completely. Next, apply a layer of adhesive from the patch kit to the damaged area and let it dry for a few minutes. Then, place the patch over the hole or leak and press down firmly. You can also use a hair dryer to warm up the adhesive and help it adhere better. Once the patch is secure, allow it to dry completely before inflating and testing the mattress.9. Patching an Air Mattress with a Bicycle Tire Patch


9. Patching an Air Mattress with a Bicycle Tire Patch


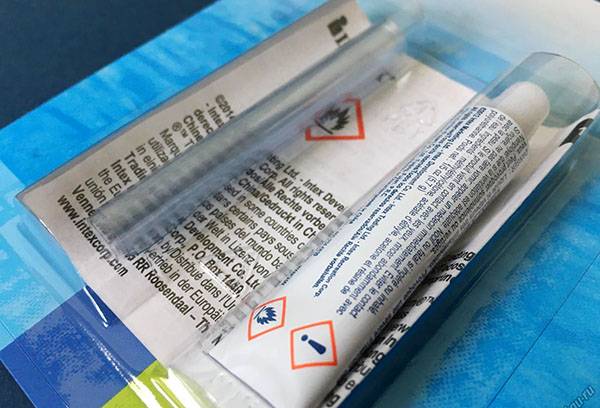
Having a repair kit specifically designed for air mattresses can make the repair process much easier and more efficient. When using a repair kit, make sure to read the instructions carefully and follow the recommended steps for application. Most kits will come with everything you need, including adhesive, patches, and instructions. It's important to properly clean the damaged area and let it dry completely before applying the patch. Once the patch is in place, allow it to dry completely before inflating and testing the mattress. If all is well, your air mattress should be fully functional and ready to use again. In conclusion, dealing with a hole, leak, or seam on your air mattress doesn't have to be a daunting task. With the right tools and techniques, you can easily repair it and have your mattress back in working condition. Whether you choose to use a patch kit, DIY methods, or household items, make sure to follow the instructions carefully and take your time to ensure a proper and secure repair. Happy sleeping! 10. Using a Repair Kit for an Air Mattress


10. Using a Repair Kit for an Air Mattress


Why an Air Mattress is a Must-Have for Every Home
Introduction to House Design Essentials
 When it comes to designing our homes, we often focus on the big things like furniture and decor. However, one essential item that often gets overlooked is the humble
air mattress
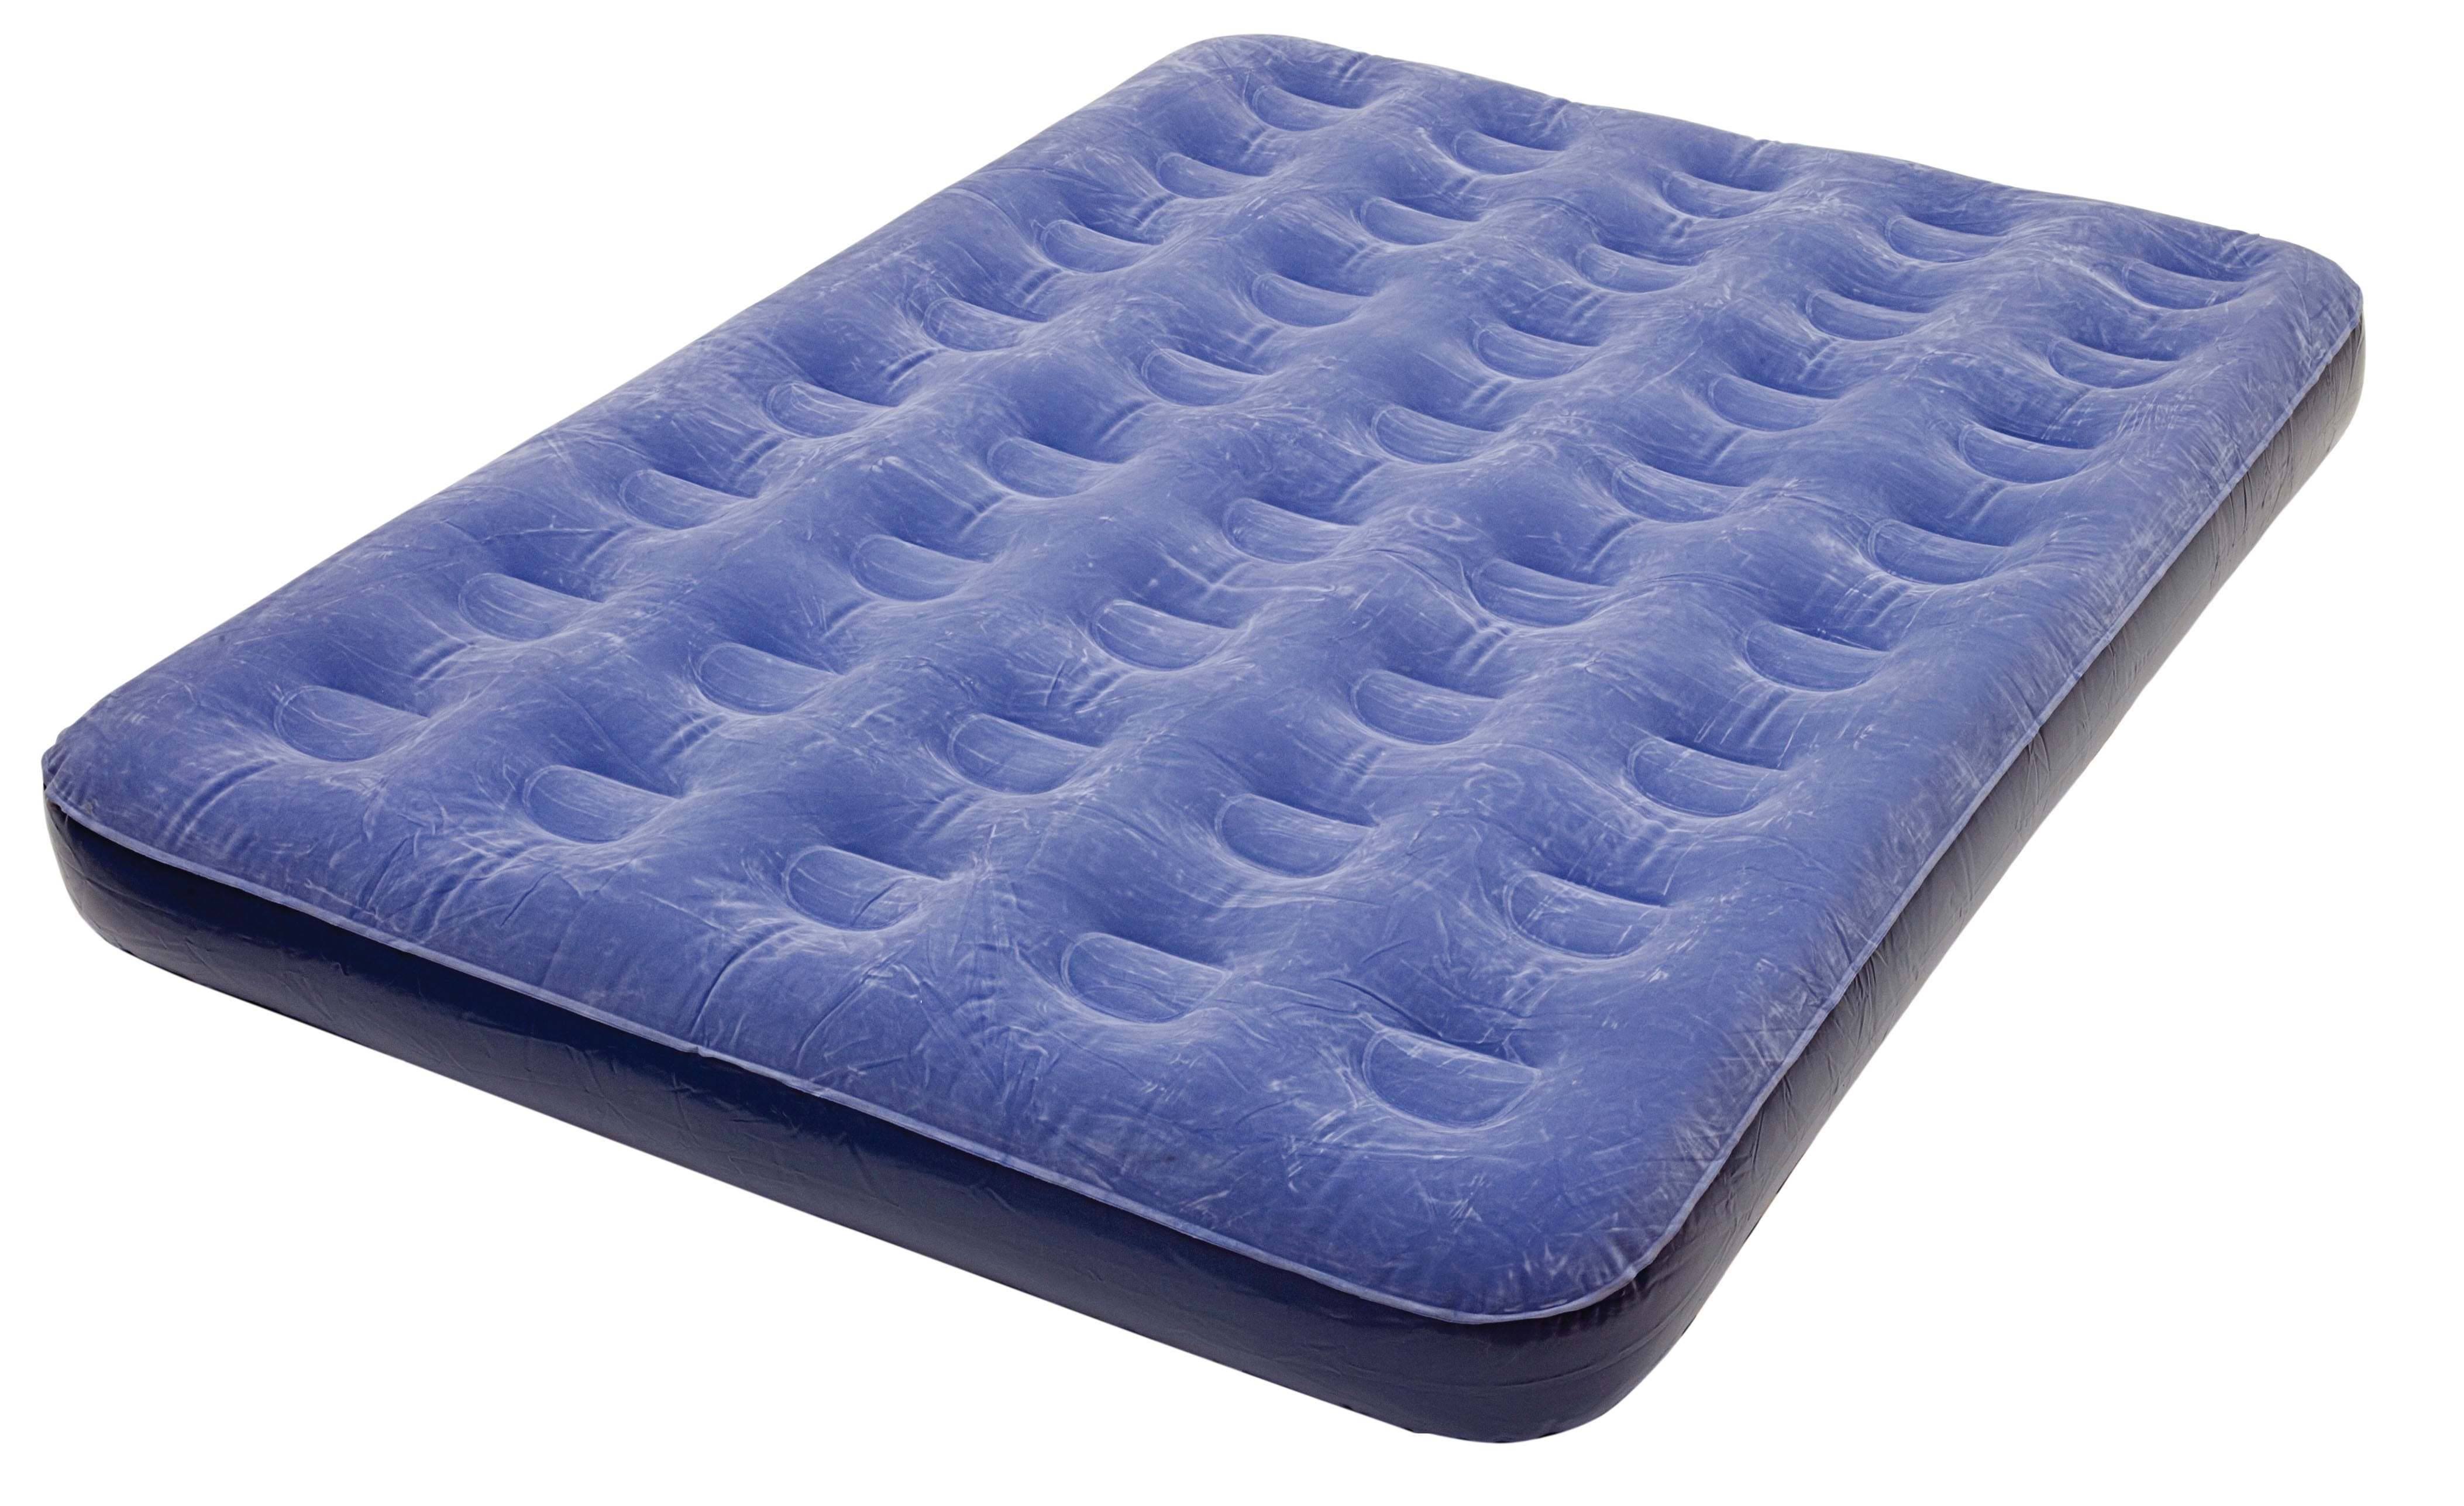
. While it may seem like a temporary solution for unexpected guests or camping trips, an air mattress actually has a multitude of uses and benefits that make it a must-have for every home.
When it comes to designing our homes, we often focus on the big things like furniture and decor. However, one essential item that often gets overlooked is the humble
air mattress
. While it may seem like a temporary solution for unexpected guests or camping trips, an air mattress actually has a multitude of uses and benefits that make it a must-have for every home.
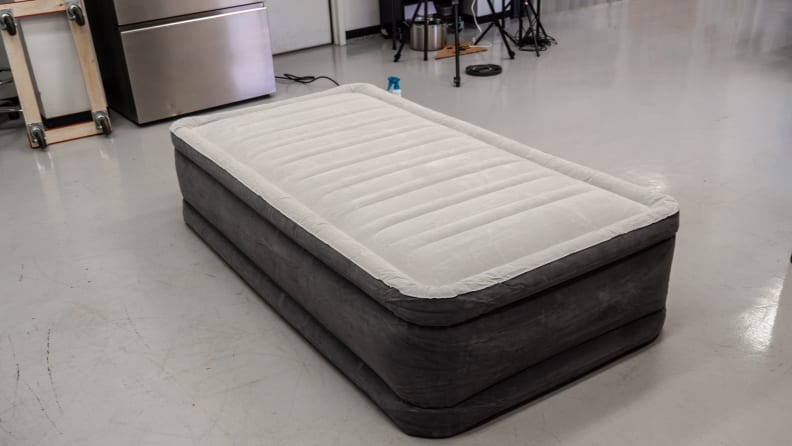
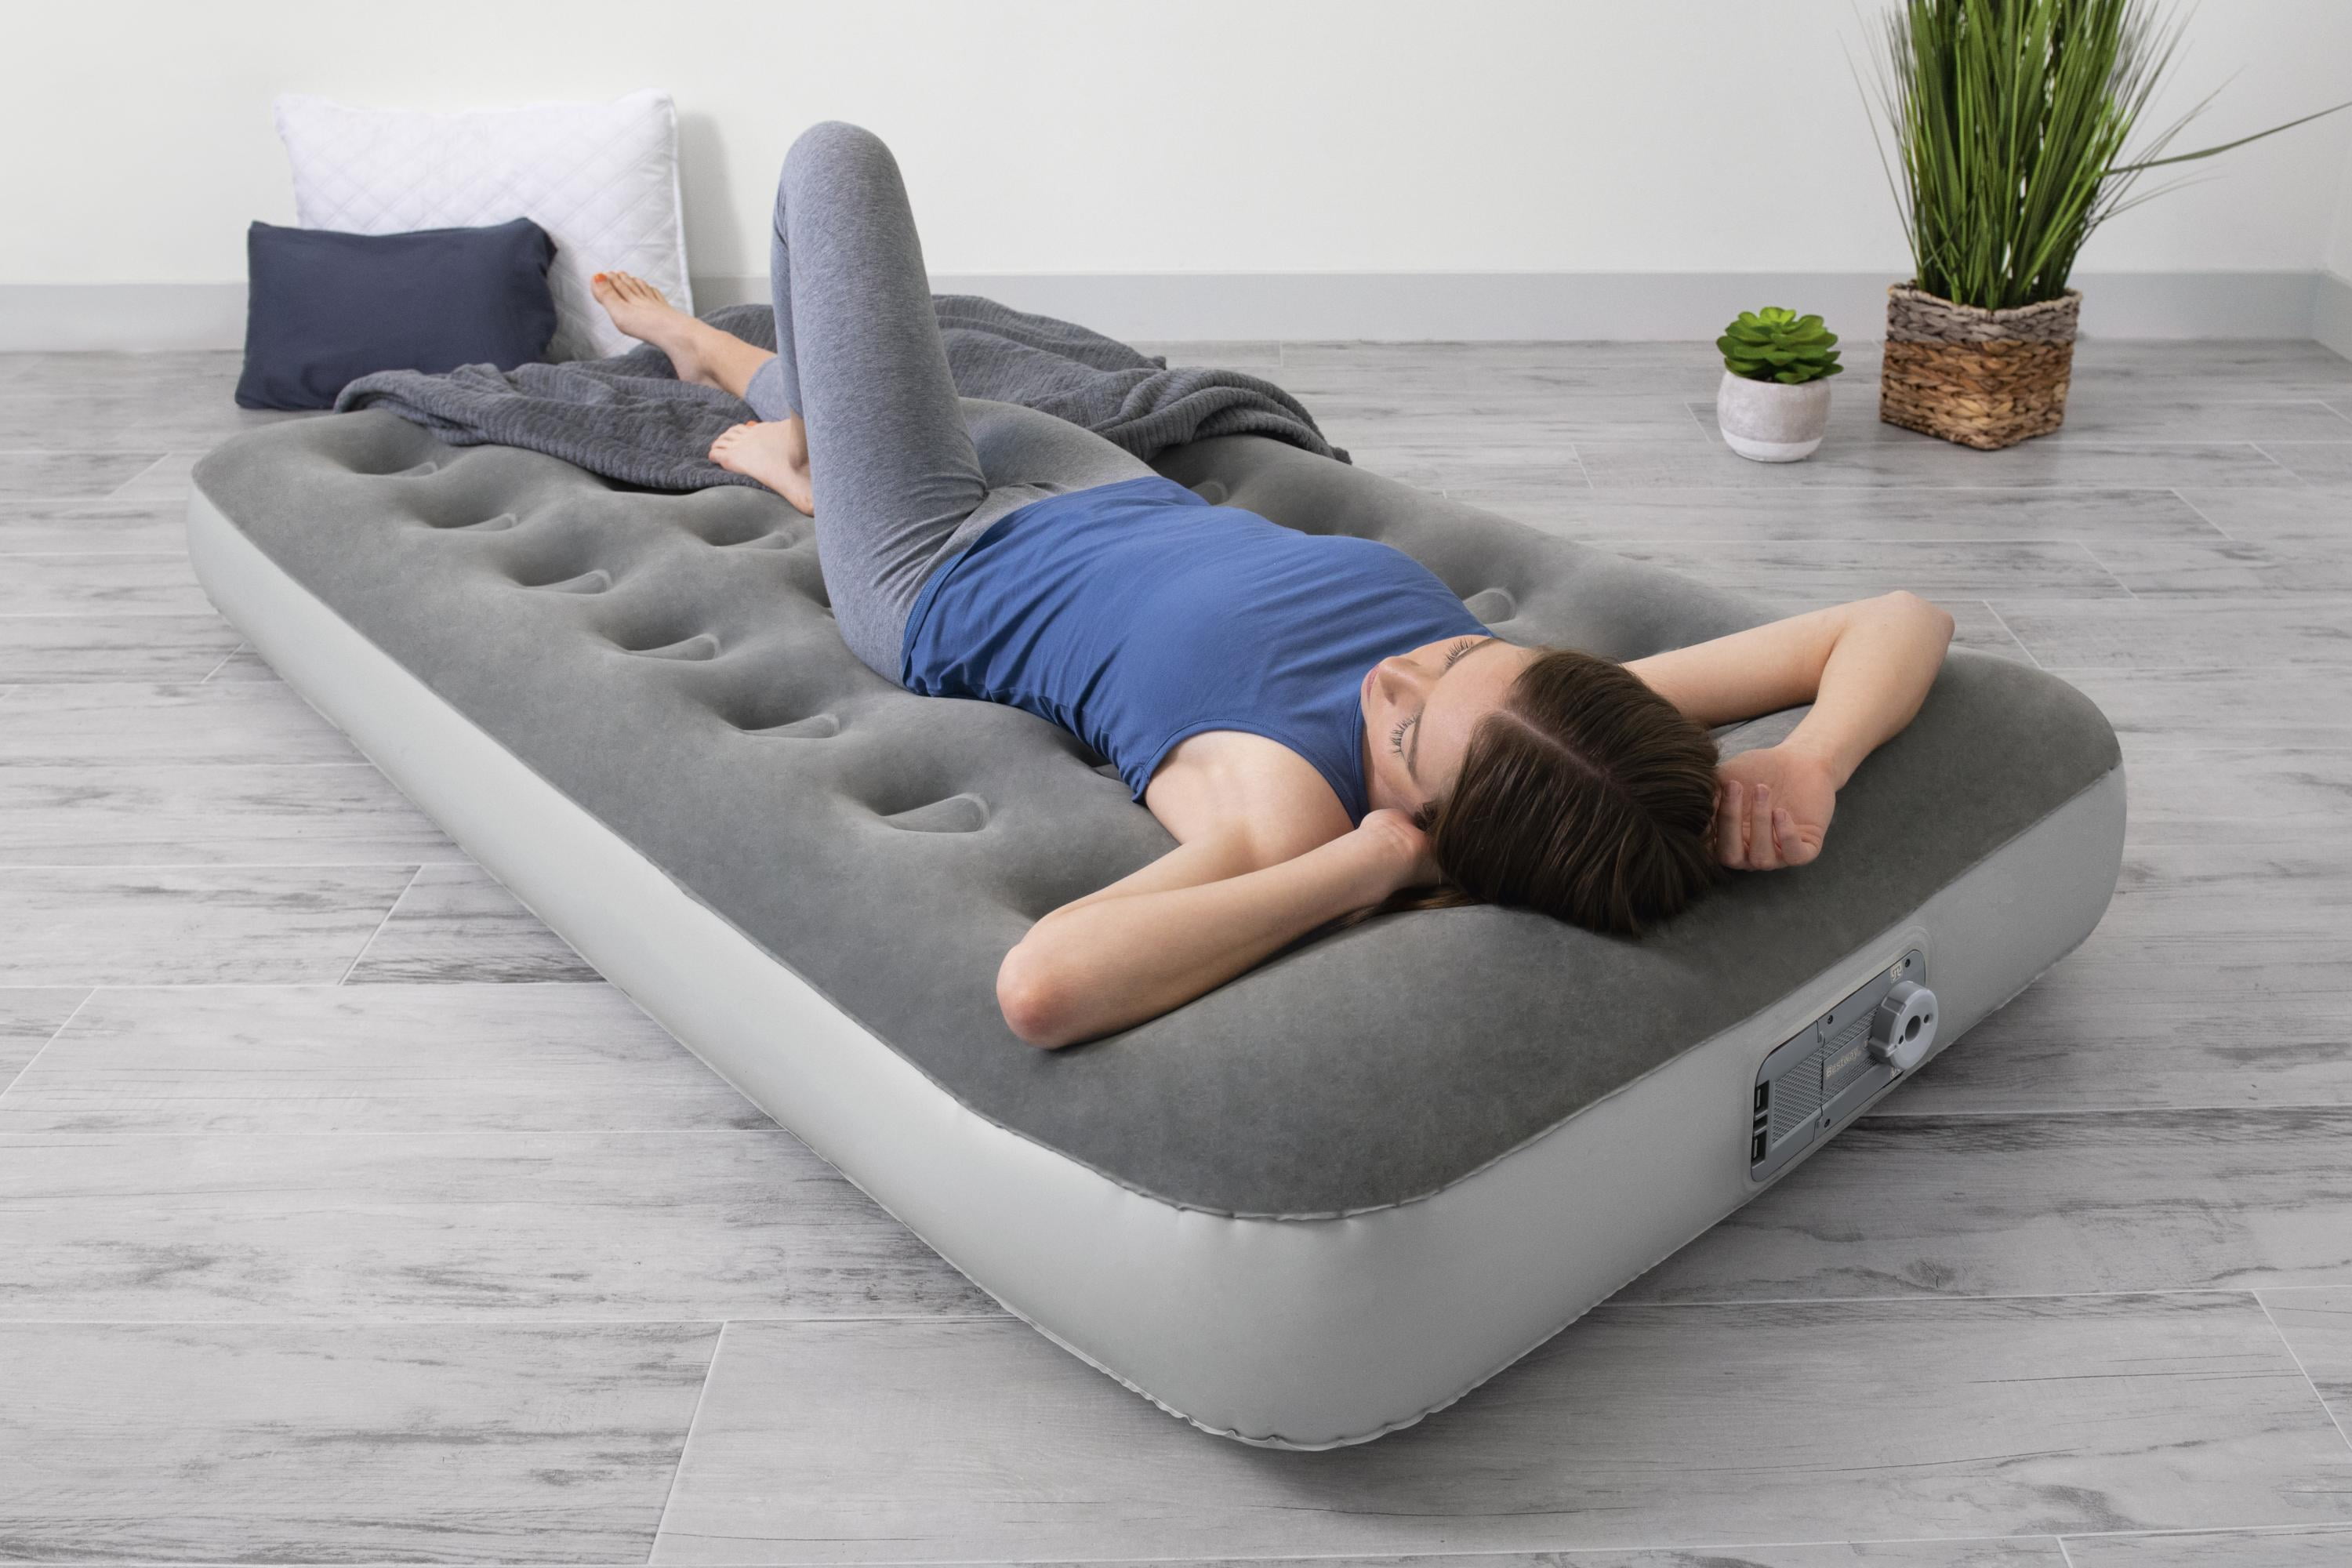
Comfort and Convenience
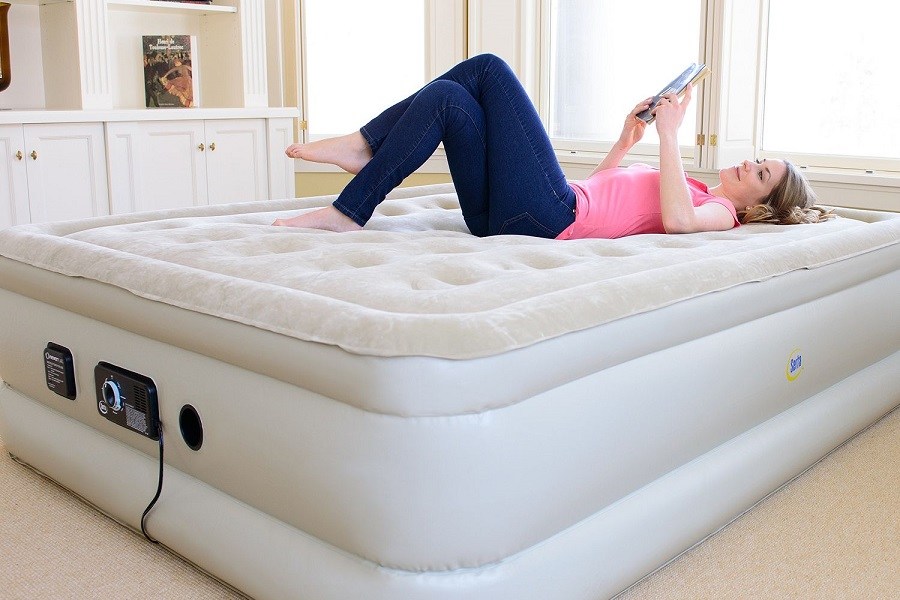
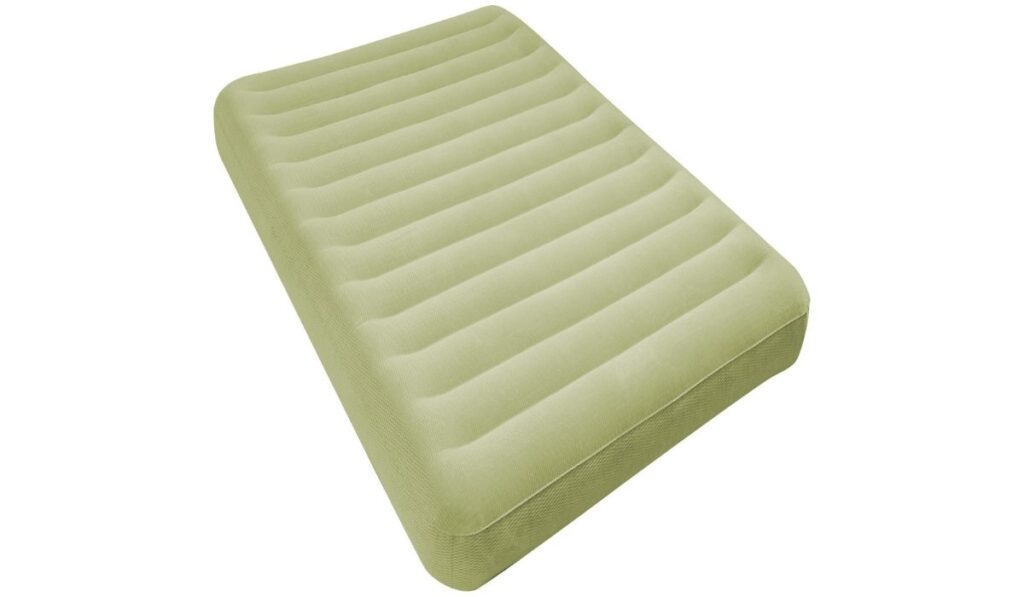
:max_bytes(150000):strip_icc()/aerobed-opti-comfort-queen-air-mattress-with-headboard-93c9f99d65ee4cce88edf90b9411b1cd.jpg) The primary purpose of an air mattress is, of course, for sleeping. But what sets it apart from a traditional mattress is its
versatility
. With the ability to adjust the air pressure, you can customize the firmness of your mattress to your personal preference. This makes it ideal for individuals who suffer from back pain or other body aches as they can adjust the mattress to provide support where they need it most.
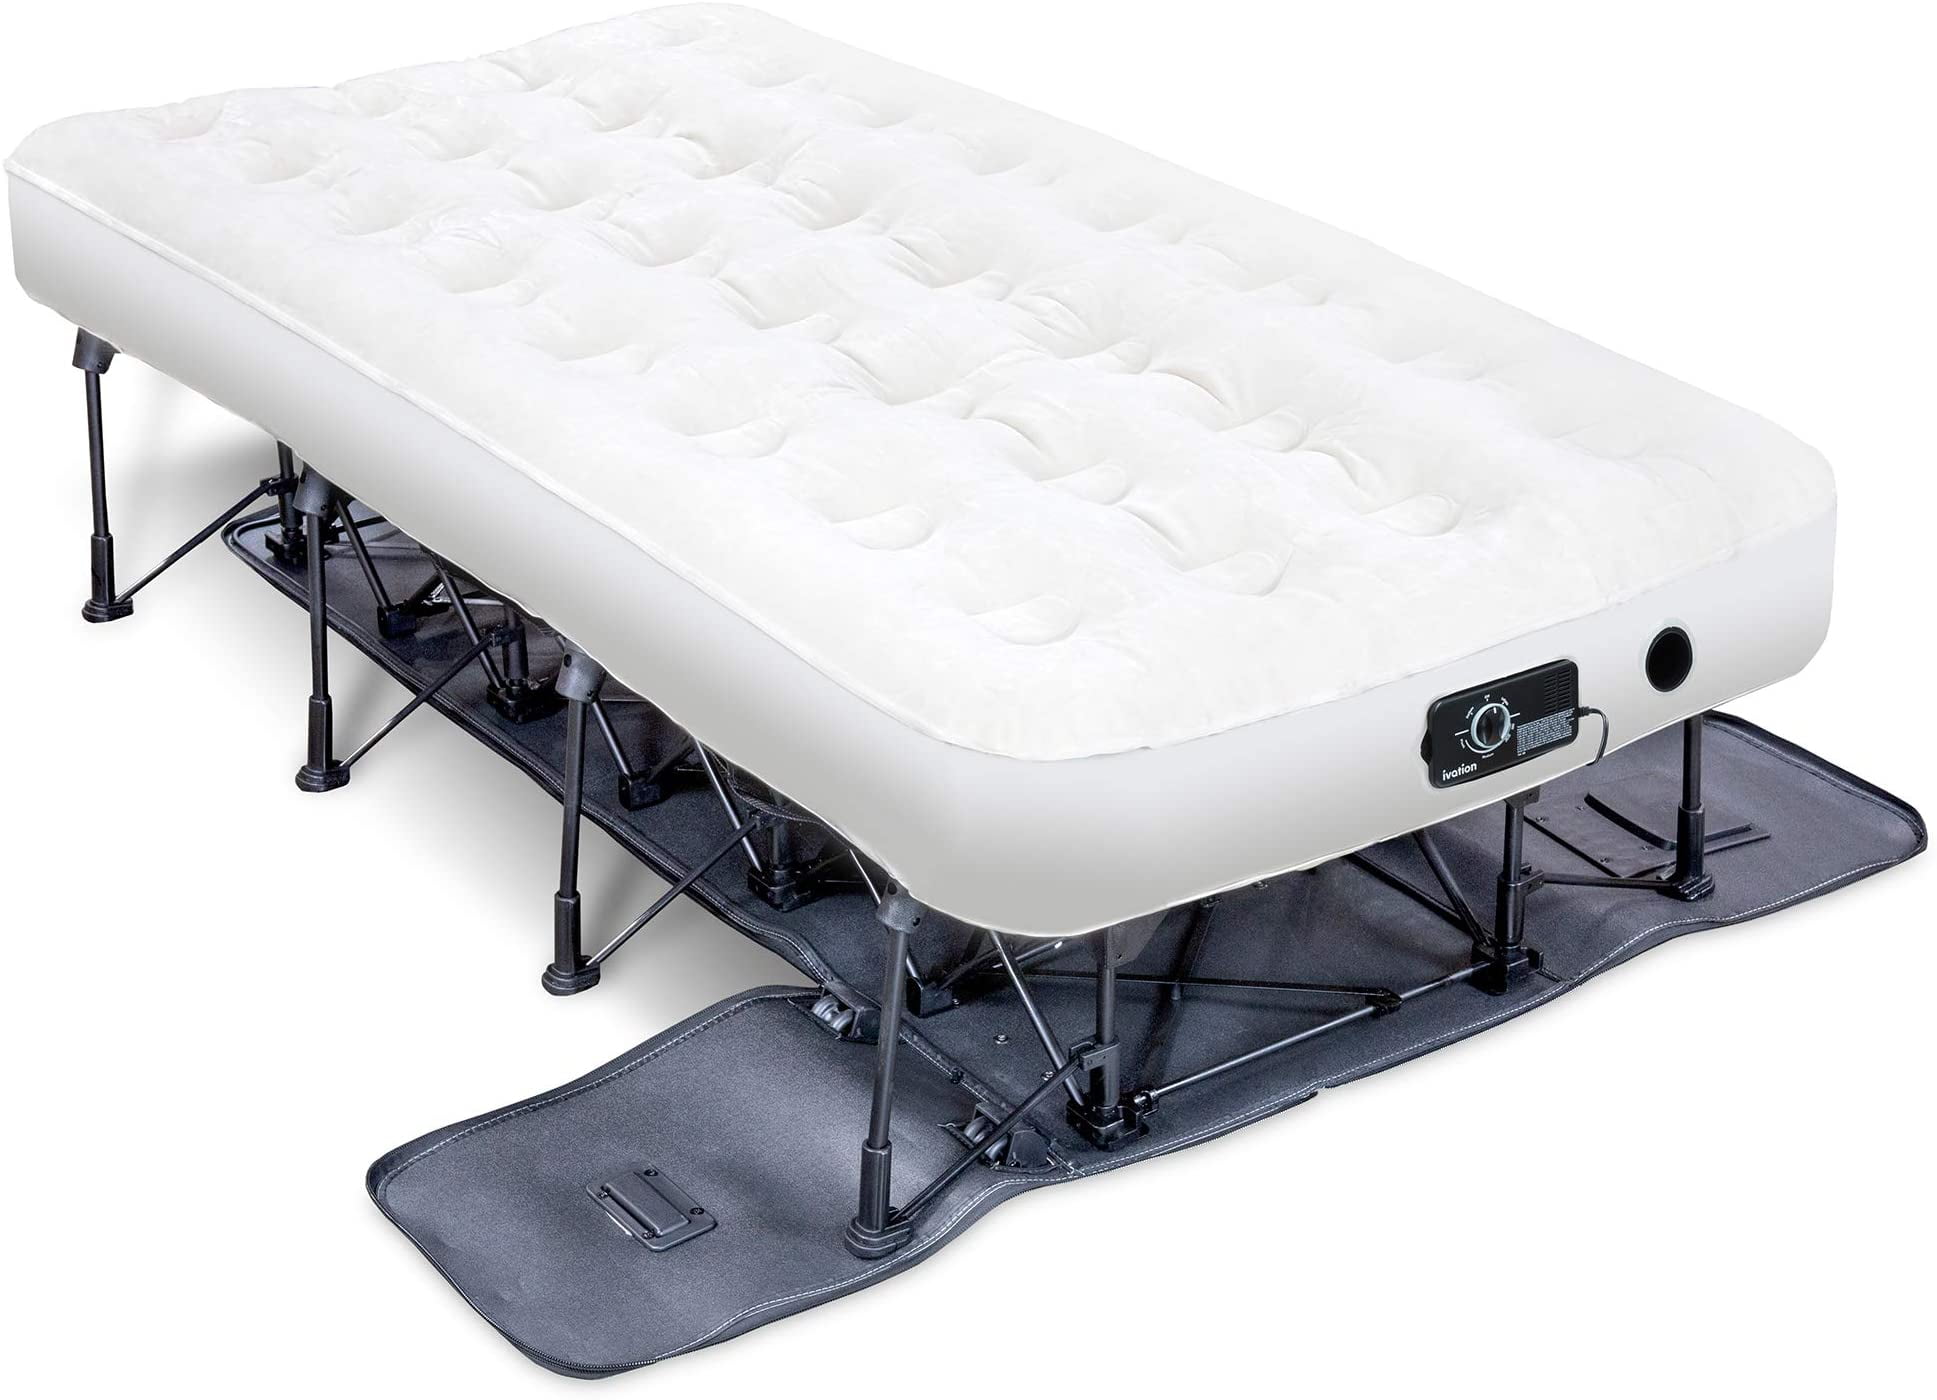
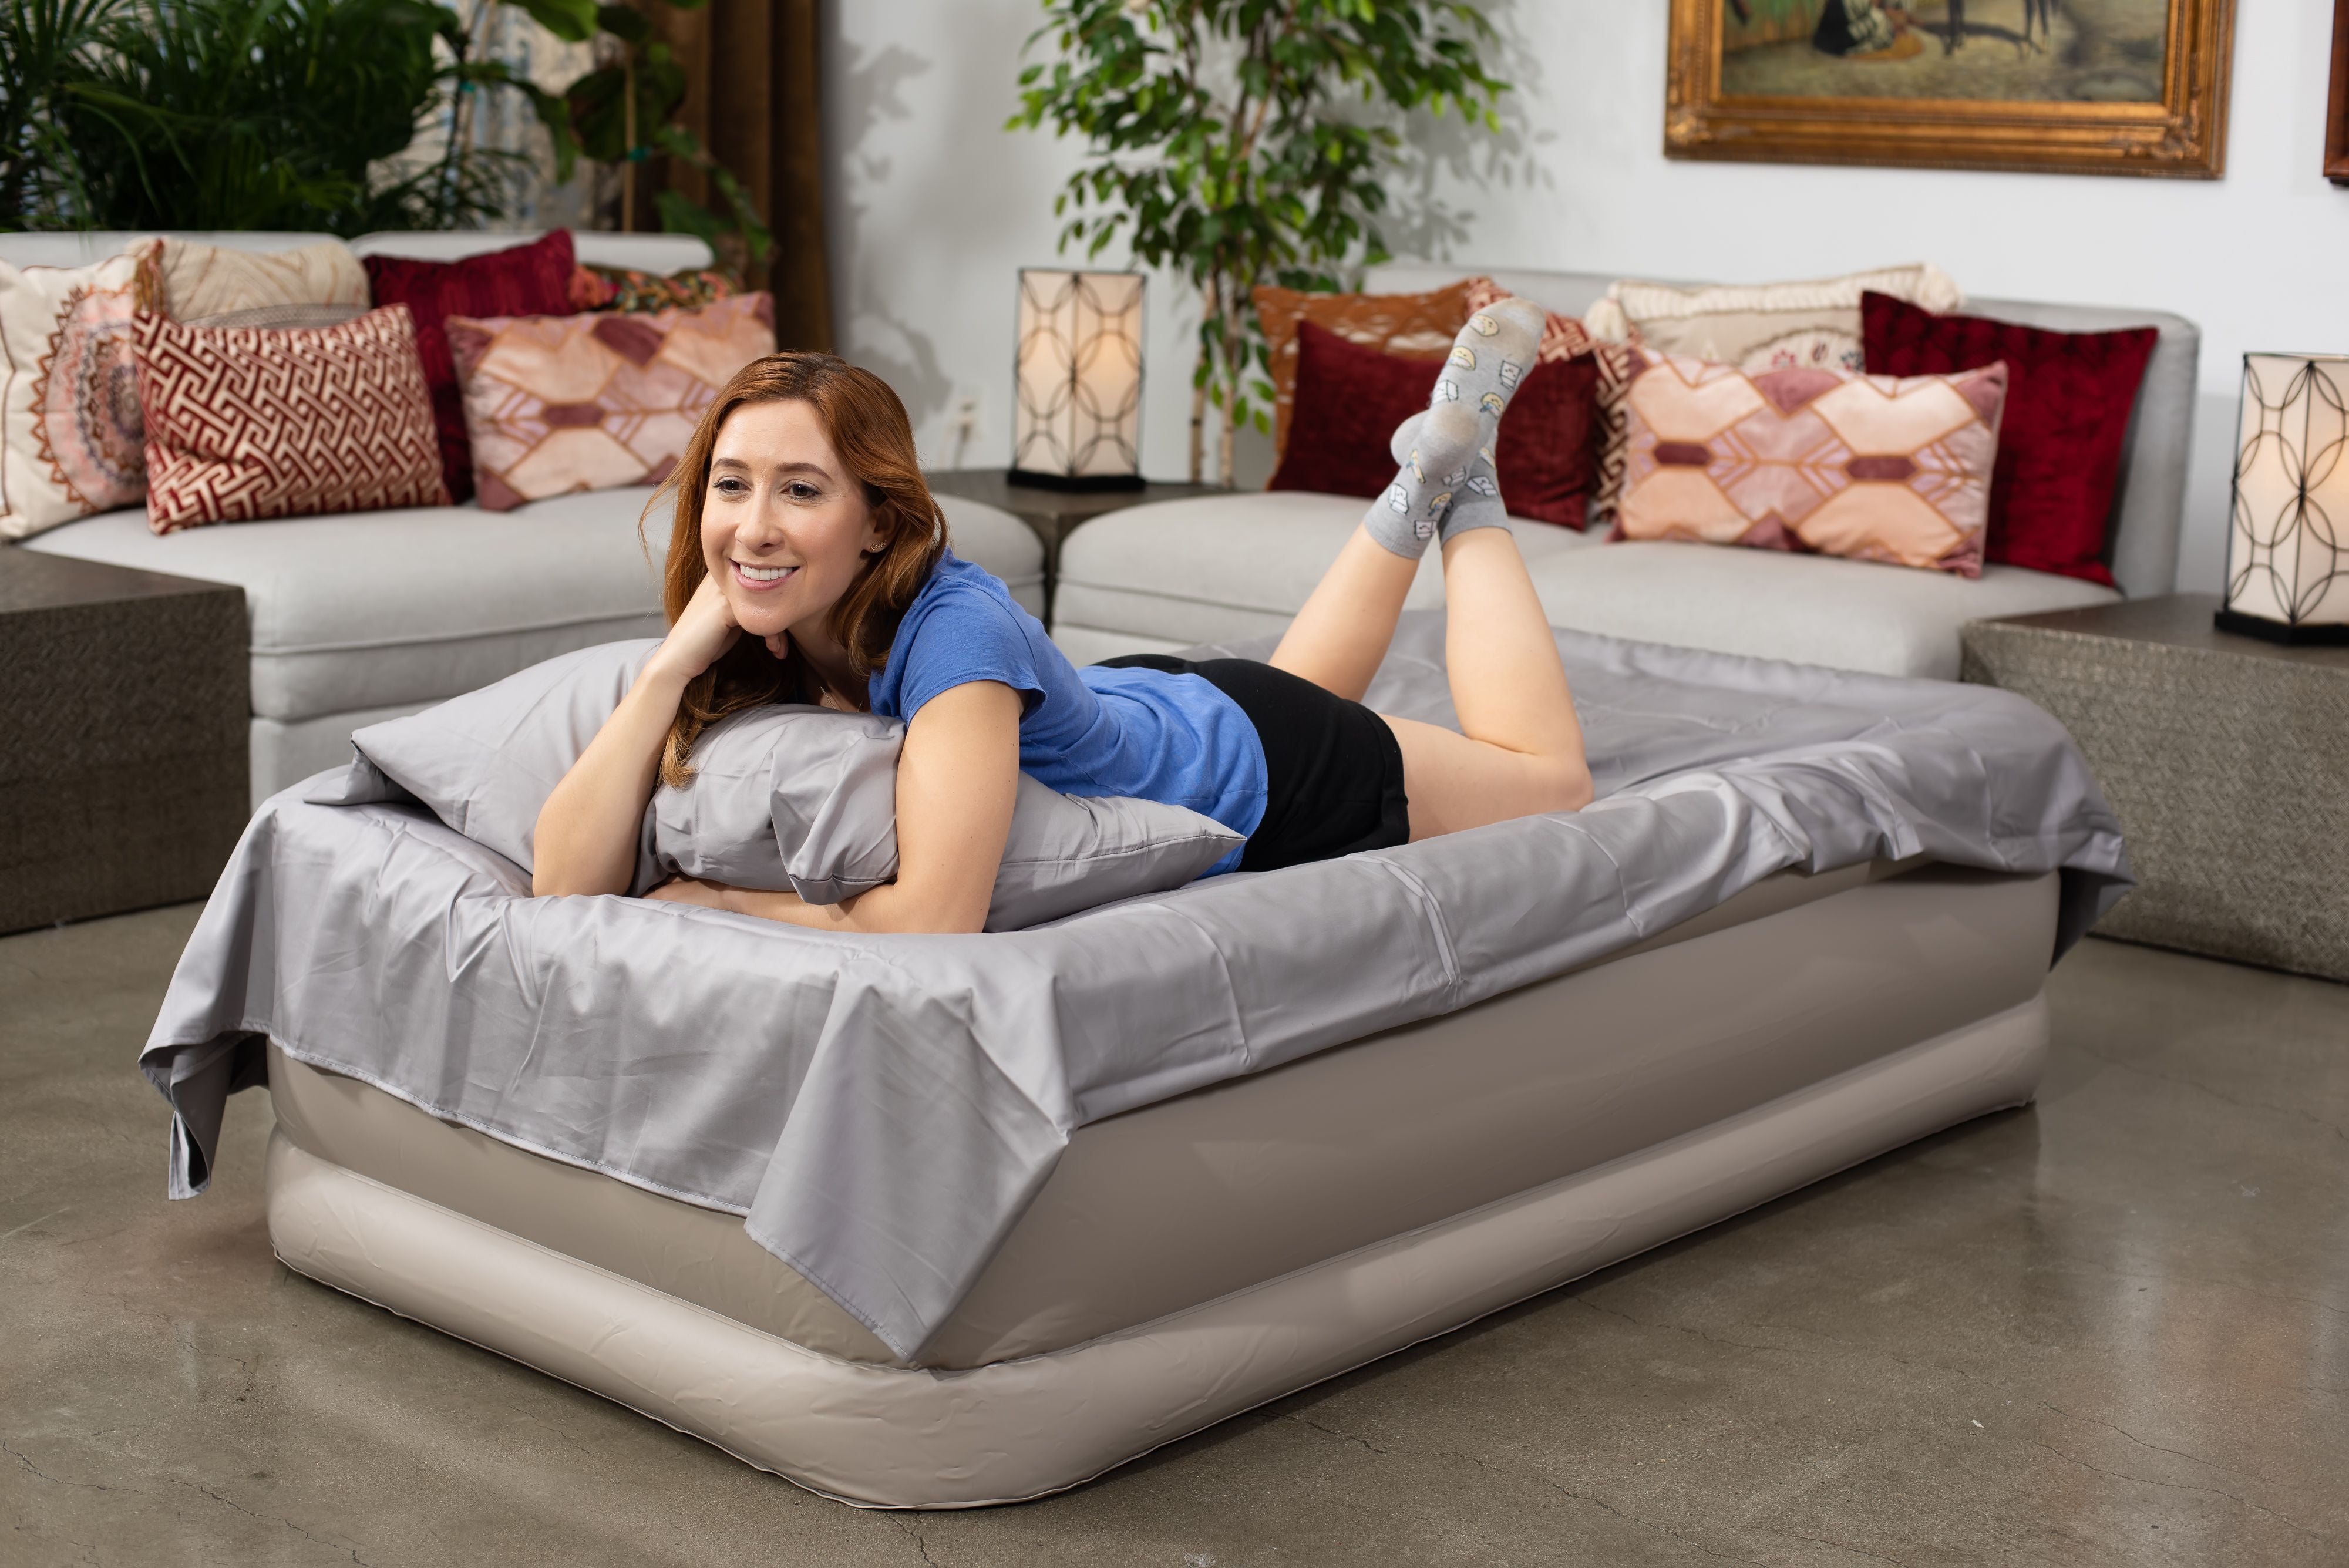
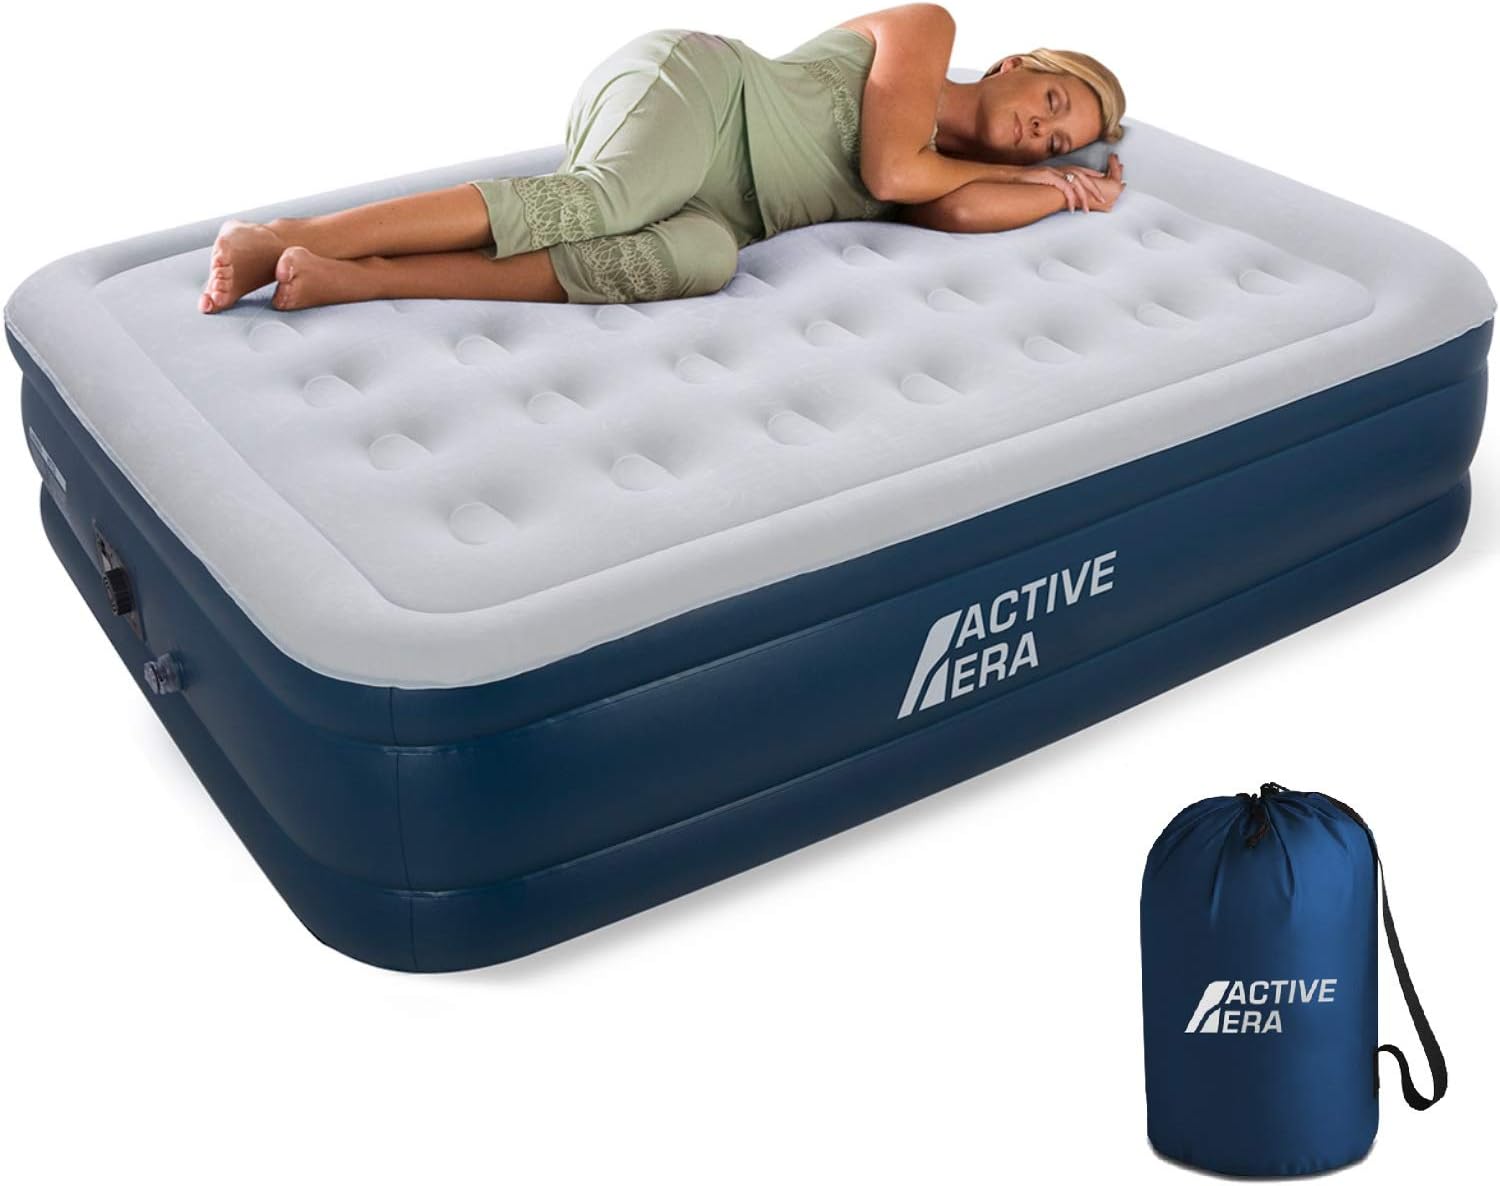
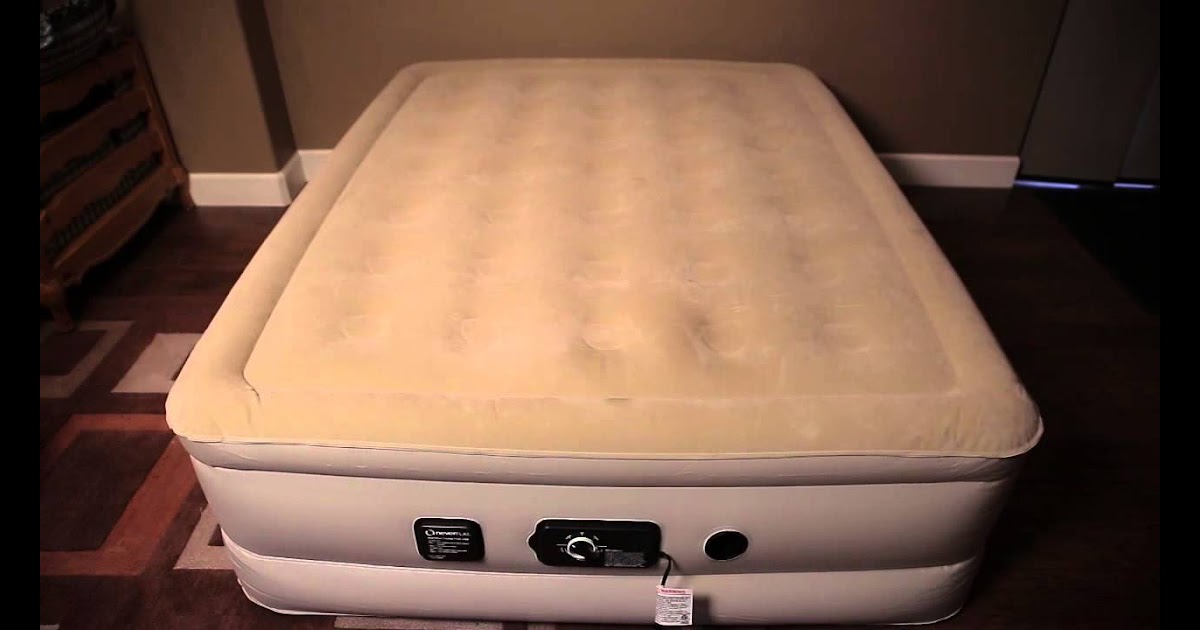
Additionally, air mattresses are incredibly easy to set up and take down, making them a
convenient
option for both unexpected guests and camping trips. They can be inflated and deflated quickly, and most come with a compact storage bag, making them easy to store when not in use. This versatility and convenience make air mattresses a practical choice for any household.
The primary purpose of an air mattress is, of course, for sleeping. But what sets it apart from a traditional mattress is its
versatility
. With the ability to adjust the air pressure, you can customize the firmness of your mattress to your personal preference. This makes it ideal for individuals who suffer from back pain or other body aches as they can adjust the mattress to provide support where they need it most.
Additionally, air mattresses are incredibly easy to set up and take down, making them a
convenient
option for both unexpected guests and camping trips. They can be inflated and deflated quickly, and most come with a compact storage bag, making them easy to store when not in use. This versatility and convenience make air mattresses a practical choice for any household.
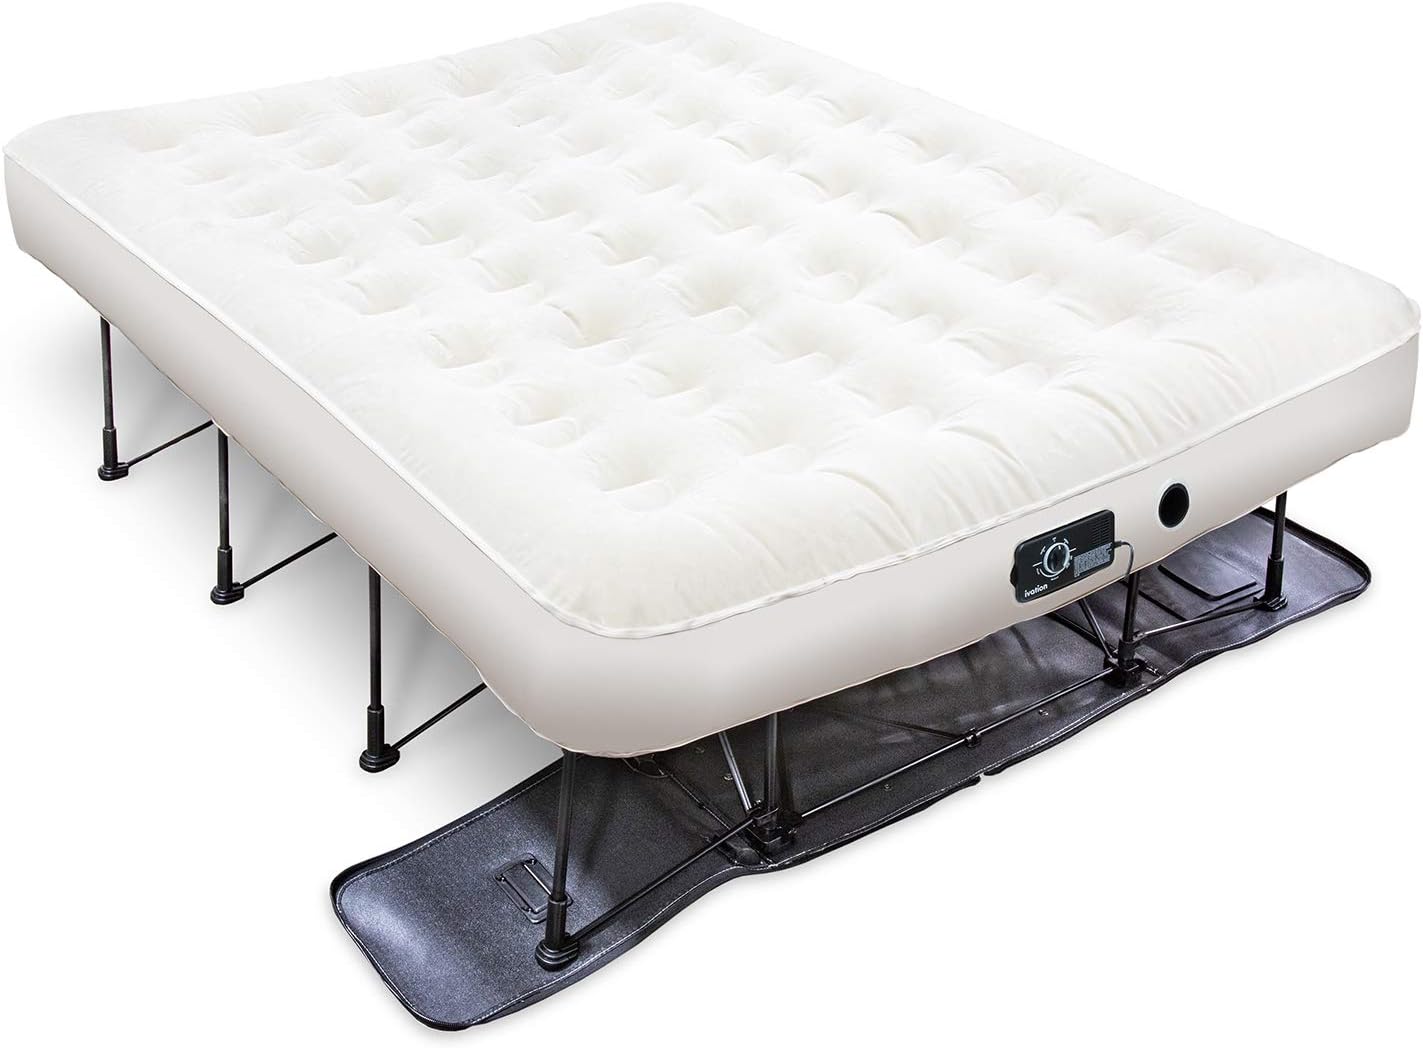
Space-Saving Solution
 In today's world, where living spaces are becoming smaller and more compact,
space-saving
solutions are a must. Air mattresses offer just that, as they can be easily deflated and stored away when not in use. This is especially useful in small apartments or for those who like to maximize their living space. Plus, they can be used in various rooms, such as the living room or office, to provide extra sleeping space for guests without taking up too much room.
In today's world, where living spaces are becoming smaller and more compact,
space-saving
solutions are a must. Air mattresses offer just that, as they can be easily deflated and stored away when not in use. This is especially useful in small apartments or for those who like to maximize their living space. Plus, they can be used in various rooms, such as the living room or office, to provide extra sleeping space for guests without taking up too much room.
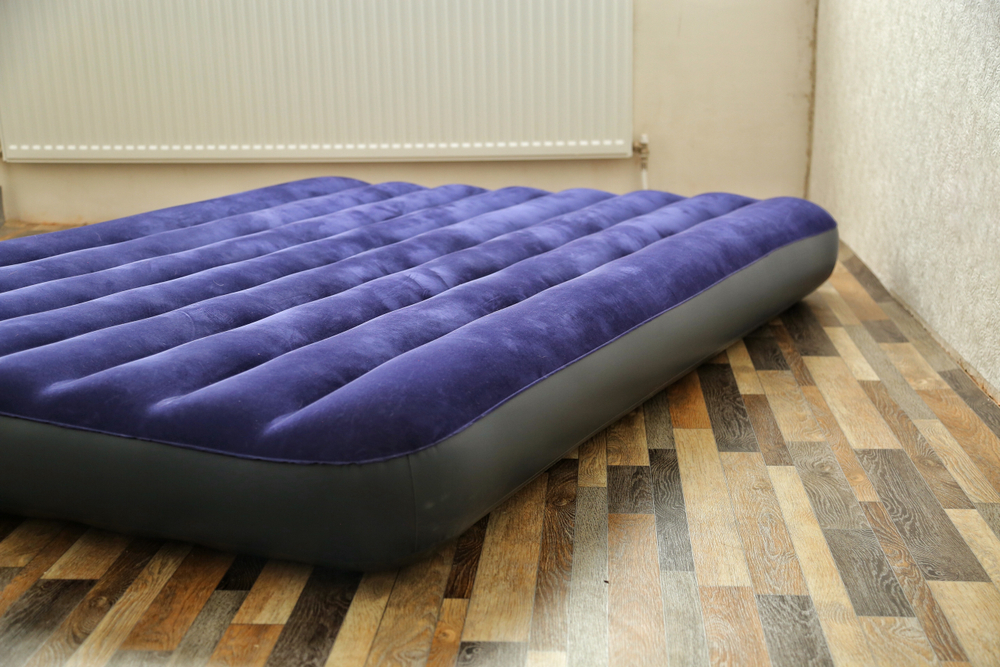
Affordable Option
 Compared to traditional mattresses, air mattresses are
affordable
, making them a budget-friendly choice for many households. They come in a range of prices, so you can find one that fits your budget without sacrificing quality. Additionally, air mattresses are durable and can last for many years with proper care, making them a cost-effective investment.
Compared to traditional mattresses, air mattresses are
affordable
, making them a budget-friendly choice for many households. They come in a range of prices, so you can find one that fits your budget without sacrificing quality. Additionally, air mattresses are durable and can last for many years with proper care, making them a cost-effective investment.
Conclusion
 In conclusion, an air mattress is not just a temporary solution for unexpected guests or camping trips. It is a
versatile
,
convenient
,
space-saving
, and
affordable
option that every home should have. From providing comfortable sleep to saving space and money, an air mattress is an essential item that should not be overlooked in house design. So, if you don't already have one, it's time to invest in an air mattress for your home.
In conclusion, an air mattress is not just a temporary solution for unexpected guests or camping trips. It is a
versatile
,
convenient
,
space-saving
, and
affordable
option that every home should have. From providing comfortable sleep to saving space and money, an air mattress is an essential item that should not be overlooked in house design. So, if you don't already have one, it's time to invest in an air mattress for your home.

/farmhouse-style-kitchen-island-7d12569a-85b15b41747441bb8ac9429cbac8bb6b.jpg)


