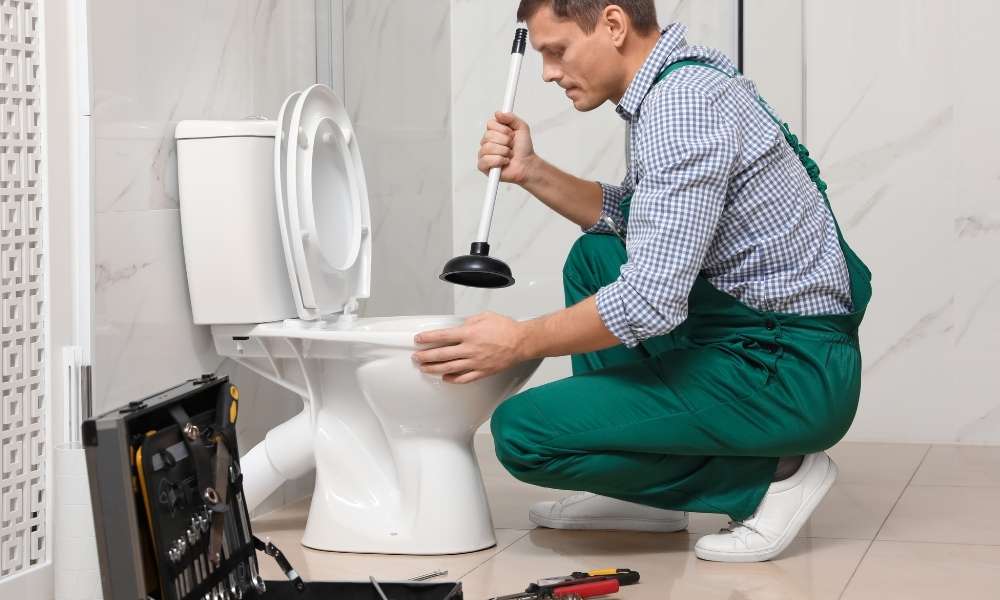
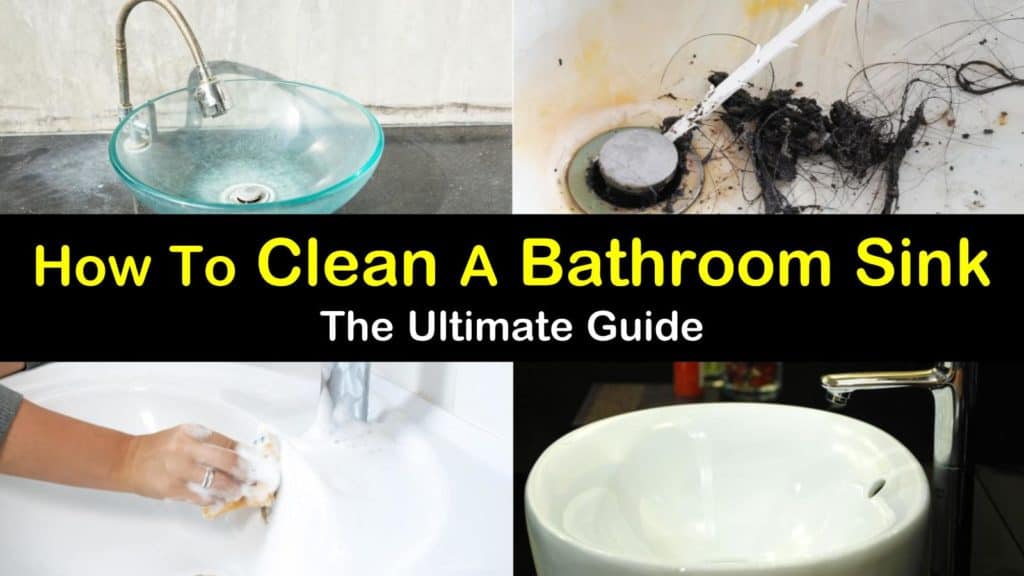
Is your bathroom sink draining slowly or emitting unpleasant odors? It may be time to remove and clean your bathroom sink filter. This small but crucial component of your sink can easily become clogged with hair, soap scum, and other debris, leading to drainage issues. Fortunately, removing a bathroom sink filter is a simple task that you can do yourself with just a few tools and some basic knowledge. How to Remove a Bathroom Sink Filter


How to Remove a Bathroom Sink Filter

/cleaning-the-aerator-from-deposits--the-girl-hand-washes-a-dirty-limestone-aerator-with-water-1126244919-72868100964f42d5aa564a928371fea5.jpg)


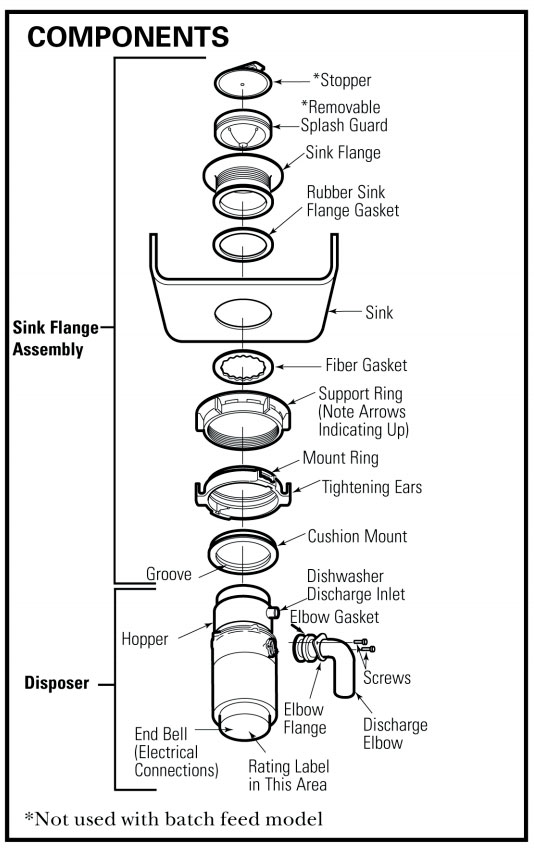
Before you start, it's important to determine the type of filter you have. Some bathroom sinks have a pop-up stopper with a built-in filter, while others have a separate strainer and filter. The method for removing each type may differ slightly, so make sure you know what you're dealing with before beginning. The Best Way to Remove a Bathroom Sink Filter


The Best Way to Remove a Bathroom Sink Filter


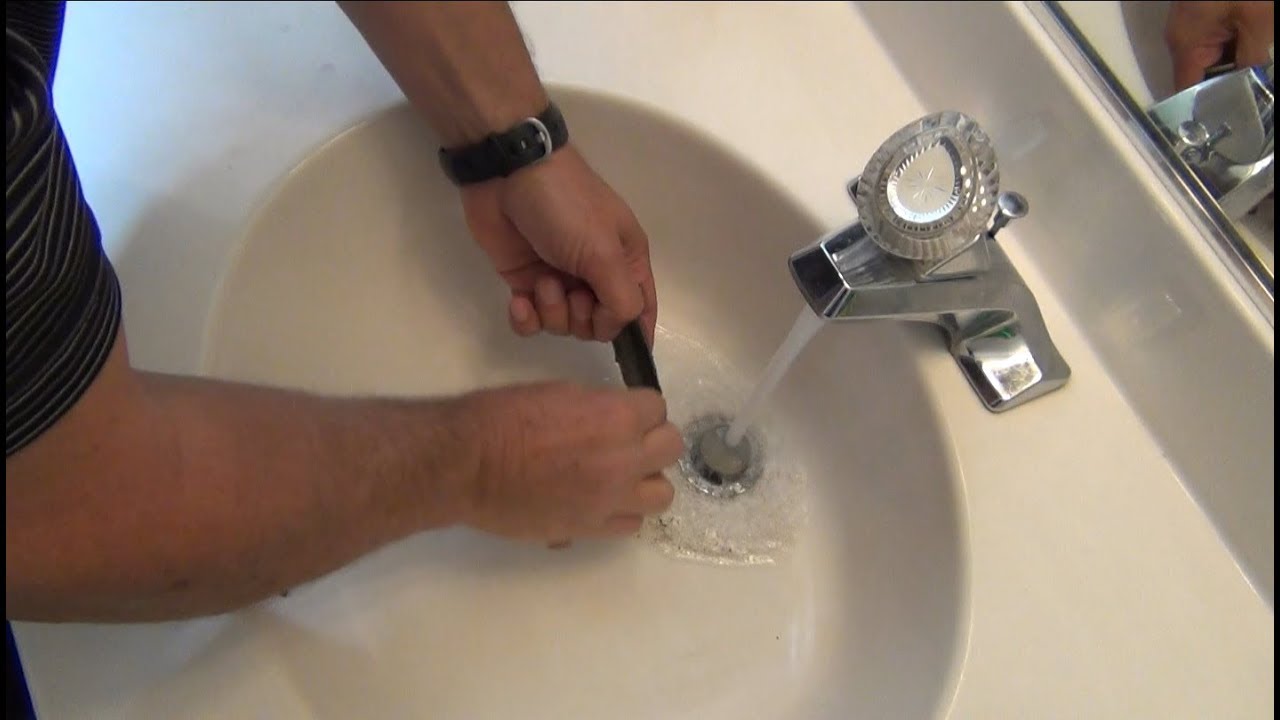
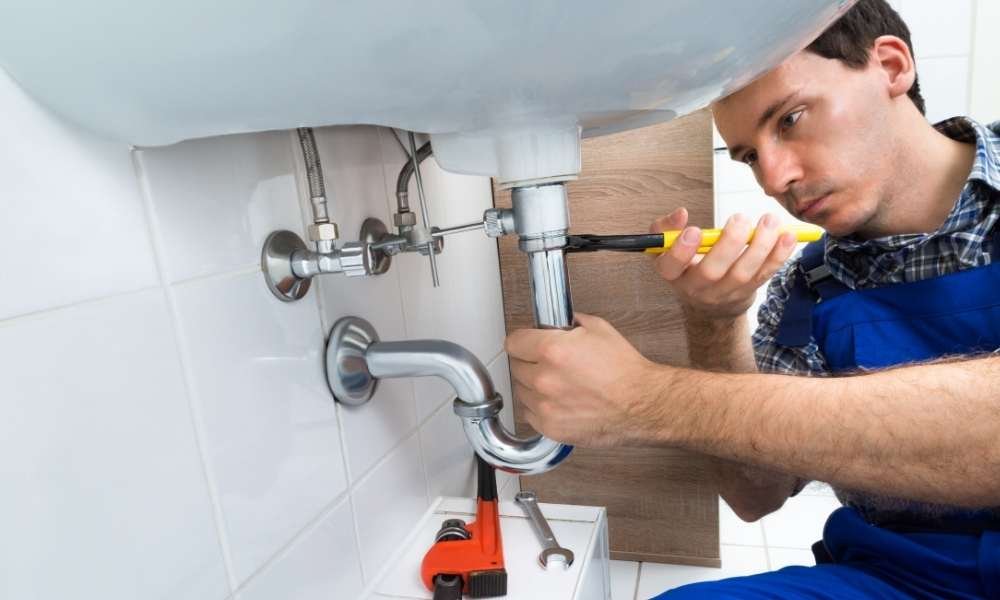
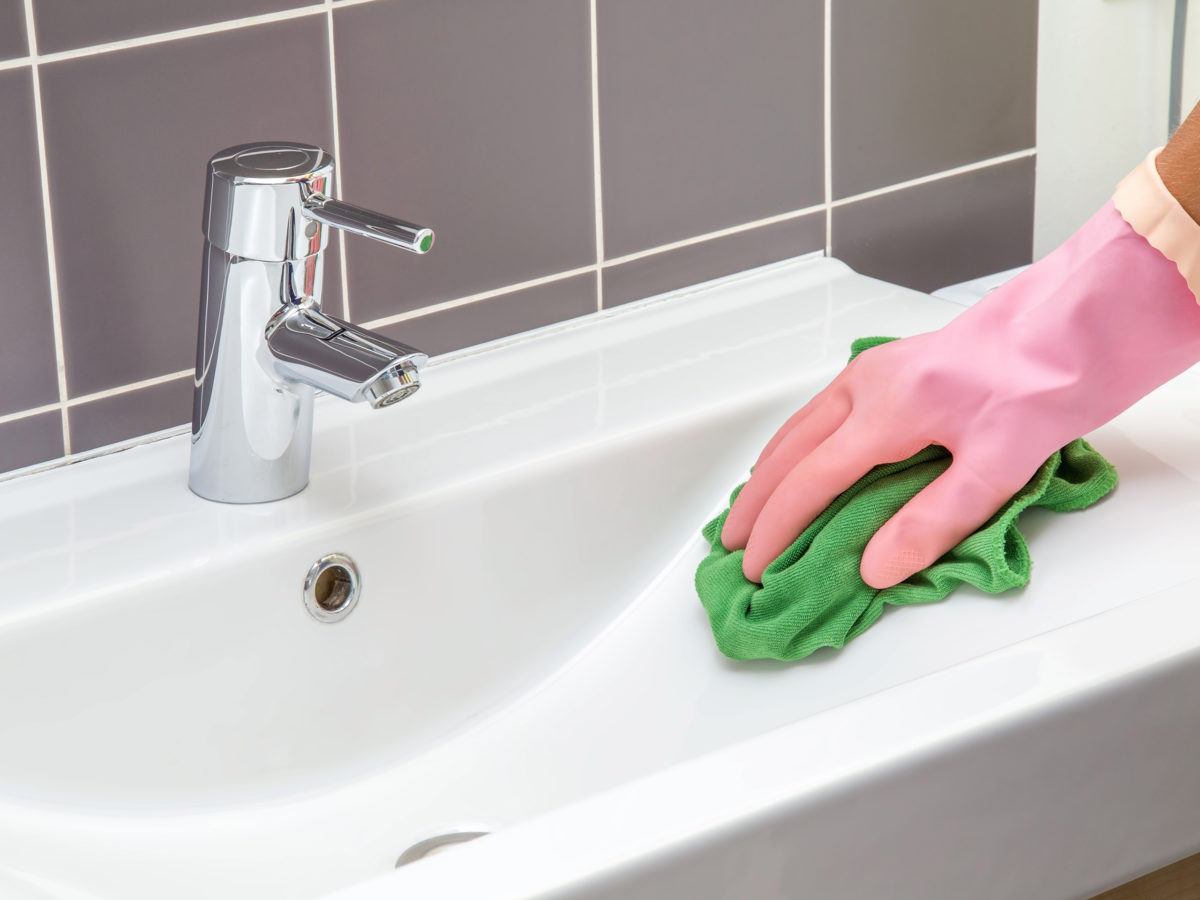
1. Clear the area: Remove any items from around the sink and lay down a towel to catch any debris or water that may spill during the process. 2. Locate the filter: Look for the filter underneath the sink, either in the drain or attached to the pop-up stopper. 3. Unscrew the filter: Use pliers or a wrench to loosen the nut holding the filter in place. Turn it counterclockwise to loosen and remove the filter. 4. Remove the filter: Once the nut is loosened, you should be able to pull the filter out of the drain or pop-up stopper. 5. Clean the filter: Rinse the filter with warm water and use a small brush or toothbrush to remove any buildup or debris. You can also soak the filter in a mixture of warm water and vinegar for a deeper clean. 6. Reinstall the filter: Once the filter is clean, dry it off and place it back in the drain or pop-up stopper. Make sure to tighten the nut securely to prevent any leaks. 7. Test the sink: Run some water in the sink to make sure it is draining properly. If not, you may need to repeat the cleaning process or call a professional plumber for assistance. Step-by-Step Guide for Removing a Bathroom Sink Filter


Step-by-Step Guide for Removing a Bathroom Sink Filter


- If the filter is difficult to remove, try using a lubricant such as WD-40 to loosen the nut. - For stubborn buildup, you may need to use a chemical drain cleaner or a drain snake to clear the clog before removing the filter. - If your sink has a separate strainer and filter, you may need to remove the strainer first before accessing the filter. Removing a Bathroom Sink Filter: Tips and Tricks
Removing a Bathroom Sink Filter: Tips and Tricks


Removing a bathroom sink filter is a simple task that you can easily do yourself. Not only will it save you money, but it will also ensure that your sink is draining properly and preventing any potential plumbing issues. DIY: Removing a Bathroom Sink Filter


DIY: Removing a Bathroom Sink Filter


Regularly removing and cleaning your bathroom sink filter is crucial for maintaining proper drainage and preventing clogs. It also helps to improve the overall function and lifespan of your sink. The Importance of Removing a Bathroom Sink Filter


The Importance of Removing a Bathroom Sink Filter


- Not knowing the type of filter you have before starting the removal process. - Using excessive force when loosening the nut, which can cause damage to the filter or plumbing. - Forgetting to clean the filter before reinstalling it, which can lead to continued drainage issues. Common Mistakes When Removing a Bathroom Sink Filter


Common Mistakes When Removing a Bathroom Sink Filter


- Pliers or a wrench - Small brush or toothbrush - Towel - Chemical drain cleaner (if needed) - Drain snake (if needed) Tools You'll Need to Remove a Bathroom Sink Filter


Tools You'll Need to Remove a Bathroom Sink Filter


It's recommended to remove and clean your bathroom sink filter at least once a month to prevent buildup and maintain proper drainage. However, if you notice slow draining or unpleasant odors, you may need to do it more frequently. How Often Should You Remove and Clean Your Bathroom Sink Filter?


How Often Should You Remove and Clean Your Bathroom Sink Filter?


If you're having trouble removing your bathroom sink filter, don't force it. You may end up causing more damage and potentially the need for costly repairs. Instead, consider calling a professional plumber to assist with the removal and cleaning process. With these steps and tips, you can easily remove and clean your bathroom sink filter to ensure proper drainage and prevent any potential plumbing issues. Remember to always use caution and seek professional help if needed. Happy cleaning! Troubleshooting: What to Do If You Can't Remove Your Bathroom Sink Filter


Troubleshooting: What to Do If You Can't Remove Your Bathroom Sink Filter


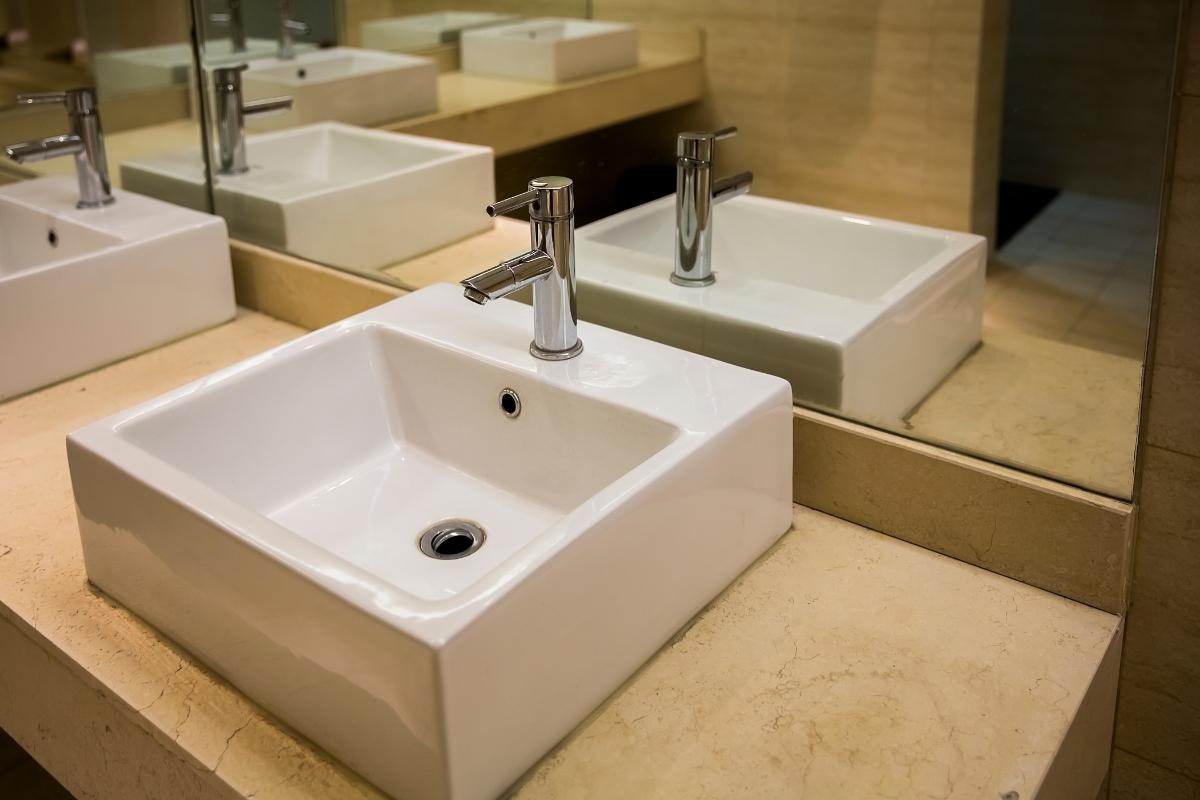
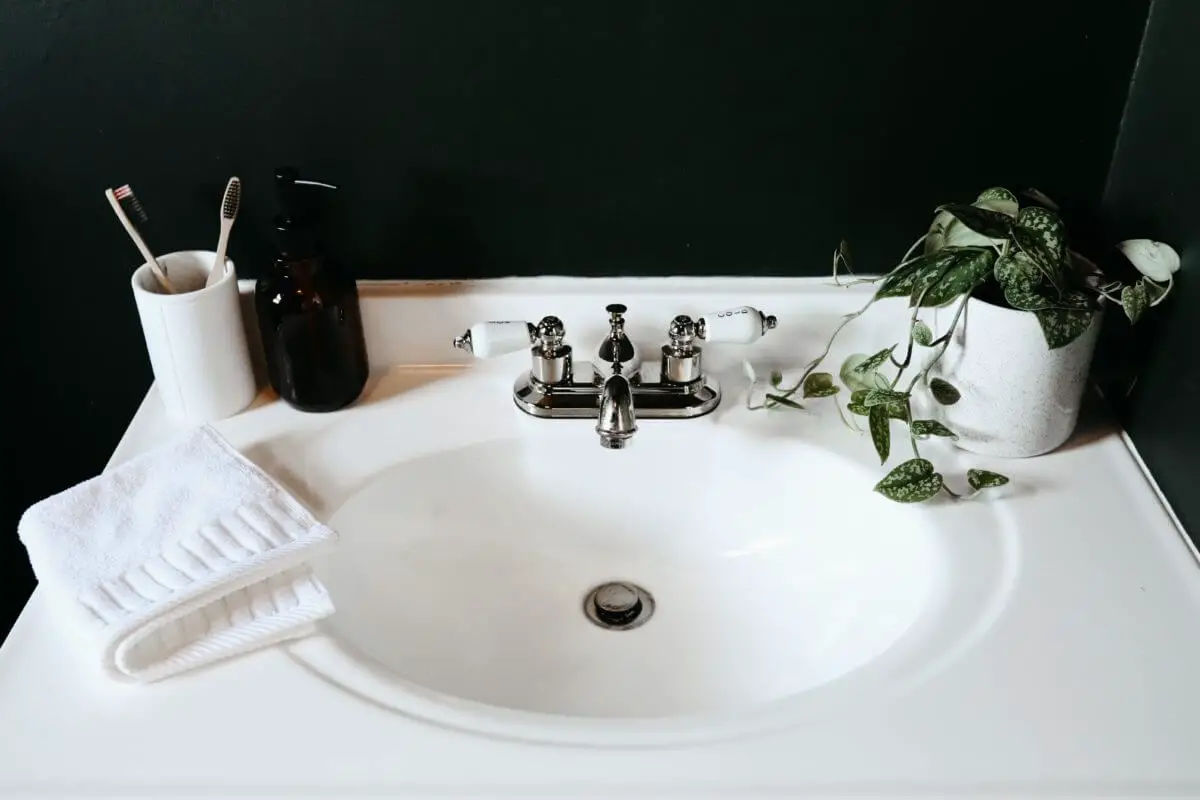
Bathroom Sink: The Unsung Hero of House Design
The Importance of a Bathroom Sink Filter
 When it comes to designing a house, every detail matters. The bathroom sink, while often overlooked, plays an essential role in the overall design and functionality of a bathroom. And one crucial component of a bathroom sink is its filter.
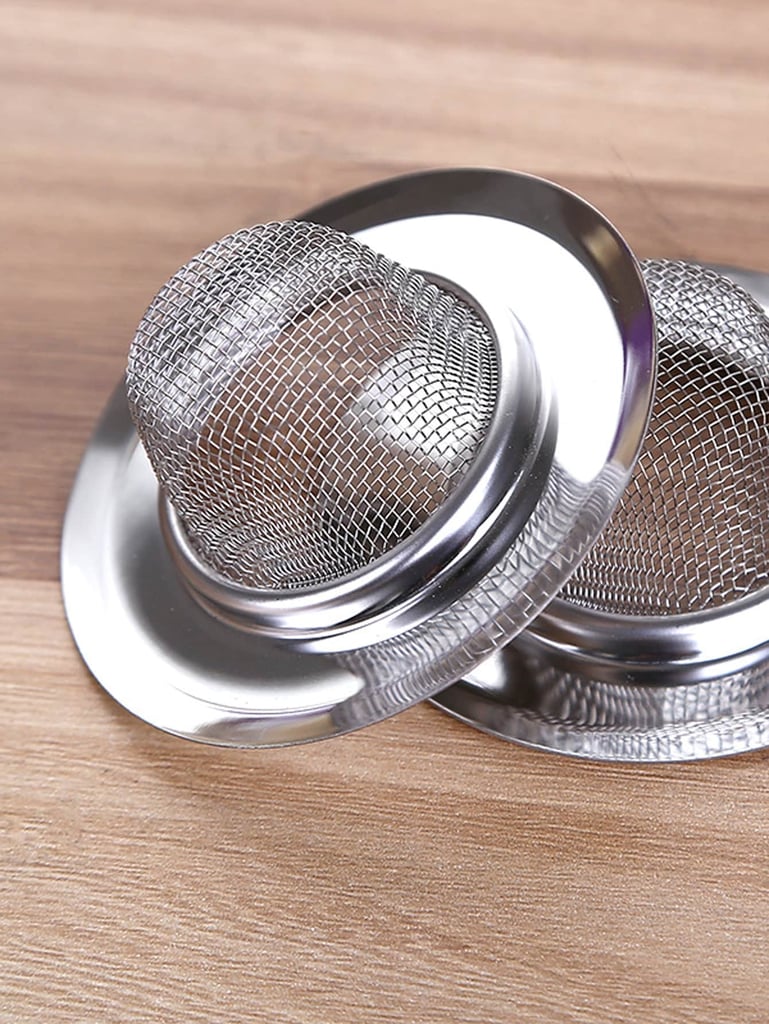
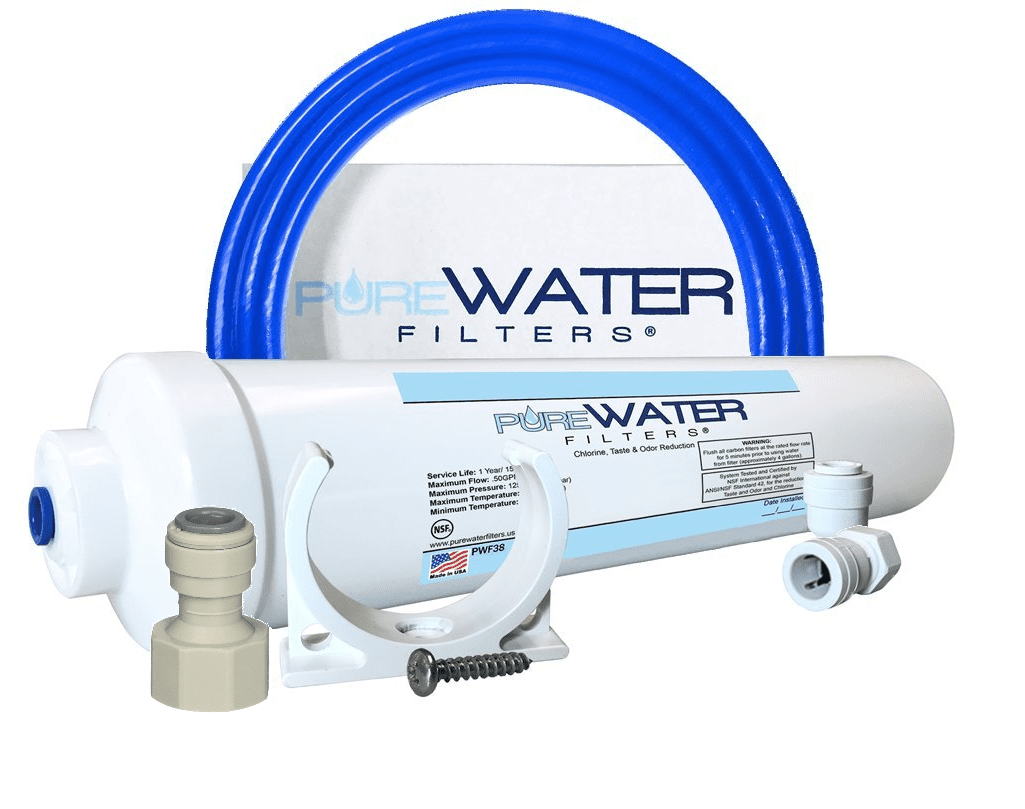
Bathroom sink filters
are designed to prevent clogs and keep your water clean. Over time, debris and mineral deposits can build up in your pipes and cause blockages. A filter acts as a barrier, catching these particles before they can cause any problems. This not only helps maintain the flow of water but also ensures that the water coming out of your sink is free of impurities.
When it comes to designing a house, every detail matters. The bathroom sink, while often overlooked, plays an essential role in the overall design and functionality of a bathroom. And one crucial component of a bathroom sink is its filter.
Bathroom sink filters
are designed to prevent clogs and keep your water clean. Over time, debris and mineral deposits can build up in your pipes and cause blockages. A filter acts as a barrier, catching these particles before they can cause any problems. This not only helps maintain the flow of water but also ensures that the water coming out of your sink is free of impurities.
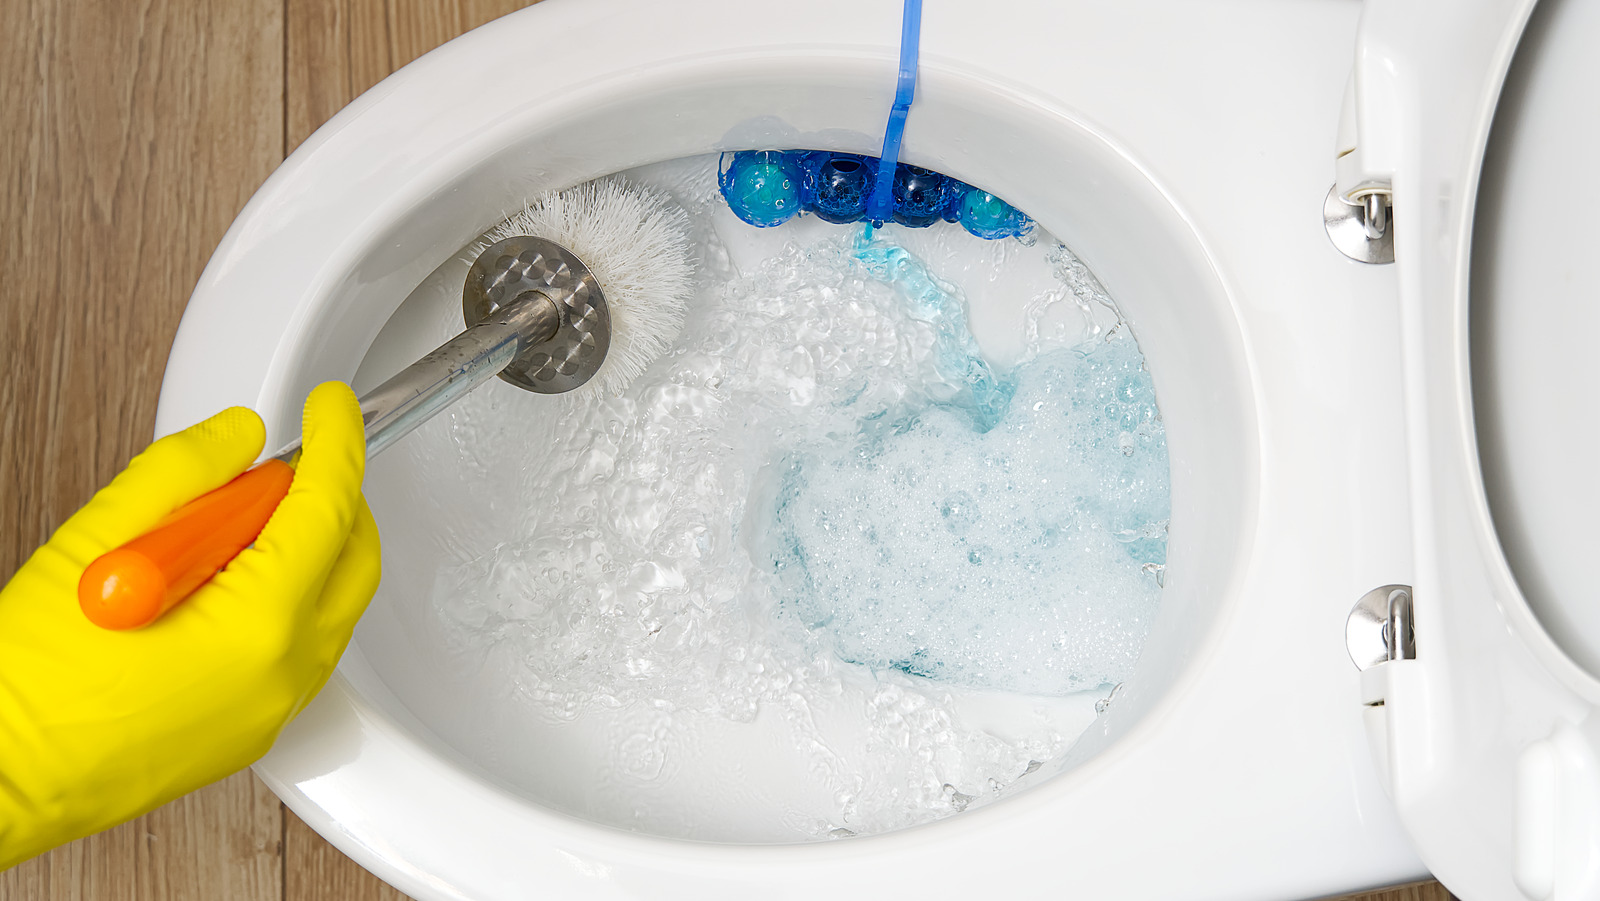
The Process of Removing a Bathroom Sink Filter
 If you have noticed a decrease in water pressure or a strange odor coming from your bathroom sink, it may be time to remove and clean the filter. The process is relatively simple and can be done in a few easy steps.
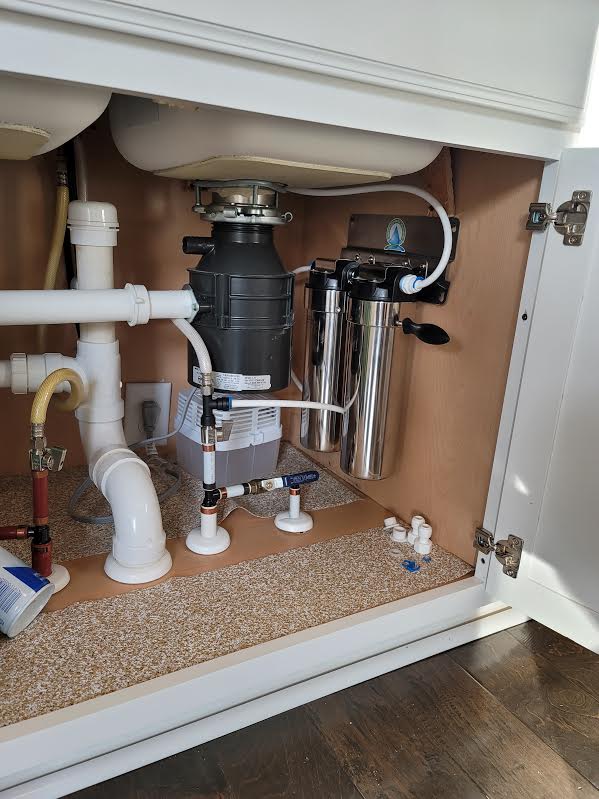
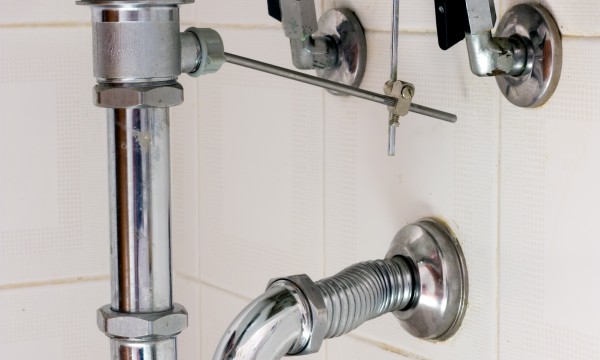
First, locate the filter under the sink. It is usually attached to the bottom of the sink or the drain pipe.
Remove
the filter carefully by twisting it counterclockwise or pulling it straight out, depending on the type of filter you have. Once removed, you can give it a thorough clean with warm water and soap. If the filter is particularly dirty, you can use a small brush to scrub away any stubborn debris.
If you have noticed a decrease in water pressure or a strange odor coming from your bathroom sink, it may be time to remove and clean the filter. The process is relatively simple and can be done in a few easy steps.
First, locate the filter under the sink. It is usually attached to the bottom of the sink or the drain pipe.
Remove
the filter carefully by twisting it counterclockwise or pulling it straight out, depending on the type of filter you have. Once removed, you can give it a thorough clean with warm water and soap. If the filter is particularly dirty, you can use a small brush to scrub away any stubborn debris.
Benefits of Regularly Cleaning Your Bathroom Sink Filter
 By regularly cleaning your bathroom sink filter, you can prevent clogs and keep your water flowing smoothly. This not only saves you the hassle of dealing with a clogged sink but also
helps maintain the longevity
of your plumbing system. Additionally, keeping your filter clean can improve the
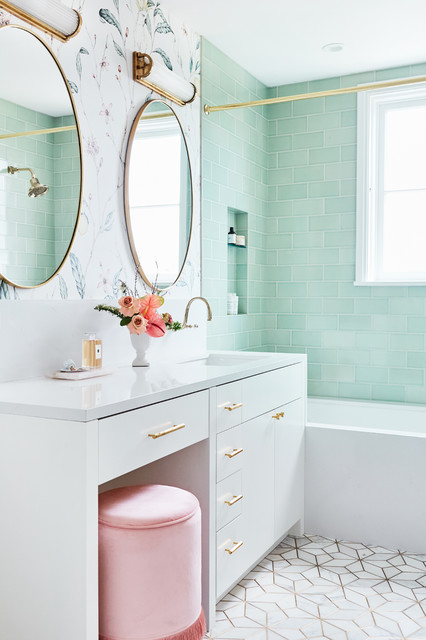
overall aesthetics
of your bathroom by ensuring that your sink is free of any unpleasant odors.
In conclusion, the bathroom sink filter may seem like a small and insignificant part of house design, but it plays a crucial role in maintaining the functionality and cleanliness of your bathroom. By regularly cleaning and maintaining your filter, you can ensure that your bathroom sink continues to serve as the unsung hero of your house design.
By regularly cleaning your bathroom sink filter, you can prevent clogs and keep your water flowing smoothly. This not only saves you the hassle of dealing with a clogged sink but also
helps maintain the longevity
of your plumbing system. Additionally, keeping your filter clean can improve the
overall aesthetics
of your bathroom by ensuring that your sink is free of any unpleasant odors.
In conclusion, the bathroom sink filter may seem like a small and insignificant part of house design, but it plays a crucial role in maintaining the functionality and cleanliness of your bathroom. By regularly cleaning and maintaining your filter, you can ensure that your bathroom sink continues to serve as the unsung hero of your house design.