Bathroom Sink Plunger Rod Repair Kit
Having a clogged bathroom sink can be a major inconvenience, but luckily, it can often be easily fixed with a plunger. However, if the plunger rod itself is damaged or broken, it may require a bit more effort to repair. Instead of calling a plumber and spending unnecessary money, consider investing in a bathroom sink plunger rod repair kit. With the right tools and knowledge, you can fix your bathroom sink plunger rod in no time.


Bathroom Sink Plunger Rod Repair Kit


How to Fix a Bathroom Sink Plunger Rod
If you notice that your bathroom sink plunger is not working properly or is completely broken, it may be time to fix it. First, gather the necessary tools for the repair, including a plunger, plunger rod, and plunger rod repair kit. Next, remove the old plunger rod and replace it with the new one, following the instructions included in the kit. Finally, test the plunger rod to ensure it is working properly. If you are unsure of how to complete this repair, there are many helpful tutorials and guides available online.


How to Fix a Bathroom Sink Plunger Rod


DIY Bathroom Sink Plunger Rod Repair
If you are feeling handy and want to save money on a plumber, you can attempt to repair your bathroom sink plunger rod on your own. To start, turn off the water supply and remove the plunger rod from the sink. Next, inspect the rod for any visible damage or clogs. If the rod is clogged, use a plunger to clear it out. If the rod is damaged, you can try to repair it using a plunger rod repair kit. Follow the instructions carefully and test the rod before reattaching it to the sink.


DIY Bathroom Sink Plunger Rod Repair


Bathroom Sink Plunger Rod Replacement
If your bathroom sink plunger rod is beyond repair, you may need to replace it entirely. This process is similar to repairing the plunger rod, but instead of using a repair kit, you will need to purchase a new plunger rod. Make sure to choose a rod that is compatible with your sink and follow the instructions carefully for installation. Once the new rod is installed, test it to ensure it is working properly.

Bathroom Sink Plunger Rod Replacement


Common Bathroom Sink Plunger Rod Problems
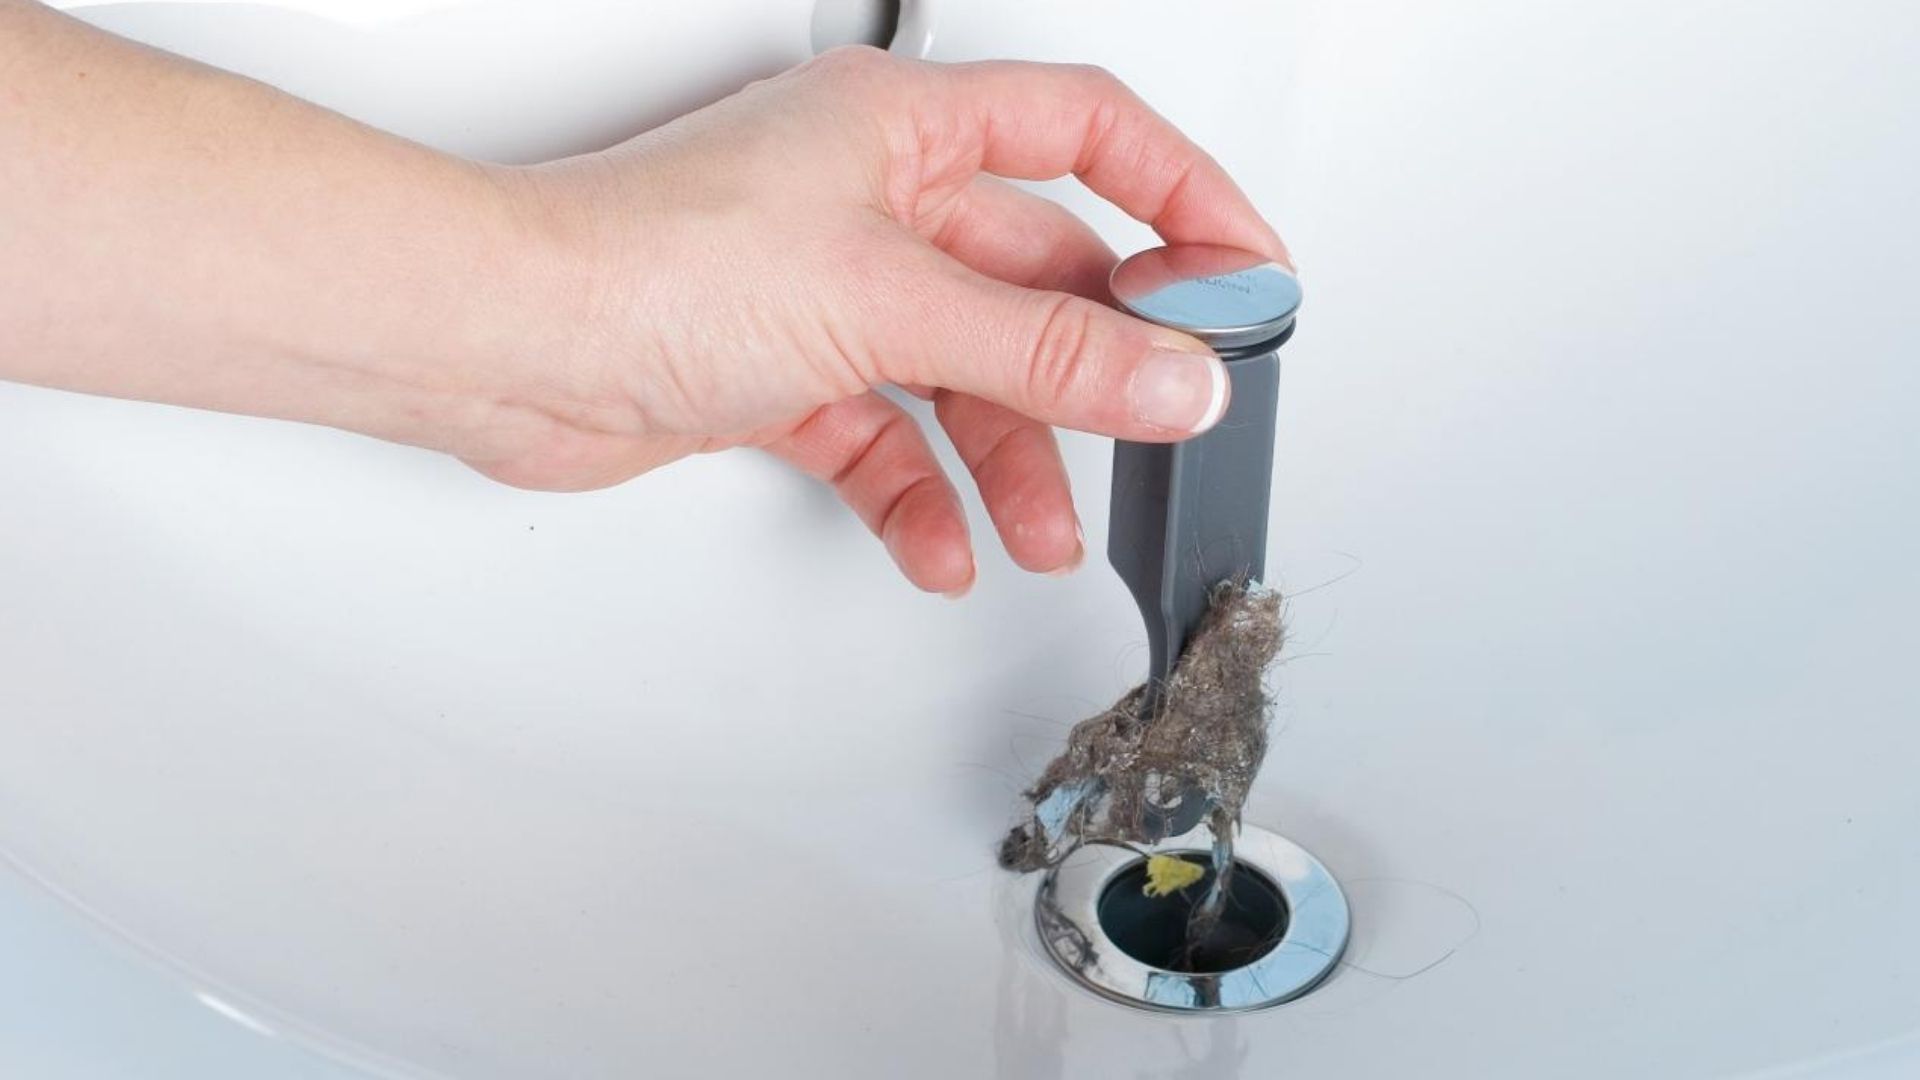
There are a few common problems that may occur with a bathroom sink plunger rod. One of the most common issues is a clogged plunger rod, which can be caused by a buildup of hair or debris. This can often be fixed by using a plunger to clear the clog. Another issue may be a broken or damaged plunger rod, which may require a repair or replacement. Finally, if the plunger rod is not functioning properly, it may be due to a faulty connection with the plunger or sink.


Common Bathroom Sink Plunger Rod Problems


Troubleshooting Bathroom Sink Plunger Rod Issues
If you are experiencing problems with your bathroom sink plunger rod, there are a few things you can do to troubleshoot the issue. First, make sure the plunger rod is properly attached to the plunger and sink. If it seems loose, tighten the connections. Next, check for any visible damage or clogs on the plunger rod. If necessary, clear the clog or repair/replace the rod. If these steps do not resolve the issue, it may be best to seek professional help.


Troubleshooting Bathroom Sink Plunger Rod Issues


Step-by-Step Guide for Bathroom Sink Plunger Rod Repair
Repairing a bathroom sink plunger rod can be a simple process if you have the right tools and knowledge. To help you through the process, here is a step-by-step guide:
1. First, turn off the water supply to the sink.
2. Next, remove the old plunger rod from the sink.
3. Inspect the rod for any visible damage or clogs.
4. If the rod is clogged, use a plunger to clear it out.
5. If the rod is damaged, use a plunger rod repair kit to fix it.
6. Follow the instructions carefully and test the rod before reattaching it to the sink.

Step-by-Step Guide for Bathroom Sink Plunger Rod Repair


Tools Needed for Bathroom Sink Plunger Rod Repair
In order to successfully repair or replace your bathroom sink plunger rod, you will need to have the following tools:
- Plunger
- Plunger rod
- Plunger rod repair kit
- Wrench (if necessary)


Tools Needed for Bathroom Sink Plunger Rod Repair

:max_bytes(150000):strip_icc()/woman-wearing-yellow-washing-up-gloves-to-unblock-sink-using-plunger-close-up-131987463-5887cfc03df78c2ccd92ec9e.jpg)
Tips for Preventing Bathroom Sink Plunger Rod Damage
To avoid having to deal with a broken or clogged plunger rod, there are a few simple steps you can take to prevent damage:
- Regularly clean your sink and remove any hair or debris.
- Avoid using harsh chemicals in your sink that can cause damage to the plunger rod.
- If you notice any issues with the plunger rod, address them immediately to prevent further damage.


Tips for Preventing Bathroom Sink Plunger Rod Damage


Professional Bathroom Sink Plunger Rod Repair Services
If you are unable to repair your bathroom sink plunger rod on your own, or if the issue seems more complicated, it may be best to seek professional help. There are many plumbing professionals who specialize in sink repairs and can quickly and efficiently fix any issues with your plunger rod. While this may cost more than a DIY repair, it can save you time and ensure that the job is done correctly.

Professional Bathroom Sink Plunger Rod Repair Services

Additional Tips for Bathroom Sink Plunger Rod Repair

Check the Plunger Rod for Damage
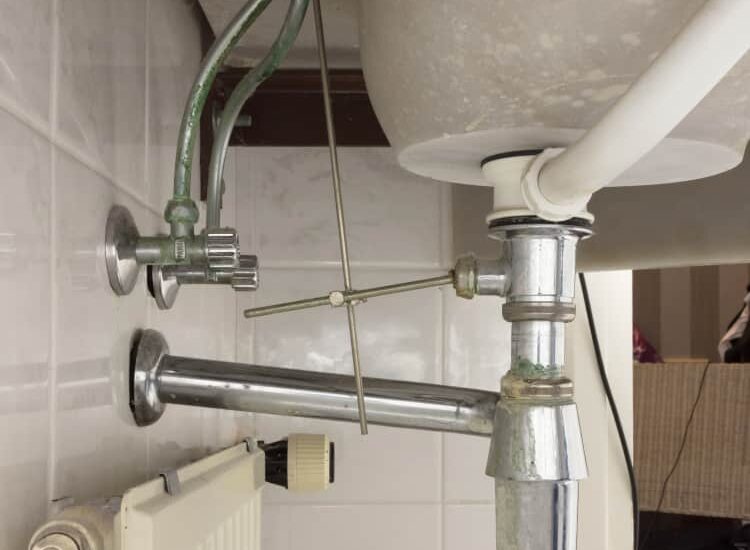
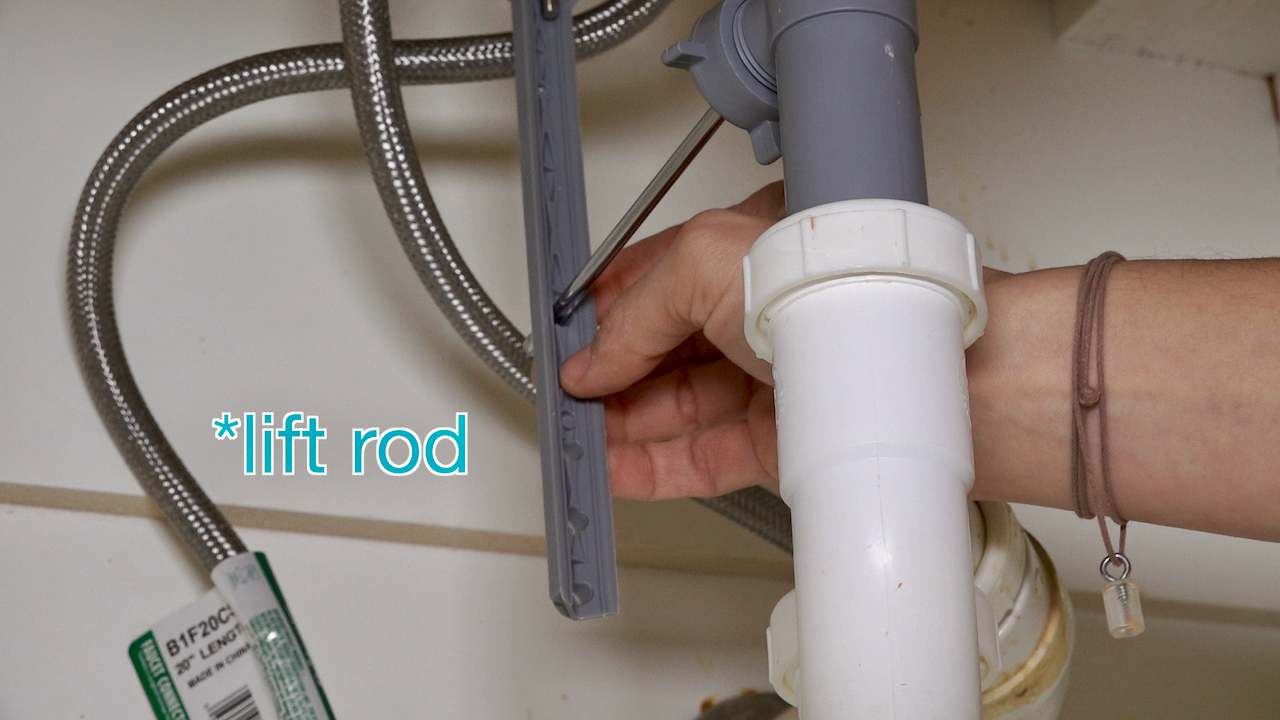
 If your bathroom sink is clogged and the plunger doesn't seem to be working, it's important to check the plunger rod for any damage. The plunger rod is the long metal or plastic rod that connects the plunger handle to the plunger cup. Over time, this rod can become bent or rusted, which can affect the suction power of the plunger.
Inspect the plunger rod
and if you notice any bends or rust, it may be time to replace it.
If your bathroom sink is clogged and the plunger doesn't seem to be working, it's important to check the plunger rod for any damage. The plunger rod is the long metal or plastic rod that connects the plunger handle to the plunger cup. Over time, this rod can become bent or rusted, which can affect the suction power of the plunger.
Inspect the plunger rod
and if you notice any bends or rust, it may be time to replace it.
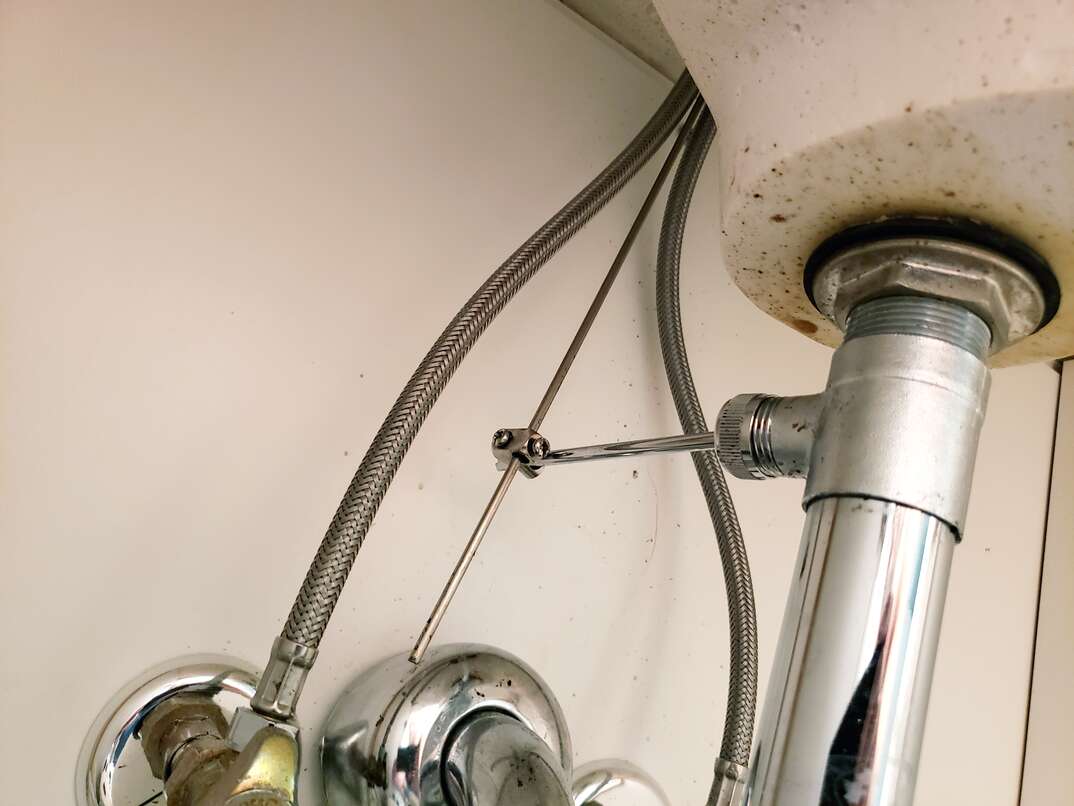
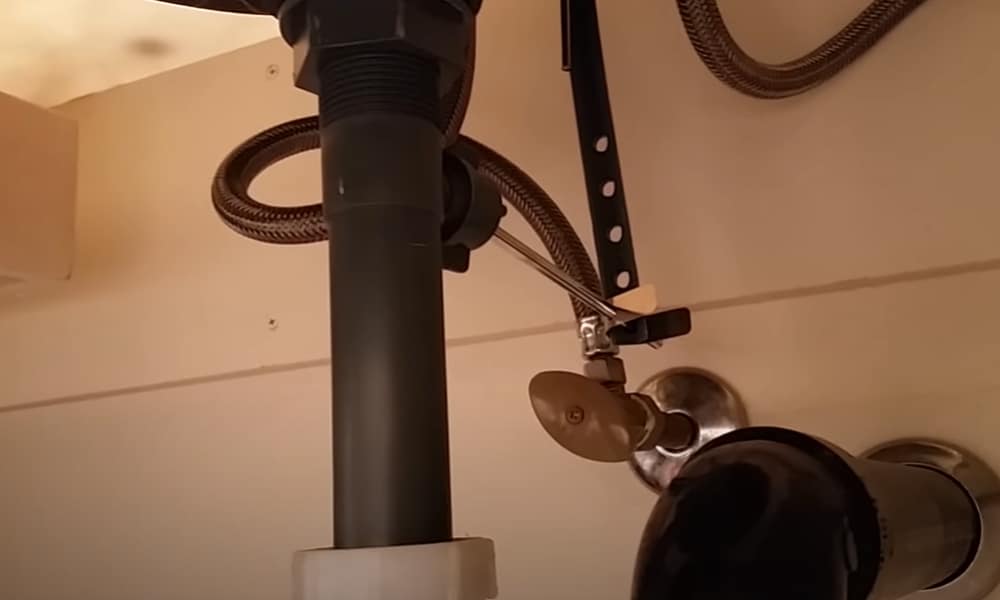
Replace the Plunger Rod
 Replacing the plunger rod is a relatively simple process. First, you will need to purchase a new plunger rod that is the same size and shape as your current one.
Measure the length of your old plunger rod
to ensure you get the correct size. Next, remove the old plunger rod by unscrewing it from the plunger handle.
Be careful not to damage the threads on the handle
as you remove the old rod. Once the old rod is removed,
attach the new rod to the handle and tighten it securely
. Test the new plunger rod by plunging it a few times to ensure it has a strong suction.
Replacing the plunger rod is a relatively simple process. First, you will need to purchase a new plunger rod that is the same size and shape as your current one.
Measure the length of your old plunger rod
to ensure you get the correct size. Next, remove the old plunger rod by unscrewing it from the plunger handle.
Be careful not to damage the threads on the handle
as you remove the old rod. Once the old rod is removed,
attach the new rod to the handle and tighten it securely
. Test the new plunger rod by plunging it a few times to ensure it has a strong suction.
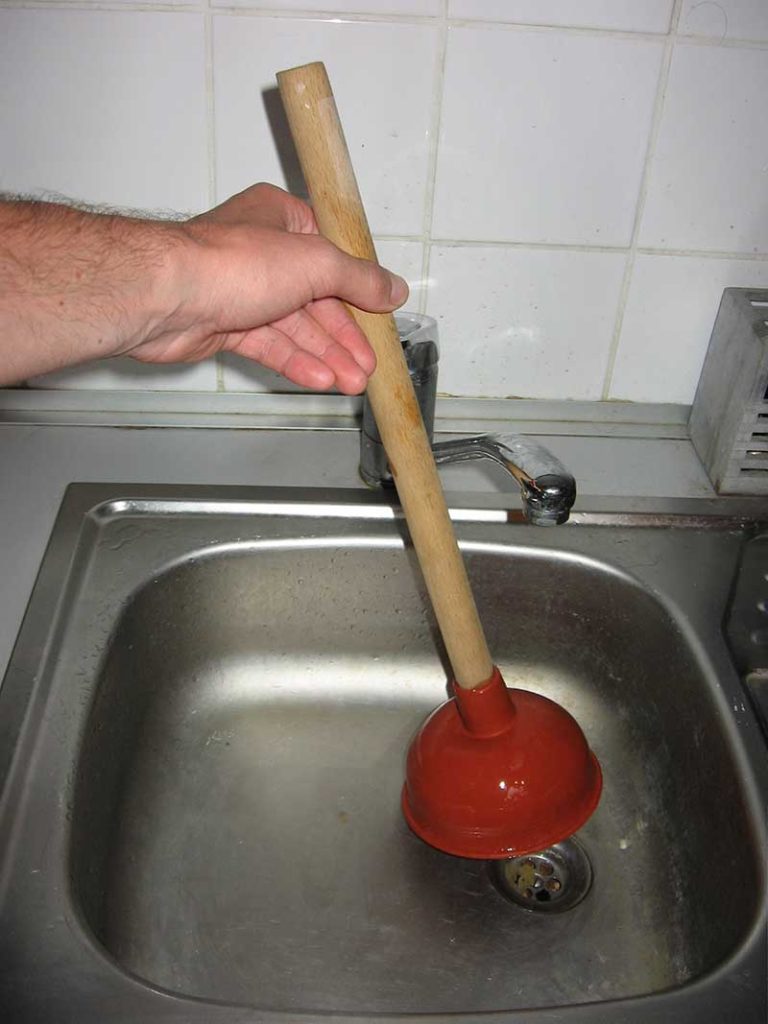
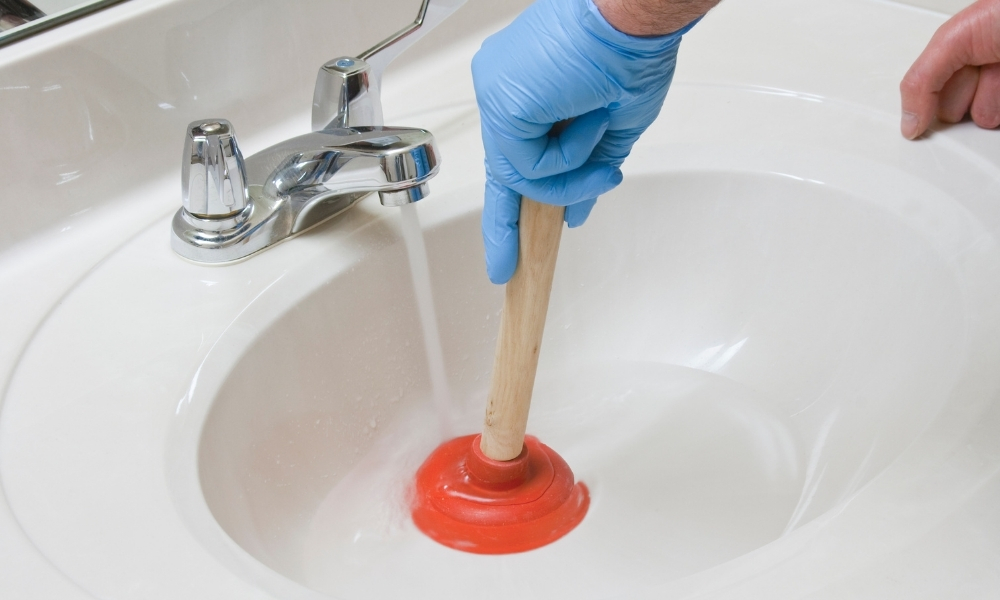
Proper Plunging Techniques
 While replacing the plunger rod can help with a clogged bathroom sink, it's also important to use proper plunging techniques.
Make sure there is enough water in the sink
to create a good seal between the plunger cup and the sink. Then, place the plunger over the drain and
push down and pull up vigorously
to create suction. Repeat this motion several times until the clog is cleared.
Do not plunge too forcefully
, as this can damage the plunger cup and the pipes.
While replacing the plunger rod can help with a clogged bathroom sink, it's also important to use proper plunging techniques.
Make sure there is enough water in the sink
to create a good seal between the plunger cup and the sink. Then, place the plunger over the drain and
push down and pull up vigorously
to create suction. Repeat this motion several times until the clog is cleared.
Do not plunge too forcefully
, as this can damage the plunger cup and the pipes.
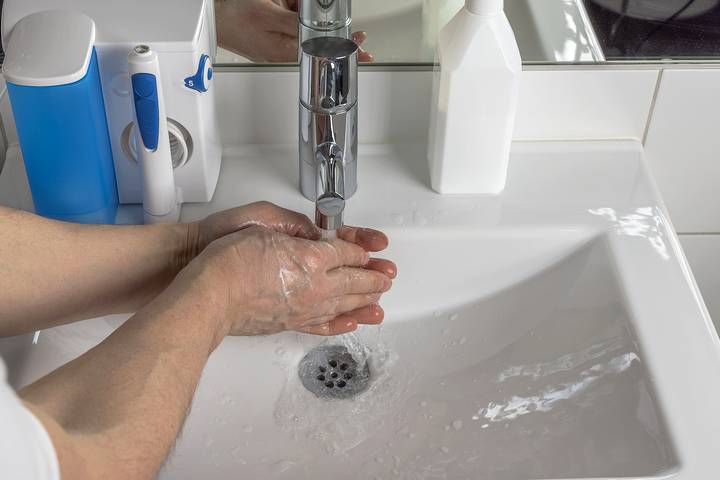
Prevent Future Clogs
 To prevent future clogs in your bathroom sink,
avoid putting large amounts of hair, soap scum, or other debris down the drain
. You can also use a drain cover to catch any hair or debris before it goes down the drain. Regularly cleaning and maintaining your sink can also help prevent clogs.
Run hot water down the sink after each use
to help break down any buildup. If you notice a slow drain,
use a mixture of baking soda and vinegar to help clear it out
.
By following these
simple tips for bathroom sink plunger rod repair
, you can keep your sink running smoothly and avoid costly plumbing repairs in the future. Remember to always use caution when working with plumbing and
seek professional help if you are unsure about any repairs
. With proper maintenance and care, your bathroom sink will continue to function properly for years to come.
To prevent future clogs in your bathroom sink,
avoid putting large amounts of hair, soap scum, or other debris down the drain
. You can also use a drain cover to catch any hair or debris before it goes down the drain. Regularly cleaning and maintaining your sink can also help prevent clogs.
Run hot water down the sink after each use
to help break down any buildup. If you notice a slow drain,
use a mixture of baking soda and vinegar to help clear it out
.
By following these
simple tips for bathroom sink plunger rod repair
, you can keep your sink running smoothly and avoid costly plumbing repairs in the future. Remember to always use caution when working with plumbing and
seek professional help if you are unsure about any repairs
. With proper maintenance and care, your bathroom sink will continue to function properly for years to come.